Reference diagram
LETTER · Download PDF (2 pages)
Free original resources
Learn to draw outline-only flat 2D flowers using a center circle, evenly spaced petal guides, and simplified petal contours. Includes practice tasks and a rubric.
Original reference diagrams, four practice exercises and separate worked answers. All files are free. No signup required.
LETTER · Download PDF (2 pages)
LETTER · Download PDF (4 pages)
LETTER · Download PDF (4 pages)
Choose A4 or US Letter for your printer. The reference and answer illustrations are not physical rulers; follow the scale instruction printed on the practice worksheet.
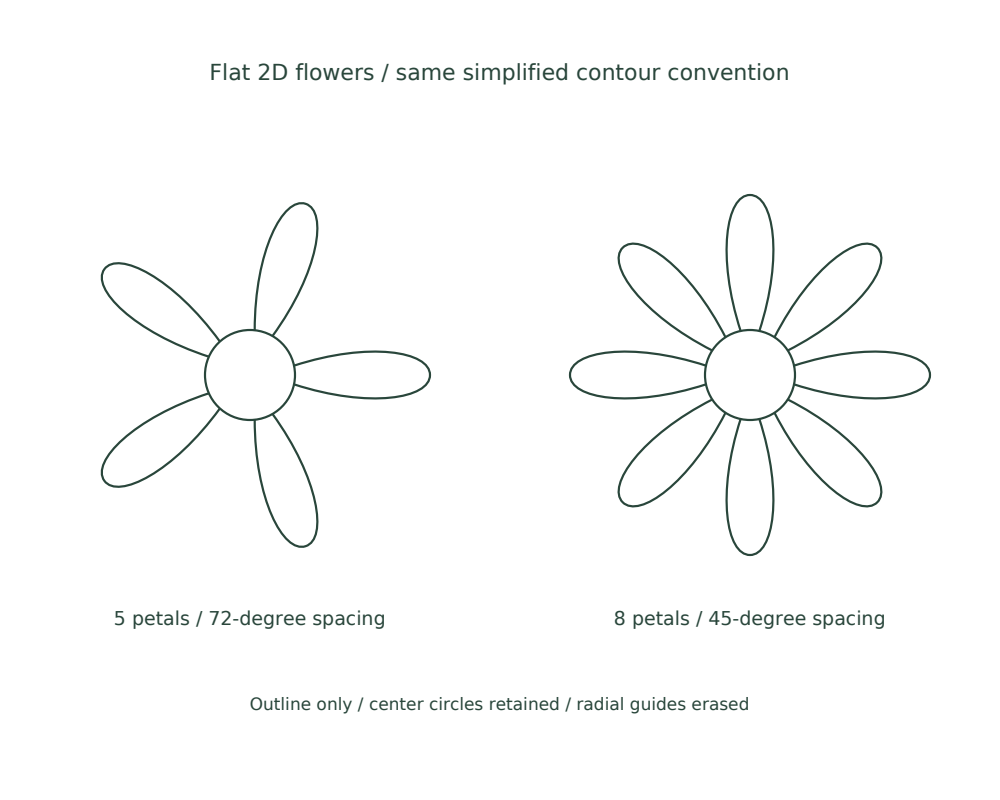
This lesson teaches a reliable method for drawing flat, outline-only 2D flowers with simplified petal shapes. You will use a center circle, radial guide lines, and a consistent petal contour to place five or eight petals evenly. The method avoids shading, realistic overlap, and whimsical stylization, focusing instead on clean construction and balanced spacing. All measurements are hypothetical examples; measure your own paper and tools. The convention for petal shape is defined below so that valid alternatives can be assessed fairly.
Use a pencil, an eraser, and a straightedge. Choose a drawing area on plain paper. For this lesson, a petal is defined as a simplified closed contour: a rounded outer edge and two side edges that meet the center circle. Petals may be narrow or wide, but each petal in one flower should use the same width convention. The center is a small circle. All lines are outlines only; no shading or texture.
Define your own numerical examples before drawing. For instance, a hypothetical center circle radius of 1 cm and a petal length of 3 cm from the center circle edge. These values are examples, not standards. Measure your actual paper and keep units consistent, such as centimeters.
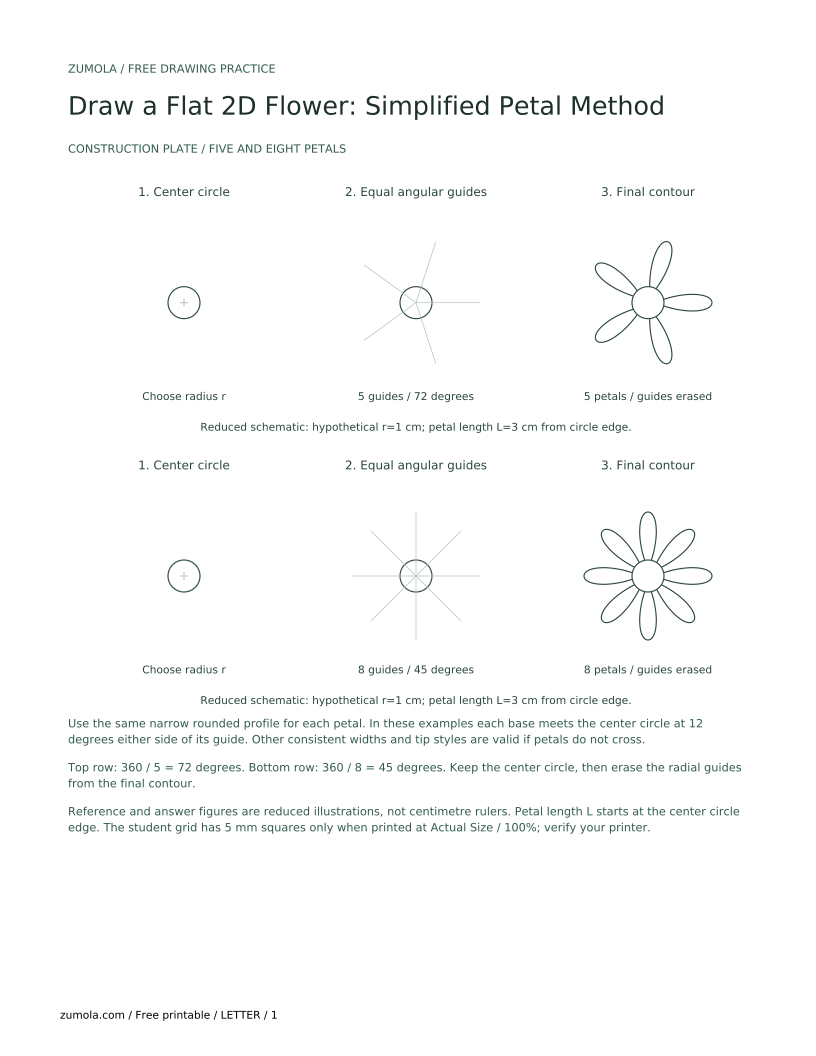
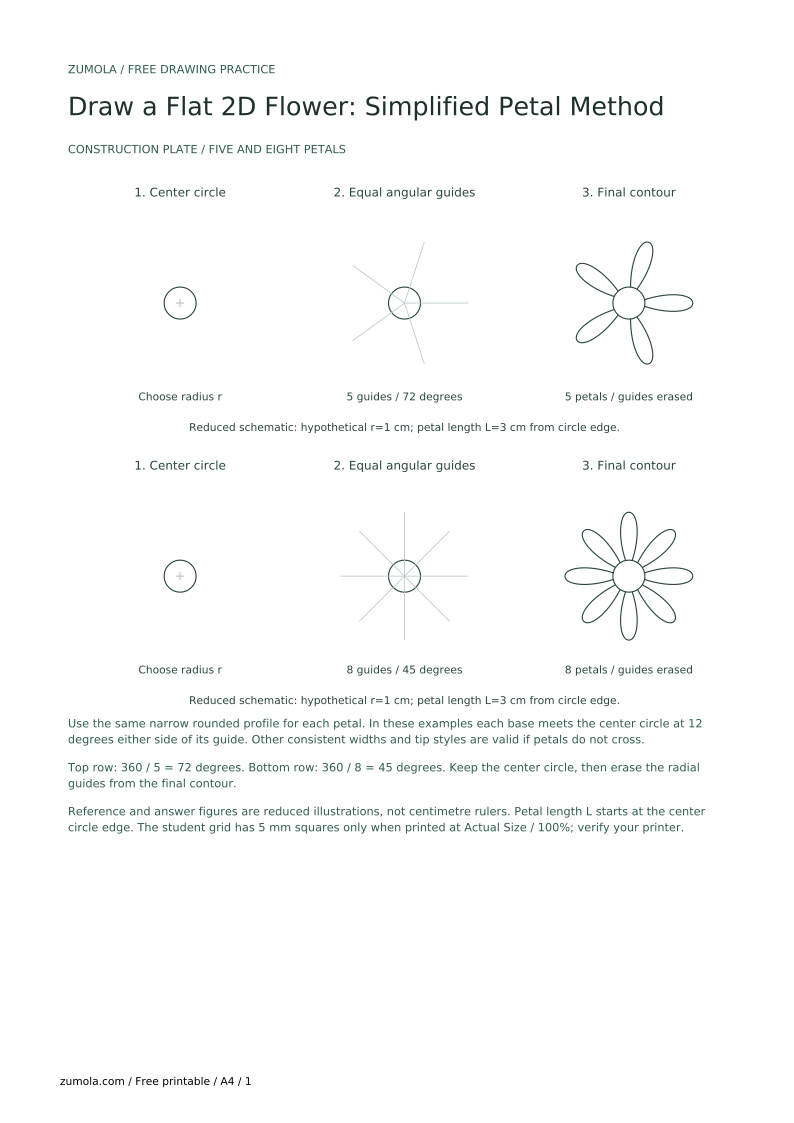
Even spacing is the main check for a flat 2D flower. Use a protractor or estimate angles from the horizontal guide. Mark a short tick on the center circle at each spacing angle. These ticks are guide marks, not final petals. Keep guide lines light so they can be erased.
For five petals, the angles from the horizontal are 0, 72, 144, 216, and 288 degrees. For eight petals, the angles are 0, 45, 90, 135, 180, 225, 270, and 315 degrees. If you do not have a protractor, fold a paper circle into equal sectors as a guide, but label the method you used.
Start at one tick and draw a rounded outer edge, then return along the other side to the center circle. Keep the side edges simple and smooth. A valid petal may be rounded, slightly pointed, or softly squared, but the same style should be used across the flower. Do not overlap petals; leave a small gap or let edges meet cleanly at the center circle.
After drawing all petals, erase the radial guides but keep the center circle visible. Check symmetry by rotating the paper and comparing opposite petals. Small differences are acceptable if the overall spacing and petal style are consistent.
A finished flat 2D flower should read as a single outline drawing with a center circle and evenly spaced simplified petals. Use a simple arithmetic check: for five petals, each petal should occupy about 72 degrees of the center circle; for eight petals, about 45 degrees. If one petal looks much wider, adjust its side edges rather than redrawing the whole flower.
Valid alternatives include slightly different petal tips and widths, provided the chosen convention is stated and applied consistently. The rubric below allows these alternatives while checking spacing, outline-only construction, and clean contours.
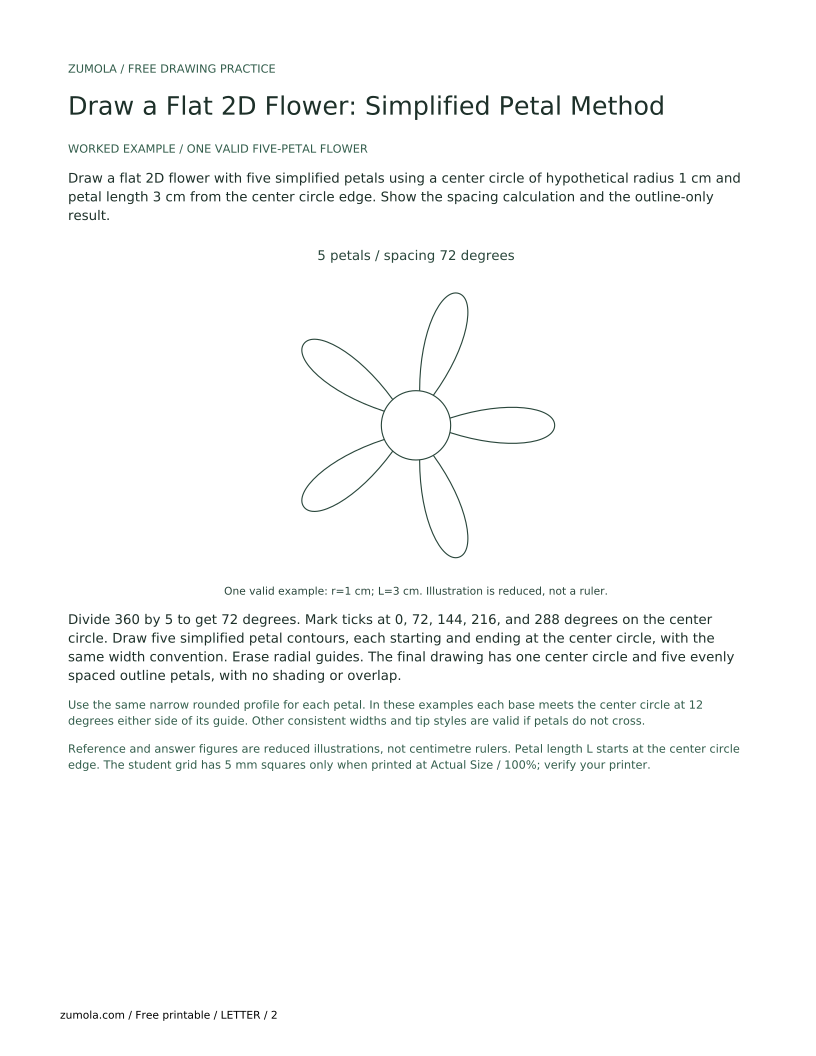
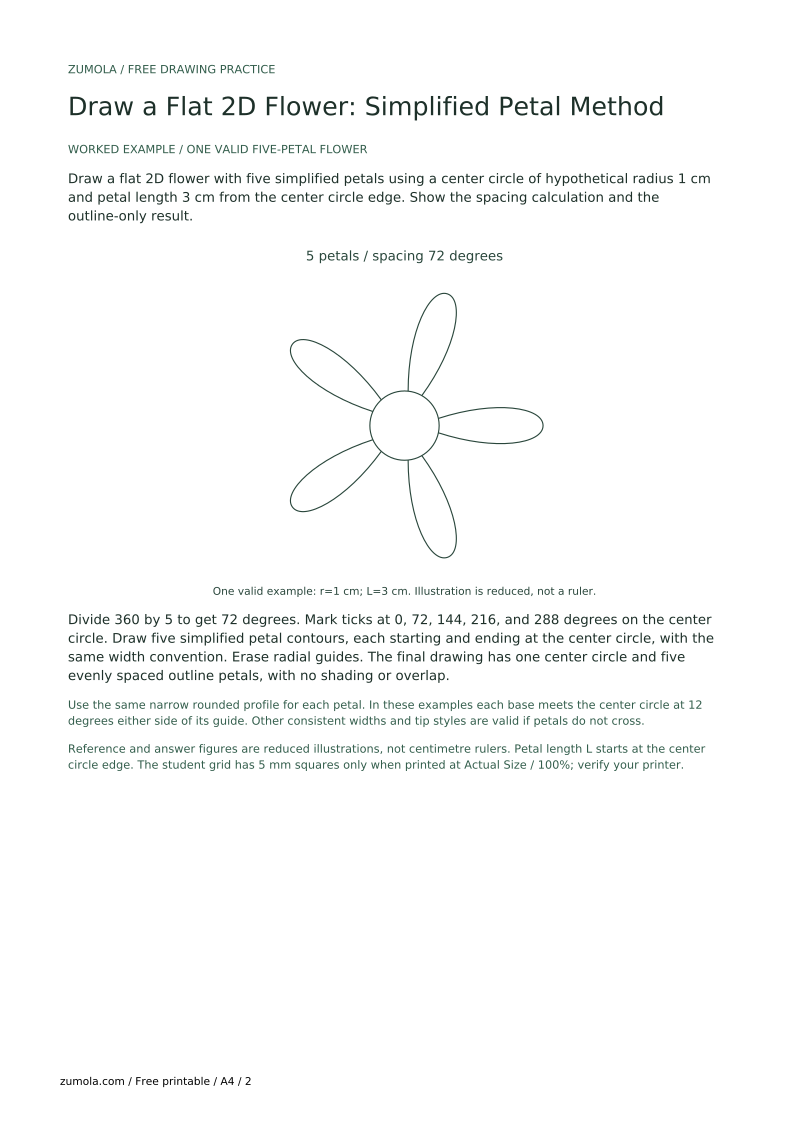
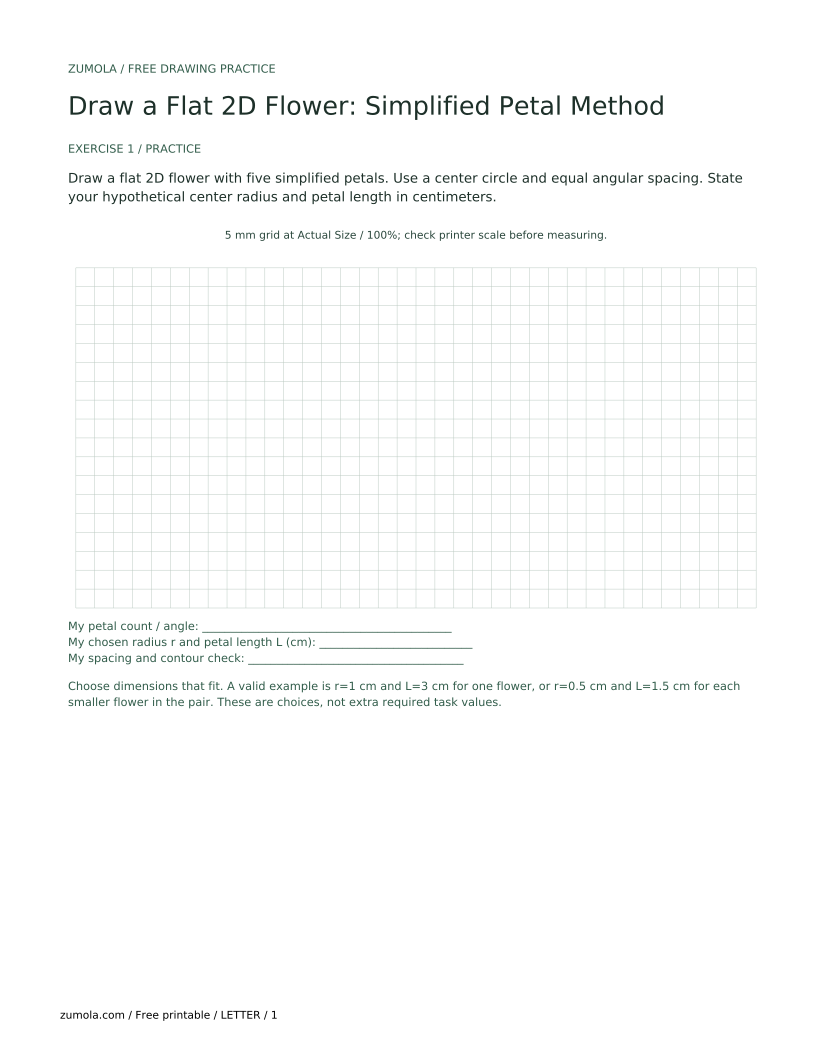
Draw a flat 2D flower with five simplified petals using a center circle of hypothetical radius 1 cm and petal length 3 cm from the center circle edge. Show the spacing calculation and the outline-only result.
Divide 360 by 5 to get 72 degrees. Mark ticks at 0, 72, 144, 216, and 288 degrees on the center circle. Draw five simplified petal contours, each starting and ending at the center circle, with the same width convention. Erase radial guides. The final drawing has one center circle and five evenly spaced outline petals, with no shading or overlap.
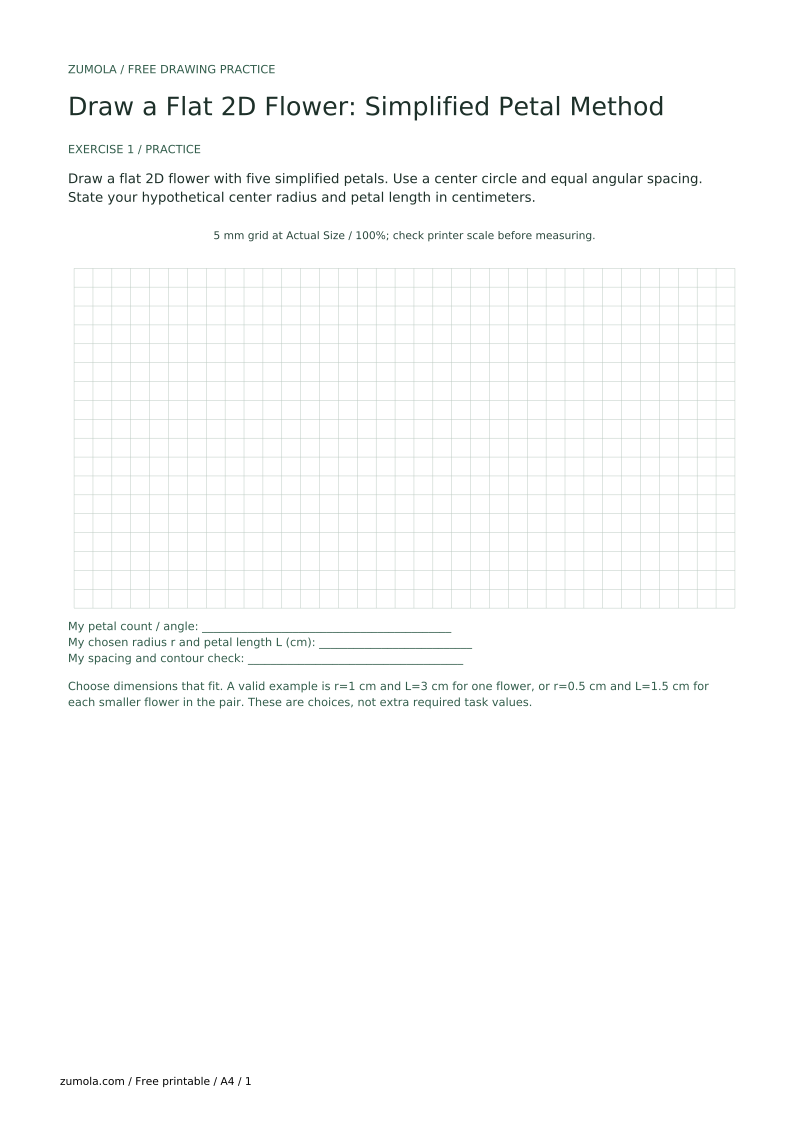
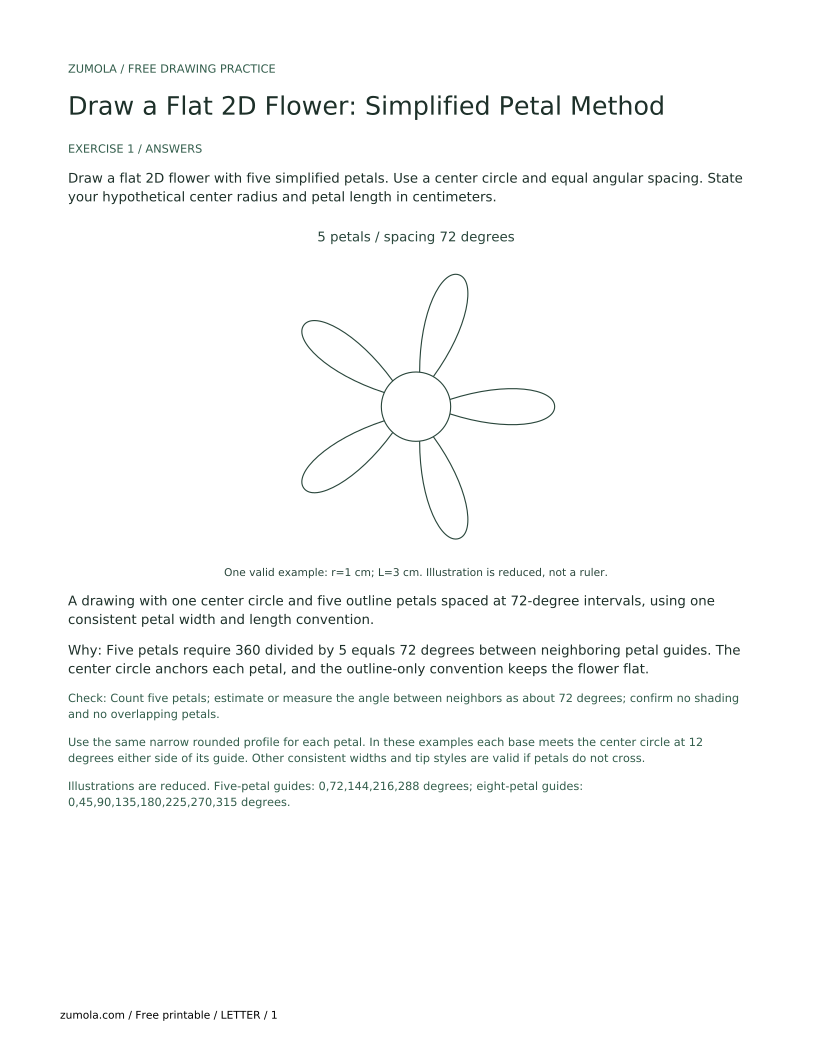
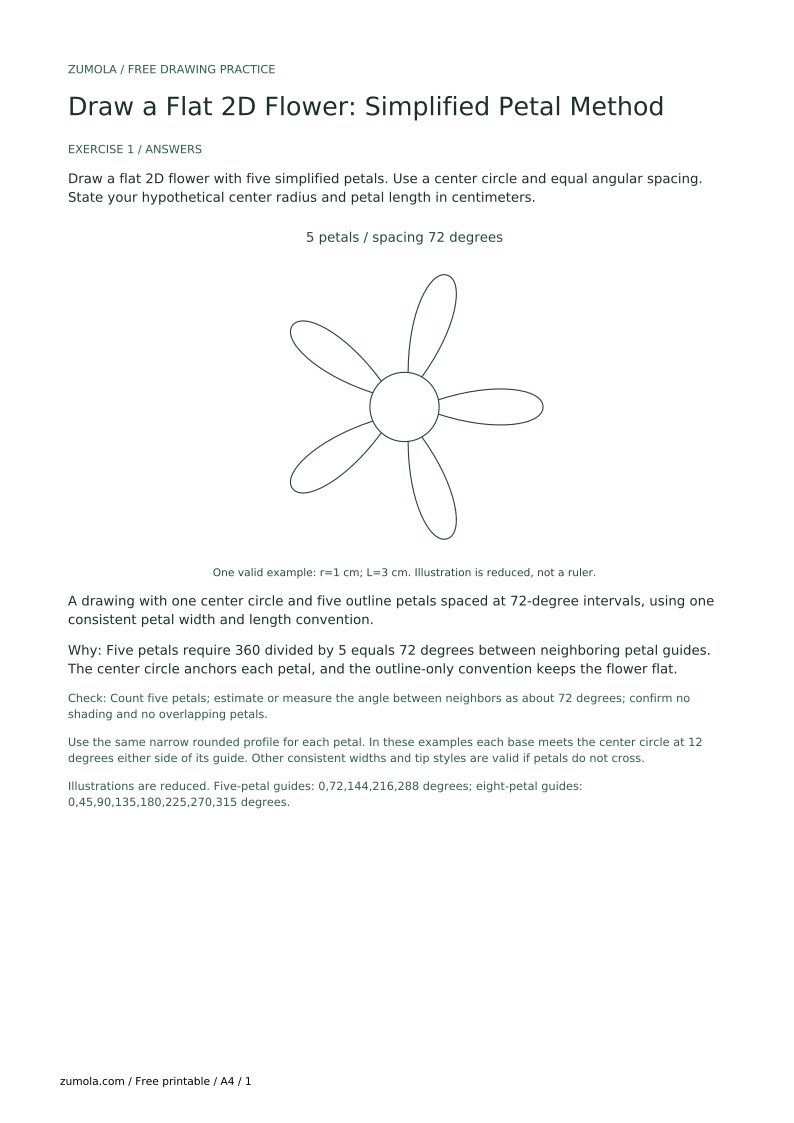
Draw a flat 2D flower with five simplified petals. Use a center circle and equal angular spacing. State your hypothetical center radius and petal length in centimeters.
A drawing with one center circle and five outline petals spaced at 72-degree intervals, using one consistent petal width and length convention.
Five petals require 360 divided by 5 equals 72 degrees between neighboring petal guides. The center circle anchors each petal, and the outline-only convention keeps the flower flat.
Check: Count five petals; estimate or measure the angle between neighbors as about 72 degrees; confirm no shading and no overlapping petals.
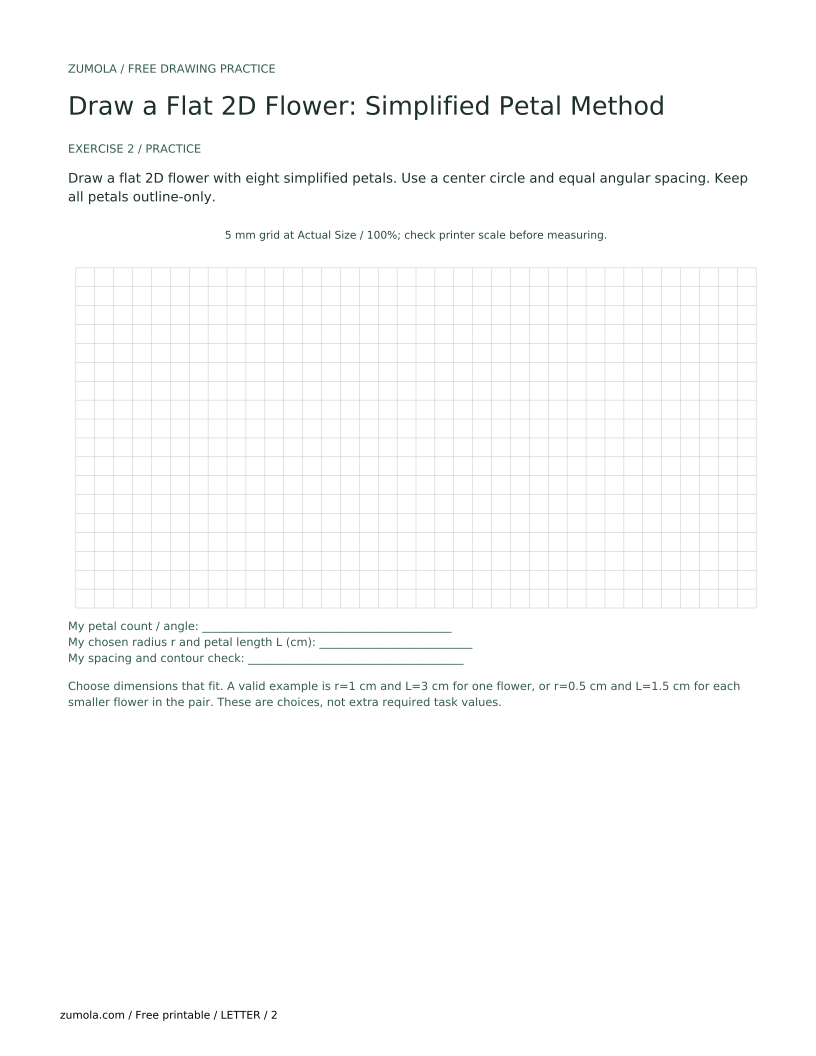
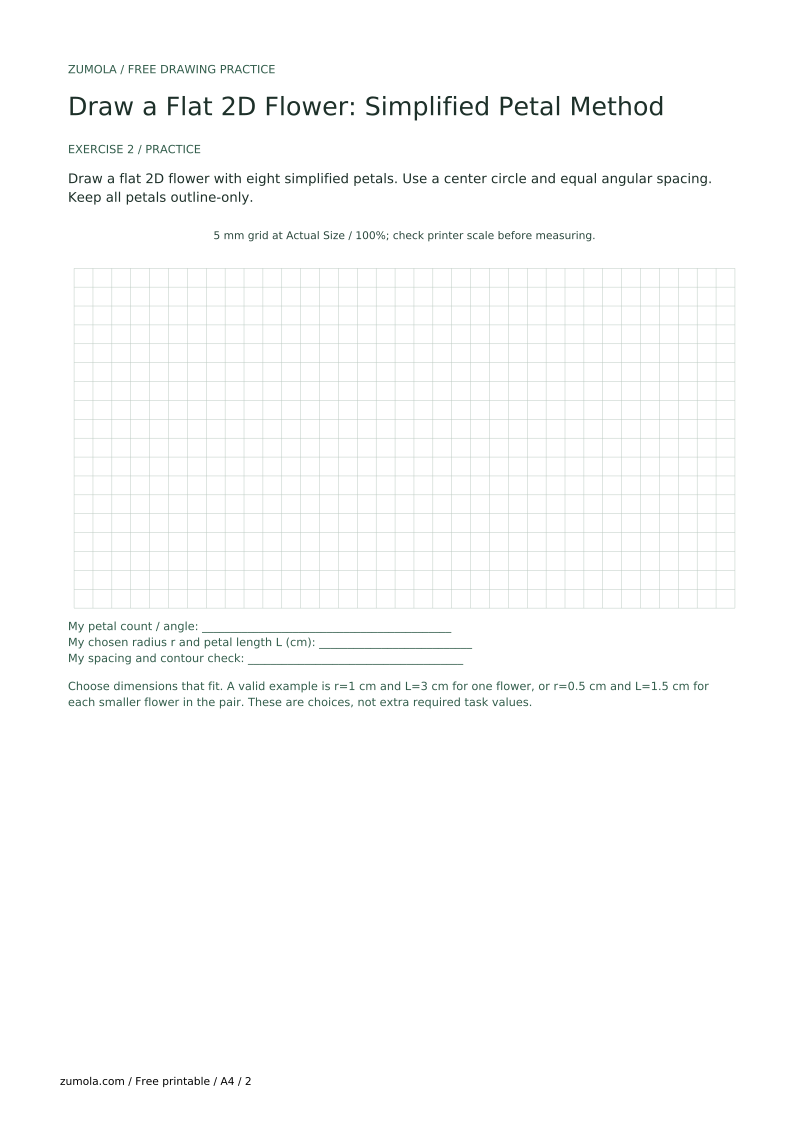
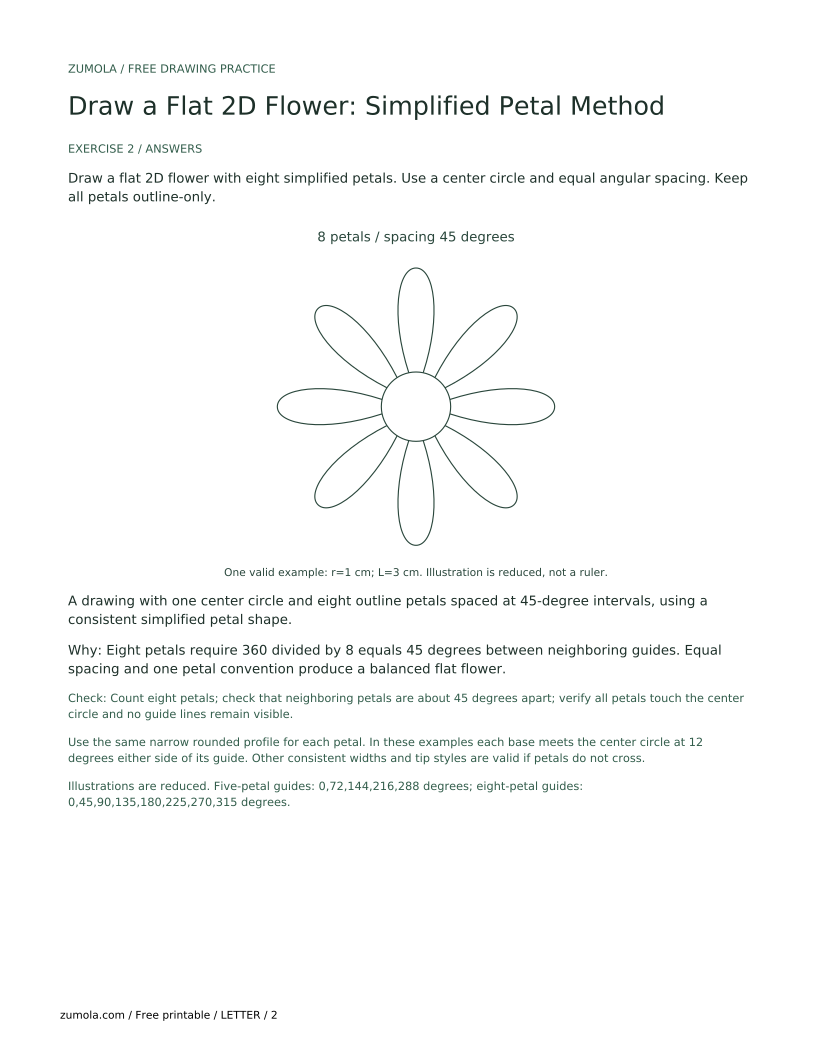
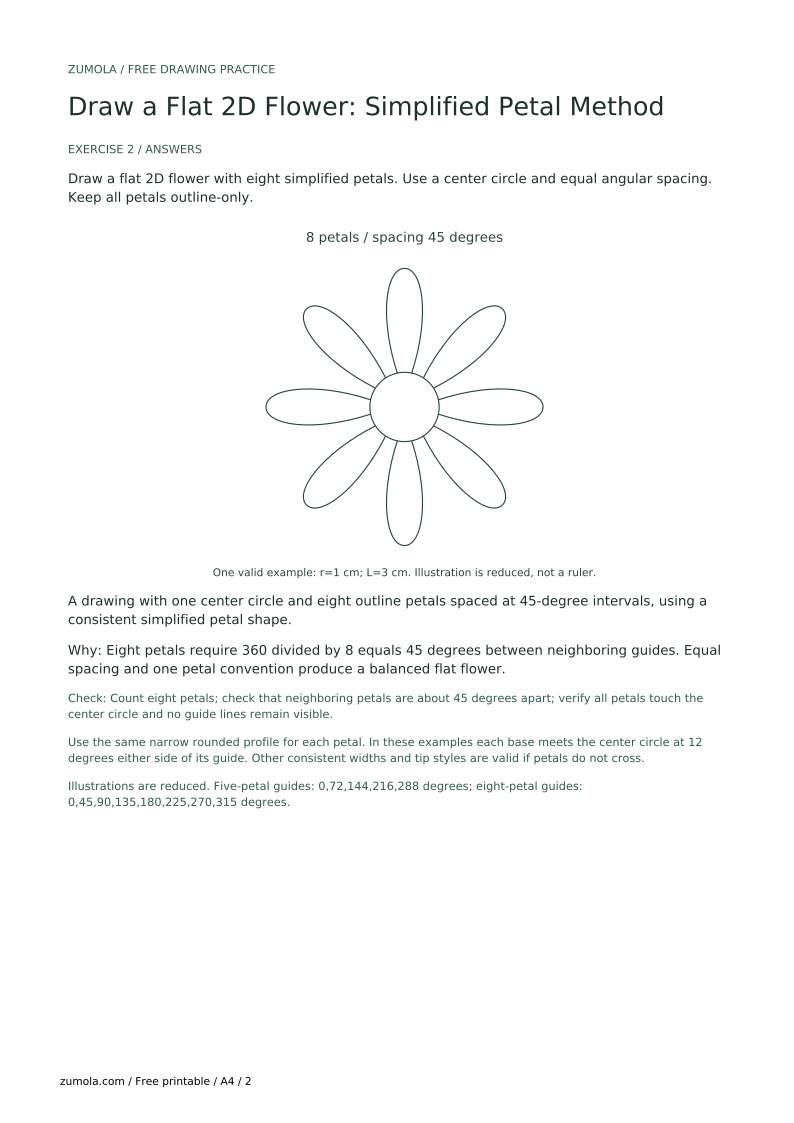
Draw a flat 2D flower with eight simplified petals. Use a center circle and equal angular spacing. Keep all petals outline-only.
A drawing with one center circle and eight outline petals spaced at 45-degree intervals, using a consistent simplified petal shape.
Eight petals require 360 divided by 8 equals 45 degrees between neighboring guides. Equal spacing and one petal convention produce a balanced flat flower.
Check: Count eight petals; check that neighboring petals are about 45 degrees apart; verify all petals touch the center circle and no guide lines remain visible.
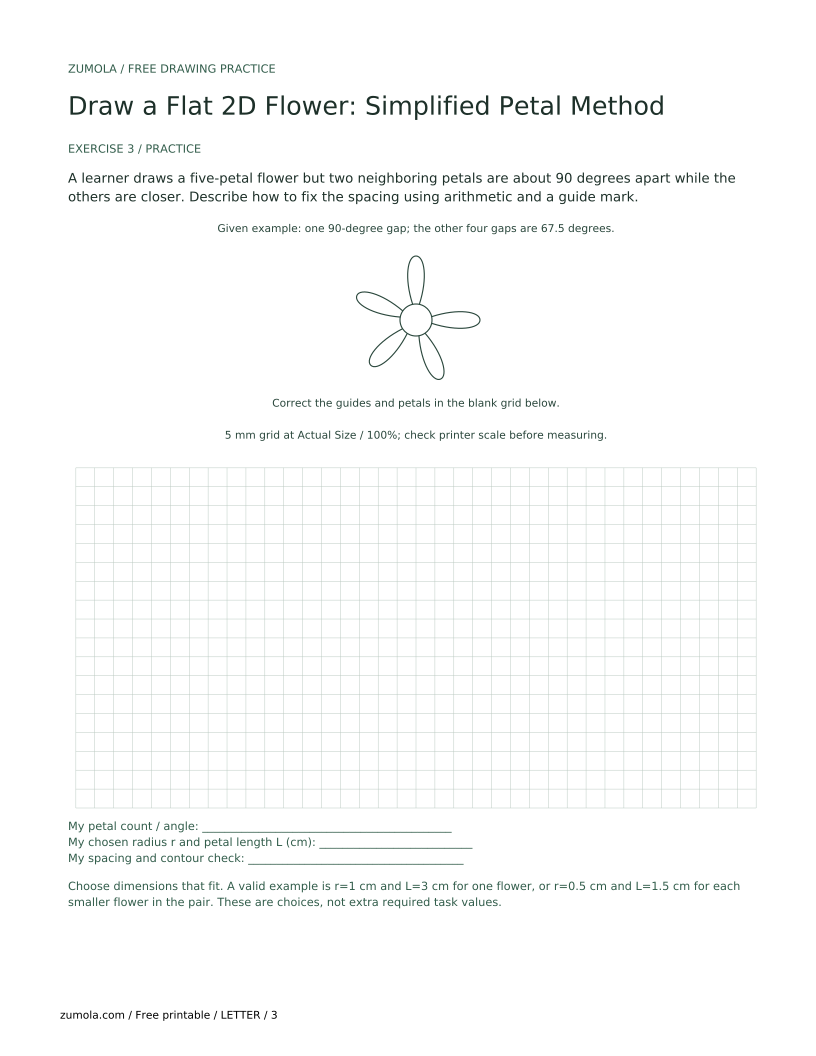
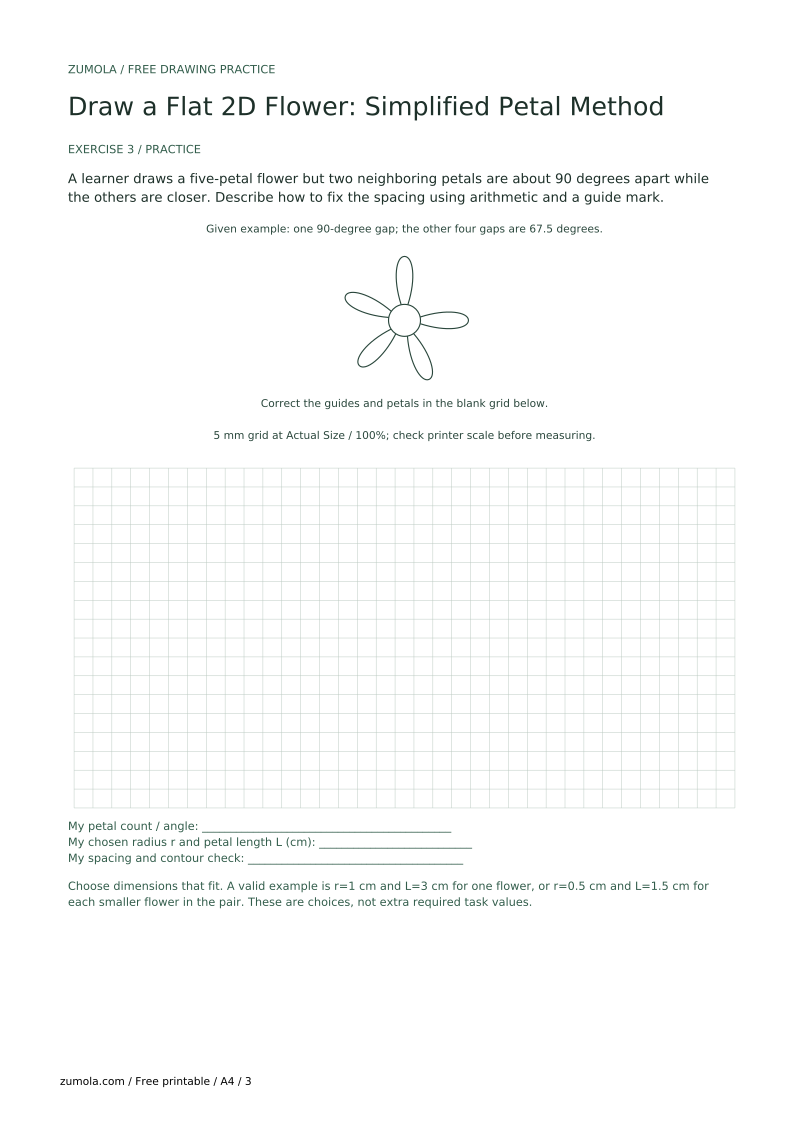
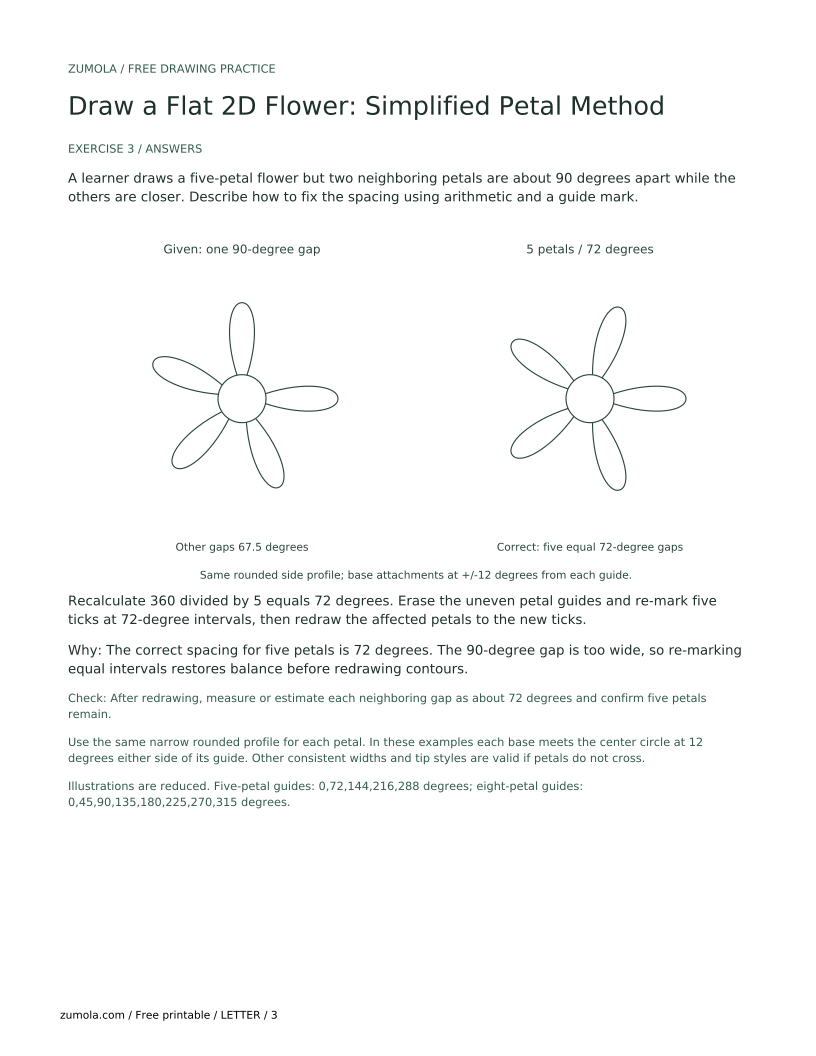
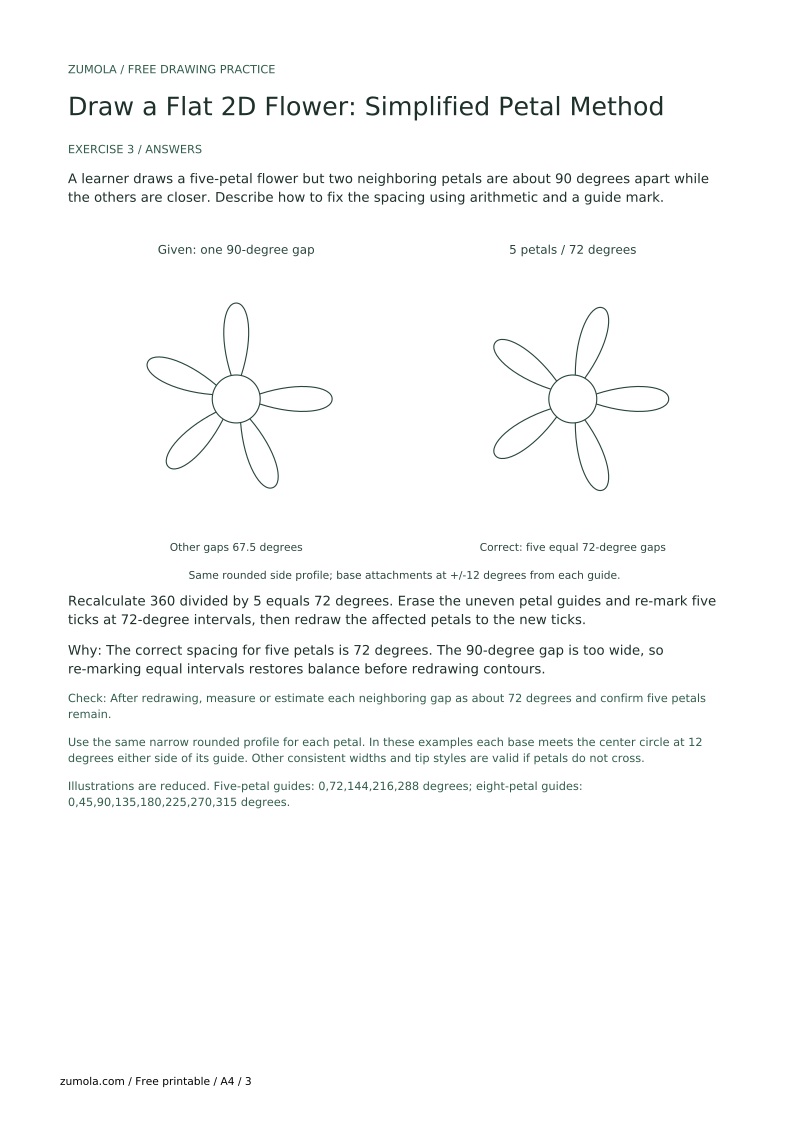
A learner draws a five-petal flower but two neighboring petals are about 90 degrees apart while the others are closer. Describe how to fix the spacing using arithmetic and a guide mark.
Recalculate 360 divided by 5 equals 72 degrees. Erase the uneven petal guides and re-mark five ticks at 72-degree intervals, then redraw the affected petals to the new ticks.
The correct spacing for five petals is 72 degrees. The 90-degree gap is too wide, so re-marking equal intervals restores balance before redrawing contours.
Check: After redrawing, measure or estimate each neighboring gap as about 72 degrees and confirm five petals remain.
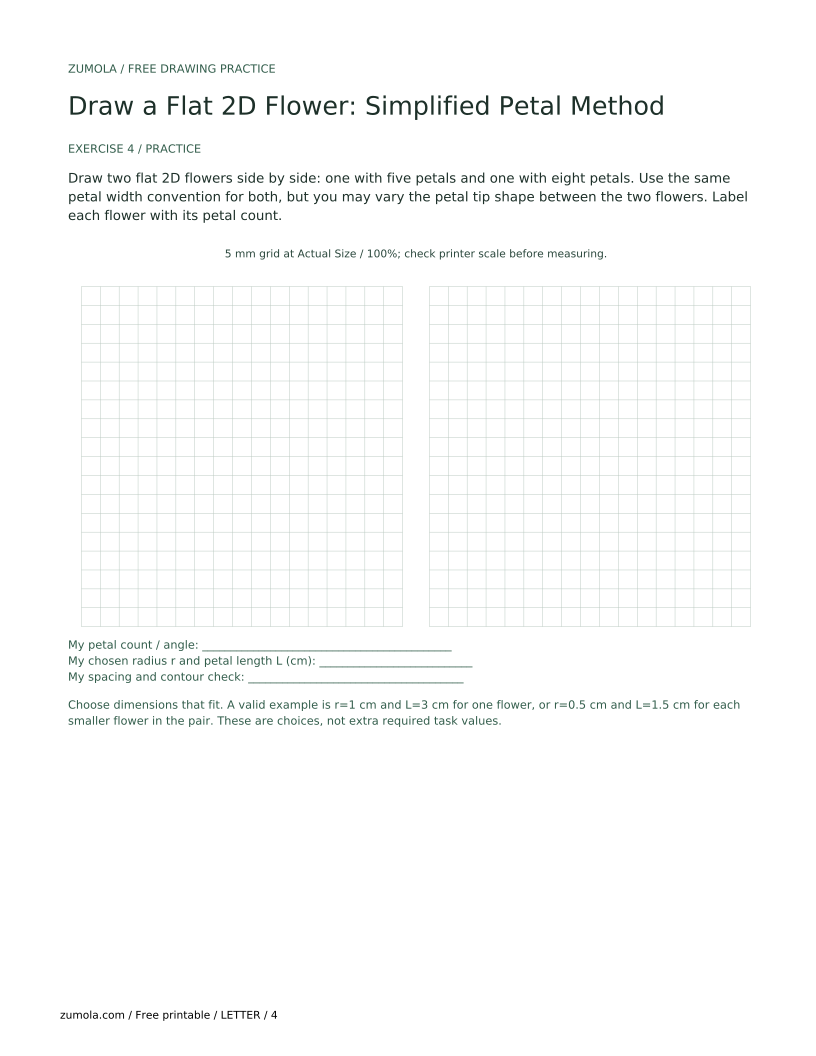
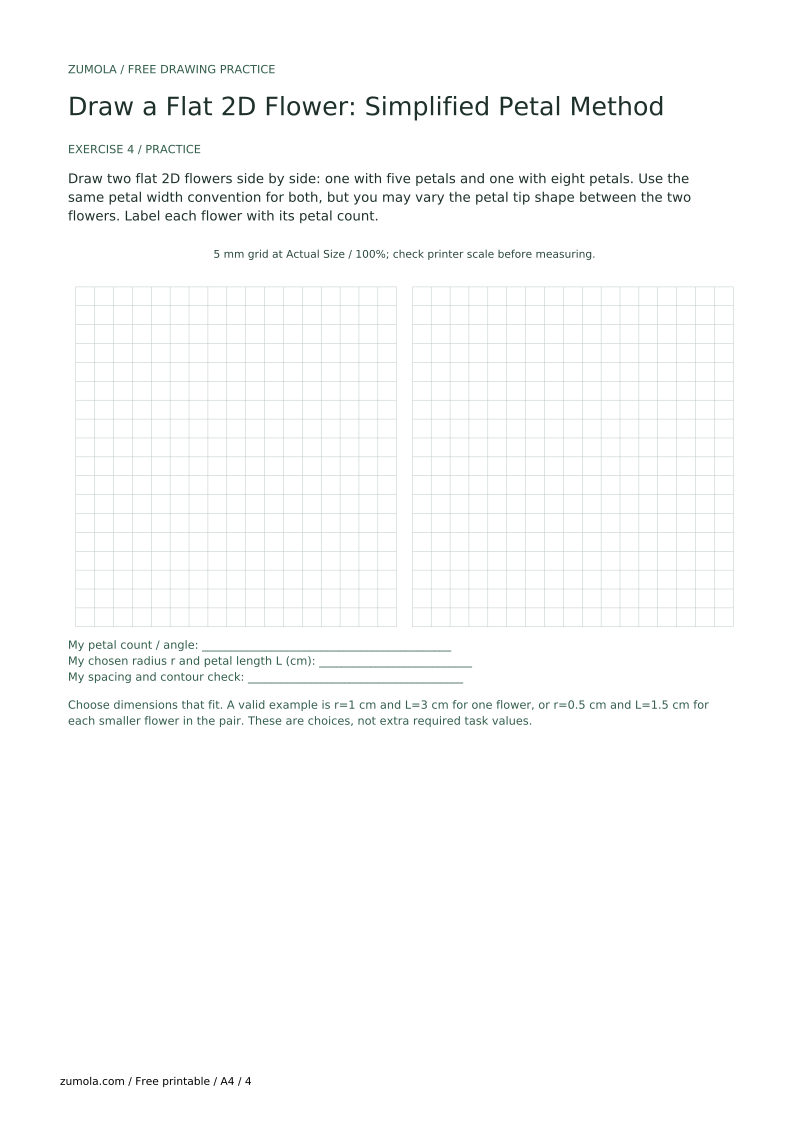
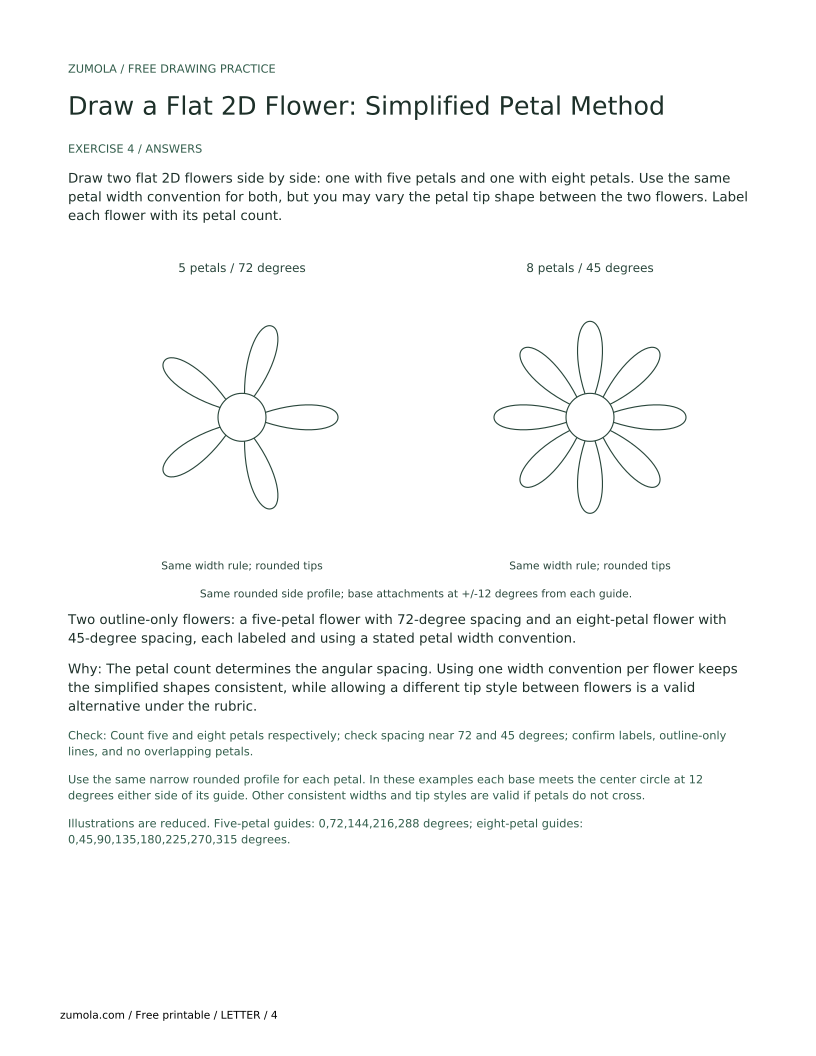
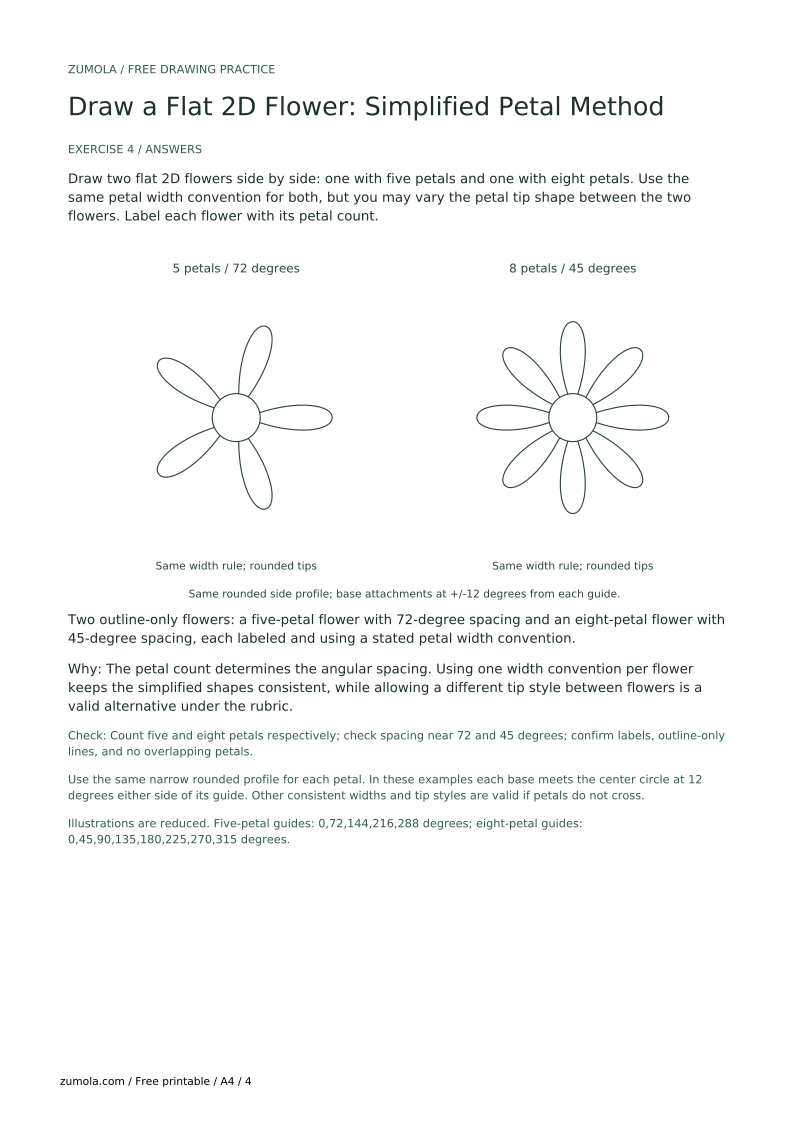
Draw two flat 2D flowers side by side: one with five petals and one with eight petals. Use the same petal width convention for both, but you may vary the petal tip shape between the two flowers. Label each flower with its petal count.
Two outline-only flowers: a five-petal flower with 72-degree spacing and an eight-petal flower with 45-degree spacing, each labeled and using a stated petal width convention.
The petal count determines the angular spacing. Using one width convention per flower keeps the simplified shapes consistent, while allowing a different tip style between flowers is a valid alternative under the rubric.
Check: Count five and eight petals respectively; check spacing near 72 and 45 degrees; confirm labels, outline-only lines, and no overlapping petals.
Recalculate the angular spacing by dividing 360 by the petal count, then re-mark ticks before drawing contours.
Keep each petal within its angular sector and stop side edges at the center circle.
Choose one width convention and apply it to every petal; adjust only the tip shape if needed.
Erase radial guides lightly after drawing contours, keeping only the center circle and petal outlines.
No. Use one width and length convention, but small differences in tip shape are acceptable if spacing and outline style remain consistent.
Yes, but this lesson practices five and eight petals. For other counts, divide 360 by the petal count to find the spacing.
A protractor helps, but you can estimate angles or use a folded paper guide. State the method you used.
No. This task is outline-only flat 2D construction; shading and realistic overlap are outside the boundary.