The paper collection
Free printable
graph paper.
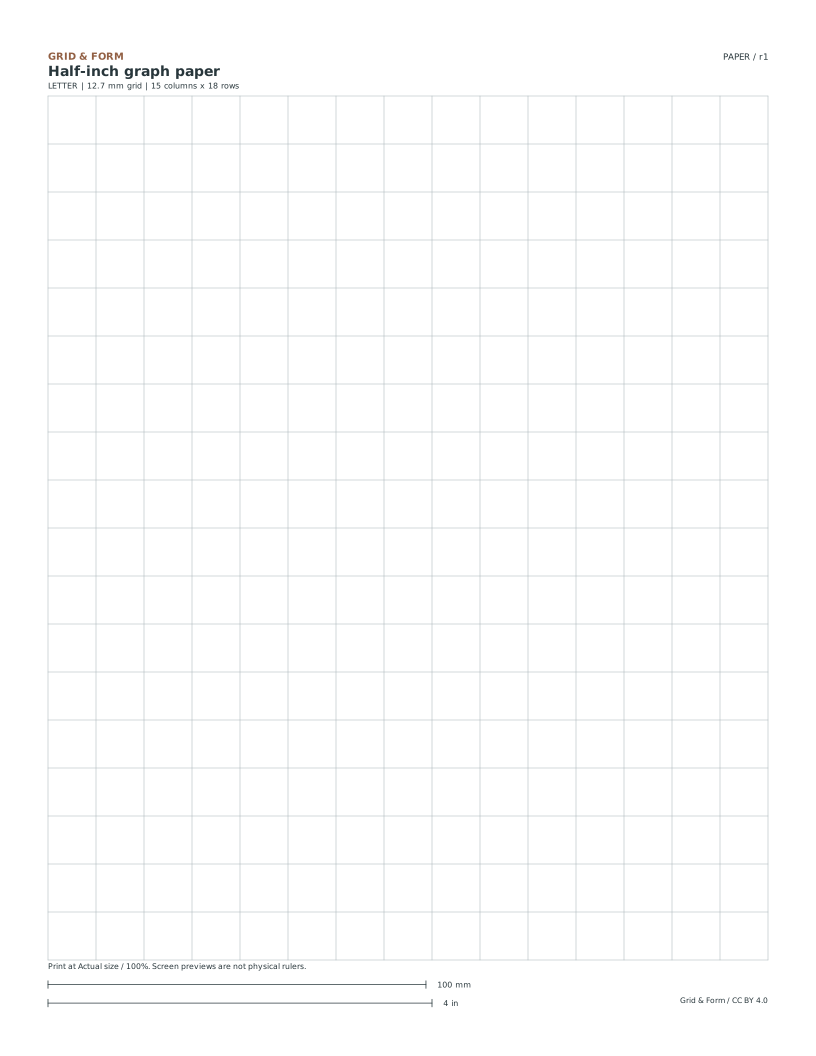
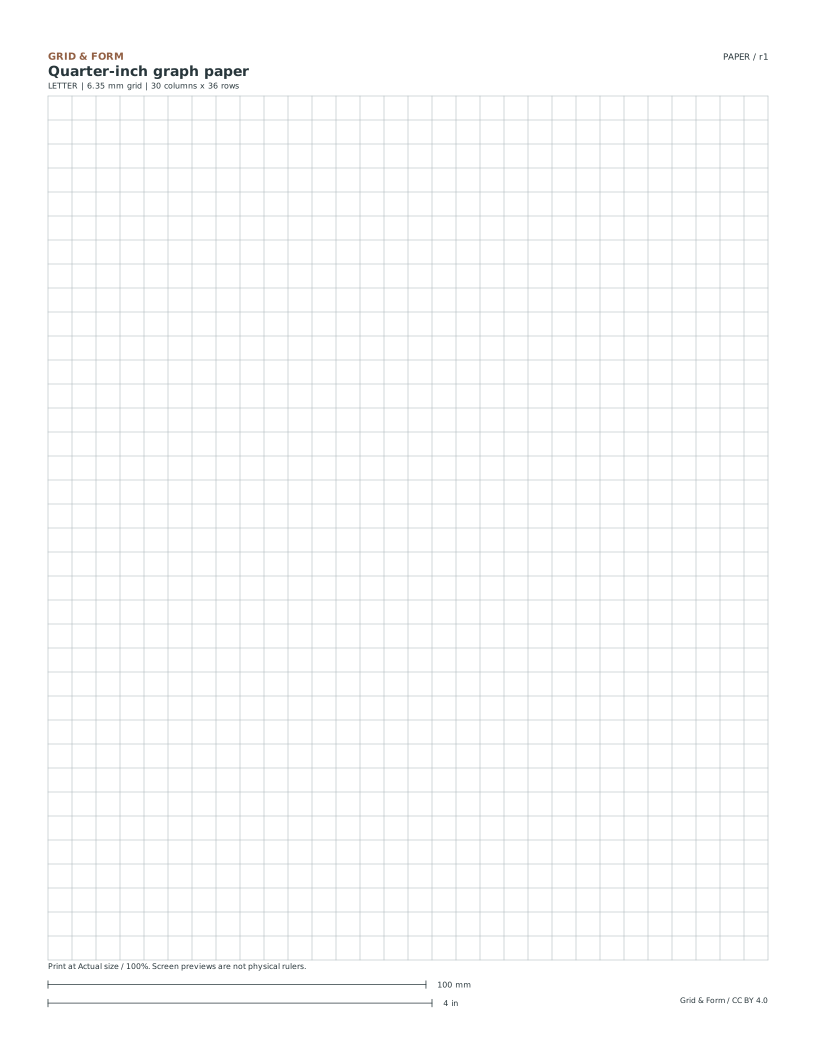
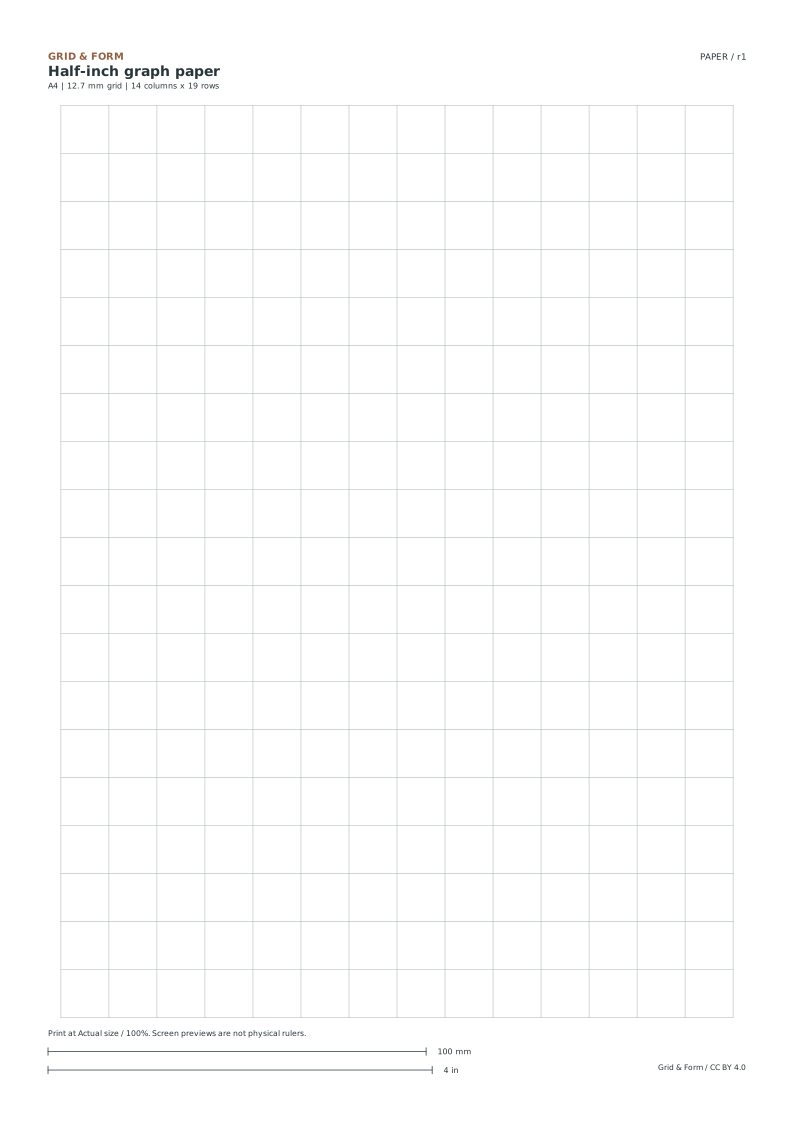
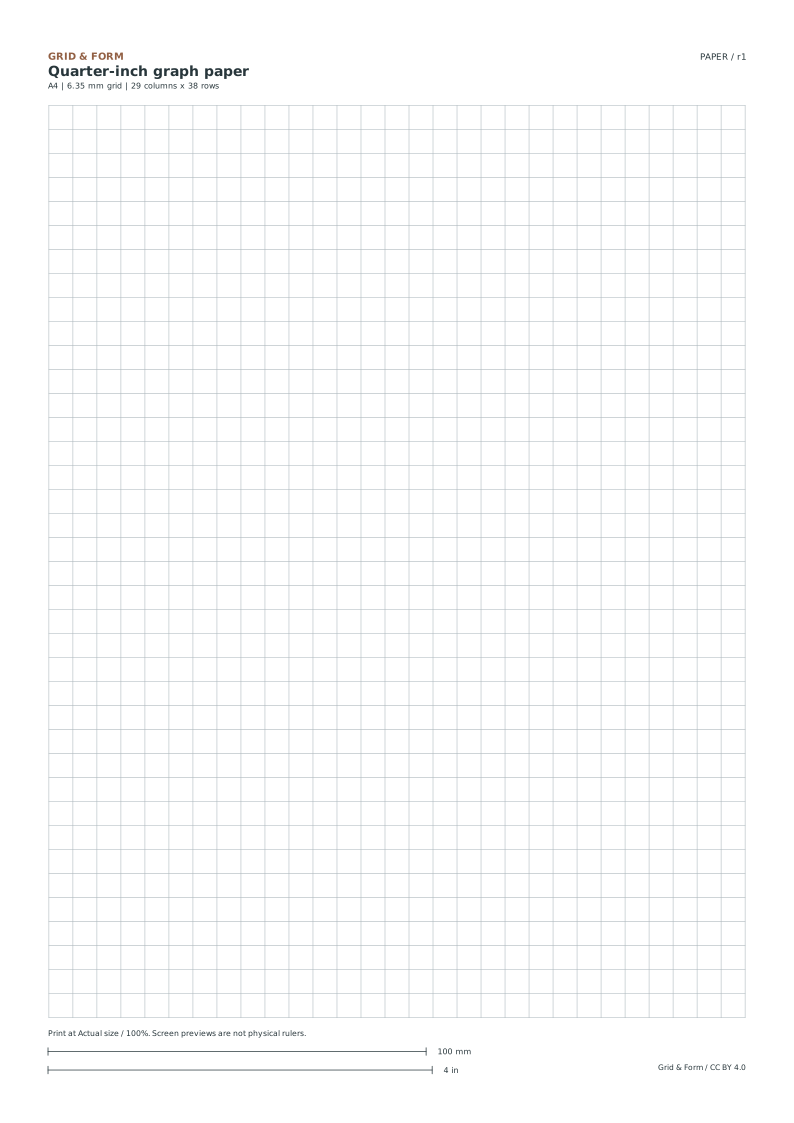
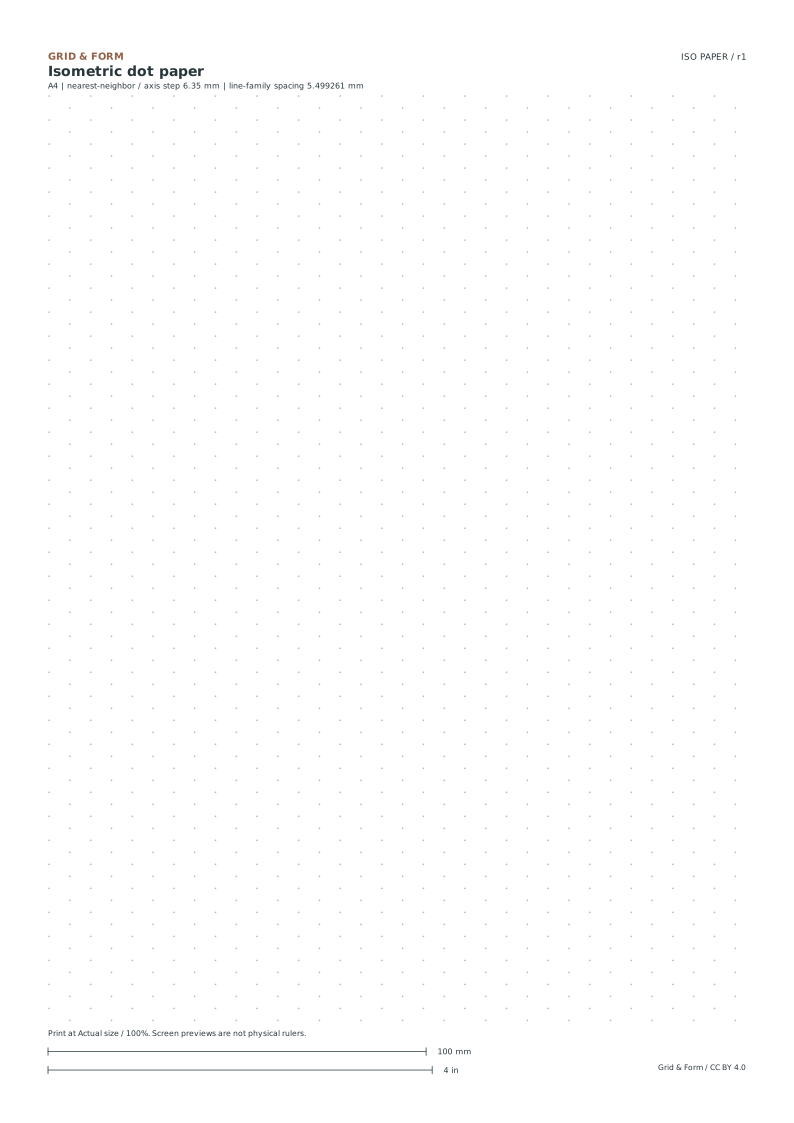
Choose a grid that suits the job: larger squares for a first sketch, a smaller grid for detail, or three directions for a solid form. Every download is free, with Letter and A4 versions.
PDF for printing.
SVG for editing.
100% scale for measuring.
More ways to practice
Pick spacing from the smallest thing you must place
Work backward from the smallest feature you need to position, not from the size of the page. If the smallest feature is a label or a short line, the grid cell should be comfortably larger than that feature so you are not fighting the lines. If the smallest feature is a point you must locate precisely, a finer grid helps, but only if you can still read it after printing.
State the unit before choosing a number. Half-inch, quarter-inch, 5 mm and 1 cm are physical lengths, not screen pixels. A grid becomes a scale only when you also write what one cell represents, for example one cell equals 2 cm on the object. Keep the drawing unit and the object unit separate in your notes.
Check the paper edge margin as part of the choice. A grid that runs to the edge can be trimmed away or clipped by a printer's unprintable border. Leave a visible margin so the first and last full cells survive, and so you can measure from a known edge.
- Write the smallest feature you must place and its real size.
- Choose a cell size at least twice that feature for labels, or finer for point location.
- Record what one cell represents in object units.
- Confirm the sheet size and a clear margin before printing.
- Print at 100% and compare a measured span to the calibration bar.
A diagnostic check that catches scale drift
Scale drift means the printed spacing is not the spacing you selected. It usually comes from fitting the page to the printer's printable area. A calibration bar is a printed length with a stated value; measure it with a ruler and compare. If the measured length differs from the stated length, the sheet was scaled and the grid spacing is wrong.
Do this check on the first sheet of any new printer or paper size. Measure across several cells rather than one, because a single cell is too short to reveal small errors. For example, measure ten cells and divide by ten to get the average cell width, then compare that average to the intended spacing.
Keep the calibration sheet with your notes. If a later print looks different, the bar tells you whether the cause is scaling or a different grid choice.
- Print one sheet at 100%, with any fit-to-page option off.
- Measure the calibration bar with a ruler and compare to its stated length.
- Measure across ten cells and divide by ten for the average spacing.
- If either check fails, correct the print setting before drawing.
Worked variation: a measured plan on a coarse grid
A coarse grid is often better for a measured plan because each cell is easy to read and count. The trade-off is that small offsets must be estimated within a cell. Decide in advance how you will record those estimates, such as noting a fraction of a cell, so the plan stays consistent.
When a plan spans more than one sheet, mark a shared reference line and a cell count at the join. The join is where errors accumulate, so count cells across the boundary rather than trusting the visual match alone.
- Choose a coarse cell and state what one cell represents.
- Mark a reference line and count cells from it to each feature.
- At a sheet join, count cells across the boundary and record the count.
- Re-measure the calibration bar on the joined sheets.
Separate drawing choices from anatomy claims
Grid paper supports construction: proportion, alignment and repeated spacing. It does not by itself make a drawing anatomically accurate. Treat figure or body-related drawings as artistic construction with multiple valid outcomes, and judge them with a rubric rather than a single correct answer.
If a drawing is intended for a clinical or educational anatomy context, use an appropriate reference and qualified review. The grid only helps you place marks; it does not validate anatomical relationships.
- Decide whether the task is construction or anatomical reference.
- For construction, set rubric criteria such as proportion and alignment.
- For anatomy, use a reviewed reference and note that the grid is only a placement aid.
Try this example
You need to place three labeled features on a plan where the smallest label needs about 1 cm of clear space. You choose a 1 cm grid on Letter paper with a 1 cm margin. What should you check before drawing, and how do you confirm the spacing?
Show the worked explanation
Because the smallest label needs about 1 cm, a 1 cm cell is too tight for comfortable labeling; a 2 cm cell gives roughly twice the clear space, so choose 2 cm if the plan's detail allows. State that one cell equals a chosen object length, for example 1 cell equals 10 cm on the object. Confirm the sheet size and that a 1 cm margin leaves whole cells inside the printable area. Print at 100% with fit-to-page off, measure the calibration bar against its stated length, then measure ten cells and divide by ten; the average should equal the chosen cell size. If it does not, correct the print setting before placing features.
Common mistakes
- Choosing a cell size from how it looks on screen rather than from the smallest feature to be placed. Write the smallest feature and its real size first, then choose a cell at least twice that size for labels or finer for point location.
- Printing with fit-to-page enabled, which changes the physical spacing. Print at 100% and measure the calibration bar; if it differs from its stated length, correct the setting before drawing.
- Treating a grid drawing of a figure as clinically accurate because the spacing is regular. Label the task as artistic construction and use a rubric, or use a reviewed anatomical reference for clinical purposes.
Check your work
- The smallest feature to be placed is stated with its real size before a cell size is chosen.
- The drawing unit and the object unit are recorded separately, with what one cell represents.
- A visible margin keeps whole cells inside the printable area.
- The calibration bar is measured against its stated length on the first sheet.
- Average spacing is checked across ten cells, not a single cell.
- Figure or body drawings are labeled as construction and judged with a rubric, or use a reviewed anatomical reference.
Questions before you start
How do I know the printed grid matches the spacing I chose?
Print at 100% with fit-to-page off, measure the calibration bar against its stated length, then measure across ten cells and divide by ten to compare the average spacing.
Should I use a coarse or fine grid for a measured plan?
Use a coarse grid when you need to count cells and read labels easily, and record small offsets as fractions of a cell. Use a finer grid only when point location matters more than readability.
Does grid paper make a figure drawing anatomically correct?
No. A grid supports proportion and alignment as construction aids. Anatomical accuracy requires an appropriate reviewed reference, and construction drawings should be judged with a rubric.