Reference diagram
LETTER · Download PDF (2 pages)
Free original resources
Build muscle memory for circle-head construction using blank circles, center lines, and a repeatable step sequence on a practice sheet.
Original reference diagrams, four practice exercises and separate worked answers. All files are free. No signup required.
LETTER · Download PDF (2 pages)
LETTER · Download PDF (5 pages)
LETTER · Download PDF (4 pages)
Choose A4 or US Letter for your printer. The reference and answer illustrations are not physical rulers; follow the scale instruction printed on the practice worksheet.
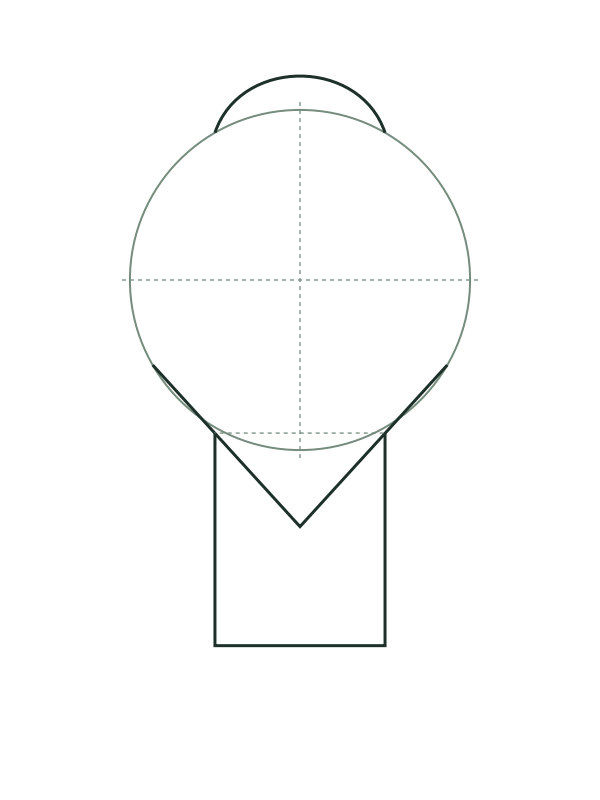
Repeated circle-head construction builds the hand memory needed for confident portrait block-ins. This lesson provides a structured drill: start with a blank circle, add a vertical and horizontal center line, then use simple proportional checks to place the head mass. You will repeat the sequence several times on one sheet, comparing each attempt to the previous one. The goal is consistency, not detail. Work at a comfortable scale, keep lines light, and measure with a simple unit (for example, the circle diameter) so each step is checkable. A reference strip showing the steps can sit beside your practice row, but the construction itself is what you repeat. All numerical values below are hypothetical examples for practice, not manufacturing standards.
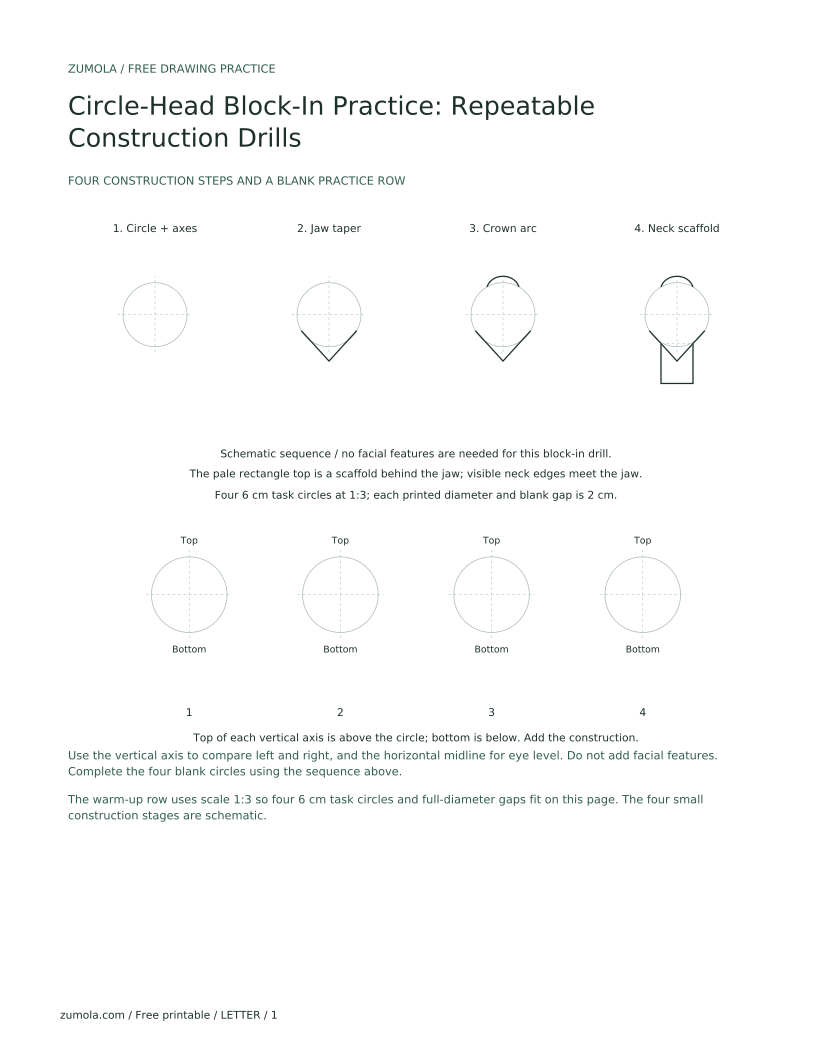
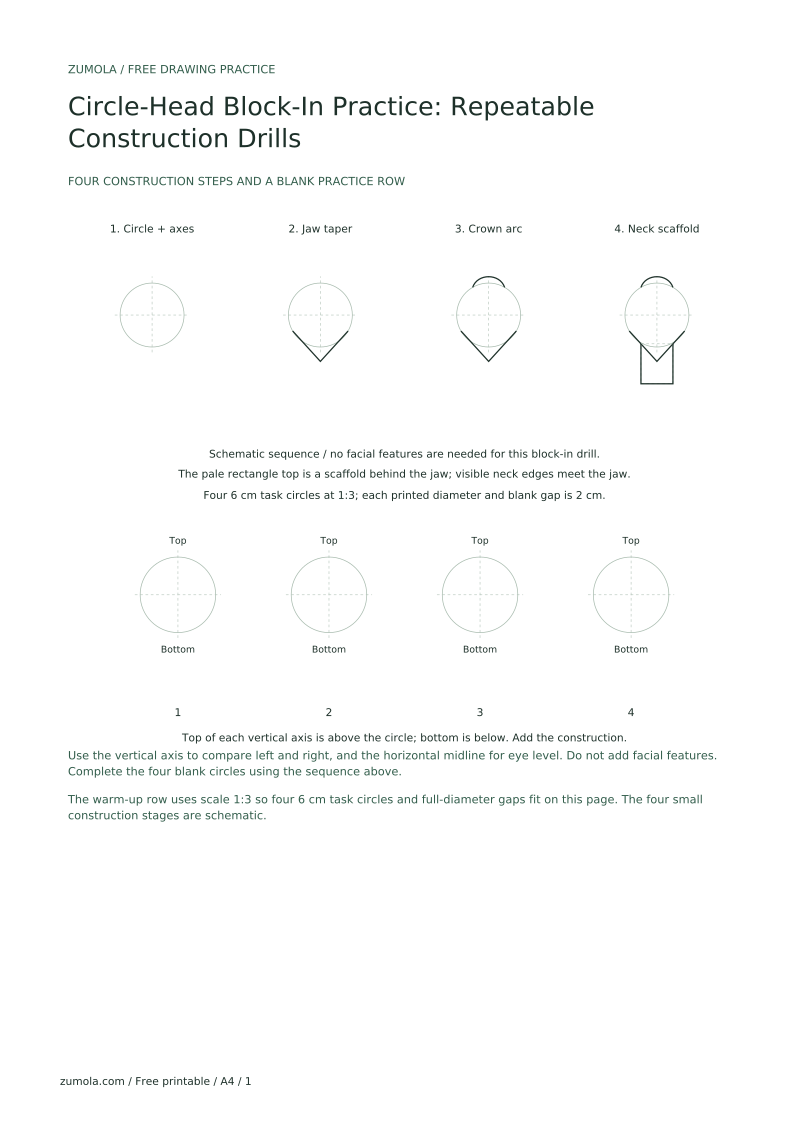
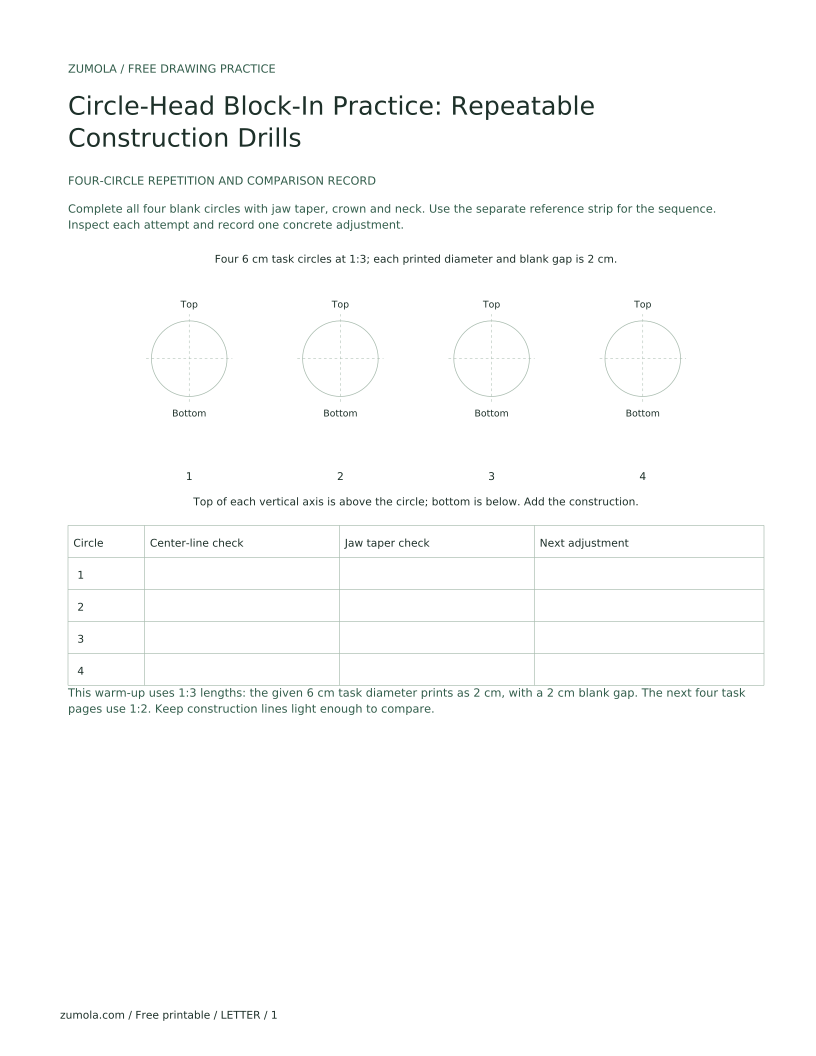
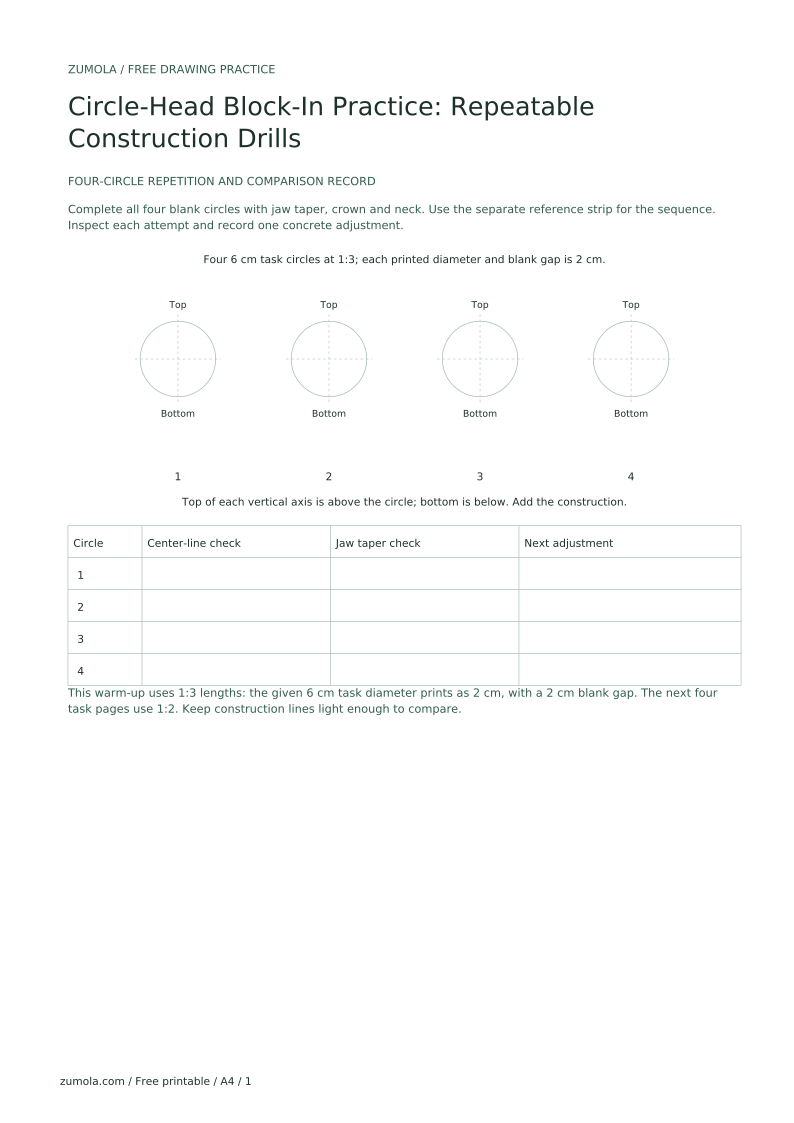
Create a row of blank circles of equal size, spaced about one circle-diameter apart. Faintly mark a vertical center line through each circle and a horizontal center line at the midline. These guides are the scaffold for every repetition.
Label the top and bottom of each vertical line lightly so you can track orientation. Keep the paper at a comfortable angle and use a light pencil so mistakes are easy to adjust.
Inside each circle, sketch the head mass by extending the circle slightly at the jaw and crown. Use the center lines to keep symmetry: the vertical line divides left and right, and the horizontal line marks the eye level.
Keep the construction geometric: a circle for the cranium, a tapered lower section for the jaw, and a short neck indication. Do not add features yet; the drill is about the block-in.
After each block-in, check that the jaw taper is symmetrical and that the eye level sits at the midline. Compare the current attempt to the previous one: are the circles the same size, the center lines straight, and the jaw angles consistent?
Repeat the sequence for each circle on the sheet. Aim for five repetitions in one sitting, then review the row for consistency. Small variations are expected; the goal is a repeatable process.
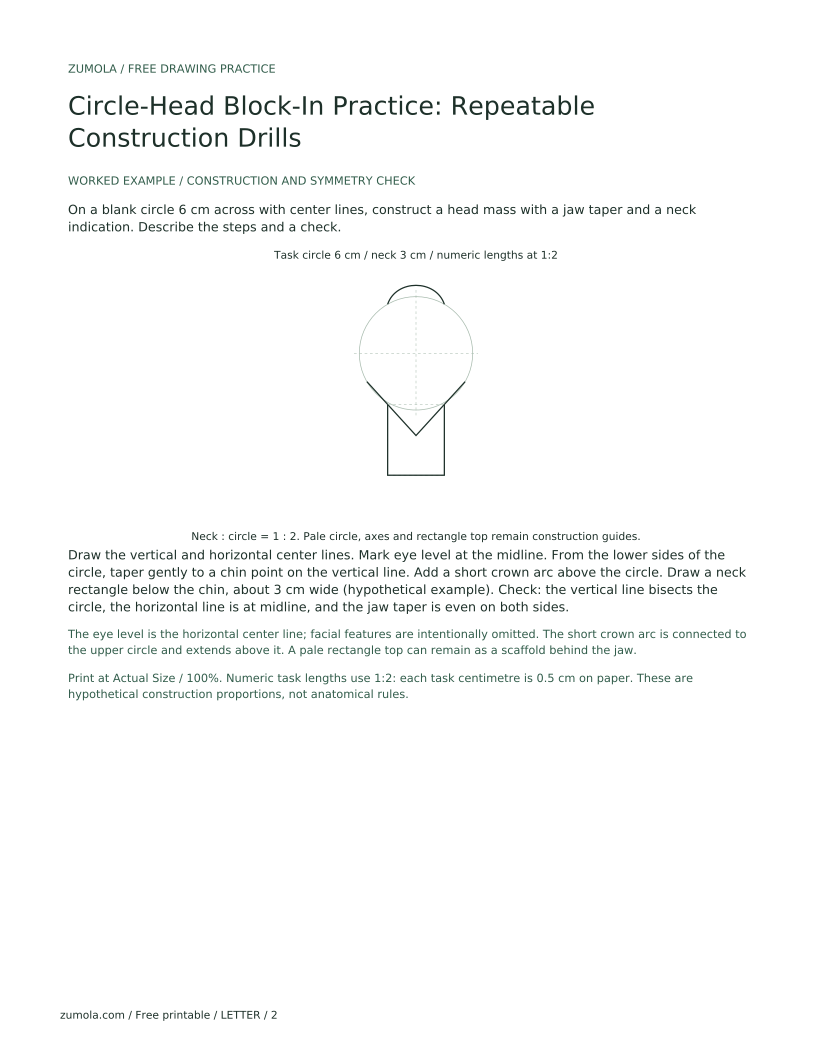
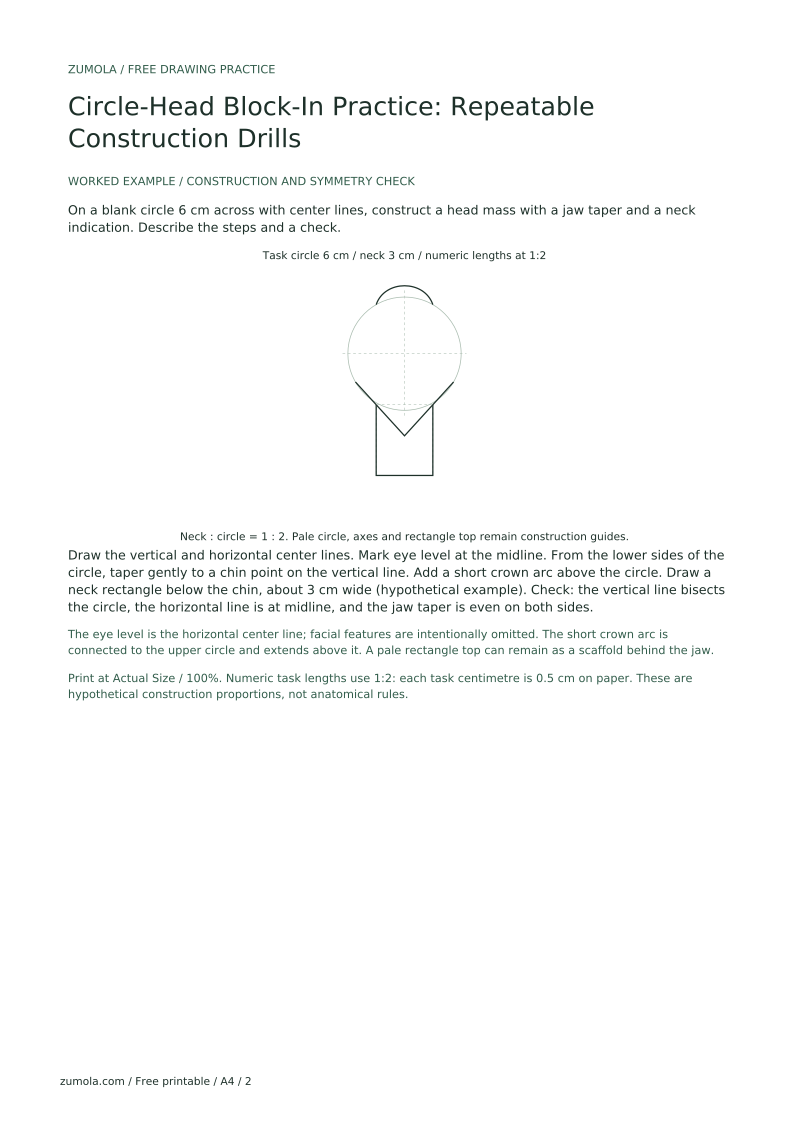
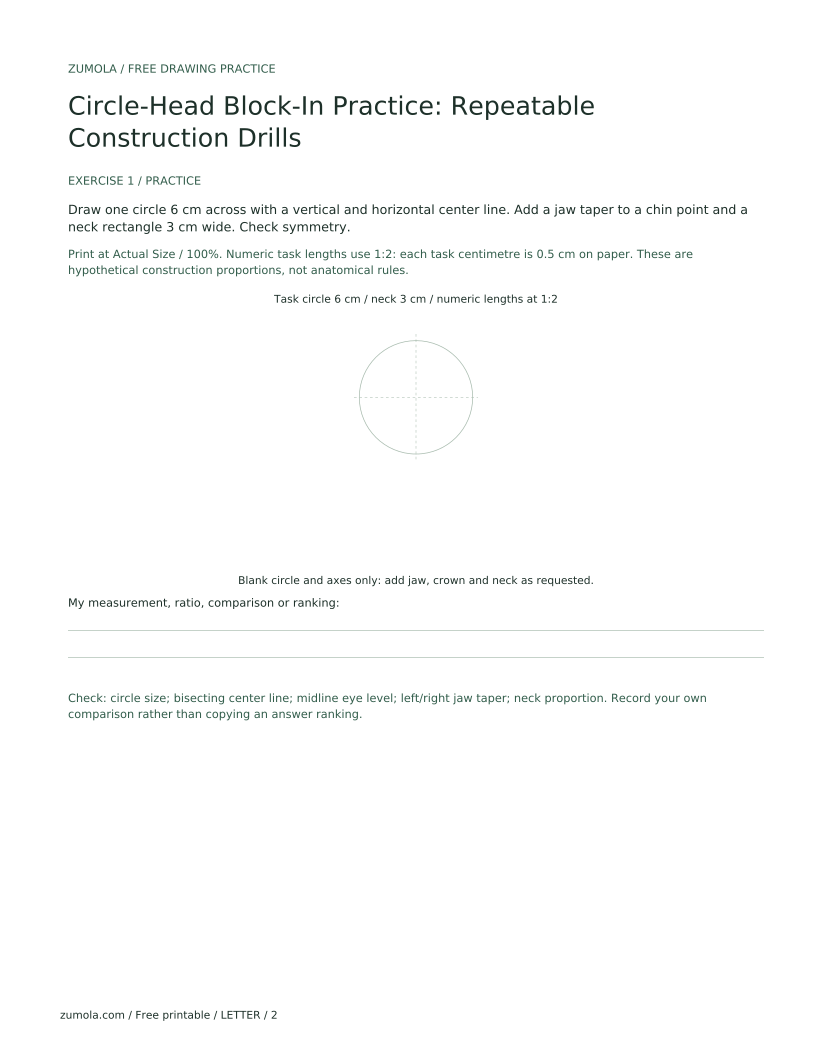
On a blank circle 6 cm across with center lines, construct a head mass with a jaw taper and a neck indication. Describe the steps and a check.
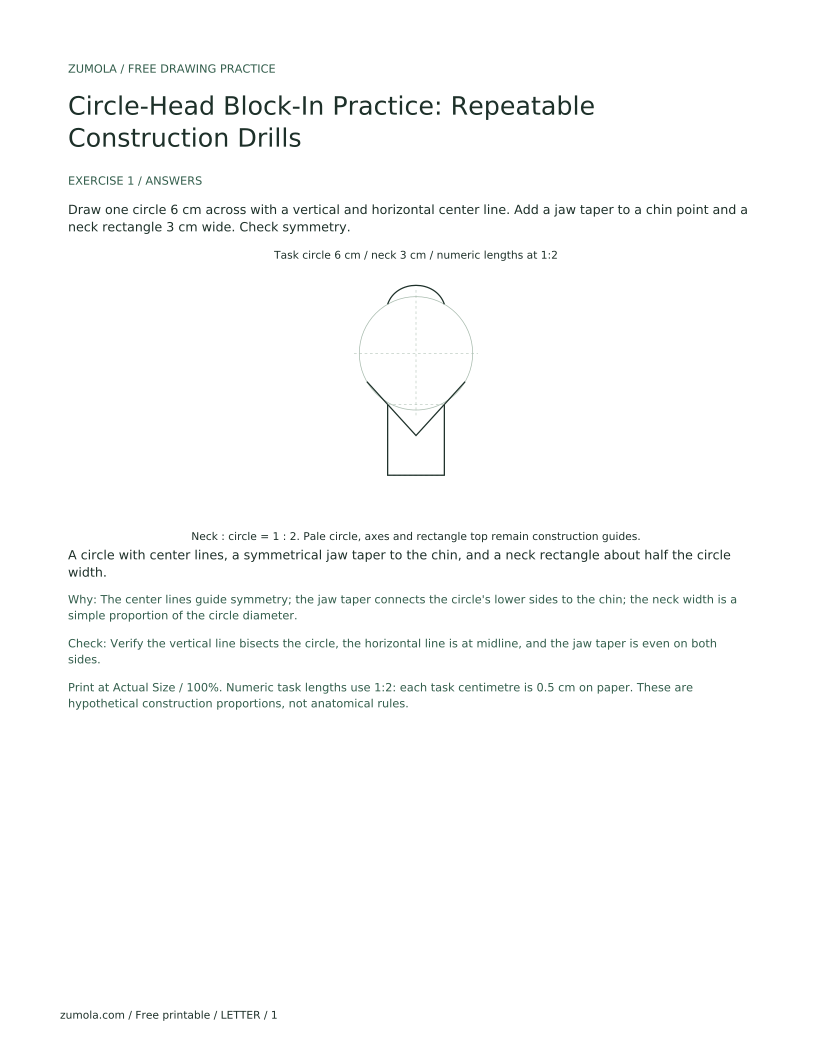
Draw the vertical and horizontal center lines. Mark eye level at the midline. From the lower sides of the circle, taper gently to a chin point on the vertical line. Add a short crown arc above the circle. Draw a neck rectangle below the chin, about 3 cm wide (hypothetical example). Check: the vertical line bisects the circle, the horizontal line is at midline, and the jaw taper is even on both sides.
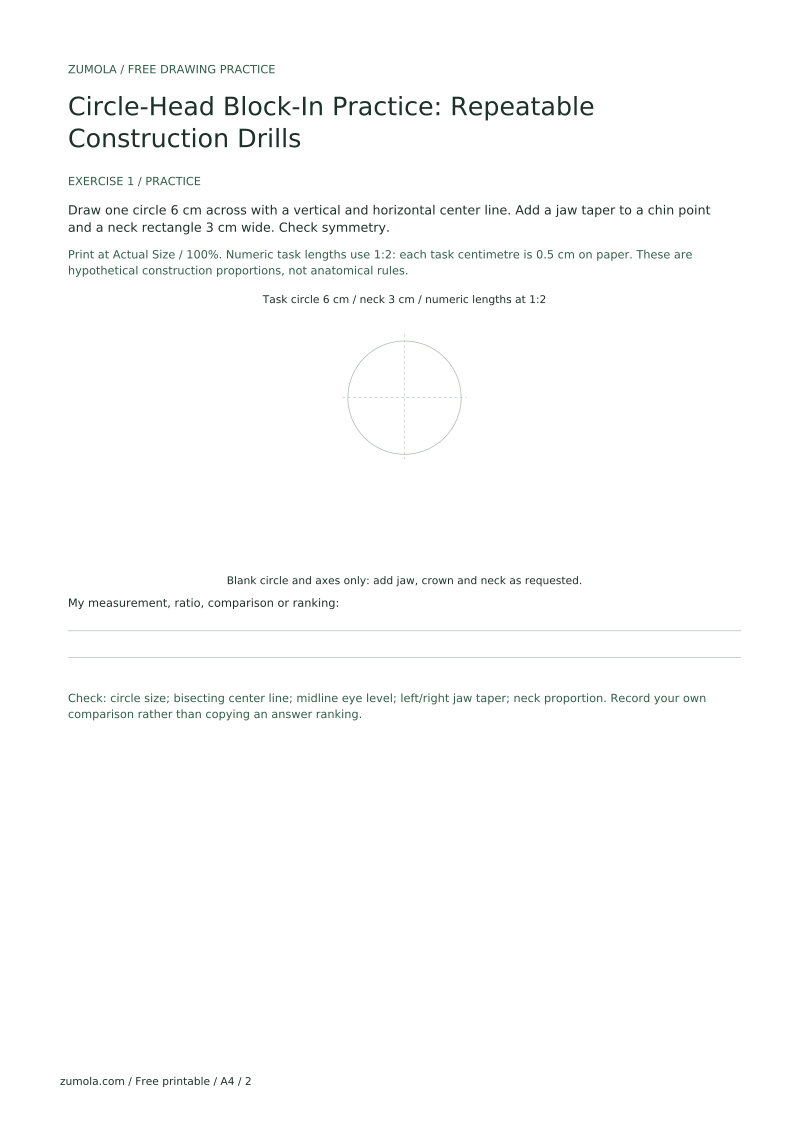
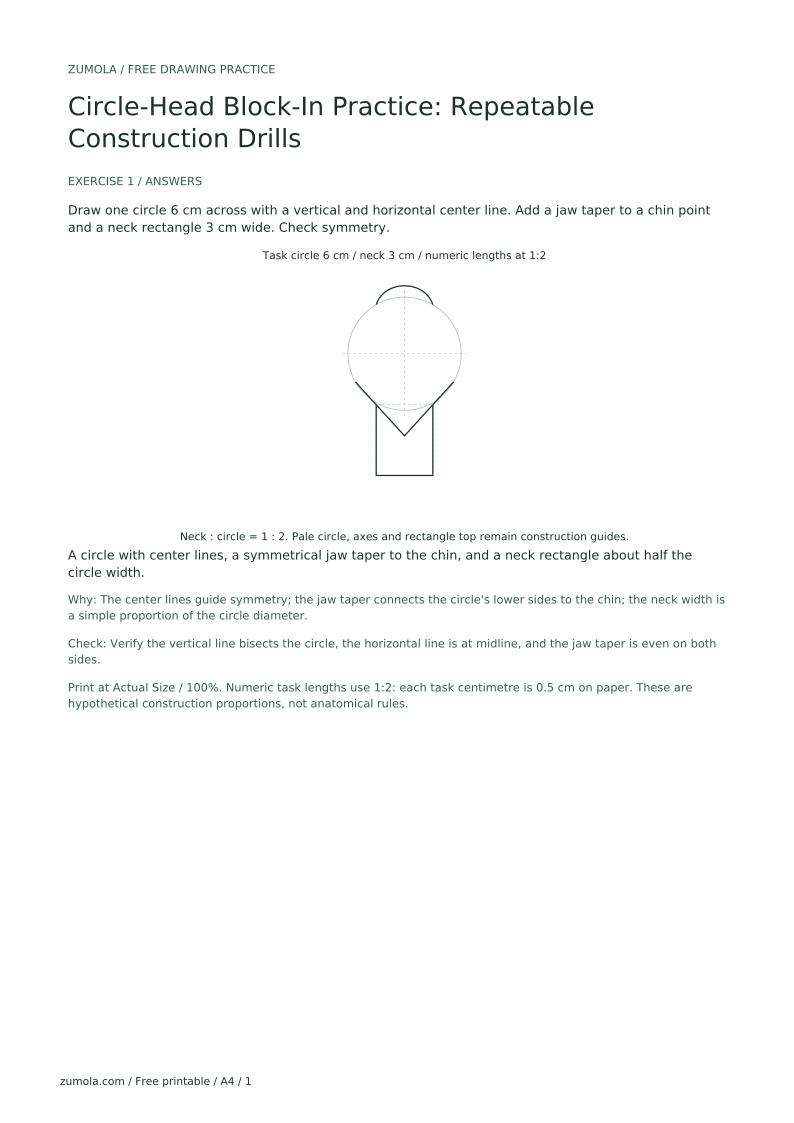
Draw one circle 6 cm across with a vertical and horizontal center line. Add a jaw taper to a chin point and a neck rectangle 3 cm wide. Check symmetry.
A circle with center lines, a symmetrical jaw taper to the chin, and a neck rectangle about half the circle width.
The center lines guide symmetry; the jaw taper connects the circle's lower sides to the chin; the neck width is a simple proportion of the circle diameter.
Check: Verify the vertical line bisects the circle, the horizontal line is at midline, and the jaw taper is even on both sides.
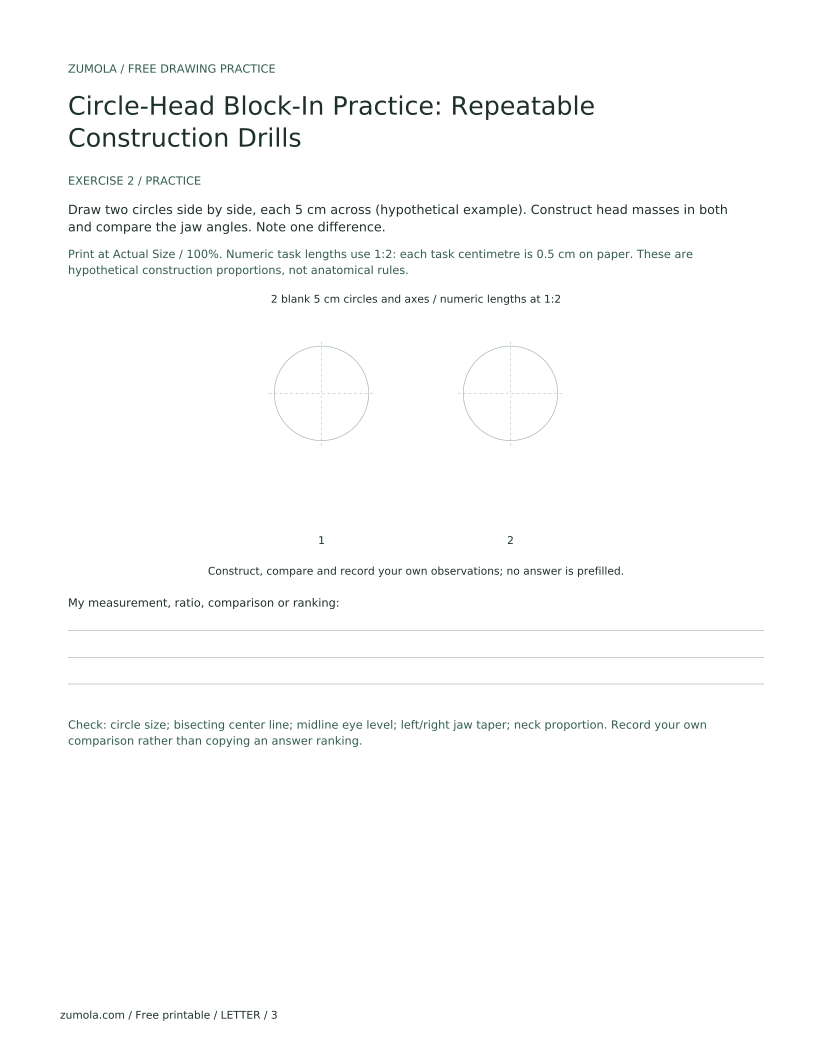
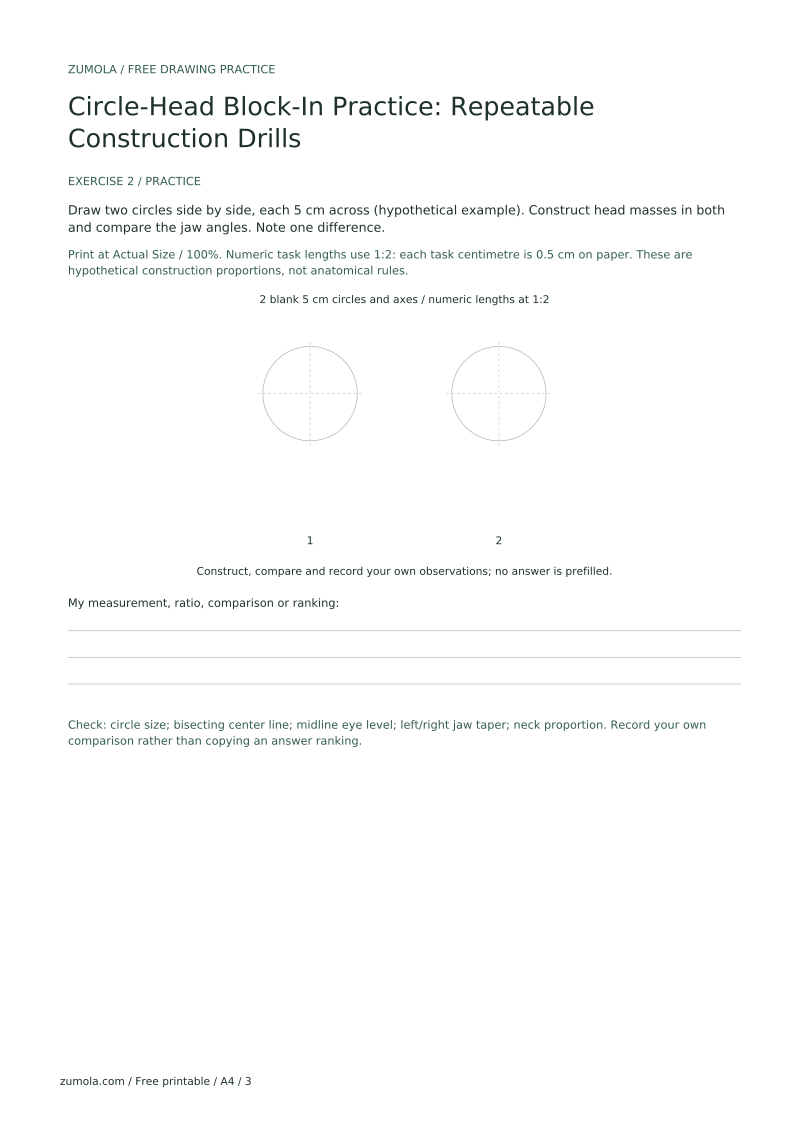
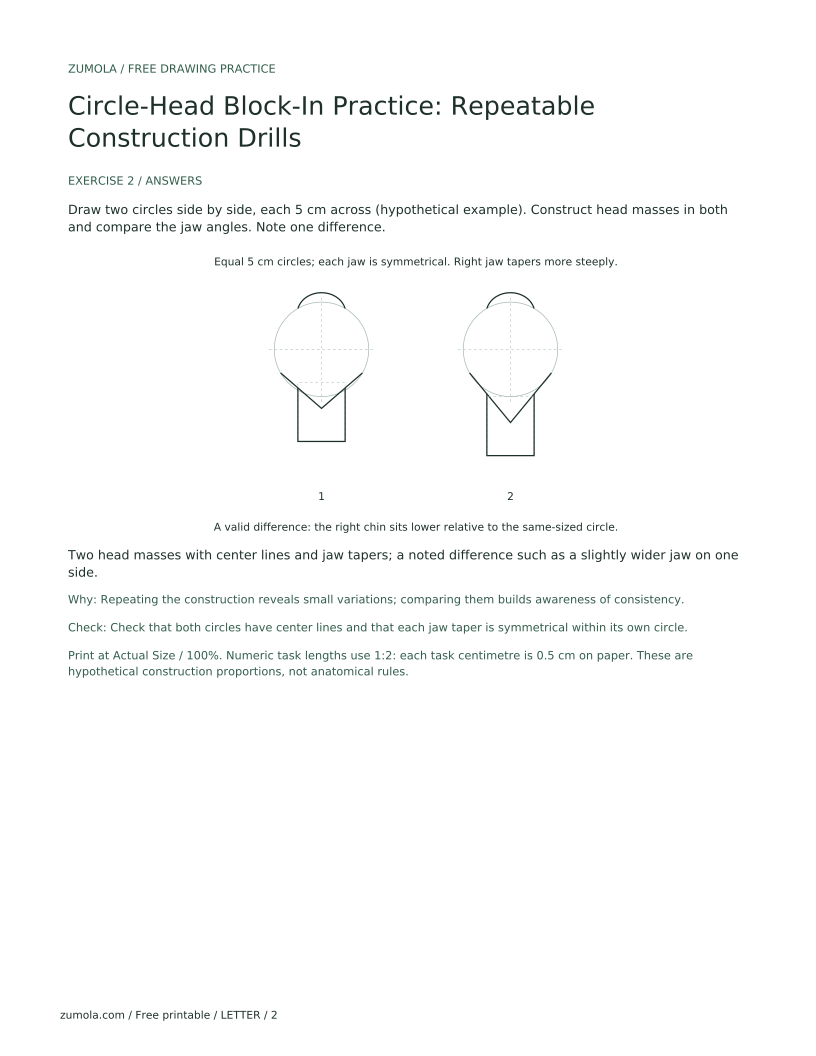
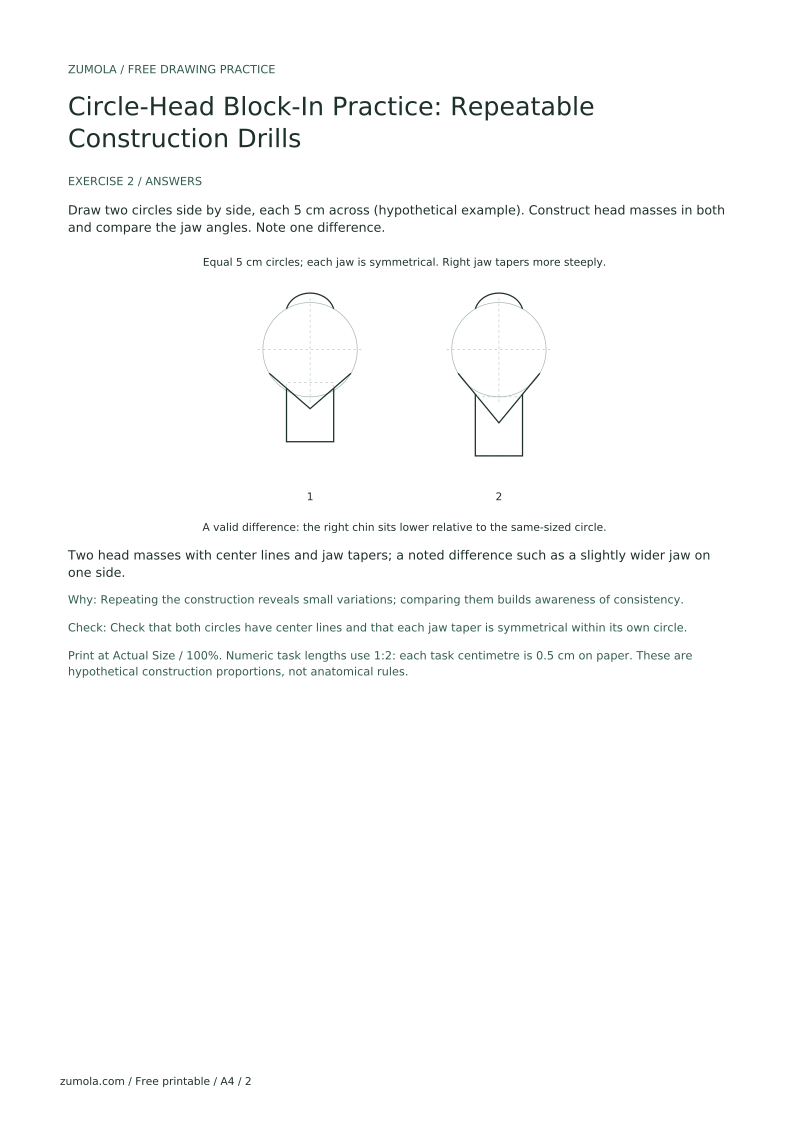
Draw two circles side by side, each 5 cm across (hypothetical example). Construct head masses in both and compare the jaw angles. Note one difference.
Two head masses with center lines and jaw tapers; a noted difference such as a slightly wider jaw on one side.
Repeating the construction reveals small variations; comparing them builds awareness of consistency.
Check: Check that both circles have center lines and that each jaw taper is symmetrical within its own circle.
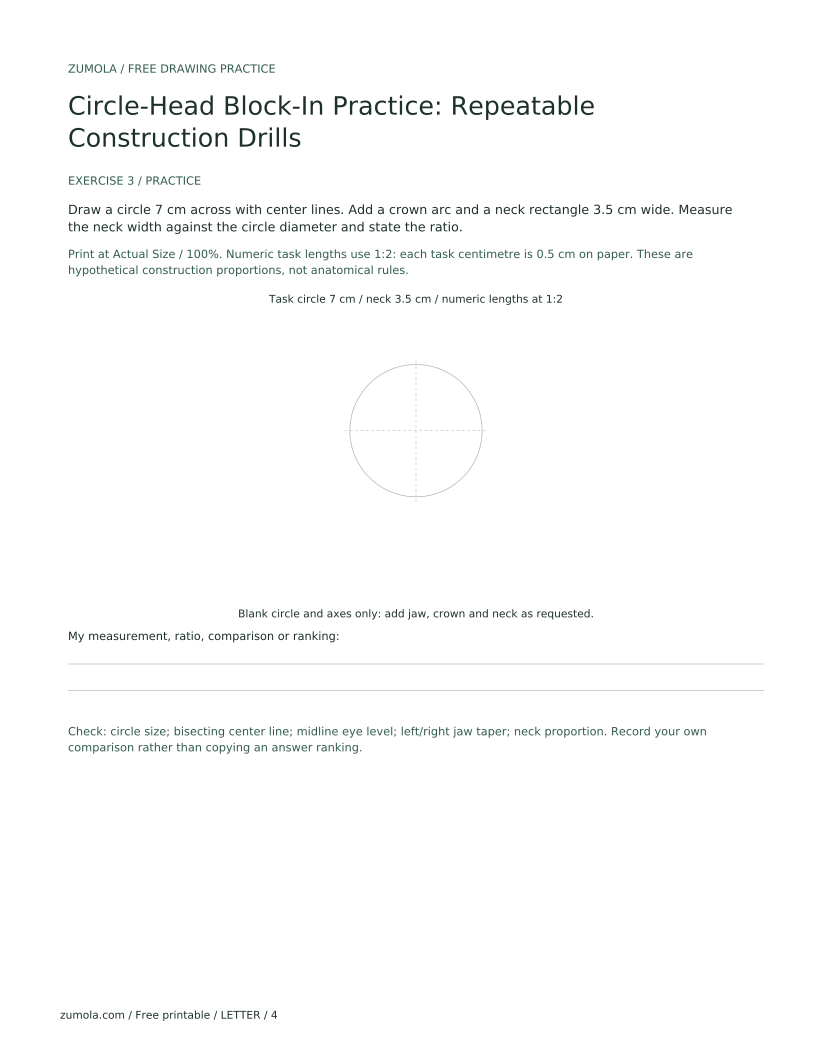
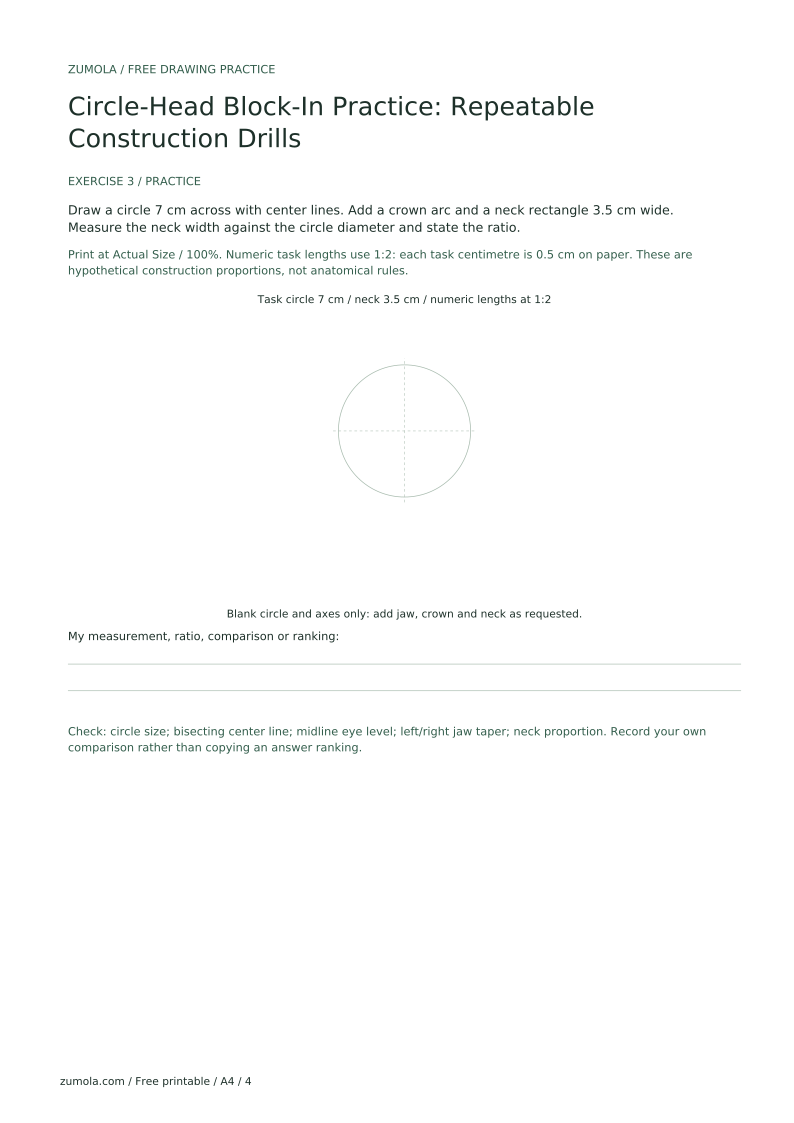
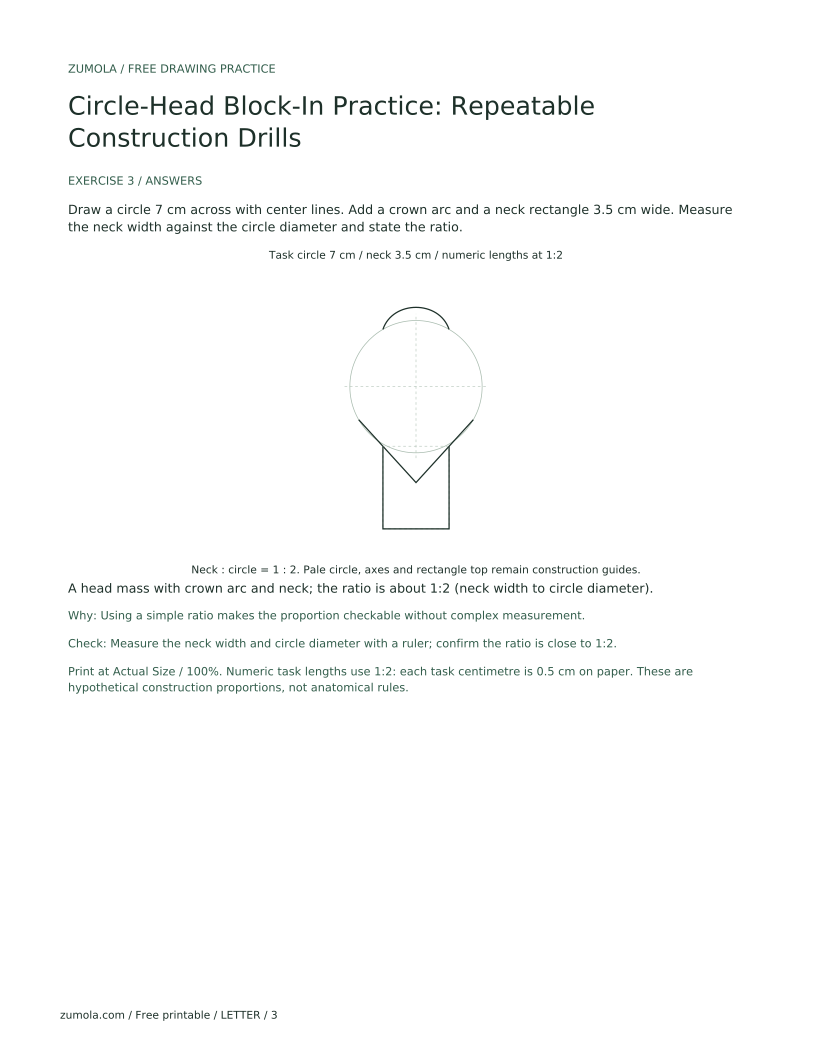
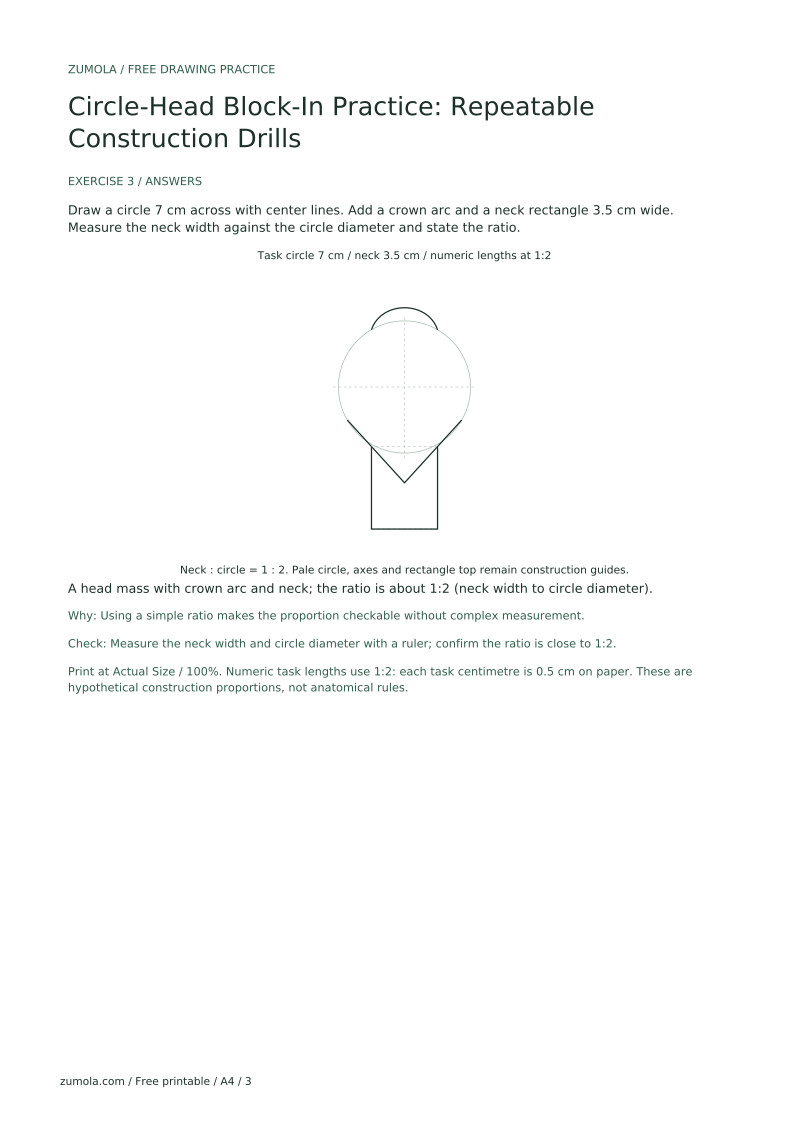
Draw a circle 7 cm across with center lines. Add a crown arc and a neck rectangle 3.5 cm wide. Measure the neck width against the circle diameter and state the ratio.
A head mass with crown arc and neck; the ratio is about 1:2 (neck width to circle diameter).
Using a simple ratio makes the proportion checkable without complex measurement.
Check: Measure the neck width and circle diameter with a ruler; confirm the ratio is close to 1:2.
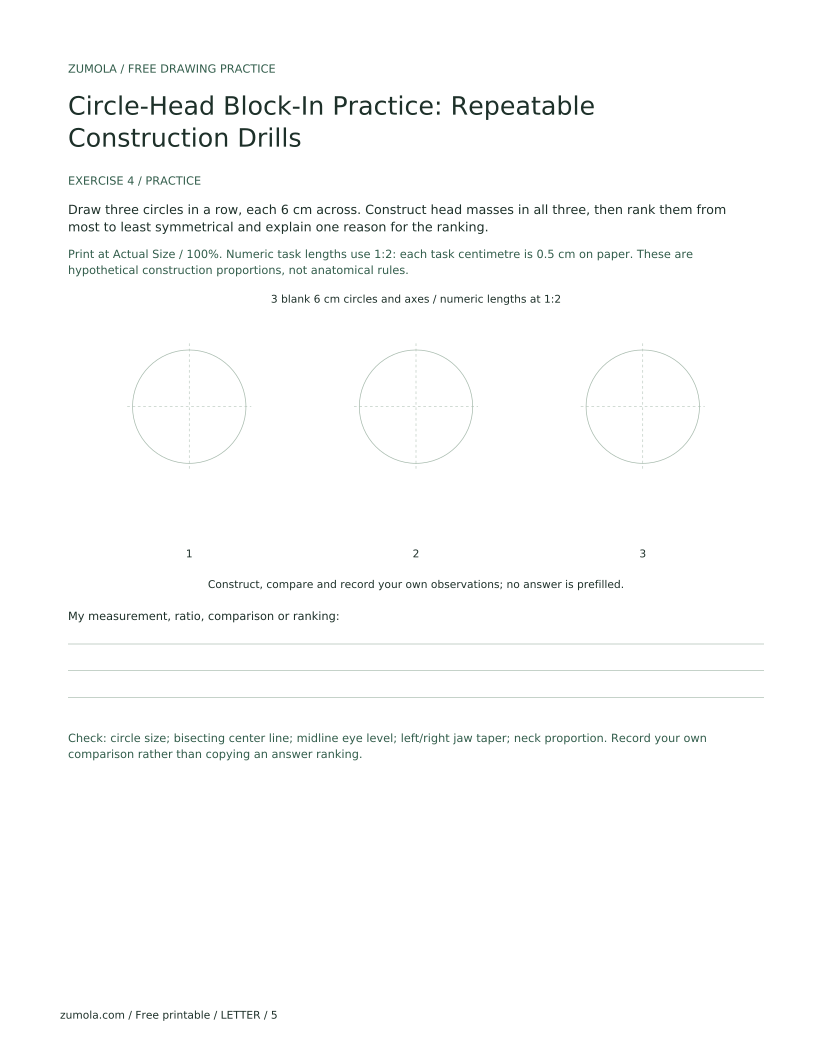
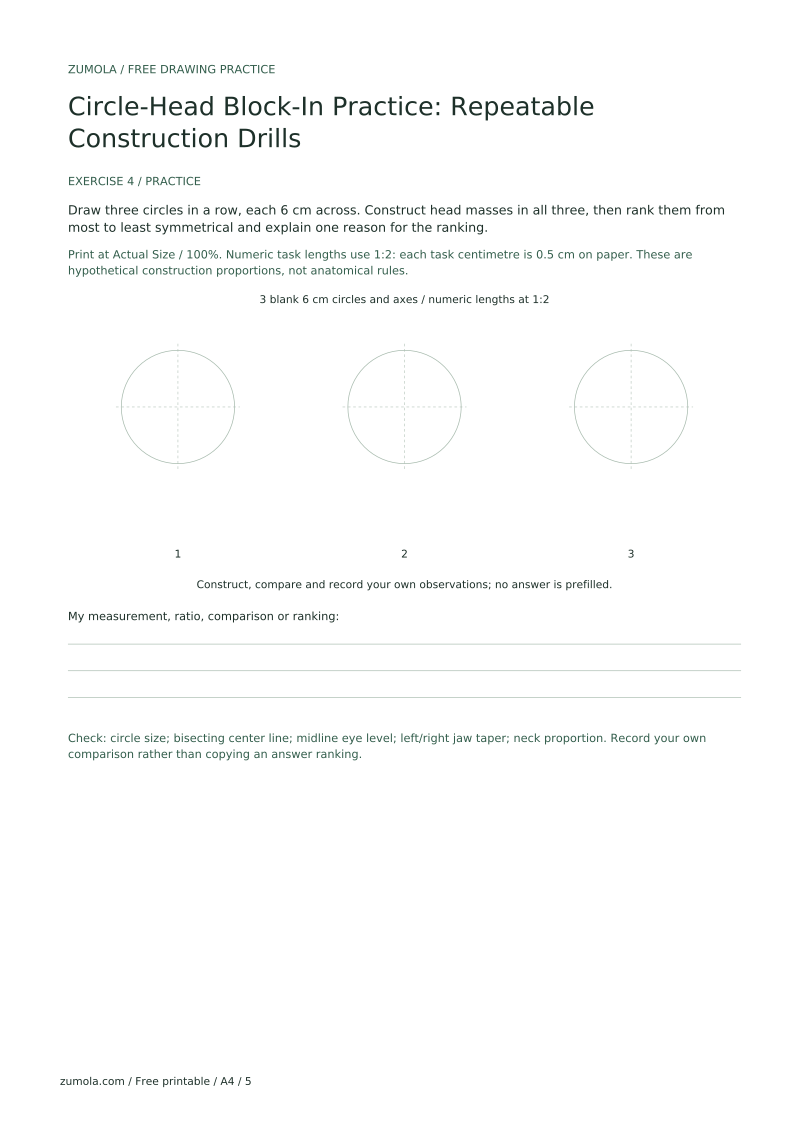
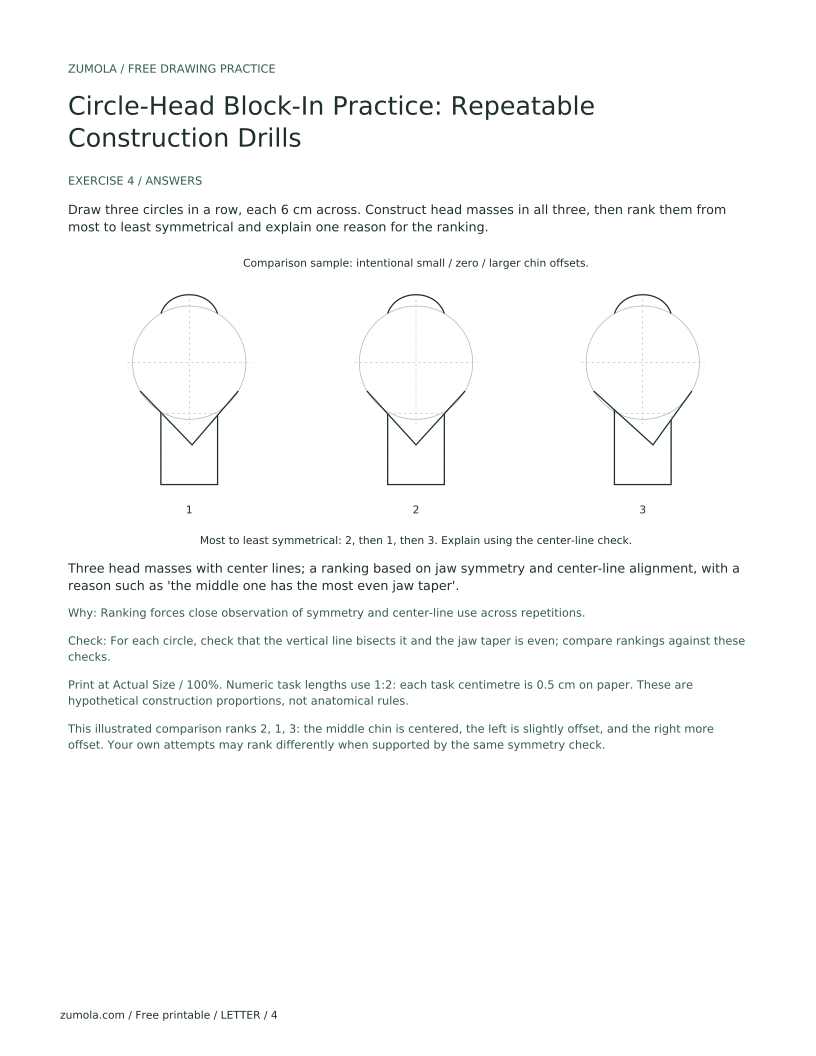
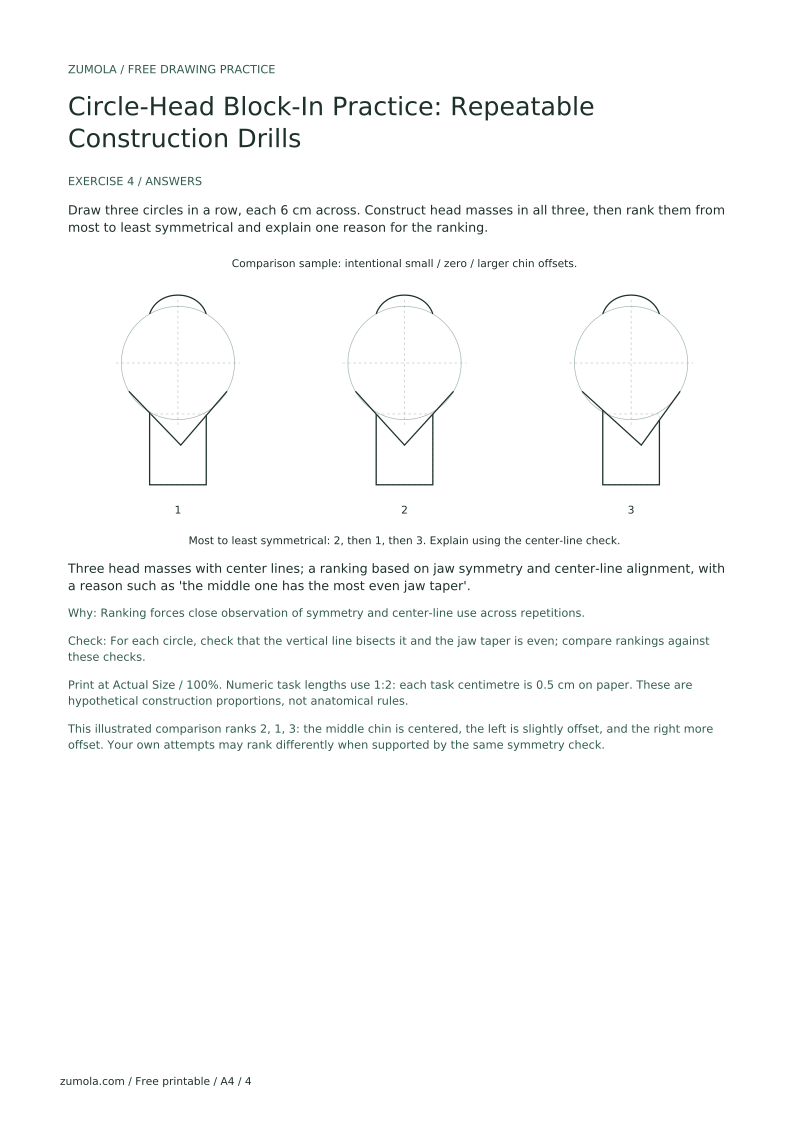
Draw three circles in a row, each 6 cm across. Construct head masses in all three, then rank them from most to least symmetrical and explain one reason for the ranking.
Three head masses with center lines; a ranking based on jaw symmetry and center-line alignment, with a reason such as 'the middle one has the most even jaw taper'.
Ranking forces close observation of symmetry and center-line use across repetitions.
Check: For each circle, check that the vertical line bisects it and the jaw taper is even; compare rankings against these checks.
Use a consistent circle size, such as 6 cm across (hypothetical example), and keep spacing even.
Always draw the vertical and horizontal center lines before the jaw taper.
Reserve features for later; this drill focuses on the head mass and proportions.
Use a neck width about half the circle diameter (hypothetical example) and check against the center line.
Four to six circles per row is a practical target; repeat rows as needed for muscle memory.
Yes, a compass helps consistency, but freehand circles are also valid if you check the center lines.
Use the circle diameter as your unit. For example, if the circle is 6 cm across, a neck about half that width is 3 cm. This keeps every proportion checkable with simple arithmetic.
Leave light construction lines for comparison; erase only if a line interferes with the next step.