Reference diagram
LETTER · Download PDF (2 pages)
Free original resources
Learn to sketch a simple building using block mass, roofline, and window placement. Practice with four self-contained exercises and a clear rubric.
Original reference diagrams, four practice exercises and separate worked answers. All files are free. No signup required.
LETTER · Download PDF (2 pages)
LETTER · Download PDF (5 pages)
LETTER · Download PDF (4 pages)
Choose A4 or US Letter for your printer. The reference and answer illustrations are not physical rulers; follow the scale instruction printed on the practice worksheet.
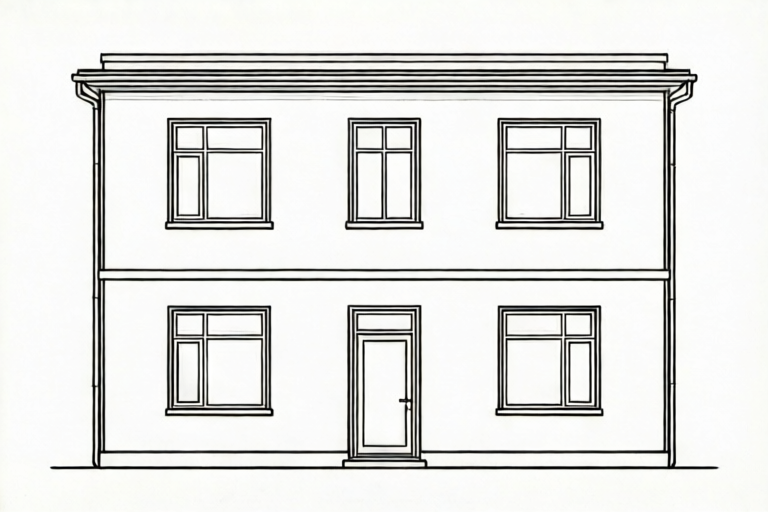
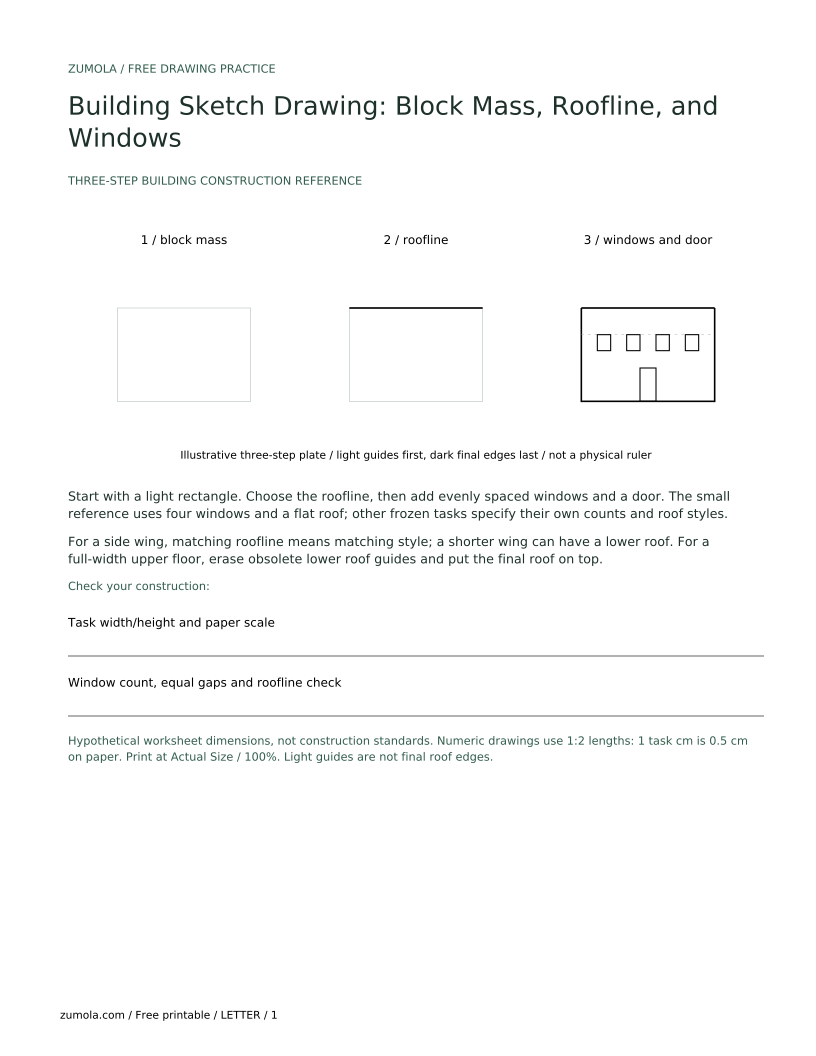
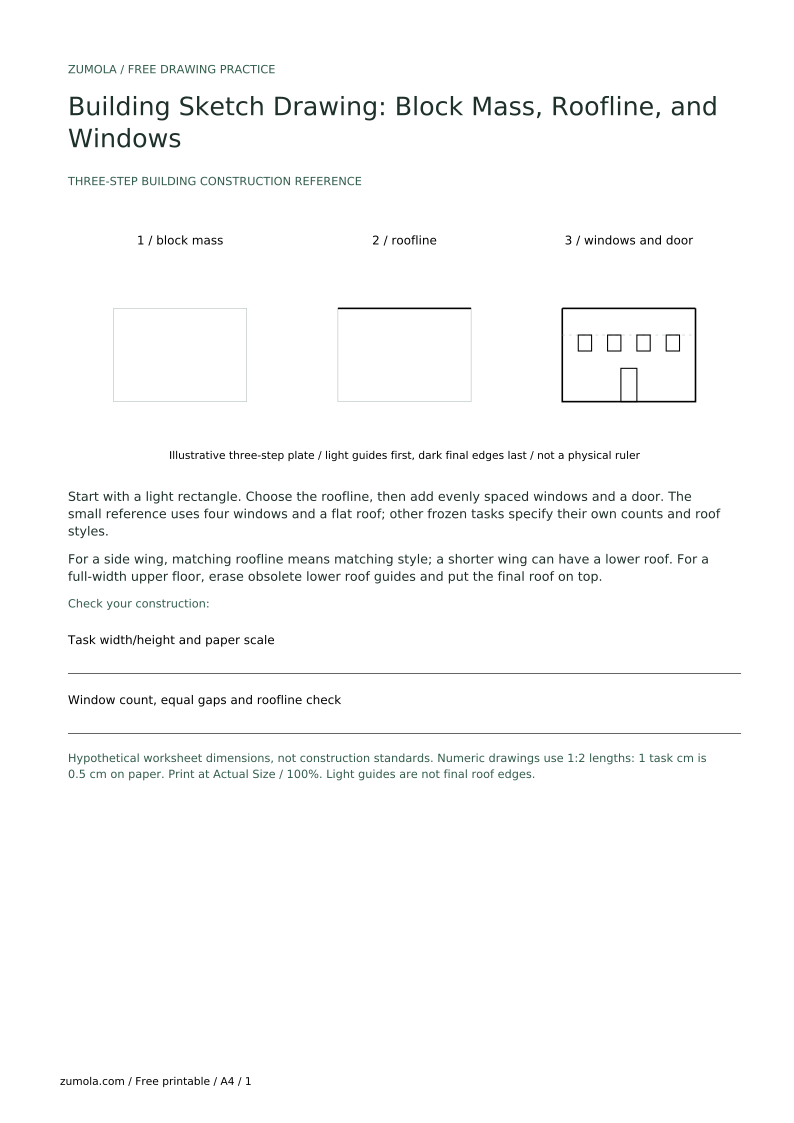
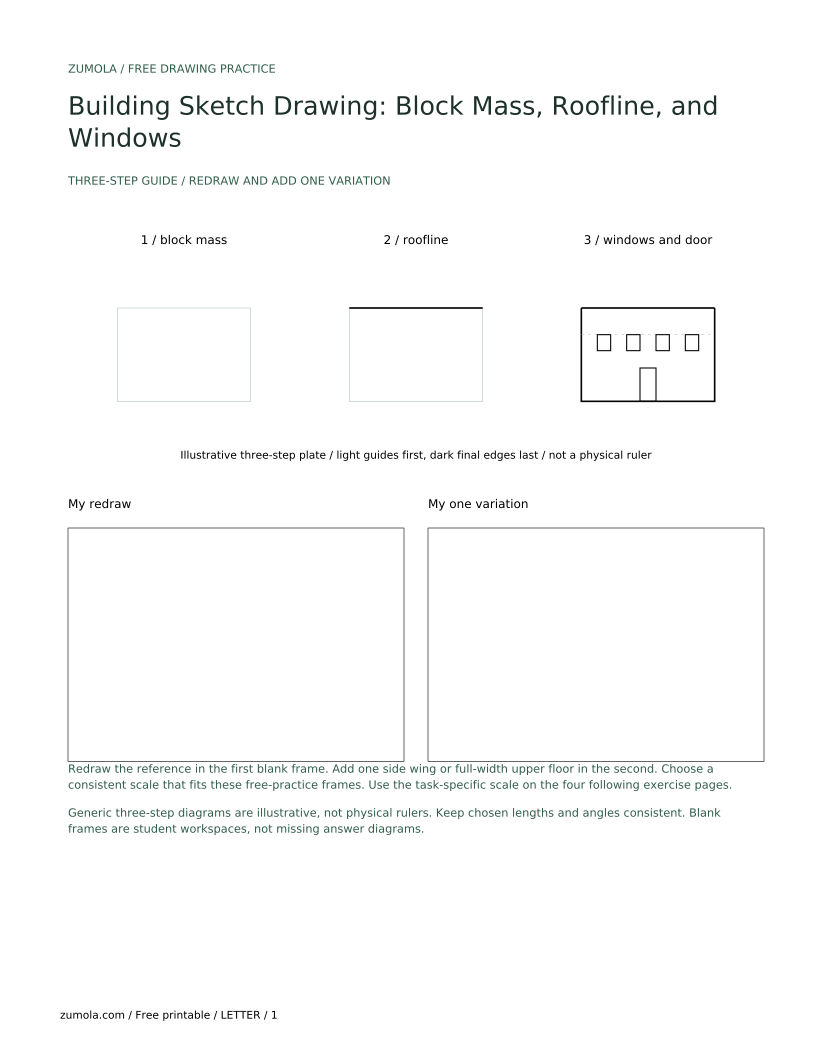
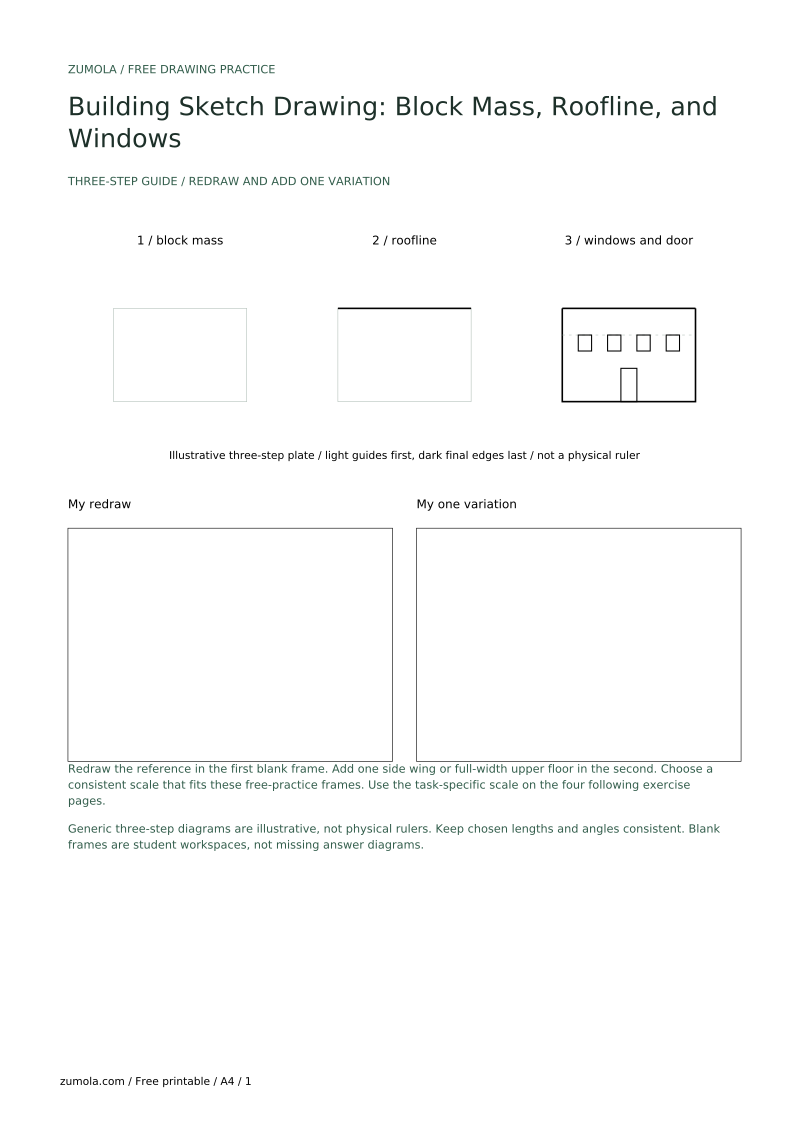
This lesson teaches a reliable way to sketch a simple building without perspective grids or detailed ornament. You will work from large shapes to small ones: first the block mass, then the roofline, then windows and a door. The convention is simple: use light construction lines that you can adjust, and keep all measurements in the same unit. X-height is baseline to midline; letter styles vary, so handwriting is judged by legibility and consistency, not by a single universal form. The free kit below includes a three-step building guide, blank redraw and variation frames, four practice tasks, and separate worked answers.
Block mass is the overall box of the building. Draw a light rectangle for the front face and a second rectangle offset slightly for the side face if you want a hint of depth. Keep the lines light so you can move them. Measure the actual paper or screen you are using and label any chosen numbers as hypothetical examples. For instance, a front face 12 cm wide and 8 cm tall is a hypothetical example; measure your own space and use consistent units.
Check the mass by comparing width to height. If the building should look wider than tall, the rectangle should be wider than tall. Adjust before adding details.
The roofline sits on top of the block mass. A flat roof is a straight line across the top. A simple pitched roof is two lines meeting at a peak. Choose one and keep it consistent. The roofline should touch the top corners of the front face. If you add a side face, continue the roofline across it with the same slope or flat line.
Use a light line first, then darken only when the shape looks correct. This keeps the sketch clean and easy to revise.
Windows and door are small rectangles placed inside the block mass. Space them evenly and keep them the same size unless you have a reason to vary. A simple rule is to leave a margin equal to about half a window width from the edges. Place the door at the bottom center or slightly off center. Keep window tops aligned on the same horizontal line for a tidy look.
Check placement by counting equal gaps. If the gaps are not equal, adjust the rectangles before darkening.
A variation makes the sketch your own. Add one extra floor by drawing a second block mass above the first, or add a side wing by drawing a smaller block mass attached to one side. Keep the roofline style consistent with the main building. A shorter wing may have a lower roof. When adding a full-width upper floor, erase the old roof guides where they would cross that floor and put the final roof on the upper block. Do not add detailed ornament; the goal is a clear simple building sketch.
Check the variation by asking whether it still reads as one building. If the new part looks detached, move it closer or align its roofline.
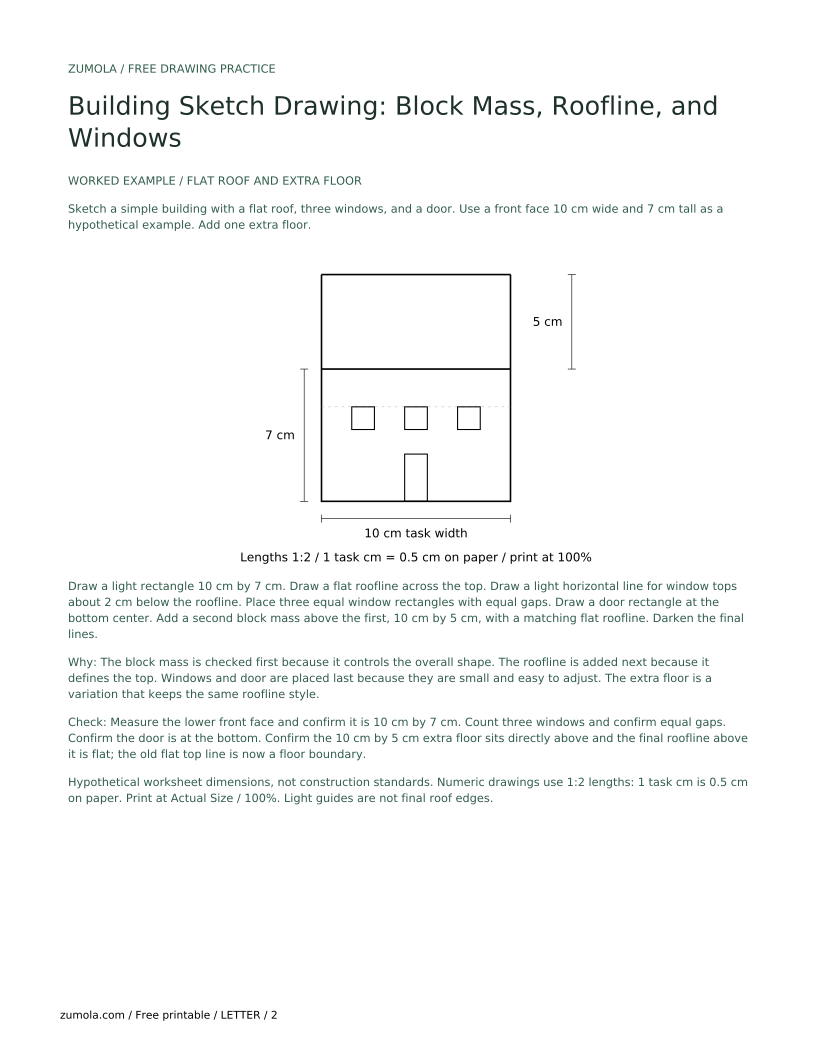
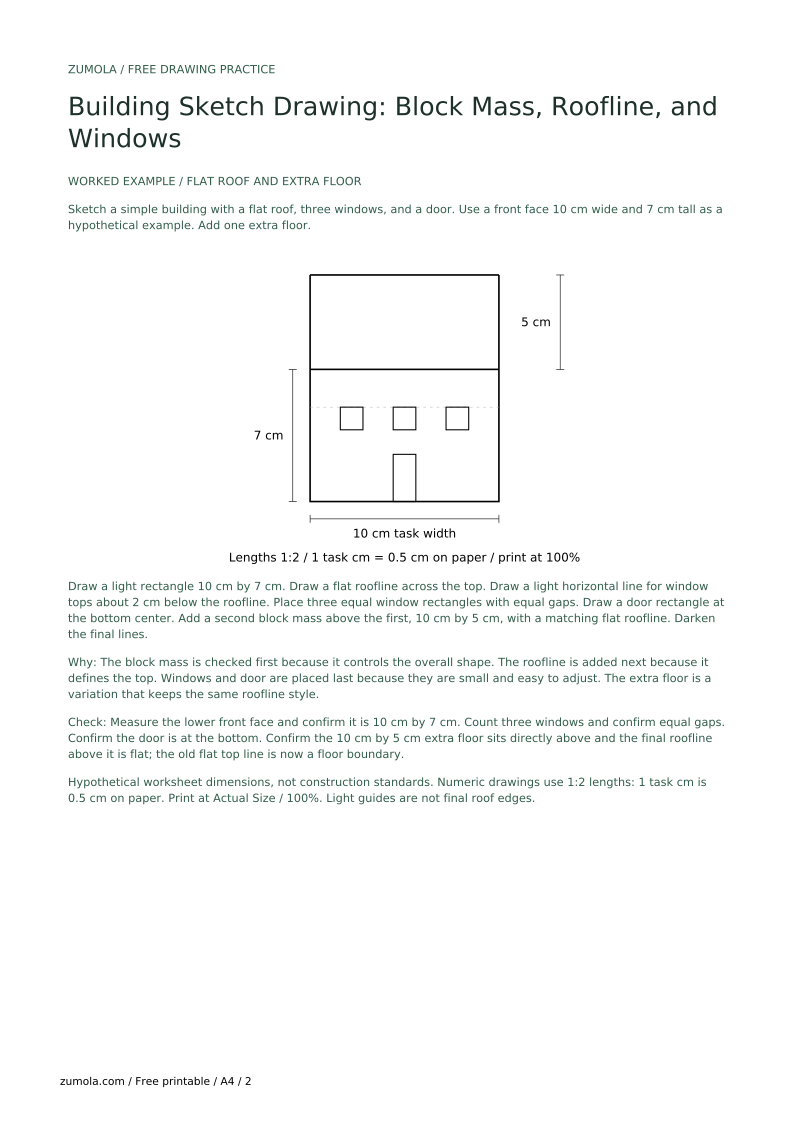
Sketch a simple building with a flat roof, three windows, and a door. Use a front face 10 cm wide and 7 cm tall as a hypothetical example. Add one extra floor.
Draw a light rectangle 10 cm by 7 cm. Draw a flat roofline across the top. Draw a light horizontal line for window tops about 2 cm below the roofline. Place three equal window rectangles with equal gaps. Draw a door rectangle at the bottom center. Add a second block mass above the first, 10 cm by 5 cm, with a matching flat roofline. Darken the final lines.
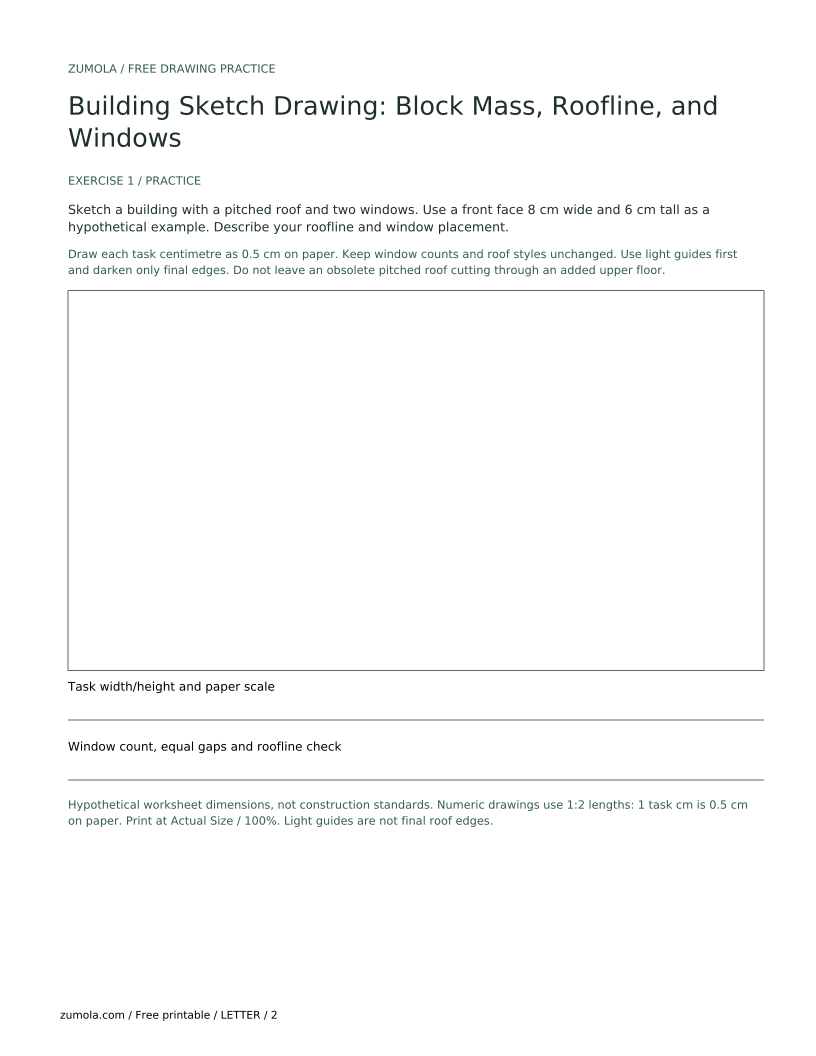
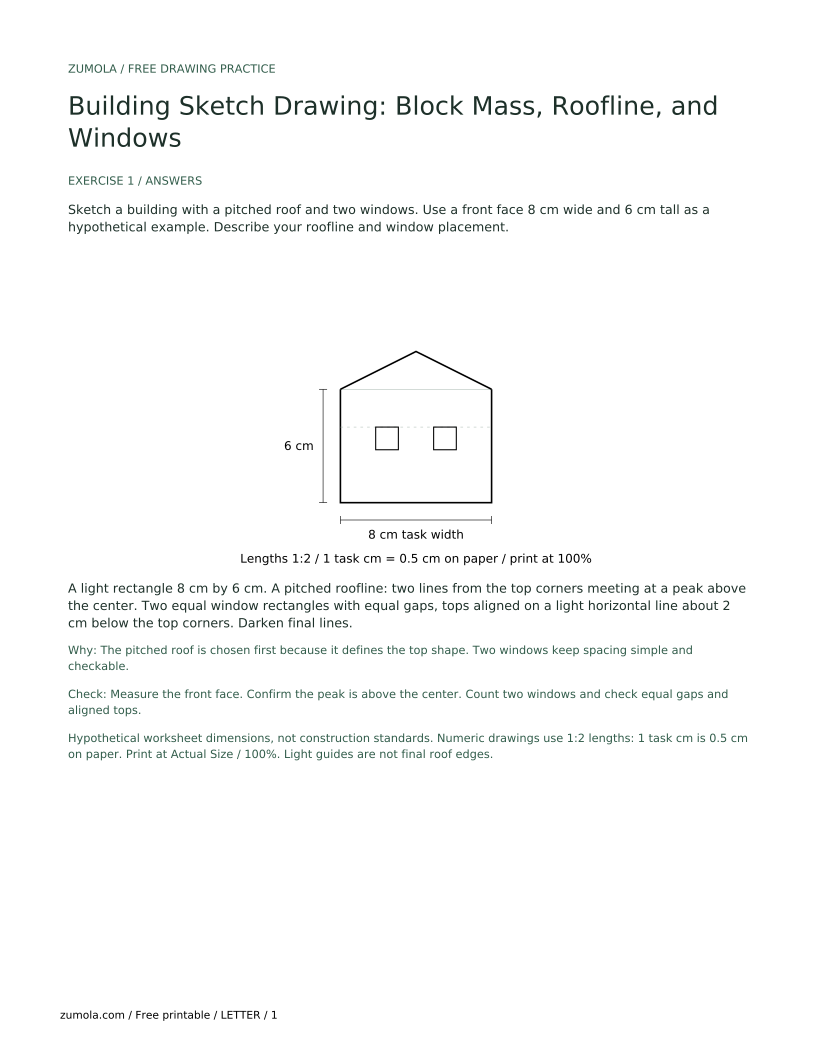
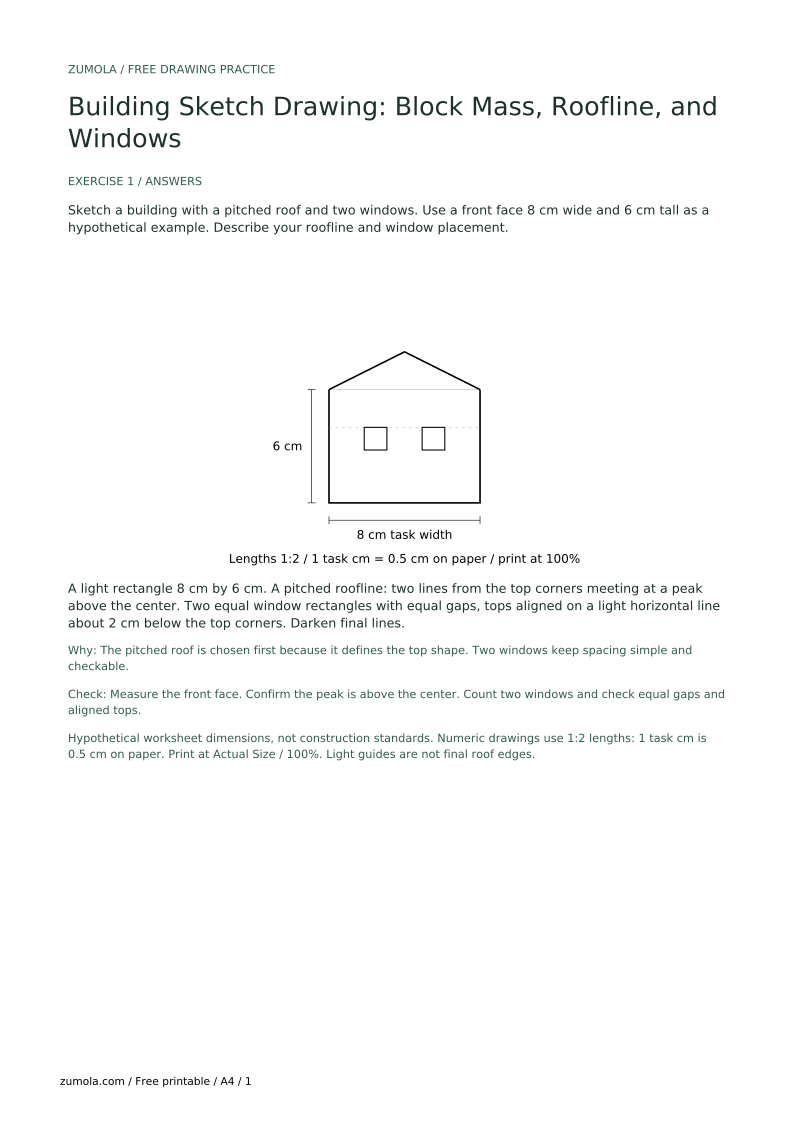
Sketch a building with a pitched roof and two windows. Use a front face 8 cm wide and 6 cm tall as a hypothetical example. Describe your roofline and window placement.
A light rectangle 8 cm by 6 cm. A pitched roofline: two lines from the top corners meeting at a peak above the center. Two equal window rectangles with equal gaps, tops aligned on a light horizontal line about 2 cm below the top corners. Darken final lines.
The pitched roof is chosen first because it defines the top shape. Two windows keep spacing simple and checkable.
Check: Measure the front face. Confirm the peak is above the center. Count two windows and check equal gaps and aligned tops.
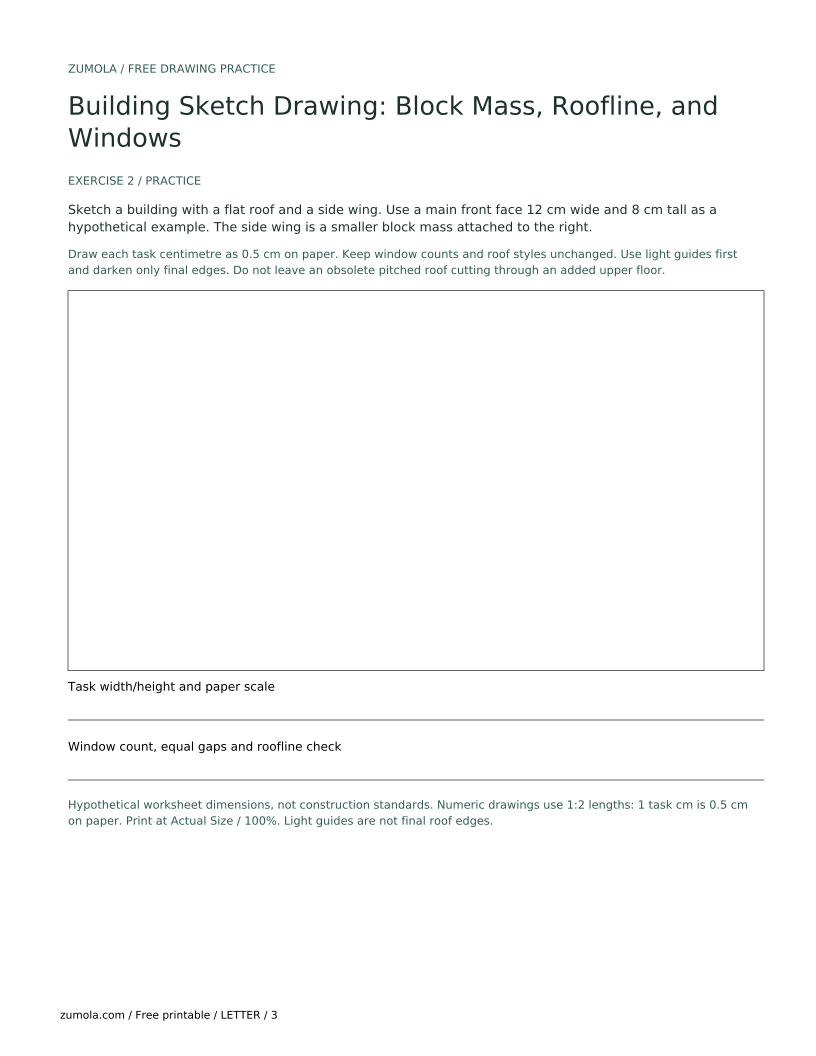
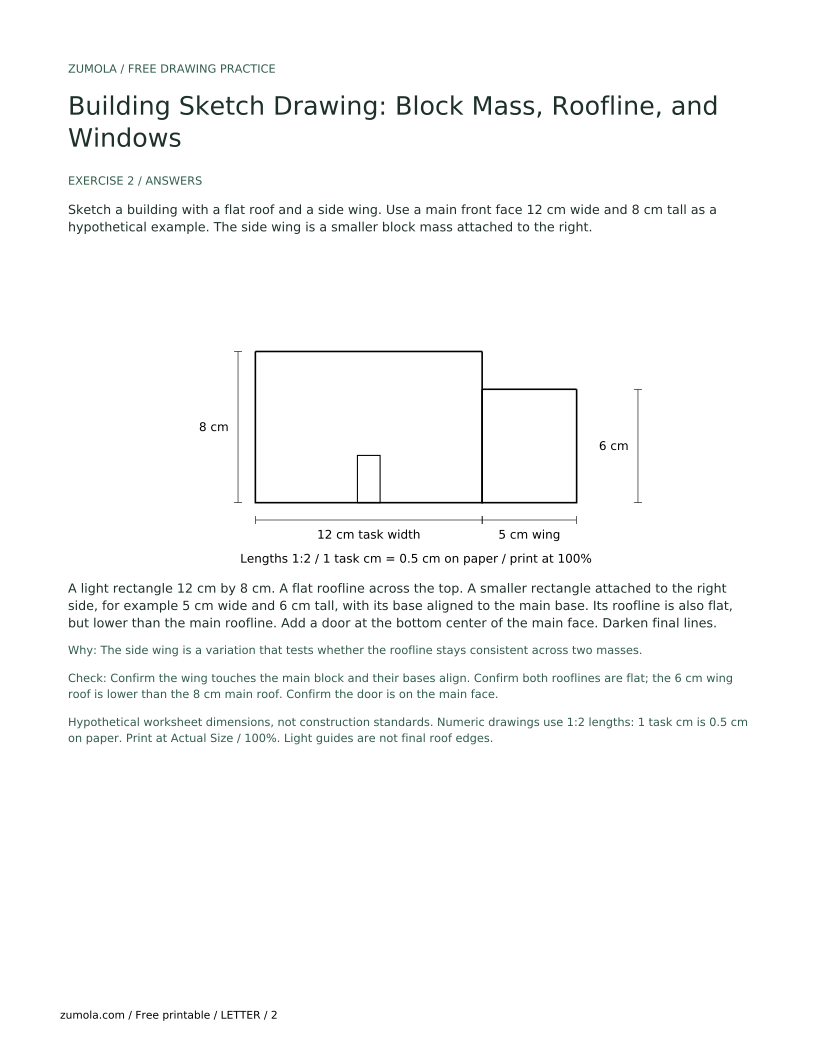
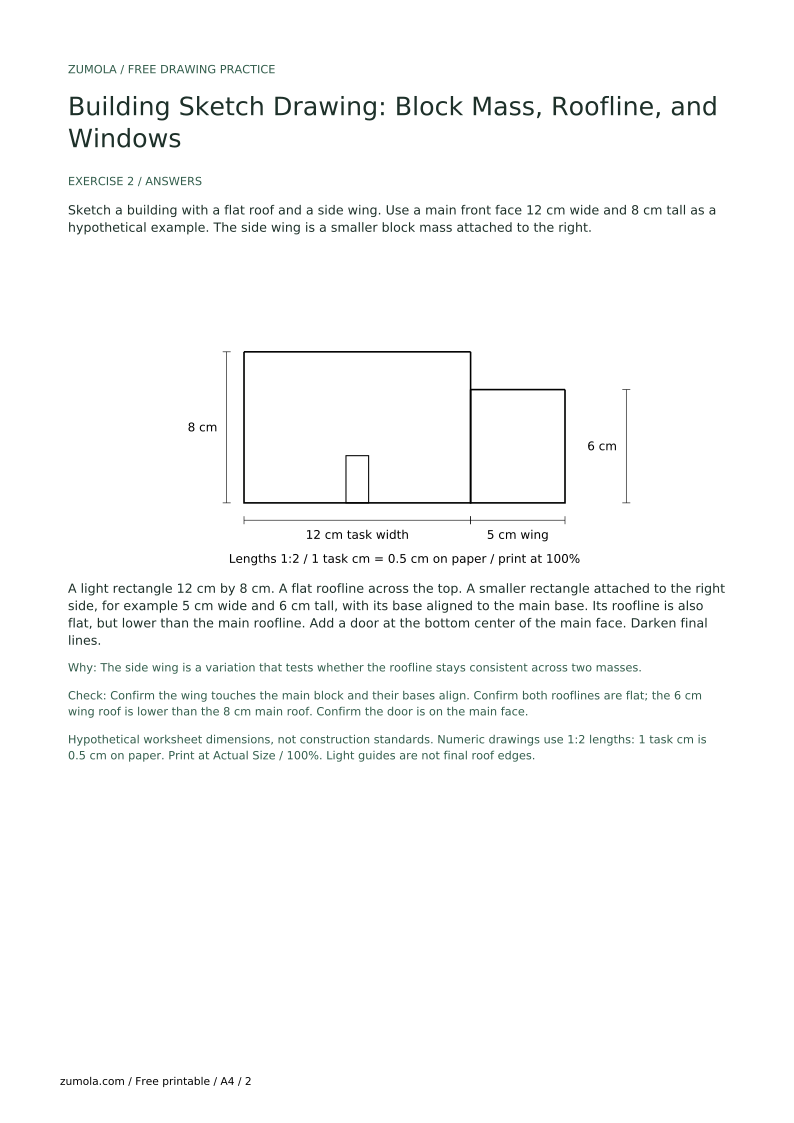
Sketch a building with a flat roof and a side wing. Use a main front face 12 cm wide and 8 cm tall as a hypothetical example. The side wing is a smaller block mass attached to the right.
A light rectangle 12 cm by 8 cm. A flat roofline across the top. A smaller rectangle attached to the right side, for example 5 cm wide and 6 cm tall, with its base aligned to the main base. Its roofline is also flat, but lower than the main roofline. Add a door at the bottom center of the main face. Darken final lines.
The side wing is a variation that tests whether the roofline stays consistent across two masses.
Check: Confirm the wing touches the main block and their bases align. Confirm both rooflines are flat; the 6 cm wing roof is lower than the 8 cm main roof. Confirm the door is on the main face.
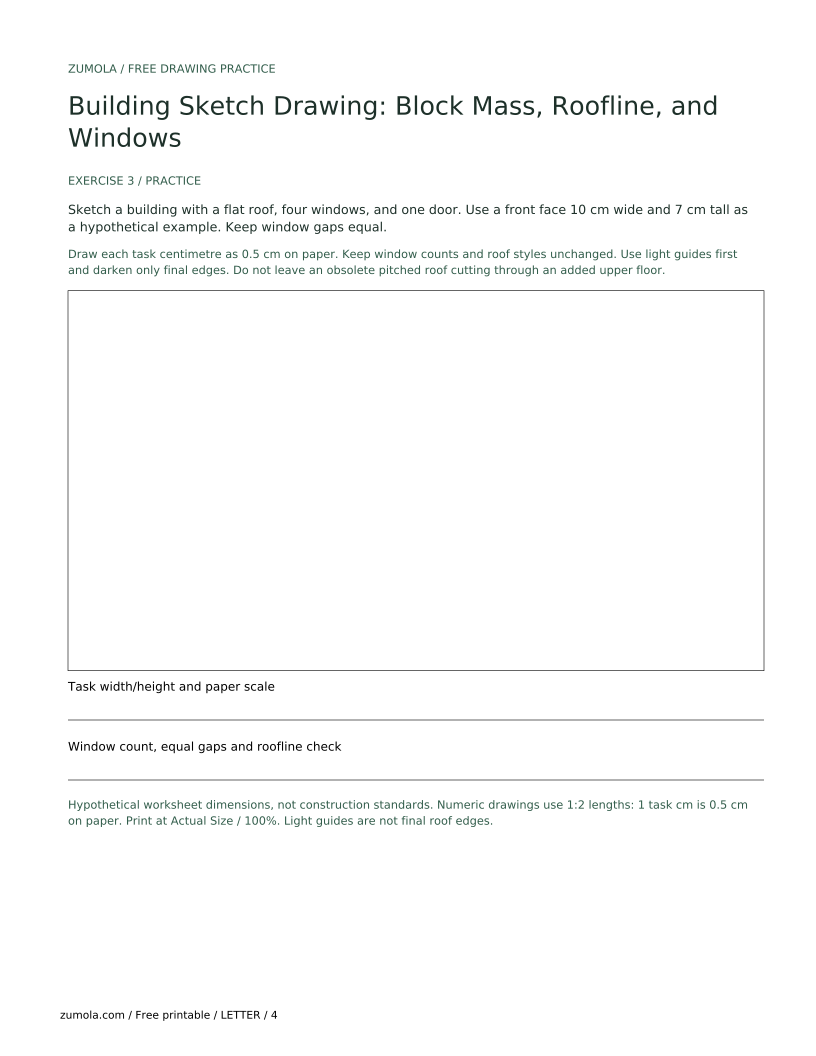
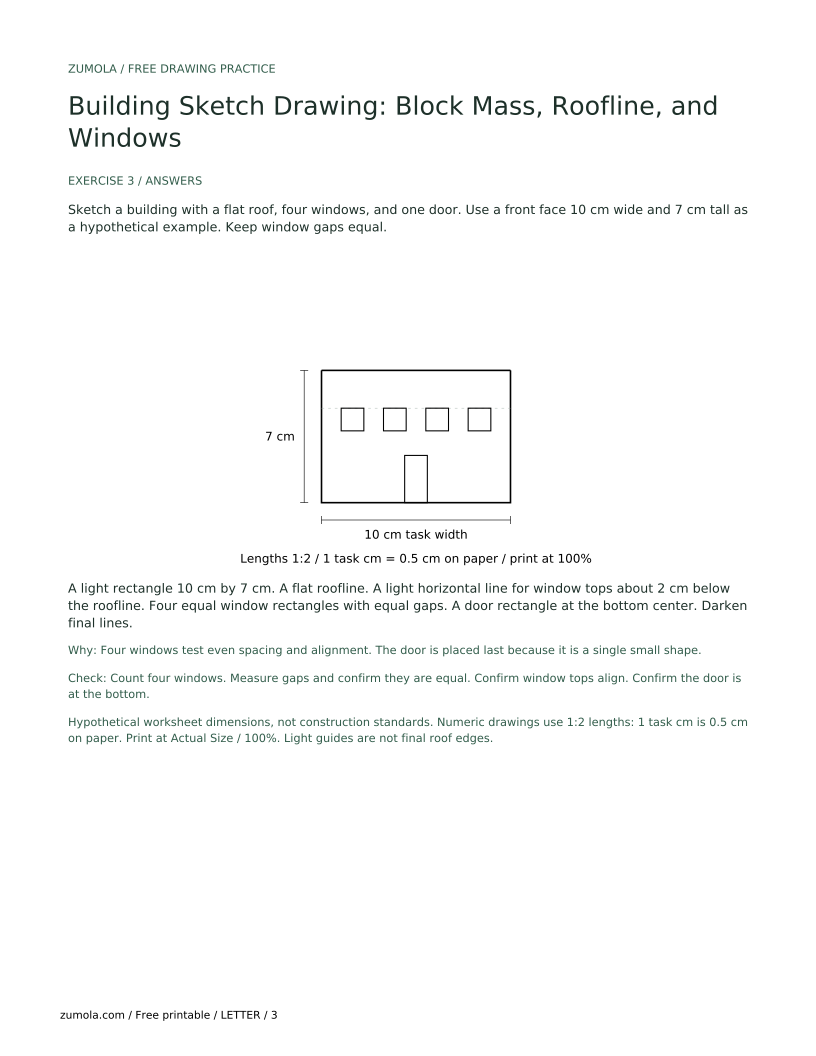
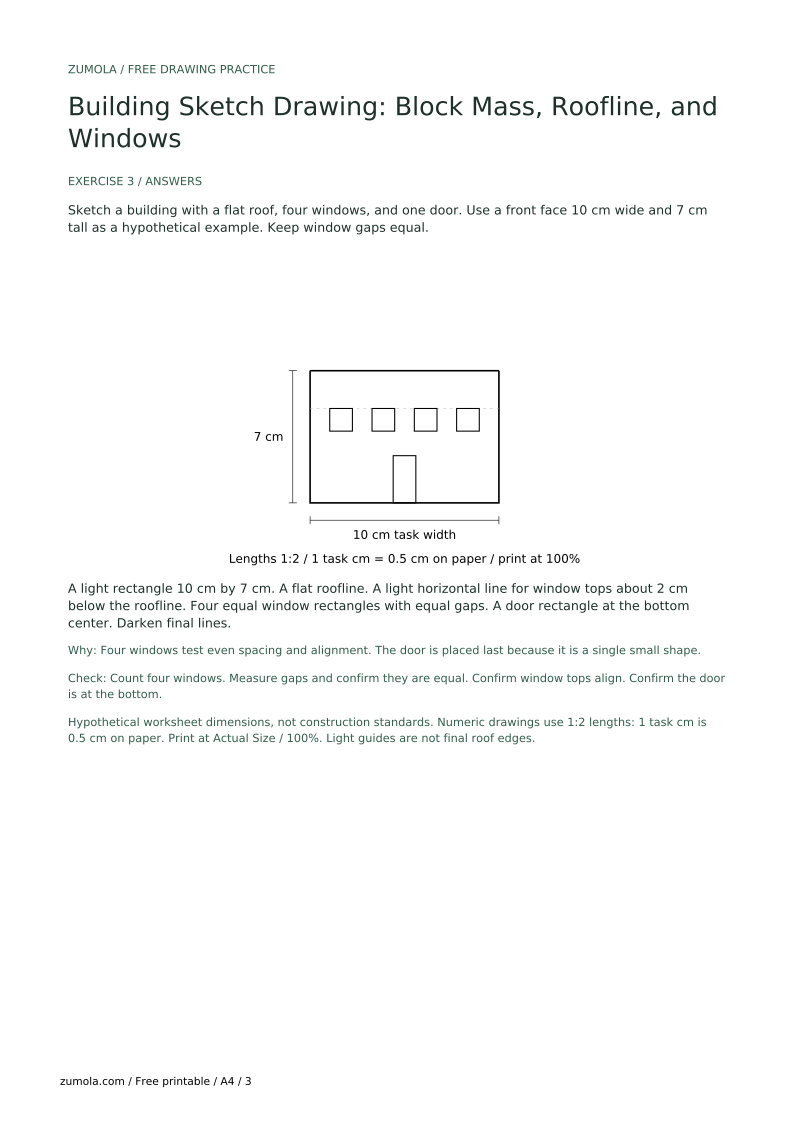
Sketch a building with a flat roof, four windows, and one door. Use a front face 10 cm wide and 7 cm tall as a hypothetical example. Keep window gaps equal.
A light rectangle 10 cm by 7 cm. A flat roofline. A light horizontal line for window tops about 2 cm below the roofline. Four equal window rectangles with equal gaps. A door rectangle at the bottom center. Darken final lines.
Four windows test even spacing and alignment. The door is placed last because it is a single small shape.
Check: Count four windows. Measure gaps and confirm they are equal. Confirm window tops align. Confirm the door is at the bottom.
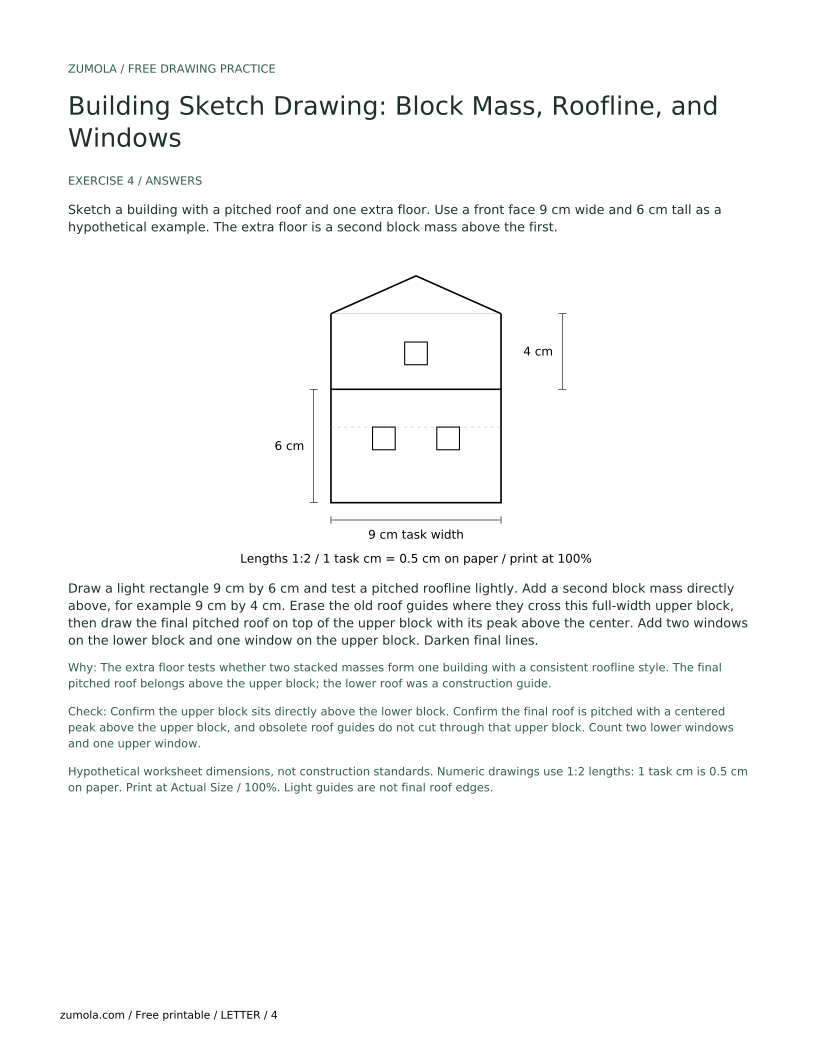
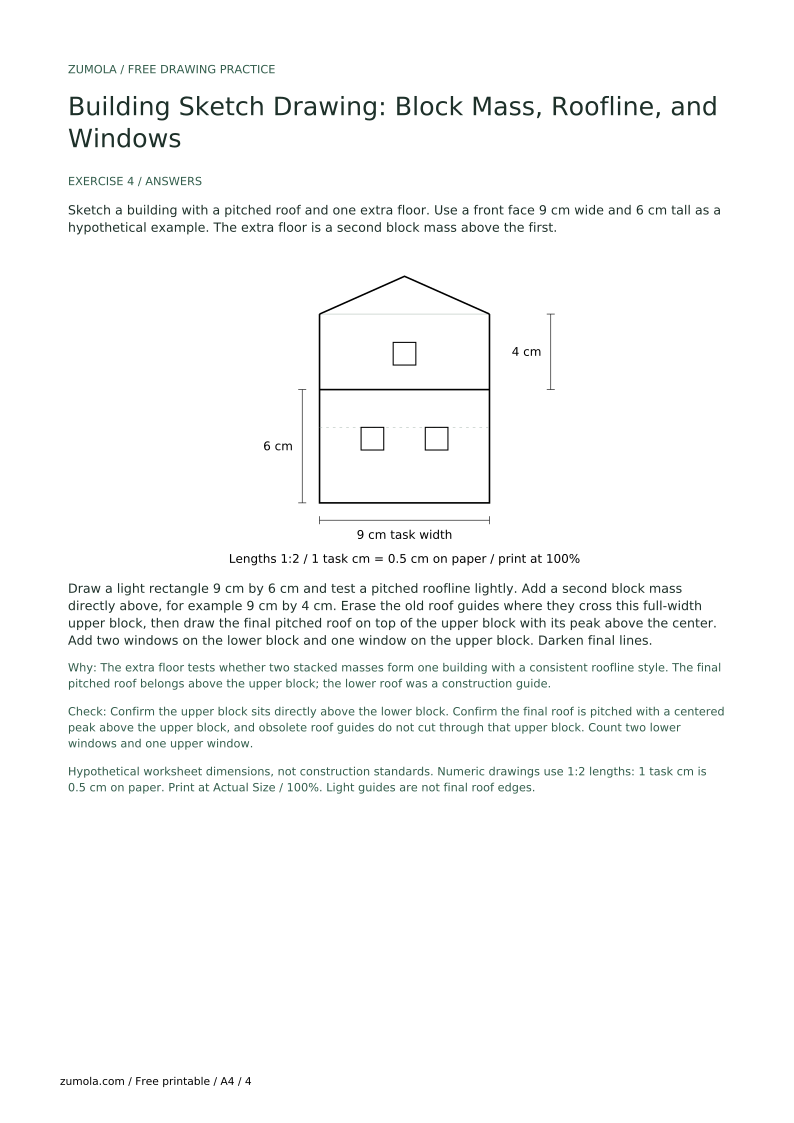
Sketch a building with a pitched roof and one extra floor. Use a front face 9 cm wide and 6 cm tall as a hypothetical example. The extra floor is a second block mass above the first.
Draw a light rectangle 9 cm by 6 cm and test a pitched roofline lightly. Add a second block mass directly above, for example 9 cm by 4 cm. Erase the old roof guides where they cross this full-width upper block, then draw the final pitched roof on top of the upper block with its peak above the center. Add two windows on the lower block and one window on the upper block. Darken final lines.
The extra floor tests whether two stacked masses form one building with a consistent roofline style. The final pitched roof belongs above the upper block; the lower roof was a construction guide.
Check: Confirm the upper block sits directly above the lower block. Confirm the final roof is pitched with a centered peak above the upper block, and obsolete roof guides do not cut through that upper block. Count two lower windows and one upper window.
Finish and check the large rectangle first, then add roofline, then windows.
Keep construction lines light until the shape looks right, then darken.
Count equal gaps and align window tops on one light line.
Choose one unit, such as centimeters, and use it for all measurements.
No. This lesson uses block mass and simple offset faces, not perspective grids.
Any number that fits evenly. Three or four on the front face is a simple starting point.
Yes, for construction lines. The final sketch can be freehand if you prefer.
Handwriting is judged by legibility and consistency, not by a single style. X-height is baseline to midline.