Free original lessons
Rune Drawing: Angular Glyphs, Stroke Order, and Carved Shading
Learn to draw angular rune-style glyphs with clear stroke order and carved-stone shading. Includes a worked example, four practice tasks, and a fair rubric.
Free downloads
Letter & A4
PDF & SVG
Object Drawing Lessons
This lesson teaches a repeatable method for drawing angular rune-style glyphs. You will plan each glyph on a baseline and midline, build it with a deliberate stroke order, and add carved-stone shading that reads as depth rather than decoration. The convention is explicit: x-height runs from baseline to midline; verticals are drawn top to bottom; diagonals are drawn from the upper end to the lower end; horizontals are drawn left to right. Letter styles vary, so the rubric rewards consistent construction and legible shading, not a single universal shape. All measurements are hypothetical examples; measure your own paper and tools before setting values.
Practice materials: Download the free reference pages, practice sheets and separate answer keys below, in A4 and US Letter PDF and SVG formats.
Reference illustration
Use the stated measurements and conventions for each exercise.
Set the working frame
Draw a baseline and a midline spaced by your chosen x-height. For this lesson, a hypothetical x-height of 20 mm is used in examples; substitute your measured value. Mark a left guide and a right guide so each glyph has a consistent width. Keep the frame light so it does not compete with the final strokes.
Decide a stroke weight before drawing. A hypothetical main-stroke width of 2 mm and a shading-stroke width of 1 mm are used below; these are examples, not standards. Test them on scrap paper with your actual tool.
- Measure and draw the baseline and midline.
- Mark left and right guides for the glyph width.
- Test main and shading stroke widths on scrap paper.
- Label the frame lightly so it can be erased or ignored.
Build glyphs with stroke order
Angular rune-style glyphs are built from verticals, horizontals, and diagonals that meet at clear junctions. Use the convention above so the order is checkable. Draw the selected main structural reference first, then the strokes that depend on its endpoints, then the short connectors. This reference need not be the geometrically longest segment: a diagonal with the same vertical span as a stem and a nonzero horizontal span is longer than that stem. This reduces drift and keeps junctions tight.
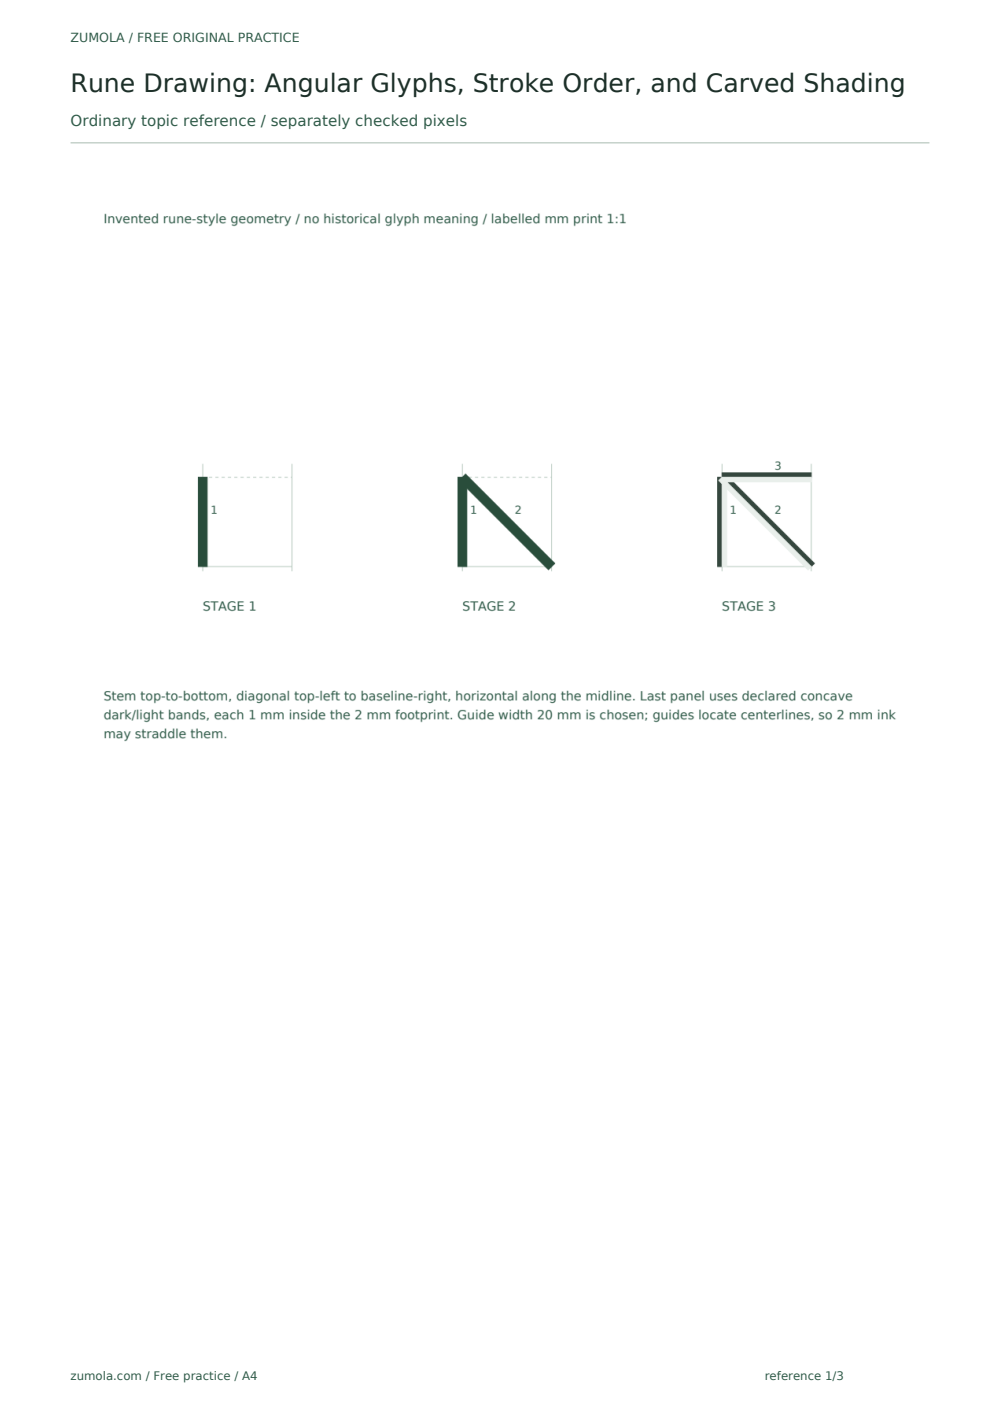
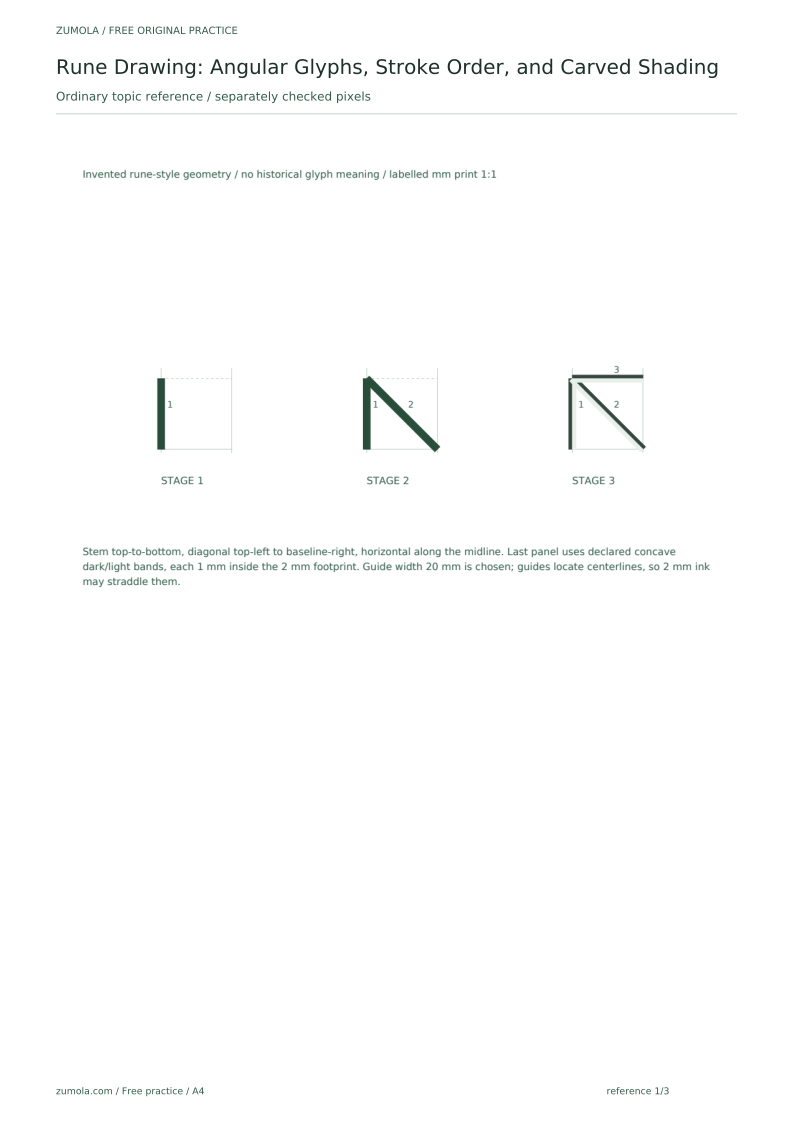
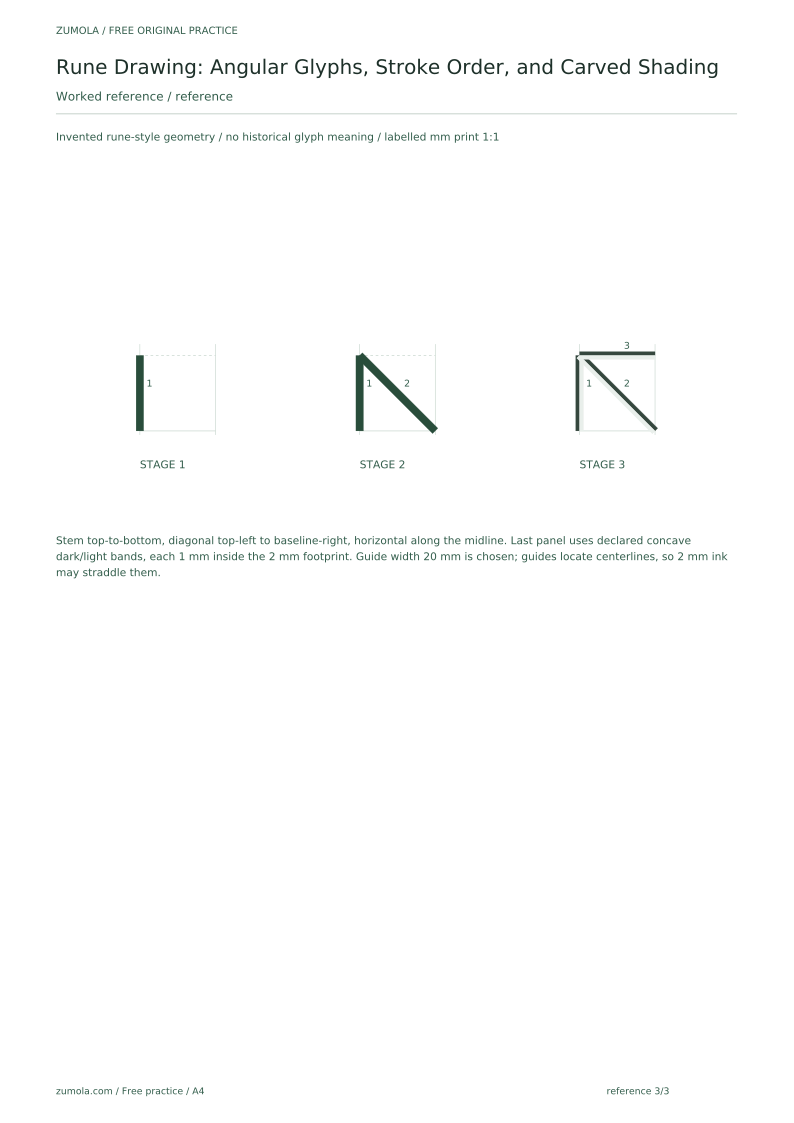
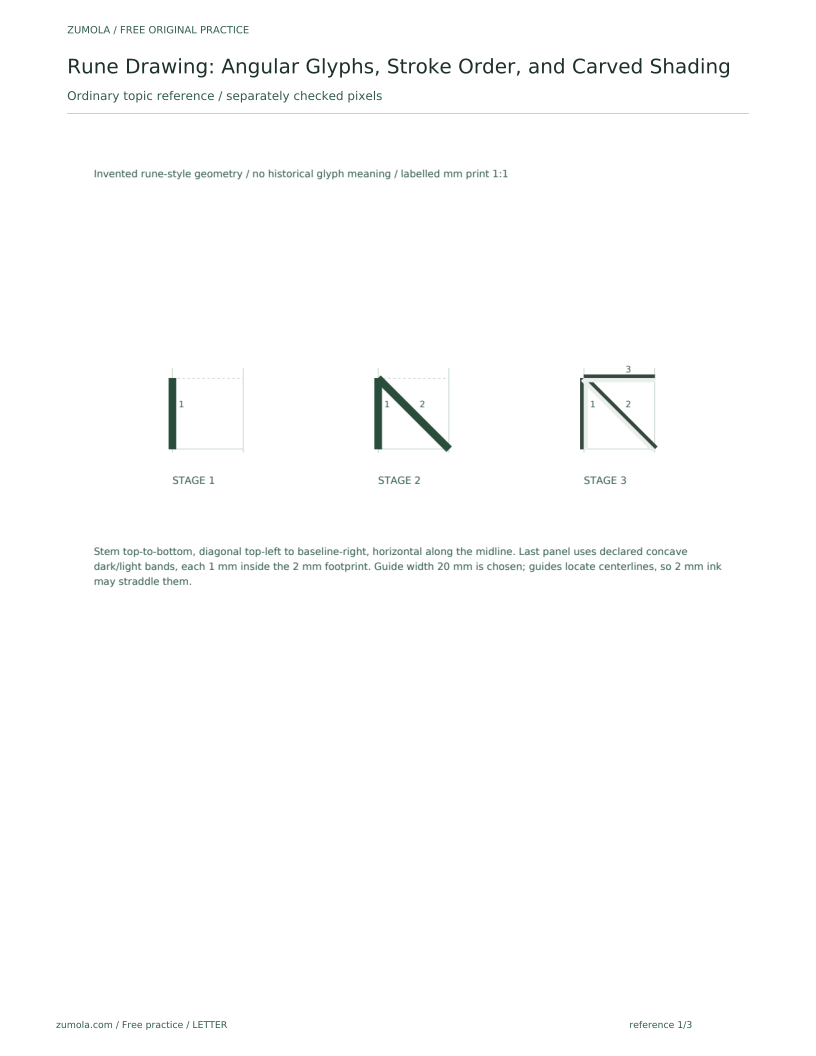
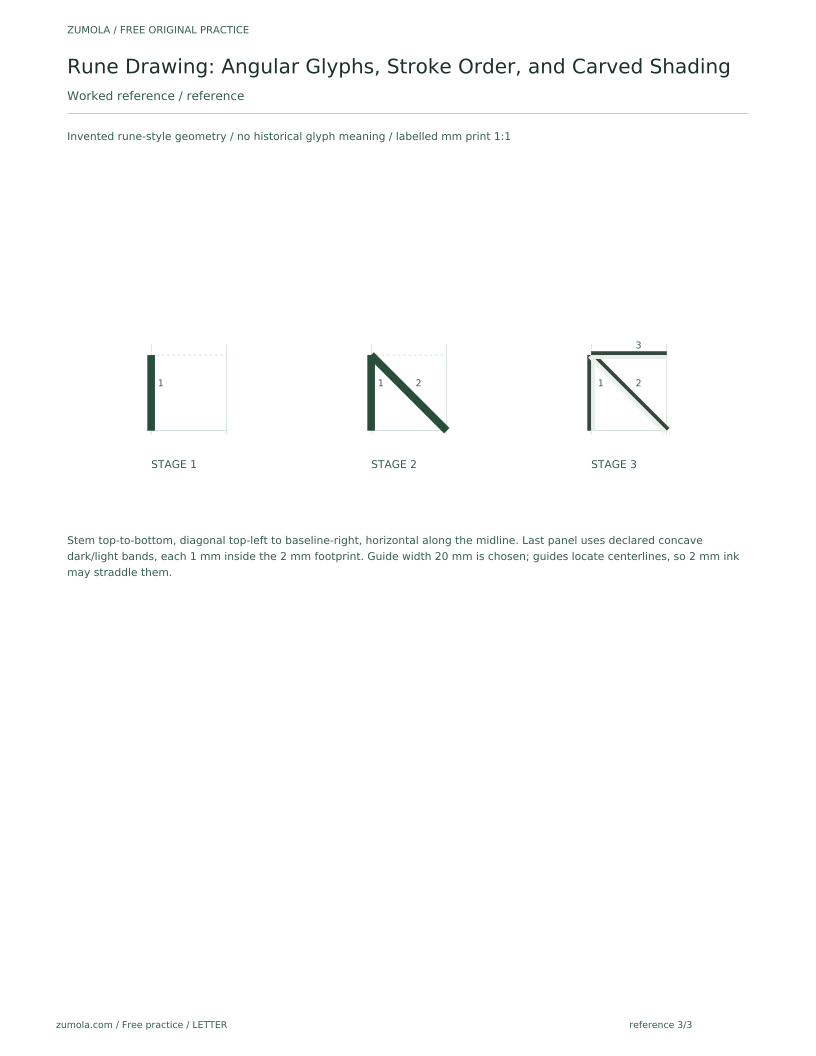
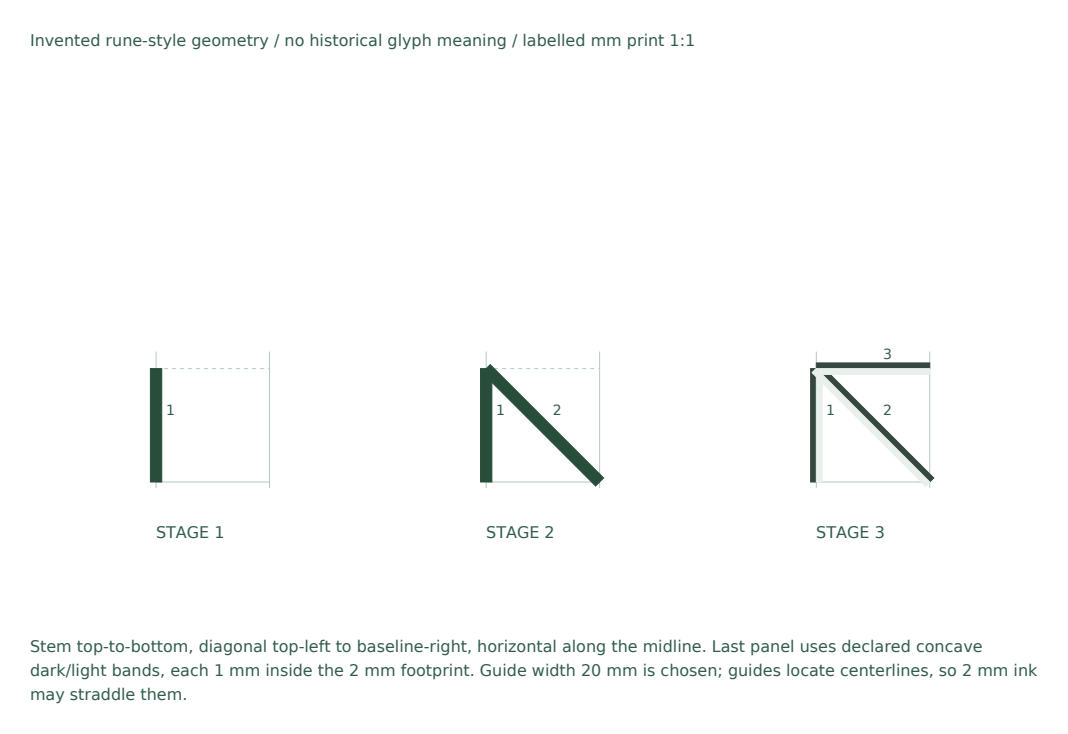
A simple example glyph is a vertical stem from baseline to midline, a diagonal from the top of the stem to the right guide at the baseline, and a short horizontal from the stem to the right guide at the midline. Draw the stem, then the diagonal, then the horizontal. Check that the diagonal ends exactly at the baseline and right guide.
- Draw the selected main structural reference first; in these examples it is the stem or the specified top horizontal, not necessarily the longest segment.
- Add strokes that use the first stroke's endpoints.
- Add short connectors last.
- Check junctions before adding shading.
Add carved-stone shading
Carved shading here uses a declared concave-groove illustration convention with light from upper left: mark upper and left inner groove edges dark and keep opposite lower and right inner edges light. This is a selected graphic model, not a universal claim about every carved surface or material. Use the same mapping throughout and keep every mark inside the glyph footprint.
Shade only after the stroke order is complete and junctions are clean. Use the declared concave-groove edge mapping: dark upper and left inner edges, light opposite lower and right inner edges. These are graphic choices rather than an inference about every real carved surface. Use a lighter stroke than the main stroke and keep every mark inside the glyph footprint; a broken line of short marks is a stated alternative if the tool cannot make a fine line.
- Choose and note one light direction.
- Identify the upper and left inner edges selected as dark by this groove convention.
- Add thin shadow marks on those edges.
- Add thin highlight marks on opposite inner edges.
- Check that shading stays inside the glyph.
Check consistency across a plate
A plate is a set of glyphs drawn with the same frame, stroke weight, and light direction. Compare glyphs by placing them side by side and checking baseline contact, midline contact, and junction tightness. Consistent stroke weight matters more than perfect symmetry because angular glyphs can be validly asymmetric.
Record your chosen values on the plate: x-height, stroke widths, and light direction. This makes the work checkable and allows valid alternative styles to be judged fairly.
- Compare baseline and midline contact across glyphs.
- Compare main-stroke width across glyphs.
- Confirm one light direction is used throughout.
- Record chosen values on the plate.
Worked example
Draw a glyph with a vertical stem from baseline to midline, a diagonal from the stem top to the right guide at baseline, and a horizontal from the stem to the right guide at midline. Use a hypothetical 20 mm x-height, 2 mm main stroke, 1 mm shading stroke, and light from upper left. Describe the stroke order and shading.
Worked answer
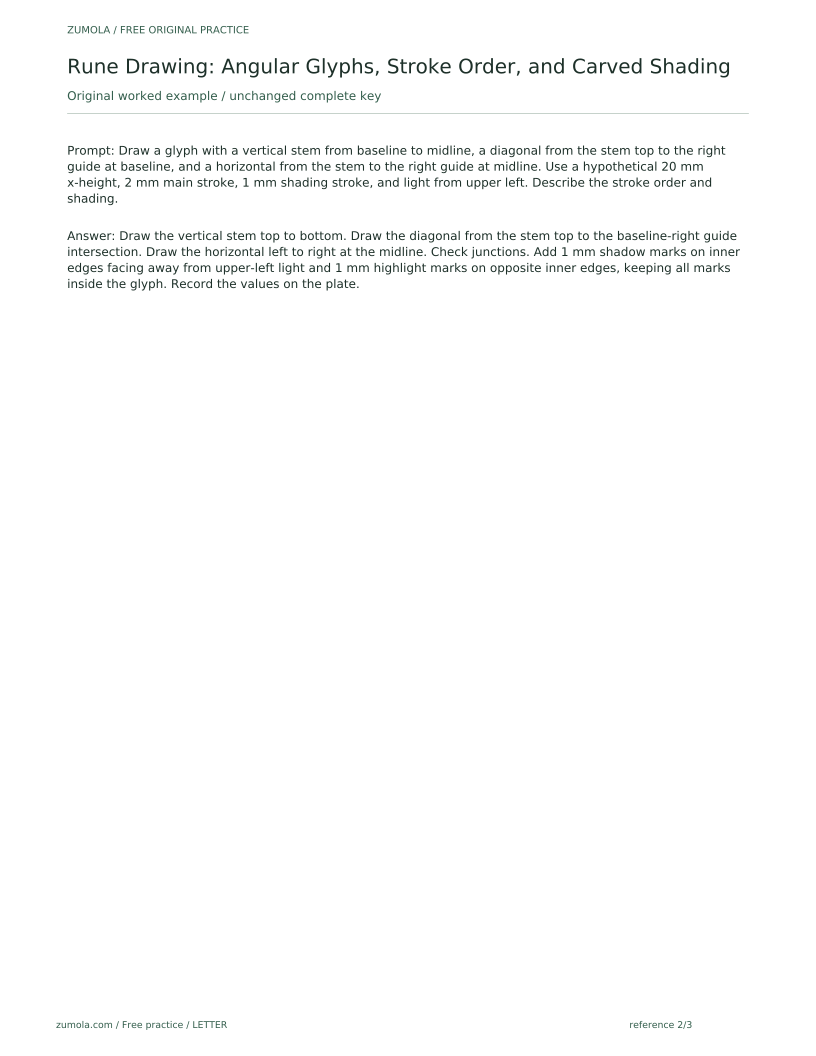
Draw the vertical stem top to bottom. Draw the diagonal from the stem top to the baseline-right guide intersection. Draw the horizontal left to right at the midline. Check junctions. Add 1 mm shadow marks on inner edges facing away from upper-left light and 1 mm highlight marks on opposite inner edges, keeping all marks inside the glyph. Record the values on the plate.
Four practice exercises
Exercise 1
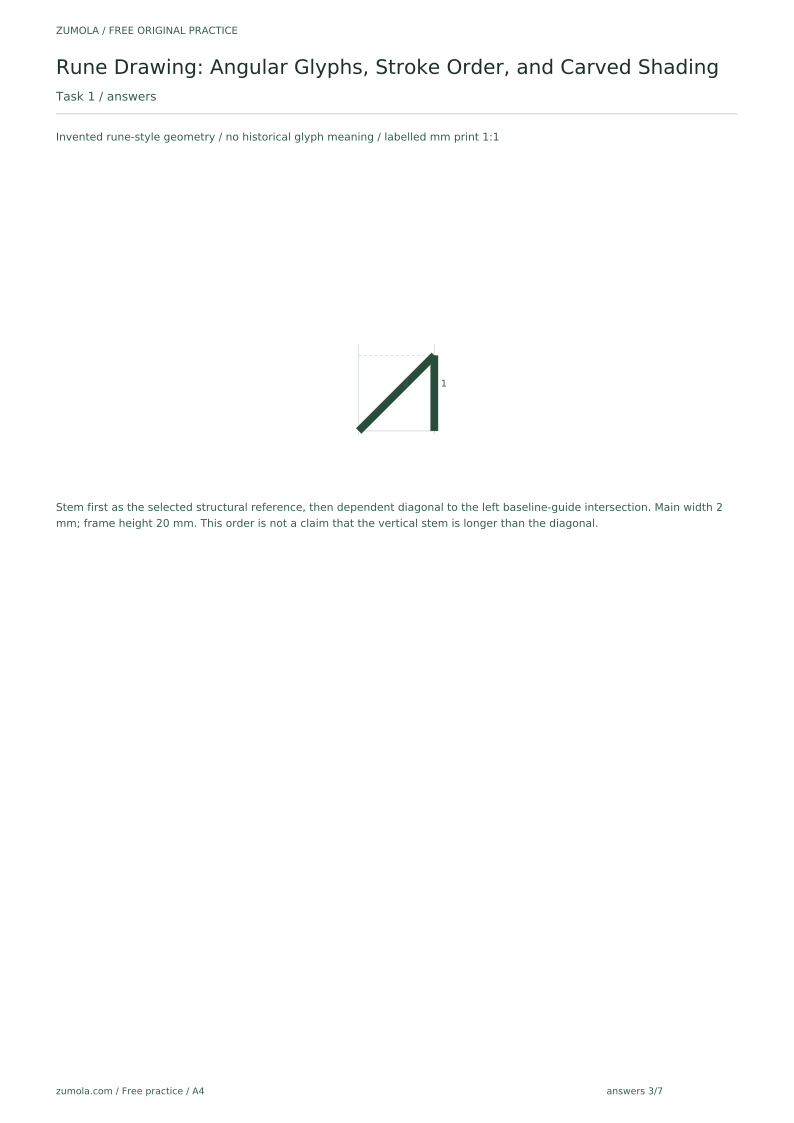
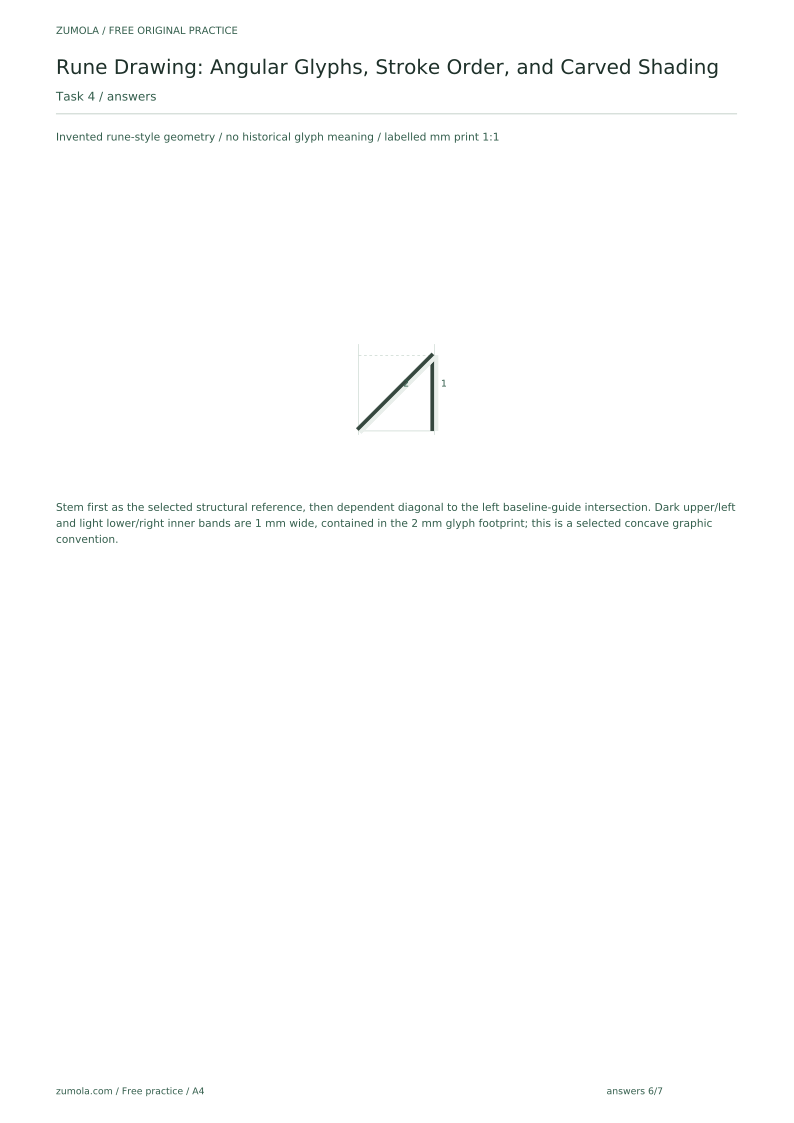
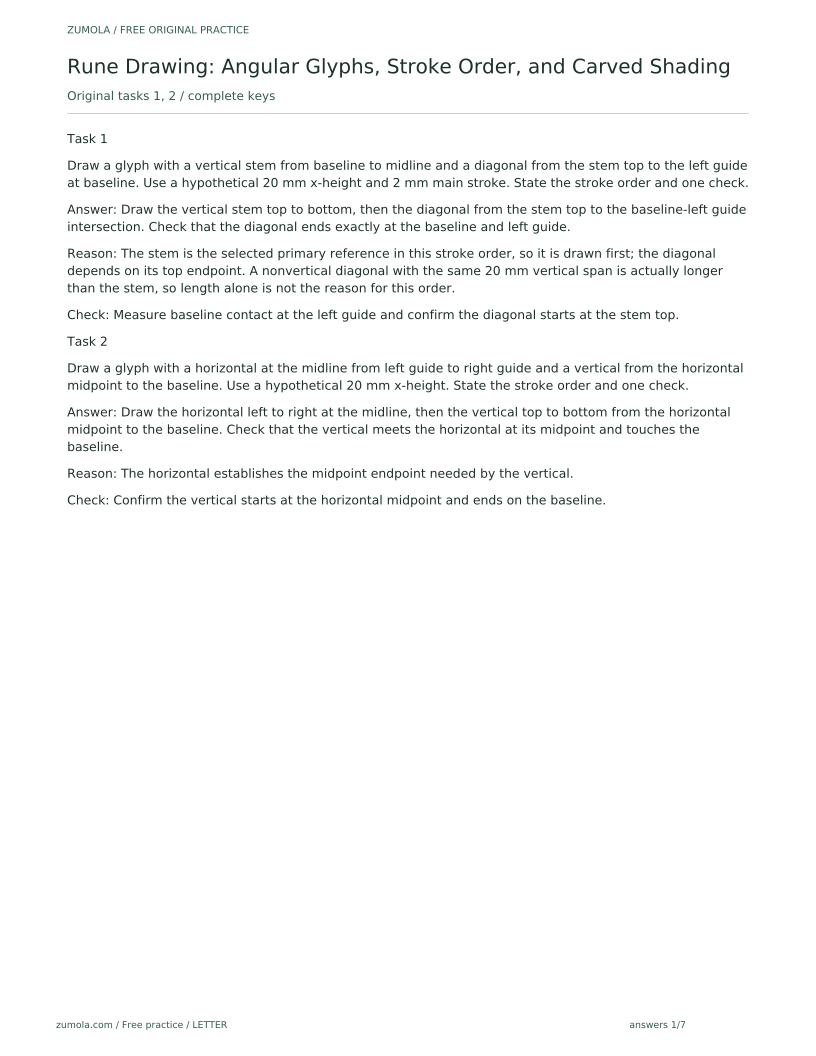
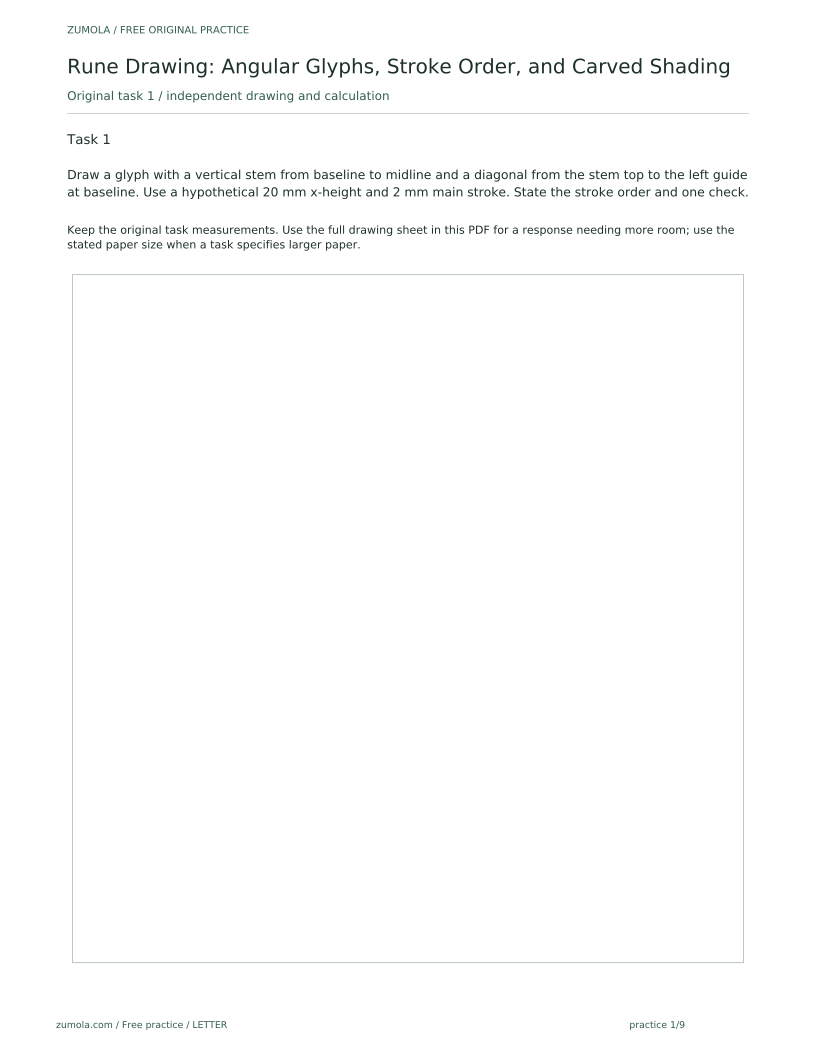
Draw a glyph with a vertical stem from baseline to midline and a diagonal from the stem top to the left guide at baseline. Use a hypothetical 20 mm x-height and 2 mm main stroke. State the stroke order and one check.
Show answer and check
Draw the vertical stem top to bottom, then the diagonal from the stem top to the baseline-left guide intersection. Check that the diagonal ends exactly at the baseline and left guide.
Why: The stem is the selected primary reference in this stroke order, so it is drawn first; the diagonal depends on its top endpoint. A nonvertical diagonal with the same 20 mm vertical span is actually longer than the stem, so length alone is not the reason for this order.
Check: Measure baseline contact at the left guide and confirm the diagonal starts at the stem top.
Exercise 2
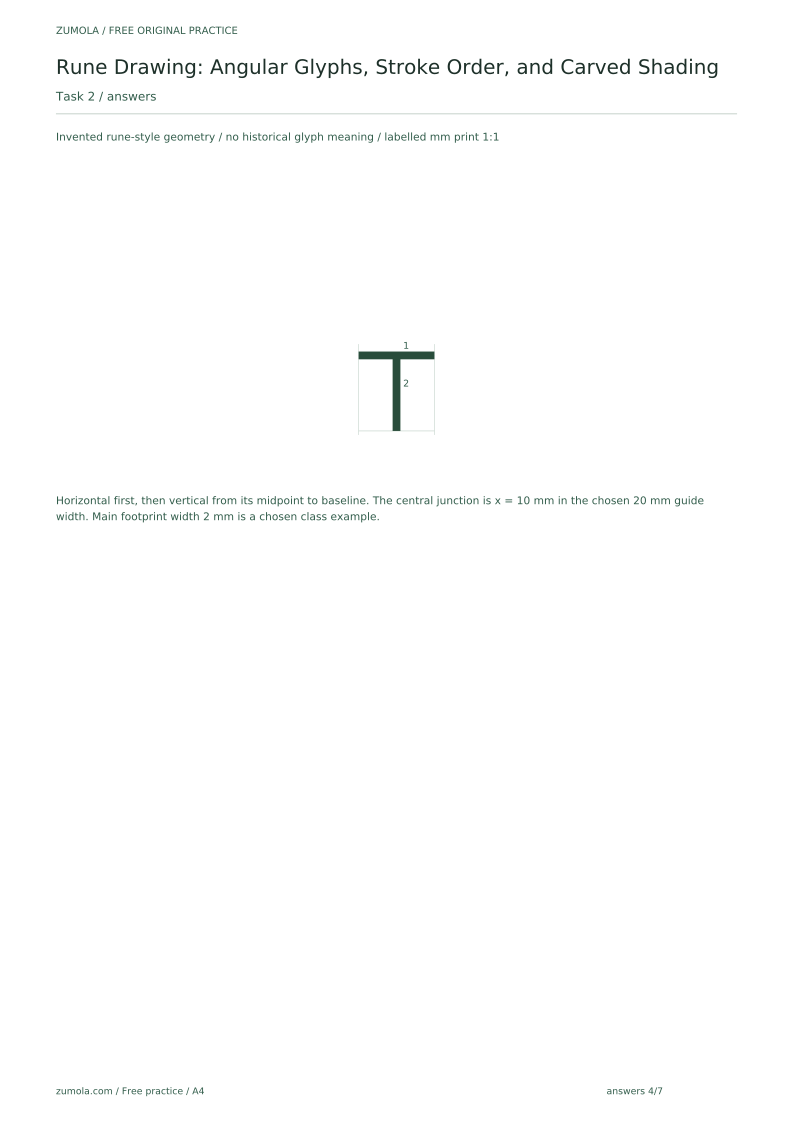
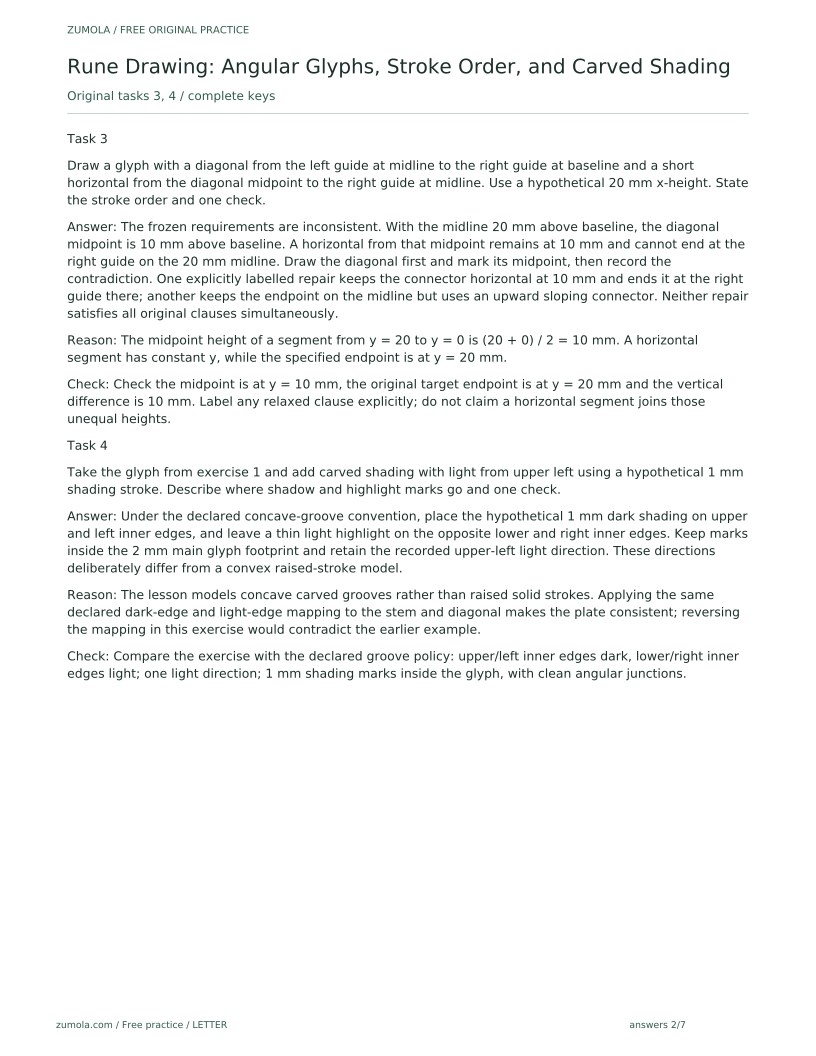
Draw a glyph with a horizontal at the midline from left guide to right guide and a vertical from the horizontal midpoint to the baseline. Use a hypothetical 20 mm x-height. State the stroke order and one check.
Show answer and check
Draw the horizontal left to right at the midline, then the vertical top to bottom from the horizontal midpoint to the baseline. Check that the vertical meets the horizontal at its midpoint and touches the baseline.
Why: The horizontal establishes the midpoint endpoint needed by the vertical.
Check: Confirm the vertical starts at the horizontal midpoint and ends on the baseline.
Exercise 3
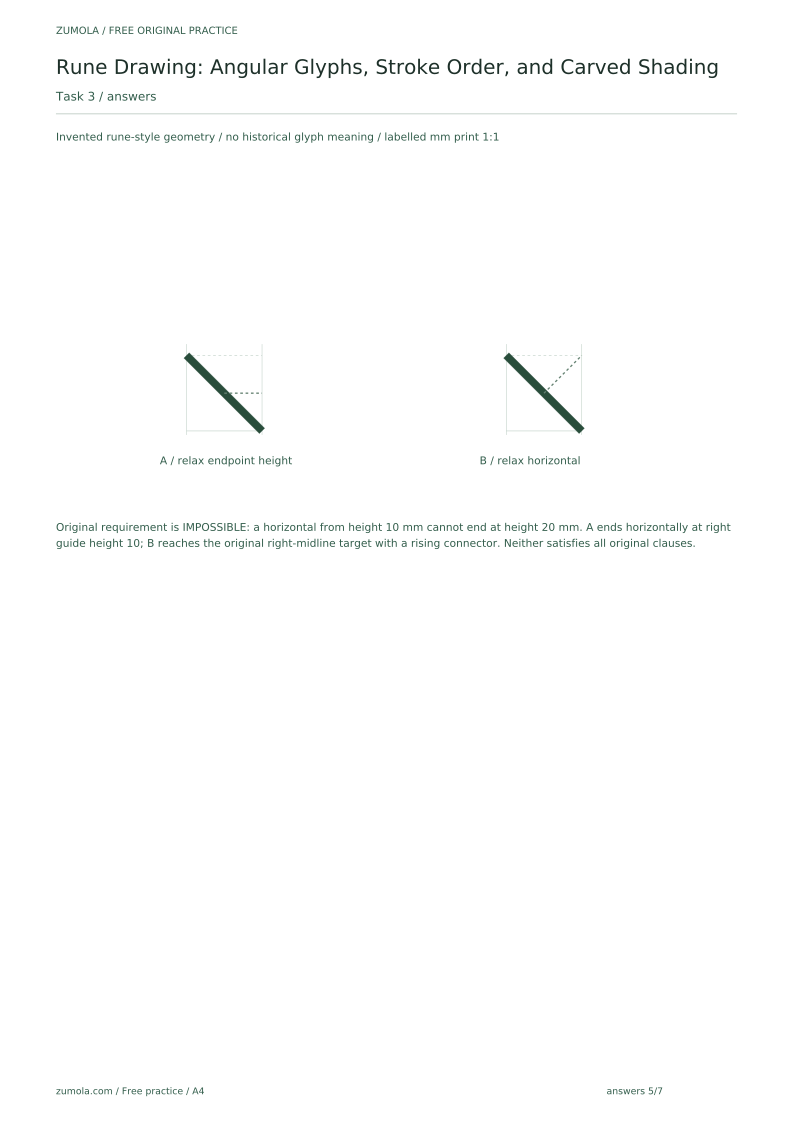
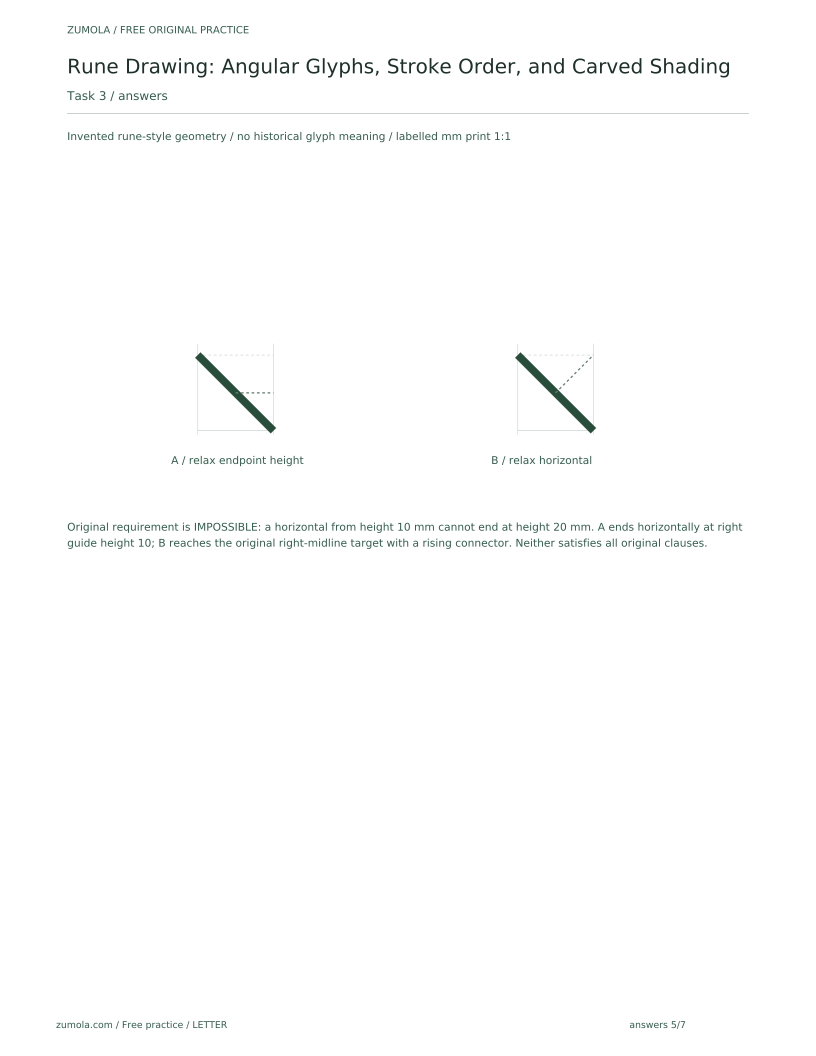
Draw a glyph with a diagonal from the left guide at midline to the right guide at baseline and a short horizontal from the diagonal midpoint to the right guide at midline. Use a hypothetical 20 mm x-height. State the stroke order and one check.
Show answer and check
The frozen requirements are inconsistent. With the midline 20 mm above baseline, the diagonal midpoint is 10 mm above baseline. A horizontal from that midpoint remains at 10 mm and cannot end at the right guide on the 20 mm midline. Draw the diagonal first and mark its midpoint, then record the contradiction. One explicitly labelled repair keeps the connector horizontal at 10 mm and ends it at the right guide there; another keeps the endpoint on the midline but uses an upward sloping connector. Neither repair satisfies all original clauses simultaneously.
Why: The midpoint height of a segment from y = 20 to y = 0 is (20 + 0) / 2 = 10 mm. A horizontal segment has constant y, while the specified endpoint is at y = 20 mm.
Check: Check the midpoint is at y = 10 mm, the original target endpoint is at y = 20 mm and the vertical difference is 10 mm. Label any relaxed clause explicitly; do not claim a horizontal segment joins those unequal heights.
Exercise 4
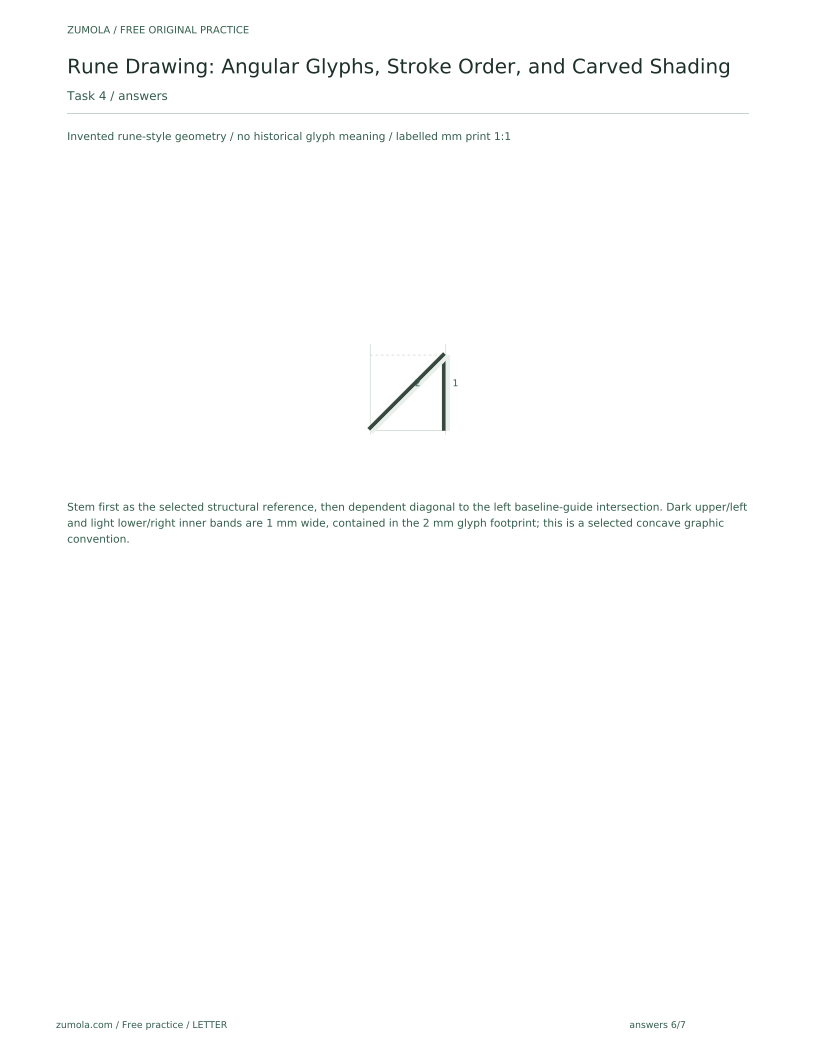
Take the glyph from exercise 1 and add carved shading with light from upper left using a hypothetical 1 mm shading stroke. Describe where shadow and highlight marks go and one check.
Show answer and check
Under the declared concave-groove convention, place the hypothetical 1 mm dark shading on upper and left inner edges, and leave a thin light highlight on the opposite lower and right inner edges. Keep marks inside the 2 mm main glyph footprint and retain the recorded upper-left light direction. These directions deliberately differ from a convex raised-stroke model.
Why: The lesson models concave carved grooves rather than raised solid strokes. Applying the same declared dark-edge and light-edge mapping to the stem and diagonal makes the plate consistent; reversing the mapping in this exercise would contradict the earlier example.
Check: Compare the exercise with the declared groove policy: upper/left inner edges dark, lower/right inner edges light; one light direction; 1 mm shading marks inside the glyph, with clean angular junctions.
Common mistakes
- Drawing short connectors before the main structural stroke. Draw the selected main structural reference first, then its dependent strokes. Do not infer that it is always the longest segment by Euclidean length.
- Shading outside the glyph silhouette. Keep shadow and highlight marks inside the glyph footprint.
- Changing light direction between glyphs. Note one light direction and apply it to every glyph on the plate.
- Using inconsistent main-stroke width. Test the width on scrap paper and keep the same tool angle and pressure.
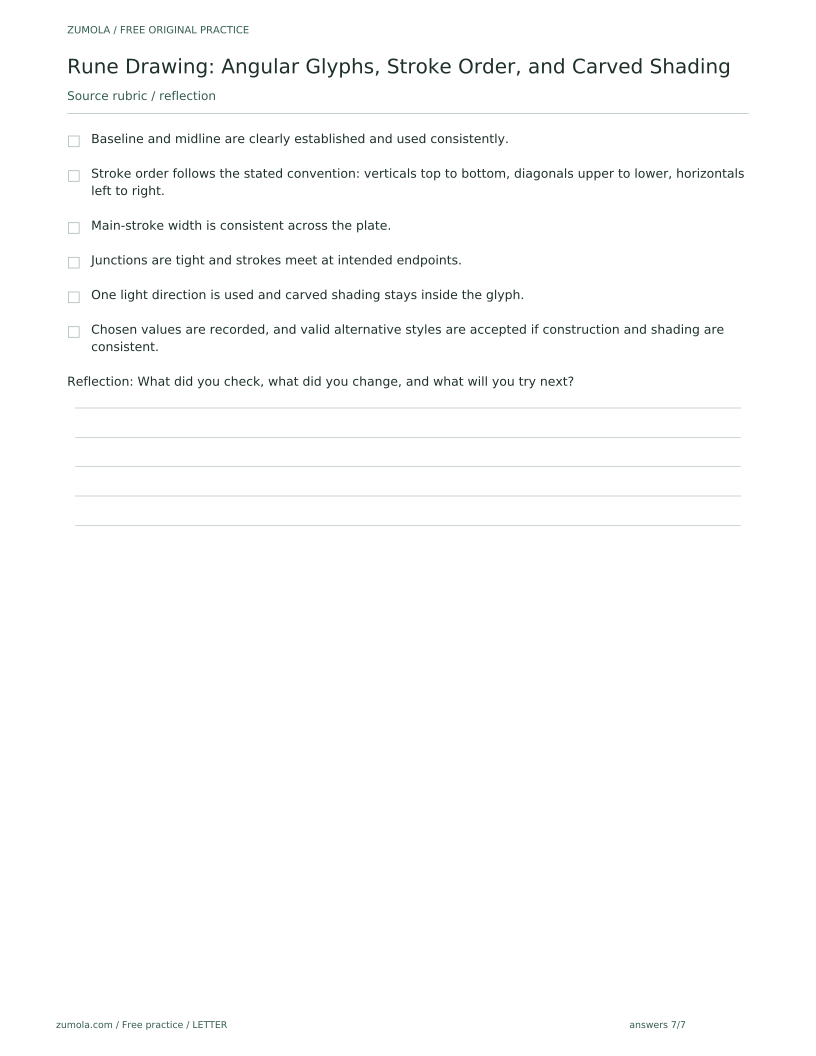
Self-check rubric
- Baseline and midline are clearly established and used consistently.
- Stroke order follows the stated convention: verticals top to bottom, diagonals upper to lower, horizontals left to right.
- Main-stroke width is consistent across the plate.
- Junctions are tight and strokes meet at intended endpoints.
- One light direction is used and carved shading stays inside the glyph.
- Chosen values are recorded, and valid alternative styles are accepted if construction and shading are consistent.
Questions and answers
Must every glyph be symmetrical?
No. Angular rune-style glyphs can be validly asymmetric. The rubric checks consistent construction, stroke order, and shading, not a single universal shape.
What if my tool cannot make a 1 mm shading line?
Use a broken line of short marks or a lighter pressure and state the choice in your notes. The hypothetical 1 mm value is an example, not a requirement.
Where does x-height sit?
X-height runs from the baseline to the midline. Verticals are drawn top to bottom, diagonals from upper end to lower end, and horizontals left to right.
How do I check carved shading?
Confirm one light direction, shadow marks on edges facing away from the light, highlight marks on opposite inner edges, and no shading outside the glyph.
Free printable downloads
Choose a paper size. Practice sheets and answer keys are separate. Download every file free, without registration.
This standard pack covers the four original exercises, blank work areas, complete keys and necessary figures. Additional extension sets described in the lesson are outside this download.
PDF bundles
Individual SVG pages
Reference-page preview