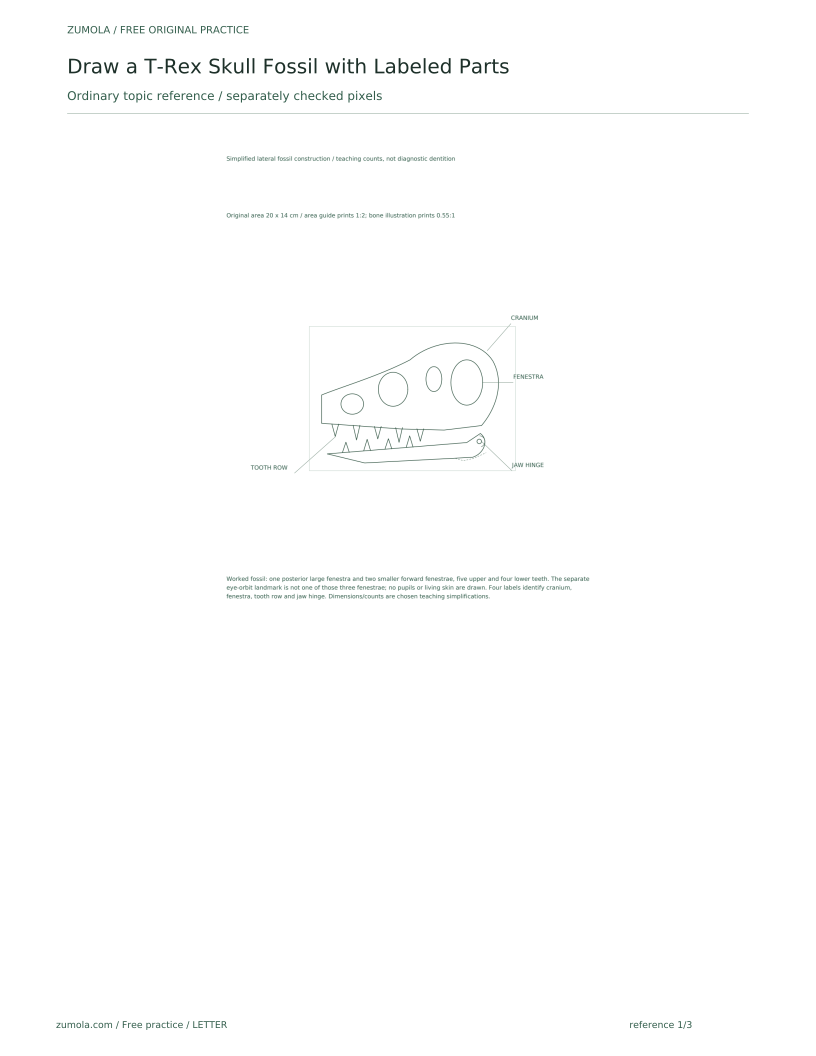
Free original lessons
Draw a T-Rex Skull Fossil with Labeled Parts
Learn to draw a T-Rex skull fossil step by step: cranium, fenestrae, teeth, jaw hinge, and bone-joint shapes, with clear labels and a practice plan.
Free downloads
Letter & A4
PDF & SVG
Object Drawing Lessons
This lesson teaches you to draw a T-Rex skull as a fossil specimen, not a living animal. You will build the skull outline from simple bone shapes, place the large openings called fenestrae, add teeth along the jaw margins, and show the jaw hinge as a rounded joint. Labels will identify each part. The drawing convention is explicit: use a clean outline for bone edges, a dashed line for hidden bone contours, and small circles for joint centers. Lettering is simple uppercase or lowercase print; x-height means baseline to midline, and letter styles may vary as long as labels are legible. All measurements below are hypothetical examples for practice, not manufacturing standards. Measure your own paper and tools if you scale the drawing. The opening counts and tooth counts in the exercises are selected simplified drawing requirements, not a reconstruction of real T-Rex dentition. The eye orbit is a separate anatomical landmark; it is not counted among the requested fenestrae. A large temporal opening is behind that eye-area landmark. For uppercase labels, the prompt's baseline-to-midline band is a chosen equal-cap-height lettering guide, not the typographic x-height of lowercase x.
Practice materials: Download the free reference pages, practice sheets and separate answer keys below, in A4 and US Letter PDF and SVG formats.
Reference illustration
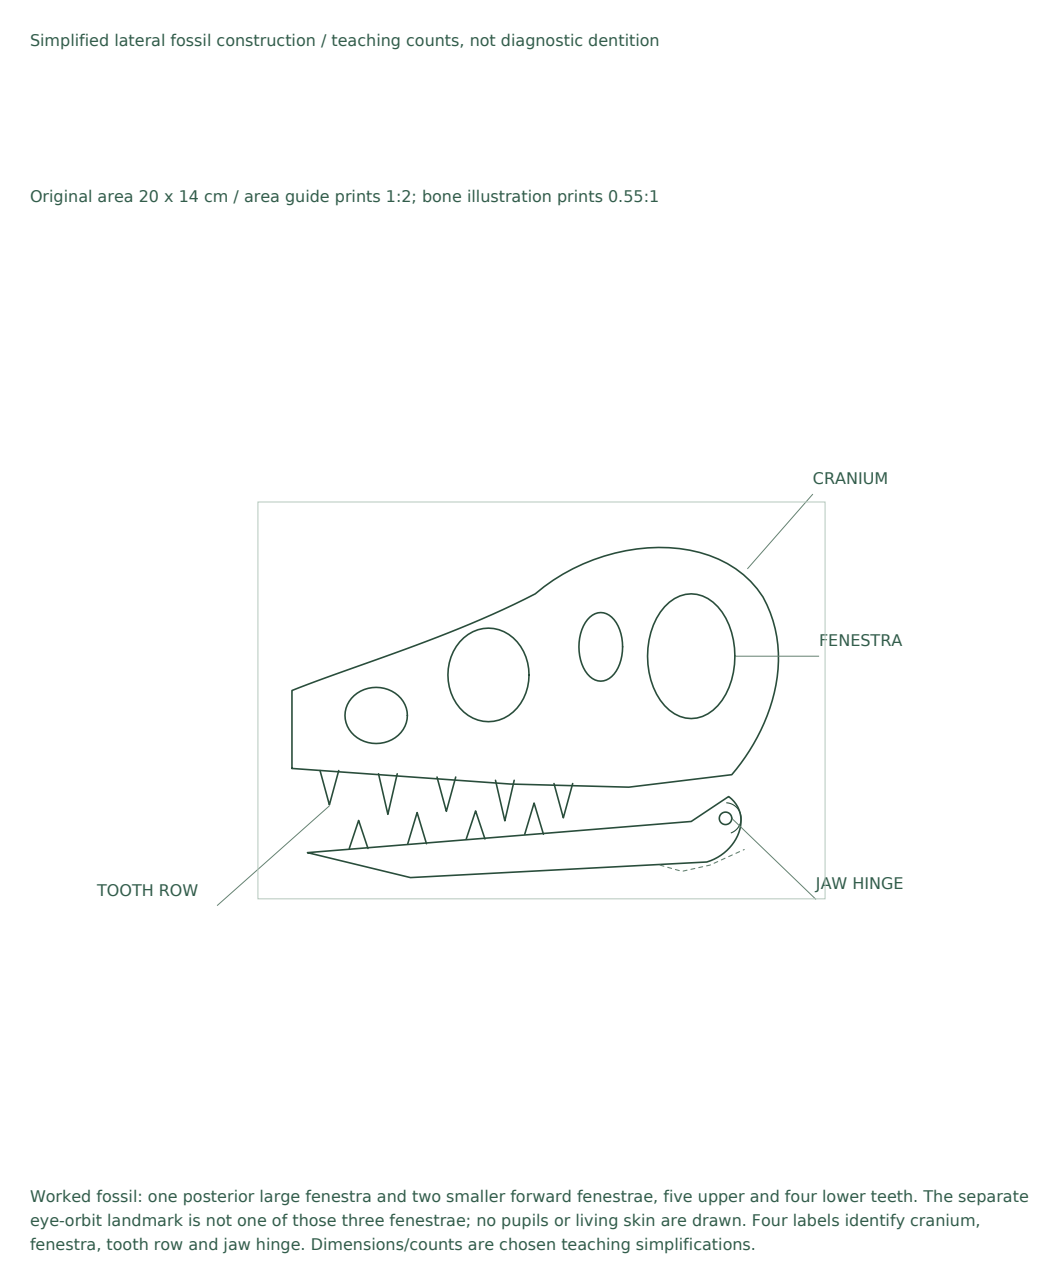
Use the stated measurements and conventions for each exercise.
Build the skull outline from bone landmarks
Start with a light rectangular guide for the skull's overall proportion. A hypothetical example is 18 cm wide by 12 cm tall on A4 paper. Mark the midline and the approximate positions of the snout tip, the eye opening, and the back of the cranium. These are landmarks, not final edges.
Draw the cranium as a rounded box behind the eye area, then taper the snout forward. Keep the lower jaw as a separate curved bar so the jaw hinge can be shown clearly. Bone edges should be smooth but not perfectly geometric; fossils often have slight irregularities.
- Lightly draw a rectangle 18 cm by 12 cm and mark its center line.
- Place three dots: snout tip at the left, eye center near the middle, and cranium back at the right.
- Outline the cranium as a rounded shape around the back dot.
- Taper the snout from the eye area to the snout tip.
- Draw the lower jaw as a separate curved bar below the snout.
Place fenestrae and the jaw hinge
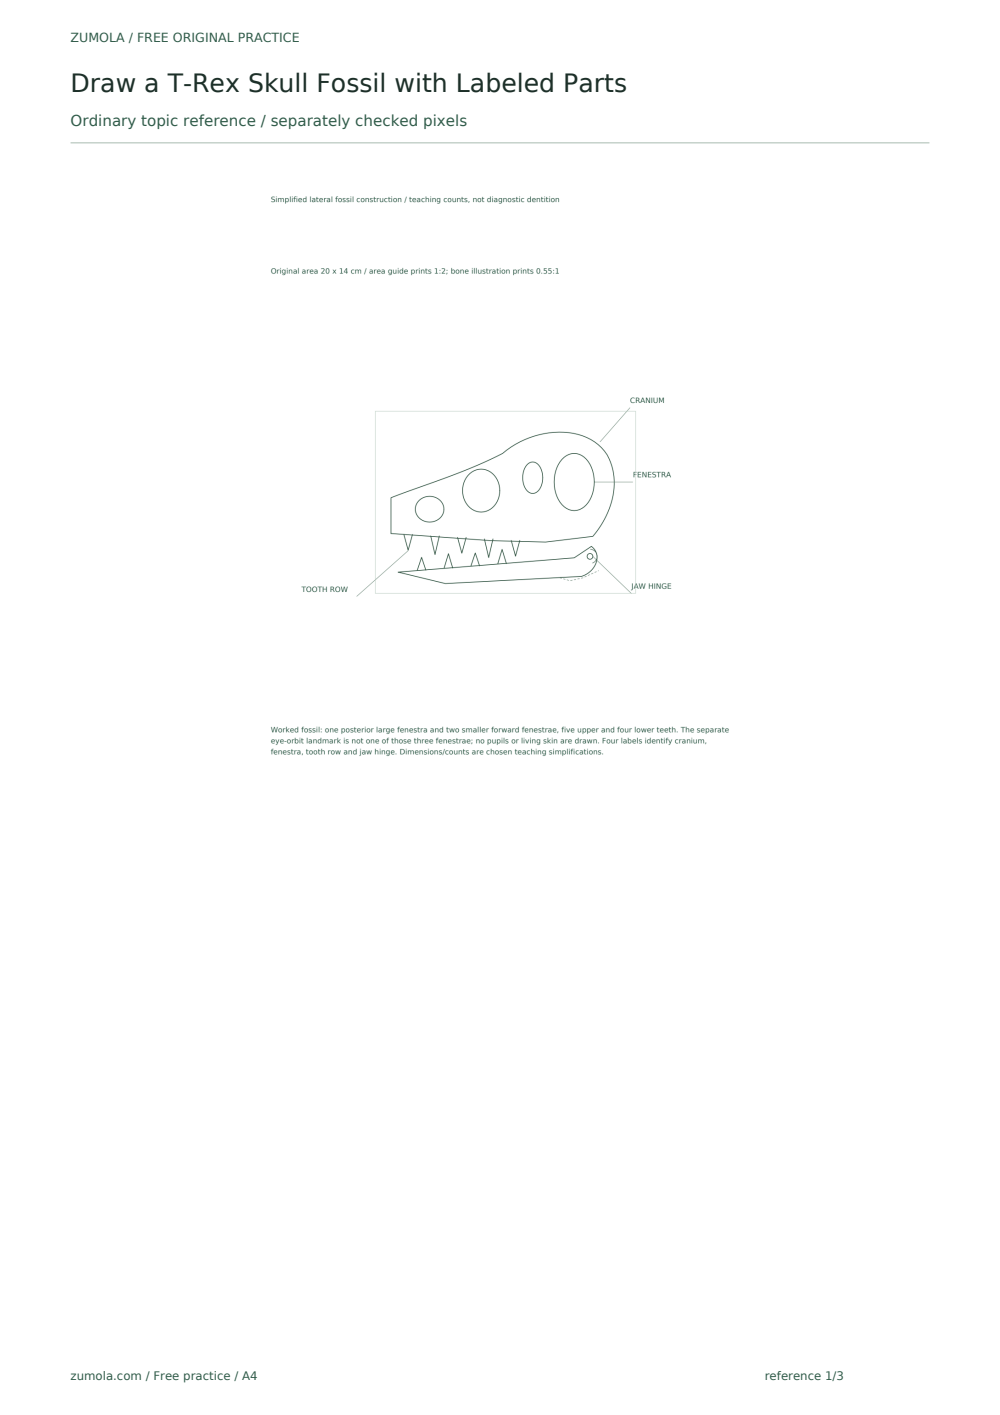
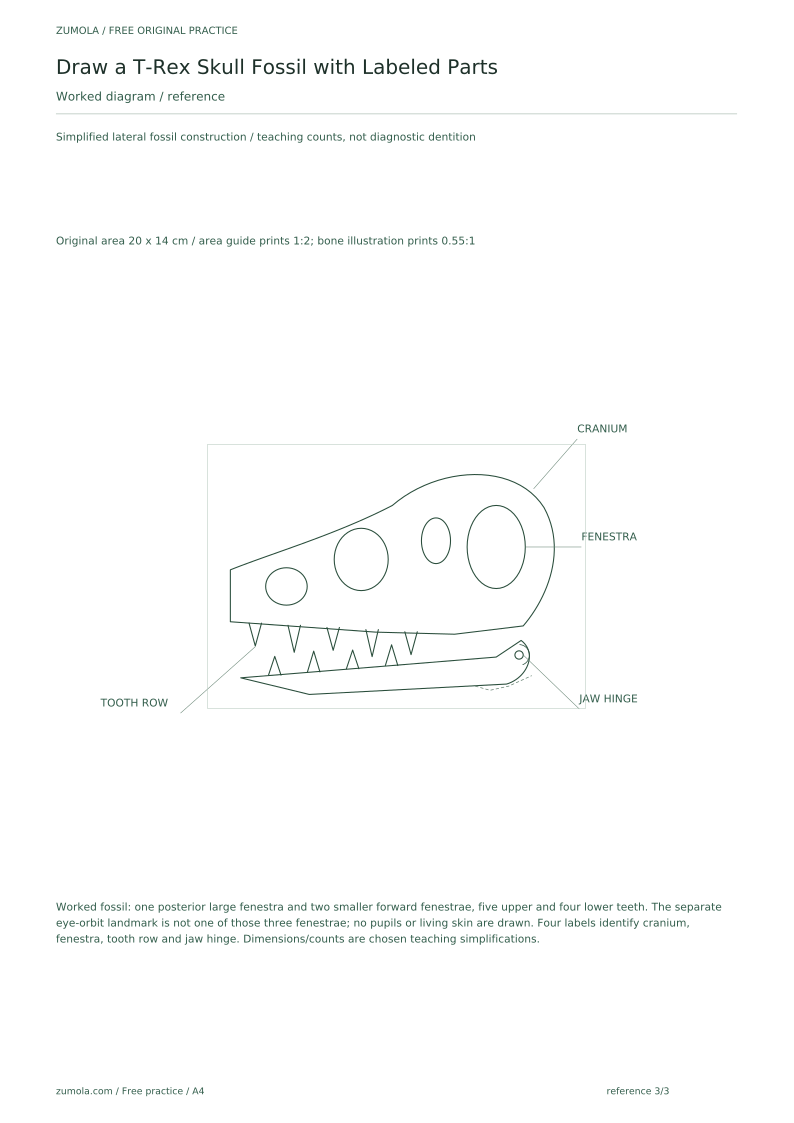
Fenestrae are the large openings in the skull. Draw them as closed outlines inside the cranium and snout. A hypothetical example uses one large oval behind the eye and two smaller openings forward of it. Keep openings clearly inside the bone outline, not touching the outer edge.
The jaw hinge is a rounded joint where the lower jaw meets the cranium. Mark its center with a small circle and draw a short curved line to show the joint surface. Use a dashed line for any hidden bone contour behind the visible jaw.
- Draw one large oval fenestra behind the eye landmark.
- Add two smaller fenestrae forward of the eye, spaced evenly.
- Mark the jaw hinge center with a small circle at the back of the lower jaw.
- Draw a short curved joint line around the hinge circle.
- Add dashed lines for hidden bone contours behind the jaw.
Add teeth and label the fossil
Teeth sit along the upper and lower jaw margins. Draw them as tapered triangles with slightly rounded tips. Vary length slightly; a hypothetical example uses teeth 0.8 cm to 1.5 cm long. Keep spacing even enough to read as a row.
Label each part with a short line and legible print. Use a consistent chosen label-height band. True typographic x-height concerns the lowercase body; uppercase letters use cap height. In the uppercase exercise, align capitals to the chosen baseline and upper guide and keep their cap height consistent. Letter styles may vary; the rubric accepts legible alternatives.
- Draw upper teeth along the snout margin, pointing downward.
- Draw lower teeth along the jaw bar, pointing upward.
- Add a label line from each part to a clear label: cranium, fenestra, tooth row, jaw hinge.
- Check that no label line crosses a fenestra opening.
- Erase construction guides lightly and keep final bone outlines clean.
Worked example
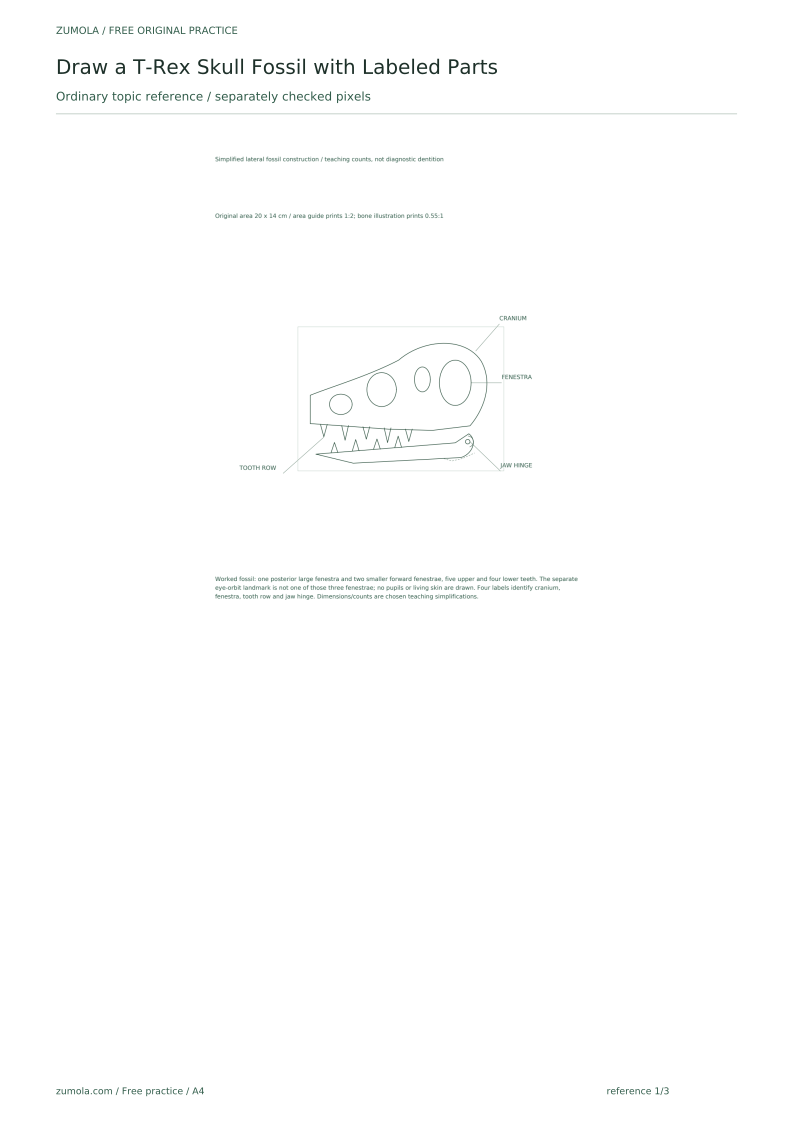
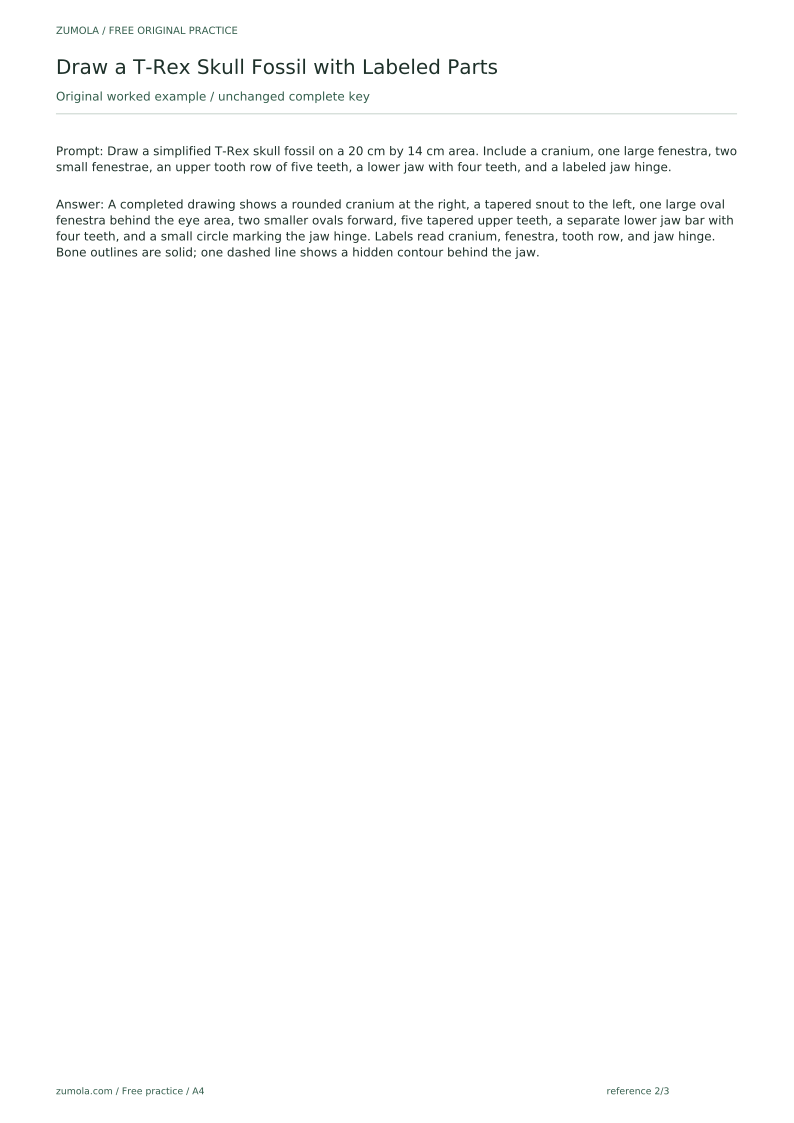
Draw a simplified T-Rex skull fossil on a 20 cm by 14 cm area. Include a cranium, one large fenestra, two small fenestrae, an upper tooth row of five teeth, a lower jaw with four teeth, and a labeled jaw hinge.
Worked answer
A completed drawing shows a rounded cranium at the right, a tapered snout to the left, one large oval fenestra behind the eye area, two smaller ovals forward, five tapered upper teeth, a separate lower jaw bar with four teeth, and a small circle marking the jaw hinge. Labels read cranium, fenestra, tooth row, and jaw hinge. Bone outlines are solid; one dashed line shows a hidden contour behind the jaw.
Four practice exercises
Exercise 1
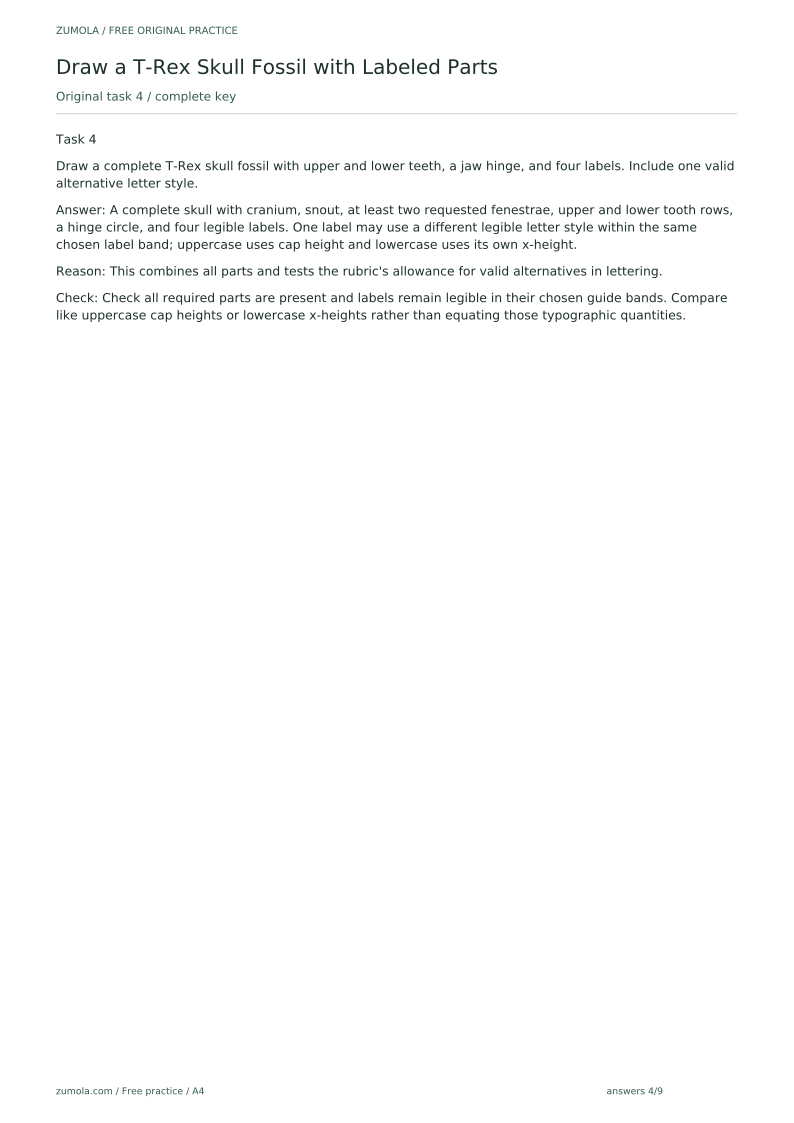
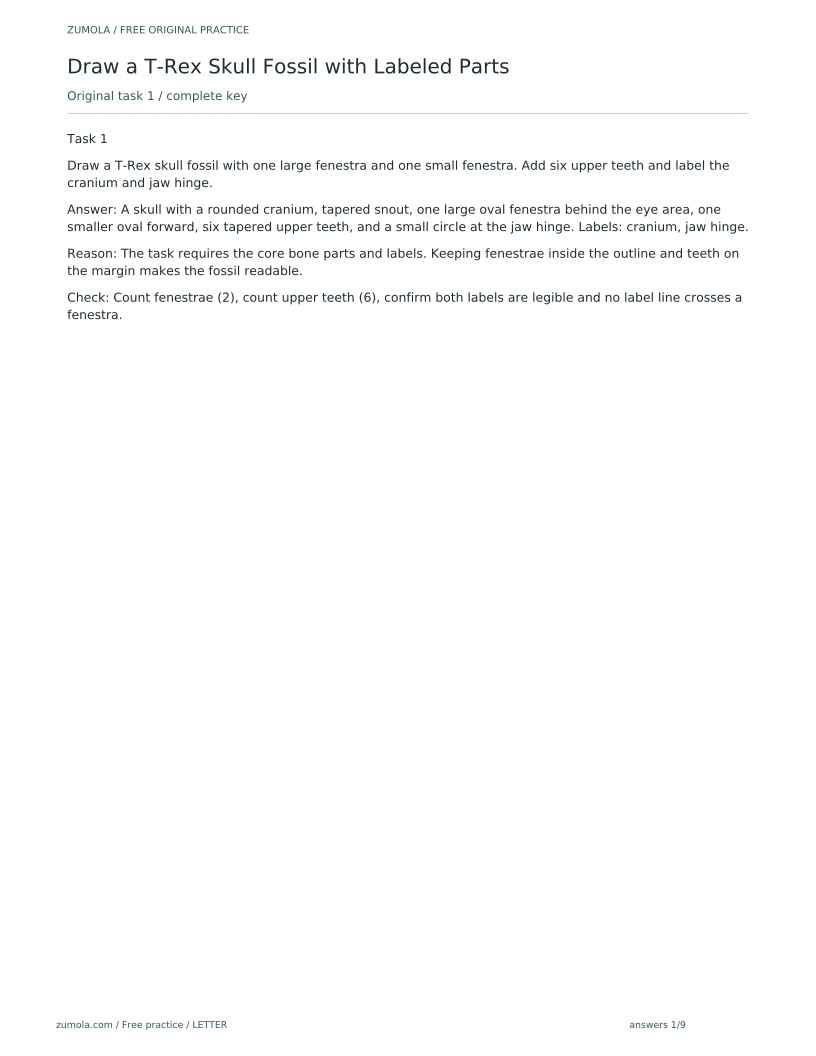
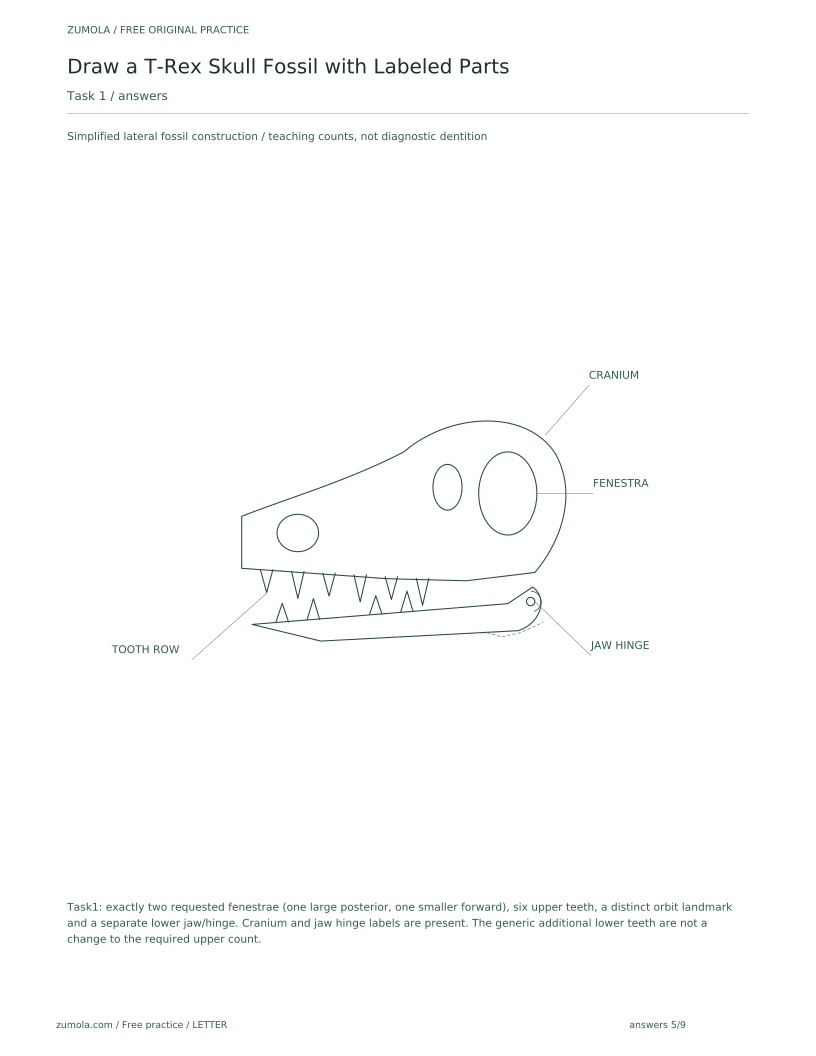
Draw a T-Rex skull fossil with one large fenestra and one small fenestra. Add six upper teeth and label the cranium and jaw hinge.
Show answer and check
A skull with a rounded cranium, tapered snout, one large oval fenestra behind the eye area, one smaller oval forward, six tapered upper teeth, and a small circle at the jaw hinge. Labels: cranium, jaw hinge.
Why: The task requires the core bone parts and labels. Keeping fenestrae inside the outline and teeth on the margin makes the fossil readable.
Check: Count fenestrae (2), count upper teeth (6), confirm both labels are legible and no label line crosses a fenestra.
Exercise 2
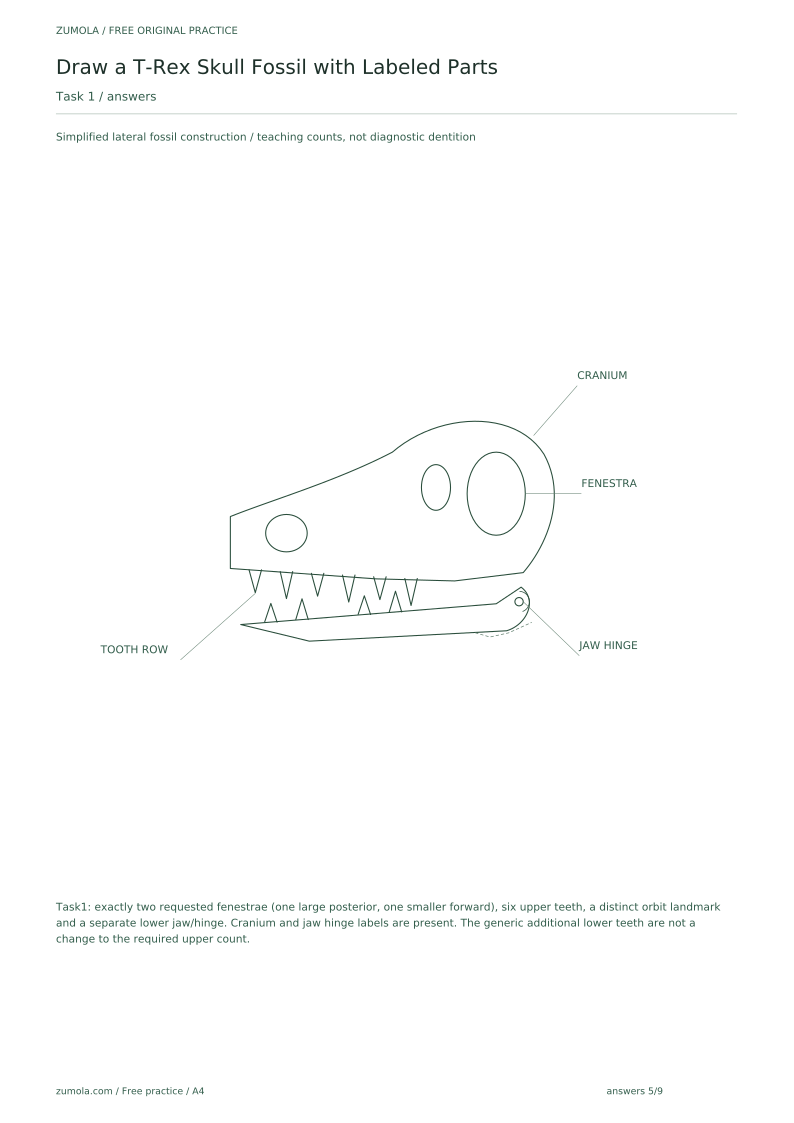
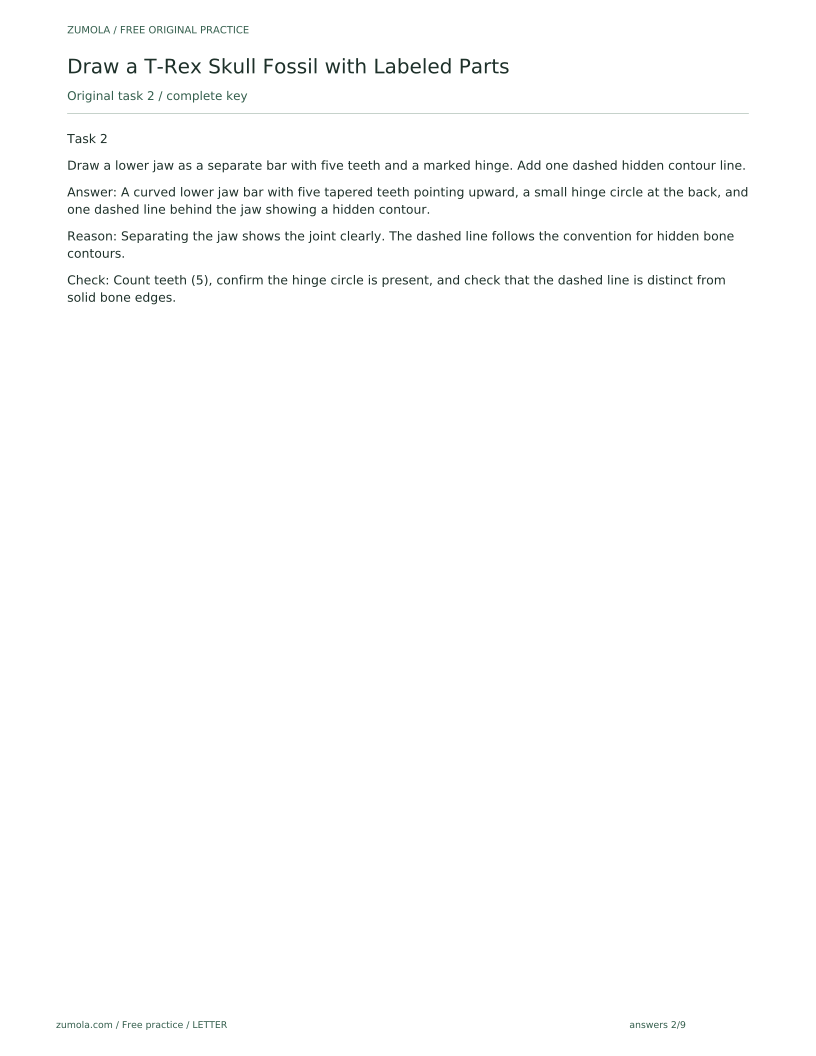
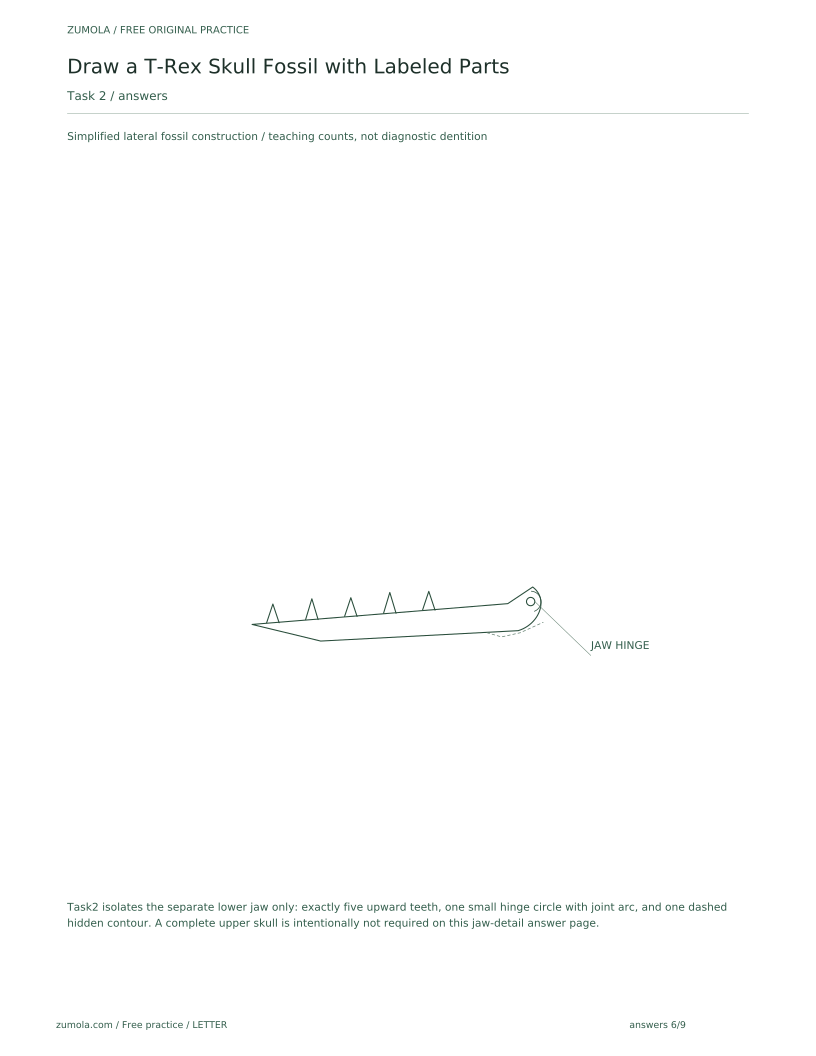
Draw a lower jaw as a separate bar with five teeth and a marked hinge. Add one dashed hidden contour line.
Show answer and check
A curved lower jaw bar with five tapered teeth pointing upward, a small hinge circle at the back, and one dashed line behind the jaw showing a hidden contour.
Why: Separating the jaw shows the joint clearly. The dashed line follows the convention for hidden bone contours.
Check: Count teeth (5), confirm the hinge circle is present, and check that the dashed line is distinct from solid bone edges.
Exercise 3
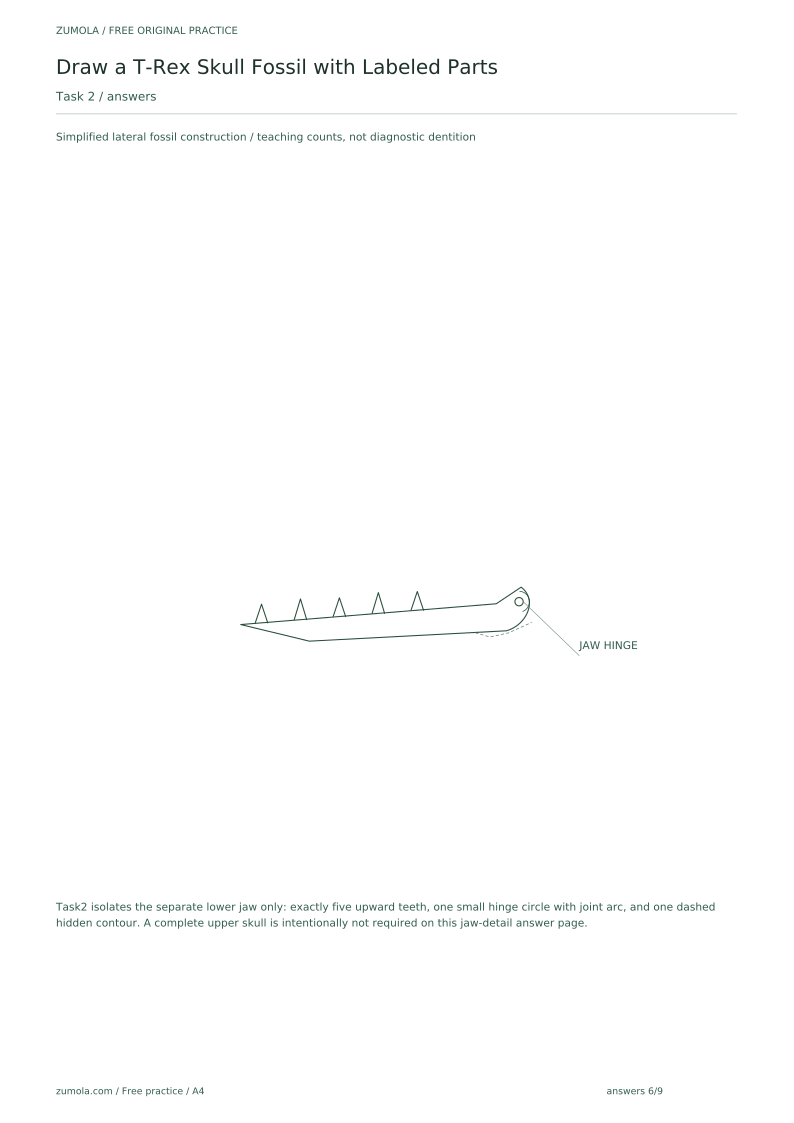
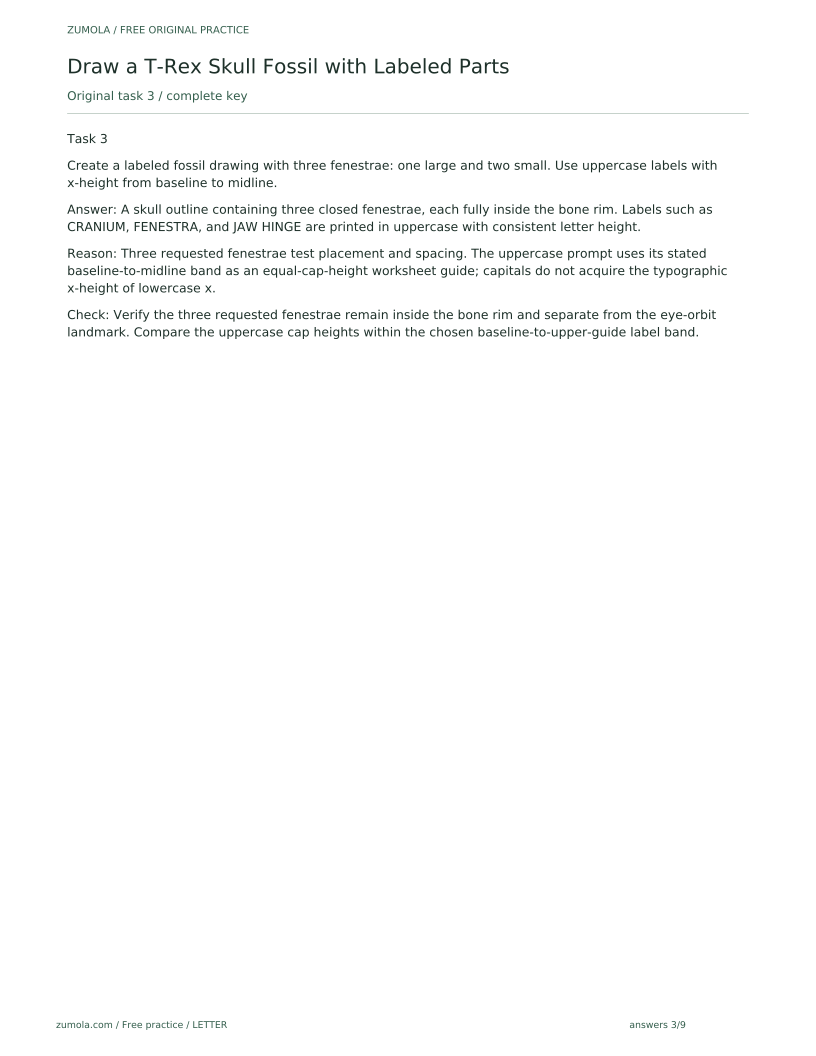
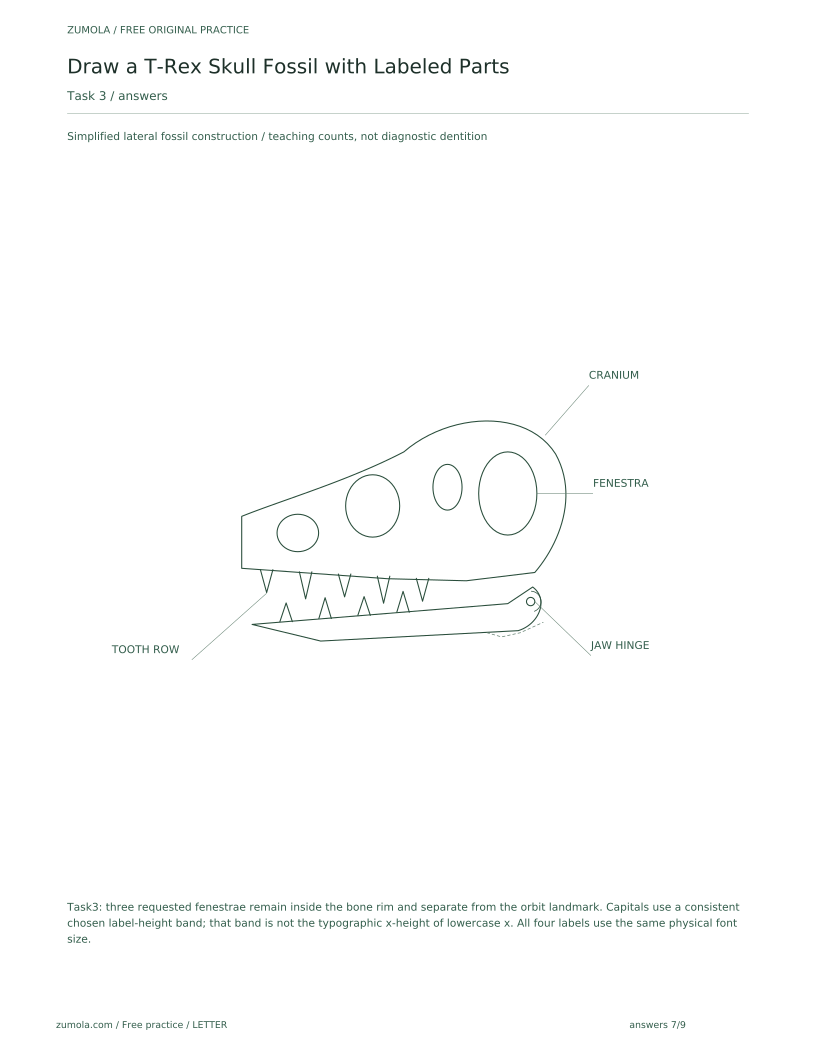
Create a labeled fossil drawing with three fenestrae: one large and two small. Use uppercase labels with x-height from baseline to midline.
Show answer and check
A skull outline containing three closed fenestrae, each fully inside the bone rim. Labels such as CRANIUM, FENESTRA, and JAW HINGE are printed in uppercase with consistent letter height.
Why: Three requested fenestrae test placement and spacing. The uppercase prompt uses its stated baseline-to-midline band as an equal-cap-height worksheet guide; capitals do not acquire the typographic x-height of lowercase x.
Check: Verify the three requested fenestrae remain inside the bone rim and separate from the eye-orbit landmark. Compare the uppercase cap heights within the chosen baseline-to-upper-guide label band.
Exercise 4
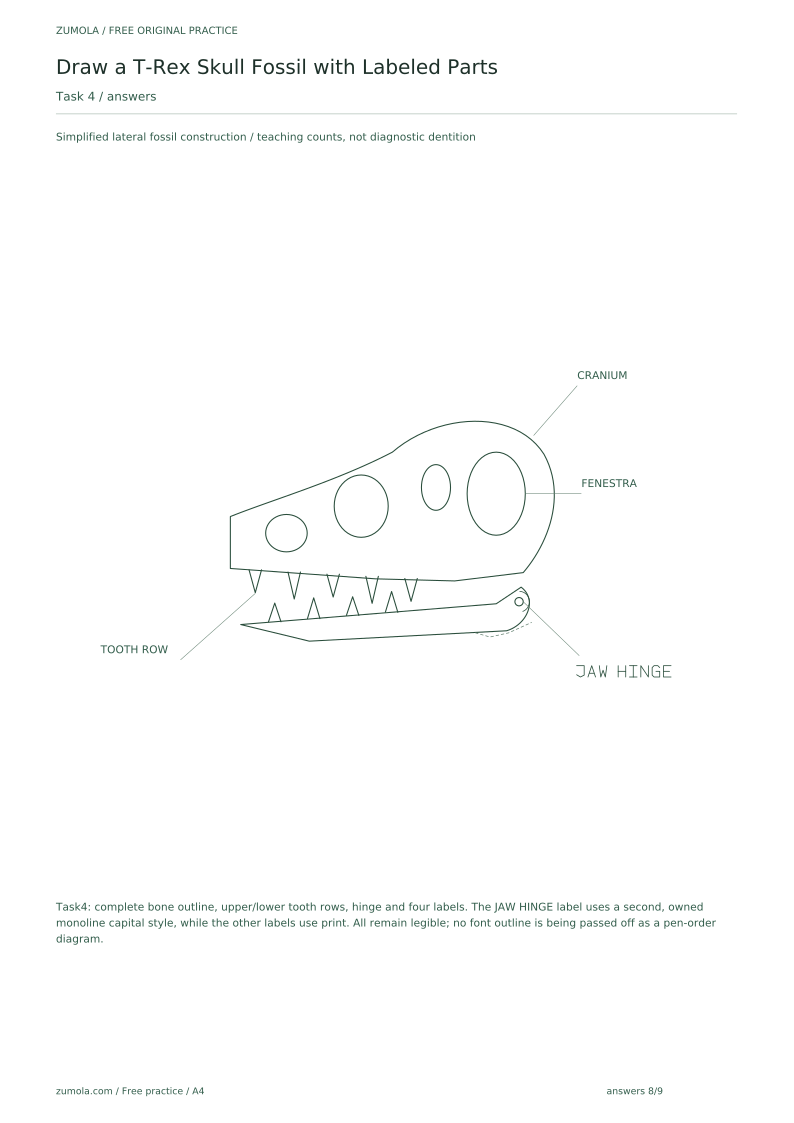
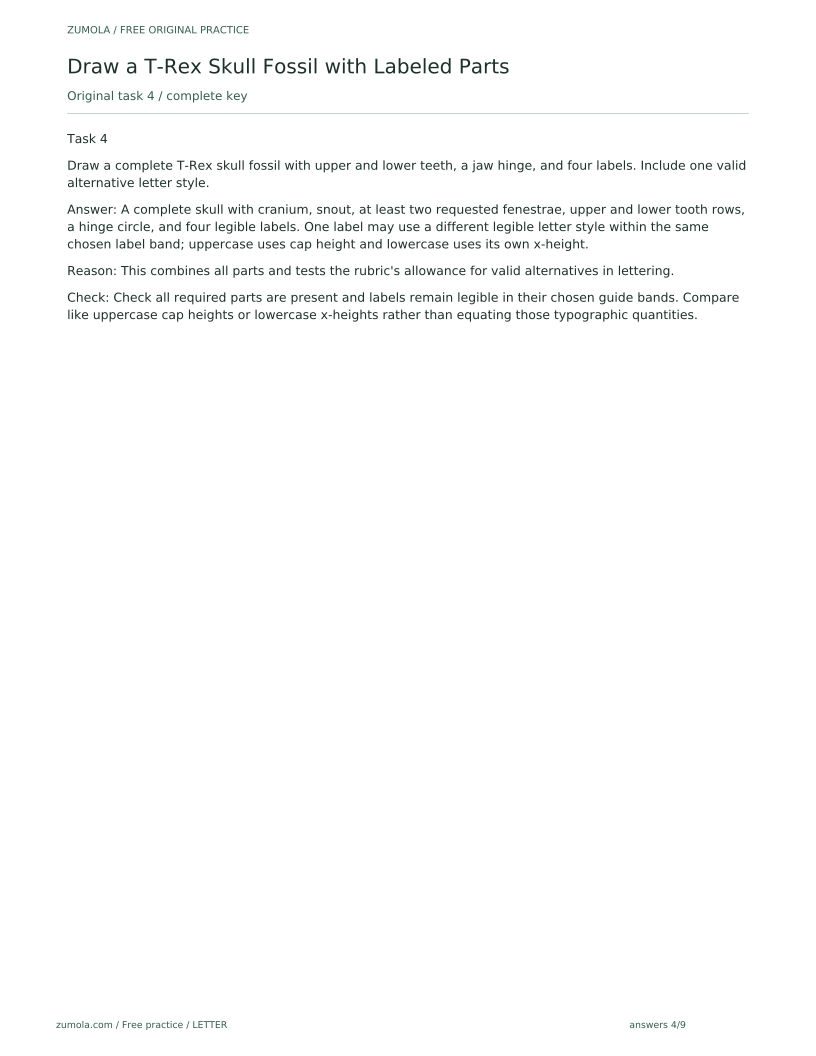
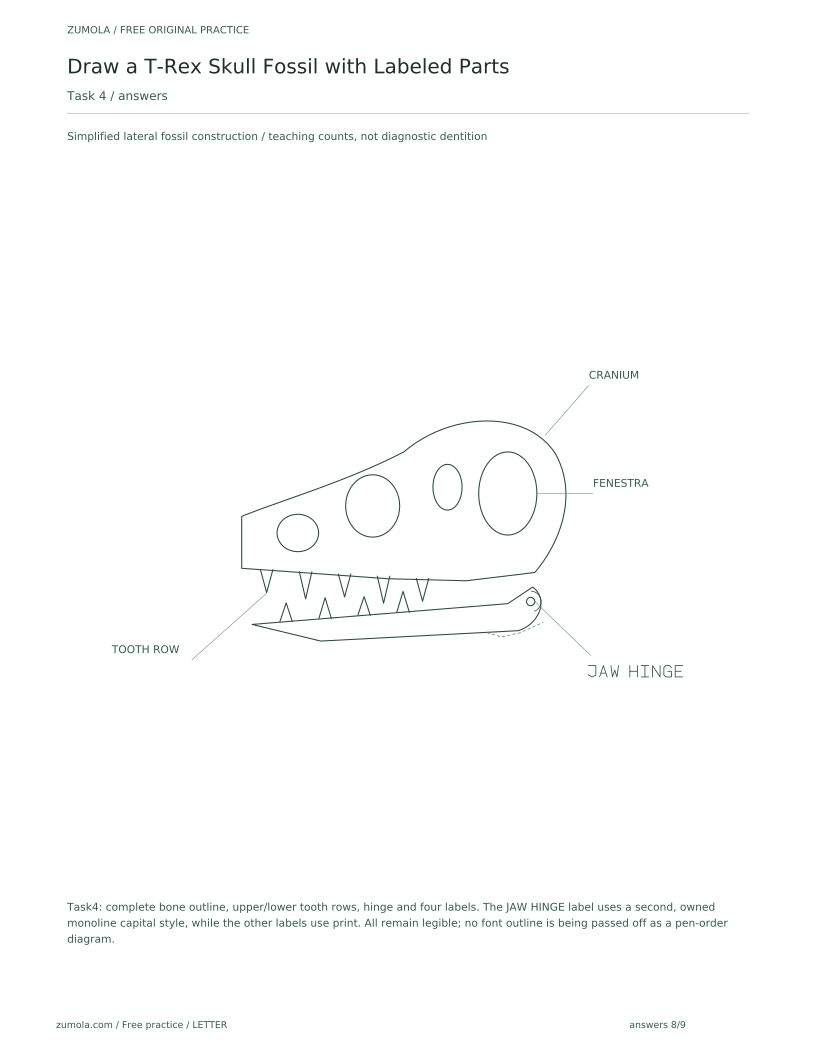
Draw a complete T-Rex skull fossil with upper and lower teeth, a jaw hinge, and four labels. Include one valid alternative letter style.
Show answer and check
A complete skull with cranium, snout, at least two requested fenestrae, upper and lower tooth rows, a hinge circle, and four legible labels. One label may use a different legible letter style within the same chosen label band; uppercase uses cap height and lowercase uses its own x-height.
Why: This combines all parts and tests the rubric's allowance for valid alternatives in lettering.
Check: Check all required parts are present and labels remain legible in their chosen guide bands. Compare like uppercase cap heights or lowercase x-heights rather than equating those typographic quantities.
Common mistakes
- Drawing the skull as a living dinosaur head with skin or eyes. Use only bone outlines and openings; omit skin, pupils, and soft tissue.
- Letting fenestrae touch or cross the outer bone edge. Keep each opening fully inside the bone outline with a visible bone rim.
- Merging the lower jaw into the cranium so the hinge disappears. Draw the jaw as a separate bar and mark the hinge with a small circle.
- Using inconsistent label letter heights. Use a consistent chosen baseline-to-upper-guide label band; compare lowercase x-height for lowercase print and cap height for uppercase print.
Self-check rubric
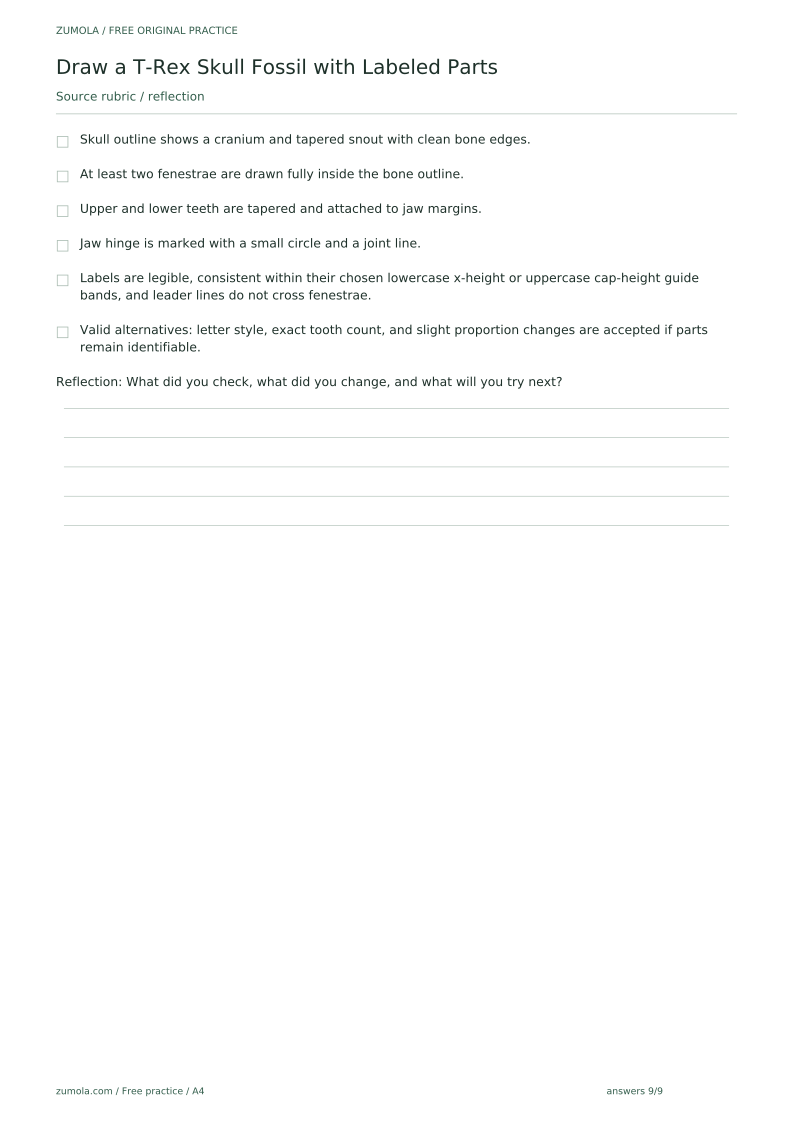
- Skull outline shows a cranium and tapered snout with clean bone edges.
- At least two fenestrae are drawn fully inside the bone outline.
- Upper and lower teeth are tapered and attached to jaw margins.
- Jaw hinge is marked with a small circle and a joint line.
- Labels are legible, consistent within their chosen lowercase x-height or uppercase cap-height guide bands, and leader lines do not cross fenestrae.
- Valid alternatives: letter style, exact tooth count, and slight proportion changes are accepted if parts remain identifiable.
Questions and answers
Do I need to copy a real fossil exactly?
No. The goal is a clear, labeled bone construction. Proportions may vary as long as the cranium, fenestrae, teeth, and jaw hinge are identifiable.
How many fenestrae should I draw?
Use at least two: one large opening behind the eye and one smaller forward opening. More may be added if labels remain clear.
What if my teeth are different sizes?
Slight variation is acceptable. Keep each tooth tapered and attached to the jaw margin, and avoid teeth crossing into fenestrae.
Can I use cursive labels?
Yes, if legible. The convention defines x-height as baseline to midline; any letter style that keeps that height is valid.
Free printable downloads
Choose a paper size. Practice sheets and answer keys are separate. Download every file free, without registration.
This standard pack covers the four original exercises, blank work areas, complete keys and necessary figures. Additional extension sets described in the lesson are outside this download.
PDF bundles
Individual SVG pages
Reference-page preview