Free original lessons
Yoga Pose Drawing: Joint Landmarks and Balance Lines
Construct a single yoga pose figure using joint landmarks, balance lines, and a step-by-step method with four practice tasks, a rubric, and a worked example.
Free downloads
Letter & A4
PDF & SVG
Object Drawing Lessons
Drawing a yoga pose is easier when you build the figure from clear joint landmarks and check balance before adding surface detail. This guide uses a construction convention: mark major joints with small crosses, connect them with balance lines, and test whether the figure could hold the pose. The x-height convention applies only to handwriting topics; here it is not used. Instead, measure the torso from the baseline to the midline as a reference height, and treat all proportions as adjustable guides. The method works for any single pose and keeps clothing and studio scenery out of the construction stage.
Practice materials: Download the free reference pages, practice sheets and separate answer keys below, in A4 and US Letter PDF and SVG formats.
Set a joint-landmark convention
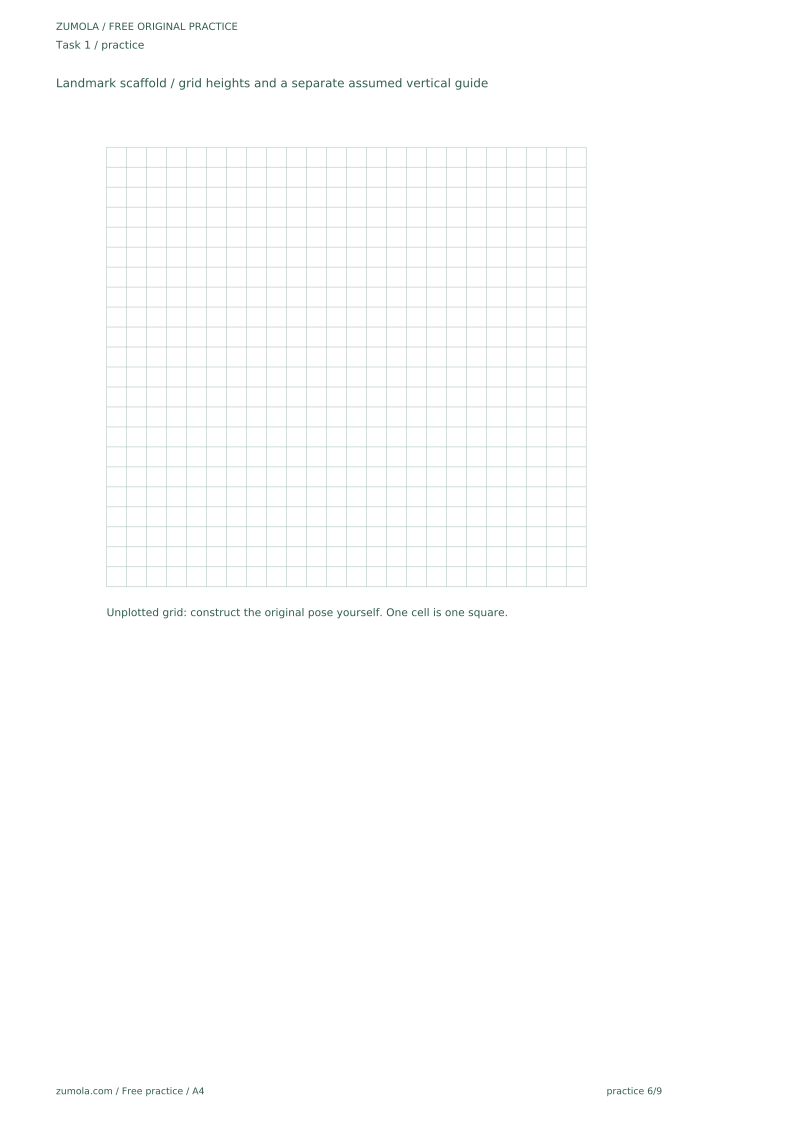
Begin by marking ten landmarks on your page: two shoulders, two hips, two knees, and two ankles, plus the head center and the pelvis center. Use small crosses, not circles, so you can adjust them without erasing a large shape. The baseline is the lowest support point, such as a foot, hand, knee, or pelvis. The midline of the torso is a horizontal reference line you choose; the vertical distance from the baseline to the midline is your reference height. Label each cross lightly and keep all measurements in the same unit, such as grid squares.
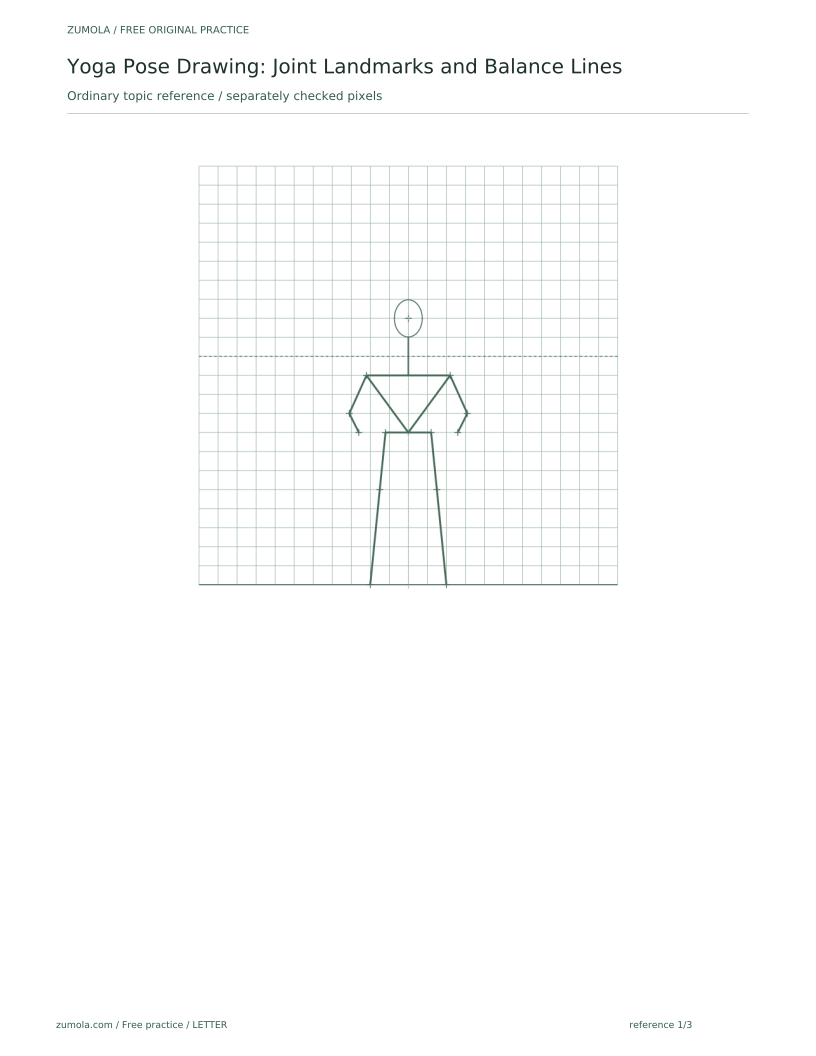
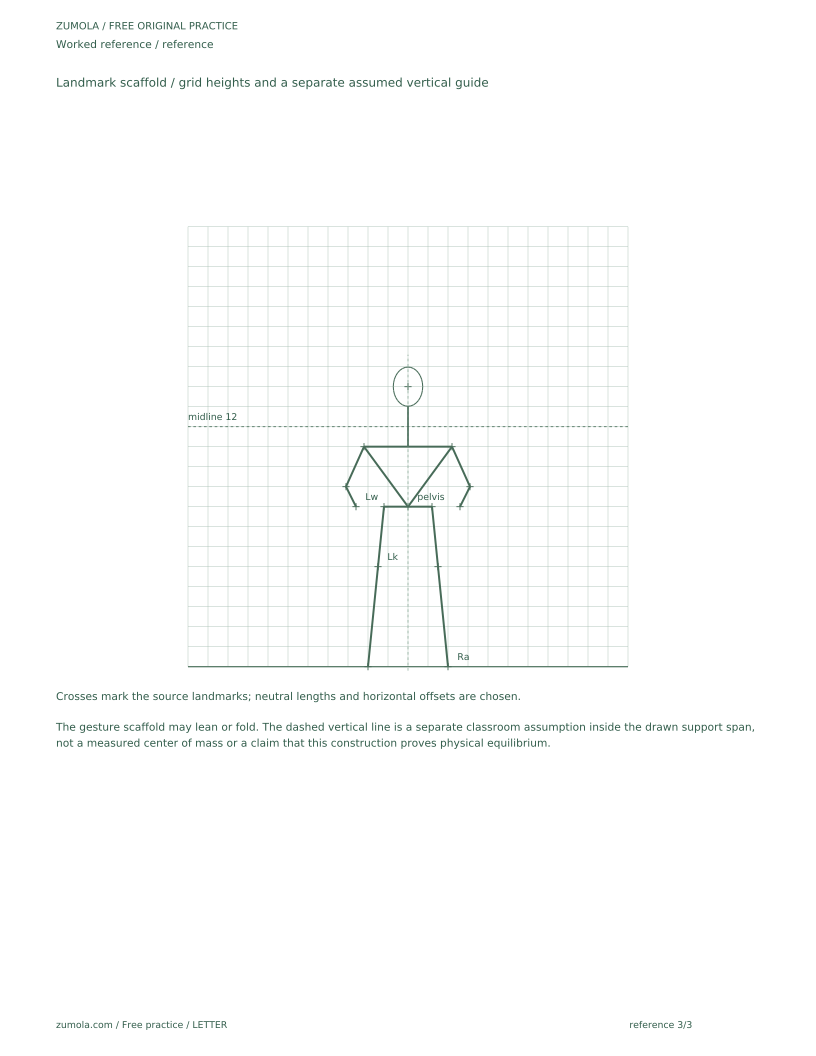
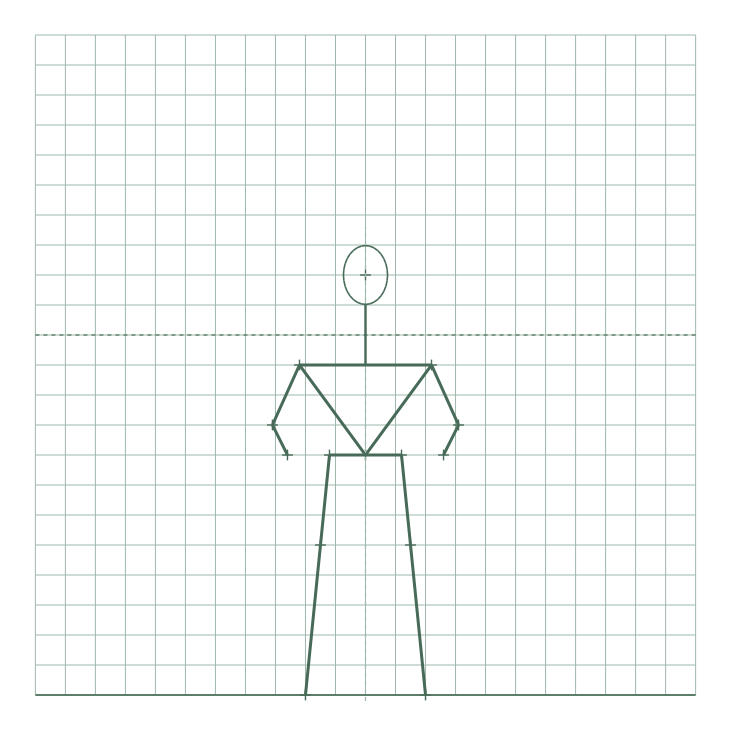
If you choose a numerical example, label it as hypothetical. For instance, a standing figure might use a baseline-to-midline height of 12 grid squares, with the head center 2 squares above the midline, shoulders 3 squares below the head center (landing 1 square below the midline), and hips 3 squares below the shoulders so the hip crosses land 4 squares below the midline. Place the pelvis center at the same level as the hip crosses, 4 squares below the midline. These numbers are examples only; measure your own page and adjust.
- Draw a baseline and mark the lowest support point.
- Place pelvis and head from the pose-specific landmarks. Add a separate vertical balance guide rather than forcing them onto one vertical line in every pose.
- Add shoulder, hip, knee, and ankle crosses on both sides.
- Check that each cross is within one grid square of its planned position.
Connect joints with balance lines
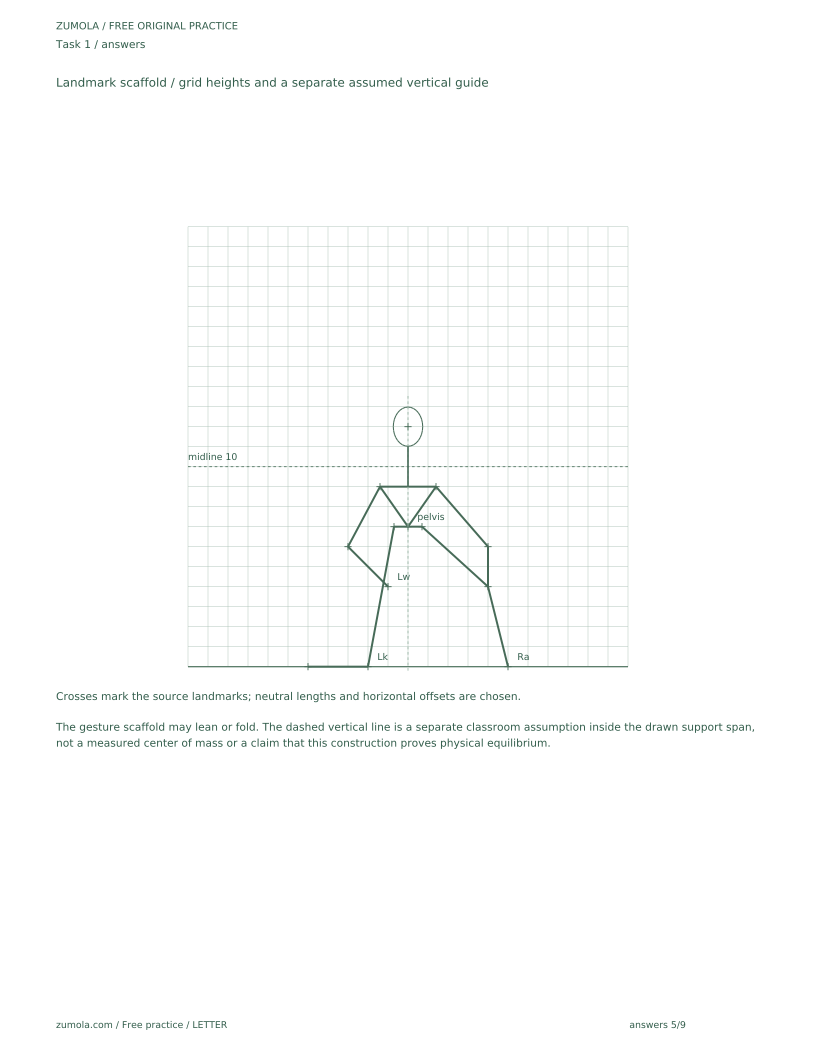
Connect joint landmarks with gesture construction lines: head through torso toward pelvis, each shoulder toward its hip, and each hip toward knee and ankle. These lines may lean or curve and are not a computed gravitational line. Separately mark a vertical balance guide relative to the drawn support region as the chosen classroom graphic check. The head and pelvis need not share a horizontal coordinate in a forward fold or hands-and-knees pose. The real body center of mass and contact forces are not determined by these landmark heights, so passing this drawing check does not prove physical stability. Keep paired joint heights consistent unless the selected pose requires a tilt.
For seated or kneeling figures, mark the stated contacts, such as shin, foot, hand or pelvis, and their drawn support extent. Keep the supplied vertical guide within that extent for the worksheet check, while preserving the pose-specific head and pelvis positions. Do not move the head above the pelvis merely to straighten a gesture line. Count the planned horizontal and vertical offsets. A chosen adjustment threshold of two squares in a standing drawing is only a hypothetical classroom choice, not a fixed balance rule.
- Draw the gesture connection and the separate vertical balance guide; label their different roles.
- Add shoulder-to-hip and hip-to-knee lines on both sides.
- Mark the support area on the baseline.
- Measure horizontal offset from support point to pelvis center and adjust if needed.
Build the pose in sequence
Work from the center outward. First fix the pelvis and head, then the shoulders, then the hips and knees, and finally the ankles and hands. This order prevents limbs from drifting when you adjust the torso. Keep the joint crosses visible until the final outline. When a limb crosses another, draw the nearer limb last so the overlap is clear. Do not add clothing folds or facial features during construction; those come after the balance check.
Use the baseline-to-midline reference height to keep the torso proportional. If the baseline-to-midline height is 12 squares, the head center might sit 2 squares above the midline, and the pelvis center 4 squares below it. These are hypothetical examples. Measure your own figure and record the values you use so you can repeat the pose consistently.
- Fix pelvis and head at their pose-specific positions; they need not share one vertical line.
- Place shoulder crosses relative to the head center.
- Place hip, knee, and ankle crosses relative to the pelvis center.
- Draw the outline last, keeping joint crosses as reference points.
Check balance and proportion
Before finalizing, run three checks. First, the separate vertical balance guide should pass through the support area. Second, paired joints such as left and right shoulders should be within one grid square of each other in height unless the pose intentionally tilts. Third, the distance from pelvis center to knee should be roughly equal on both sides for symmetric poses. For asymmetric poses, compare each limb to its own planned length rather than to the opposite limb.
Record your checks as simple yes or no answers. If a check fails, adjust the nearest joint cross by one grid square and recheck. This keeps changes small and measurable. The rubric below allows valid alternatives: a narrow oval torso and a rounded rectangle torso can both pass if the joint crosses and balance lines are consistent.
- Trace the separate vertical balance guide to the support area.
- Compare paired joint heights in grid squares.
- Compare limb lengths on each side to planned values.
- Adjust one joint cross at a time and recheck.
Worked example
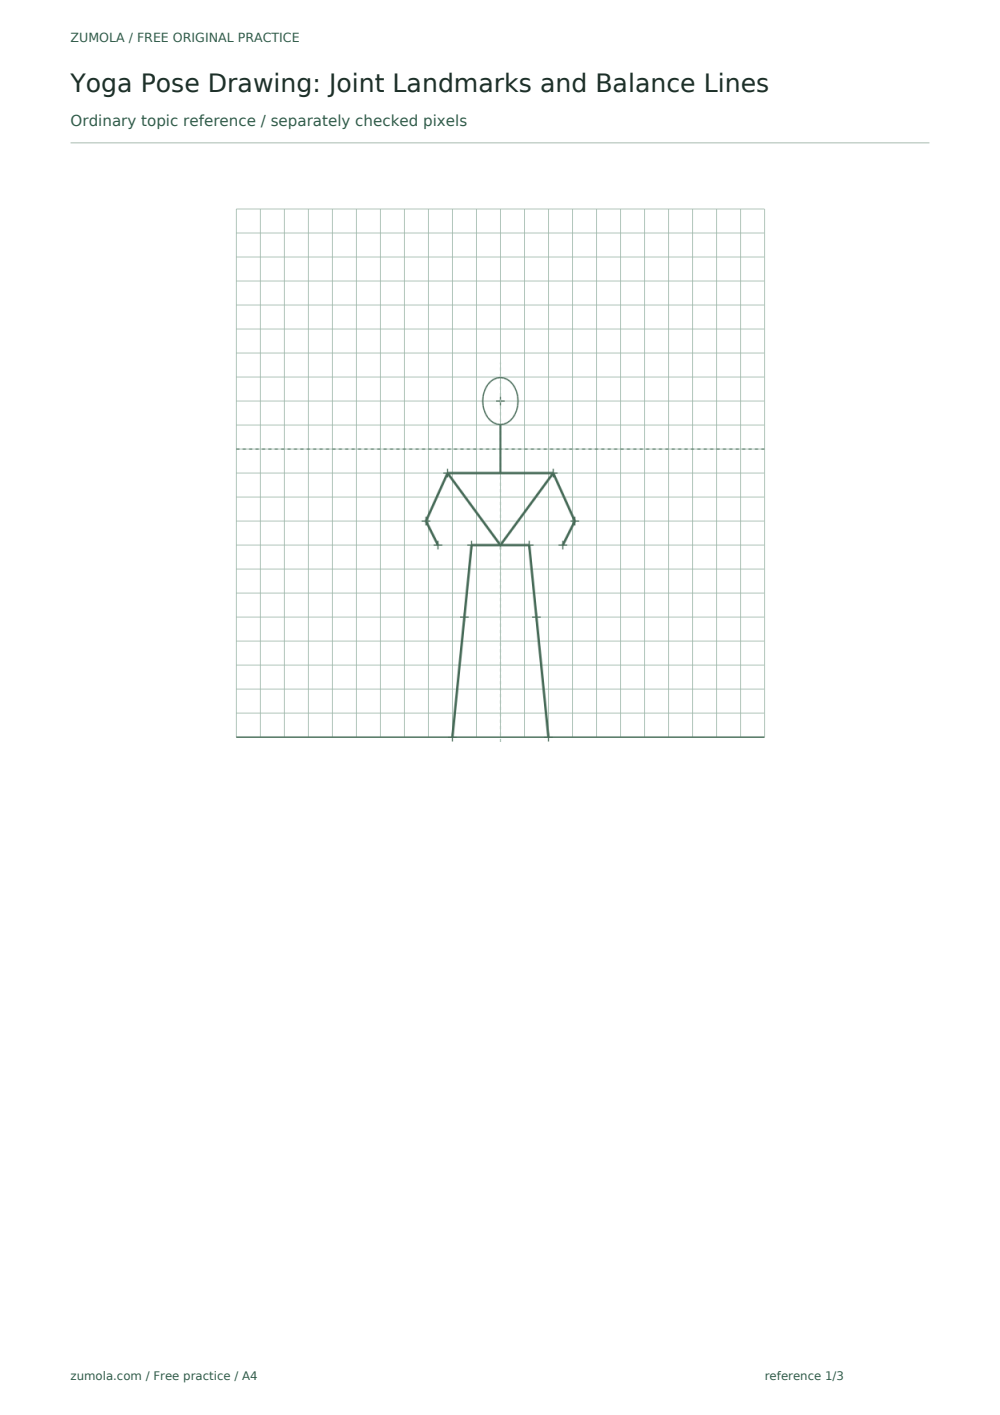
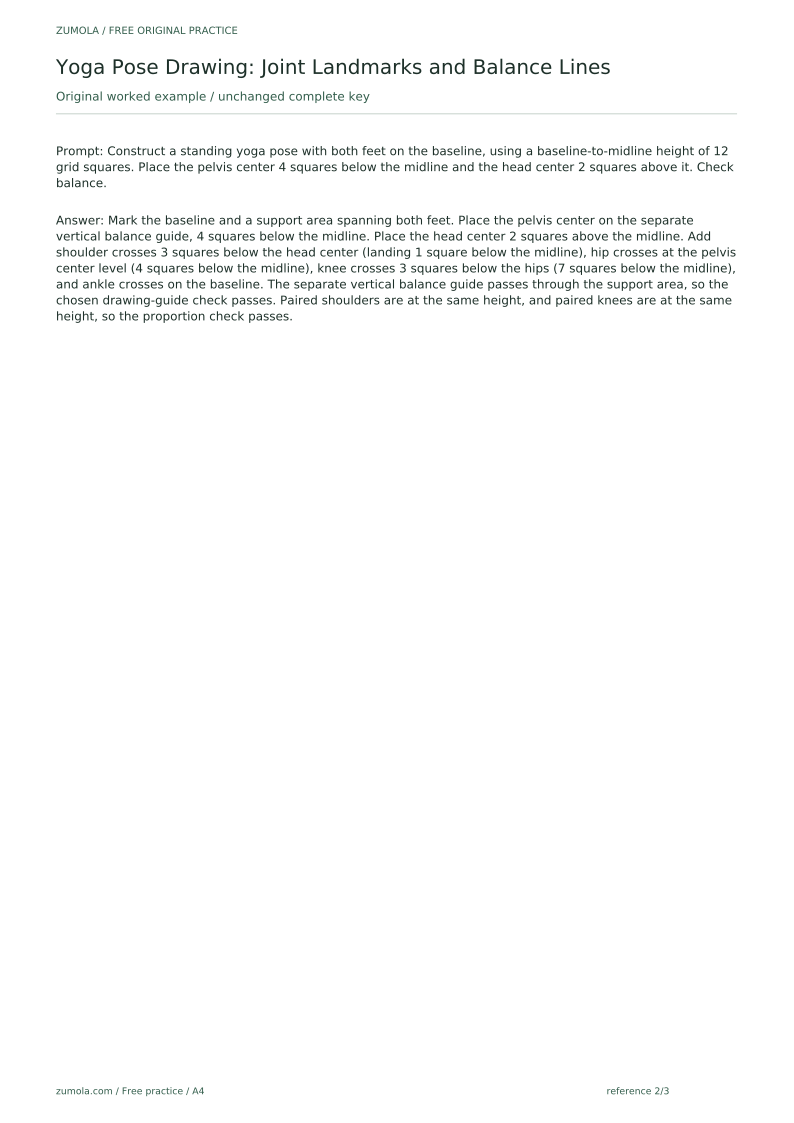
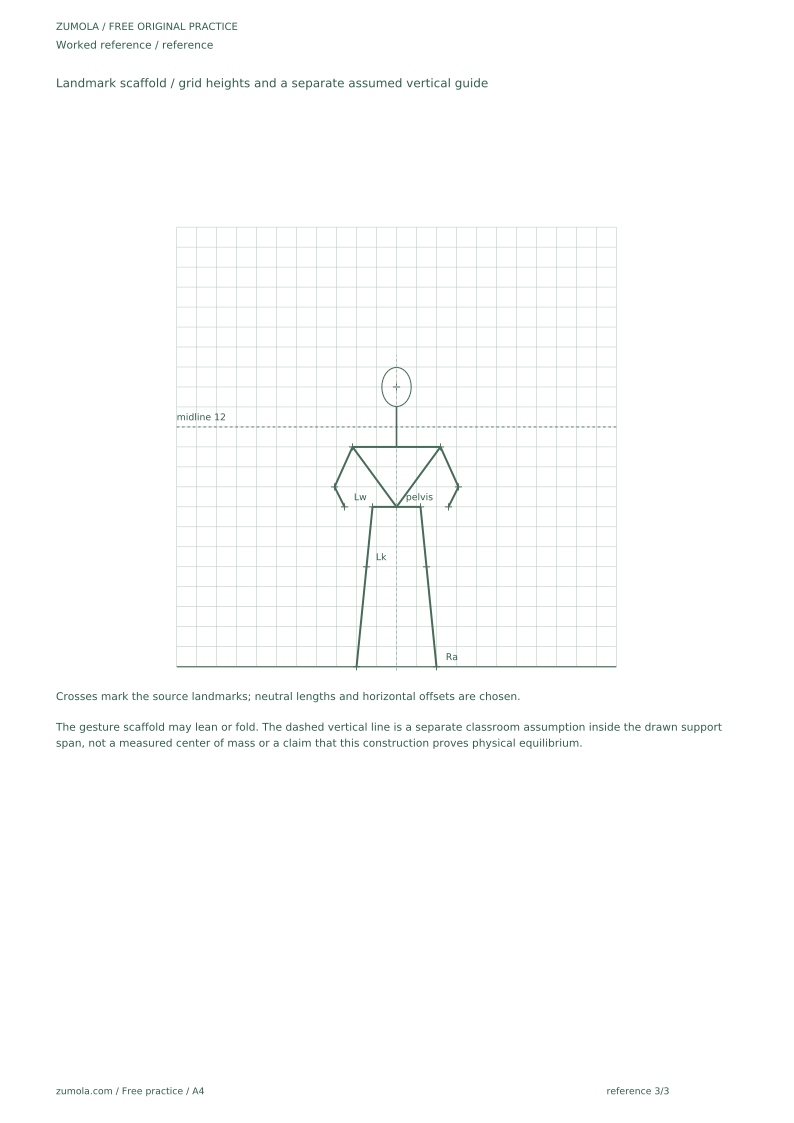
Construct a standing yoga pose with both feet on the baseline, using a baseline-to-midline height of 12 grid squares. Place the pelvis center 4 squares below the midline and the head center 2 squares above it. Check balance.
Worked answer
Mark the baseline and a support area spanning both feet. Place the pelvis center on the separate vertical balance guide, 4 squares below the midline. Place the head center 2 squares above the midline. Add shoulder crosses 3 squares below the head center (landing 1 square below the midline), hip crosses at the pelvis center level (4 squares below the midline), knee crosses 3 squares below the hips (7 squares below the midline), and ankle crosses on the baseline. The separate vertical balance guide passes through the support area, so the chosen drawing-guide check passes. Paired shoulders are at the same height, and paired knees are at the same height, so the proportion check passes.
Four practice exercises
Exercise 1
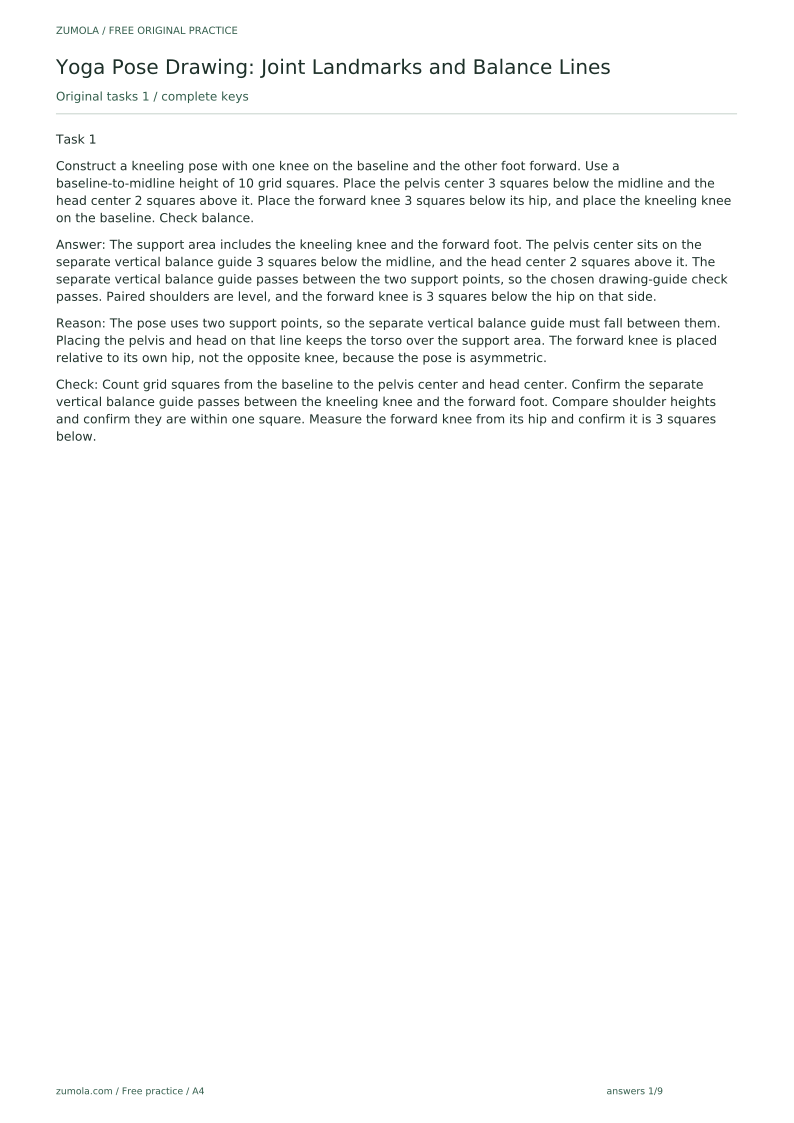
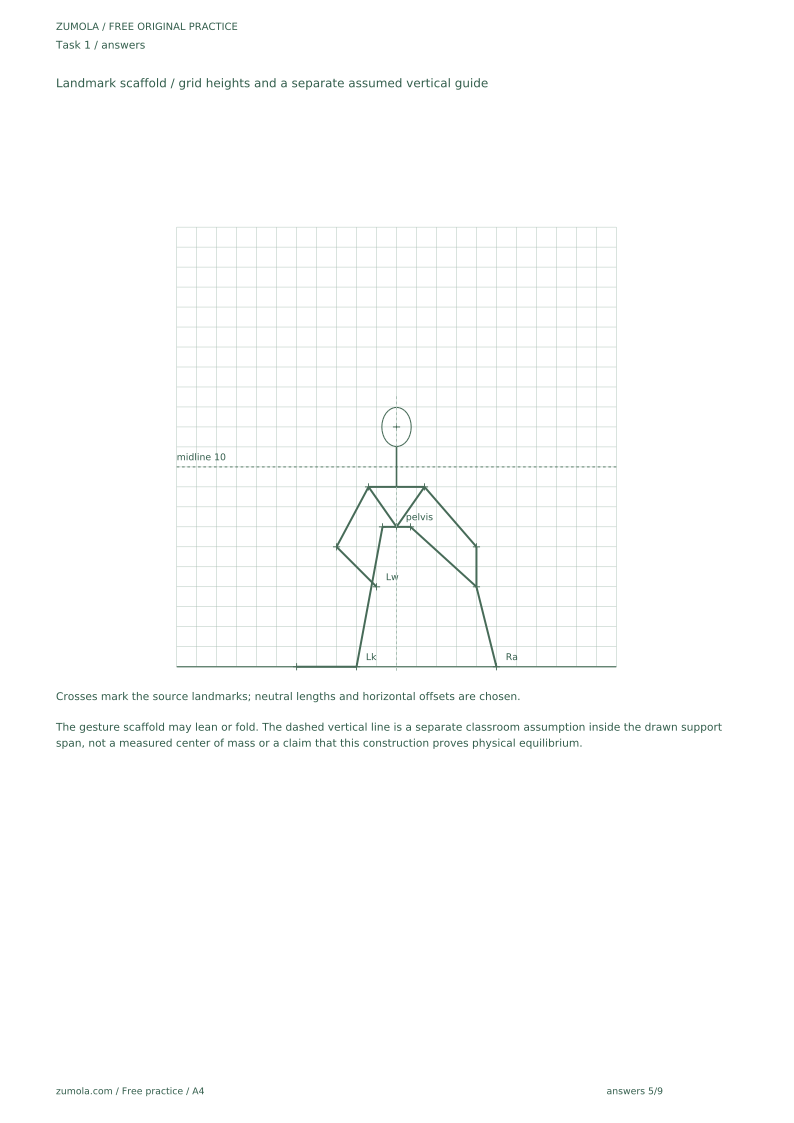
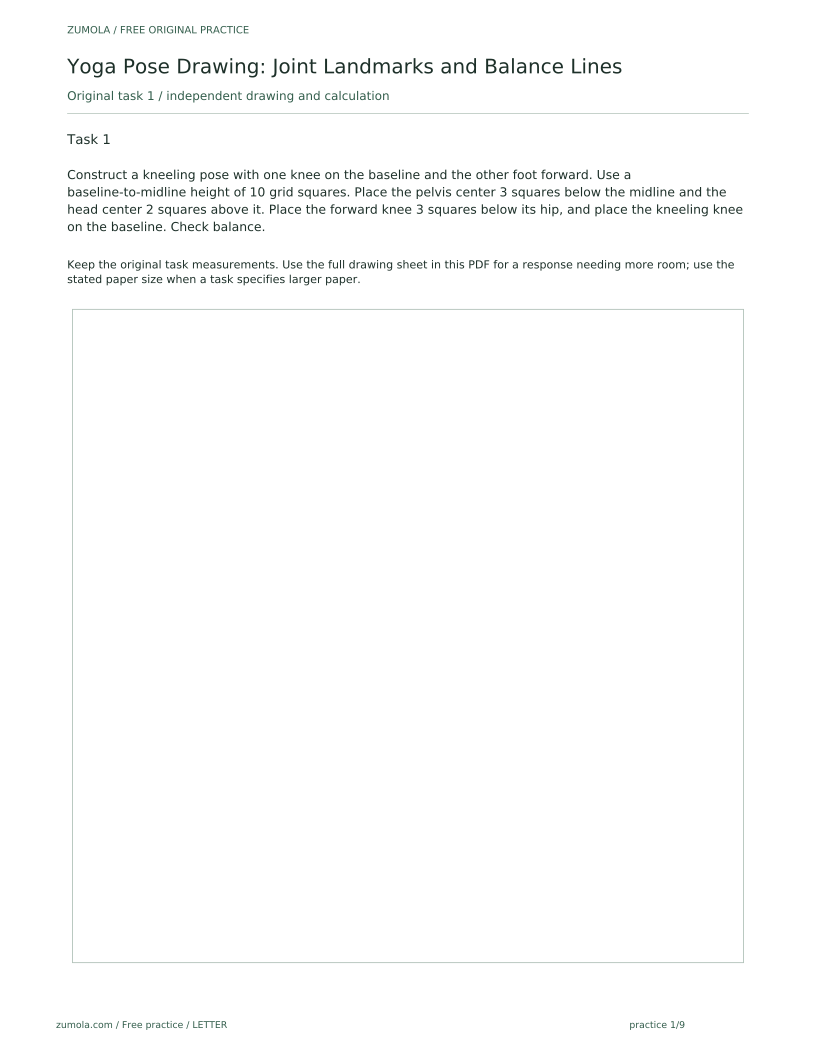
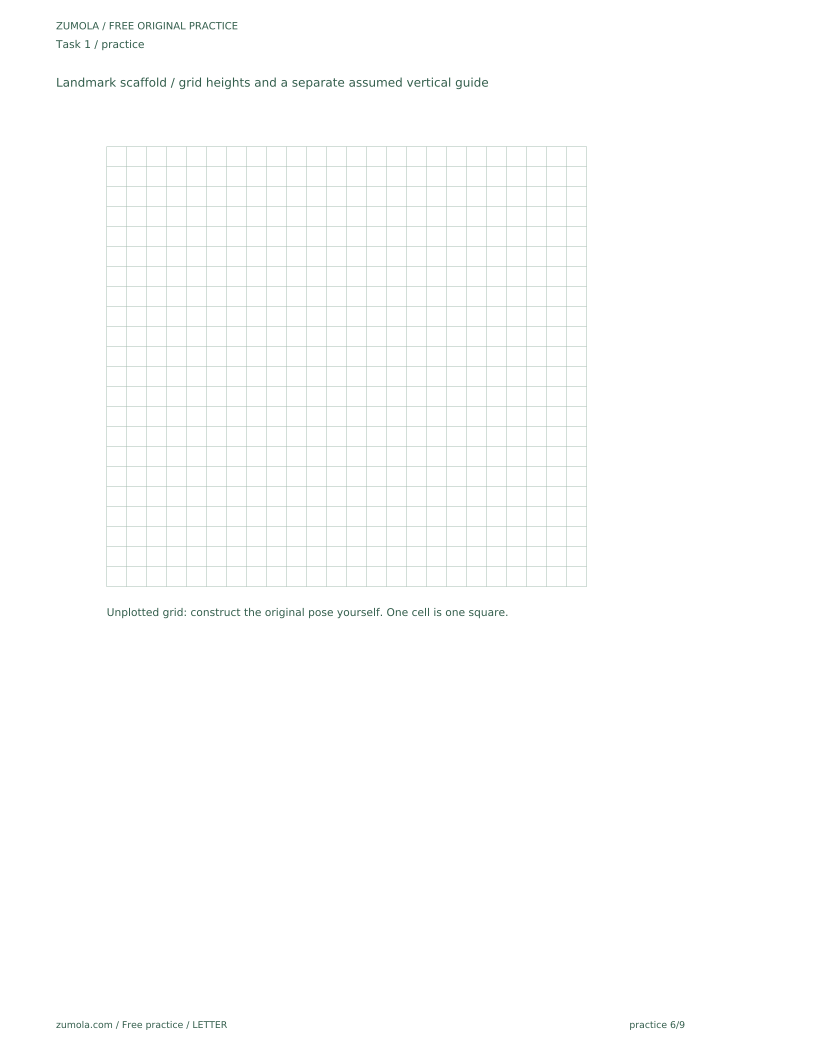
Construct a kneeling pose with one knee on the baseline and the other foot forward. Use a baseline-to-midline height of 10 grid squares. Place the pelvis center 3 squares below the midline and the head center 2 squares above it. Place the forward knee 3 squares below its hip, and place the kneeling knee on the baseline. Check balance.
Show answer and check
The support area includes the kneeling knee and the forward foot. The pelvis center sits on the separate vertical balance guide 3 squares below the midline, and the head center 2 squares above it. The separate vertical balance guide passes between the two support points, so the chosen drawing-guide check passes. Paired shoulders are level, and the forward knee is 3 squares below the hip on that side.
Why: The pose uses two support points, so the separate vertical balance guide must fall between them. Placing the pelvis and head on that line keeps the torso over the support area. The forward knee is placed relative to its own hip, not the opposite knee, because the pose is asymmetric.
Check: Count grid squares from the baseline to the pelvis center and head center. Confirm the separate vertical balance guide passes between the kneeling knee and the forward foot. Compare shoulder heights and confirm they are within one square. Measure the forward knee from its hip and confirm it is 3 squares below.
Exercise 2
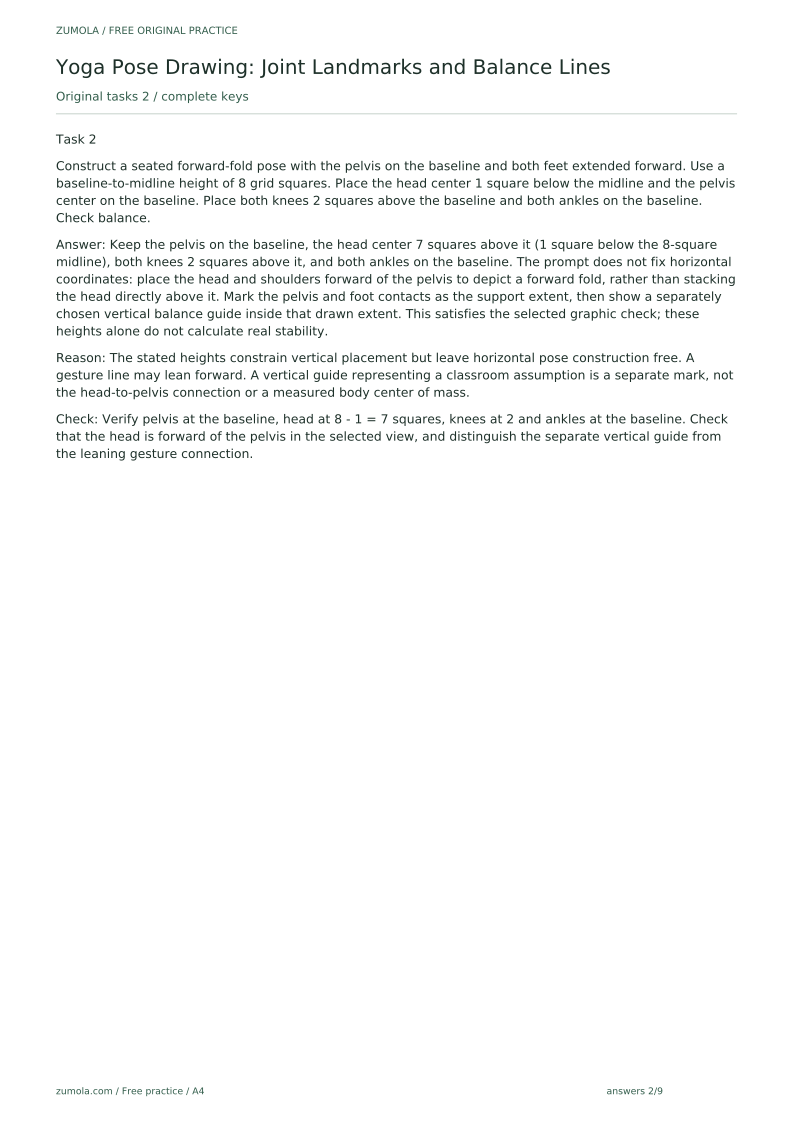
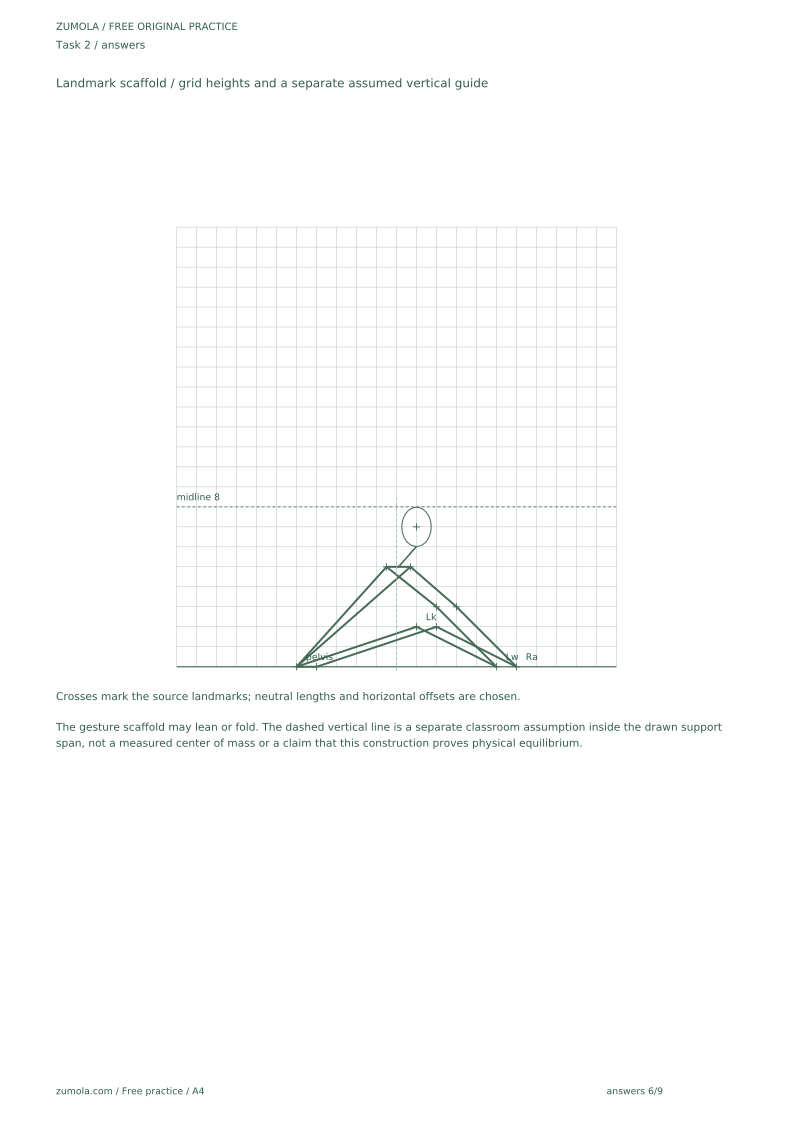
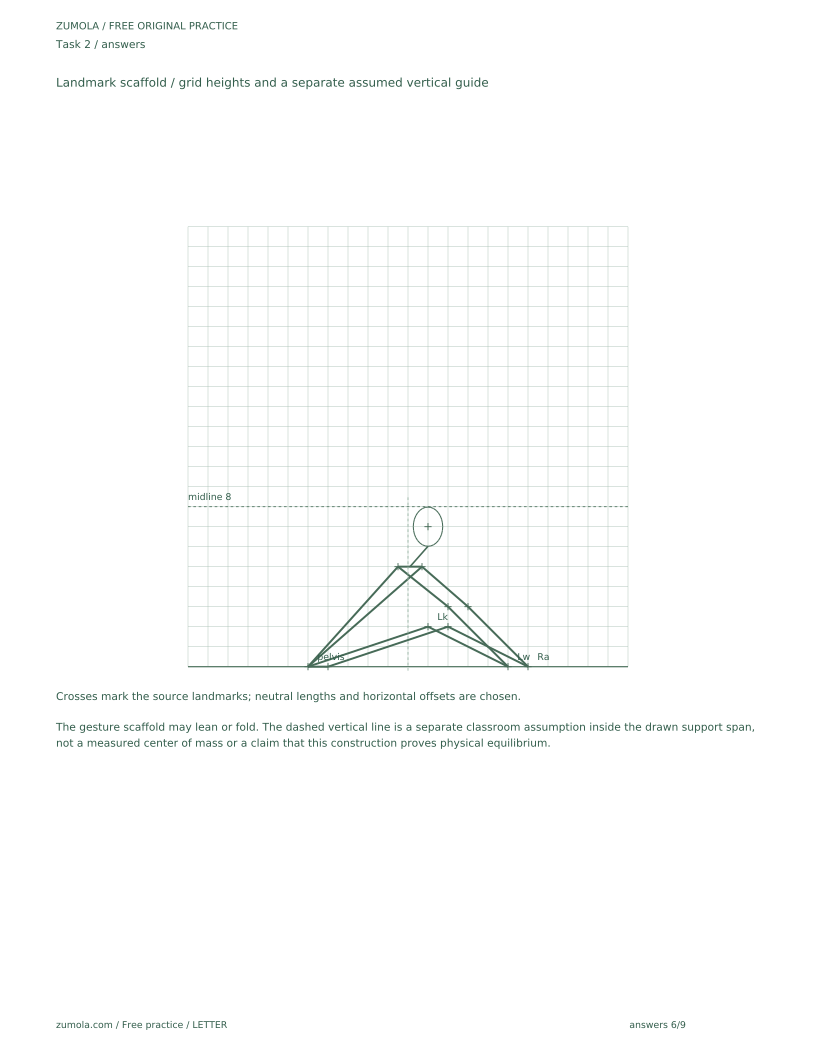
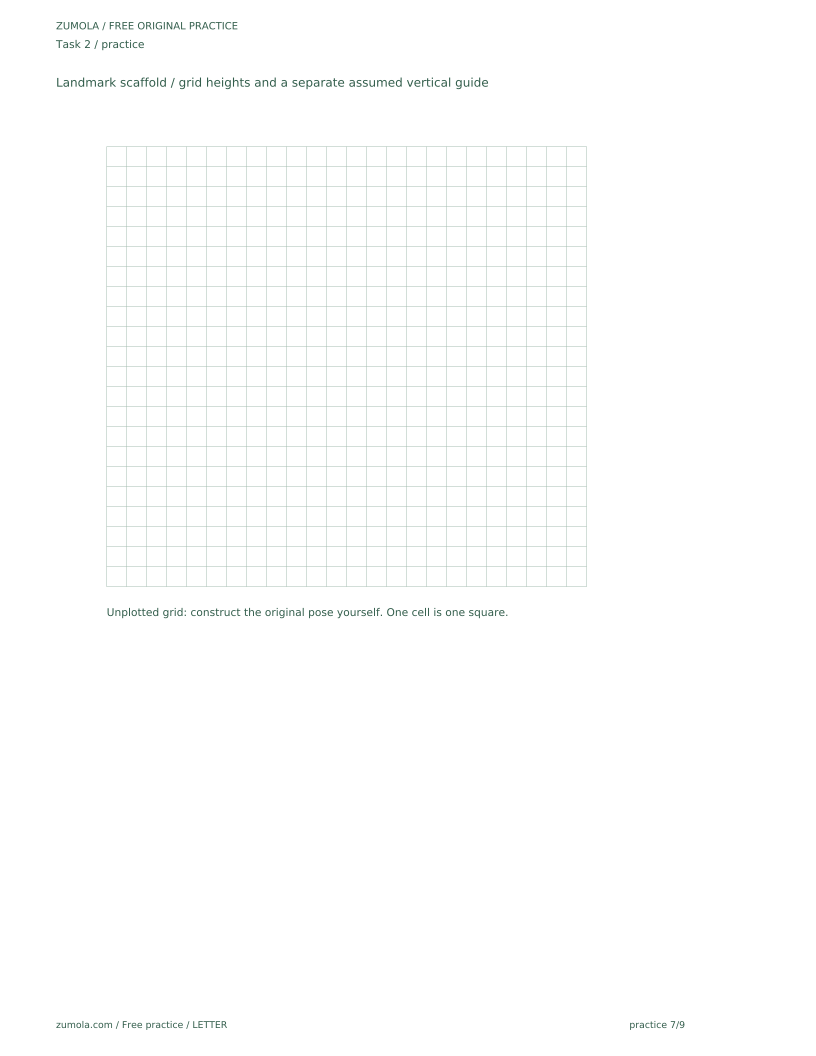
Construct a seated forward-fold pose with the pelvis on the baseline and both feet extended forward. Use a baseline-to-midline height of 8 grid squares. Place the head center 1 square below the midline and the pelvis center on the baseline. Place both knees 2 squares above the baseline and both ankles on the baseline. Check balance.
Show answer and check
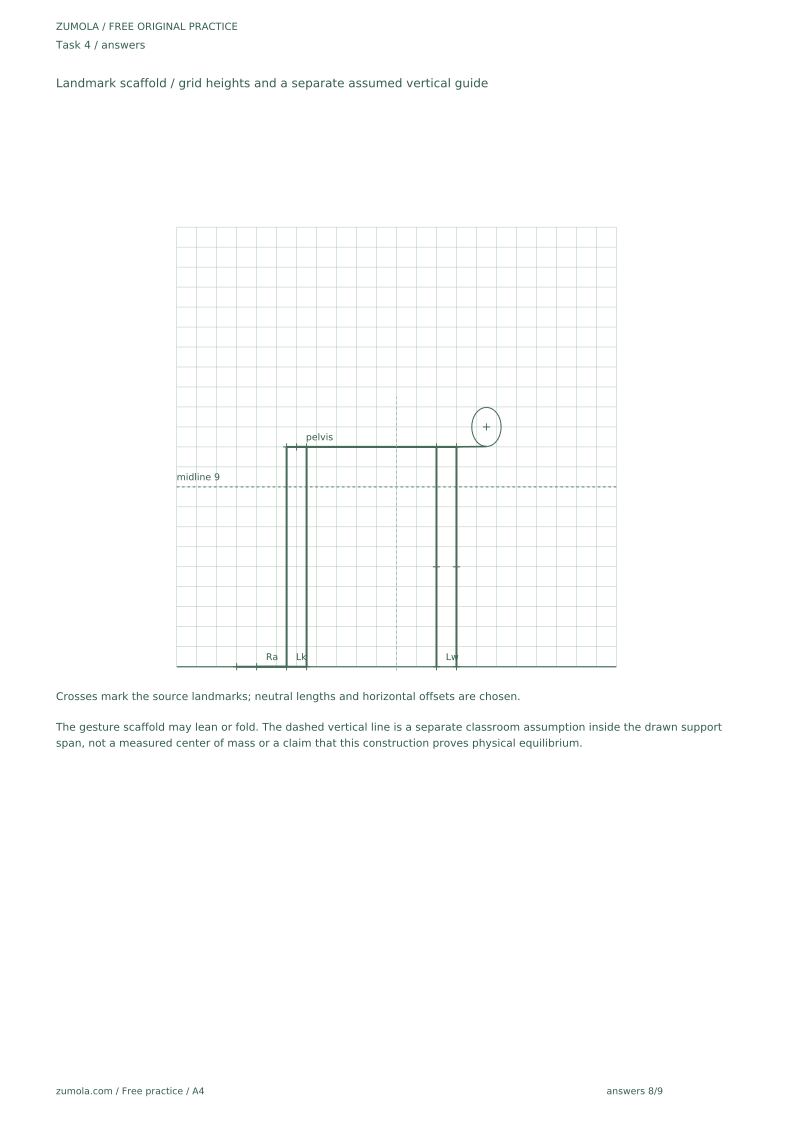
Keep the pelvis on the baseline, the head center 7 squares above it (1 square below the 8-square midline), both knees 2 squares above it, and both ankles on the baseline. The prompt does not fix horizontal coordinates: place the head and shoulders forward of the pelvis to depict a forward fold, rather than stacking the head directly above it. Mark the pelvis and foot contacts as the support extent, then show a separately chosen vertical balance guide inside that drawn extent. This satisfies the selected graphic check; these heights alone do not calculate real stability.
Why: The stated heights constrain vertical placement but leave horizontal pose construction free. A gesture line may lean forward. A vertical guide representing a classroom assumption is a separate mark, not the head-to-pelvis connection or a measured body center of mass.
Check: Verify pelvis at the baseline, head at 8 - 1 = 7 squares, knees at 2 and ankles at the baseline. Check that the head is forward of the pelvis in the selected view, and distinguish the separate vertical guide from the leaning gesture connection.
Exercise 3
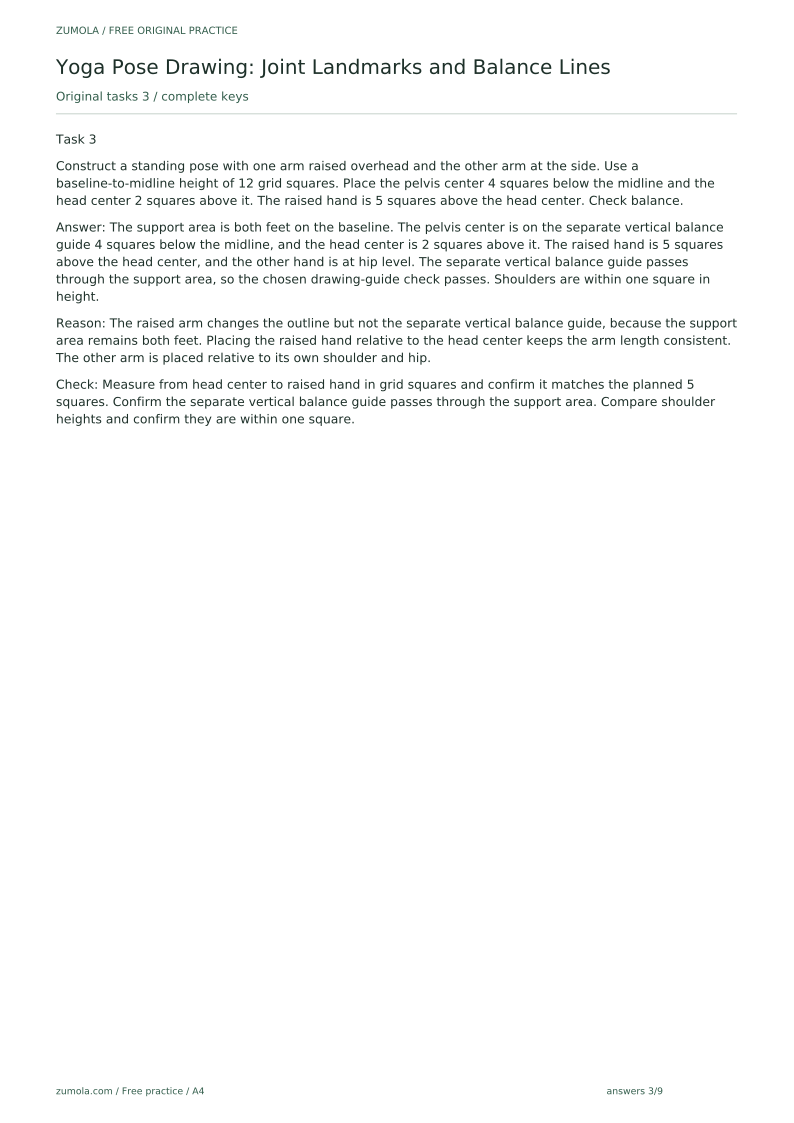
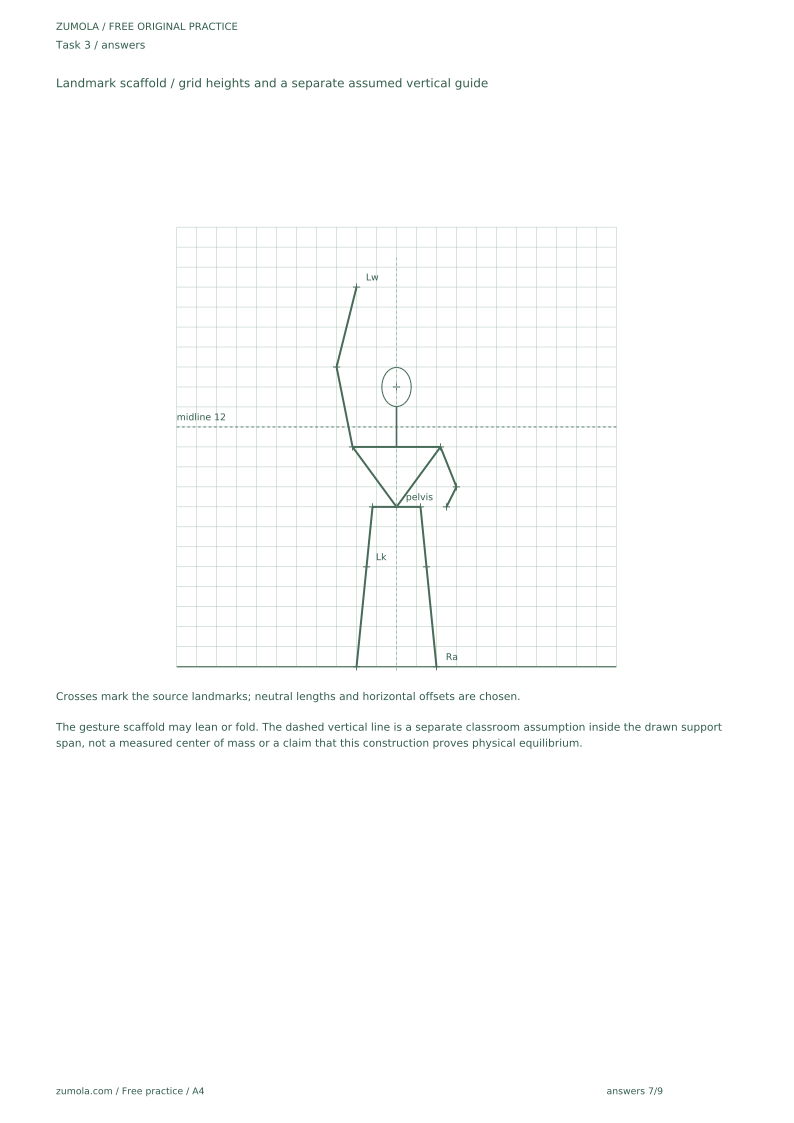
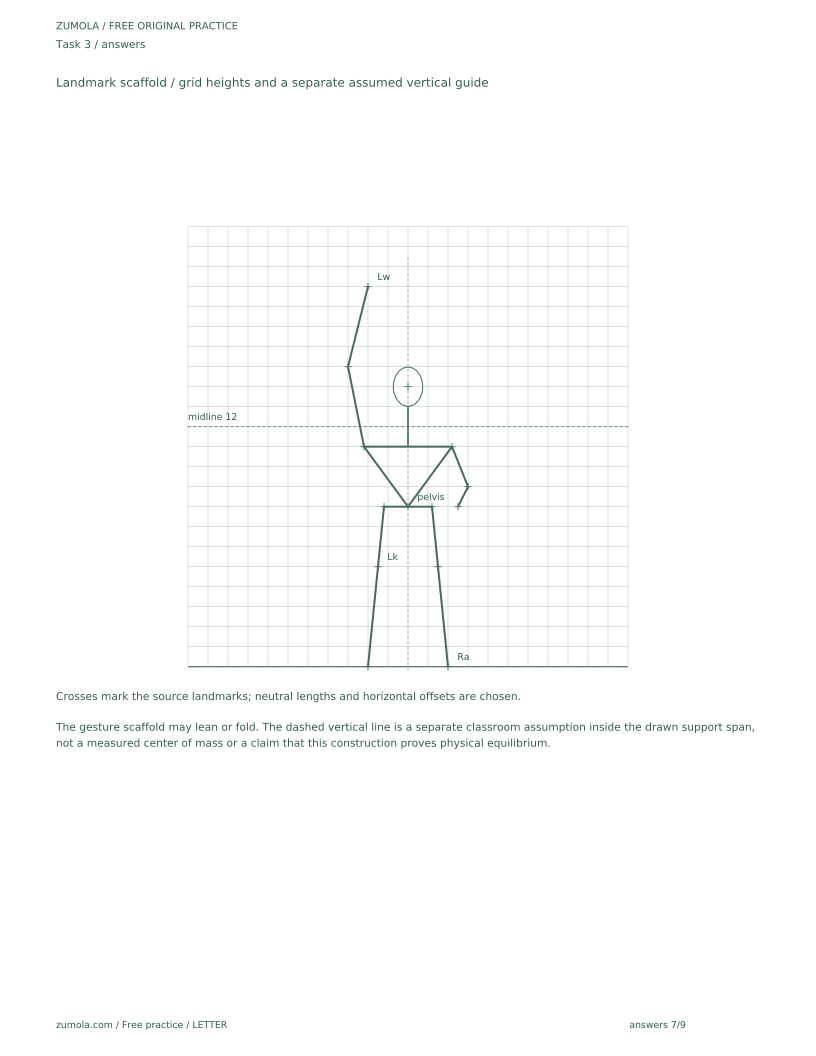
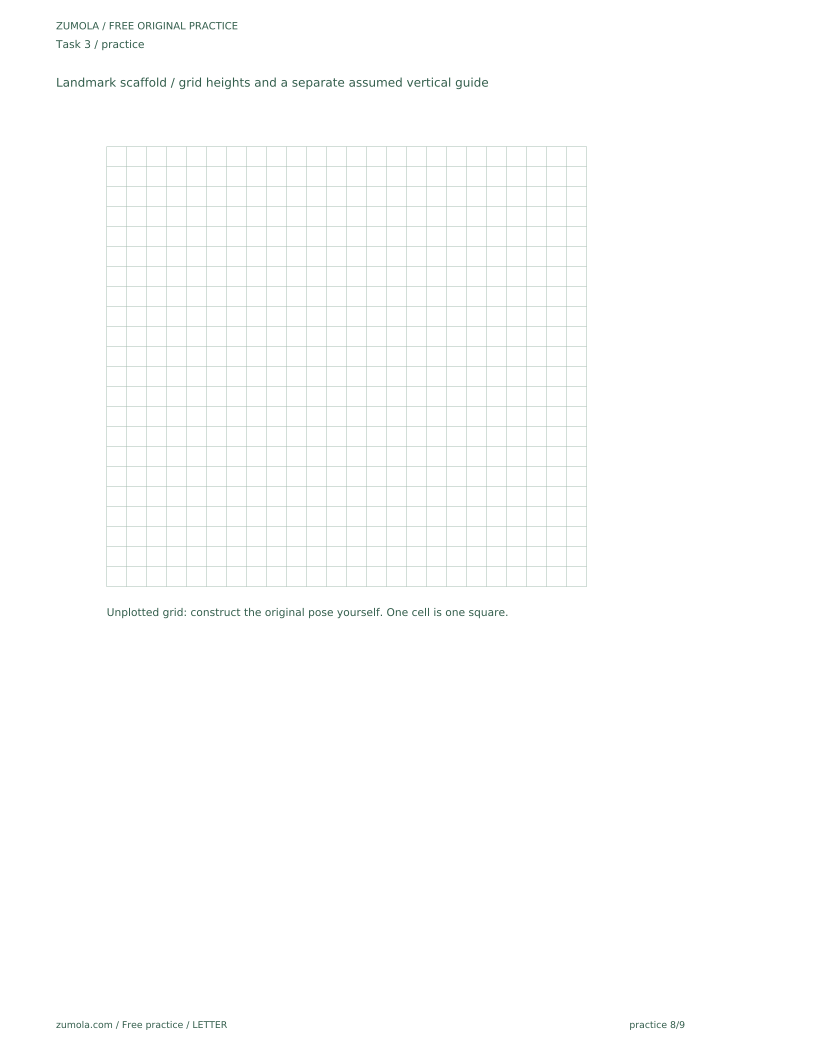
Construct a standing pose with one arm raised overhead and the other arm at the side. Use a baseline-to-midline height of 12 grid squares. Place the pelvis center 4 squares below the midline and the head center 2 squares above it. The raised hand is 5 squares above the head center. Check balance.
Show answer and check
The support area is both feet on the baseline. The pelvis center is on the separate vertical balance guide 4 squares below the midline, and the head center is 2 squares above it. The raised hand is 5 squares above the head center, and the other hand is at hip level. The separate vertical balance guide passes through the support area, so the chosen drawing-guide check passes. Shoulders are within one square in height.
Why: The raised arm changes the outline but not the separate vertical balance guide, because the support area remains both feet. Placing the raised hand relative to the head center keeps the arm length consistent. The other arm is placed relative to its own shoulder and hip.
Check: Measure from head center to raised hand in grid squares and confirm it matches the planned 5 squares. Confirm the separate vertical balance guide passes through the support area. Compare shoulder heights and confirm they are within one square.
Exercise 4
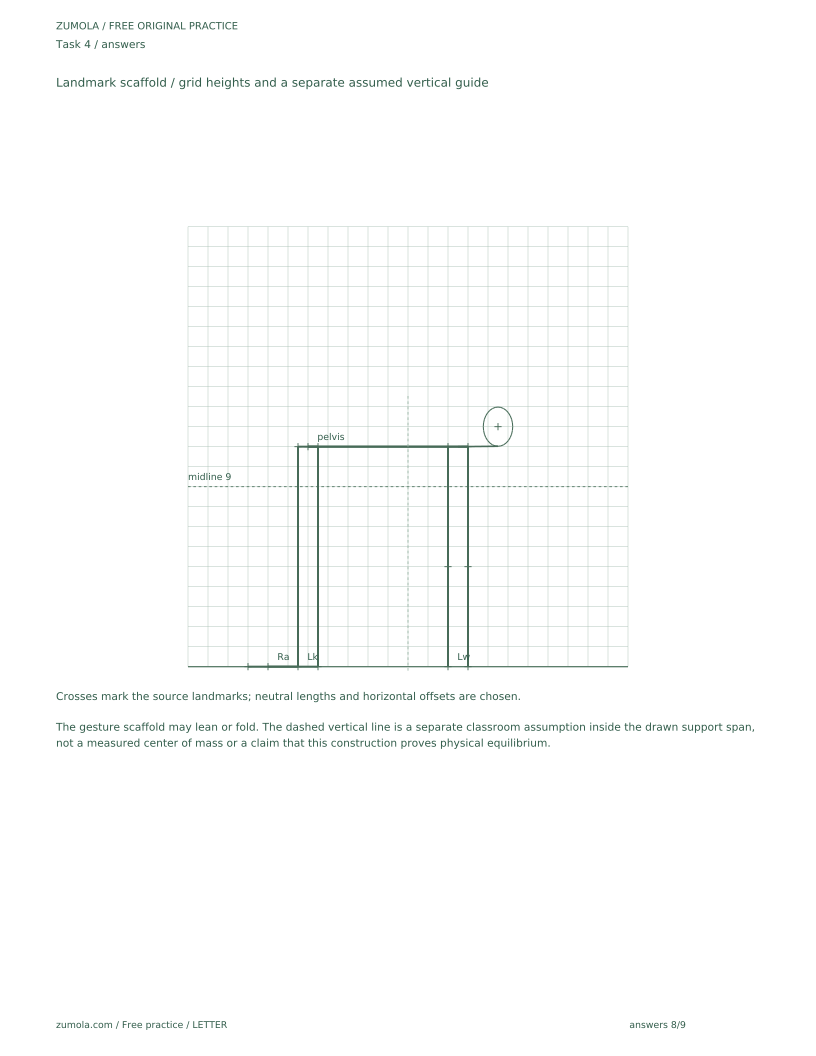
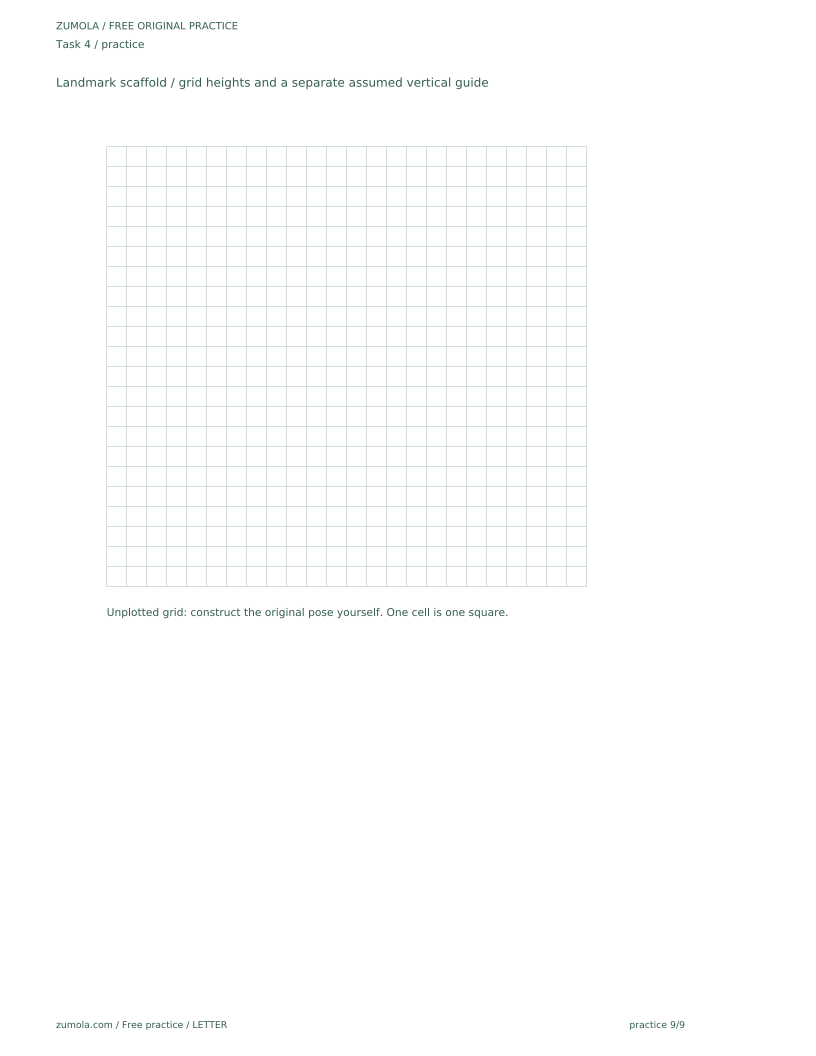
Construct a pose on hands and knees with both hands and both knees on the baseline. Use a baseline-to-midline height of 9 grid squares. Place the pelvis center 2 squares above the midline and the head center 3 squares above the midline. Place both shoulders 1 square below the head center and both hips at the pelvis center level. Check balance.
Show answer and check
The pelvis center is 11 squares above the baseline (9 + 2), the head center is 12 (9 + 3), and both shoulders are at 11 (12 - 1); paired hips share the pelvis height. In a side-view construction, place the pelvis over the knee contacts and the shoulders and head forward over the hand contacts. The prompt does not require head and pelvis at the same horizontal position. Both hands and both knees remain on the baseline. Mark their drawn support extent and a separate chosen vertical guide inside it. Paired shoulder and hip heights meet the given coordinates; the graphic support check passes without claiming a measured physical equilibrium.
Why: Equal shoulder and hip heights permit a horizontal torso when the centers are separated horizontally. Forcing those centers onto the same vertical line would collapse that construction and is not required by the question. The drawing guide is not a calculated body center of mass.
Check: Check pelvis 9 + 2 = 11, head 9 + 3 = 12 and shoulder height 12 - 1 = 11. Verify separated fore-aft torso centers and baseline hand/knee contacts. Confirm that the gesture connection and the separate assumed vertical guide are identified correctly.
Common mistakes
- Drawing the outline before placing joint landmarks. Place all joint crosses first, then draw the outline around them.
- Ignoring the support area when checking balance. Mark the support area on the baseline and confirm the separate vertical balance guide passes through it.
- Using different units for horizontal and vertical measurements. Choose one unit, such as grid squares, and use it for every measurement.
- Treating the baseline-to-midline reference height as a fixed universal proportion. Measure your own page and label any numerical values as hypothetical examples.
Self-check rubric
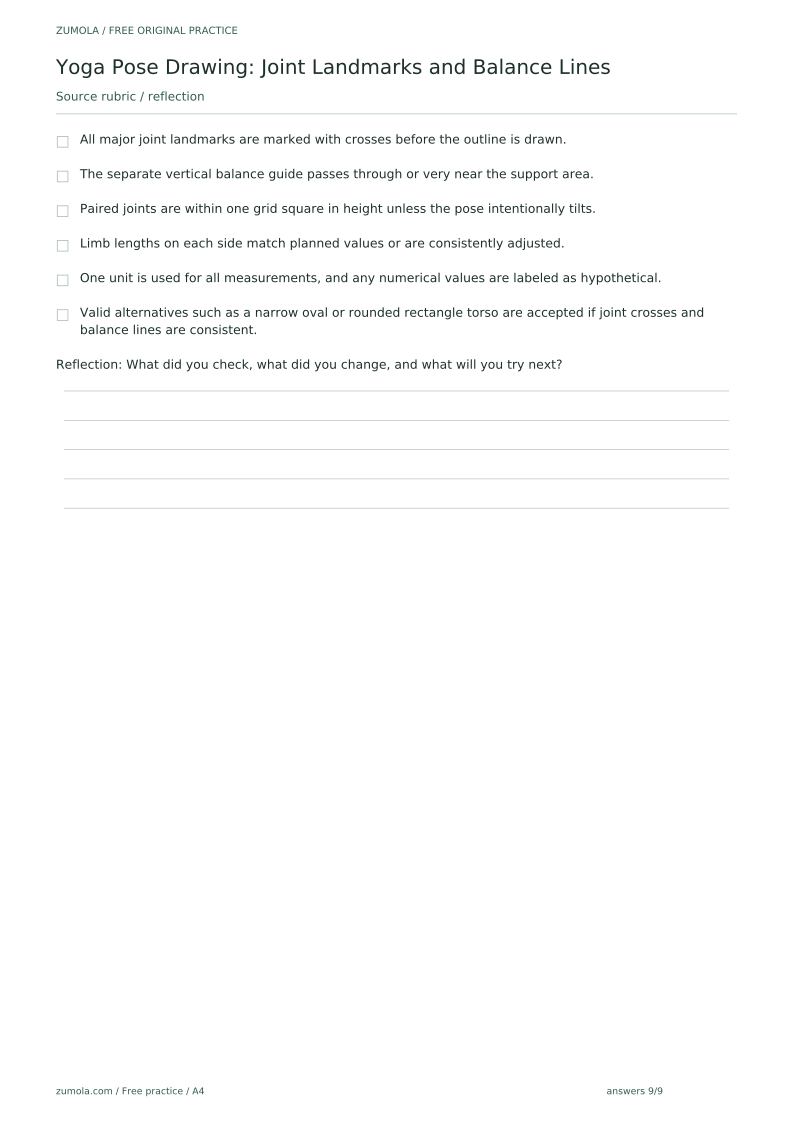
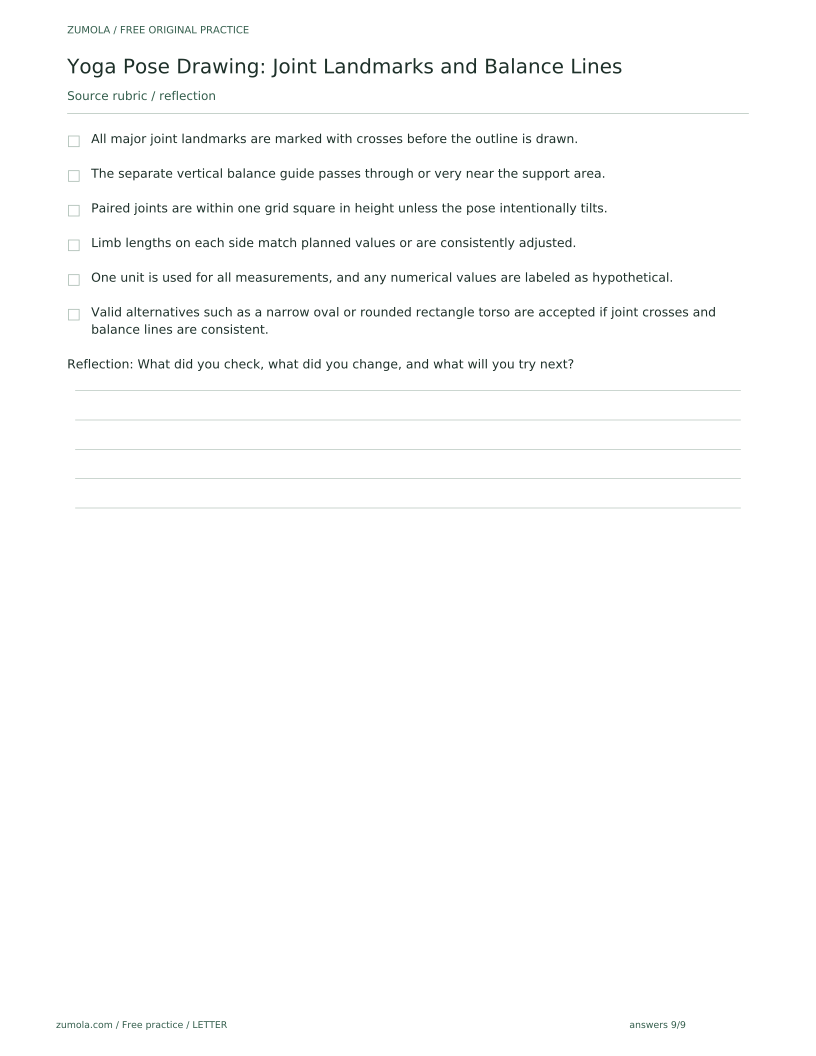
- All major joint landmarks are marked with crosses before the outline is drawn.
- The separate vertical balance guide passes through or very near the support area.
- Paired joints are within one grid square in height unless the pose intentionally tilts.
- Limb lengths on each side match planned values or are consistently adjusted.
- One unit is used for all measurements, and any numerical values are labeled as hypothetical.
- Valid alternatives such as a narrow oval or rounded rectangle torso are accepted if joint crosses and balance lines are consistent.
Questions and answers
What is the baseline-to-midline reference height in this guide?
It is the vertical distance from the baseline to the midline of the torso. It is a reference height, not a fixed rule, and proportions may vary.
Can I use a different torso shape?
Yes. A narrow oval or a rounded rectangle can both work if the joint crosses and balance lines remain consistent.
How do I know if a pose is balanced?
The separate vertical balance guide should pass through or very near the support area, and paired joints should be within one grid square in height unless the pose intentionally tilts.
Do I need to measure in centimeters?
No. Use any single unit, such as grid squares. If you use numerical examples, label them as hypothetical.
Reference illustration
Free printable downloads
Choose a paper size. Practice sheets and answer keys are separate. Download every file free, without registration.
This standard pack covers the four original exercises, blank work areas, complete keys and necessary figures. Additional extension sets described in the lesson are outside this download.
PDF bundles
Individual SVG pages
Reference-page preview