Reference diagram
LETTER · Download PDF (1 page)
Free original resources
Practice drawing an inverted cup by copying a reference, tracing a flipped rim ellipse, placing the base and shadow, then checking orientation with simple measurements.
Original reference diagrams, four practice exercises and separate worked answers. All files are free. No signup required.
LETTER · Download PDF (1 page)
LETTER · Download PDF (5 pages)
LETTER · Download PDF (6 pages)
Choose A4 or US Letter for your printer. The reference and answer illustrations are not physical rulers; follow the scale instruction printed on the practice worksheet.
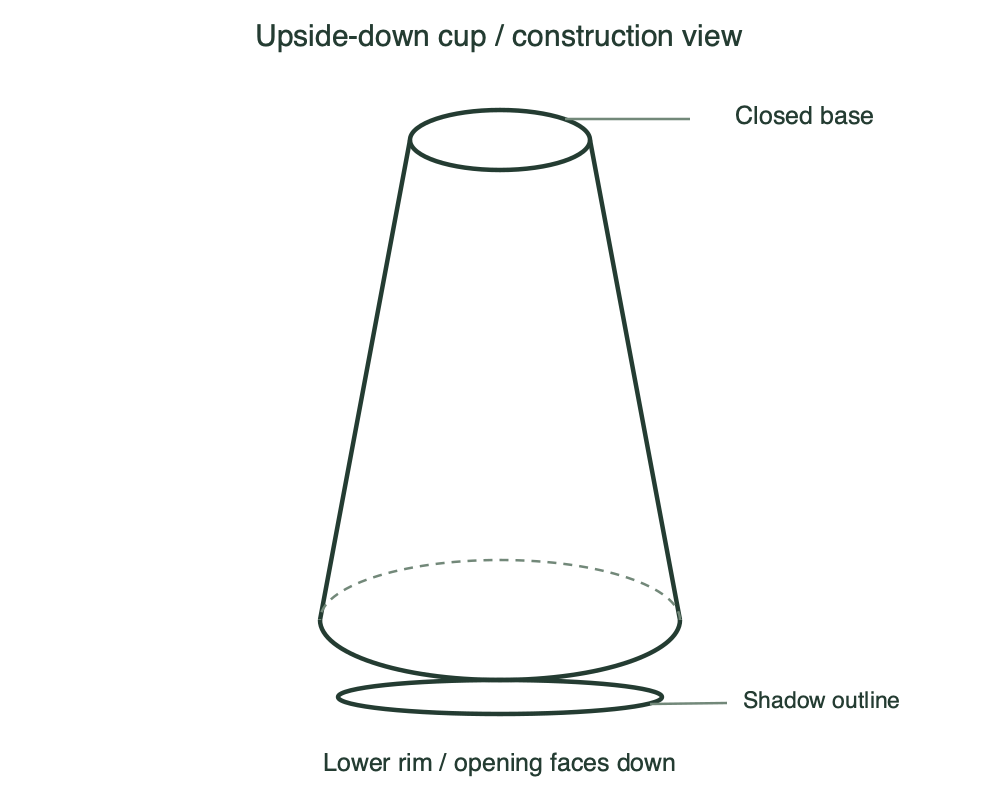
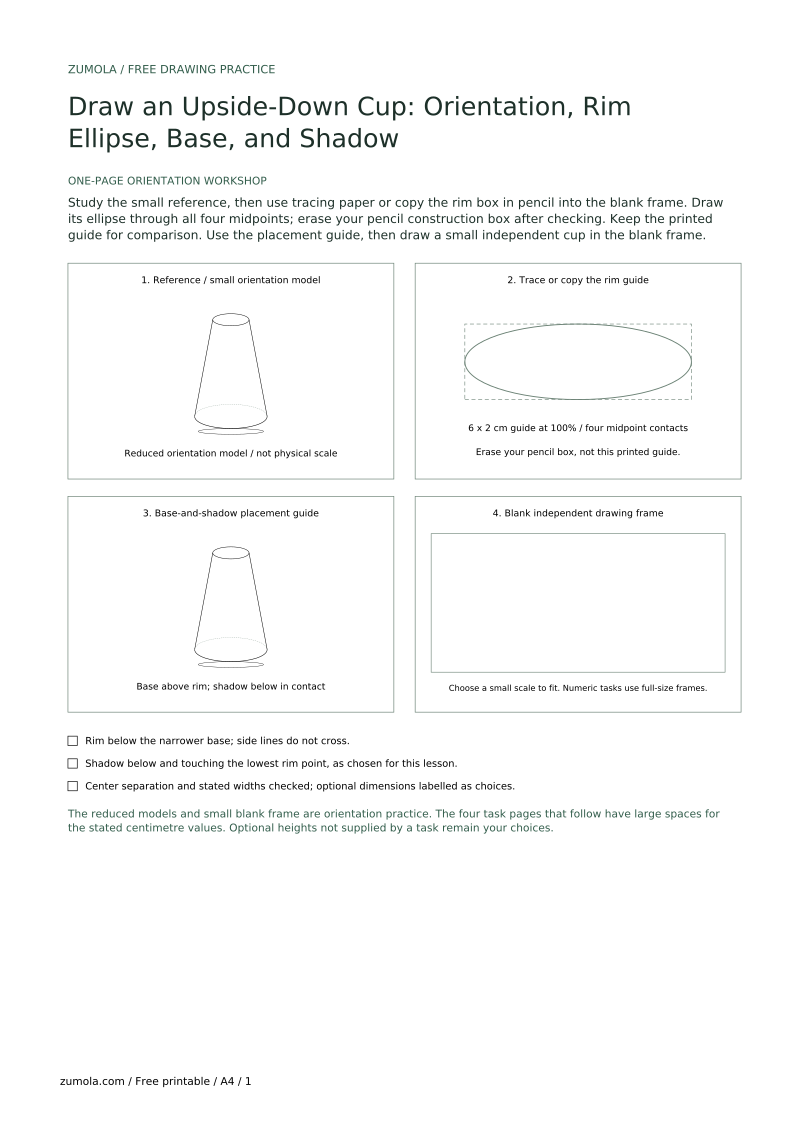
This lesson practices the arrangement of an upside-down cup: the opening faces down, its rim center is below the base center, and the sides widen toward the lower rim. Use a simplified construction diagram. A complete rim ellipse is a guide to its plane, not a view into the hidden interior. An ellipse itself is unchanged by a half-turn; inversion comes from the arrangement of cup parts, not from flipping that symmetric curve. In this lesson, cup height means the vertical distance between base center and rim center, not the total outside height. The outlined shadow is a chosen placement below the rim, touching its lowest point; it is not a universal lighting rule. All numerical values and checking allowances are hypothetical practice choices.
Use three lesson cues: rim at the bottom, base above it, and an outlined shadow below touching the lowest rim point. A full ellipse has lower and upper halves whichever way the cup is oriented. Here the lower half marks the front rim and the upper half is a construction guide to the rear rim. In a finished opaque cup view, a hidden rear rim need not remain visible. Drawing the complete ellipse as a guide does not reveal the cup interior. The phrase flipped rim in this lesson refers to placing the rim below the base, not to changing an ellipse by rotation.
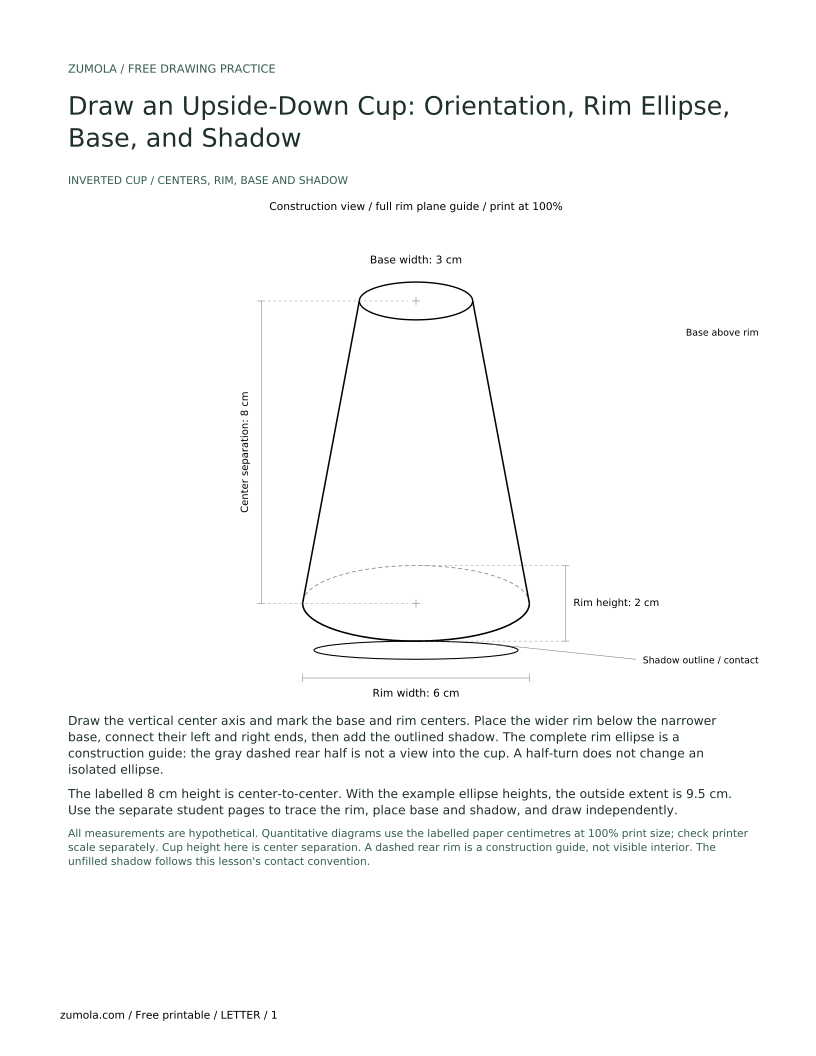
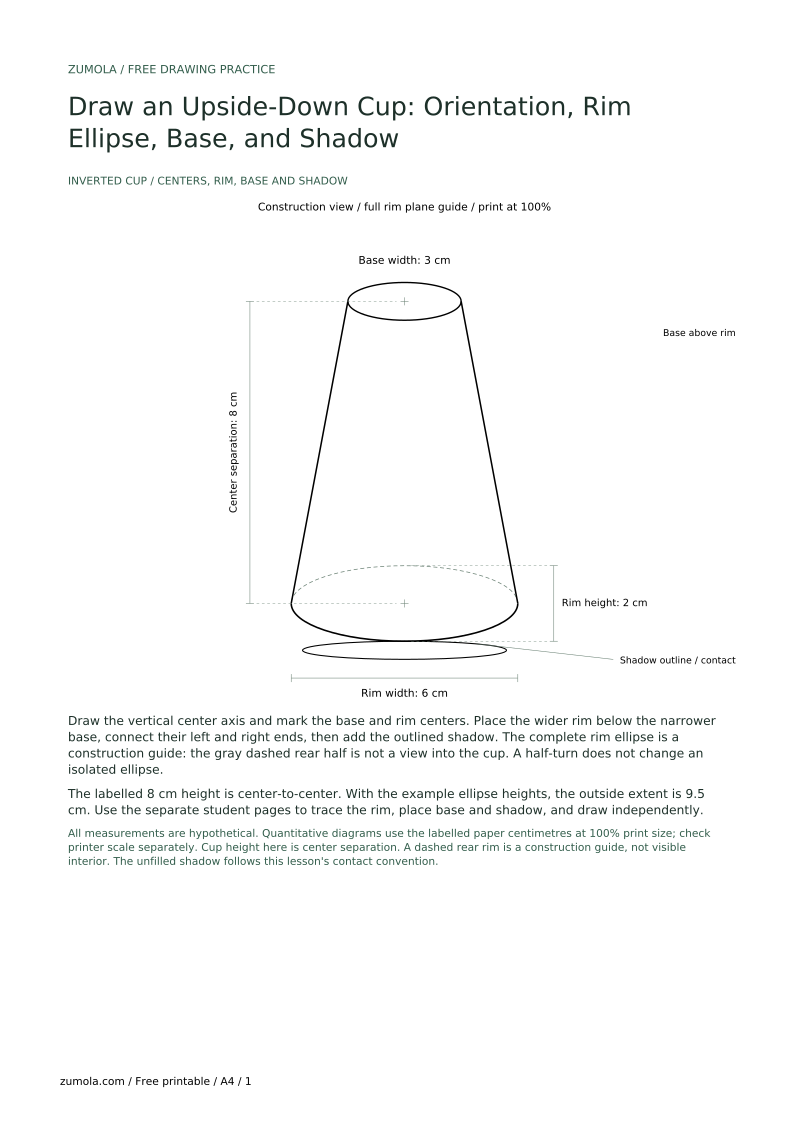
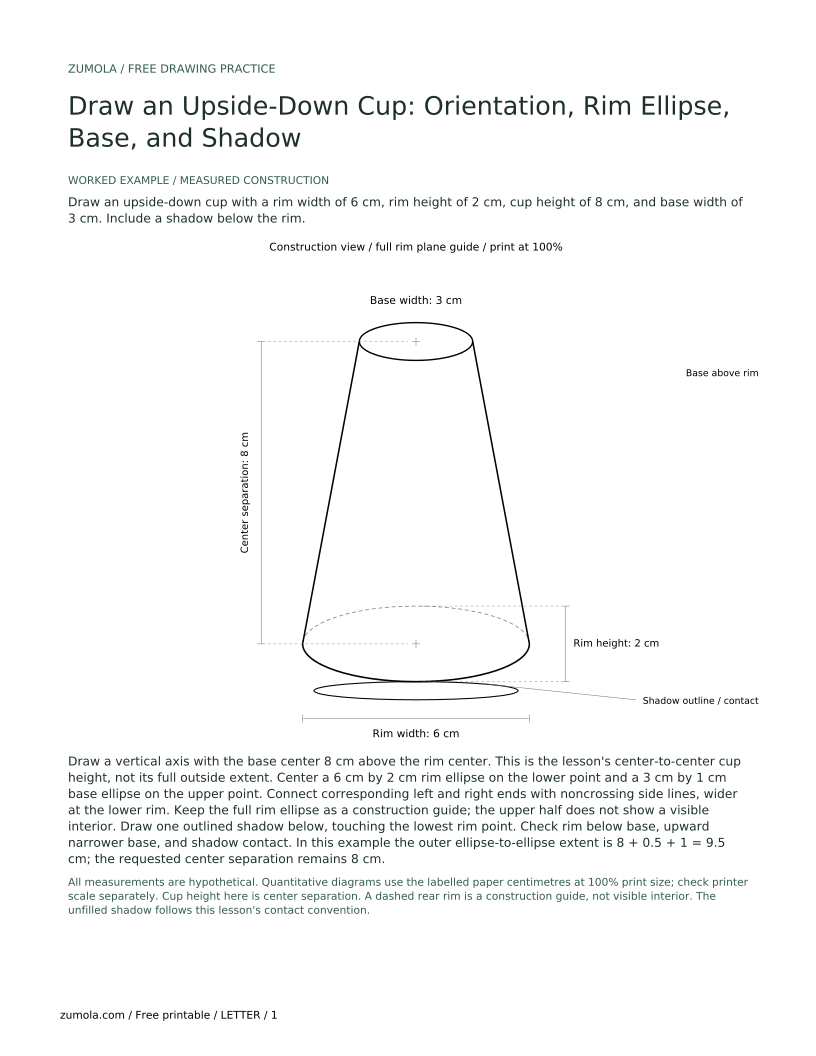
Draw a vertical axis. Mark a top point for the base center and a lower point for the rim center. Their vertical separation is the lesson's cup-height measurement; ellipse edges can extend beyond those centers. Use an 8 cm center separation and a 6 cm rim width for the introductory example. These are hypothetical drawing values, not physical cup specifications.
Trace the full rim ellipse as a construction guide in one smooth motion. In this chosen view, its lower half is the front edge and its upper half guides the rear edge. The ellipse does not change shape when rotated through 180 degrees. Its position below the base, together with the tapering sides, establishes the inverted cup arrangement. A circle or a flatter ellipse can occur in other views; this lesson chooses the stated wide ellipse proportions for practice.
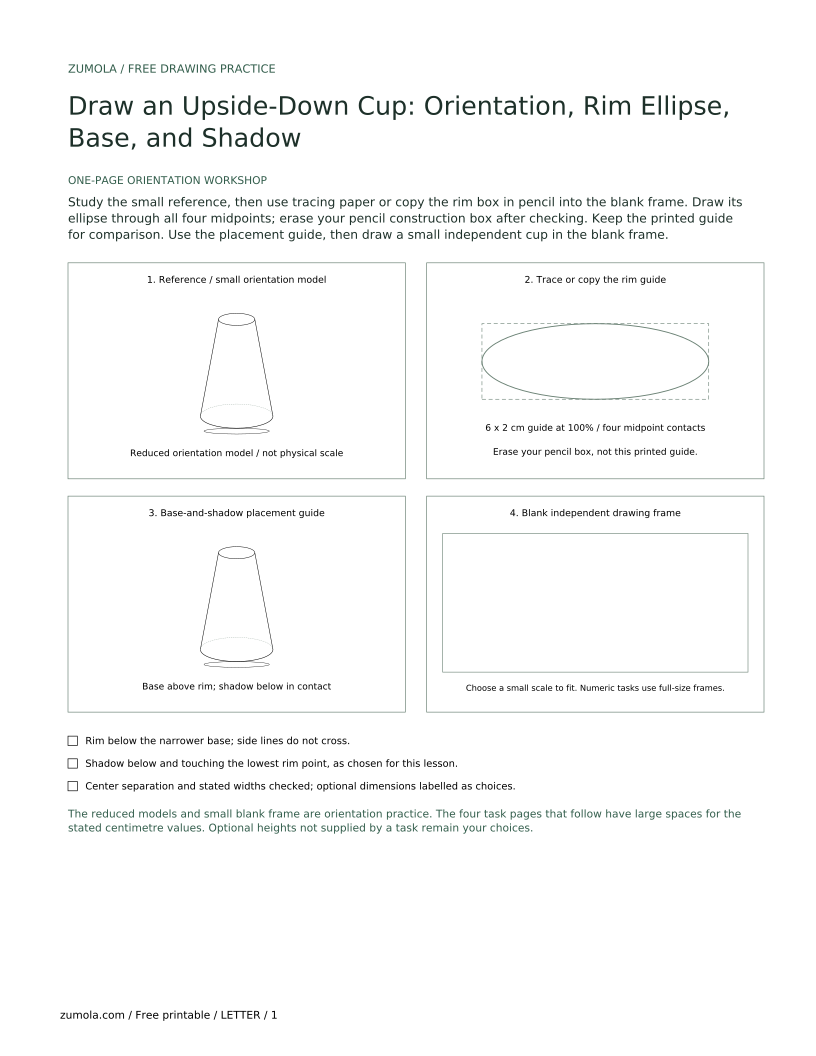
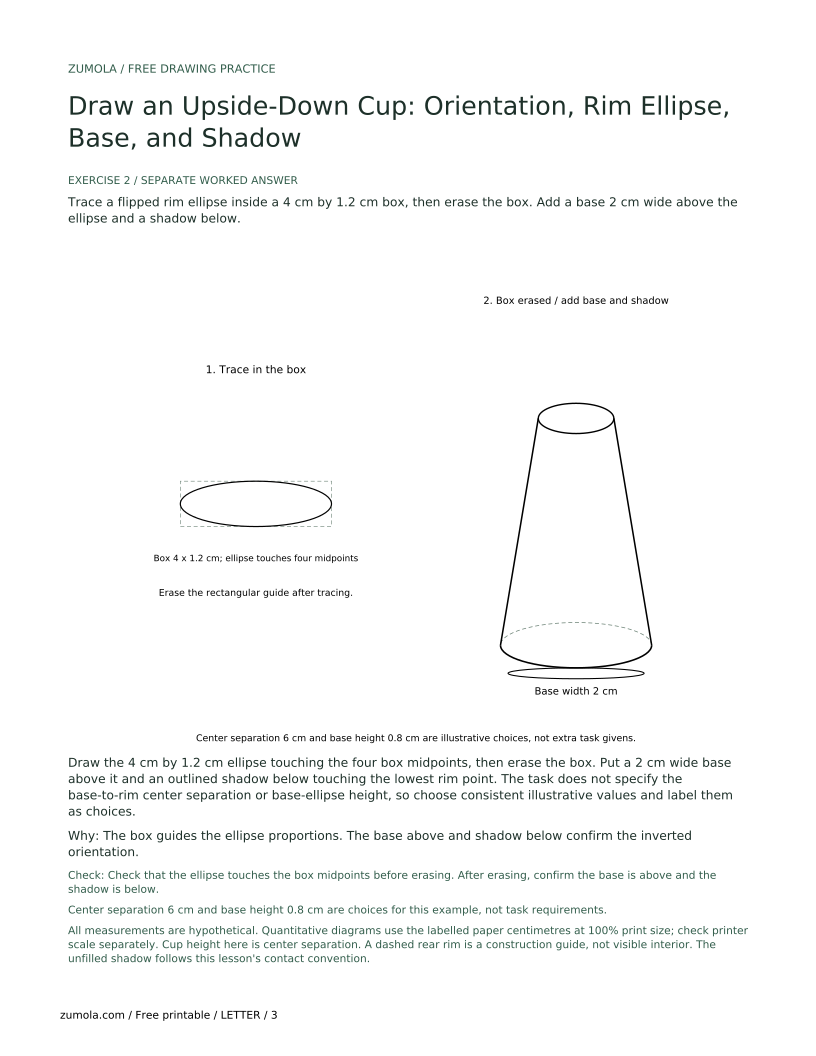
Use a tracing box: draw a rectangle 6 cm wide and 2 cm tall at the bottom of the cup. Inside it, draw an ellipse that touches all four sides. Then erase the rectangle. This box is a guide, not a permanent part of the drawing.
Place the narrower base above the rim. Use a small ellipse or short curve for it. Draw a single outlined shadow below the lower rim, touching the lowest rim point, as this exercise's placement convention. Actual cast-shadow positions depend on the lighting and surface; this lesson does not model those variables.
Keep the base and shadow simple. This lesson does not cover shading or still-life composition; the goal is correct orientation. A single outline for the shadow is enough.
Now draw an upside-down cup without tracing. Use the same convention: rim ellipse at the bottom, base at the top, shadow below. After drawing, check orientation with three questions: Is the rim ellipse at the bottom? Is the base above the rim? Does the shadow touch the rim's lowest point? If any answer is no, adjust the drawing.
Measure your drawing with a ruler. The cup height should be greater than the rim height, and the rim width should be greater than the base width. These checks are simple and do not require special tools.
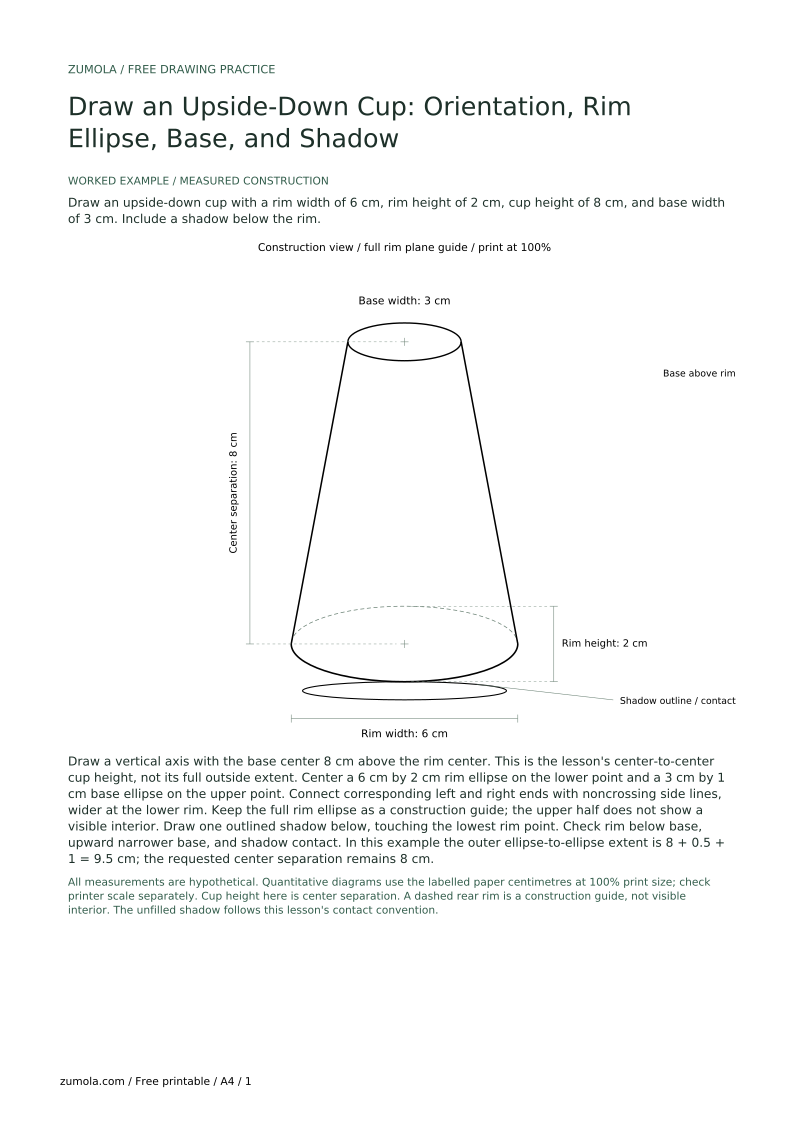
Draw an upside-down cup with a rim width of 6 cm, rim height of 2 cm, cup height of 8 cm, and base width of 3 cm. Include a shadow below the rim.
Draw a vertical axis with the base center 8 cm above the rim center. This is the lesson's center-to-center cup height, not its full outside extent. Center a 6 cm by 2 cm rim ellipse on the lower point and a 3 cm by 1 cm base ellipse on the upper point. Connect corresponding left and right ends with noncrossing side lines, wider at the lower rim. Keep the full rim ellipse as a construction guide; the upper half does not show a visible interior. Draw one outlined shadow below, touching the lowest rim point. Check rim below base, upward narrower base, and shadow contact. In this example the outer ellipse-to-ellipse extent is 8 + 0.5 + 1 = 9.5 cm; the requested center separation remains 8 cm.
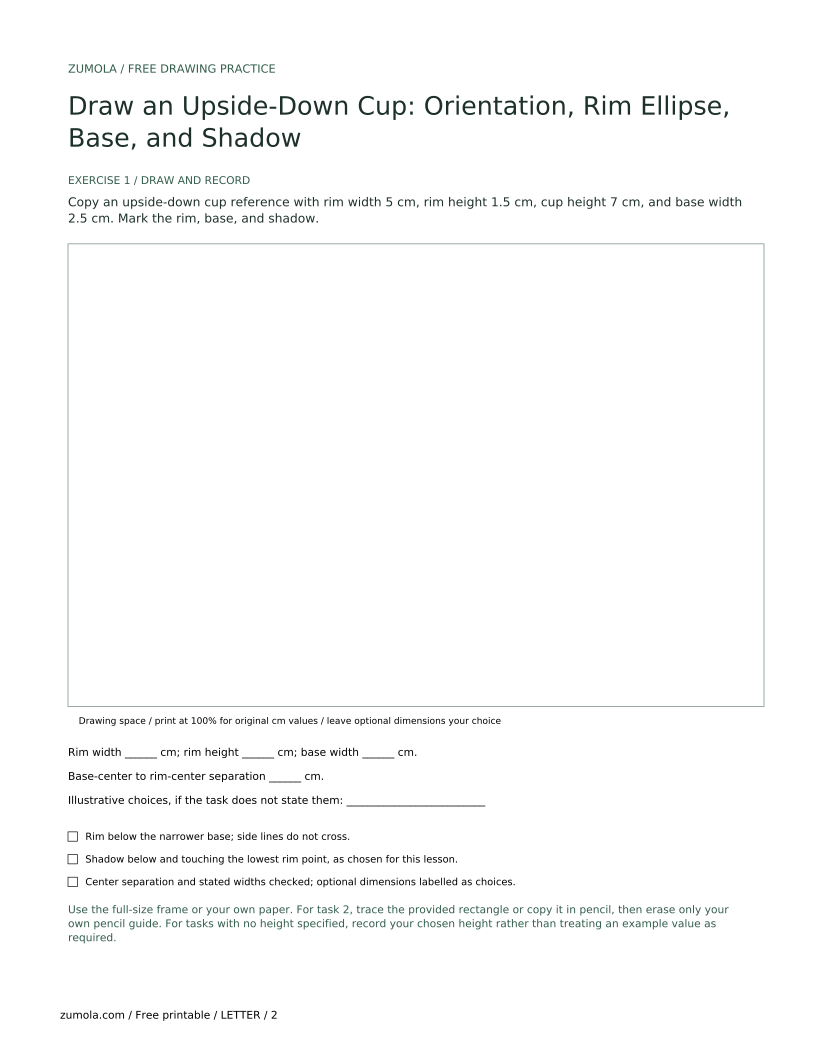
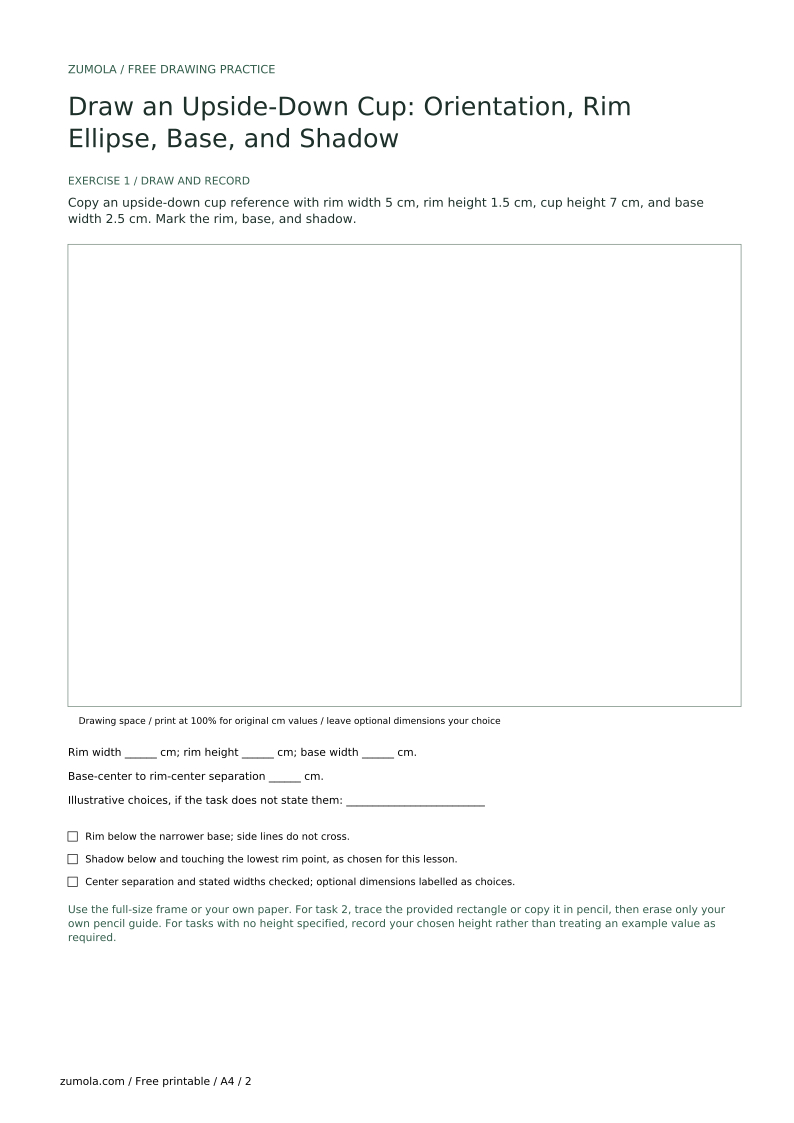
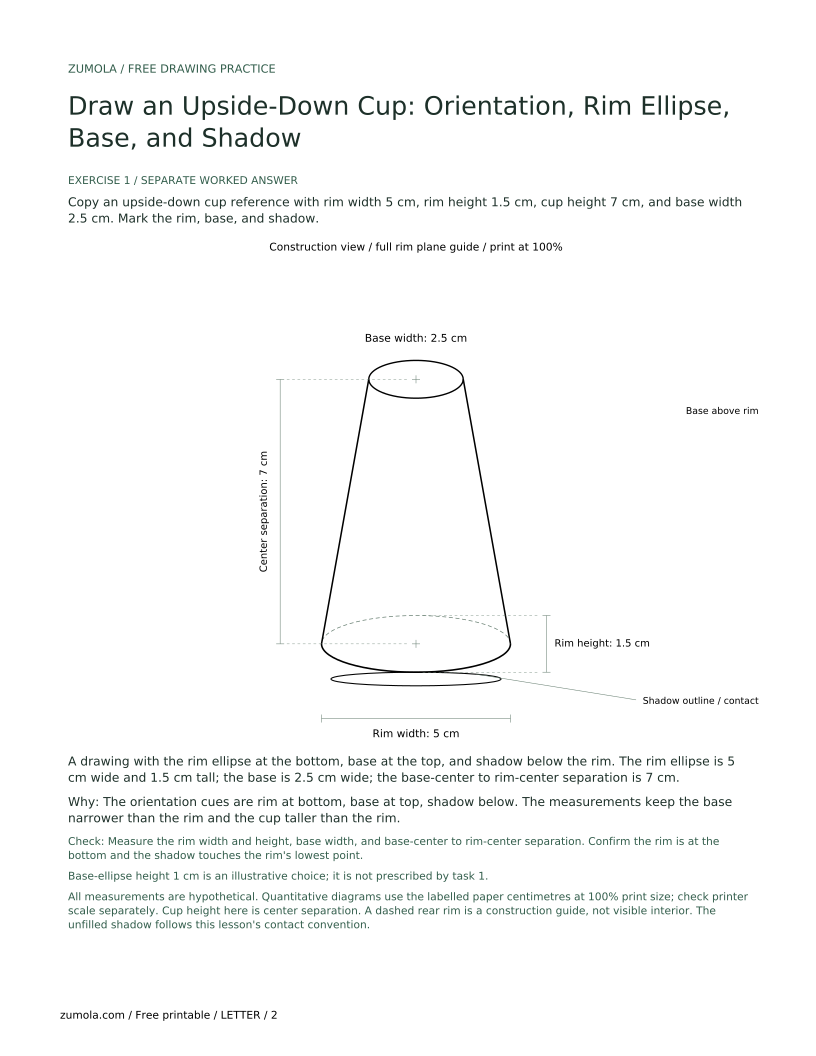
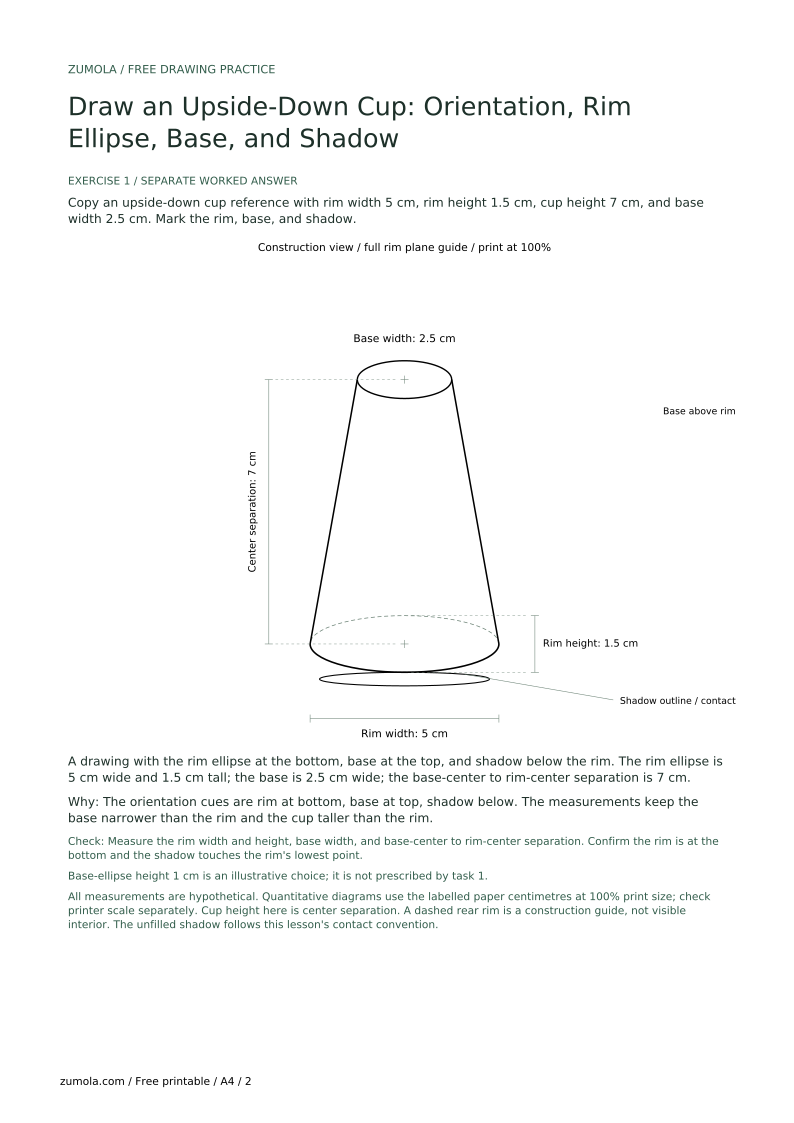
Copy an upside-down cup reference with rim width 5 cm, rim height 1.5 cm, cup height 7 cm, and base width 2.5 cm. Mark the rim, base, and shadow.
A drawing with the rim ellipse at the bottom, base at the top, and shadow below the rim. The rim ellipse is 5 cm wide and 1.5 cm tall; the base is 2.5 cm wide; the base-center to rim-center separation is 7 cm.
The orientation cues are rim at bottom, base at top, shadow below. The measurements keep the base narrower than the rim and the cup taller than the rim.
Check: Measure the rim width and height, base width, and base-center to rim-center separation. Confirm the rim is at the bottom and the shadow touches the rim's lowest point.
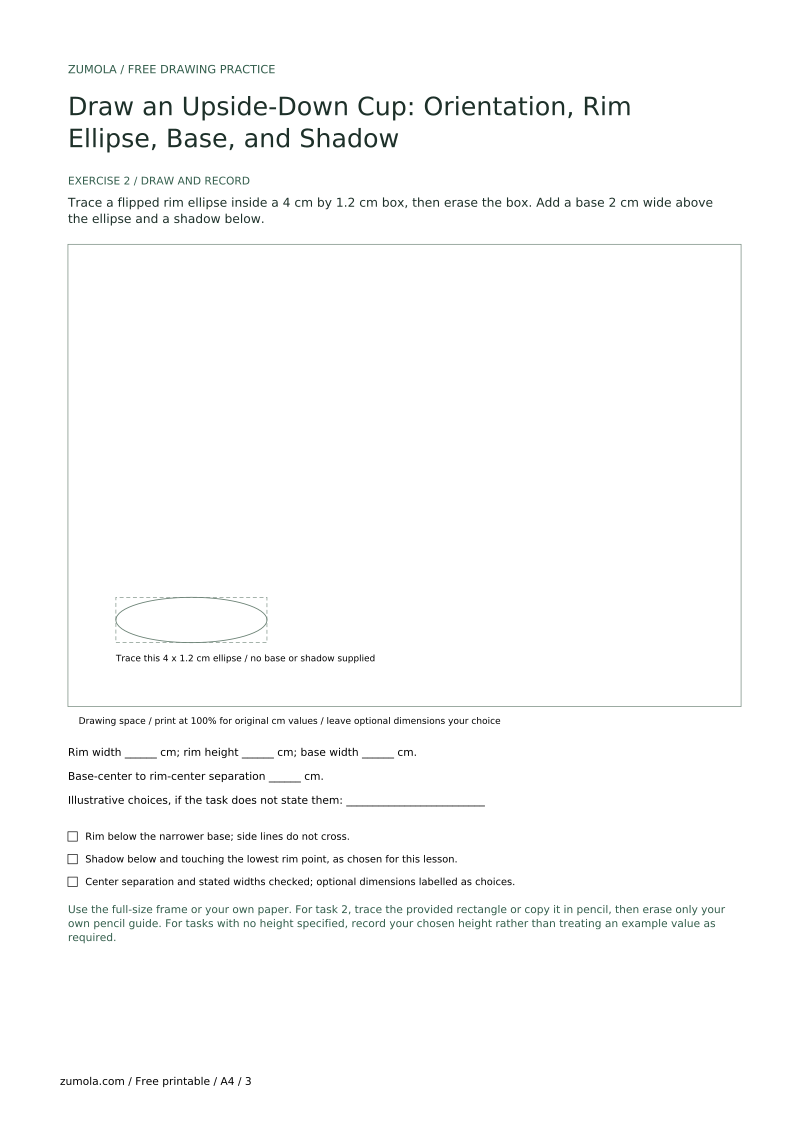
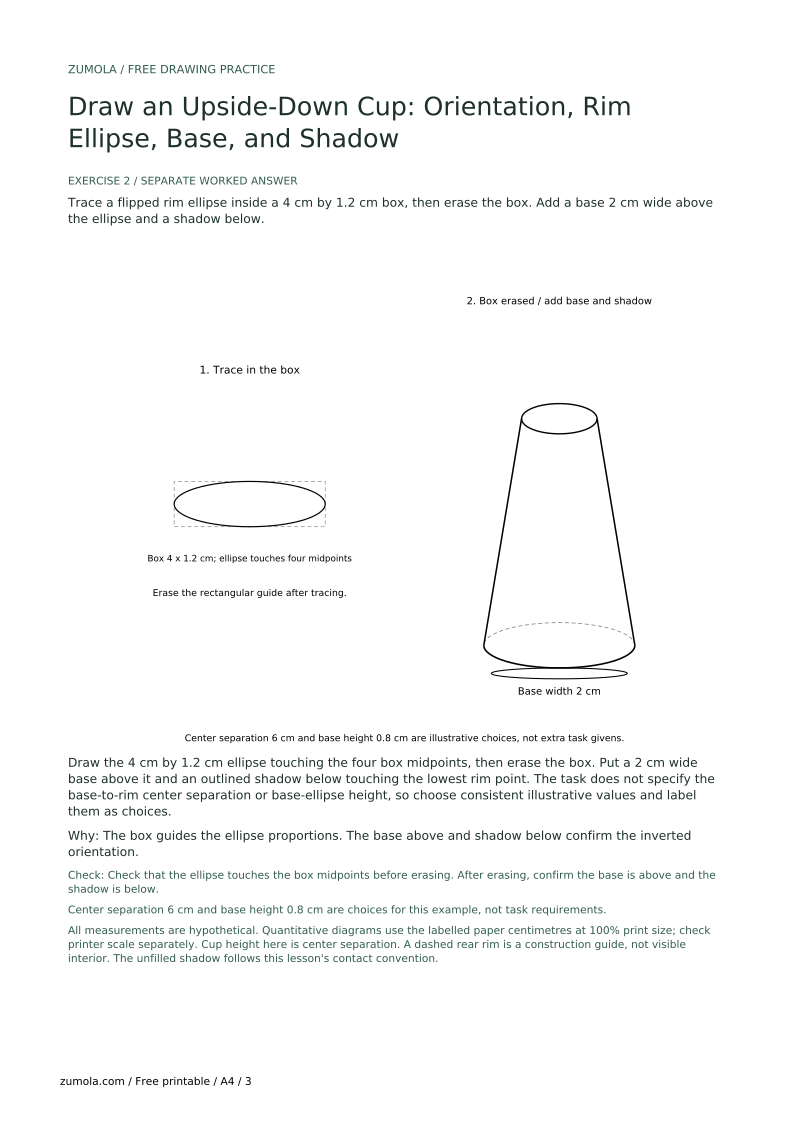
Trace a flipped rim ellipse inside a 4 cm by 1.2 cm box, then erase the box. Add a base 2 cm wide above the ellipse and a shadow below.
Draw the 4 cm by 1.2 cm ellipse touching the four box midpoints, then erase the box. Put a 2 cm wide base above it and an outlined shadow below touching the lowest rim point. The task does not specify the base-to-rim center separation or base-ellipse height, so choose consistent illustrative values and label them as choices.
The box guides the ellipse proportions. The base above and shadow below confirm the inverted orientation.
Check: Check that the ellipse touches the box midpoints before erasing. After erasing, confirm the base is above and the shadow is below.
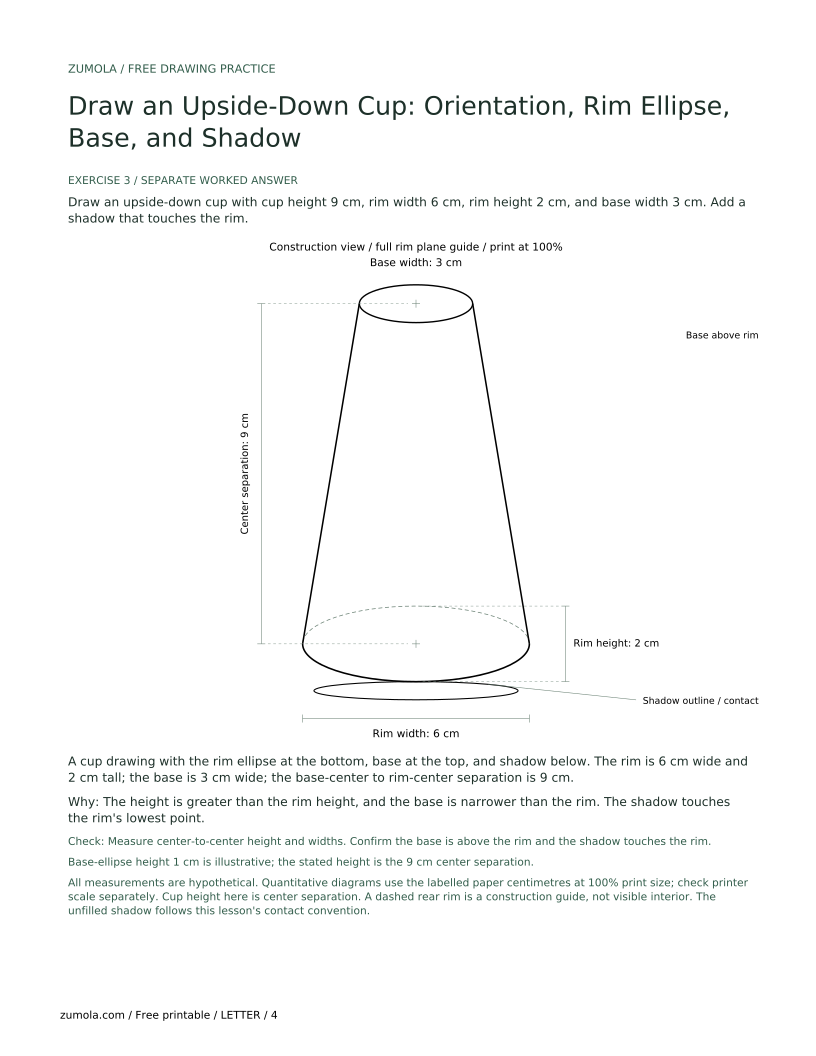
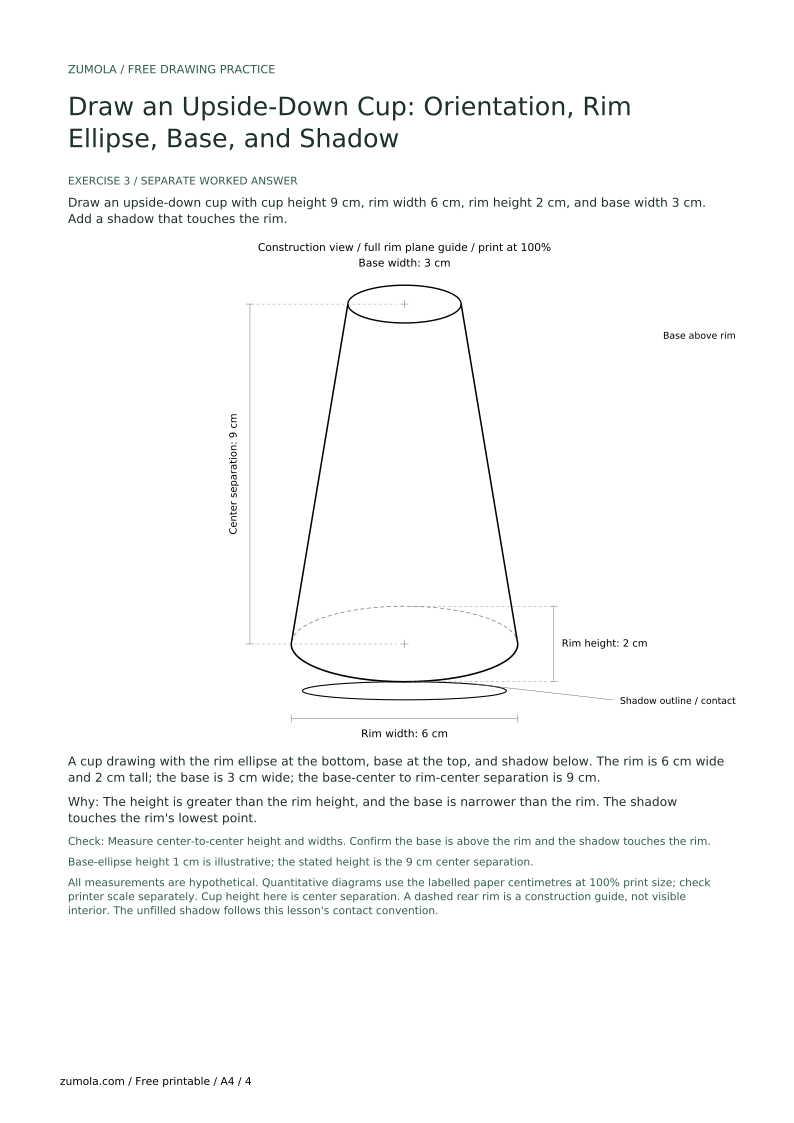
Draw an upside-down cup with cup height 9 cm, rim width 6 cm, rim height 2 cm, and base width 3 cm. Add a shadow that touches the rim.
A cup drawing with the rim ellipse at the bottom, base at the top, and shadow below. The rim is 6 cm wide and 2 cm tall; the base is 3 cm wide; the base-center to rim-center separation is 9 cm.
The height is greater than the rim height, and the base is narrower than the rim. The shadow touches the rim's lowest point.
Check: Measure center-to-center height and widths. Confirm the base is above the rim and the shadow touches the rim.
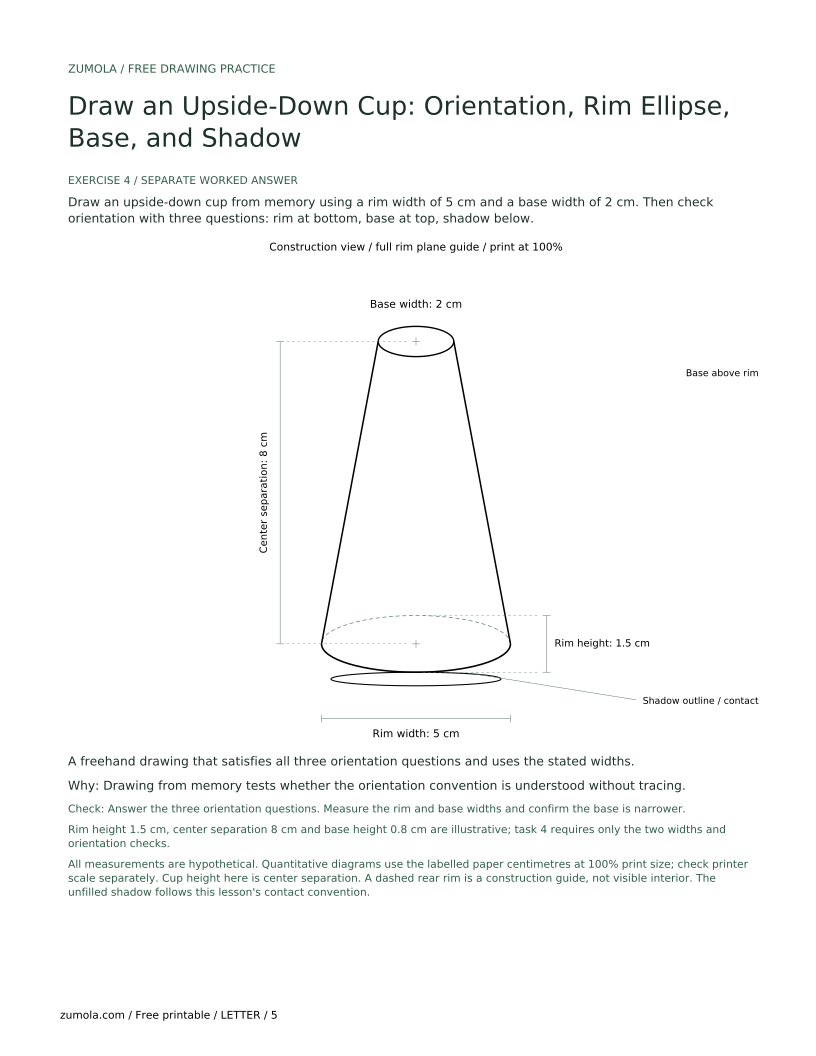
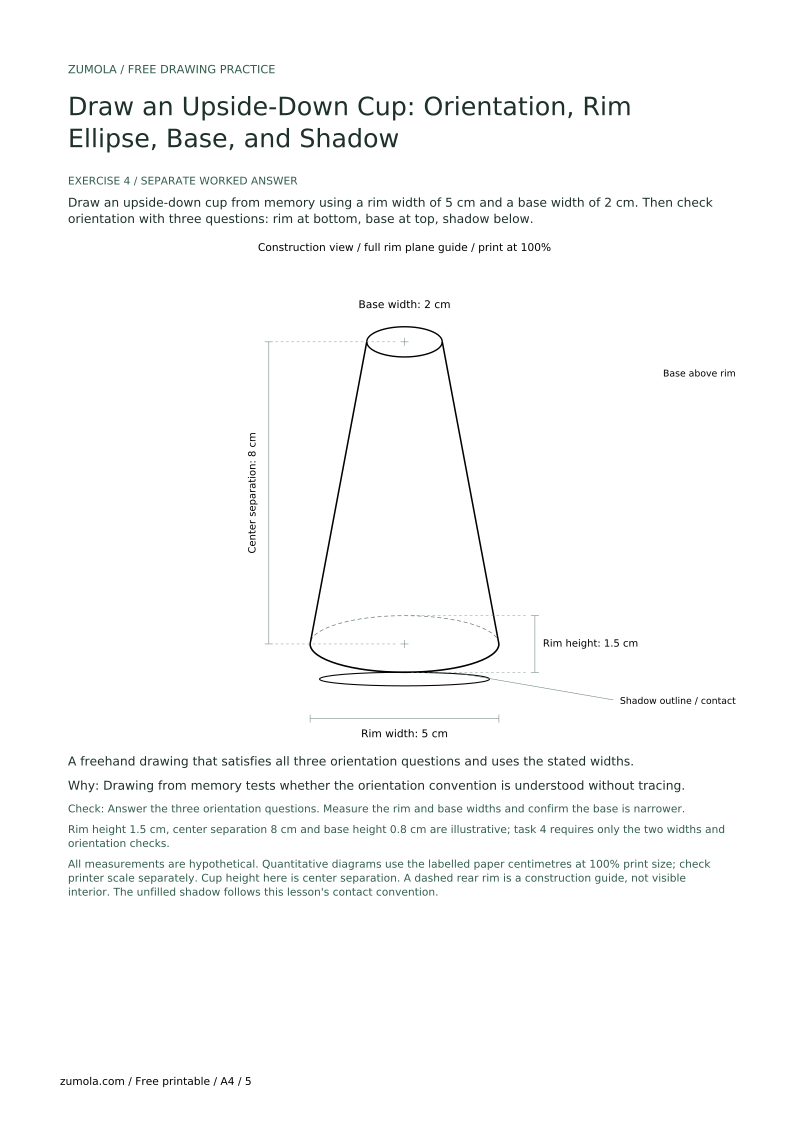
Draw an upside-down cup from memory using a rim width of 5 cm and a base width of 2 cm. Then check orientation with three questions: rim at bottom, base at top, shadow below.
A freehand drawing that satisfies all three orientation questions and uses the stated widths.
Drawing from memory tests whether the orientation convention is understood without tracing.
Check: Answer the three orientation questions. Measure the rim and base widths and confirm the base is narrower.
Place the rim center below the base center and let the sides widen toward that lower rim. Rotating an isolated symmetric ellipse does not change it.
Move the base to the top mark and keep the rim at the bottom.
Narrow the base ellipse so it is clearly smaller than the rim width.
Move the shadow up so it touches the rim's lowest point.
For this drawing, the rim is below the base and the opening faces down. Check the tapering sides too. The outlined shadow follows the lesson placement rule; a shadow by itself is not proof of cup orientation.
Use the wide ellipse dimensions stated in each task. A circle is not intrinsically upright or inverted; the rim shape depends on the view. This lesson chooses a wider-than-tall ellipse so all examples use the same practice convention.
No. This lesson covers orientation only. A simple outline and shadow shape are enough.
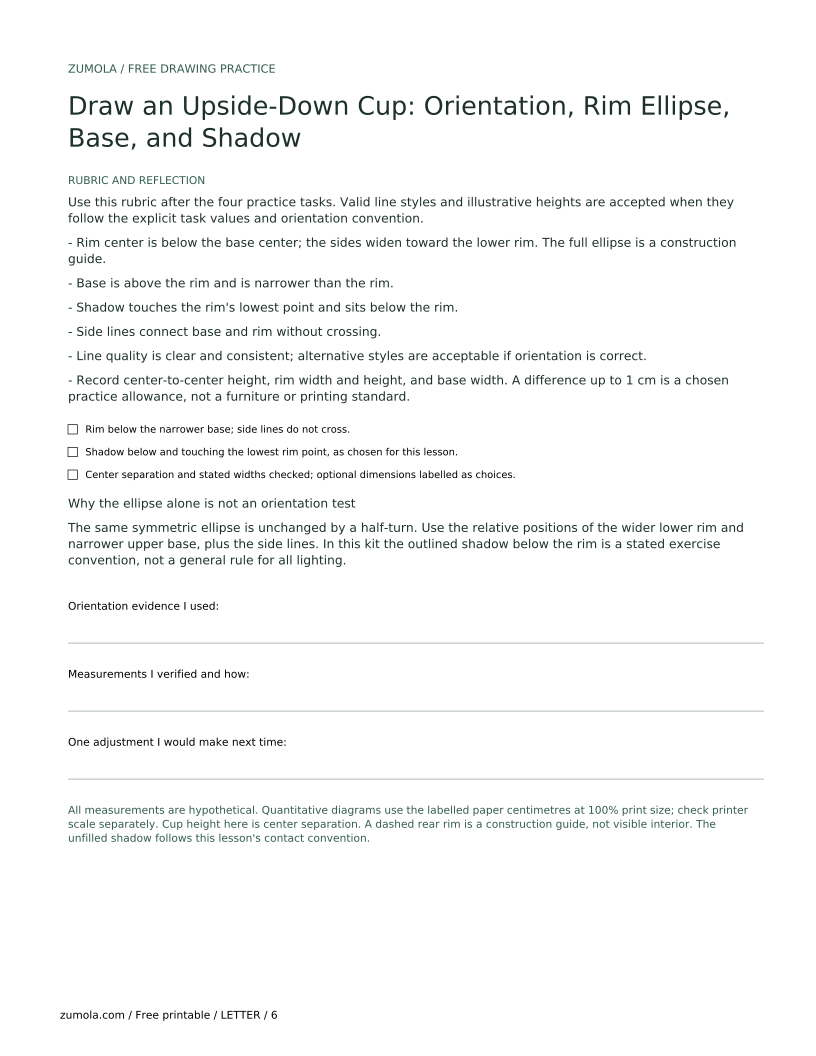
That is acceptable. The rubric checks orientation and clear, consistent lines, not a single universal style.