Free original lessons
How to Draw a Combusken Pixel Character on Graph Paper
Learn to map a Combusken character onto a square grid, choose colors, and verify each pixel block with simple counting and symmetry checks.
Free downloads
Letter & A4
PDF & SVG
Object Drawing Lessons
Pixel-grid drawing turns a character into a set of colored squares. On graph paper, each square is one pixel. This guide teaches a repeatable method for drawing an original Combusken-inspired pixel character: plan the silhouette, block in colors, check symmetry, and correct errors by counting squares. The convention is explicit: x-height means the distance from the baseline to the midline of lowercase letters, and letter styles vary, so any legible style is acceptable. All numerical examples are hypothetical and should be replaced by measurements of your actual paper and tools.
Practice materials: Download the free reference pages, practice sheets and separate answer keys below, in A4 and US Letter PDF and SVG formats.
Set up the grid and define your pixel unit
Choose graph paper with clearly visible squares. Measure one square with a ruler and record the size in millimeters; for example, a hypothetical square might measure 5 mm. Decide how many squares tall your character will be. A compact pixel character often fits within 20 to 30 squares tall, but the exact count depends on your paper and desired detail.
Mark a bounding box on the paper using light pencil. Count the squares across and down, and write those counts at the top and side. This box prevents the character from drifting and makes every later check a simple count. Keep the grid lines visible; do not erase them until the drawing is complete.
- Measure one graph-paper square and write the size in millimeters.
- Count the squares in your planned bounding box and label the width and height.
- Draw the bounding box lightly with a ruler.
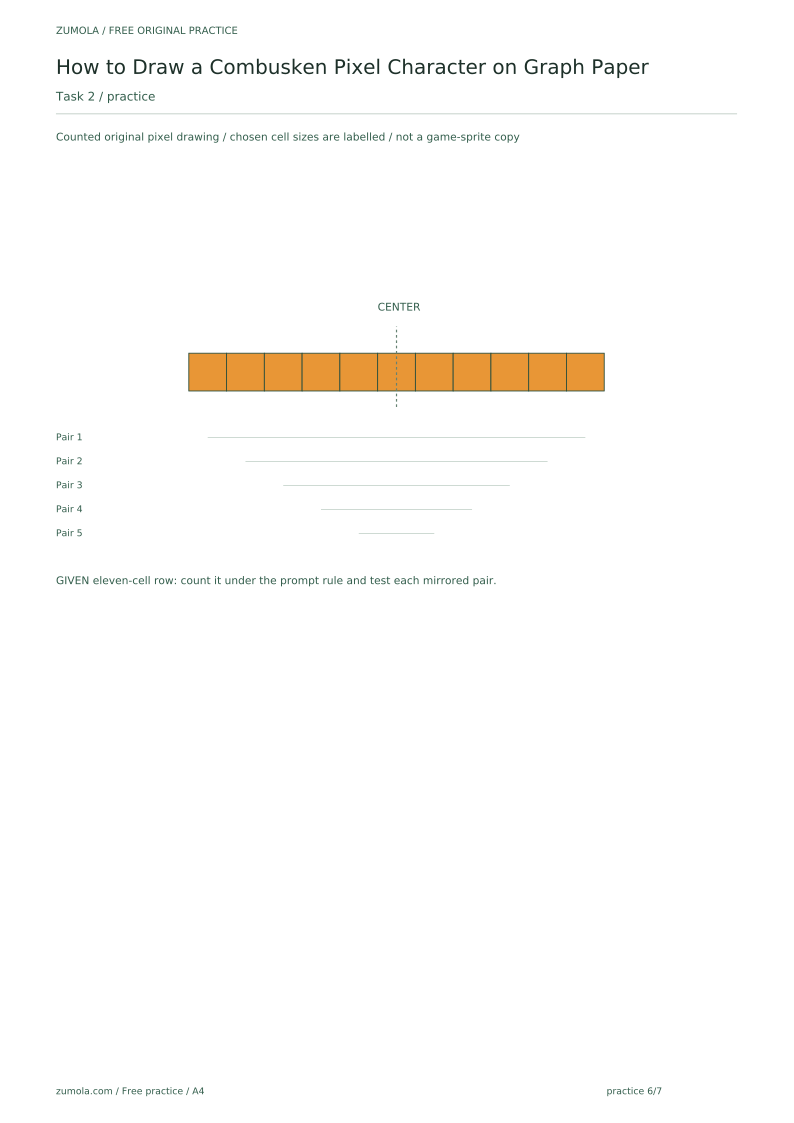
- Mark the centerline. For an even width it lies between the middle columns; for an odd width the middle column mirrors to itself and does not itself imply asymmetry.
Build the silhouette from large shapes to small details
Start with the largest silhouette blocks: head, body, arms, legs, and tail. Use one color for the outline or a light pencil shade so you can adjust before committing to final colors. Work from the centerline outward so symmetry is easier to check. For a Combusken-inspired character, the head is rounded, the body is compact, and the limbs are angular; translate these into square clusters rather than smooth curves.
After the large blocks, add distinguishing features such as the beak, eye, crest, and feather shapes. Keep each feature within a counted number of squares. If a feature crosses the centerline, count squares on both sides to confirm balance. Valid alternatives exist: a crest may be drawn two squares wide or three squares wide, provided the overall silhouette remains recognizable and the color key is followed.
- Block the head as a counted rectangle or rounded square cluster.
- Add the body below the head, leaving a one-square neck gap if desired.
- Place arms and legs using counted rows and columns.
- Add the tail as a stepped shape, counting each step.
- Mark the beak and eye positions relative to the centerline.
Apply a color key and check symmetry
Create a color key before coloring: list each color name and the symbol you will use, such as R for red, O for orange, Y for yellow, and K for black. Fill the key squares on a spare corner of the paper. Then color the character square by square, following the key. Keep colored squares fully inside their grid lines so counting remains accurate.
Check mirror positions and colors on each row, excluding a self-mirroring middle column from the paired side counts. If one side count includes a colored center column, subtract that one center cell before comparing. For example, six colored cells on the left including the center and five on the right give five paired cells on each side and are compatible with symmetry; counts alone do not prove that their positions and colors match. Record intentional asymmetry rather than forcing a change. Any legible label style is acceptable.
- Write a color key with color names and symbols.
- Color large areas first, then small features.
- Compare mirrored positions and colors; record side counts excluding any self-mirroring middle column.
- Correct unintended asymmetry by adding or removing one square at a time.
- Re-count the total colored squares and compare with your planned count.
Verify, label, and present the finished pixel character
Verification uses simple arithmetic. Count the squares in each color and write the totals beside the color key. Add the totals and compare with the total squares inside the bounding box. If the sums do not match, find the missing or extra square by scanning row by row. Check that the character fits inside the bounding box and that no colored square crosses a grid line.
Finally, label the drawing with the grid dimensions, the square size in millimeters, and the color totals. These labels make the work checkable by another student. Do not claim that any printable or file exists; this is a paper-based plan. Present the drawing flat and keep the color key visible so the checker can verify each symbol.
- Count squares per color and write totals.
- Add color totals and compare with the bounding-box total.
- Scan each row for squares outside the box or across grid lines.
- Label grid dimensions, square size, and color totals.
- Ask a partner to recount one color as an independent check.
Worked example
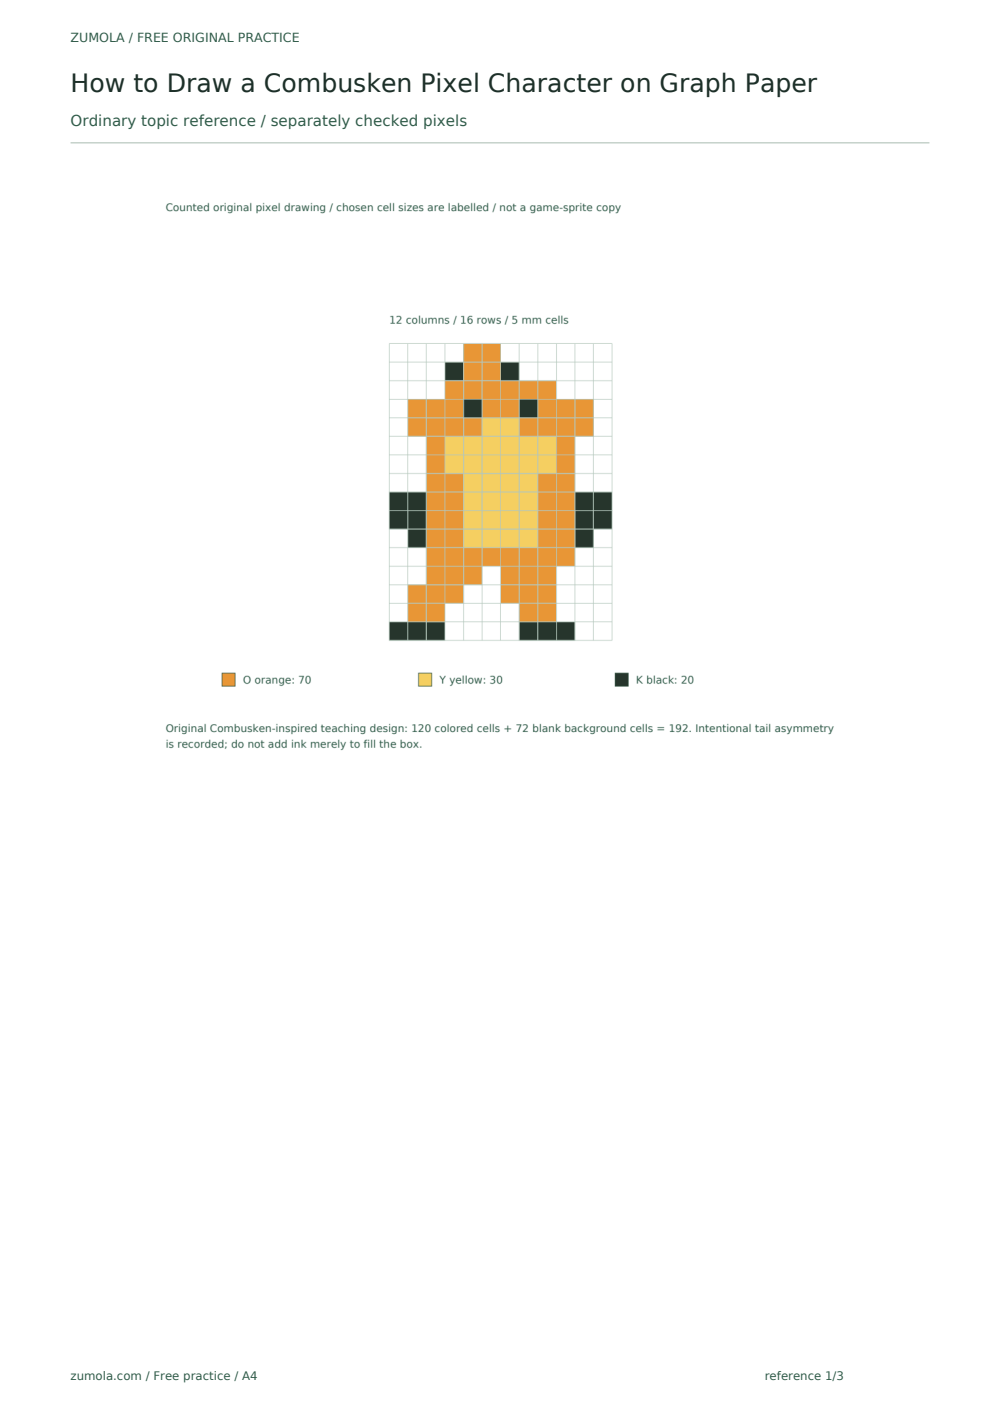
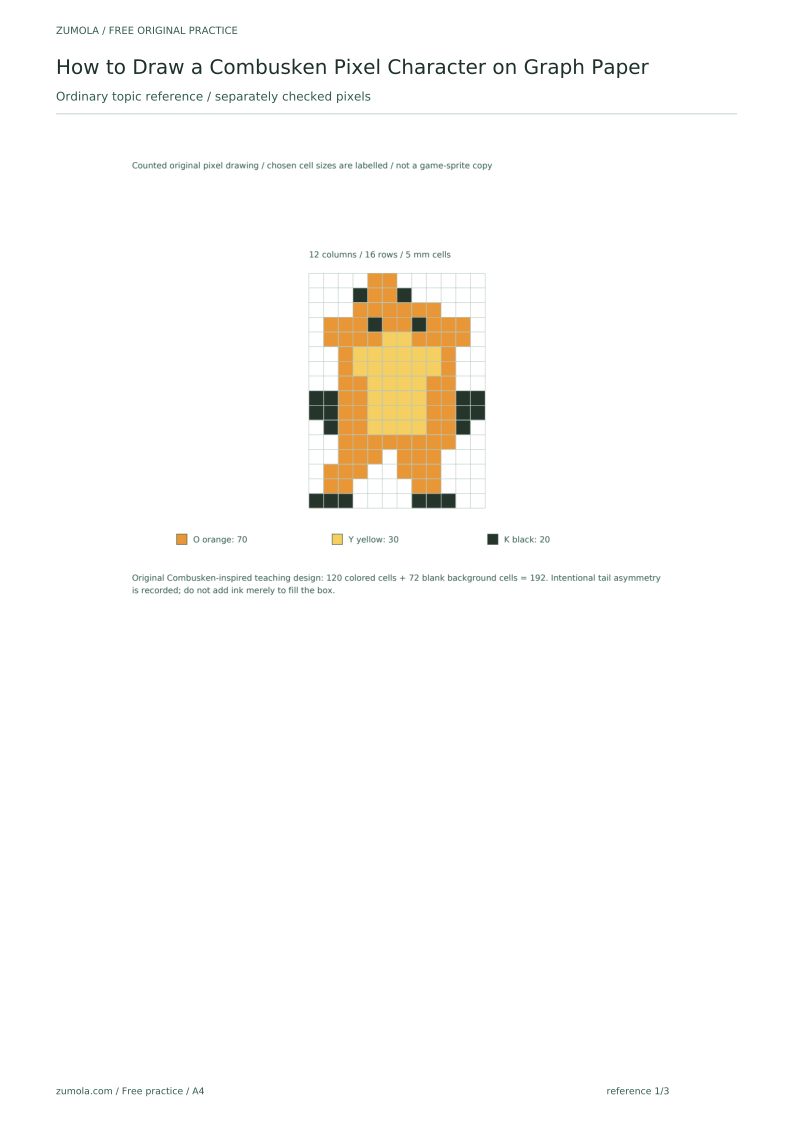
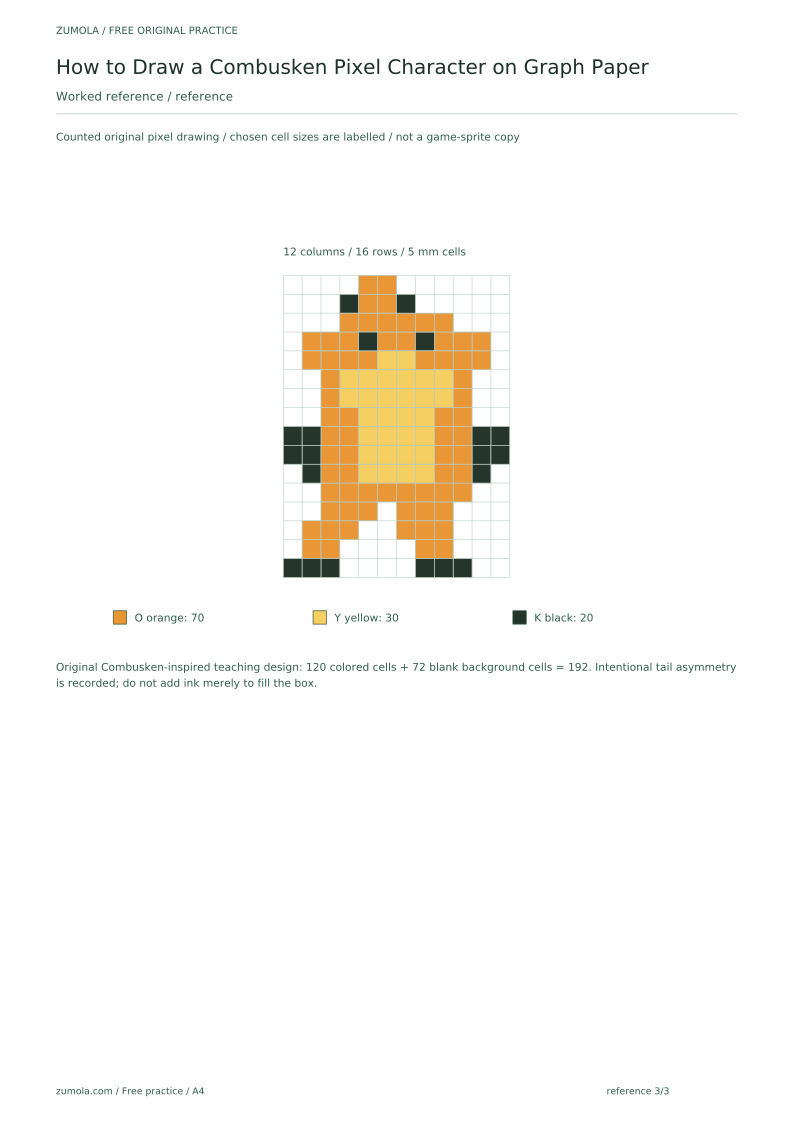
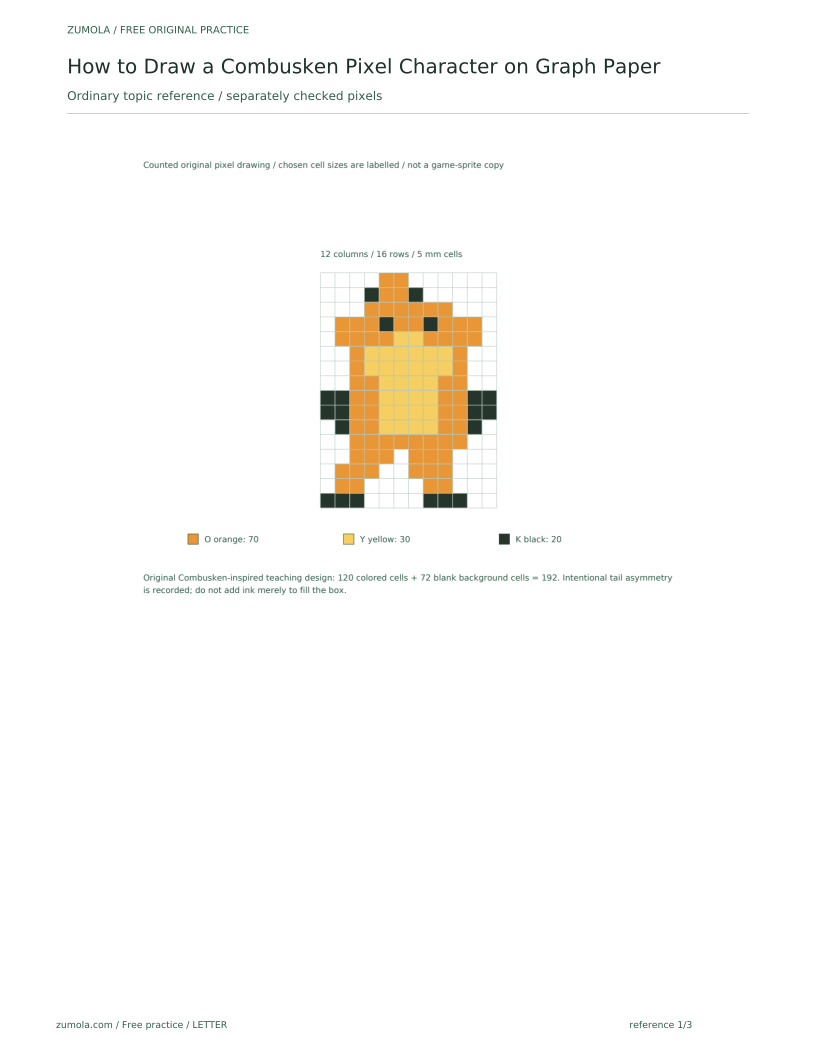
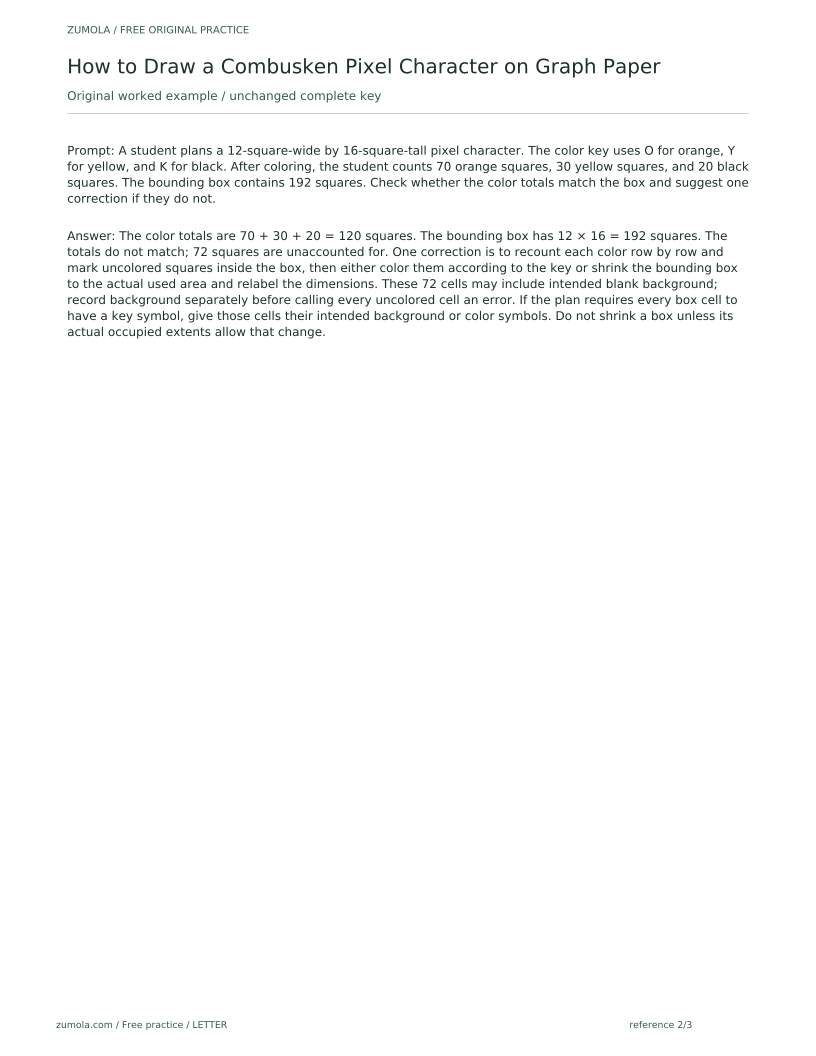
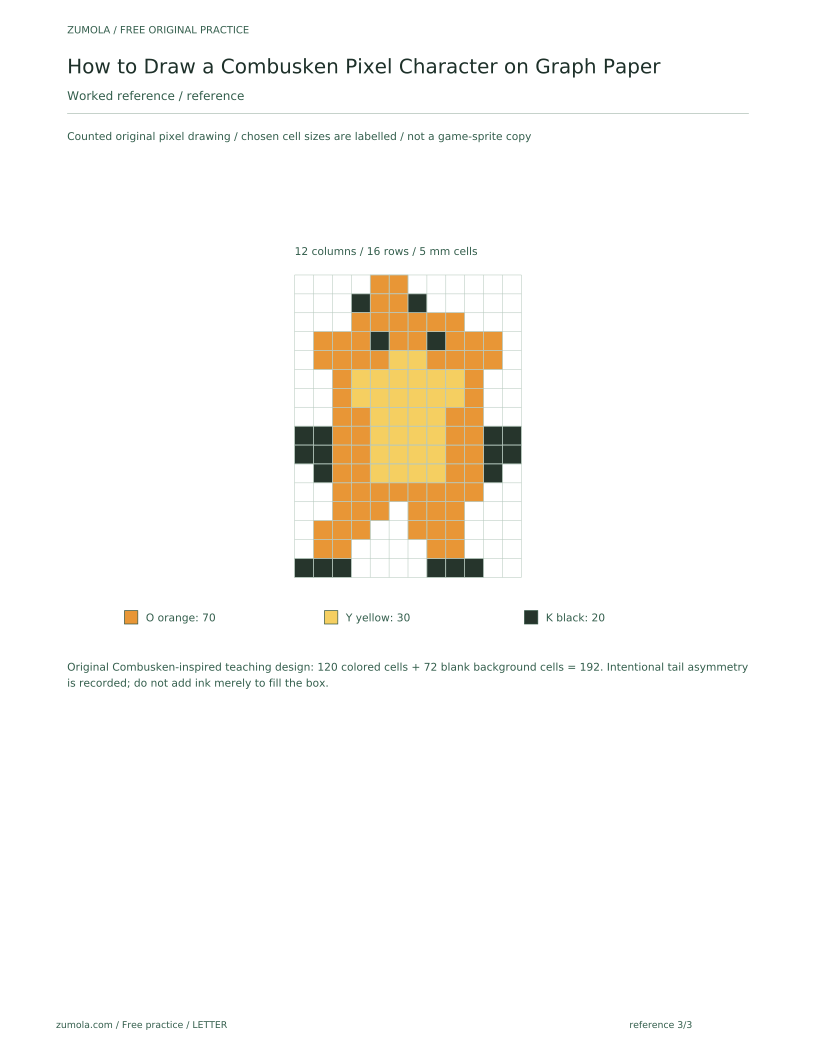
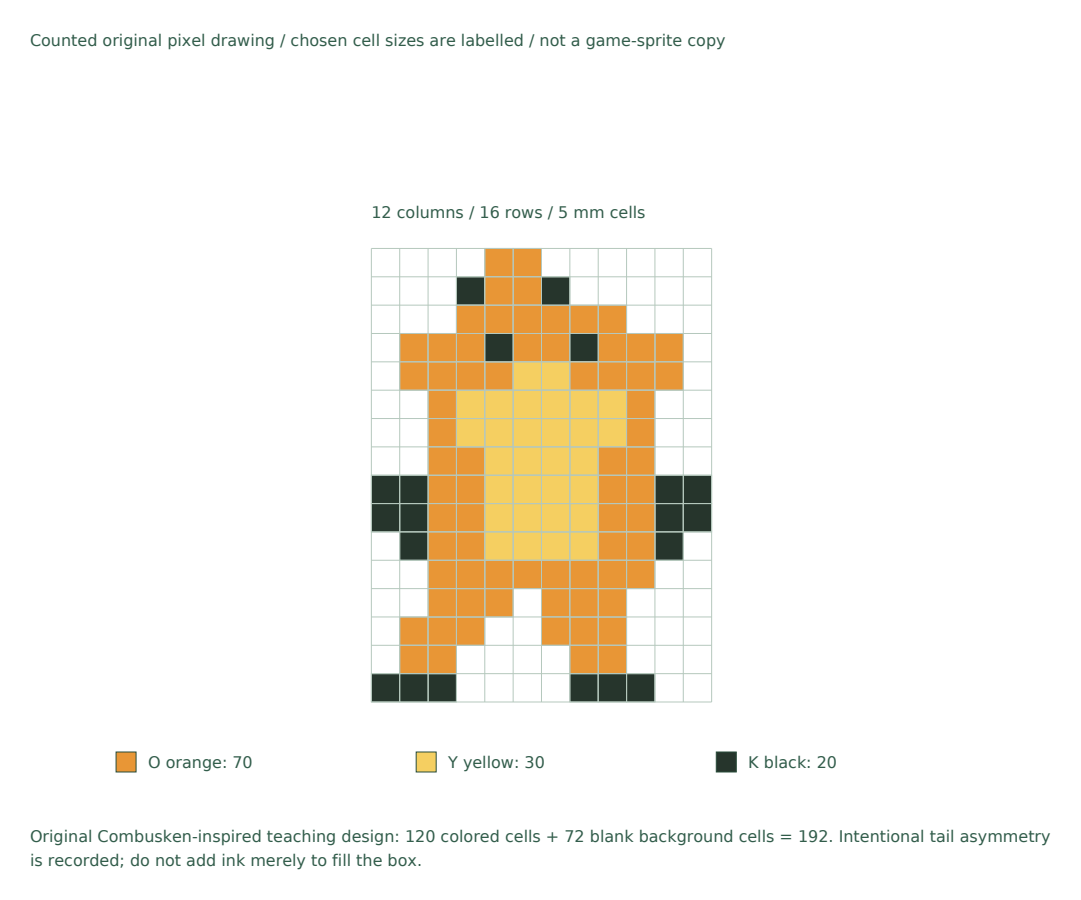
A student plans a 12-square-wide by 16-square-tall pixel character. The color key uses O for orange, Y for yellow, and K for black. After coloring, the student counts 70 orange squares, 30 yellow squares, and 20 black squares. The bounding box contains 192 squares. Check whether the color totals match the box and suggest one correction if they do not.
Worked answer
The color totals are 70 + 30 + 20 = 120 squares. The bounding box has 12 × 16 = 192 squares. The totals do not match; 72 squares are unaccounted for. One correction is to recount each color row by row and mark uncolored squares inside the box, then either color them according to the key or shrink the bounding box to the actual used area and relabel the dimensions. These 72 cells may include intended blank background; record background separately before calling every uncolored cell an error. If the plan requires every box cell to have a key symbol, give those cells their intended background or color symbols. Do not shrink a box unless its actual occupied extents allow that change.
Four practice exercises
Exercise 1
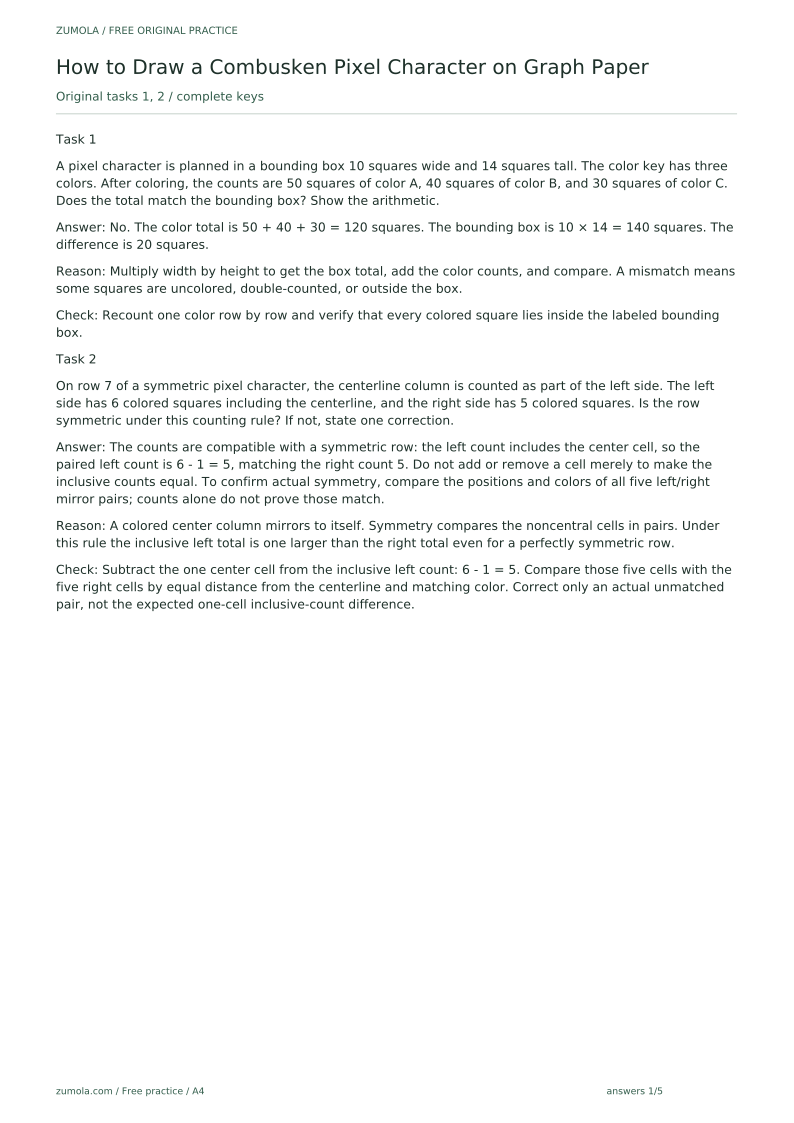
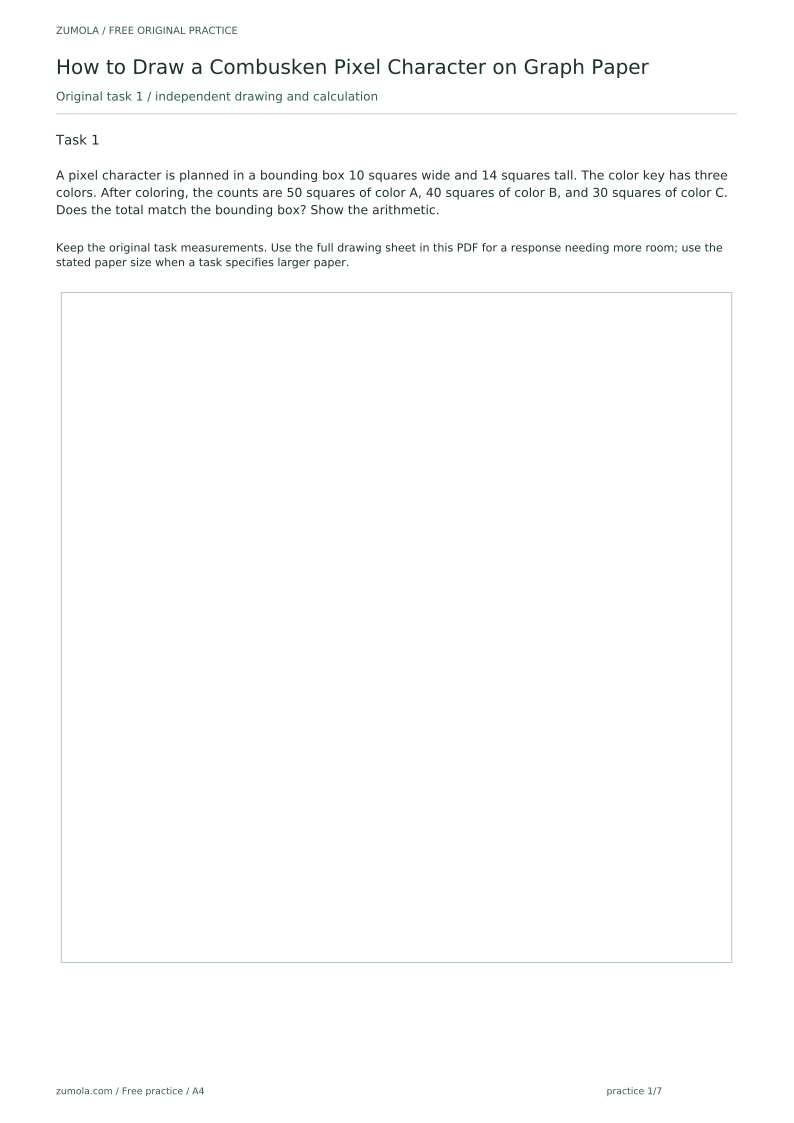
A pixel character is planned in a bounding box 10 squares wide and 14 squares tall. The color key has three colors. After coloring, the counts are 50 squares of color A, 40 squares of color B, and 30 squares of color C. Does the total match the bounding box? Show the arithmetic.
Show answer and check
No. The color total is 50 + 40 + 30 = 120 squares. The bounding box is 10 × 14 = 140 squares. The difference is 20 squares.
Why: Multiply width by height to get the box total, add the color counts, and compare. A mismatch means some squares are uncolored, double-counted, or outside the box.
Check: Recount one color row by row and verify that every colored square lies inside the labeled bounding box.
Exercise 2
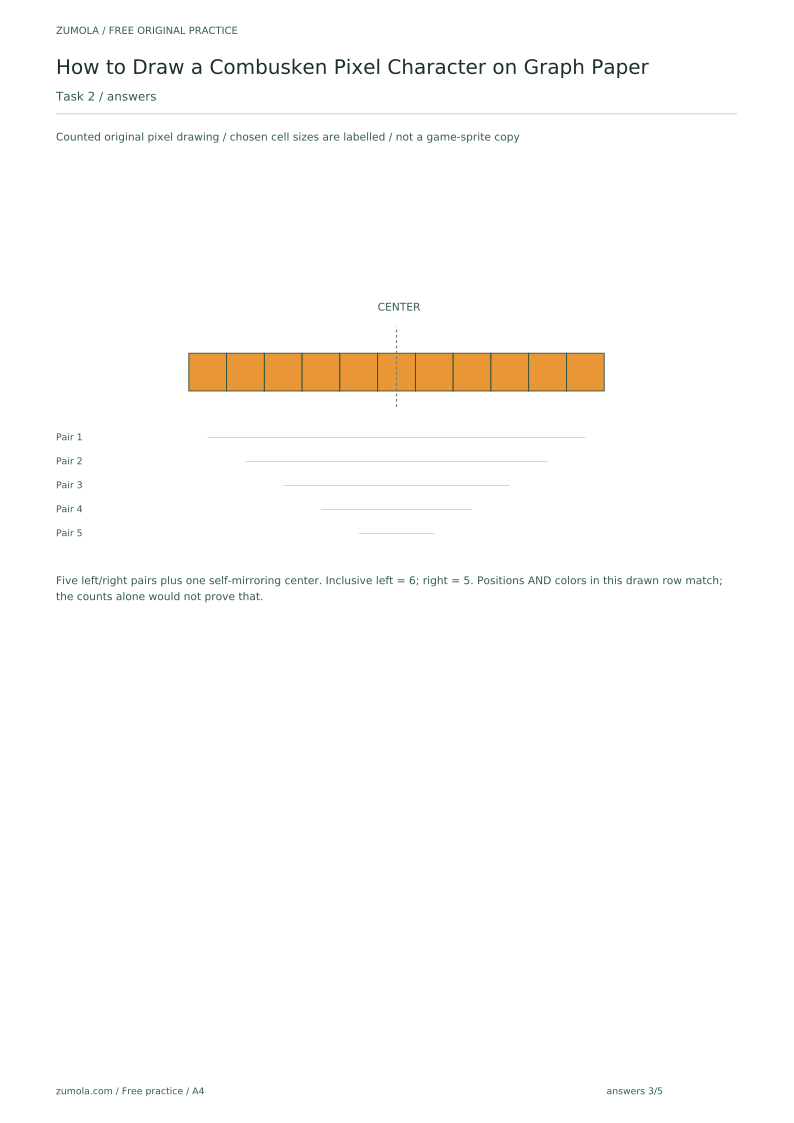
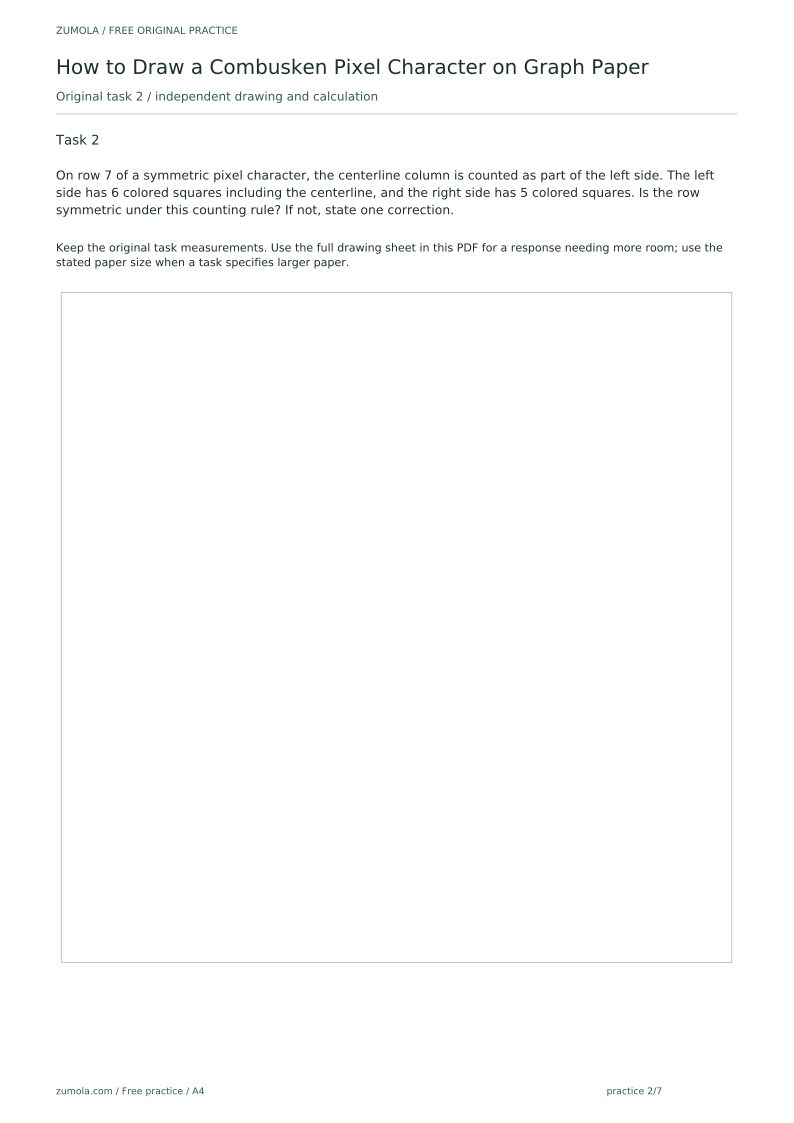
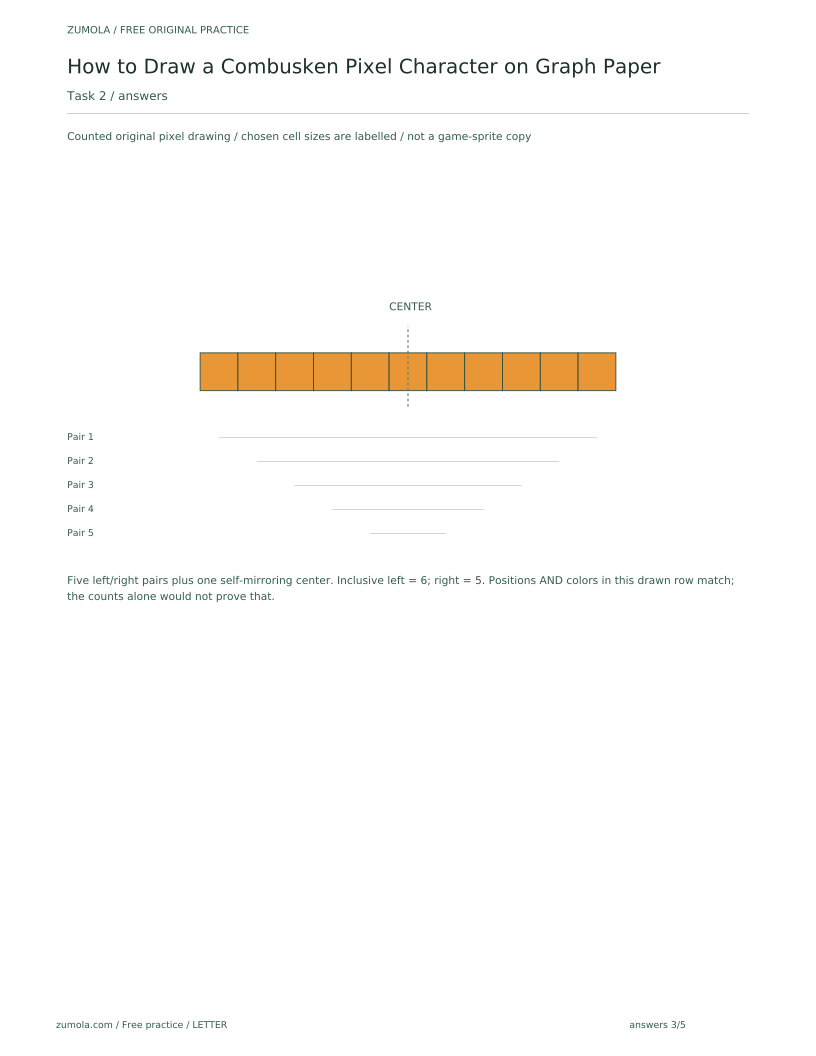
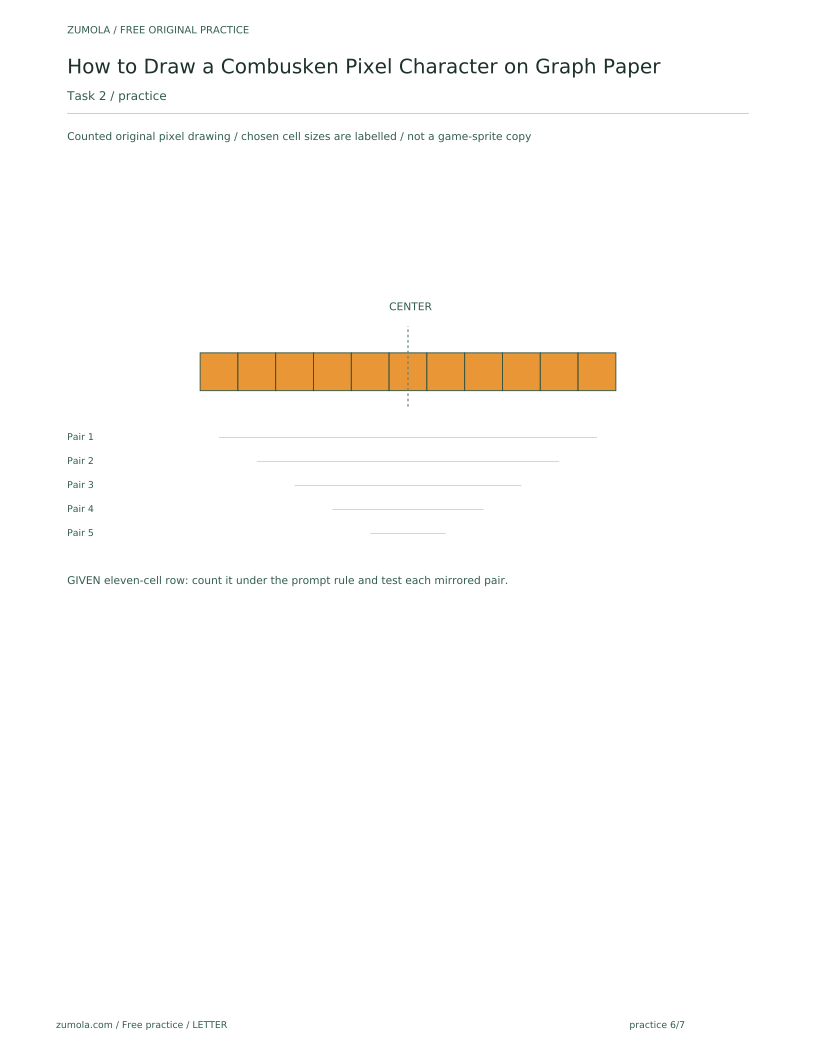
On row 7 of a symmetric pixel character, the centerline column is counted as part of the left side. The left side has 6 colored squares including the centerline, and the right side has 5 colored squares. Is the row symmetric under this counting rule? If not, state one correction.
Show answer and check
The counts are compatible with a symmetric row: the left count includes the center cell, so the paired left count is 6 - 1 = 5, matching the right count 5. Do not add or remove a cell merely to make the inclusive counts equal. To confirm actual symmetry, compare the positions and colors of all five left/right mirror pairs; counts alone do not prove those match.
Why: A colored center column mirrors to itself. Symmetry compares the noncentral cells in pairs. Under this rule the inclusive left total is one larger than the right total even for a perfectly symmetric row.
Check: Subtract the one center cell from the inclusive left count: 6 - 1 = 5. Compare those five cells with the five right cells by equal distance from the centerline and matching color. Correct only an actual unmatched pair, not the expected one-cell inclusive-count difference.
Exercise 3
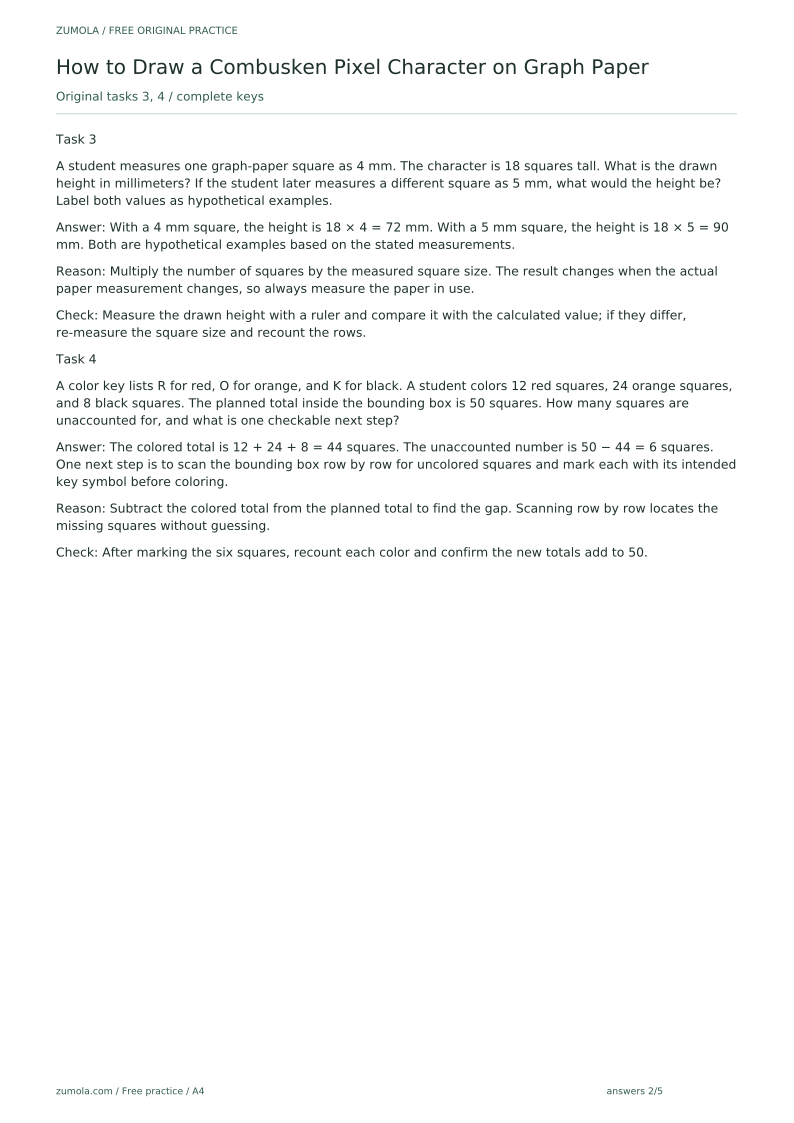
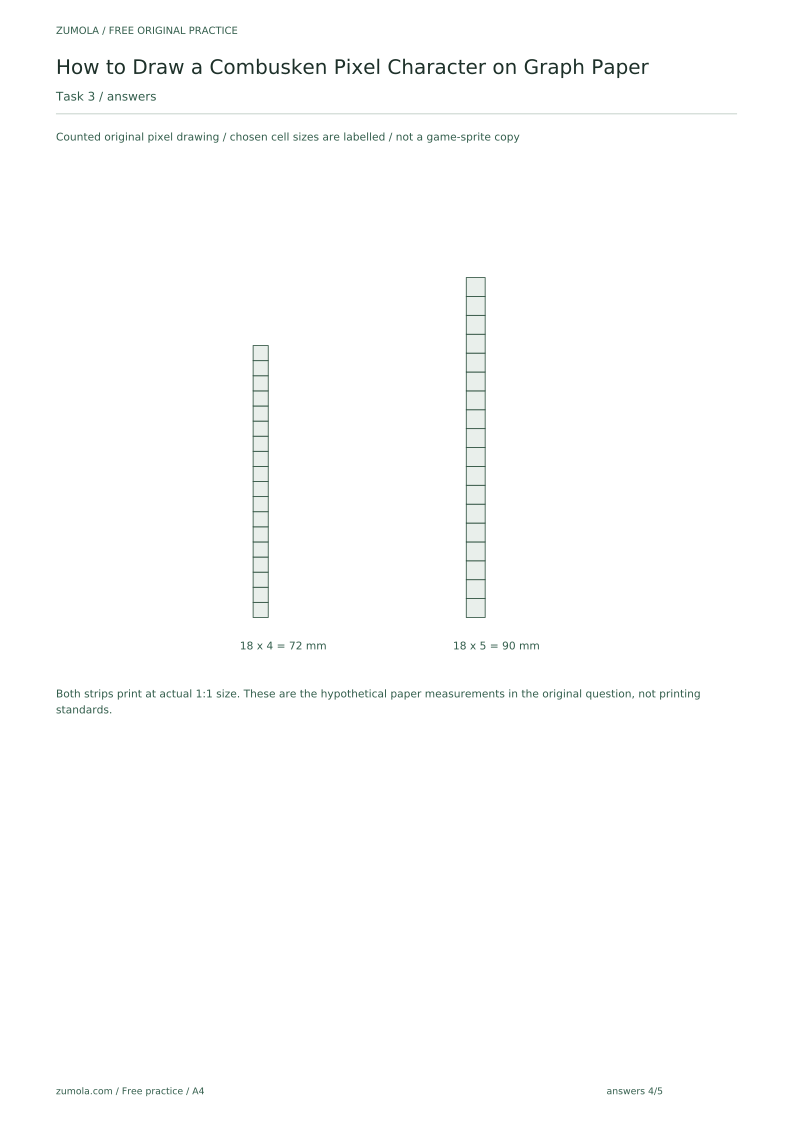
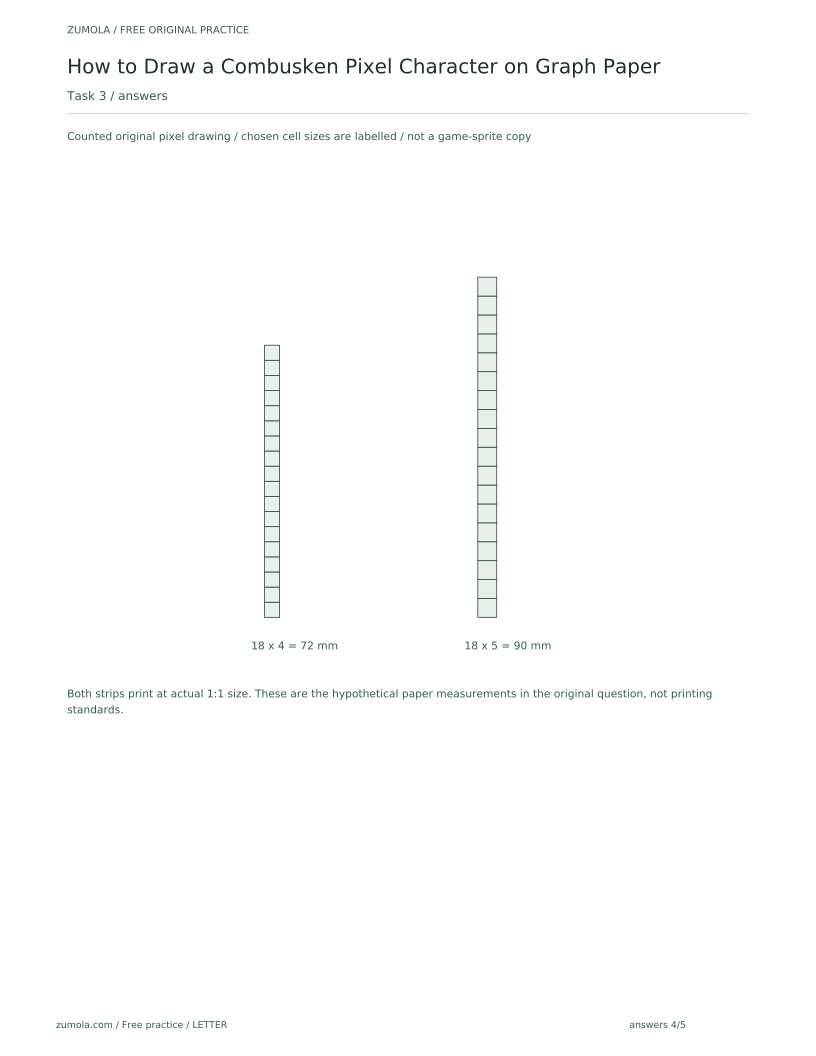
A student measures one graph-paper square as 4 mm. The character is 18 squares tall. What is the drawn height in millimeters? If the student later measures a different square as 5 mm, what would the height be? Label both values as hypothetical examples.
Show answer and check
With a 4 mm square, the height is 18 × 4 = 72 mm. With a 5 mm square, the height is 18 × 5 = 90 mm. Both are hypothetical examples based on the stated measurements.
Why: Multiply the number of squares by the measured square size. The result changes when the actual paper measurement changes, so always measure the paper in use.
Check: Measure the drawn height with a ruler and compare it with the calculated value; if they differ, re-measure the square size and recount the rows.
Exercise 4
A color key lists R for red, O for orange, and K for black. A student colors 12 red squares, 24 orange squares, and 8 black squares. The planned total inside the bounding box is 50 squares. How many squares are unaccounted for, and what is one checkable next step?
Show answer and check
The colored total is 12 + 24 + 8 = 44 squares. The unaccounted number is 50 − 44 = 6 squares. One next step is to scan the bounding box row by row for uncolored squares and mark each with its intended key symbol before coloring.
Why: Subtract the colored total from the planned total to find the gap. Scanning row by row locates the missing squares without guessing.
Check: After marking the six squares, recount each color and confirm the new totals add to 50.
Common mistakes
- Coloring squares without a written color key, then forgetting which symbol meant which color. Write the color key first and fill one sample square for each color before coloring the character.
- Counting the centerline twice when checking symmetry, making one side appear larger. Record whether a side count includes the middle column. If it does, subtract that self-mirroring center cell before comparing paired side counts; also compare actual mirrored positions and colors.
- Letting colored pencil cross grid lines so square counts become ambiguous. Color inside each square with short strokes and leave a thin uncolored margin at the grid line.
- Changing the bounding box midway and losing track of the planned width and height. Label the width and height at the top and side before drawing, and do not erase those labels until the final check.
Self-check rubric
- Bounding box is labeled with counted width and height in squares.
- One graph-paper square is measured and the size is recorded in millimeters.
- A color key with color names and symbols is present and legible in any handwriting style.
- Colored squares stay inside grid lines and within the bounding box.
- Symmetry or intentional asymmetry is checked by counting from the centerline and documented.
- Color totals are written and added; the sum is compared with the bounding-box total.
- Labels include grid dimensions, square size, and color totals.
- Valid alternatives are accepted when counting, key consistency, and documentation are correct.
Questions and answers
Do I need a specific brand of graph paper?
No. Measure your actual paper square and use that measurement in your labels. Any graph paper with visible squares works.
How many squares tall should the character be?
Choose a count that fits your paper and allows the details you want. A hypothetical example is 24 squares tall, but replace that with your measured plan.
Can I use different colors than the example key?
Yes, provided your color key is clear and you apply it consistently. The rubric checks consistency and counting, not a single required palette.
What if my character is intentionally asymmetric?
Note the asymmetry in your labels and explain the counted difference. Intentional asymmetry is acceptable when it is documented and consistent.
Reference illustration
Free printable downloads
Choose a paper size. Practice sheets and answer keys are separate. Download every file free, without registration.
This standard pack covers the four original exercises, blank work areas, complete keys and necessary figures. Additional extension sets described in the lesson are outside this download.
PDF bundles
Individual SVG pages
Reference-page preview