Free original lessons
Draw a Lying Ball Knee-Tuck Pose: Placement, Angles, and Checks
Learn to draw a lying ball knee-tuck exercise pose with clear ball contact, hip angle, knee fold, and arm placement using a simple convention and checkable steps.
Free downloads
Letter & A4
PDF & SVG
Object Drawing Lessons
This guide teaches a single exercise pose: a person lying on their back with lower legs resting on a stability ball, then drawing the knees toward the chest in a tuck. The goal is not general figure drawing but a clear, checkable pose plate. You will use a simple convention: the body is built from a baseline (the floor line), a midline (the top of the ball and the body's central axis), and labeled contact points. Letter styles and body proportions vary, so the rubric rewards consistent placement and readable angles rather than one universal shape. All measurements are hypothetical examples; measure your own paper and ball if you use real equipment. The pose is drawn from a side view so the ball contact, hip angle, and knee fold are visible. Geometric checks must be simultaneous, not just separate labels. For the worked construction, define top-front as the upper circle quadrant facing the body. The original fixed 6 cm/6 cm/70-degree example is infeasible at its specified hip station; its answer below explains the conflict rather than claiming a successful pose. This is a hypothetical drawing constraint, not an exercise-safety or anatomy claim.
Practice materials: Download the free reference pages, practice sheets and separate answer keys below, in A4 and US Letter PDF and SVG formats.
Set the floor line, ball, and body axis
Start with a horizontal floor line across the lower third of the page. Place the ball as a circle whose bottom touches the floor line. Mark the ball's center and its top point. The body's midline runs from the top of the ball toward the head, angled slightly downward so the head ends near the floor line. This midline is your reference for the torso and head.
Use a light grid: divide the page into equal squares, for example 2 cm squares on A4 paper. Label the floor line, ball center, ball top, and midline. These labels are part of the convention and make the pose checkable.
- Draw a horizontal floor line and label it F.
- Draw a circle for the ball with its bottom on F; mark center C and top T.
- Draw a midline from T toward the head, angled about 15 degrees downward toward the floor line; label it M.
- Mark a hip point H on M about one ball-radius from T.
- Mark a shoulder point S on M farther from T, and a head circle beyond S.
Place the legs and knee fold
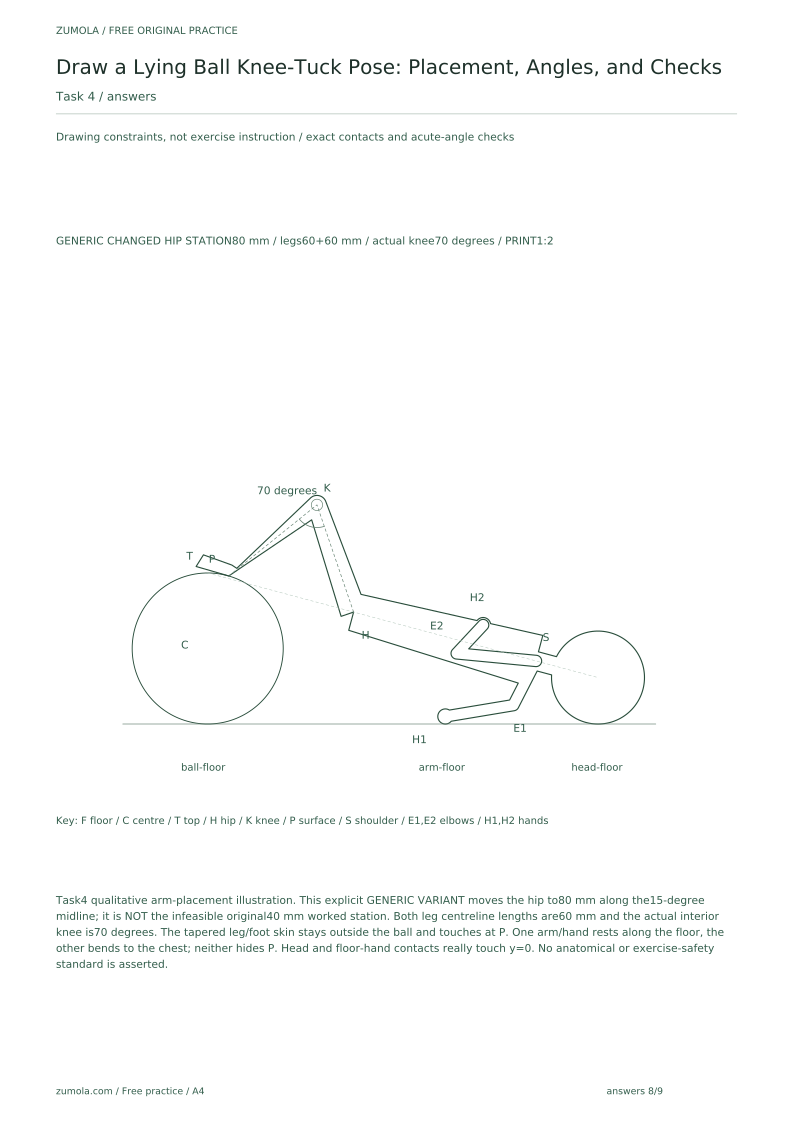
The lower legs rest on the ball. From the hip point H, draw the thigh toward the ball, then fold the knee so the lower leg lies along the ball's surface. In the tuck, the knee angle is acute: the thigh and lower leg form roughly 60 to 80 degrees. The foot points away from the body and touches the ball near its top-front quadrant. Before inking, test whether the two segment lengths and knee angle can actually connect the chosen hip to that surface quadrant. Do not label a visually obtuse or penetrating leg as an acute valid solution. If the joint constraints fail, record the incompatibility and clearly label any changed hypothetical construction.
Keep the knee fold readable: draw the thigh as a tapered shape, the lower leg as a second tapered shape, and a small circle at the knee joint. The ball contact point should be a short line or dot where the lower leg meets the ball.
- From H, draw the thigh toward the ball; label the knee K.
- From K, draw the lower leg along the ball surface; label the foot contact point P.
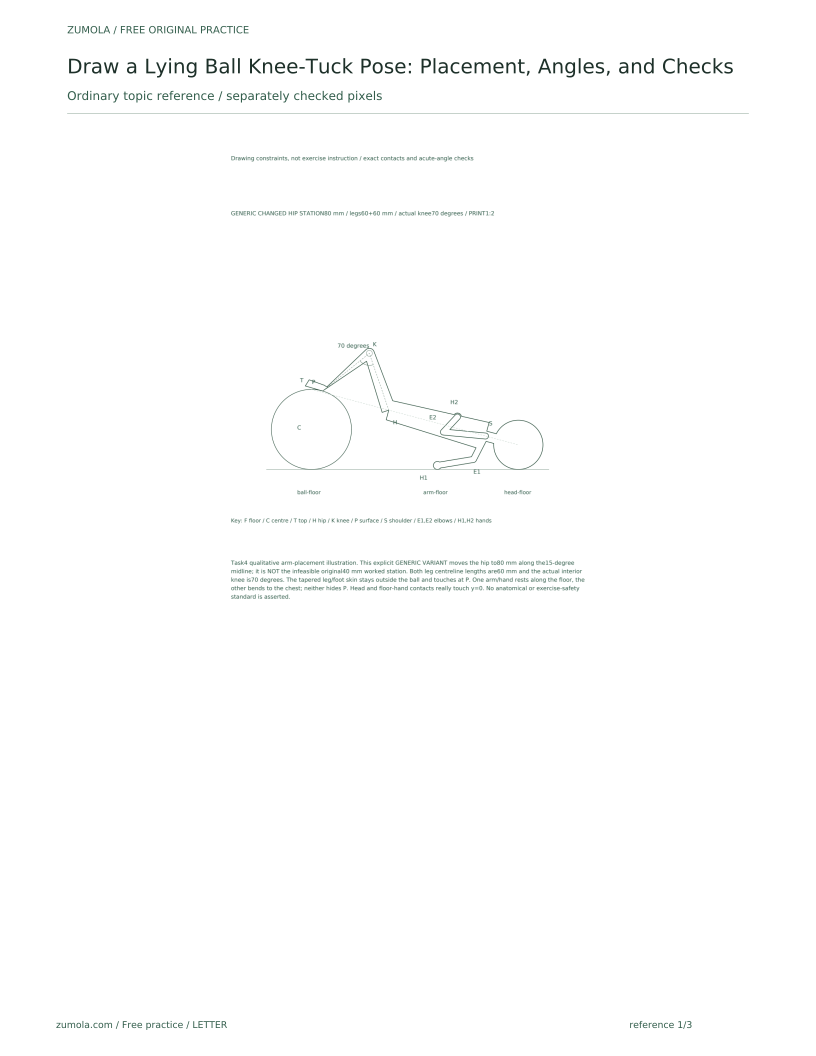
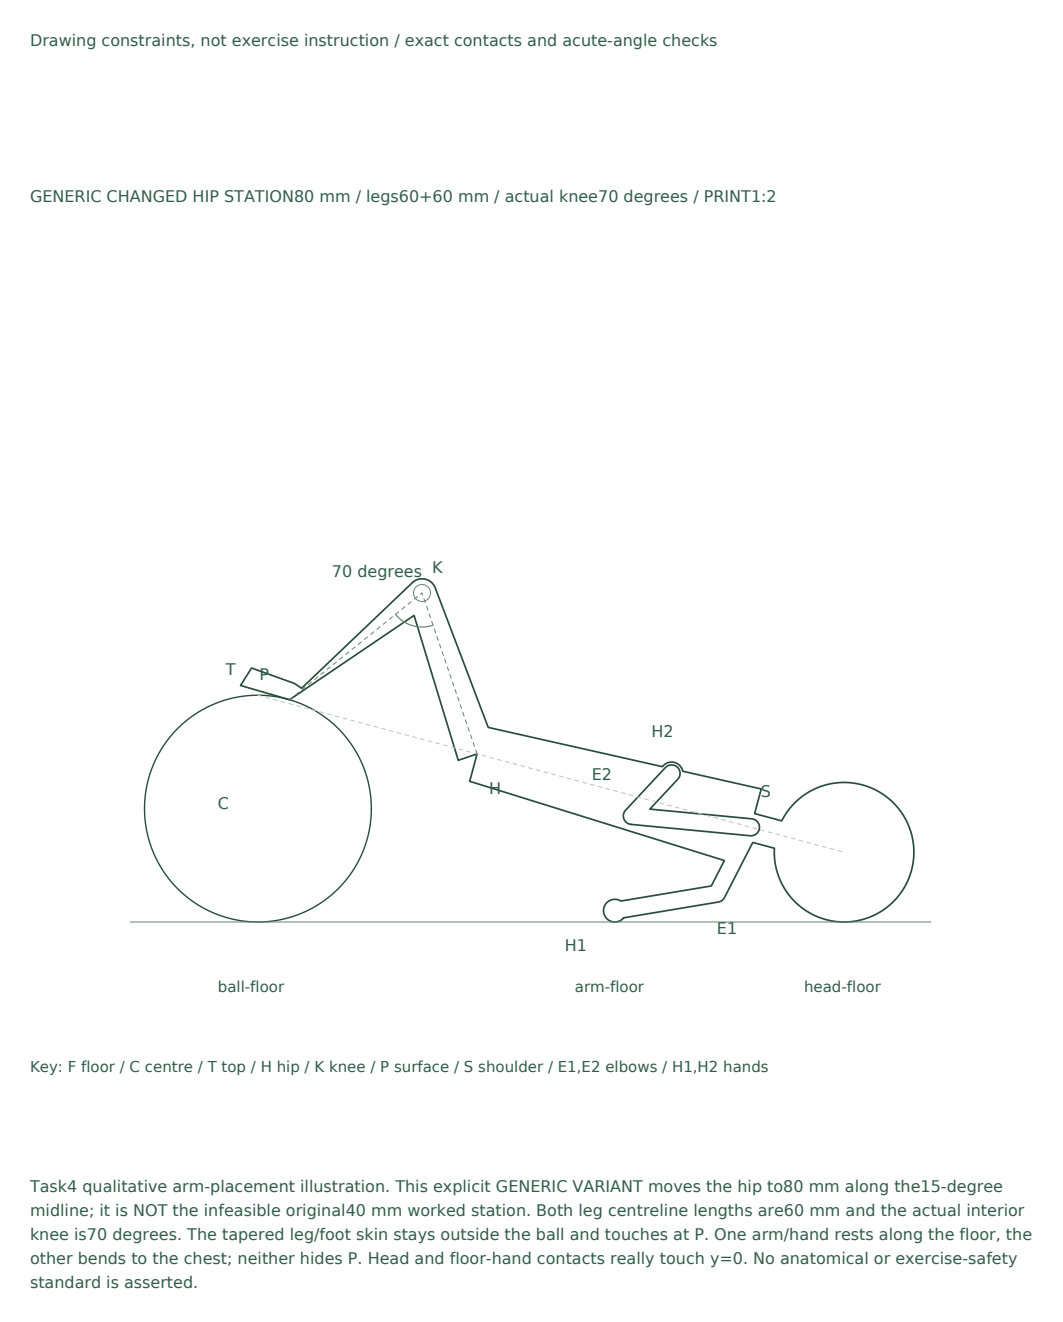
- Mark the knee angle at K with a small arc; label it 70 degrees as a hypothetical example.
- Draw the foot as a simple wedge pointing away from the body.
- Check that P lies on the ball circle and that the lower leg does not cross the ball's center.
Arms, head, and contact labels
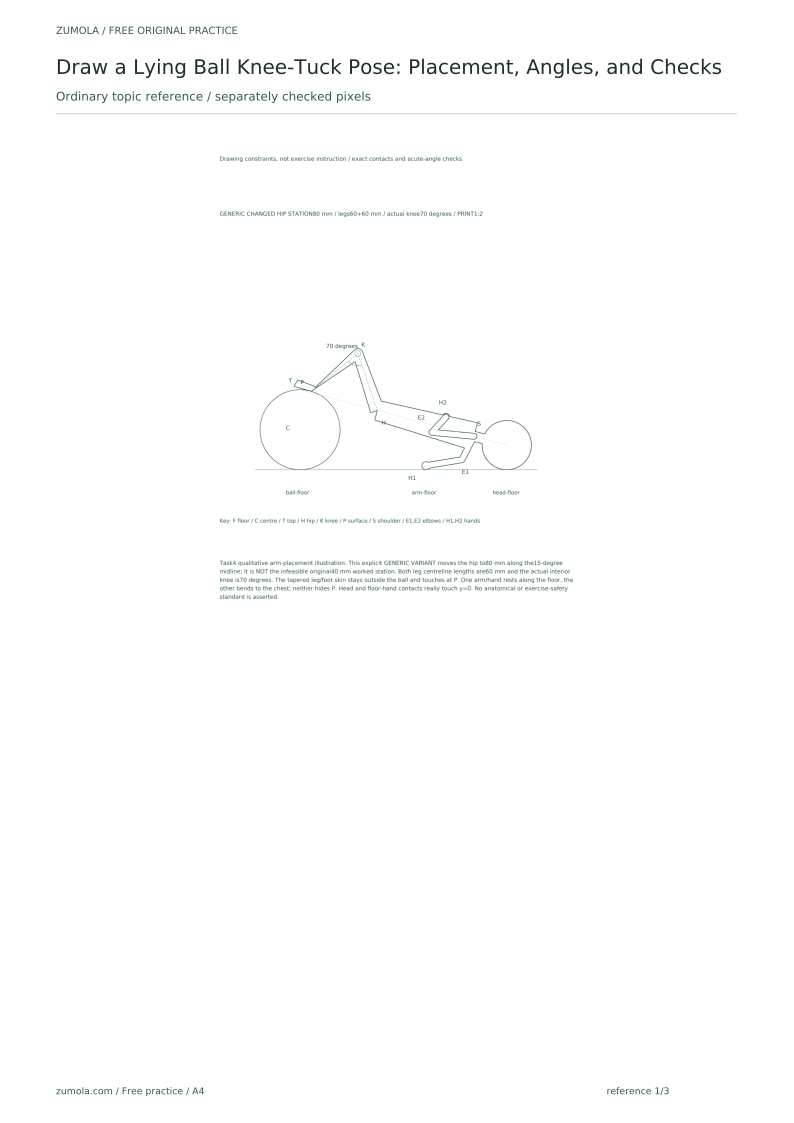
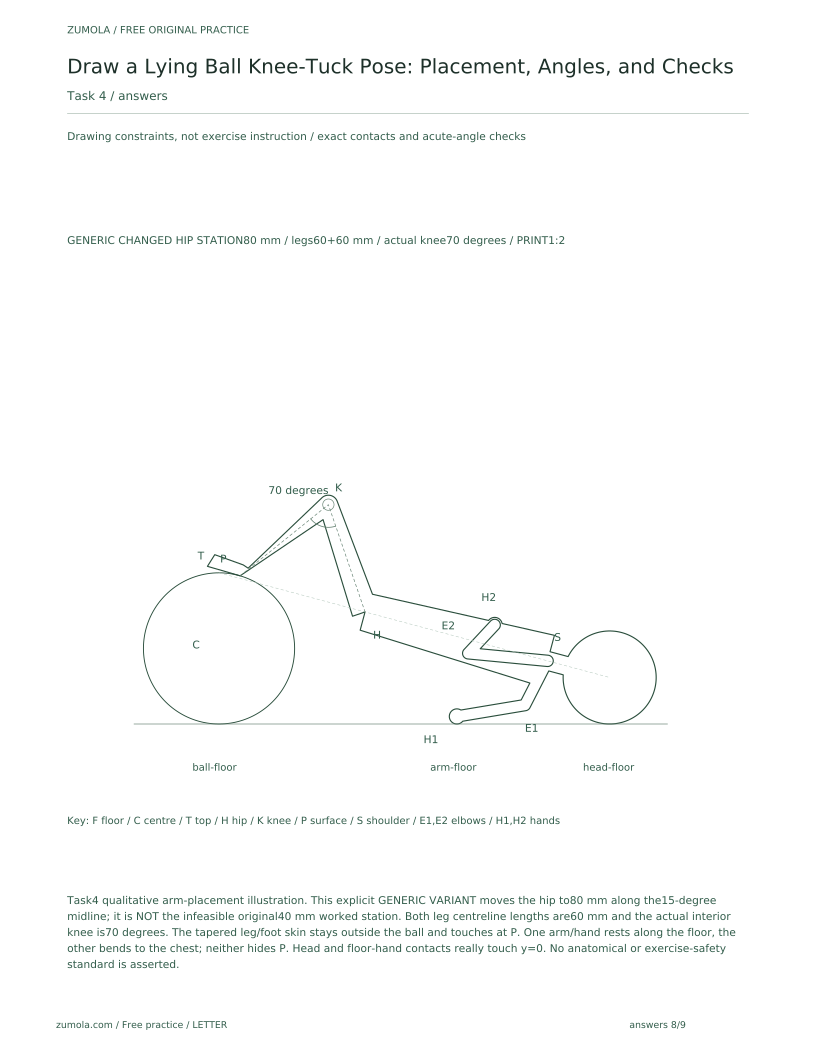
Place the arms so they do not hide the ball contact. A clear choice is one arm resting along the floor beside the torso and the other bent with the hand near the chest. Draw the shoulder at S, the elbow as a small circle, and the hand as a simple shape. The head rests near the floor line, slightly lifted.
Label every contact point: ball-floor, lower-leg-ball, arm-floor, and head-floor if touching. These labels are the pose plate's key. A simplified stick-figure key beside the plate repeats the same points with letters only.
- Draw the torso from H to S as a tapered shape.
- Draw the head circle beyond S, near the floor line.
- Draw one arm along the floor from S; label elbow E1 and hand H1.
- Draw the second arm bent from S; label elbow E2 and hand H2 near the chest.
- Add contact labels and a stick-figure key with the same letters.
Proportion check grid and final pass
Use the grid to check relative sizes. A hypothetical example: ball diameter 8 cm, torso length 10 cm, thigh length 6 cm, lower leg length 6 cm. These are chosen values, not standards. Measure your own drawing and compare ratios: thigh-to-lower-leg near 1:1, ball diameter close to torso length.
On the final pass, darken the pose lines and keep the grid and labels light. The plate should read as one pose, not a collection of parts.
- Measure ball diameter and torso length on your page; record both.
- Measure thigh and lower leg; record both.
- Compare ratios and adjust only if a part is more than one grid square off.
- Darken the pose outline and contact labels.
- Add the stick-figure key beside the plate.
Worked example
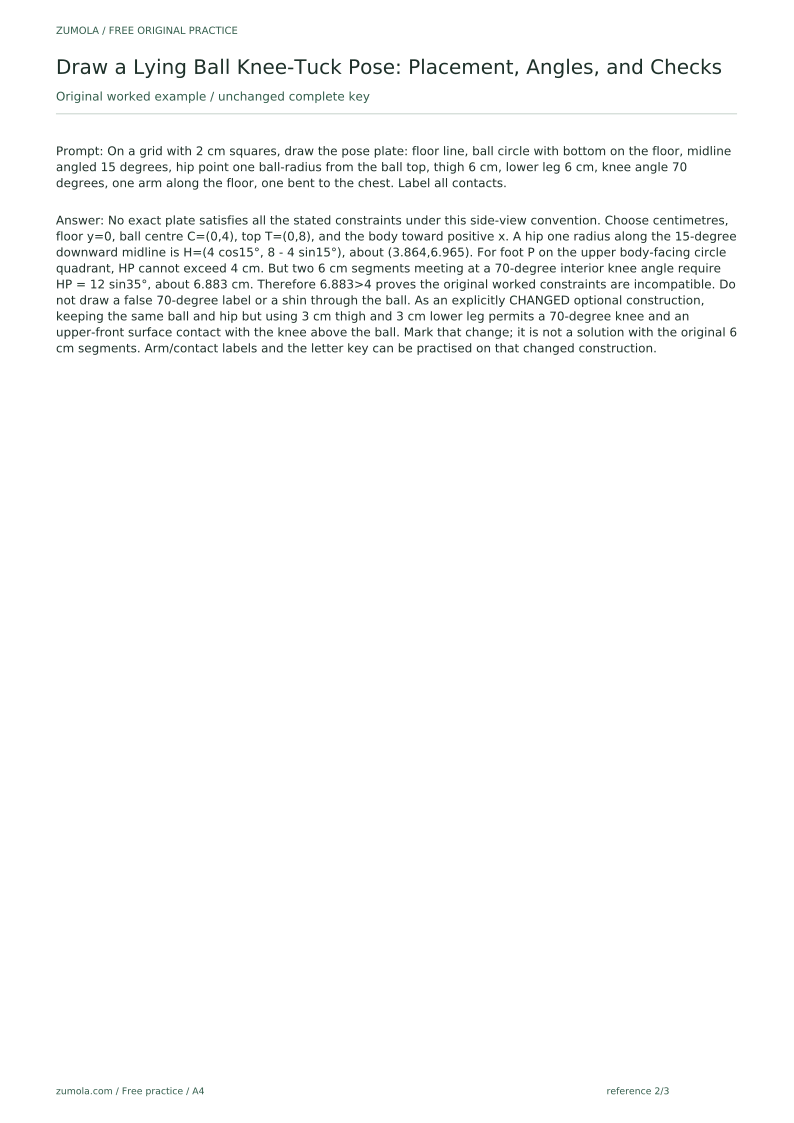
On a grid with 2 cm squares, draw the pose plate: floor line, ball circle with bottom on the floor, midline angled 15 degrees, hip point one ball-radius from the ball top, thigh 6 cm, lower leg 6 cm, knee angle 70 degrees, one arm along the floor, one bent to the chest. Label all contacts.
Worked answer
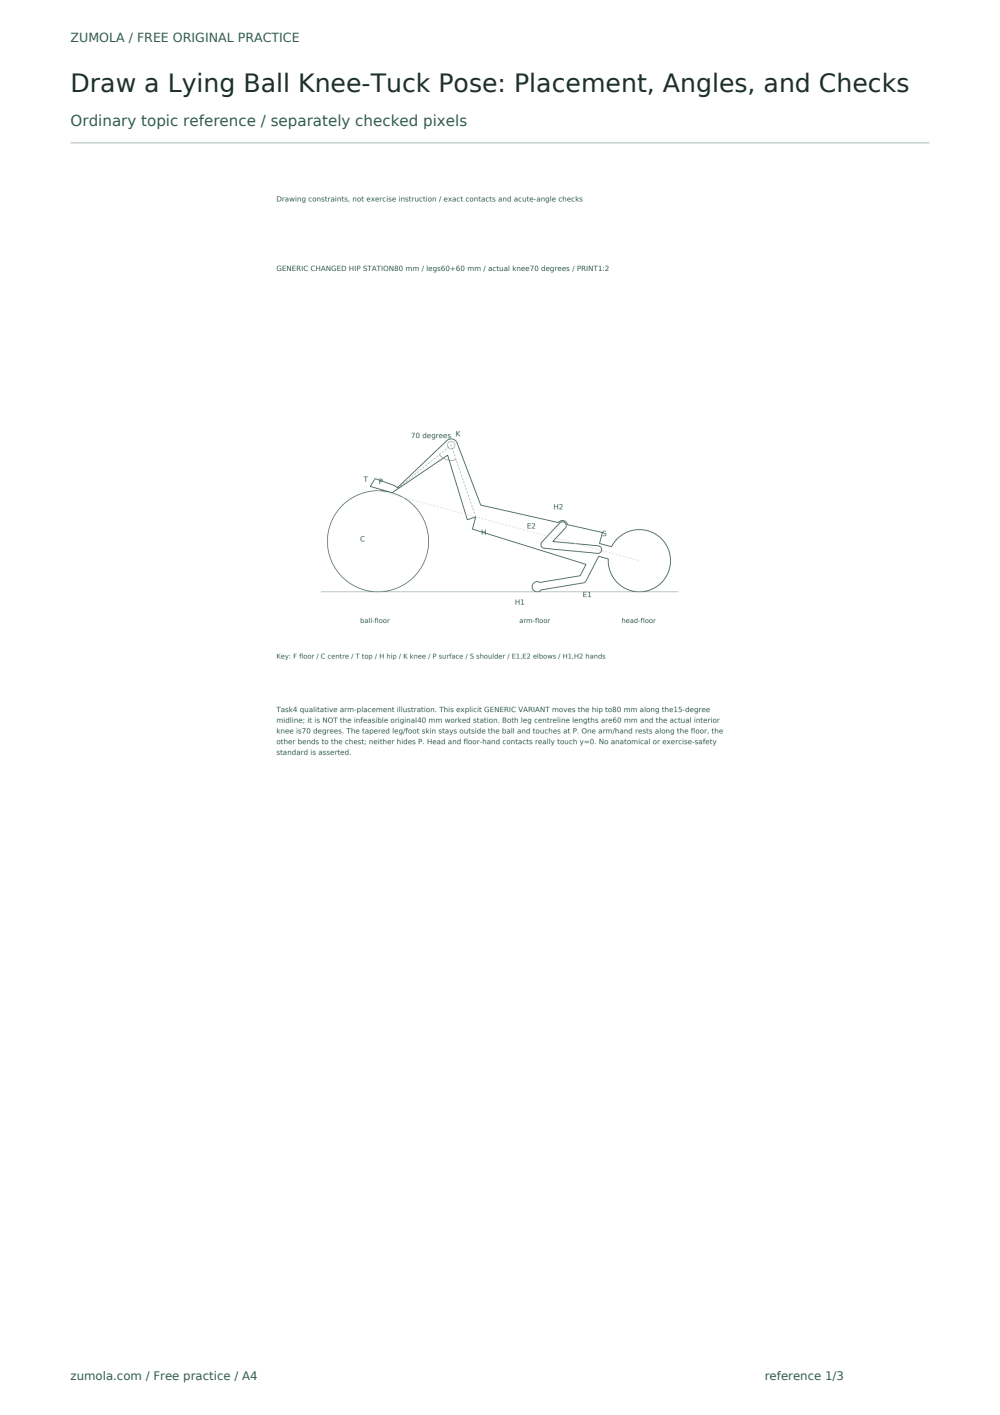
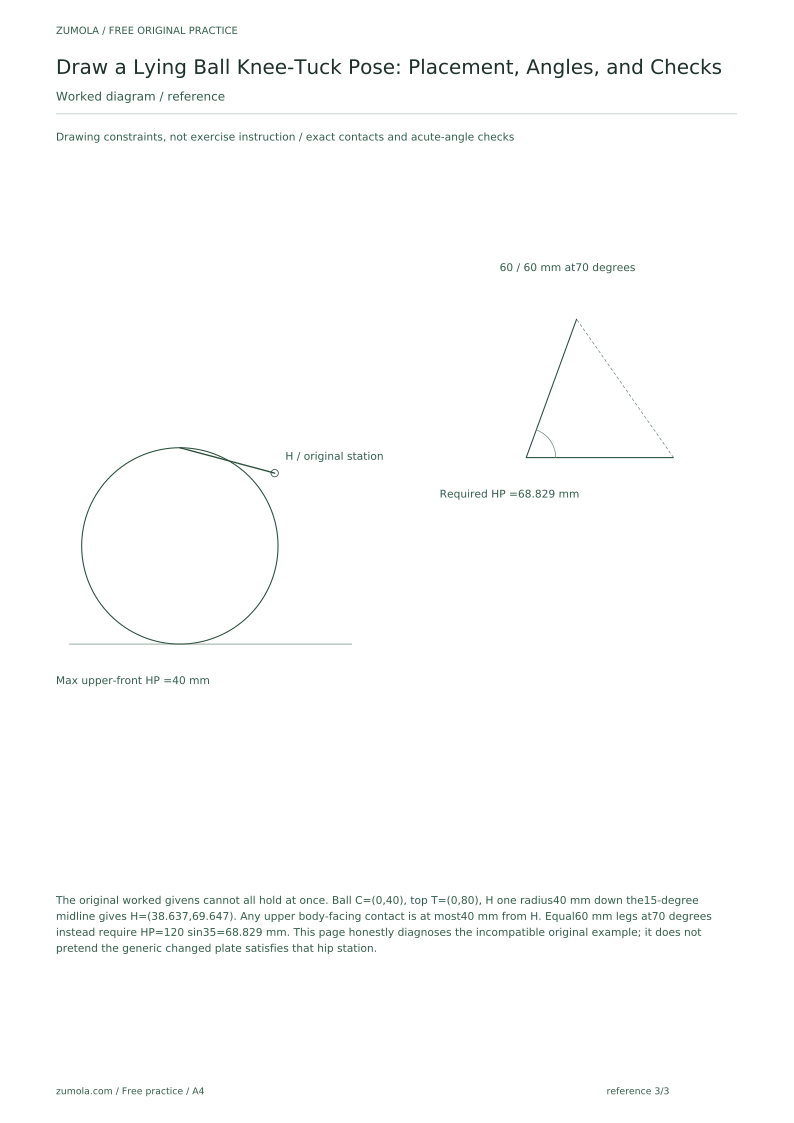
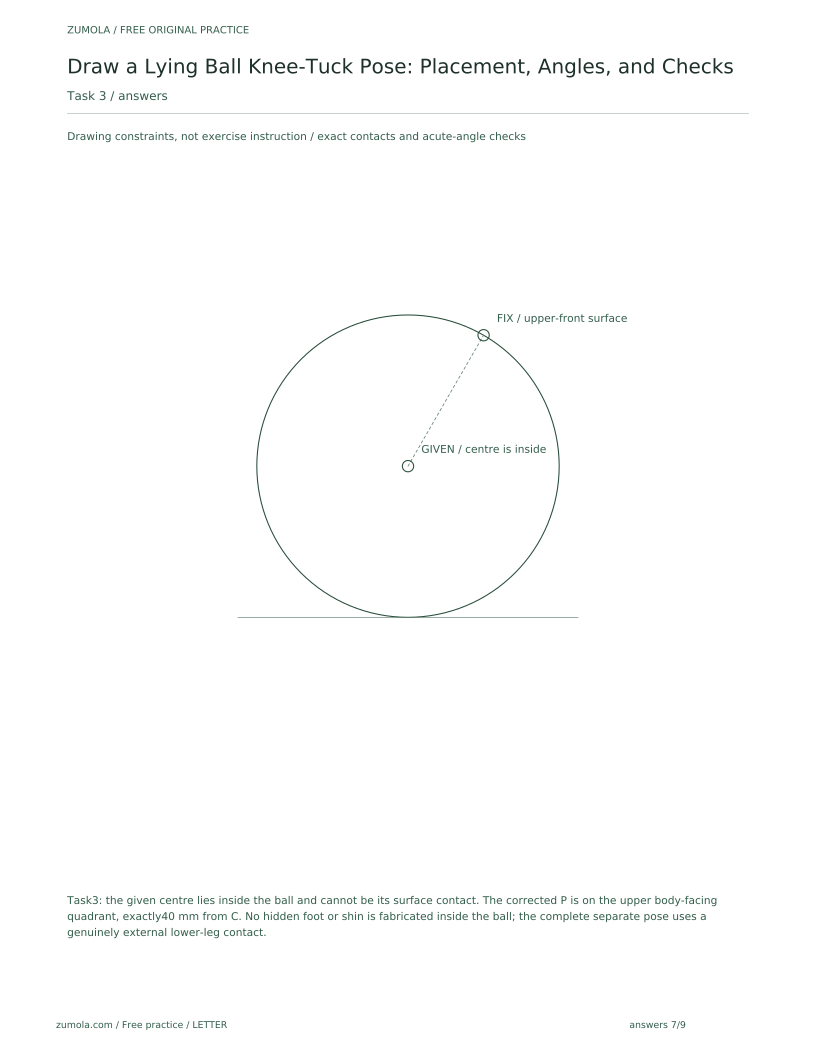
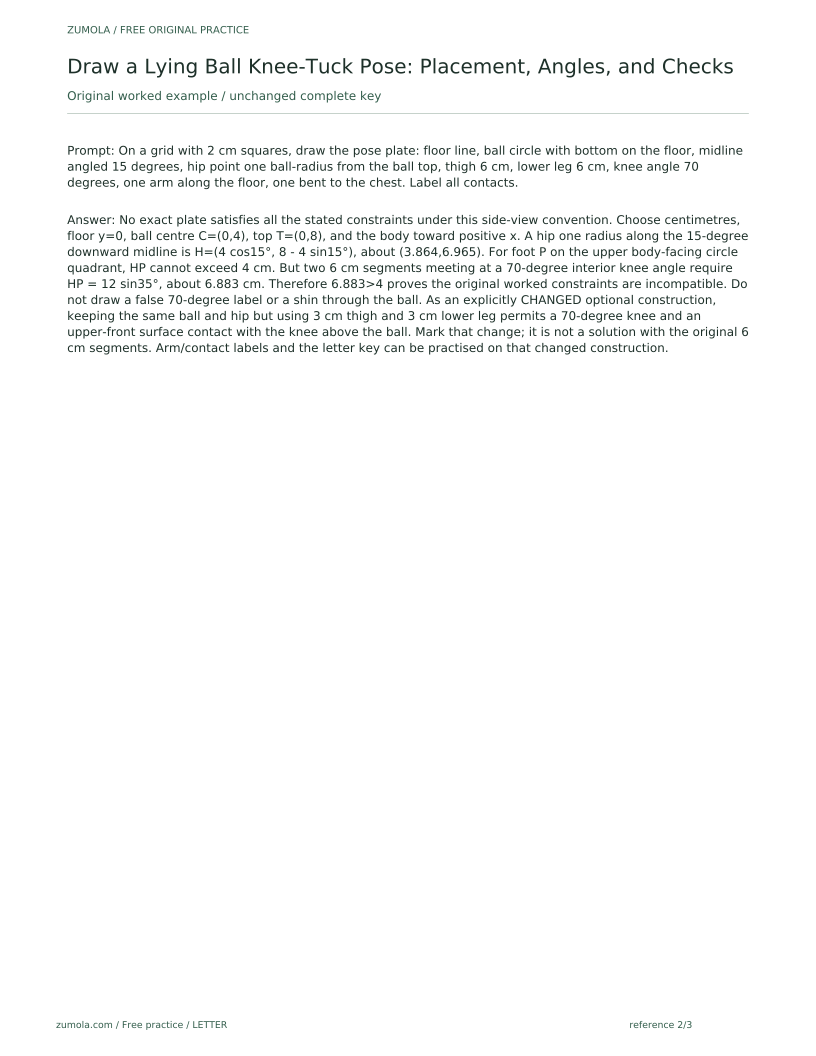
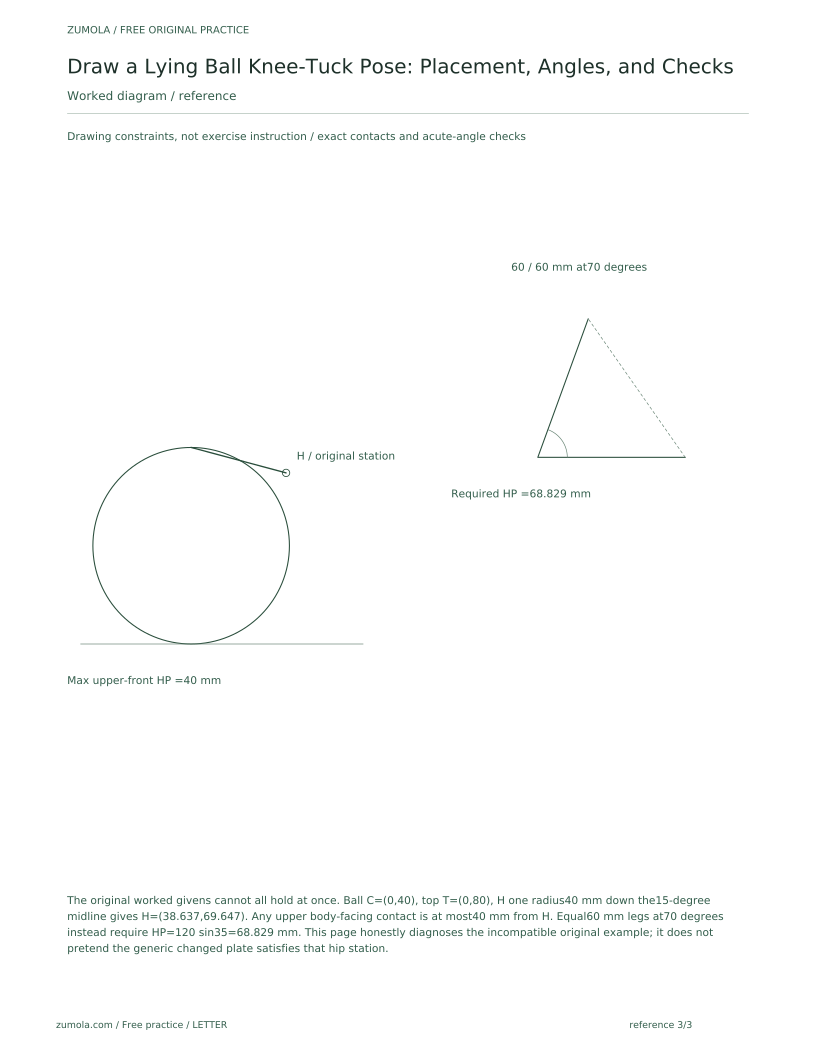
No exact plate satisfies all the stated constraints under this side-view convention. Choose centimetres, floor y=0, ball centre C=(0,4), top T=(0,8), and the body toward positive x. A hip one radius along the 15-degree downward midline is H=(4 cos15°, 8 - 4 sin15°), about (3.864,6.965). For foot P on the upper body-facing circle quadrant, HP cannot exceed 4 cm. But two 6 cm segments meeting at a 70-degree interior knee angle require HP = 12 sin35°, about 6.883 cm. Therefore 6.883>4 proves the original worked constraints are incompatible. Do not draw a false 70-degree label or a shin through the ball. As an explicitly CHANGED optional construction, keeping the same ball and hip but using 3 cm thigh and 3 cm lower leg permits a 70-degree knee and an upper-front surface contact with the knee above the ball. Mark that change; it is not a solution with the original 6 cm segments. Arm/contact labels and the letter key can be practised on that changed construction.
Four practice exercises
Exercise 1
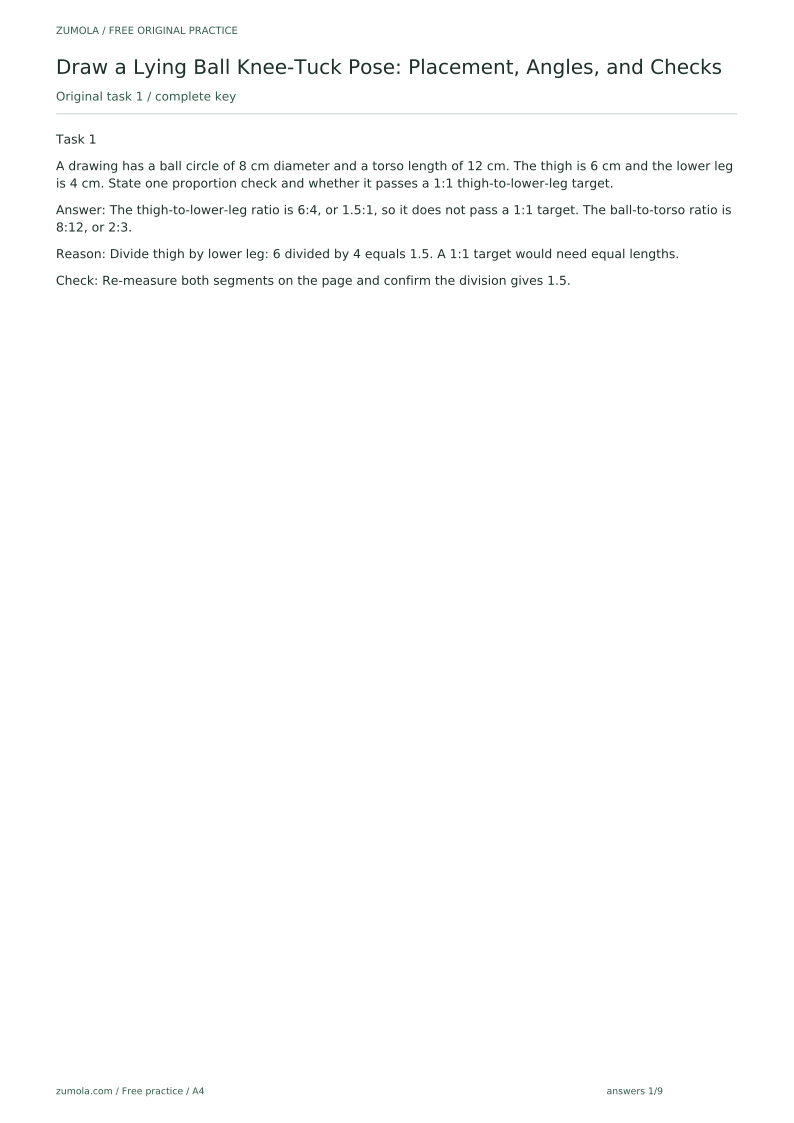
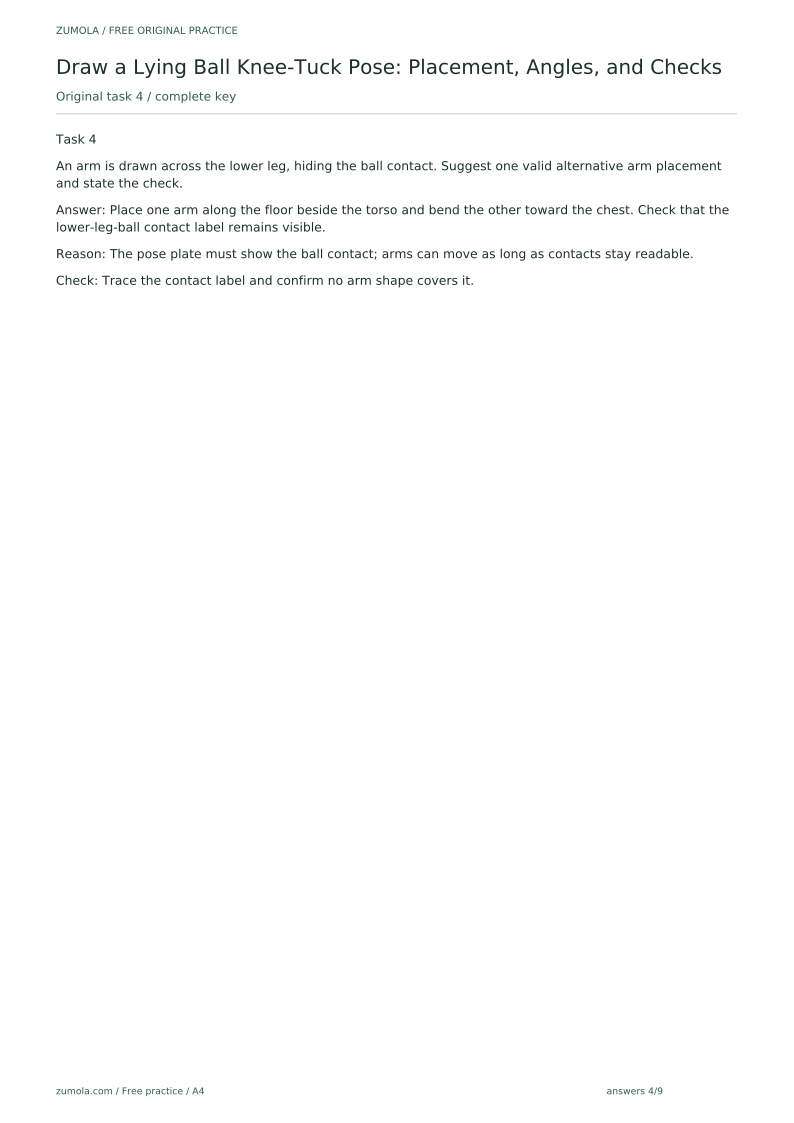
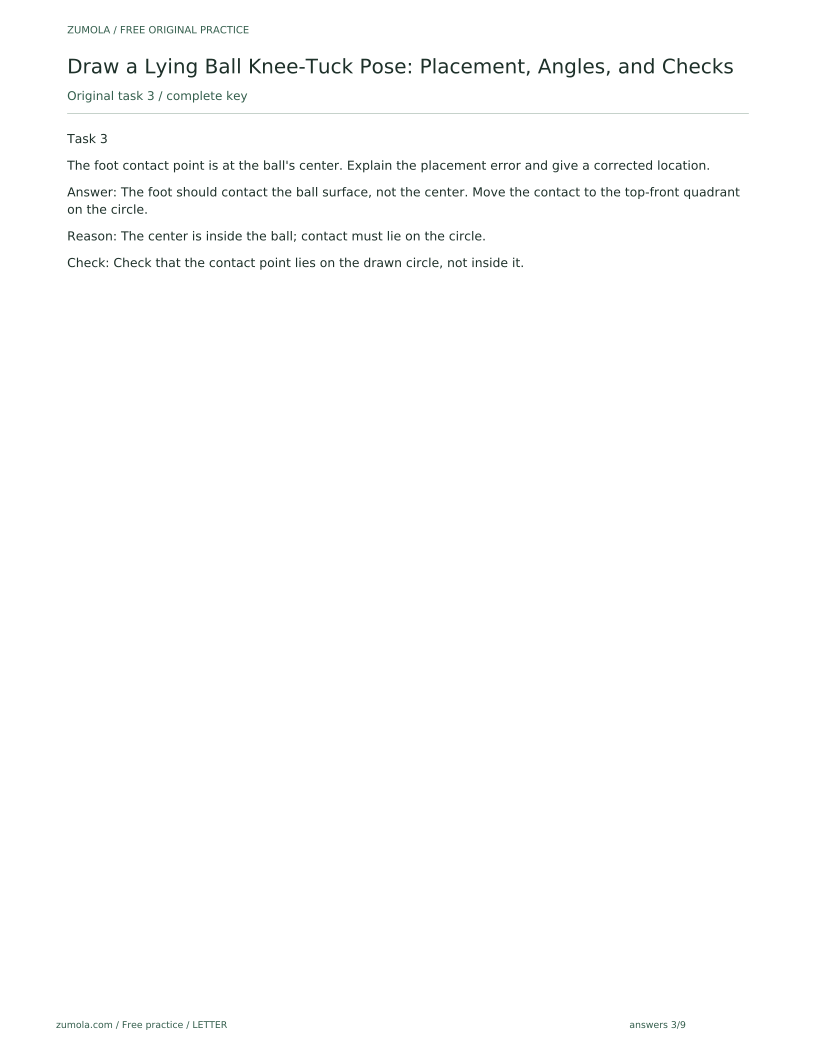
A drawing has a ball circle of 8 cm diameter and a torso length of 12 cm. The thigh is 6 cm and the lower leg is 4 cm. State one proportion check and whether it passes a 1:1 thigh-to-lower-leg target.
Show answer and check
The thigh-to-lower-leg ratio is 6:4, or 1.5:1, so it does not pass a 1:1 target. The ball-to-torso ratio is 8:12, or 2:3.
Why: Divide thigh by lower leg: 6 divided by 4 equals 1.5. A 1:1 target would need equal lengths.
Check: Re-measure both segments on the page and confirm the division gives 1.5.
Exercise 2
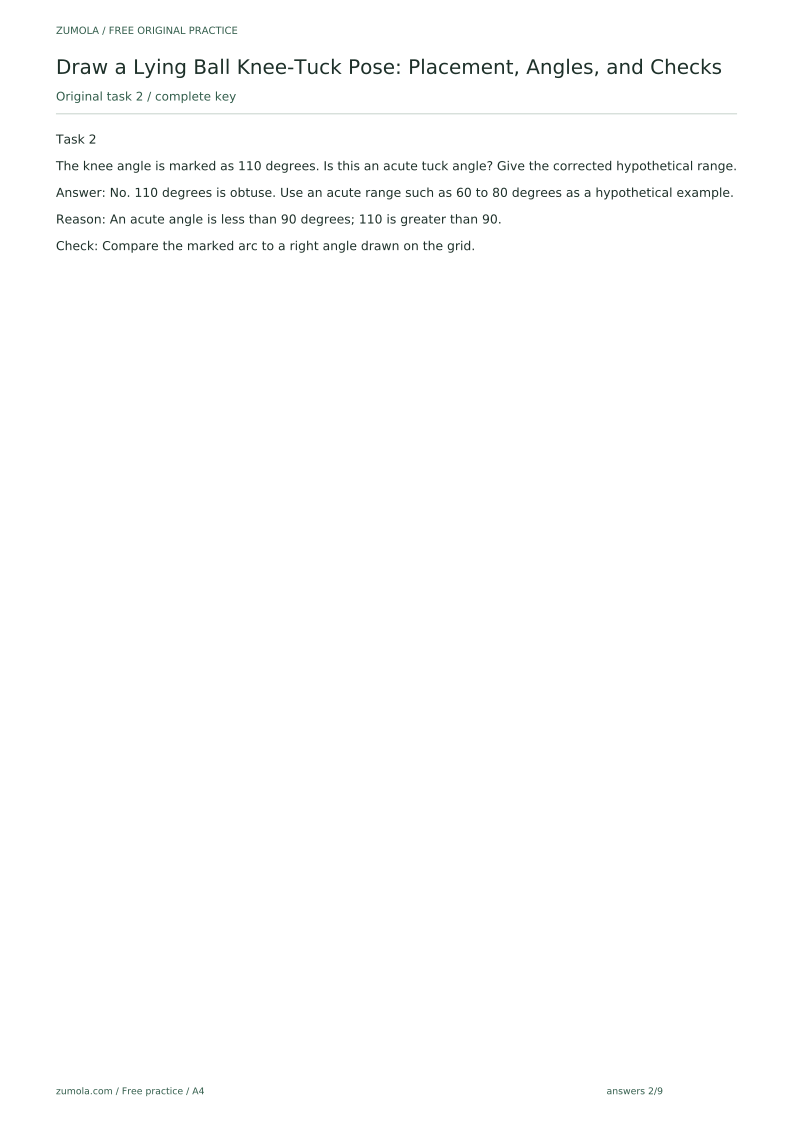
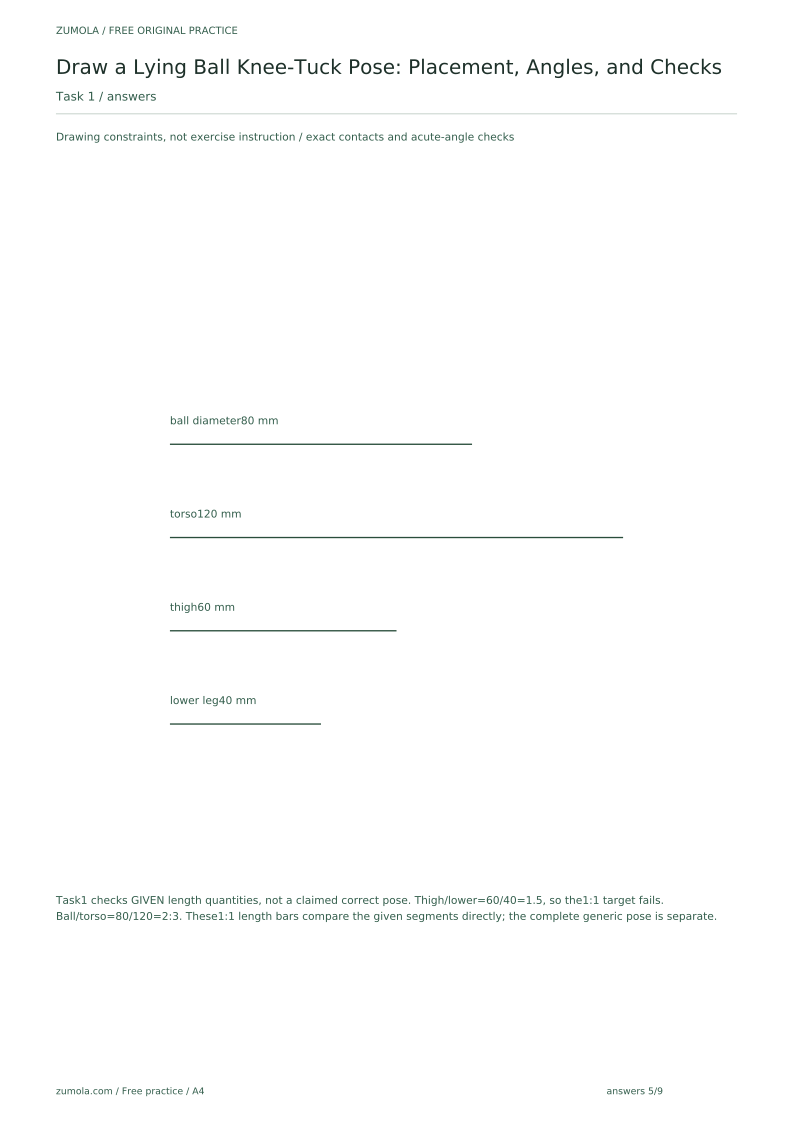
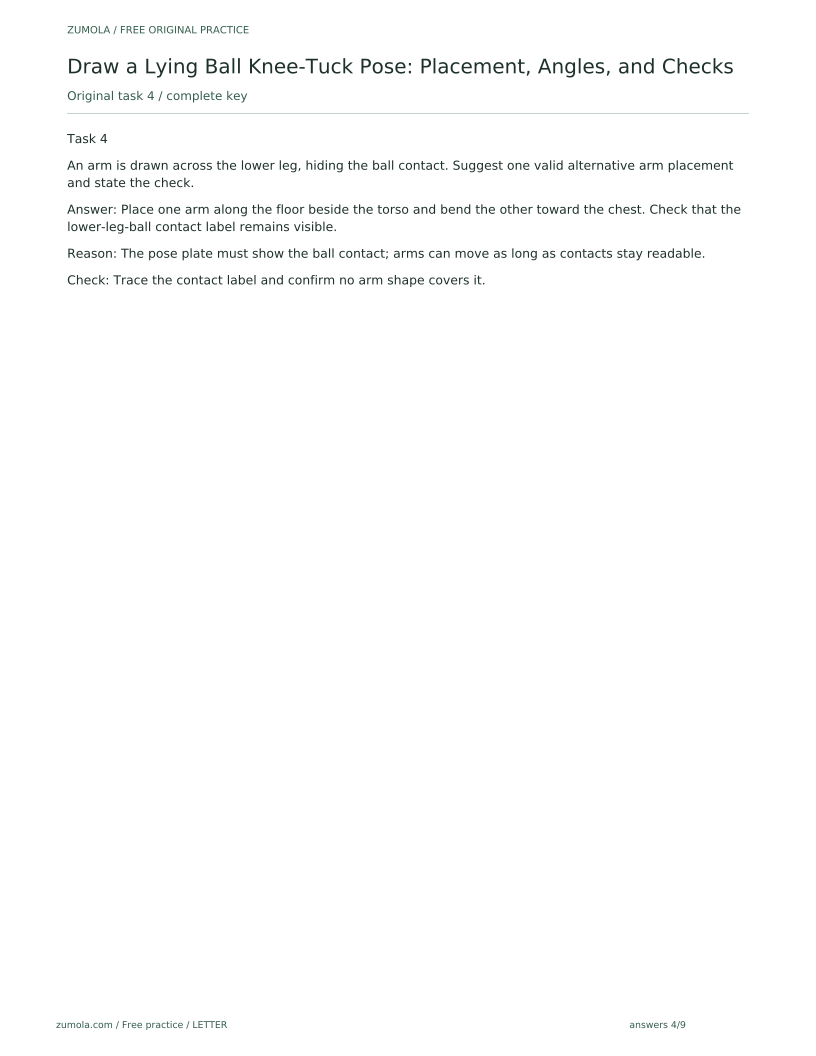
The knee angle is marked as 110 degrees. Is this an acute tuck angle? Give the corrected hypothetical range.
Show answer and check
No. 110 degrees is obtuse. Use an acute range such as 60 to 80 degrees as a hypothetical example.
Why: An acute angle is less than 90 degrees; 110 is greater than 90.
Check: Compare the marked arc to a right angle drawn on the grid.
Exercise 3
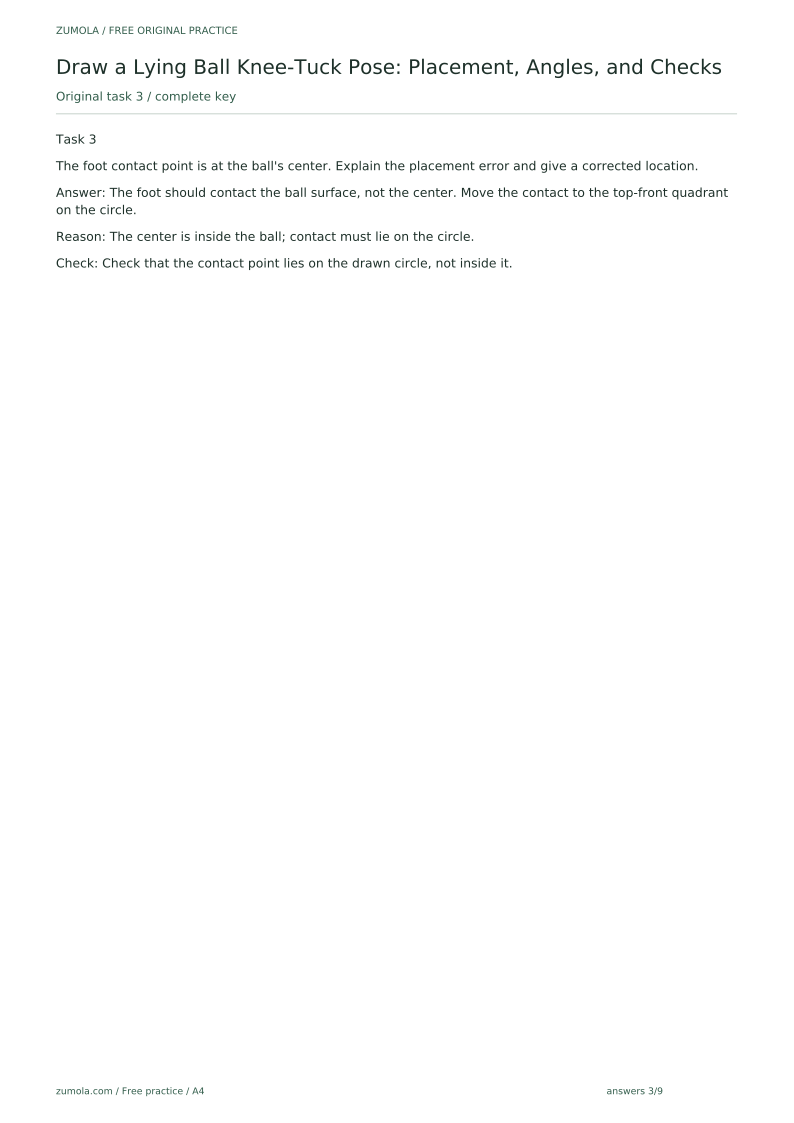
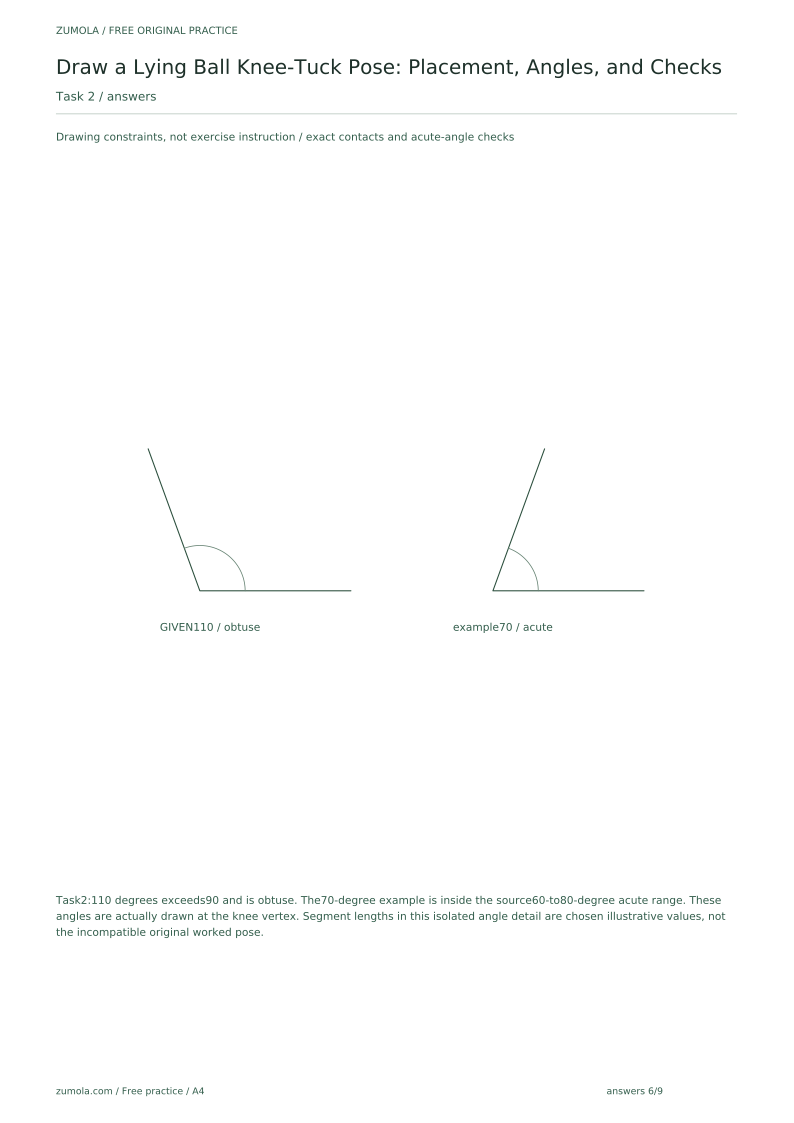
The foot contact point is at the ball's center. Explain the placement error and give a corrected location.
Show answer and check
The foot should contact the ball surface, not the center. Move the contact to the top-front quadrant on the circle.
Why: The center is inside the ball; contact must lie on the circle.
Check: Check that the contact point lies on the drawn circle, not inside it.
Exercise 4
An arm is drawn across the lower leg, hiding the ball contact. Suggest one valid alternative arm placement and state the check.
Show answer and check
Place one arm along the floor beside the torso and bend the other toward the chest. Check that the lower-leg-ball contact label remains visible.
Why: The pose plate must show the ball contact; arms can move as long as contacts stay readable.
Check: Trace the contact label and confirm no arm shape covers it.
Common mistakes
- Drawing the lower leg crossing the ball's center. Keep the foot contact point in the top-front quadrant and check that the lower leg lies along the surface, not through the center.
- Making the knee angle too open, so the pose reads as a leg extension rather than a tuck. Mark the knee angle with an arc and keep it acute, for example 60 to 80 degrees as a hypothetical range.
- Hiding the ball contact with an arm or the torso. Place the arms along the floor or bent near the chest so the lower-leg-ball contact stays visible.
- Using inconsistent units or unlabeled measurements. Label every measured value with its unit and treat all numbers as examples you chose.
Self-check rubric
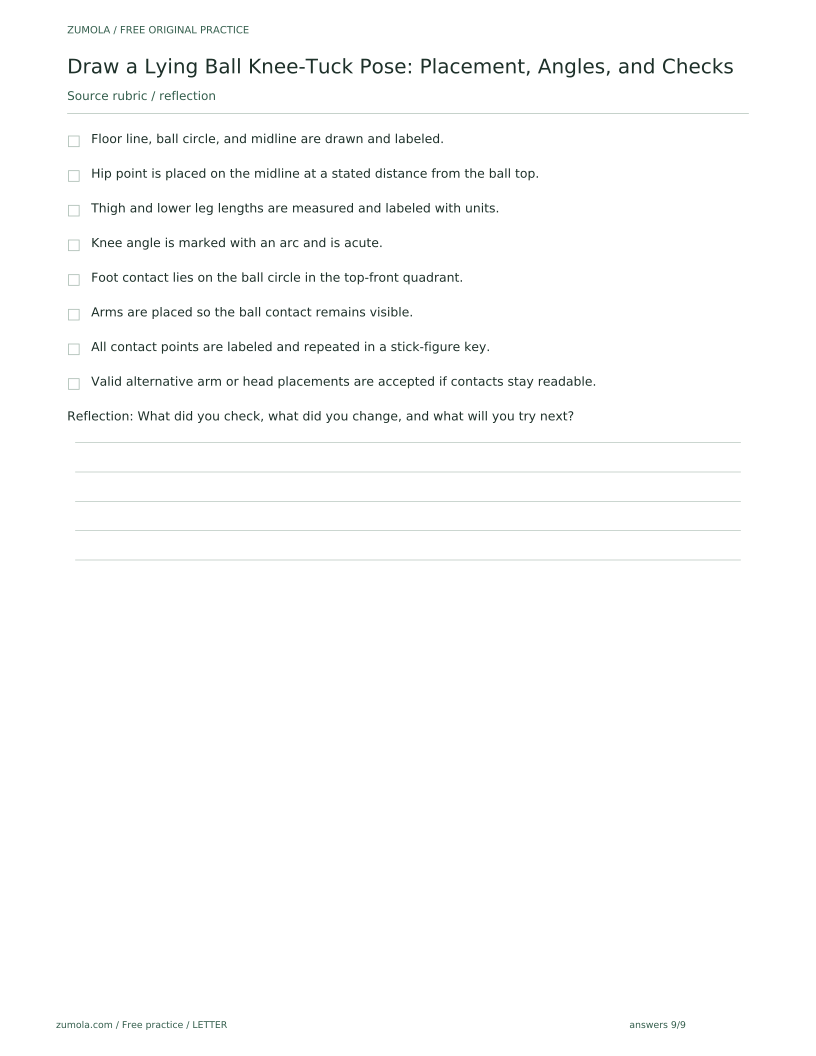
- Floor line, ball circle, and midline are drawn and labeled.
- Hip point is placed on the midline at a stated distance from the ball top.
- Thigh and lower leg lengths are measured and labeled with units.
- Knee angle is marked with an arc and is acute.
- Foot contact lies on the ball circle in the top-front quadrant.
- Arms are placed so the ball contact remains visible.
- All contact points are labeled and repeated in a stick-figure key.
- Valid alternative arm or head placements are accepted if contacts stay readable.
Questions and answers
Do I need a real ball to draw this pose?
No. The ball is a circle with labeled center and top. If you use a real ball, measure it and label the value as your own example.
Can the arms be placed differently?
Yes. The rubric allows valid alternatives as long as the ball contact and knee fold remain visible and labeled.
How should I label the contact points consistently?
Use the same short letters on the plate and the stick-figure key: F for floor line, C for ball center, T for ball top, H for hip, K for knee, P for foot contact, S for shoulder, E1 and E2 for elbows, and H1 and H2 for hands. Keep each label close to its point and repeat the letters in the key so a reader can match them.
How do I know the pose is correct?
Check surface contact, an actually acute knee, visible labels, and simultaneous segment-length feasibility. Separately plausible measurements can conflict, as the original worked givens do; record an incompatibility instead of claiming a successful plate.
Reference illustration
Free printable downloads
Choose a paper size. Practice sheets and answer keys are separate. Download every file free, without registration.
This standard pack covers the four original exercises, blank work areas, complete keys and necessary figures. Additional extension sets described in the lesson are outside this download.
PDF bundles
Individual SVG pages
Reference-page preview