HomeCursive Handwriting Paper: Slant Guides, Baselines and Connector Spacing Free original lessons
Cursive Handwriting Paper: Slant Guides, Baselines and Connector Spacing
Plan cursive practice ruling with slant guides, baseline and connector spacing marks. Includes a letter-join row concept, a blank practice page plan and a rubric for judging joins.
Free downloads
Letter & A4
PDF & SVG
Writing and Handwriting Paper Guides
Cursive practice paper is not just lined paper with a slanted look. This page explains a ruling system that combines a baseline, an x-height line, an ascender line, slant guides and connector spacing marks. It also describes a planned letter-join practice row and a planned blank cursive practice page; these resources are not yet produced. The aim is to help you understand how the ruling supports letter formation and joins, and how to judge practice fairly with a rubric rather than a single correct answer.
Practice materials: Download the free reference pages, practice sheets and separate answer keys below, in A4 and US Letter PDF and SVG formats.
What cursive ruling needs to include
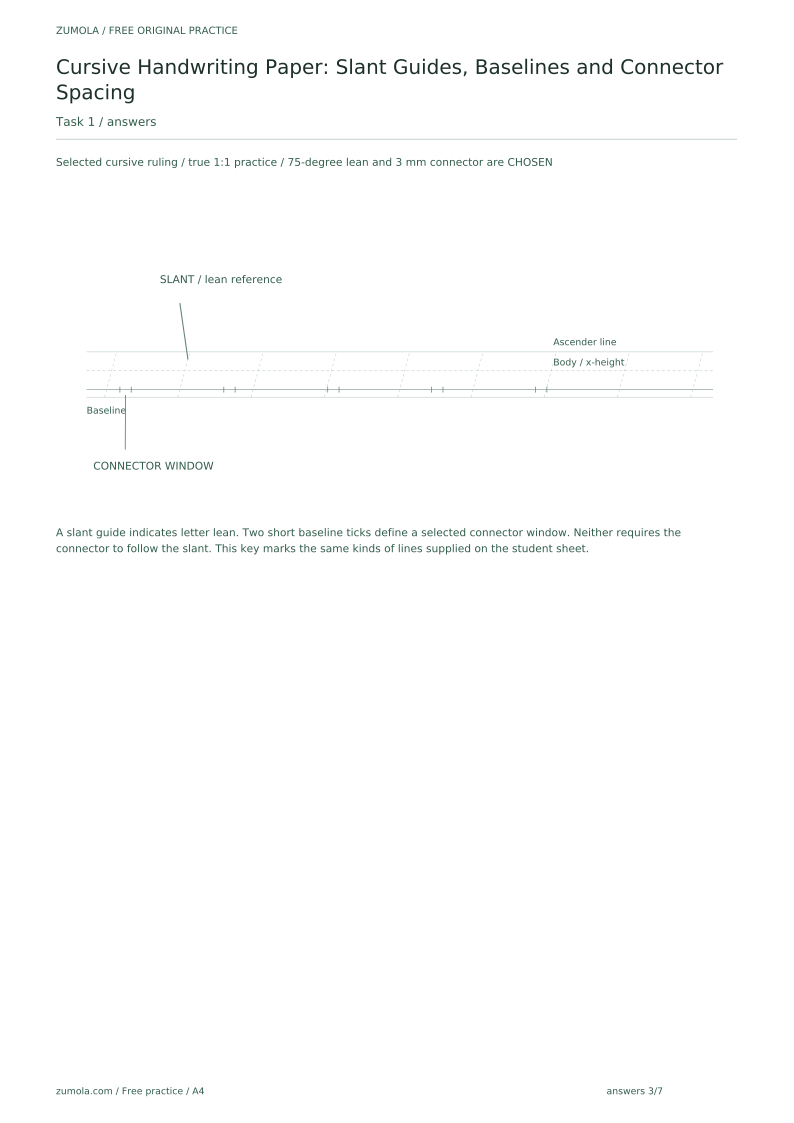
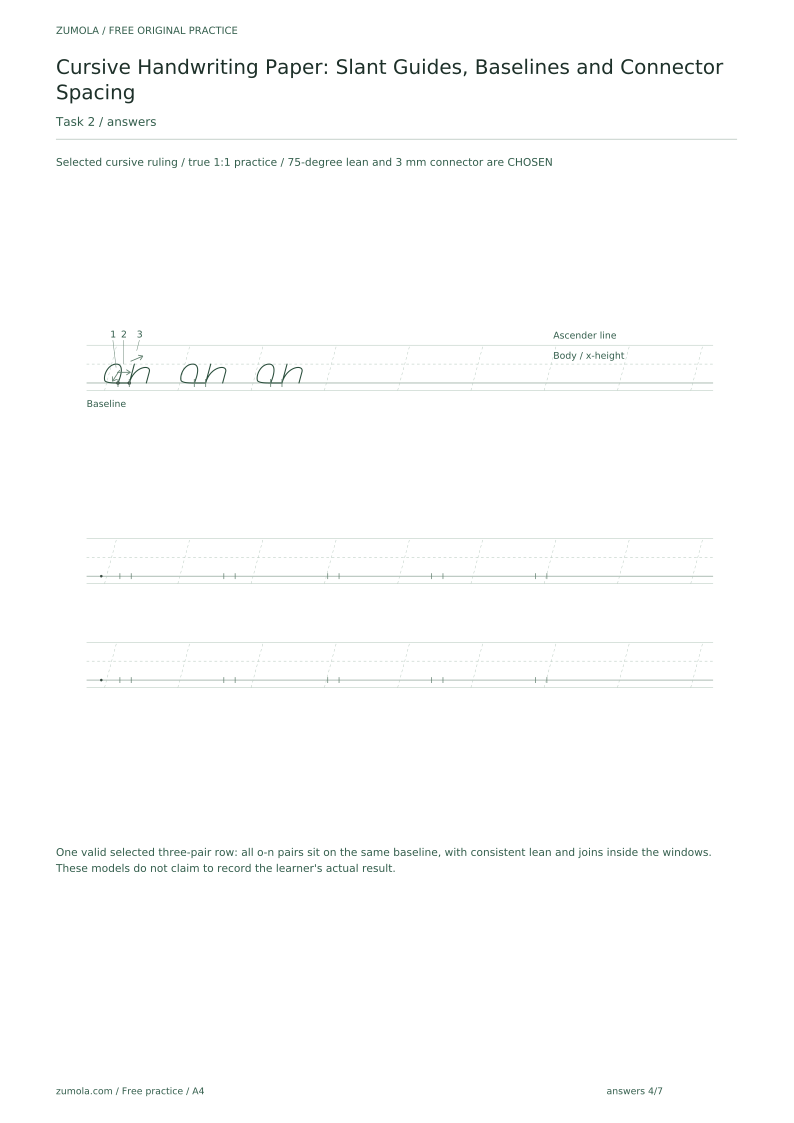
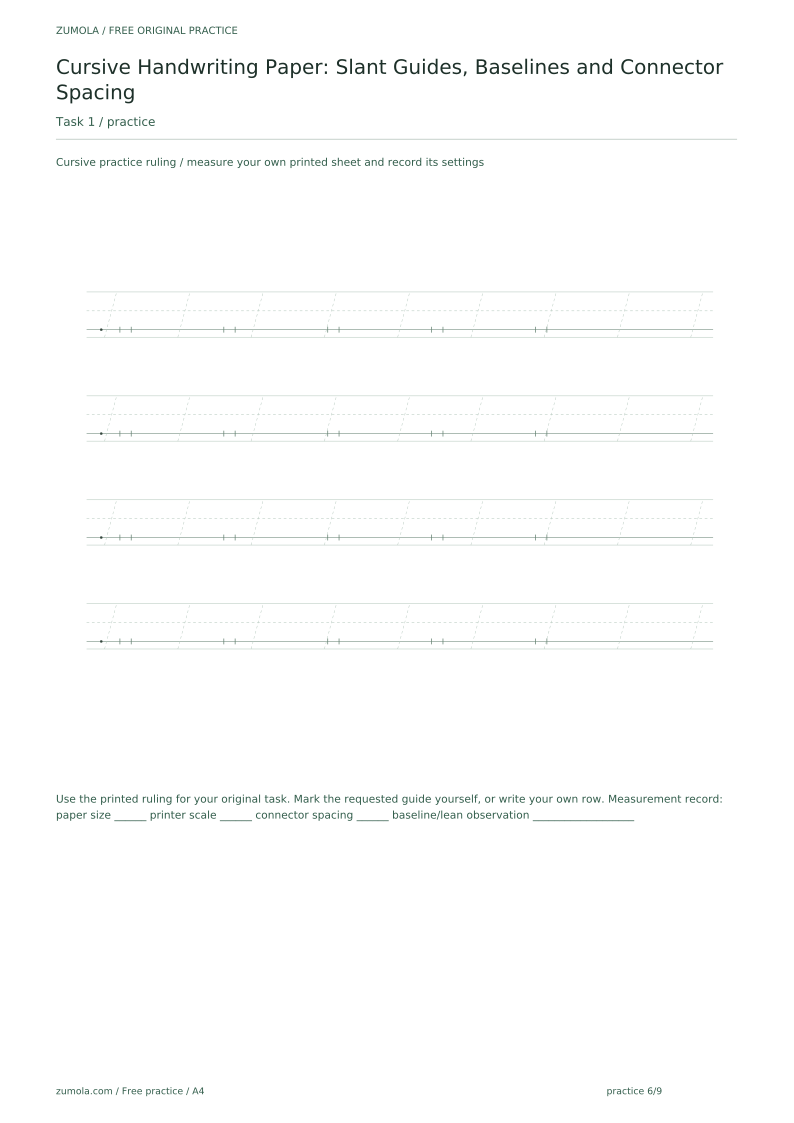
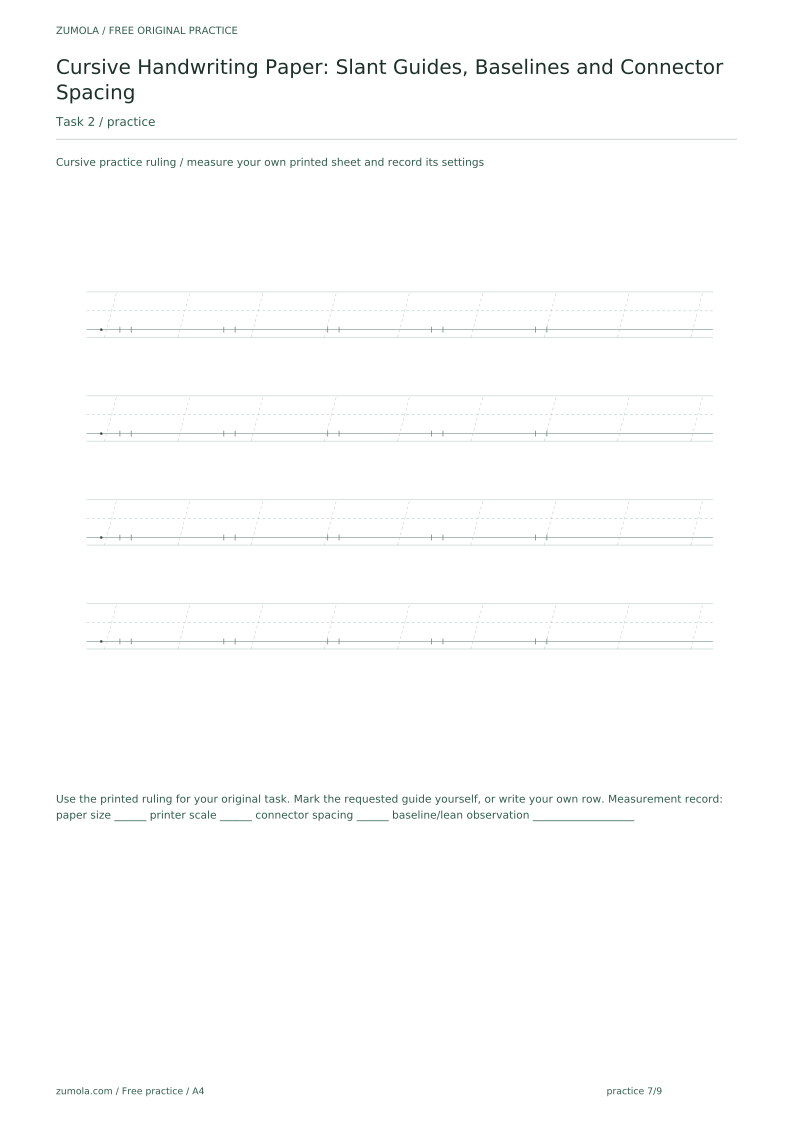
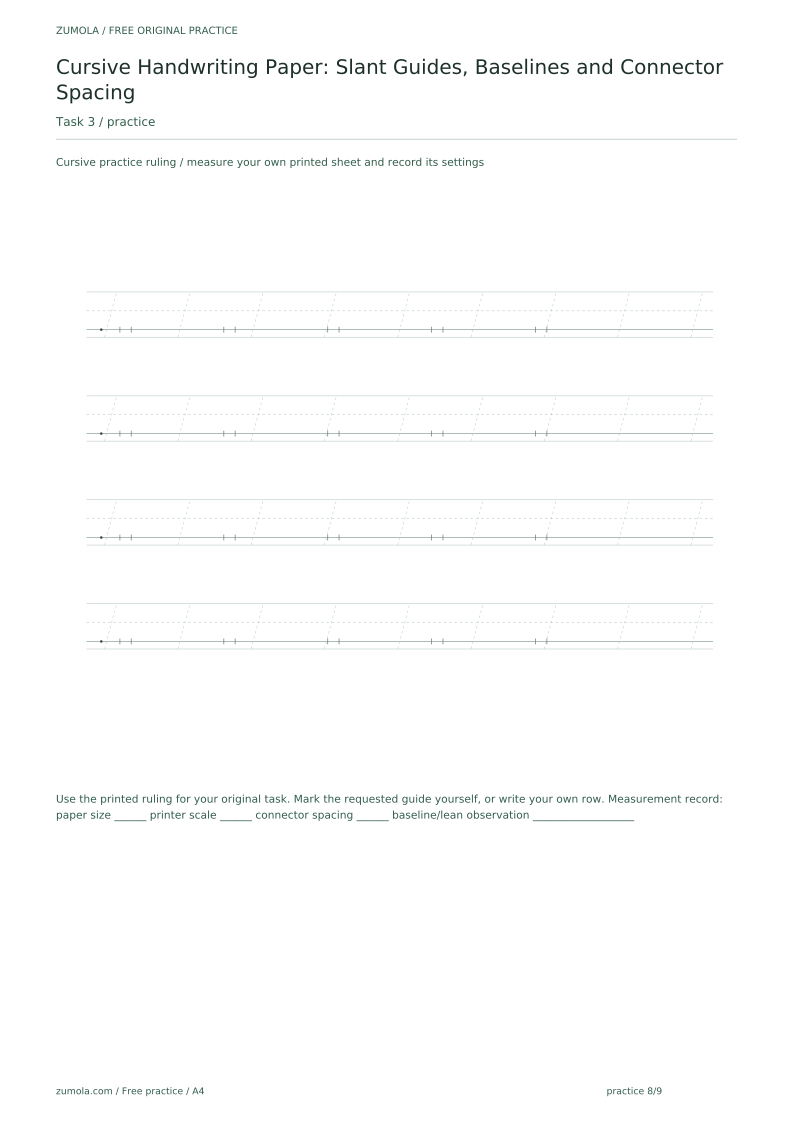
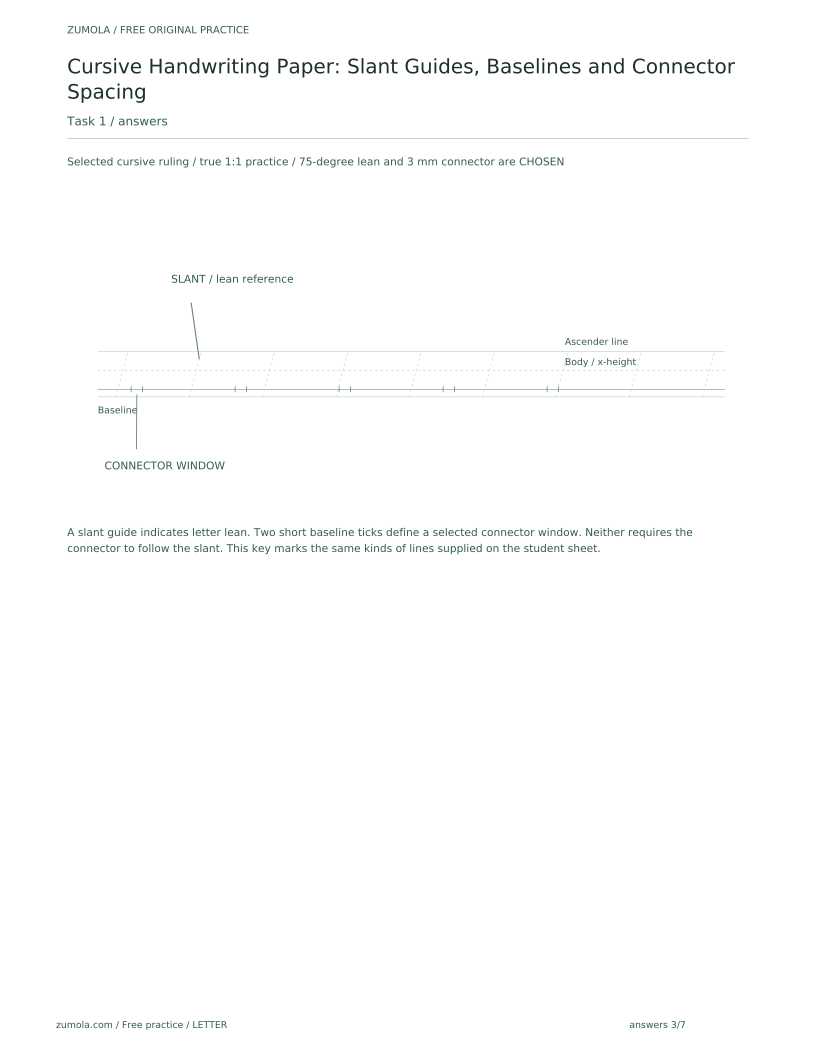
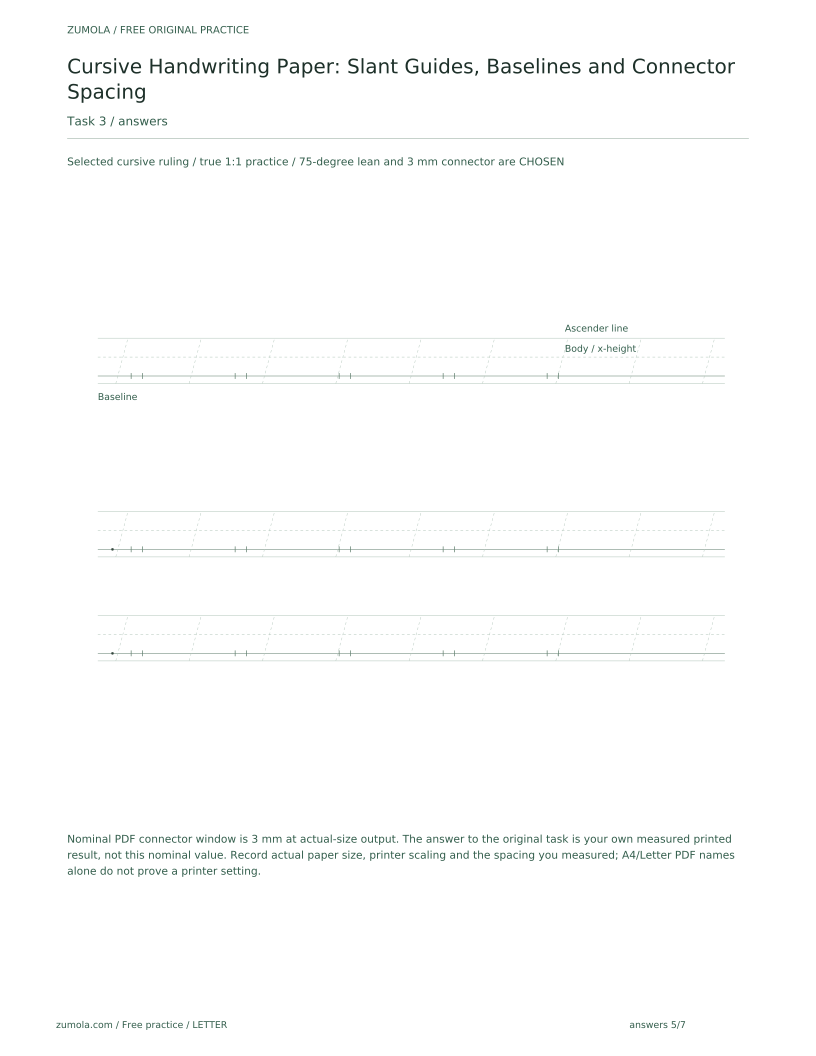
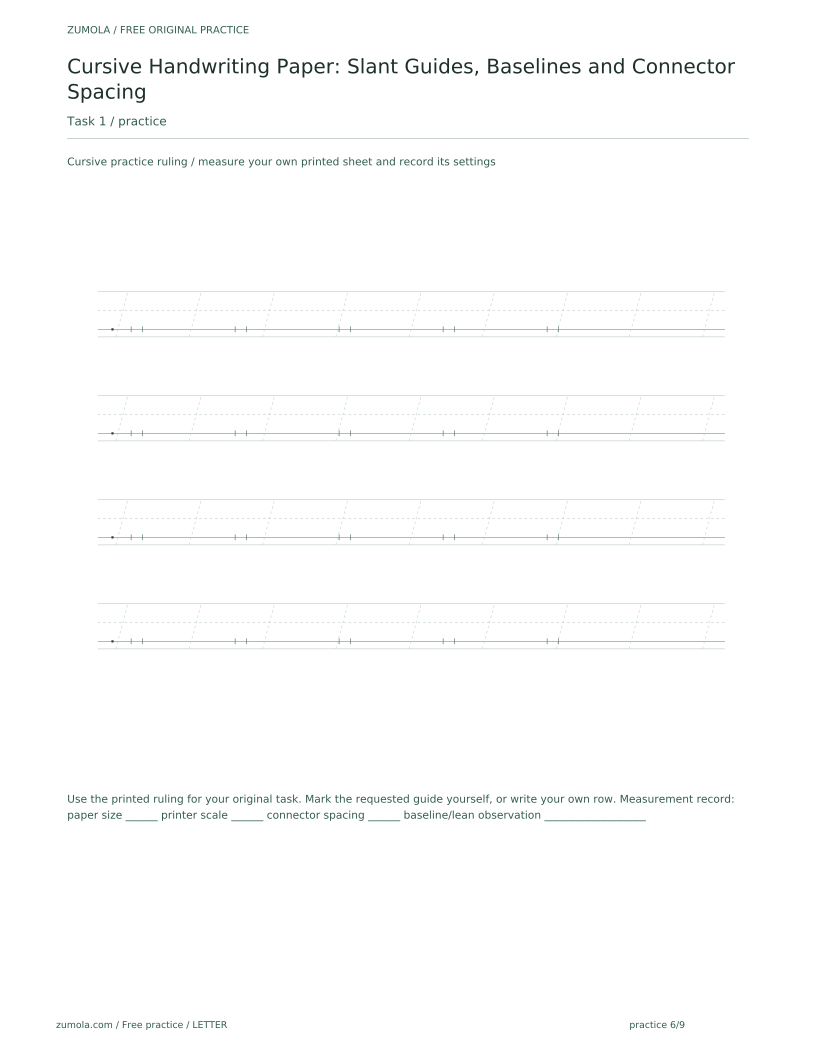
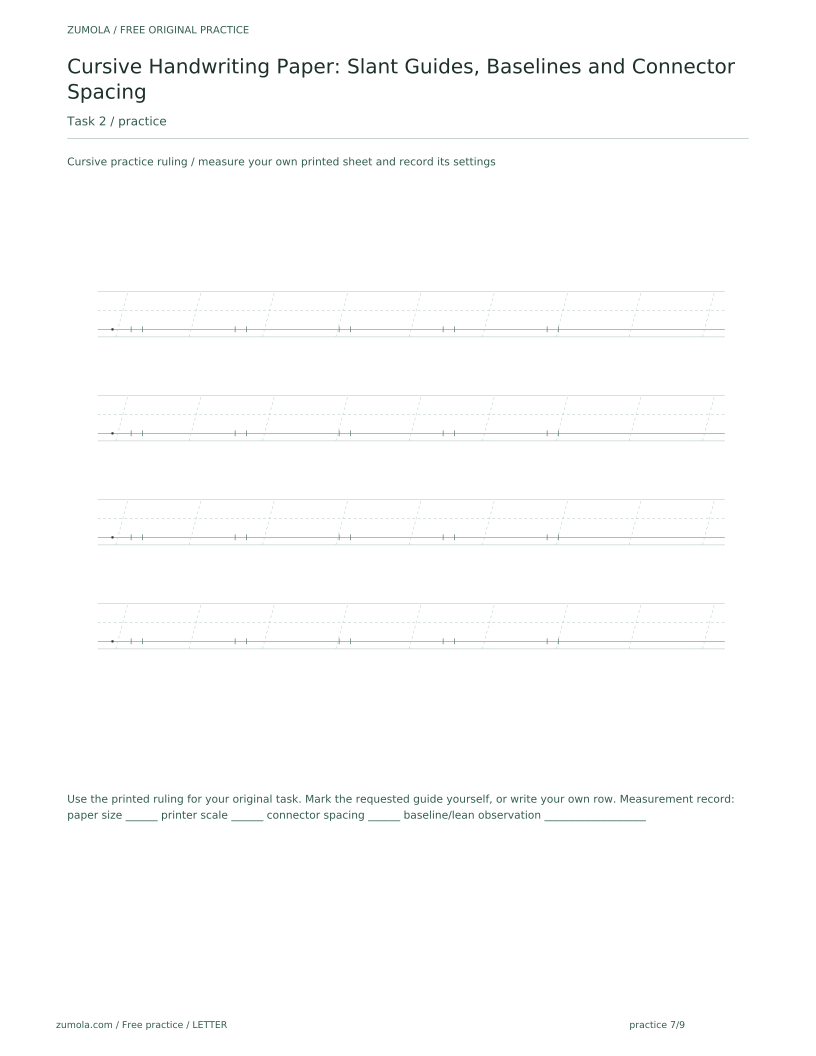
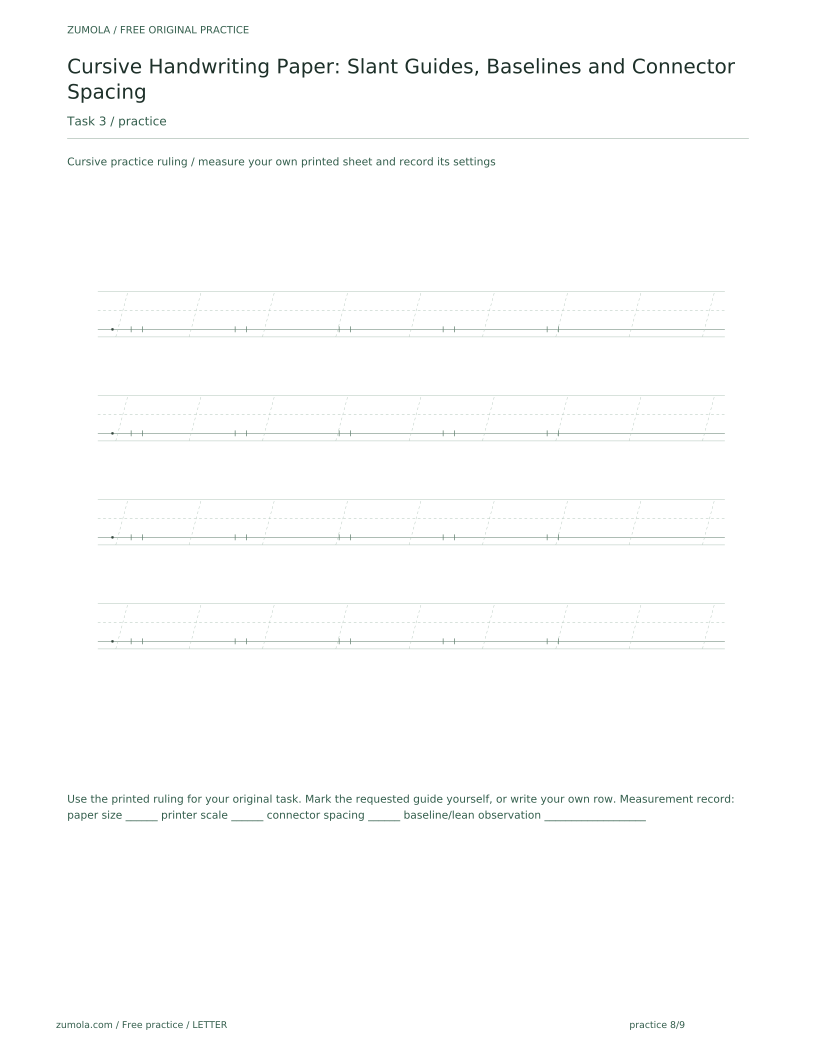
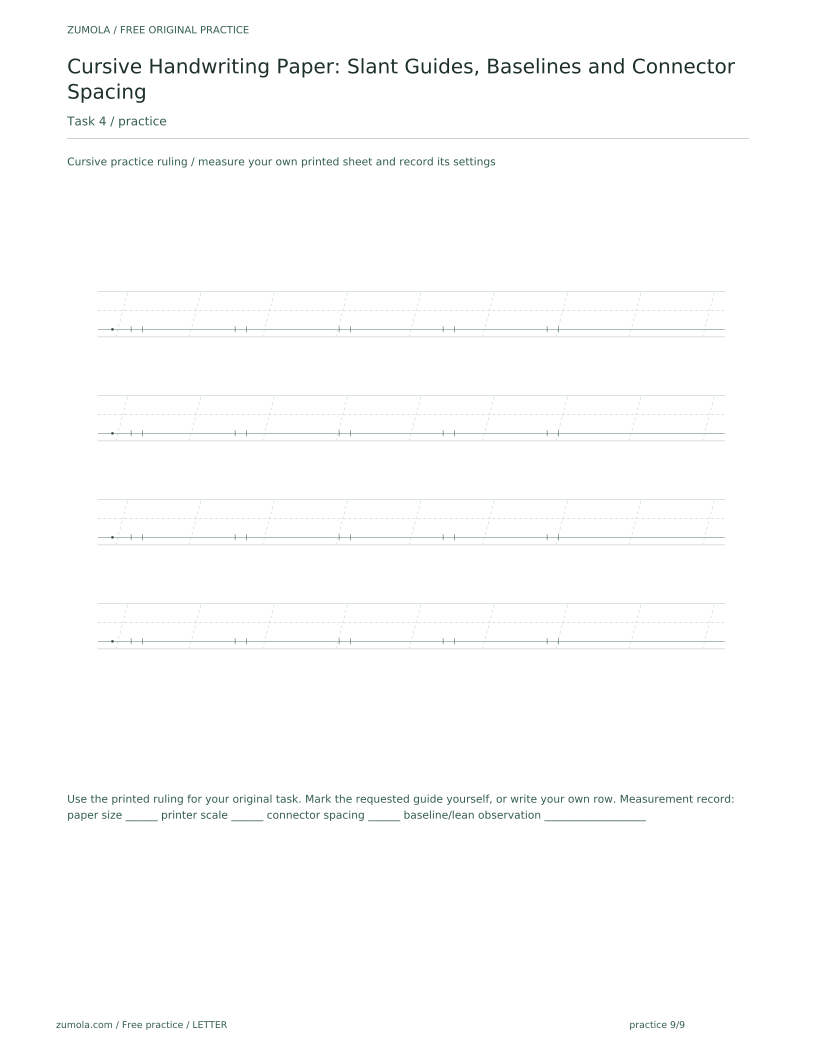
For this resource, cursive ruling requires more than a baseline. At minimum it combines a baseline, an x-height line and an ascender line, and it also requires slant guides and connector spacing marks. A descender line may be added or the line set may be described as a minimum set. Slant guides show the intended lean of letters and ascenders; they are reference lines, not touch-lines that every stroke must hit. Connector spacing marks show where joins between letters are expected to sit along the baseline.
Measure your own printed sheet before relying on any dimension. Printer scaling, paper size and margin settings can change spacing. Treat any numbers below as hypothetical example inputs, not universal requirements.
- Identify the baseline, x-height line and ascender line on the sheet.
- Locate the slant guides and note their angle relative to the baseline.
- Find the connector spacing marks and check that they sit along the baseline between letter positions.
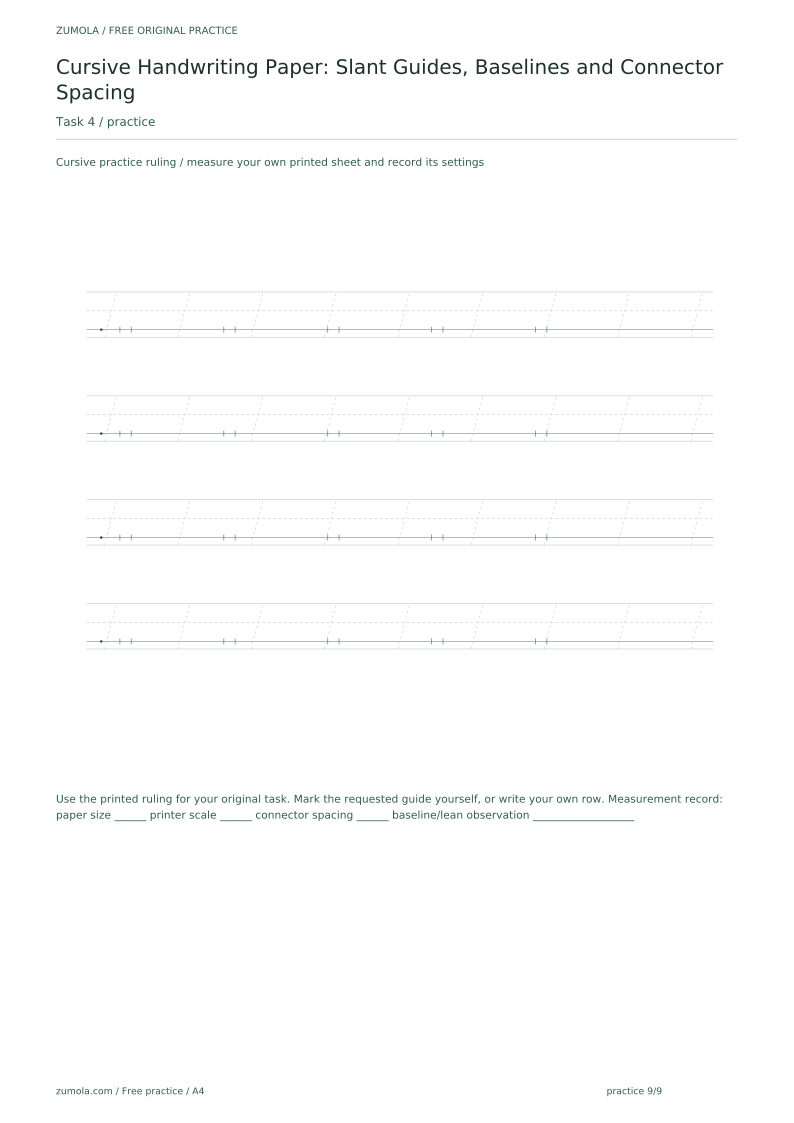
- Measure your own printed sheet if you need exact spacing; record the paper size and any printer scaling you used.
Using slant guides and connector marks
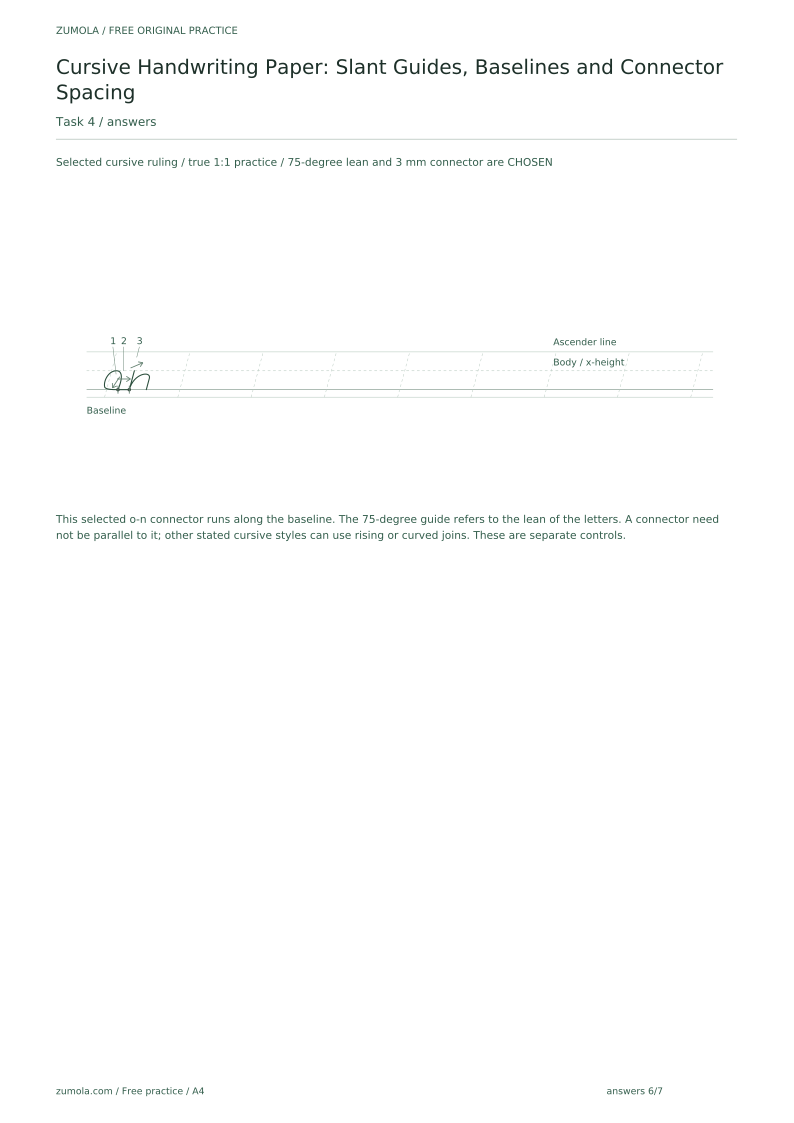
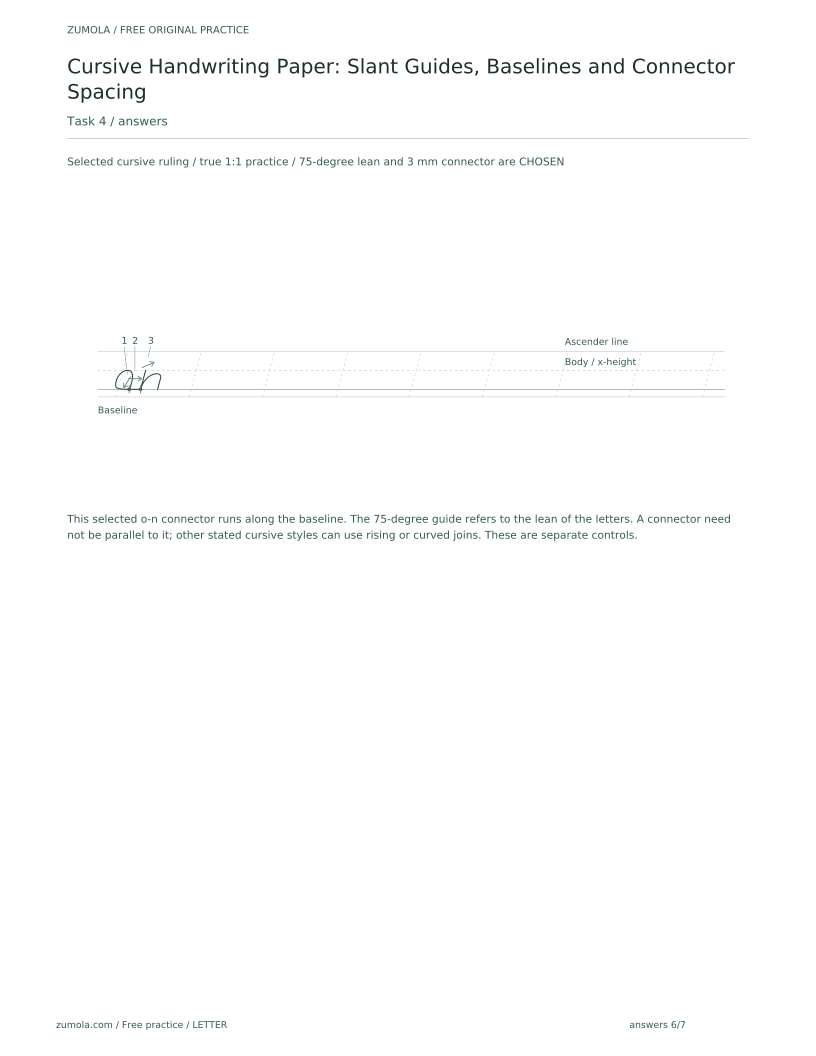
Slant guides help a writer keep ascenders and letter bodies at a consistent lean. They do not replace the baseline or x-height line. Connector marks help a writer place joins at a consistent spacing along the baseline. In the selected rows for this sheet, the connector runs horizontally along the baseline within the spacing marks. This is a chosen practice convention, not a definition of every cursive join: another legible style can use a rising or curved connection in its stated join zone. Do not force a connector to be parallel to the slant guide just because that guide sets the letter lean. The letters and ascenders are the elements that should be roughly parallel to the slant guide.
When practising a letter-join row, work left to right and keep each pair on the same baseline. Judge the row as a whole: consistent lean, joins that stay within the spacing marks, and letters that sit on the baseline. A single pair may look acceptable while the row drifts, so compare the first and last pairs.
- Place the first letter pair so both letters share the baseline.
- Check that the letter bodies and ascenders follow the slant guide without touching it as a hard line.
- Place the join within the connector spacing marks rather than stretching it toward the next letter.
- Compare the first and last pairs in the row for baseline drift and lean consistency.
Practice resources included
The standard pack includes a cursive ruled sheet with slant guides, baseline and connector spacing marks, a letter-join practice row, and a blank cursive practice page. The letter-join row gives a structured place to practise joins; the blank page is for free practice using the same ruling.
Because art and handwriting have multiple valid outcomes, use a rubric rather than claiming an exact answer. The rubric below lists specific criteria for judging a practice row.
- Use the letter-join row to practise one join pattern at a time.
- Use the blank practice page to repeat joins without pre-printed letters.
- Apply the rubric to the whole row, not to a single letter in isolation.
Worked example
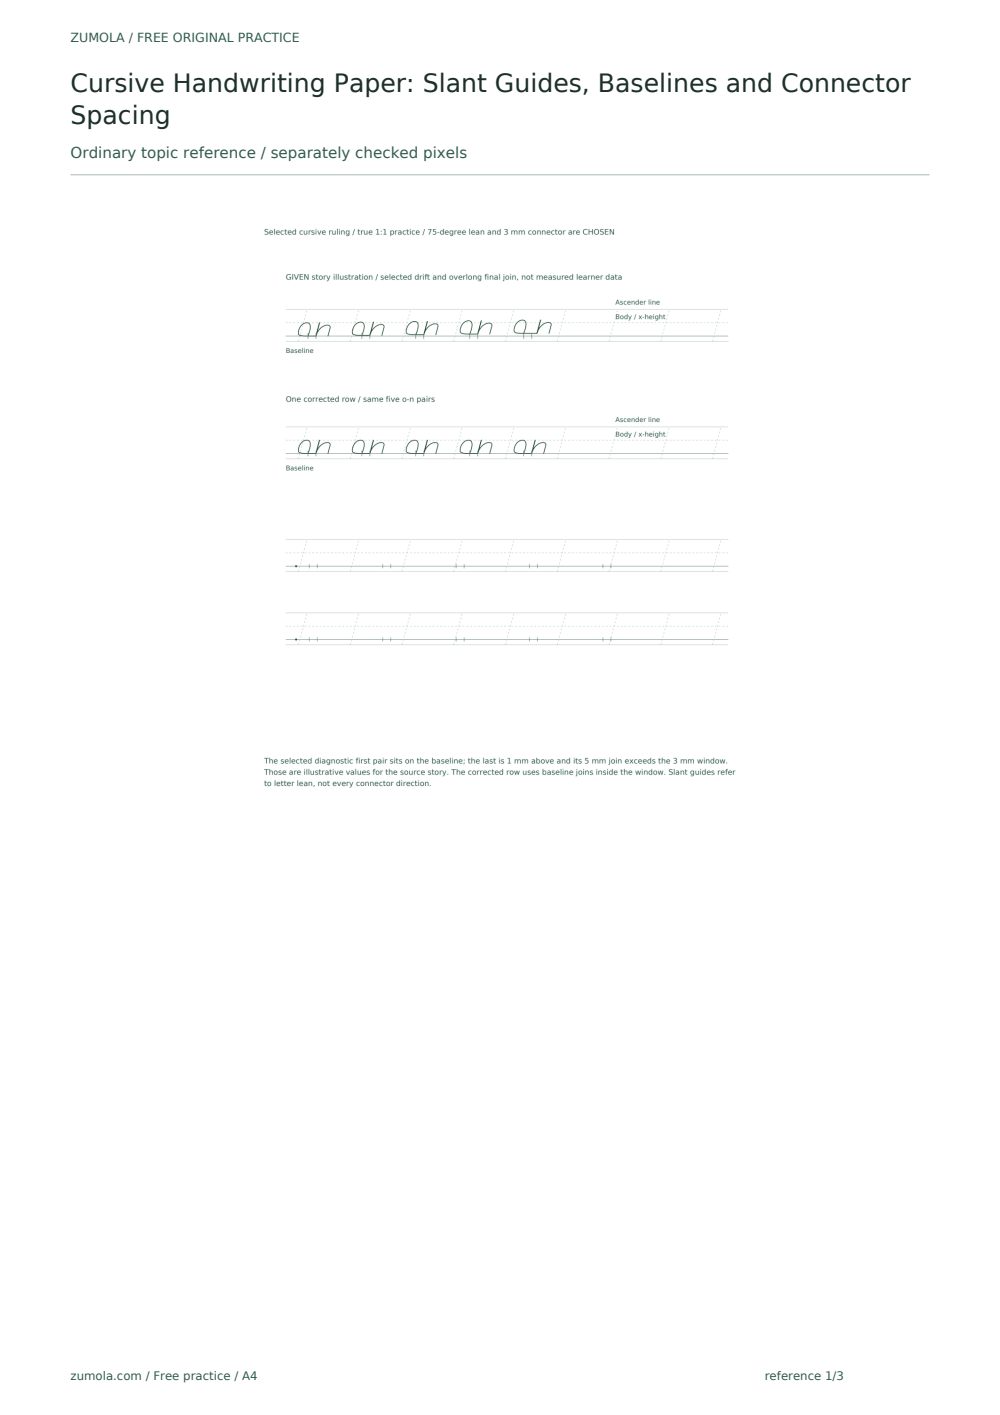
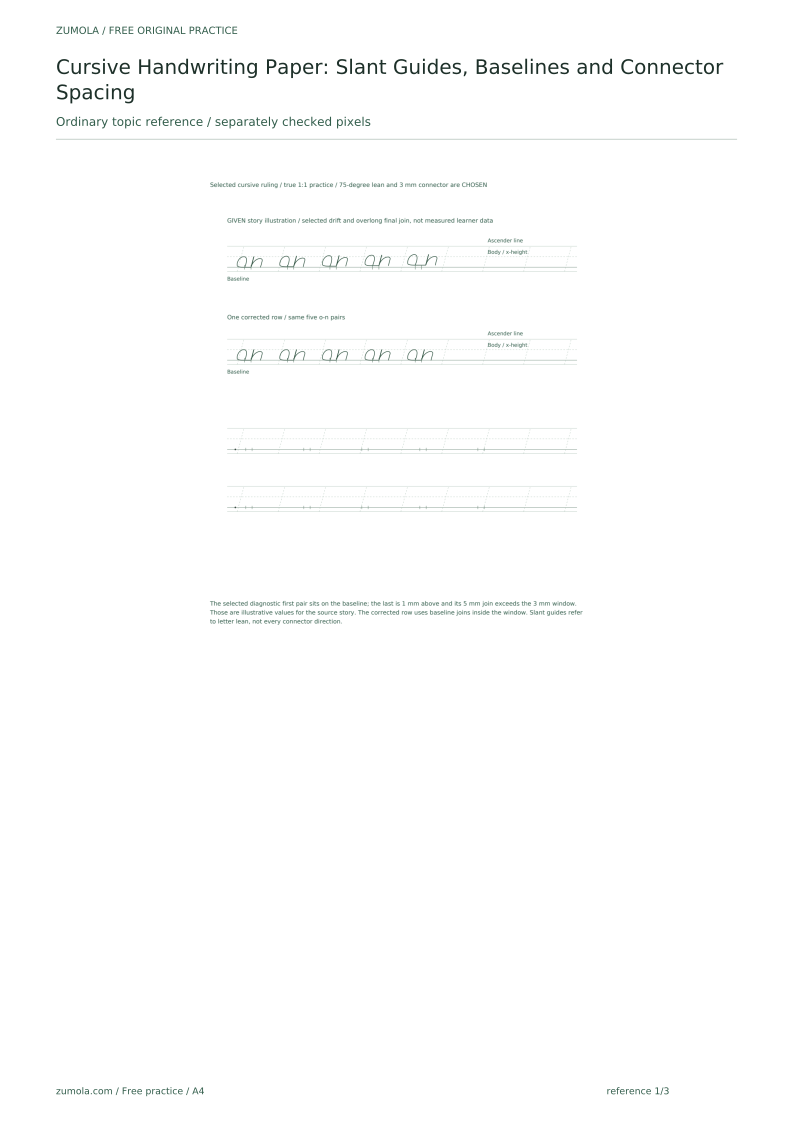
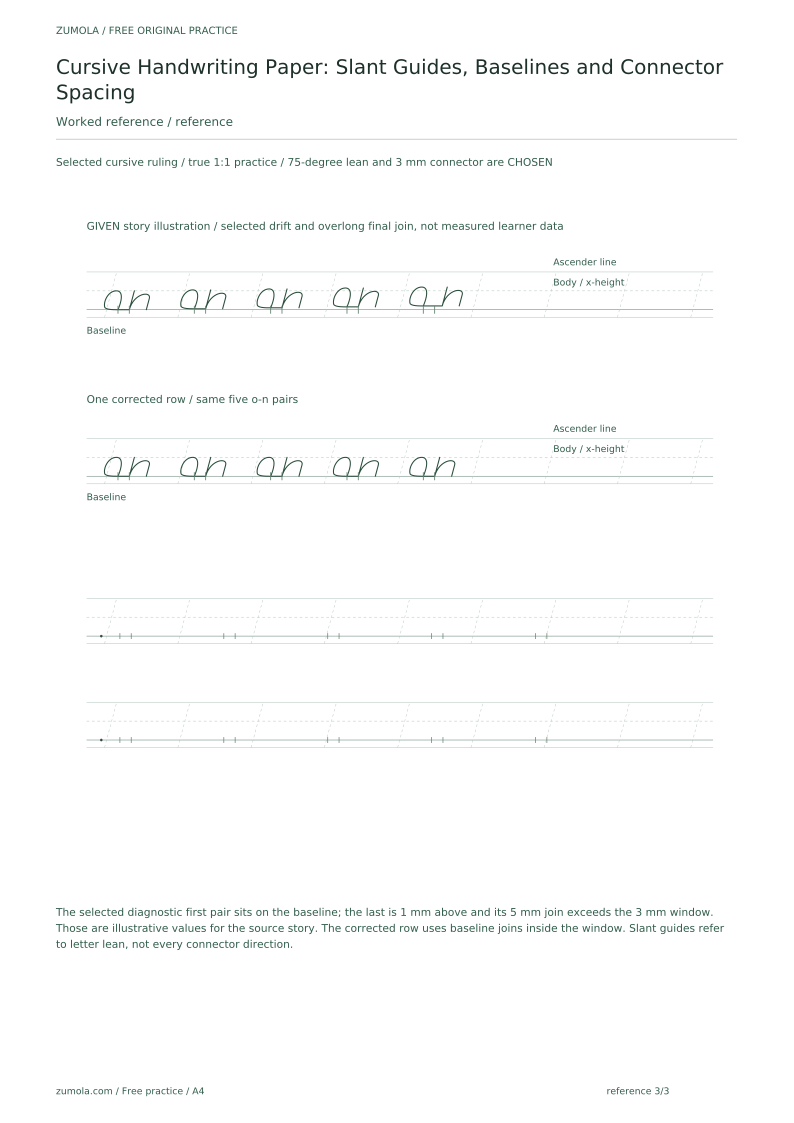
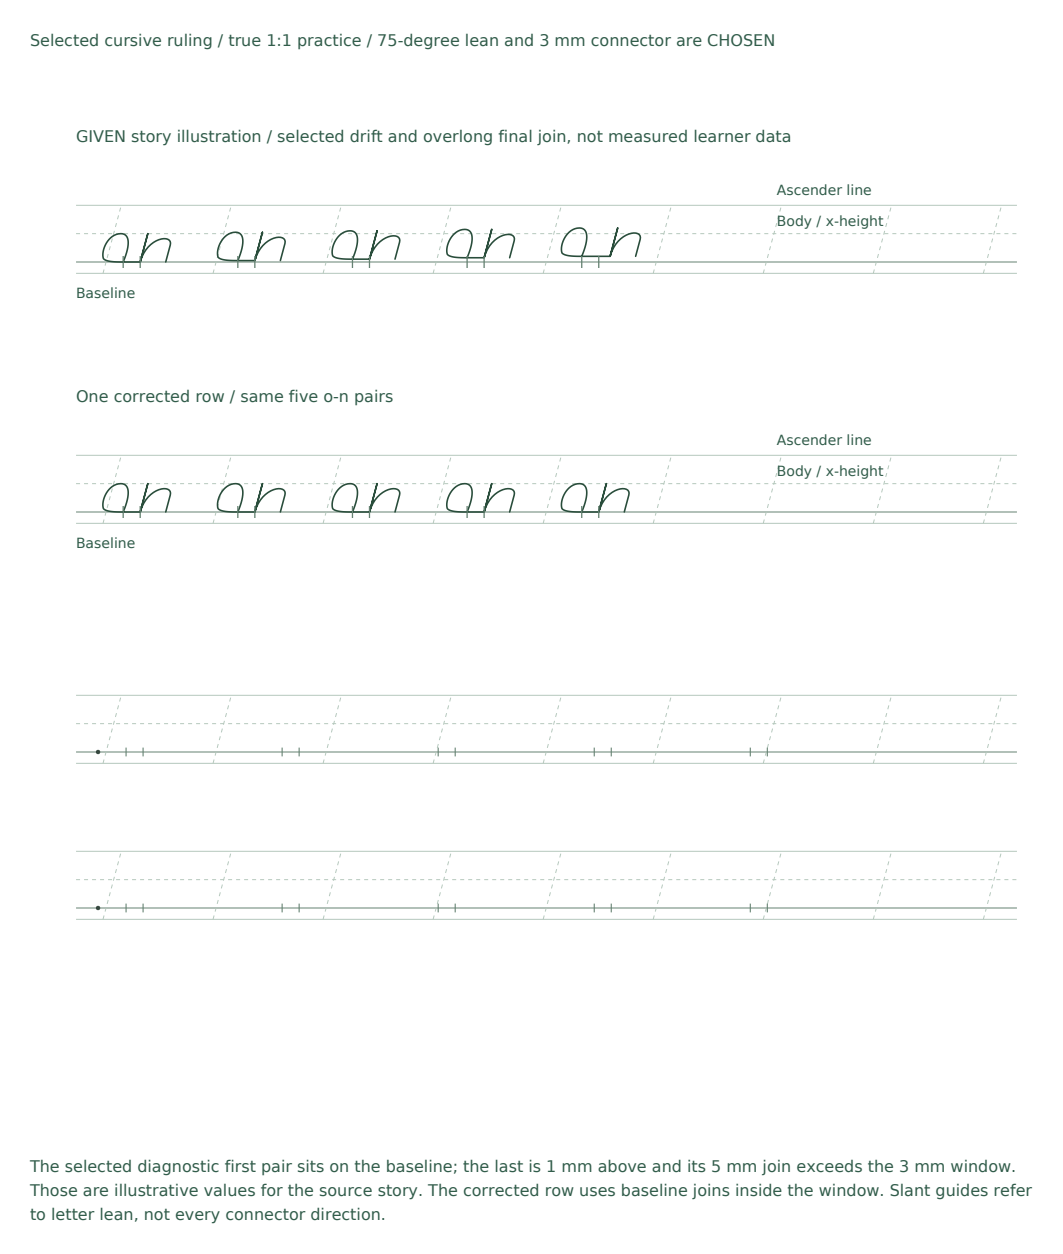
A learner practises five o–n pairs in a letter-join row. The first pair sits on the baseline and follows the slant guide. By the fifth pair, the letters have drifted above the baseline and the joins extend past the connector spacing marks. Using the rubric, describe what to check and what to revise.
Worked answer
This reading is about the row as a whole, not a single pair. The first pair meets the baseline and lean criteria, but the row shows baseline drift by the fifth pair and joins that exceed the connector spacing marks. Check the whole row for consistent baseline placement and joins within the spacing marks. Revise by slowing the row, re-placing each pair on the baseline, and keeping joins within the connector marks rather than stretching them. The slant guide is a reference for lean, not a touch-line.
Four practice exercises
Exercise 1
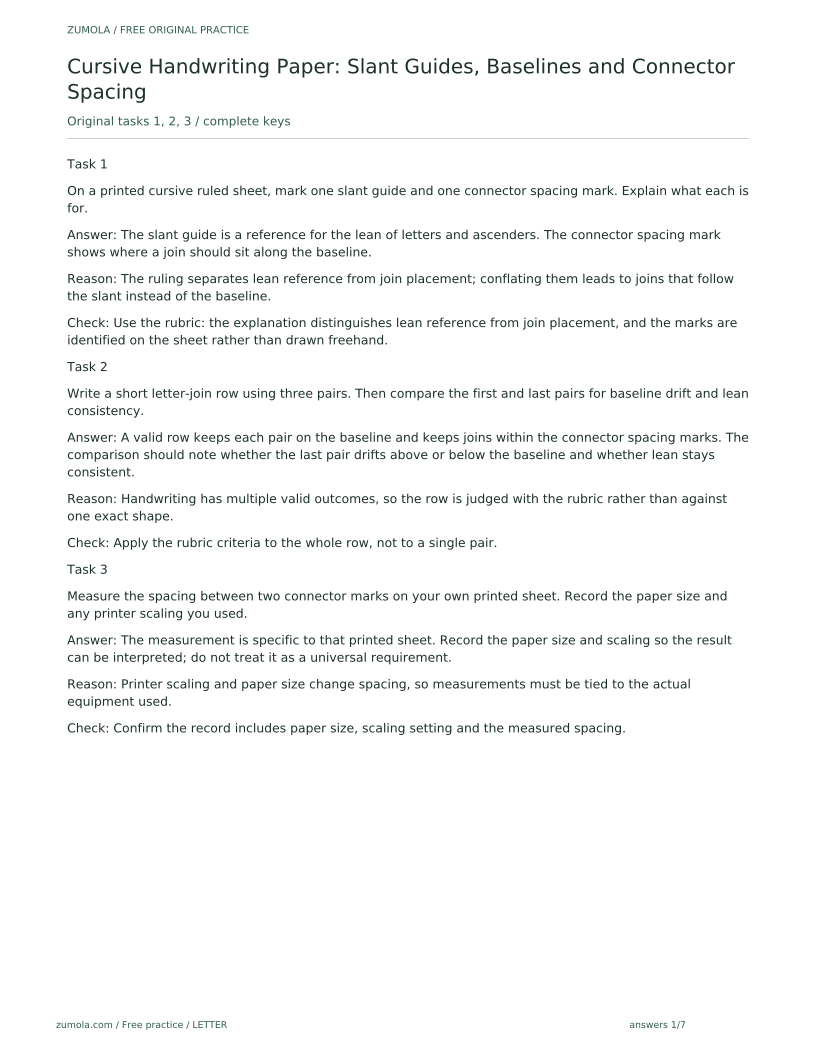
On a printed cursive ruled sheet, mark one slant guide and one connector spacing mark. Explain what each is for.
Show answer and check
The slant guide is a reference for the lean of letters and ascenders. The connector spacing mark shows where a join should sit along the baseline.
Why: The ruling separates lean reference from join placement; conflating them leads to joins that follow the slant instead of the baseline.
Check: Use the rubric: the explanation distinguishes lean reference from join placement, and the marks are identified on the sheet rather than drawn freehand.
Exercise 2
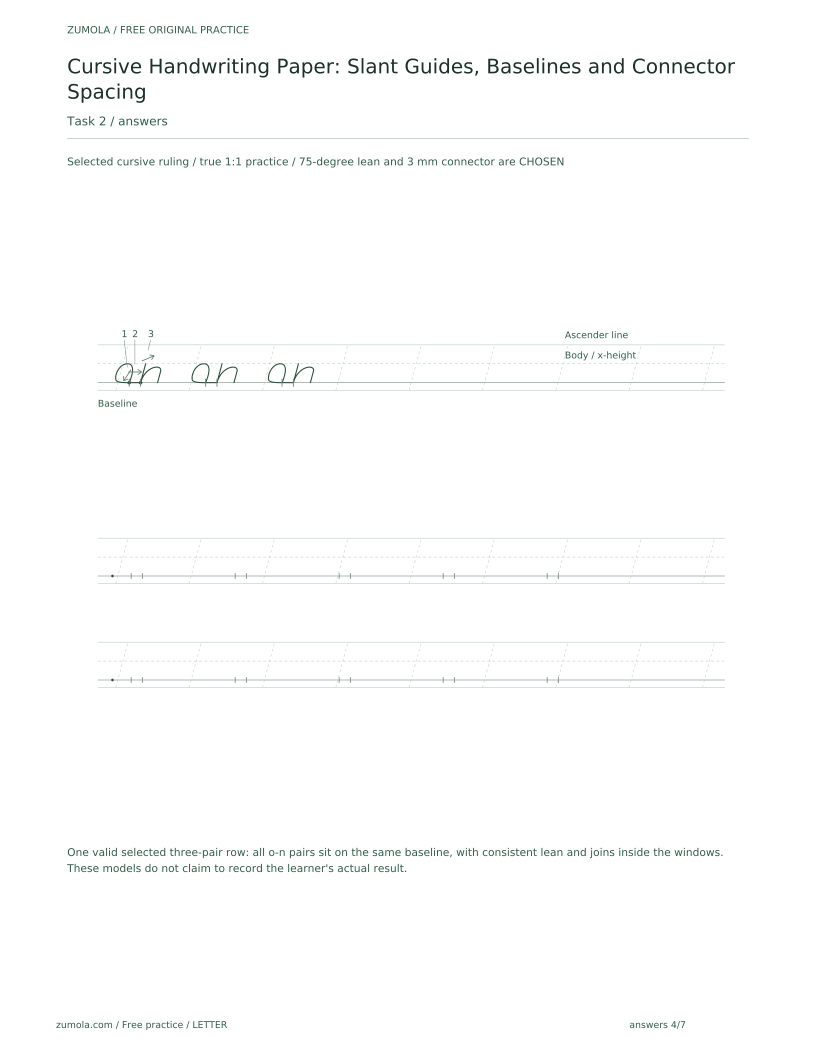
Write a short letter-join row using three pairs. Then compare the first and last pairs for baseline drift and lean consistency.
Show answer and check
A valid row keeps each pair on the baseline and keeps joins within the connector spacing marks. The comparison should note whether the last pair drifts above or below the baseline and whether lean stays consistent.
Why: Handwriting has multiple valid outcomes, so the row is judged with the rubric rather than against one exact shape.
Check: Apply the rubric criteria to the whole row, not to a single pair.
Exercise 3
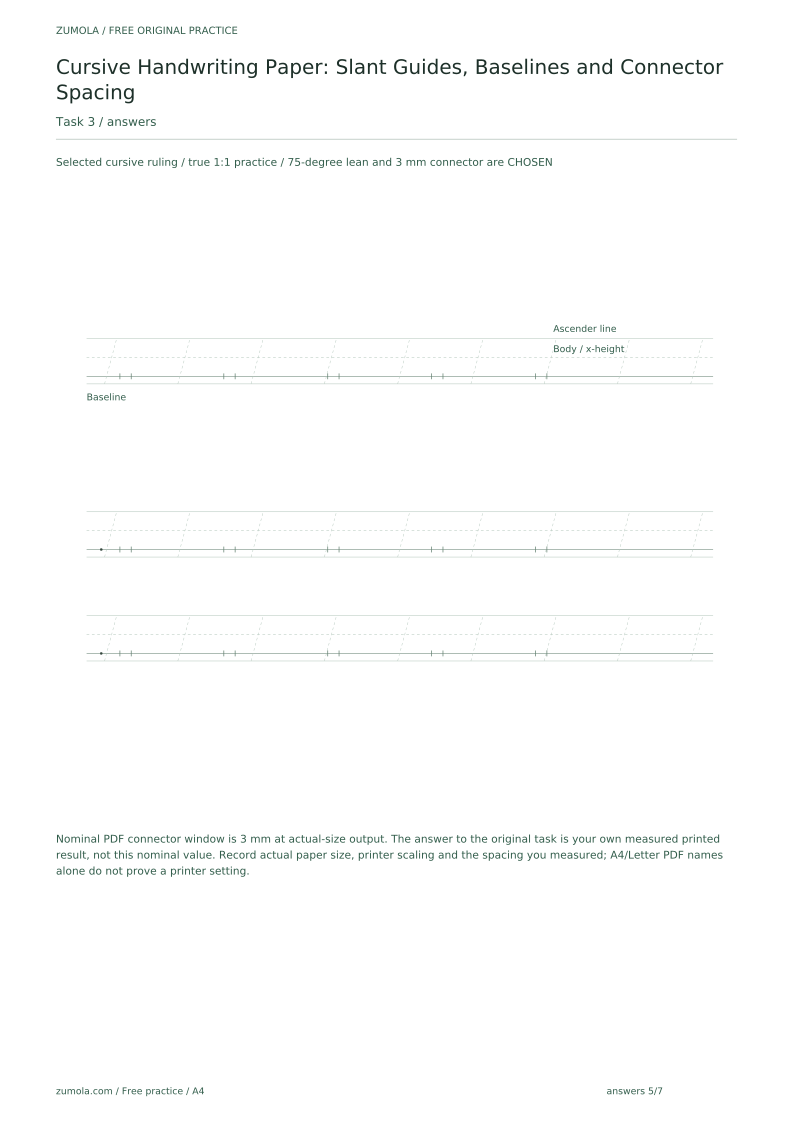
Measure the spacing between two connector marks on your own printed sheet. Record the paper size and any printer scaling you used.
Show answer and check
The measurement is specific to that printed sheet. Record the paper size and scaling so the result can be interpreted; do not treat it as a universal requirement.
Why: Printer scaling and paper size change spacing, so measurements must be tied to the actual equipment used.
Check: Confirm the record includes paper size, scaling setting and the measured spacing.
Exercise 4
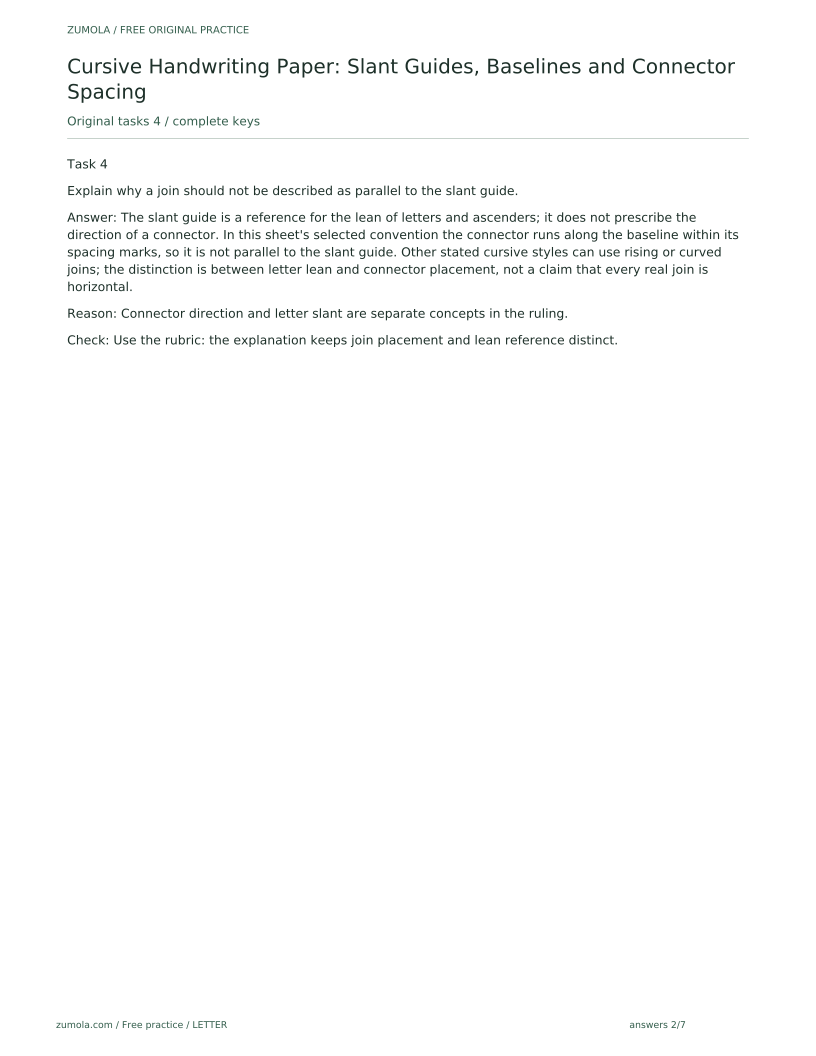
Explain why a join should not be described as parallel to the slant guide.
Show answer and check
The slant guide is a reference for the lean of letters and ascenders; it does not prescribe the direction of a connector. In this sheet's selected convention the connector runs along the baseline within its spacing marks, so it is not parallel to the slant guide. Other stated cursive styles can use rising or curved joins; the distinction is between letter lean and connector placement, not a claim that every real join is horizontal.
Why: Connector direction and letter slant are separate concepts in the ruling.
Check: Use the rubric: the explanation keeps join placement and lean reference distinct.
Common mistakes
- Treating the slant guide as a touch-line that every stroke must hit. Use the slant guide as a reference for lean; letters and ascenders should be roughly parallel to it, not pressed onto it.
- Judging a single letter pair instead of the full row. Compare the first and last pairs in the row for baseline drift and lean consistency before deciding whether the row meets the rubric.
- Assuming connector marks and slant guides describe the same direction. Keep joins within the connector spacing marks along the baseline; use the slant guides for the lean of letters and ascenders.
Self-check rubric
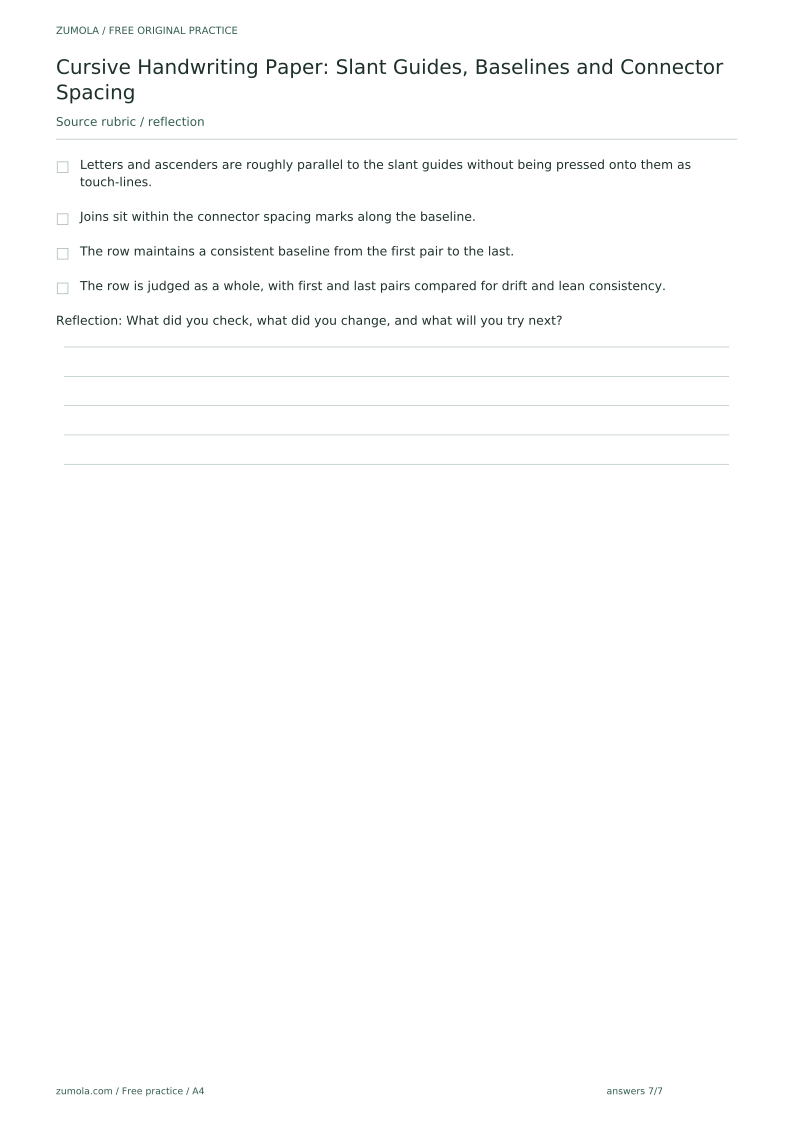
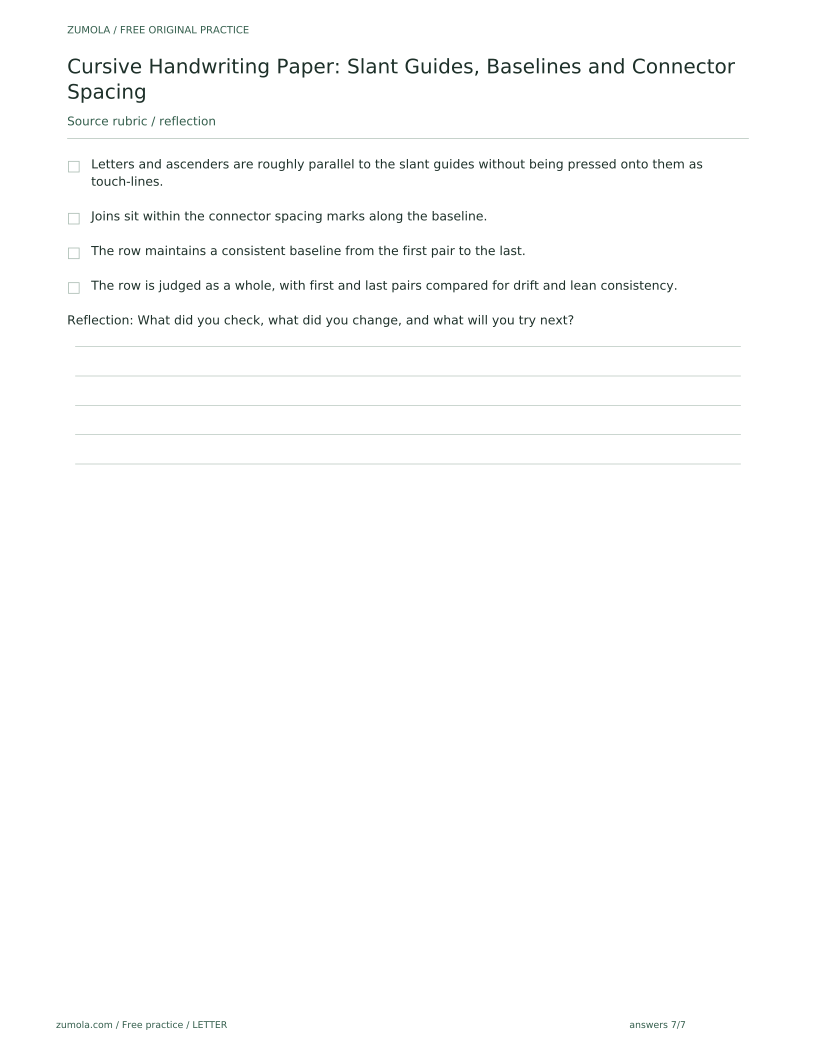
- Letters and ascenders are roughly parallel to the slant guides without being pressed onto them as touch-lines.
- Joins sit within the connector spacing marks along the baseline.
- The row maintains a consistent baseline from the first pair to the last.
- The row is judged as a whole, with first and last pairs compared for drift and lean consistency.
Questions and answers
Are the letter-join row and blank practice page available now?
No. They are included in the standard pack; any numbered supplementary extension set remains a separate extension and is not included.
Can left-handed writers use the same ruling?
Generally yes, but note that slant guides rotate with the paper. If you rotate the paper, the lean comparison changes, so re-check the slant guides against the new paper position. Connector spacing marks remain the reference for joins regardless of paper rotation.
Should I measure the sheet or use fixed dimensions?
Measure your own printed sheet. Printer scaling and paper size can change spacing, so treat any example numbers as hypothetical inputs rather than universal requirements.
Reference illustration
Free printable downloads
Choose a paper size. Practice sheets and answer keys are separate. Download every file free, without registration.
This standard pack covers the four original exercises, blank work areas, complete keys and necessary figures. Additional extension sets described in the lesson are outside this download.
PDF bundles
Individual SVG pages
Reference-page preview