Choose a scale that fits, convert lengths to common units and keep area factors separate. Work through three fictional rectangles before using the practice sheets.
Choose a scale that fits, convert lengths to common units and keep area factors separate. Work through three fictional rectangles before using the practice sheets.
Choose US Letter or A4 for prepared downloads. Original PDF and SVG files, worksheets and reference answers are free without signup. Collection packs contain the same individual pages in order.
Choose your paper and download
Download paper size
Every worksheet and answer is free. No signup.
The complete collection
Keep practice and answers separate.
Use the student pack first, then compare the reference or answer. Packs are PDFs; individual sheets below also include editable SVG files. The paper choice applies to every download.
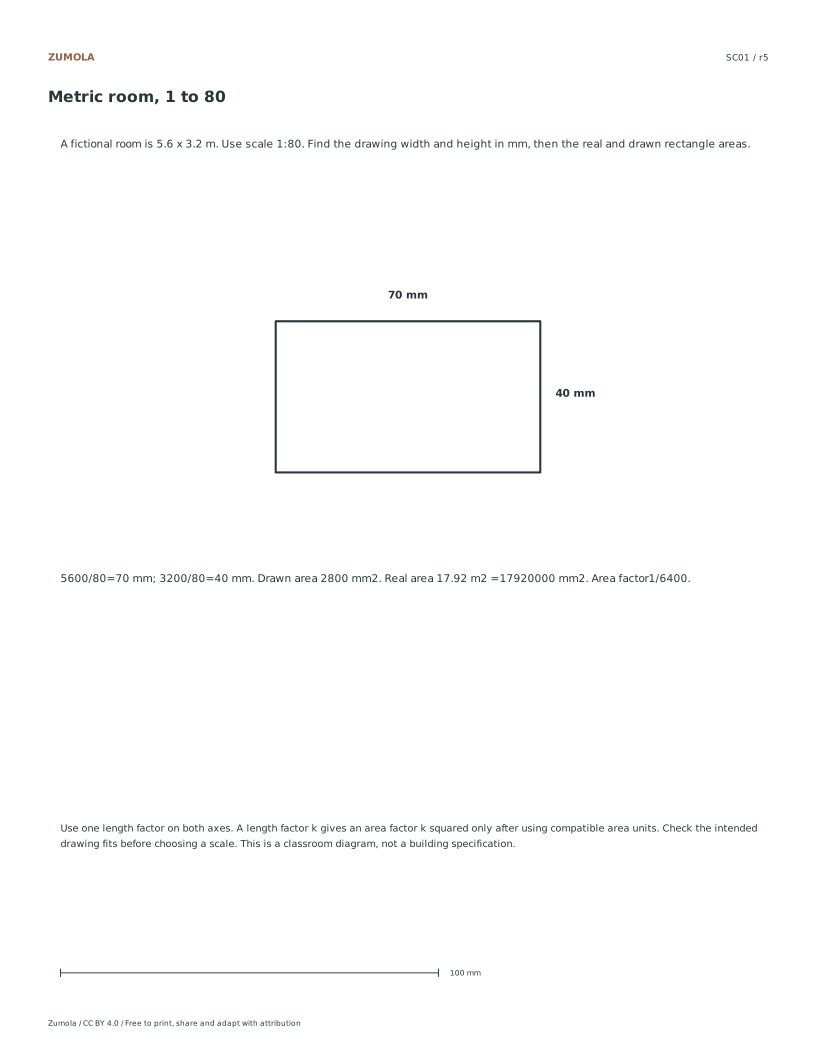
To plan a scale, first identify the space available for the actual drawing. For a hypothetical 80 × 50 mm work area, the 5.6 × 3.2 m room allows a factor no larger than min(80/5600,50/3200) = 1/70. Choosing 1:80 fits; 1:50 would require 112 × 64 mm and would not. This is a scale-selection example, not a claim that the worksheet’s larger scratch frame measures 80 × 50 mm.
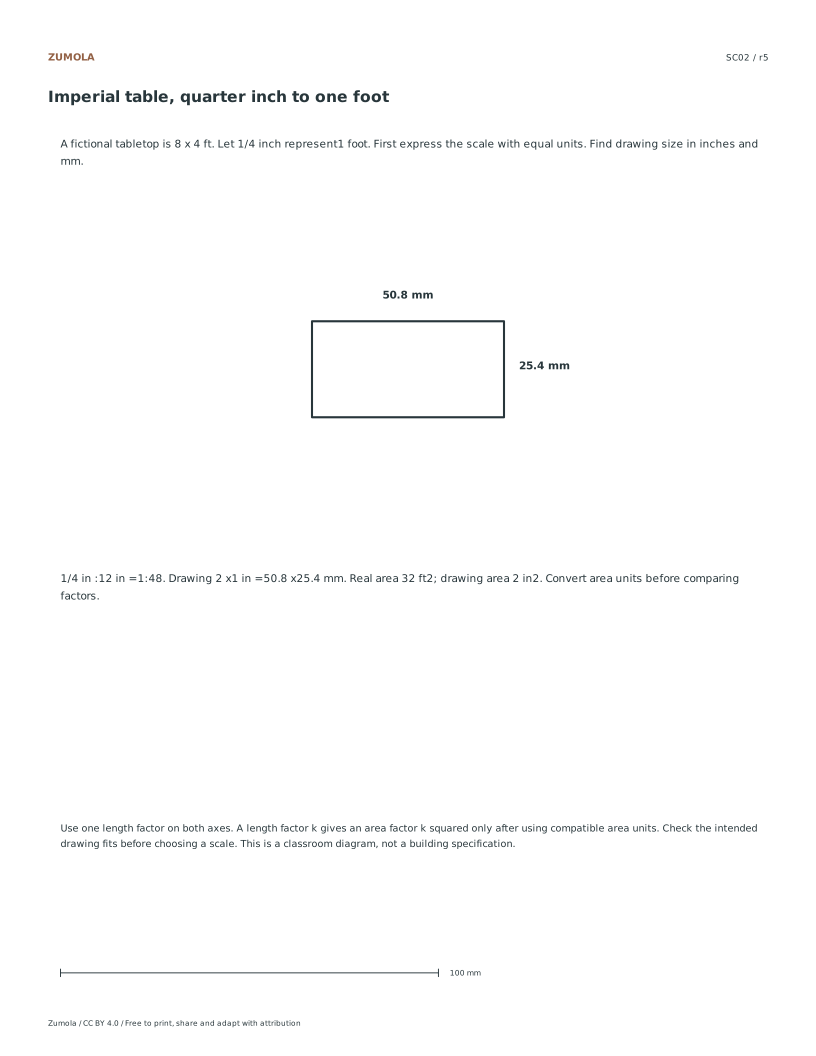
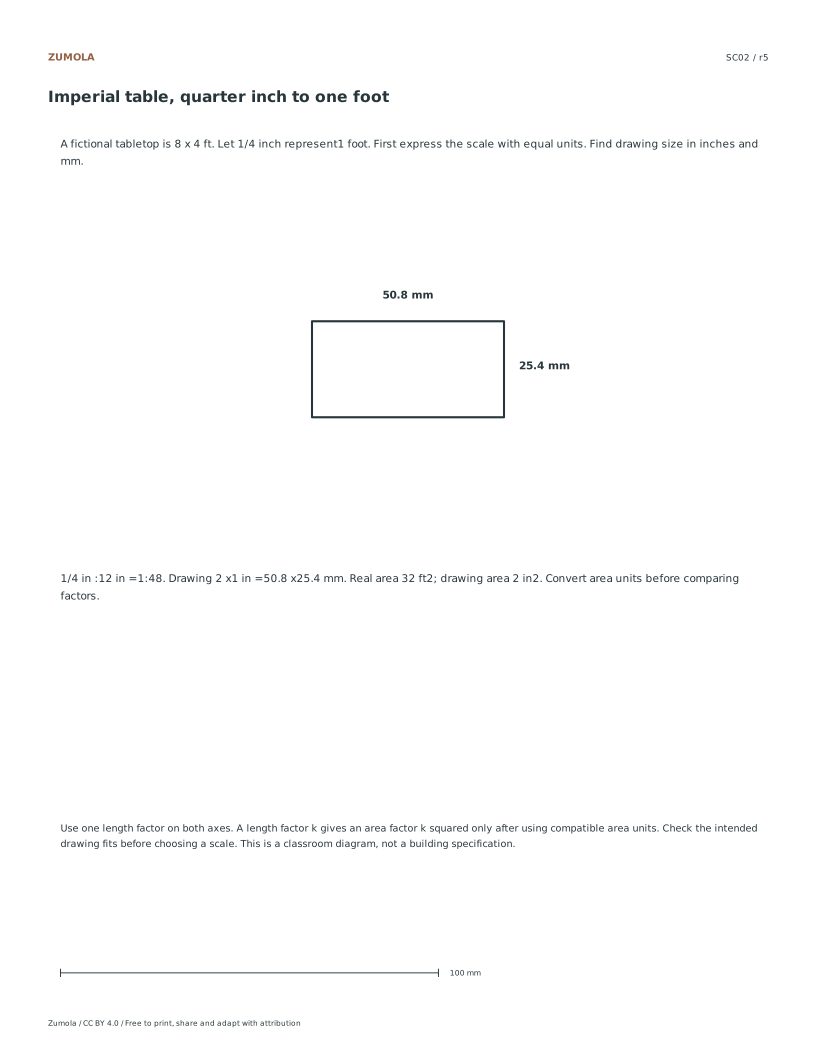
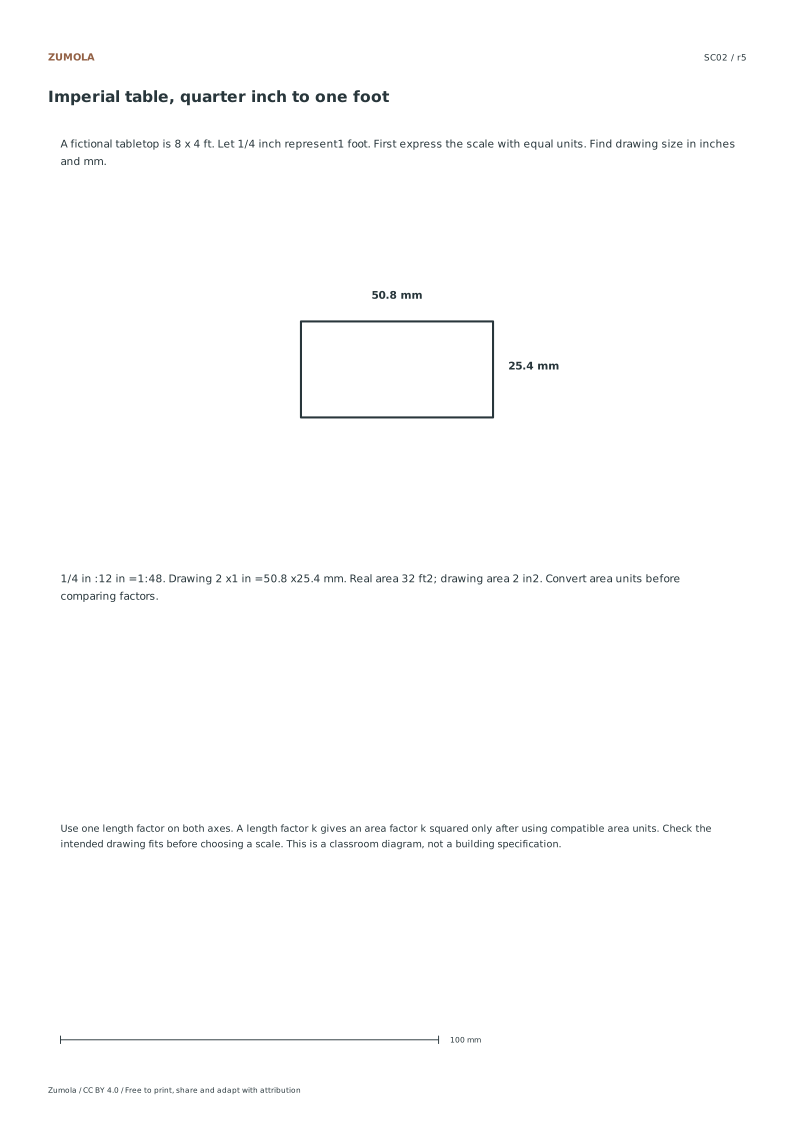
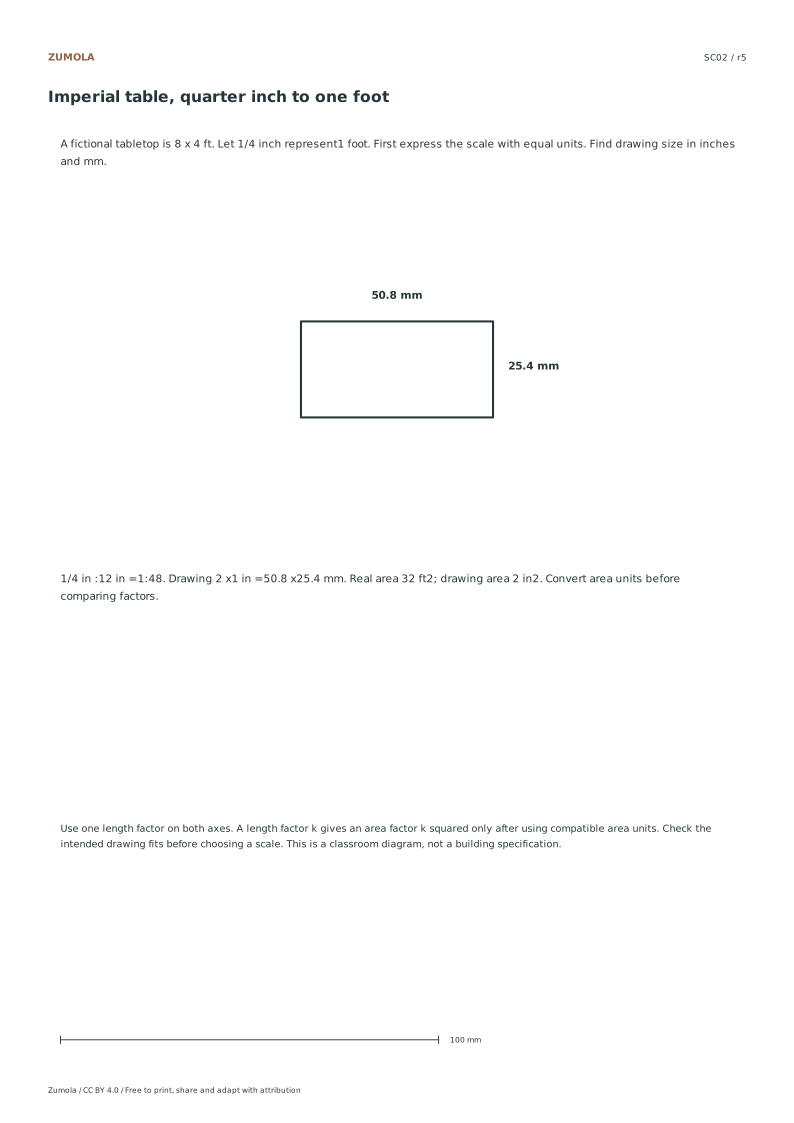
The imperial statement uses two different units: one quarter inch on paper represents one foot in the subject. Convert the foot to 12 inches before writing 1:48. Multiplying an area by 48 instead of 48² would mix length and area. These three lessons explain the workflow before the existing downloadable scale-drawing practice collection.
Work through the page
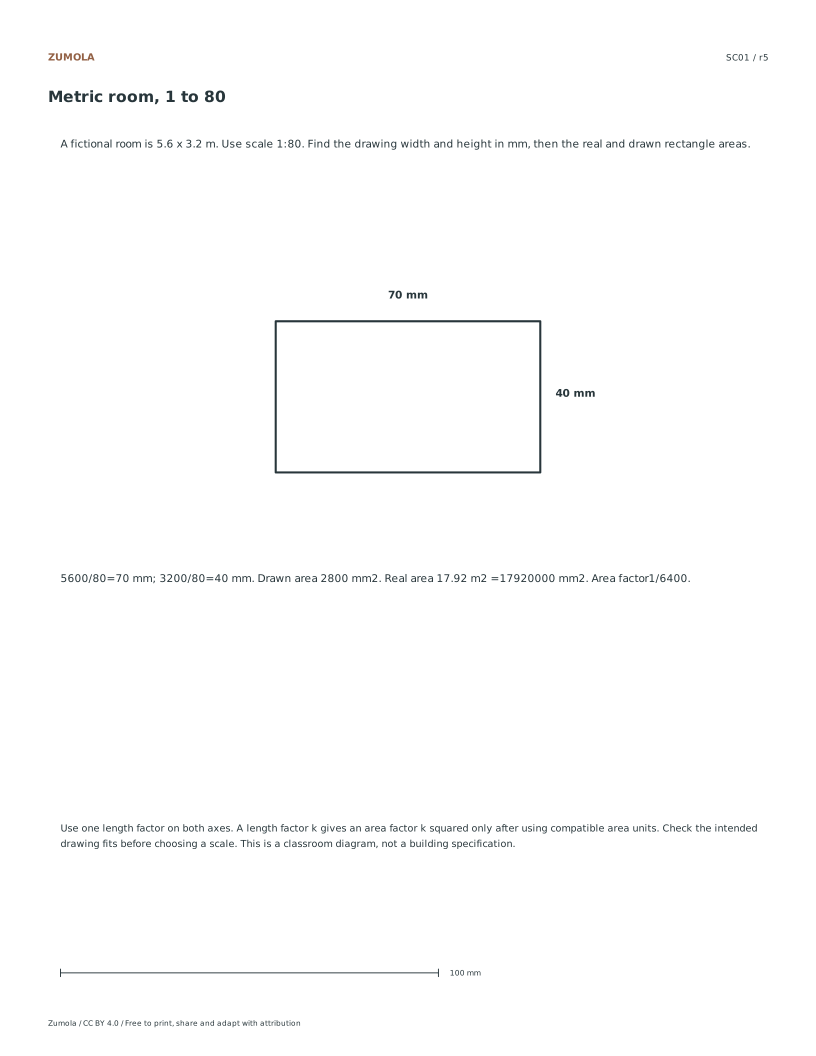
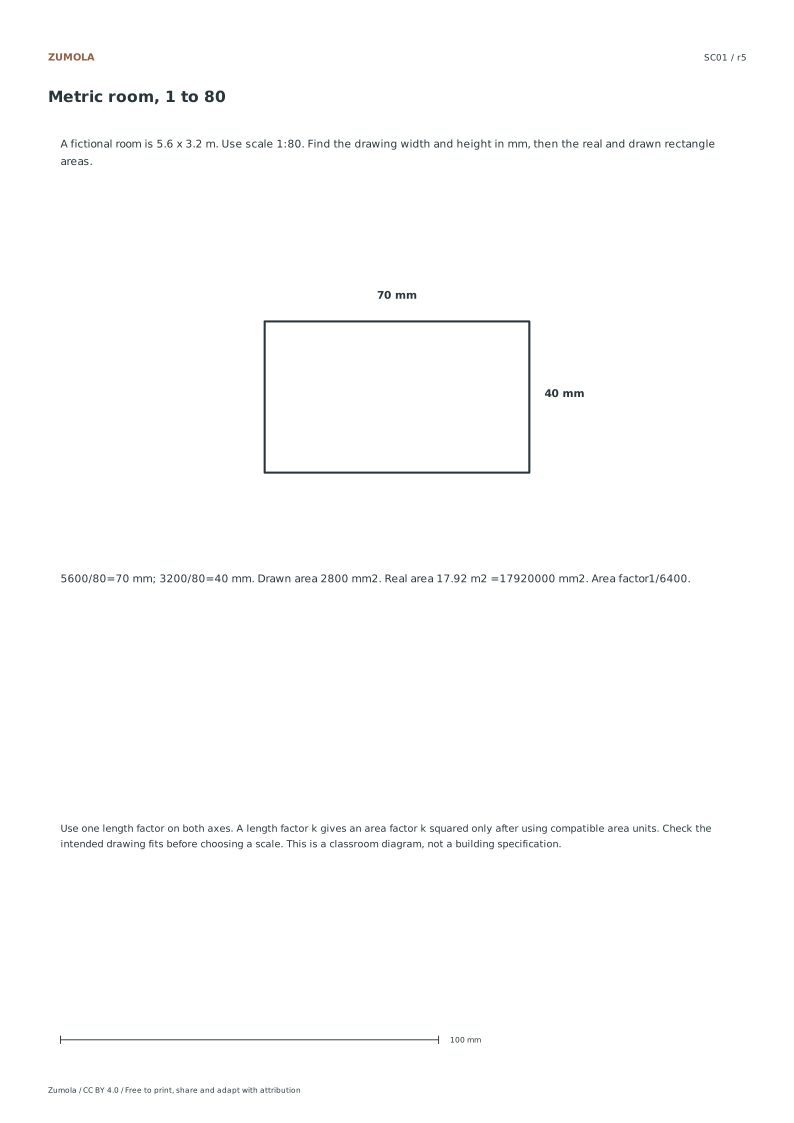
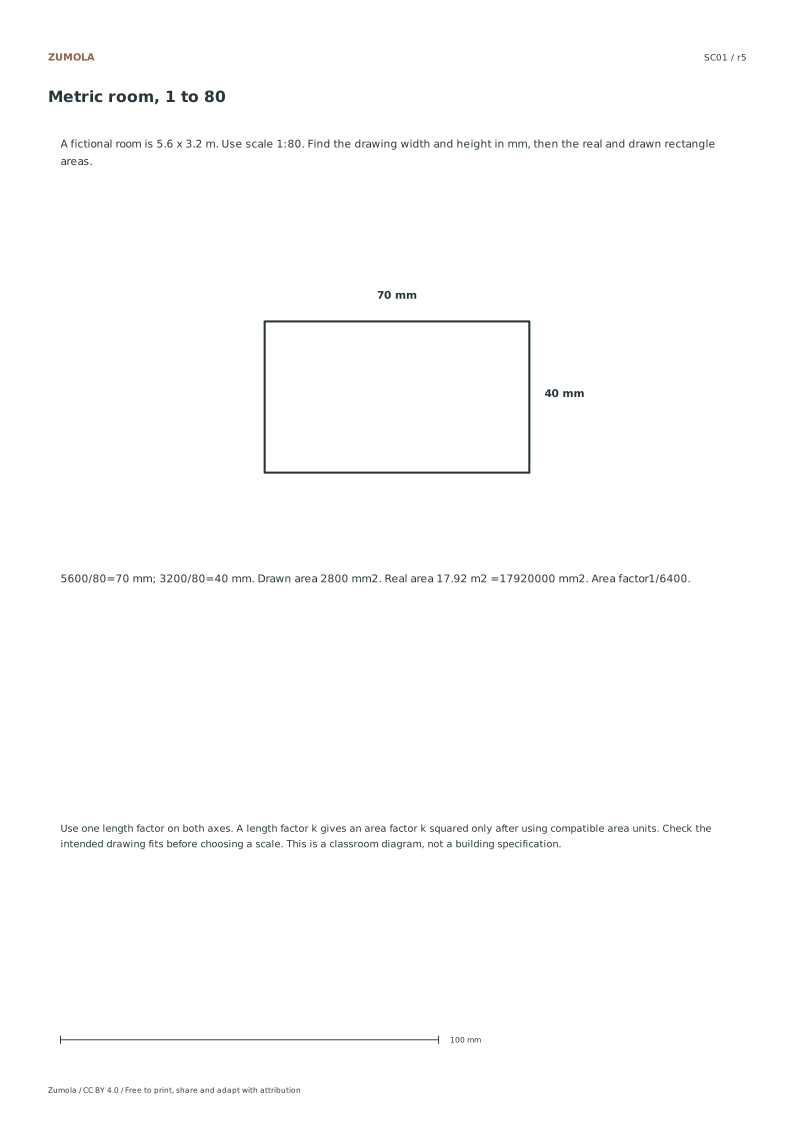
Selecting the Appropriate Scale Ratio Begin by determining the relationship between the real object and the paper size. Calculate the ratio using the formula drawing_length divided by real_length. Ensure both measurements are in identical units before dividing. For a room measuring 5.6 by 3.2 meters, a 1:80 scale results in a drawing size of 70 by 40 millimeters. This step prevents distortion and ensures the final sketch fits the page. Always verify that the chosen ratio applies uniformly to both width and height. This foundational calculation dictates the dimensions of your final graphic representation on the sheet.
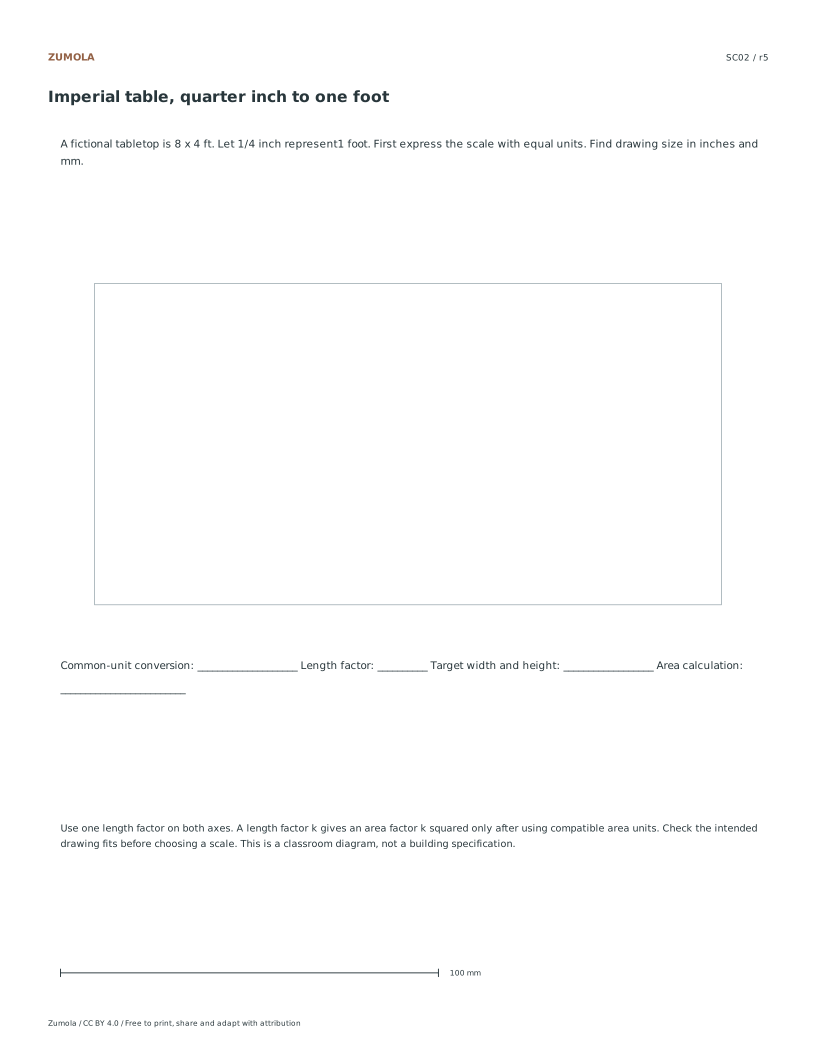
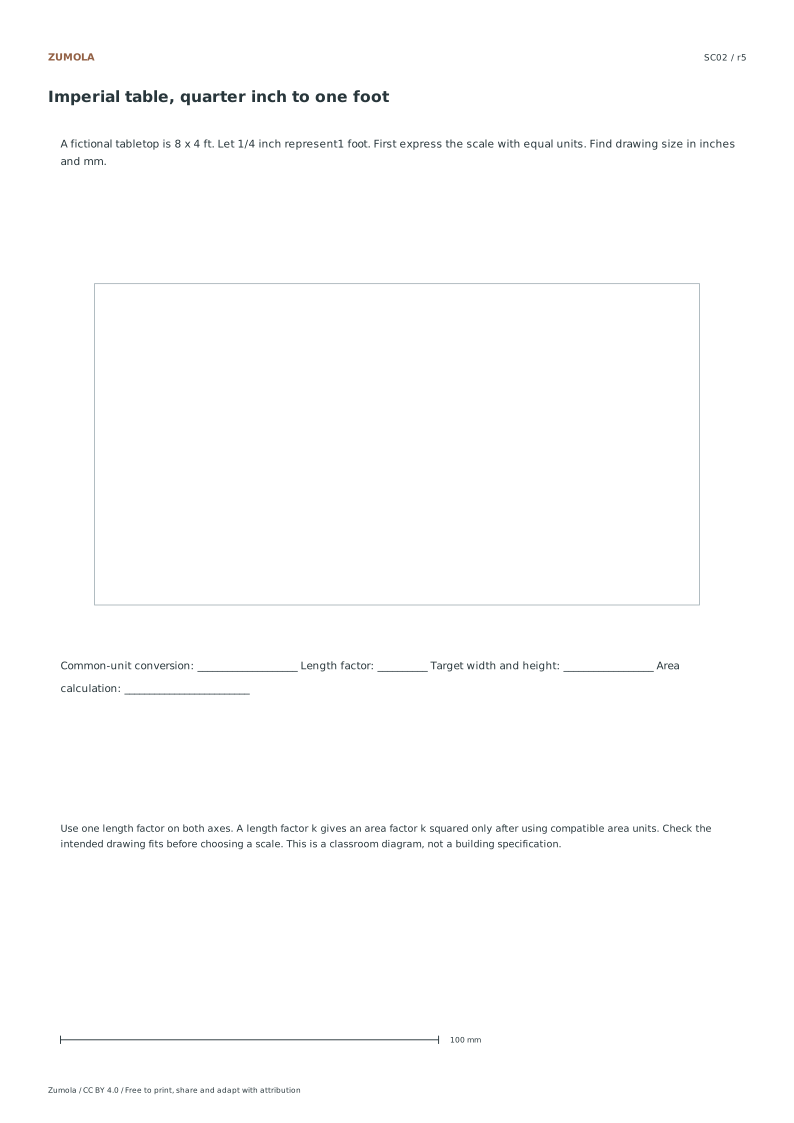
Converting Units for Accurate Dimensions Unit consistency is critical when working with mixed systems. For an 8 by 4 foot table drawn at 1/4 inch per foot, the resulting dimensions are 2 by 1 inch. Converting these to millimeters yields 50.8 by 25.4 millimeters. This specific scale corresponds to a 1:48 ratio. Students must practice converting feet to inches and then to millimeters to maintain precision. These fictional classroom examples illustrate the necessity of careful unit management. Always double-check conversions to avoid scaling errors that compromise the accuracy of the technical drawing.
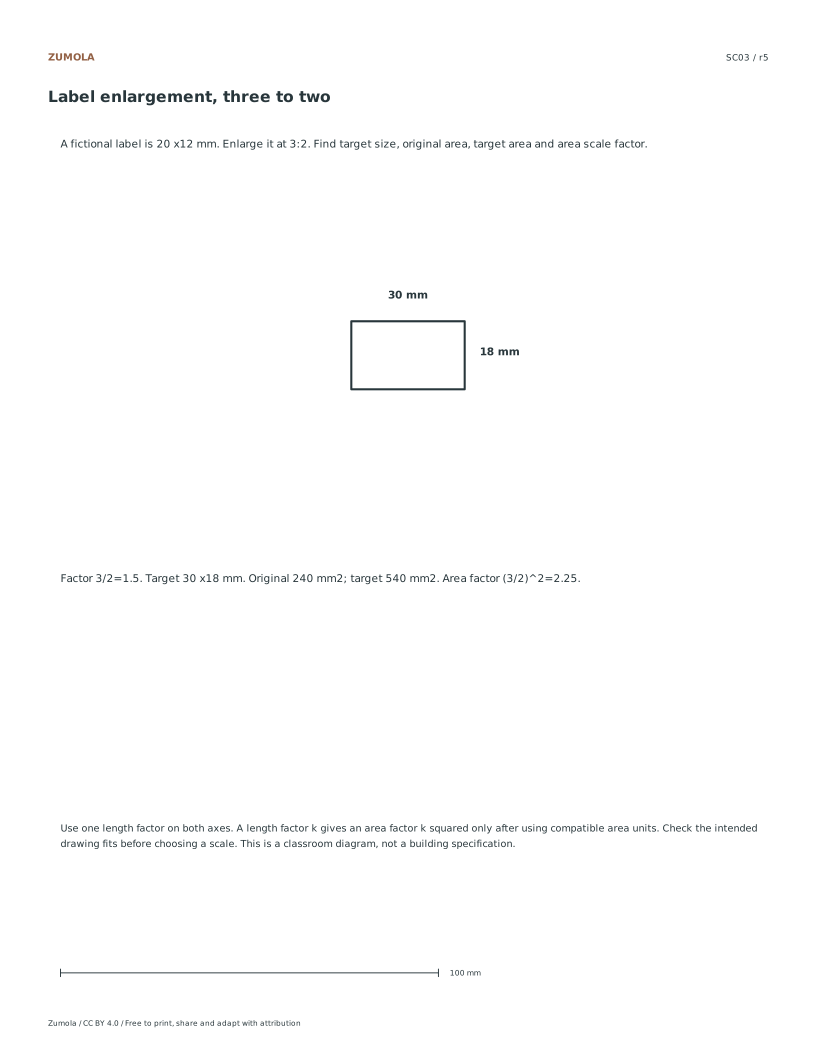
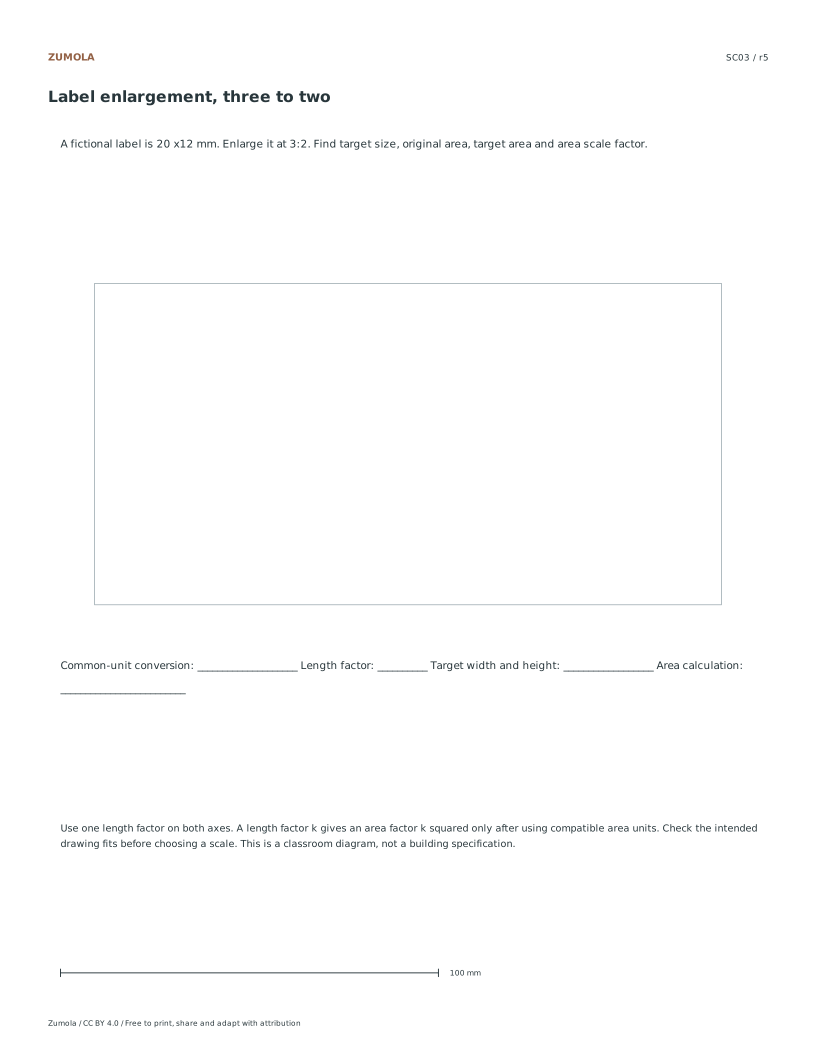
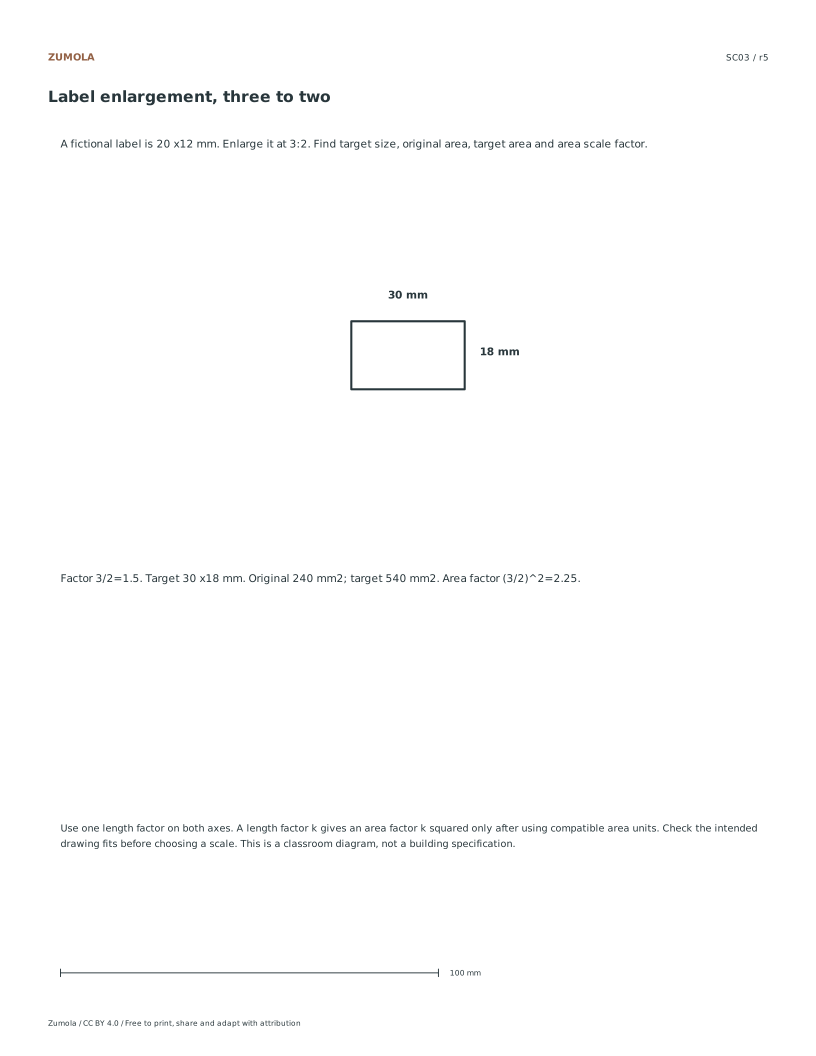
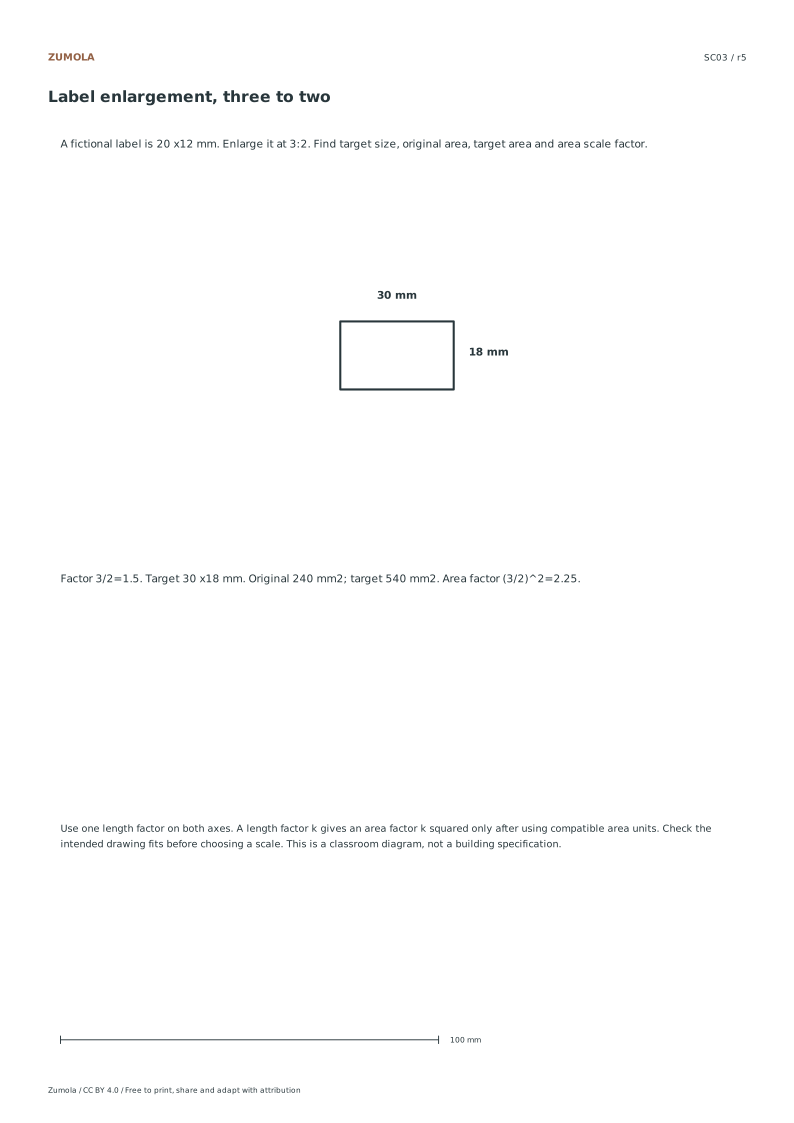
Verifying Area Scaling Factors When enlarging or reducing drawings, remember that area scales by the square of the length factor. A 20 by 12 millimeter label enlarged at a 3:2 ratio becomes 30 by 18 millimeters. The original area of 240 square millimeters increases to 540 square millimeters. This represents a scaling factor of 2.25, which is 1.5 squared. Check that the area calculation matches the squared length ratio. This verification step confirms that the geometric proportions remain consistent throughout the transformation process on the printable resource.
Checks that catch common errors
Watch for
Check instead
Using different units for the numerator and denominator in the scale ratio calculation.
Convert all measurements to the same unit, such as millimeters, before calculating the drawing_length divided by real_length ratio.
Applying the length scaling factor directly to the area without squaring it.
Square the length factor to determine the correct area scaling factor, as seen when a 3:2 length ratio results in a 2.25 area factor.
Assuming the drawing will fit the page without checking the final dimensions against the frame.
Calculate the final drawing dimensions in millimeters and verify they fit within the available printable area before starting the sketch.
Match the file before printing
Print the PDF matching the paper in your printer at Actual size / 100% if you want to retain the millimeter dimensions defined in the file. Turn off Fit and Shrink when those dimensions matter. Uniform resizing preserves relative image proportions and angles but changes physical lengths. Unequal resizing can distort both. SVG editors and browser print dialogs can also change scale, so measure a physical calibration span when the task relies on size.
These files have digital geometry and layout checks. Physical printer testing has not been completed. Complete a student page before comparing the worked answer or reference illustration. A geometric or counting result can be exact, while a hand drawing can vary in its marks and interpretation. The original resources use CC BY 4.0: credit Zumola, link the license and indicate changes.
Useful answers
Are these examples based on real construction projects?
No, these are fictional classroom examples designed for educational practice. They are not intended to serve as construction specifications or professional engineering standards.
Has the physical printing quality been tested?
Physical printer checks have not been performed. Users should verify that the printed output fits their specific printer margins and paper size requirements.
What versions of the resource are available?
The resource includes a reference version, a blank student version, and a solved version for each of the three rectangle cases provided in the tutorial.
Are the answers and editable files free too?
Yes. Every linked original worksheet, answer, PDF and SVG is free without signup. Individual SVG sheets stay editable; collection packs are PDF files. Analytics consent is not required to use the resources.
Optional Google Analytics helps us understand which free resources are useful. It is off until you allow it. Drawing tools and downloads work with either choice. Privacy details