Free worksheets with worked answers
Scale drawing.
Show your working.
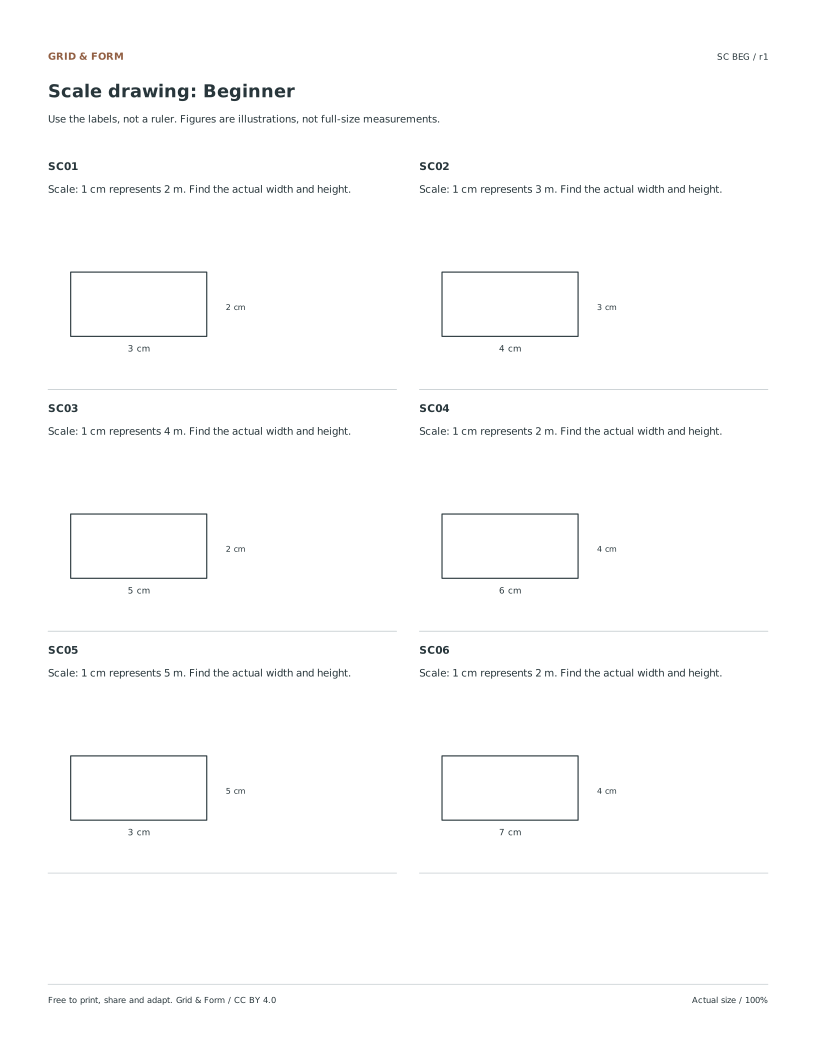
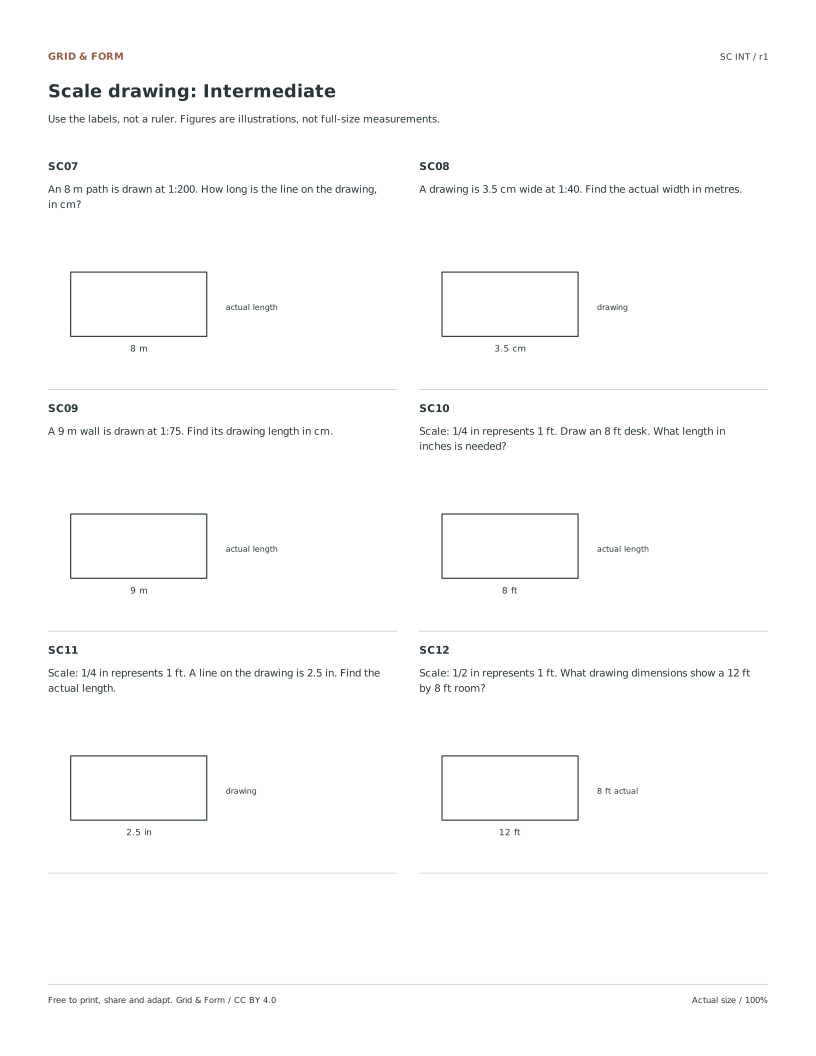
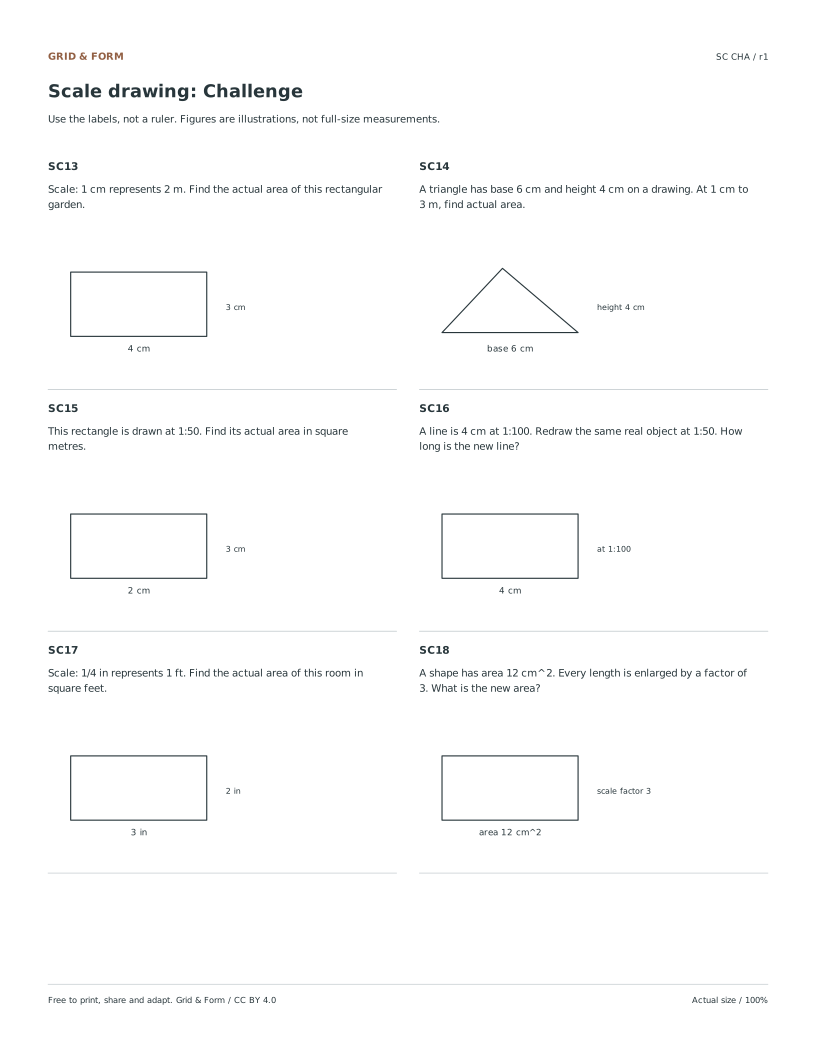
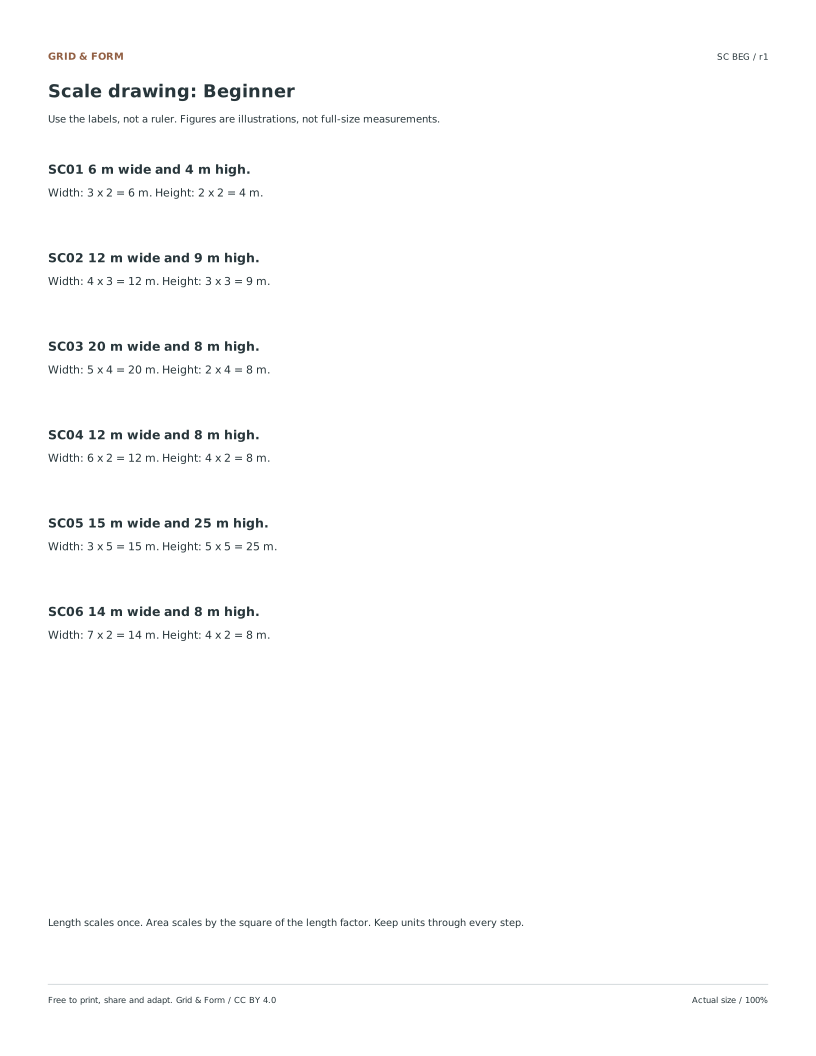
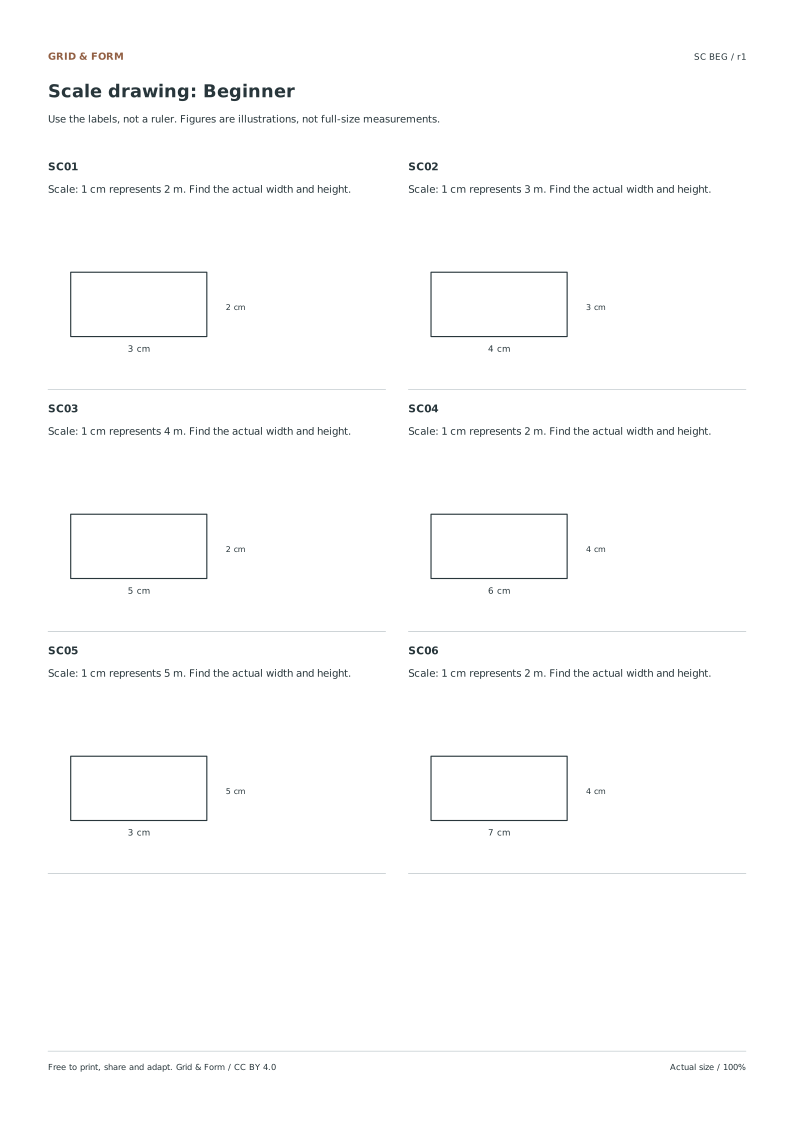
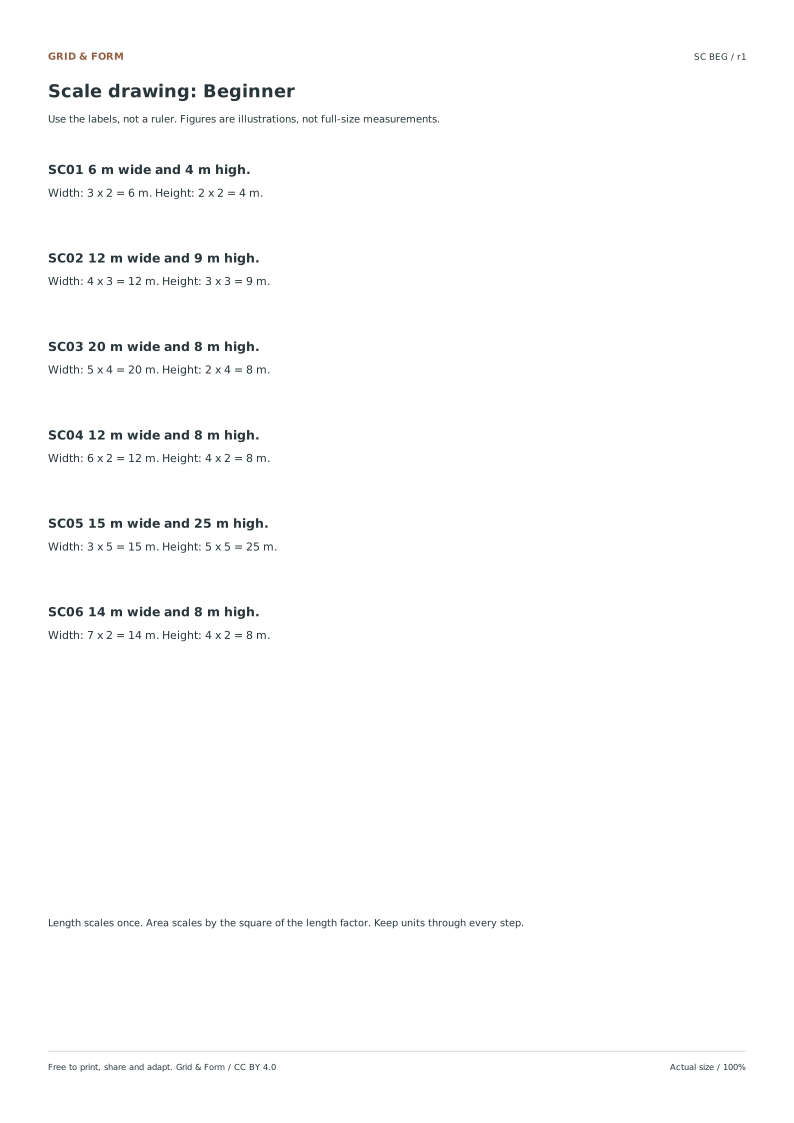
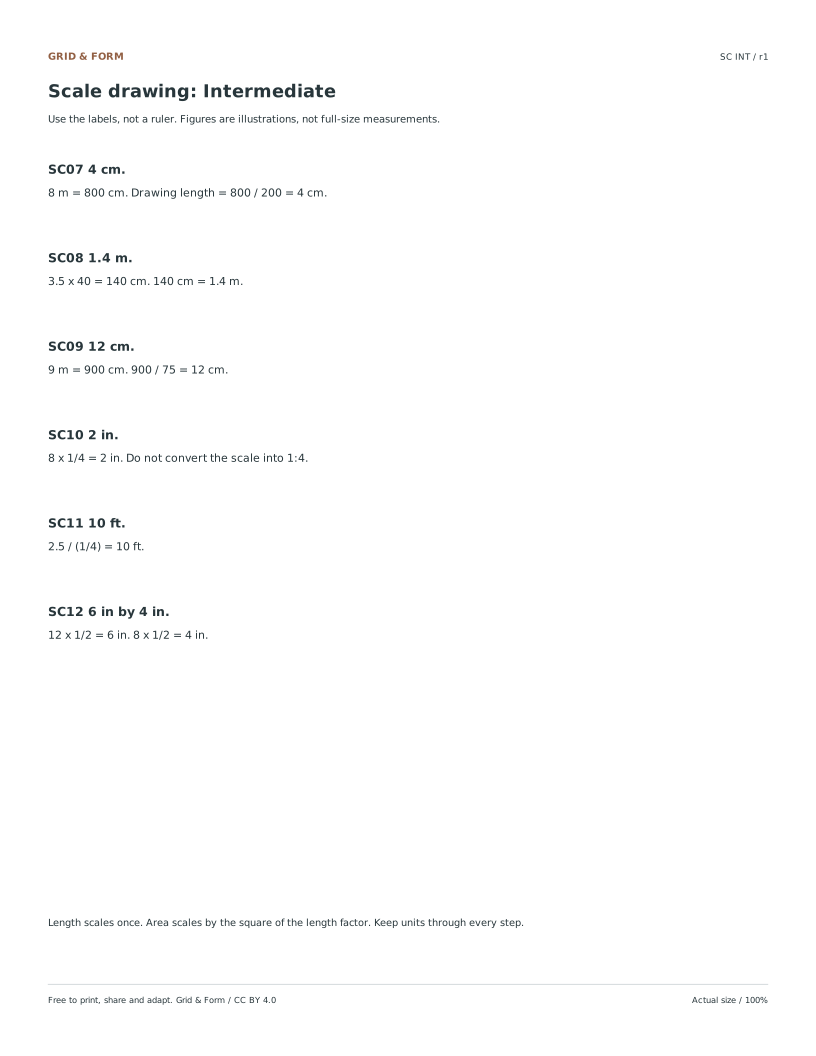
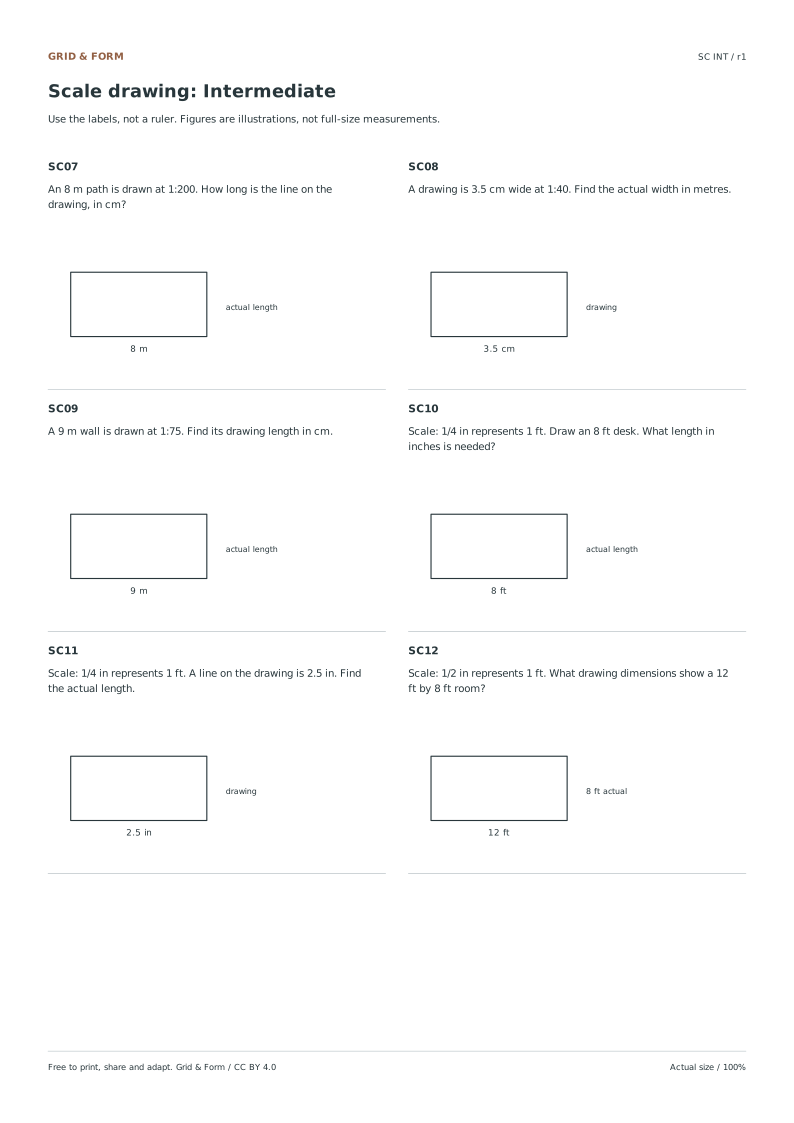
Eighteen original problems move from simple scale statements to unit conversion, changing scale and area. Every question includes explicit labels; every answer shows the calculation.
3 levels · 6 problems each.
Metric & imperial examples.
Use labels, not a ruler.
More ways to practice
Reverse scale and mixed units
A scale statement such as 1 cm represents 4 m is a ratio between drawing length and real length. To find a drawing length, divide the real length by the real-world value represented by one drawing unit. To find a real length, multiply the drawing length by that same value. Keep the direction explicit: drawing to real uses multiplication, real to drawing uses division.
Mixed units cause most errors. Convert the real length to the unit named in the scale before dividing. If the scale is 1 cm represents 4 m and the real length is 600 cm, first convert 600 cm to 6 m, then divide by 4 m to get 1.5 cm on the drawing. Dividing 600 by 4 without converting would give 150 cm, which is wrong by a factor of 100.
- Write the scale as a sentence: one drawing unit represents a stated real length.
- Convert the real length into the same unit used in the scale statement.
- Divide the real length by the represented length to get the drawing length.
- Label the drawing length with its unit and check that it is smaller than the real length for a reducing scale.
Rescaling changes area, not just length
When a drawing is redrawn at a different scale, every linear dimension changes by the same factor, but area changes by the square of that factor. If a plan is redrawn so that each drawing length becomes three times longer, each drawn area becomes nine times larger. Volume, if relevant, changes by the cube of the linear factor.
This matters when comparing two plans of the same object. A plan at 1:100 and a plan at 1:200 show the same real object, but the 1:100 drawing has linear dimensions twice as large and areas four times as large. The real object does not change; only the representation does.
- Find the linear factor between the two drawing lengths.
- Square that factor to compare areas.
- Cube the factor only if the task involves three-dimensional volume.
- State clearly whether the comparison is about the drawing or the real object.
A diagnostic check before drawing
Before committing to a scaled drawing, run a quick consistency check. Multiply the intended drawing length by the scale factor and confirm it returns the original real length. If the numbers do not match, the error is usually a unit conversion or an inverted ratio.
Also check the direction of the scale. A scale of 1:50 means one drawing unit represents 50 real units, so the drawing is smaller than the real object. Writing the ratio the wrong way round produces a drawing that is far too large and is easy to spot by comparing the drawing length with the real length.
- Multiply the drawing length by the scale factor.
- Compare the result with the stated real length.
- If they differ, recheck the unit conversion first, then the ratio direction.
- Only begin the drawing once the check returns the original value.
Try this example
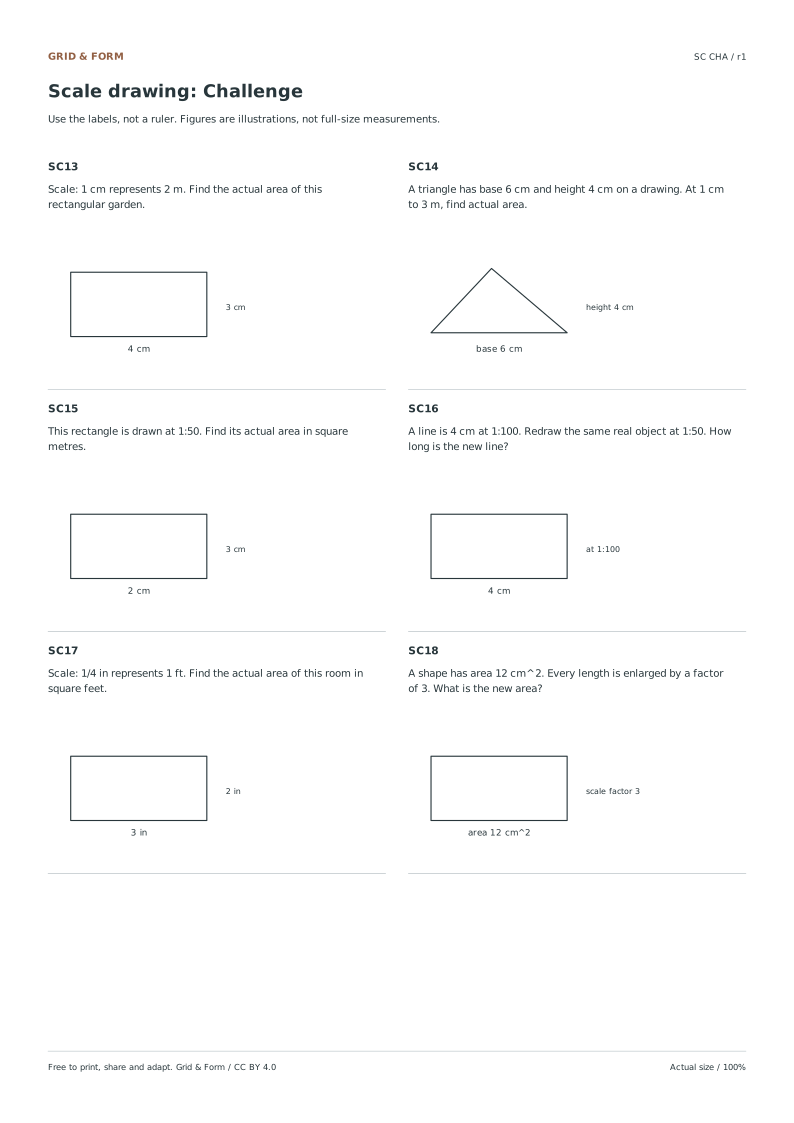
A real wall is 900 cm long. A plan uses the scale 1 cm represents 3 m. Find the drawing length, then state how the drawn area would change if the plan were redrawn at 1 cm represents 1.5 m.
Show the worked explanation
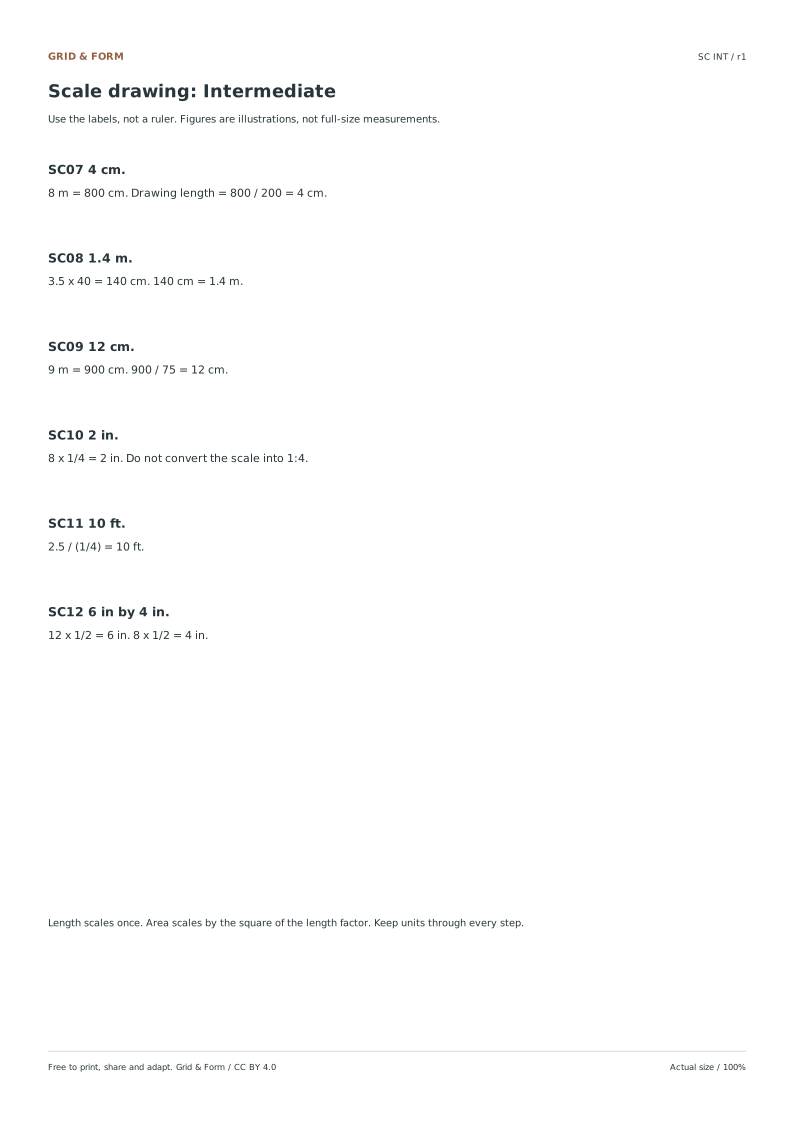
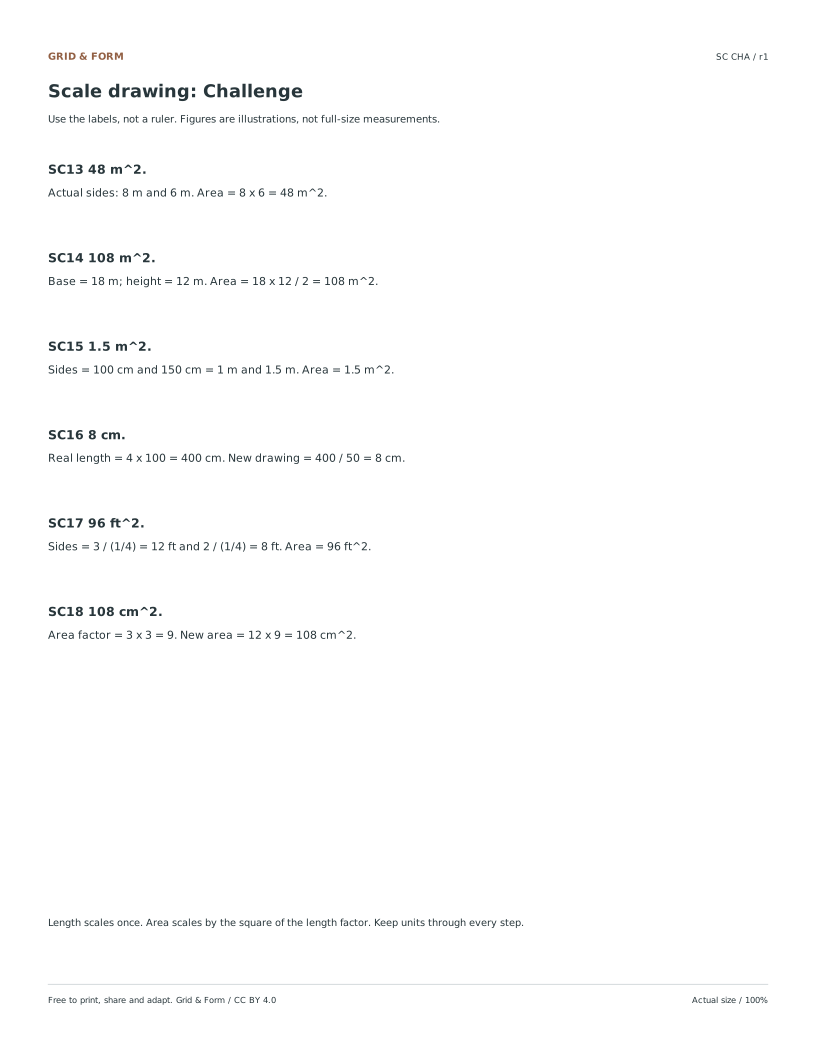
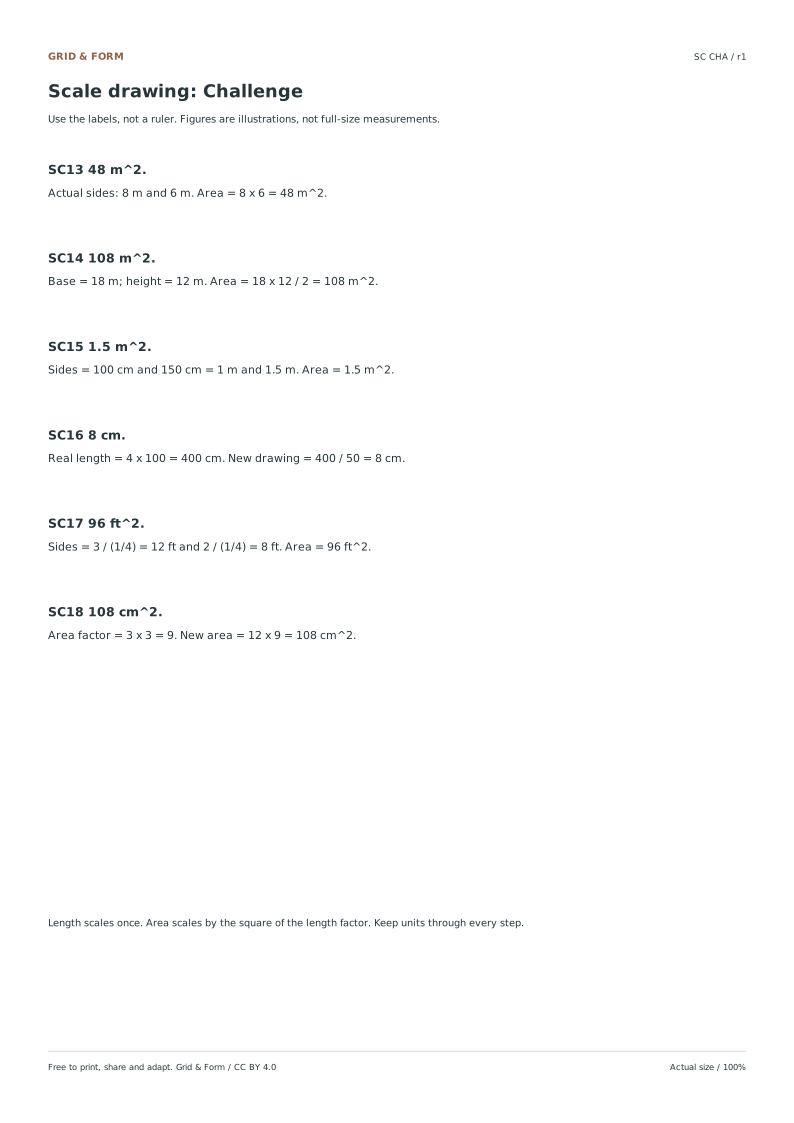
Convert 900 cm to 9 m. Divide 9 m by 3 m per centimetre to get 3 cm on the drawing. The new scale represents half the real length per centimetre, so each drawing length doubles. The linear factor is 2, so the drawn area becomes four times larger. Check: 3 cm times 3 m per centimetre returns 9 m, matching the real wall.
Common mistakes
- Dividing a real length in centimetres by a scale expressed in metres without converting units first. Convert the real length to the unit named in the scale before dividing, then label the result.
- Writing the scale ratio in the wrong direction, so the drawing is larger than the real object. State the scale as a sentence and confirm that a reducing scale produces a smaller drawing length.
- Assuming area changes by the same factor as length when a drawing is rescaled. Square the linear factor to compare areas, and cube it only for volume comparisons.
Check your work
- The scale is written as an explicit sentence linking one drawing unit to a stated real length.
- Real lengths are converted to the unit named in the scale before any division.
- Drawing lengths are labelled with units and are smaller than the real lengths for a reducing scale.
- Area comparisons square the linear factor, and volume comparisons cube it.
- A consistency check multiplies the drawing length by the scale factor to recover the real length.
- The drawing is neat enough to read, with dimensions labelled, even if proportions differ slightly from an ideal construction.
Questions before you start
How do I find a drawing length when I know the real length and the scale?
Convert the real length to the unit used in the scale statement, then divide by the real length represented by one drawing unit. Label the result with the drawing unit.
Why does doubling every drawing length make the area four times larger?
Area depends on two linear dimensions. If both are doubled, the product increases by two times two, which is four. The same reasoning gives nine for a factor of three.
Can two different scales show the same real object?
Yes. A 1:100 plan and a 1:200 plan can describe the same object. The 1:100 drawing has linear dimensions twice as large and areas four times as large, but the real object is unchanged.