Reference diagram
LETTER · Download PDF (2 pages)
Free original resources
Learn to draw a side-view calf using a body oval, head shape, leg placement, and tail. Includes a four-step method, practice tasks, and a simple rubric.
Original reference diagrams, four practice exercises and separate worked answers. All files are free. No signup required.
LETTER · Download PDF (2 pages)
LETTER · Download PDF (4 pages)
LETTER · Download PDF (7 pages)
Choose A4 or US Letter for your printer. The reference and answer illustrations are not physical rulers; follow the scale instruction printed on the practice worksheet.
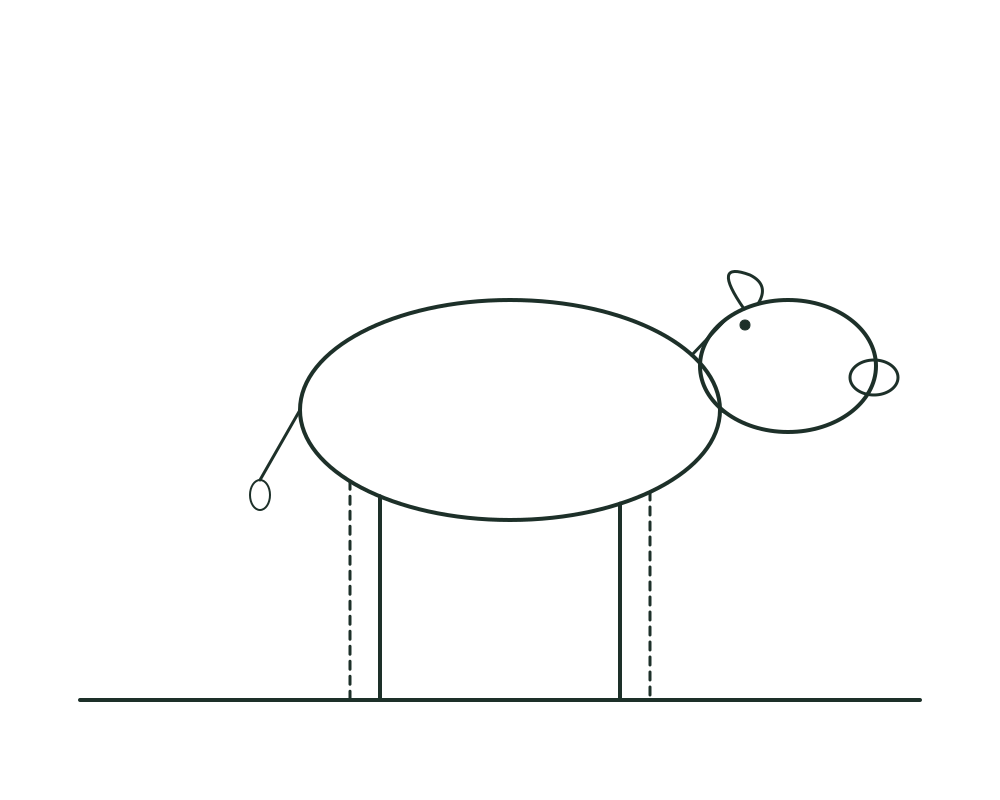
This lesson teaches a stylized side-view calf drawing built from simple shapes. The proportions below are drawing choices for this worksheet, not biological measurements. You will use a body oval to set mass, a head shape to establish the worksheet’s stylized profile, straight leg lines to place the feet, and a tail to finish the silhouette. All measurements below are hypothetical examples; measure your own paper and tools before drawing.
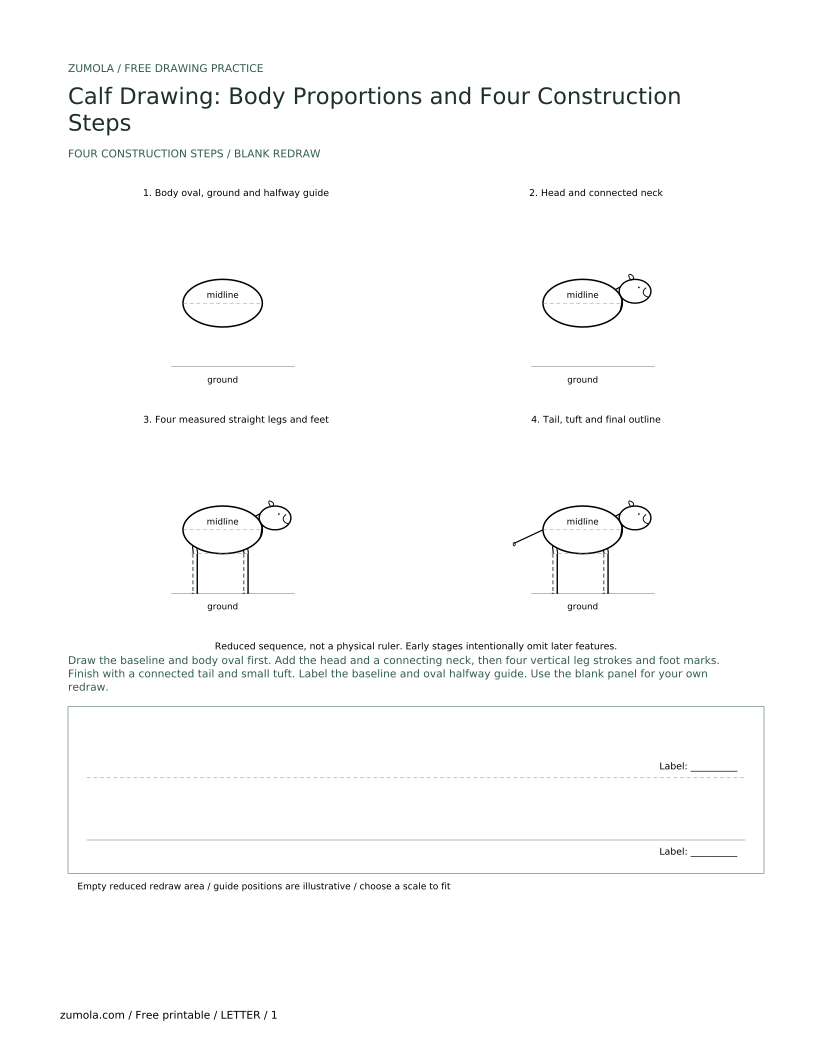
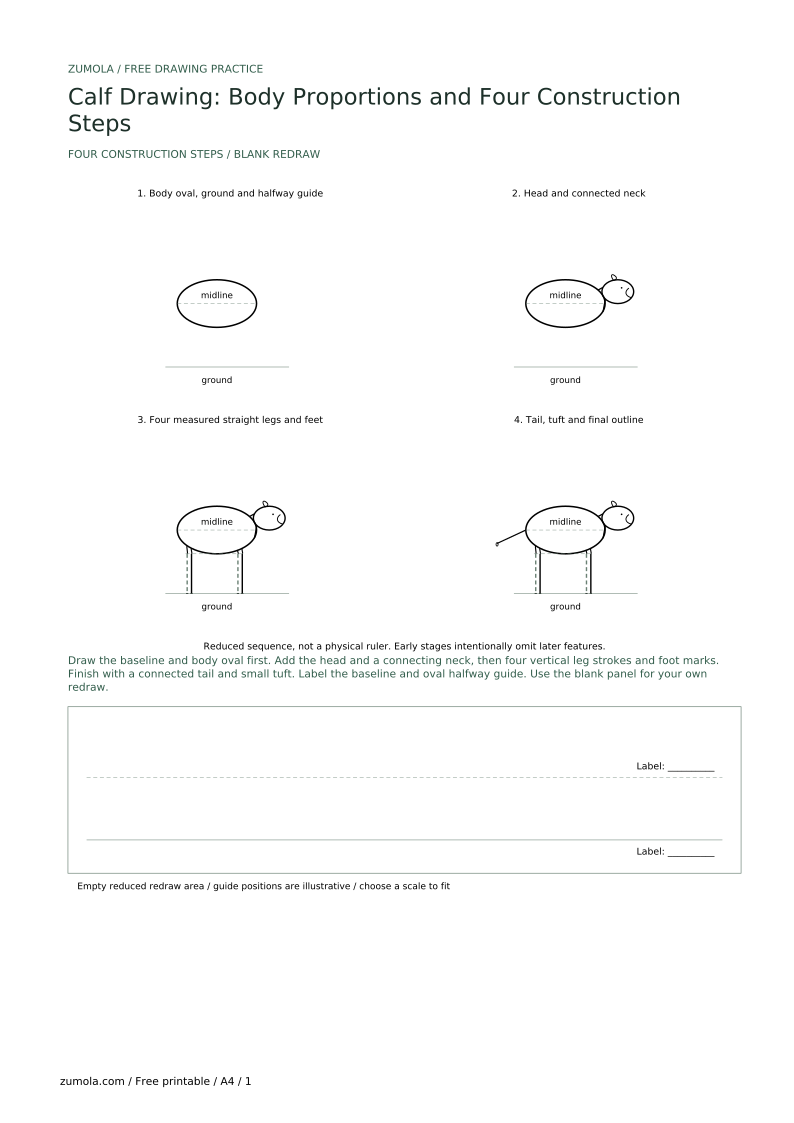
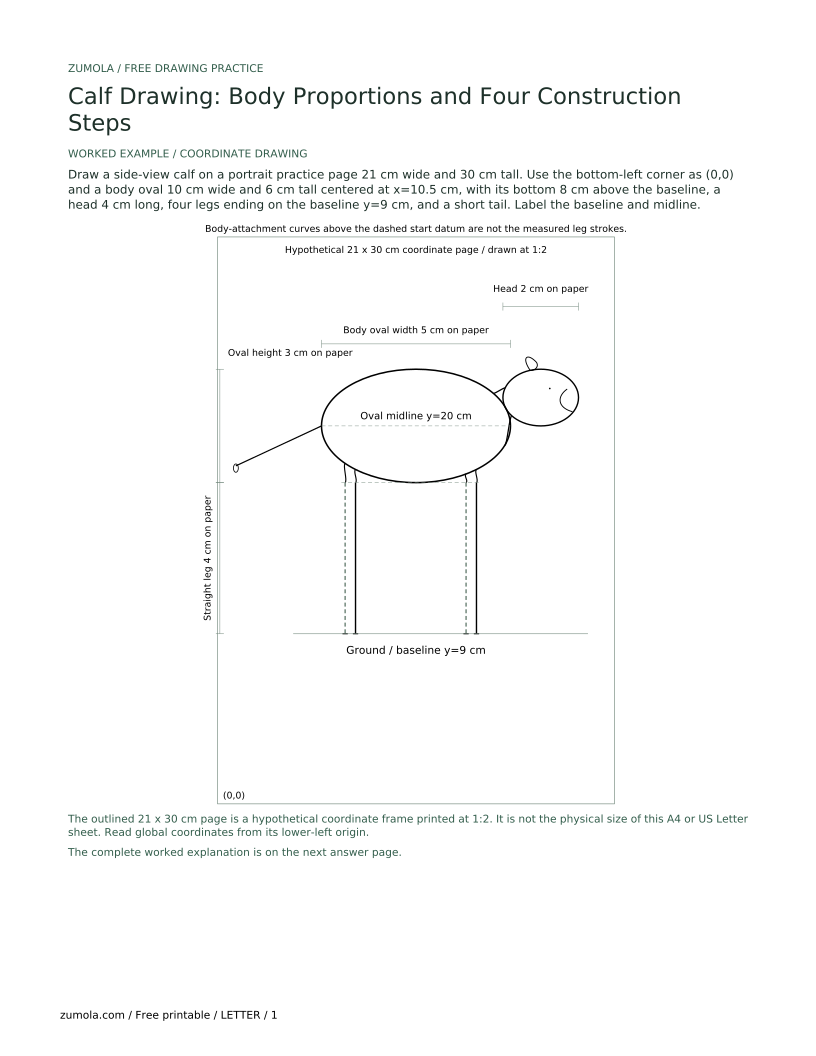
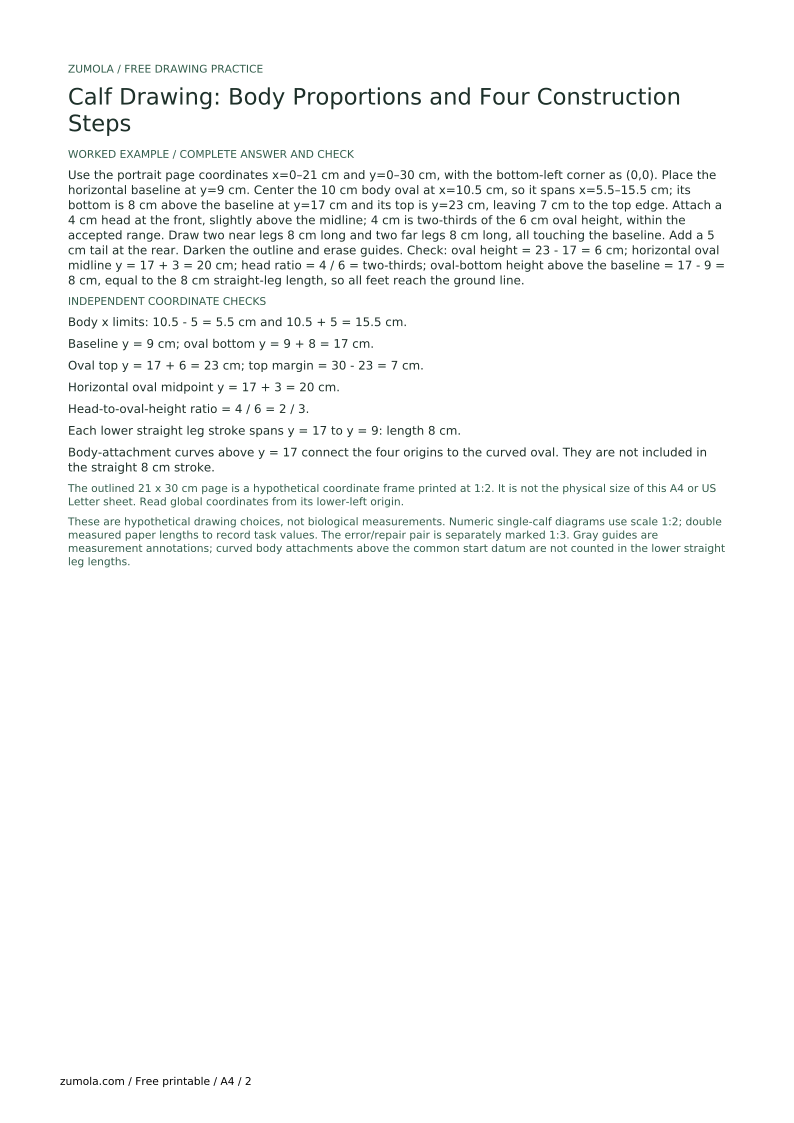
Begin with a light body oval that represents the calf's torso. For a side view, make the oval wider than it is tall. A hypothetical example is an oval 10 cm wide and 6 cm tall on a hypothetical practice page. Mark a baseline under the oval where the feet will stand. The baseline is a horizontal guide, not a heavy line.
This gives you a repeatable vertical reference. Use your own measured values and keep units consistent.
For this worksheet, draw a head length in the chosen range of three-fifths to two-thirds of the body oval height and attach it at the front of the oval, slightly above the halfway guide. For example, pair a 6 cm tall oval with a 4 cm long by 3 cm tall head. This is a chosen illustration proportion, not a biological rule. Add a short neck connector so the head visibly joins the body.
For this drawing convention, keep the muzzle short and the forehead rounded. Place the head forward of the body oval rather than on top of it. Align the top of the head near the oval top and point the muzzle toward the ground line. These are chosen silhouette cues for the worksheet, not a factual description of every calf.
For the worksheet, represent the legs as four simple straight, slender lines from the body oval to the baseline. In side view, offset the far pair slightly behind the near pair. A hypothetical example uses front and back leg lines 8 cm long, ending on the same baseline. Equal lengths are a construction choice that simplifies foot alignment.
Feet should touch the baseline, not float above it. Keep the leg lines parallel to each other and perpendicular to the baseline. If your baseline is horizontal, the legs should be vertical. Measure the distance from the bottom of the body oval to the baseline to confirm leg length. When equal straight leg lengths are requested, their shared upper datum is the level of the construction oval's lowest point. At horizontally offset leg positions, the curved oval boundary is higher than that datum. Use short body-attachment contours from that boundary down to the leg-start datum, then draw the measured straight leg strokes to the baseline. These connectors are part of the stylized body construction and are not added to the stated straight-leg length. This drawing convention keeps the four measured legs equal and visibly connected; it is not an anatomical joint diagram.
Finish the stylized calf with a short tail attached at the rear of the body oval; a small tuft is an optional silhouette detail. A hypothetical example uses a 5 cm line angled slightly downward. Refine the silhouette by darkening the body outline and erasing unnecessary guides.
Keep the intended young-calf silhouette compact. In this worksheet drawing, avoid adding heavy shoulder or neck shapes that would change the chosen profile. The final drawing should show a body oval, a small head, four legs on the baseline, and a short tail.
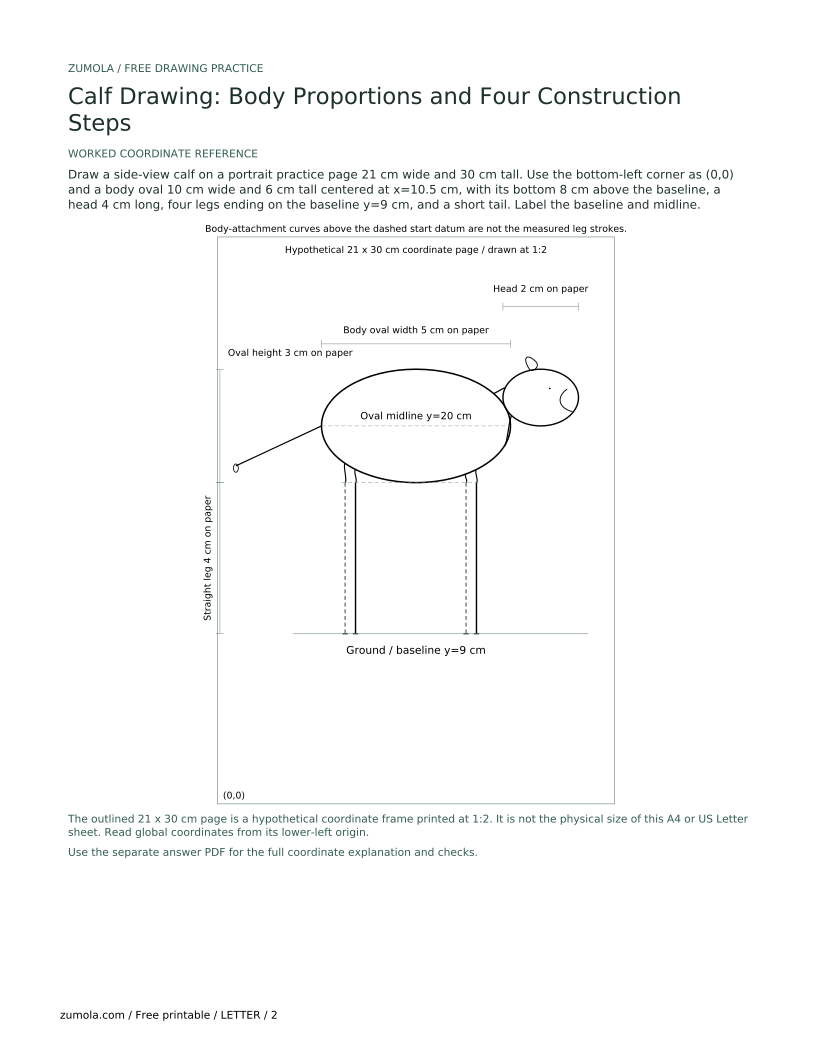
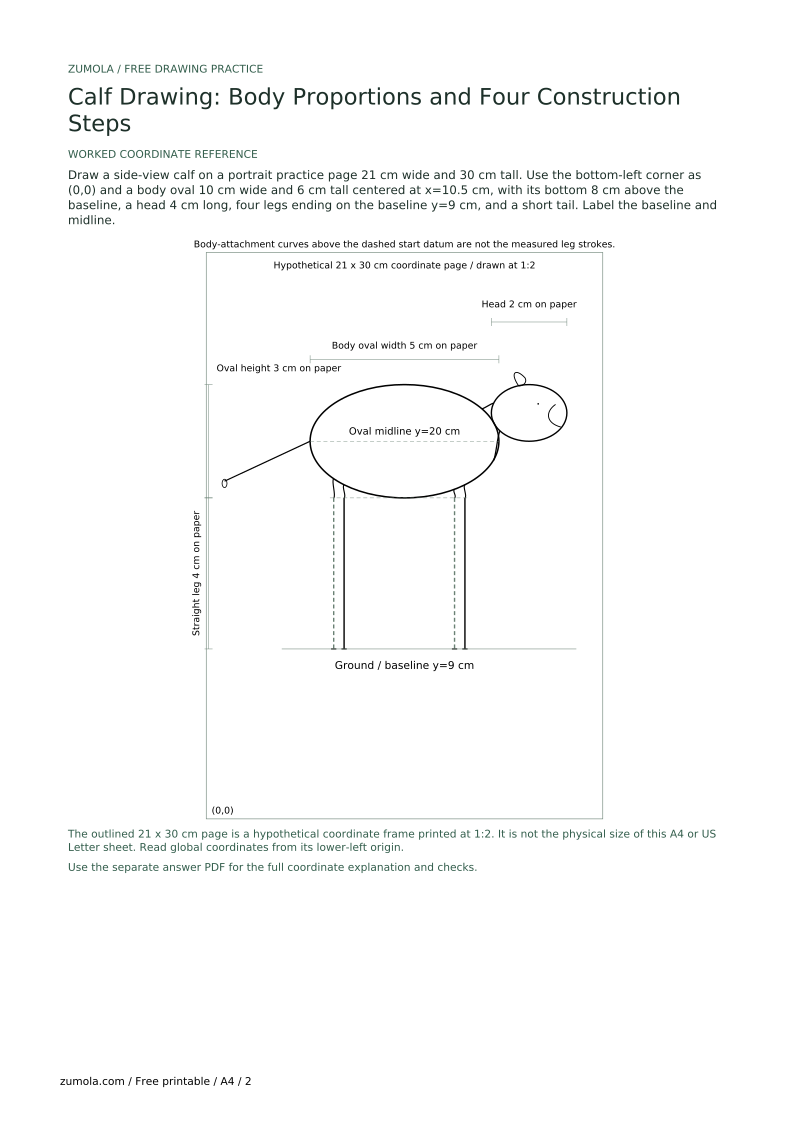
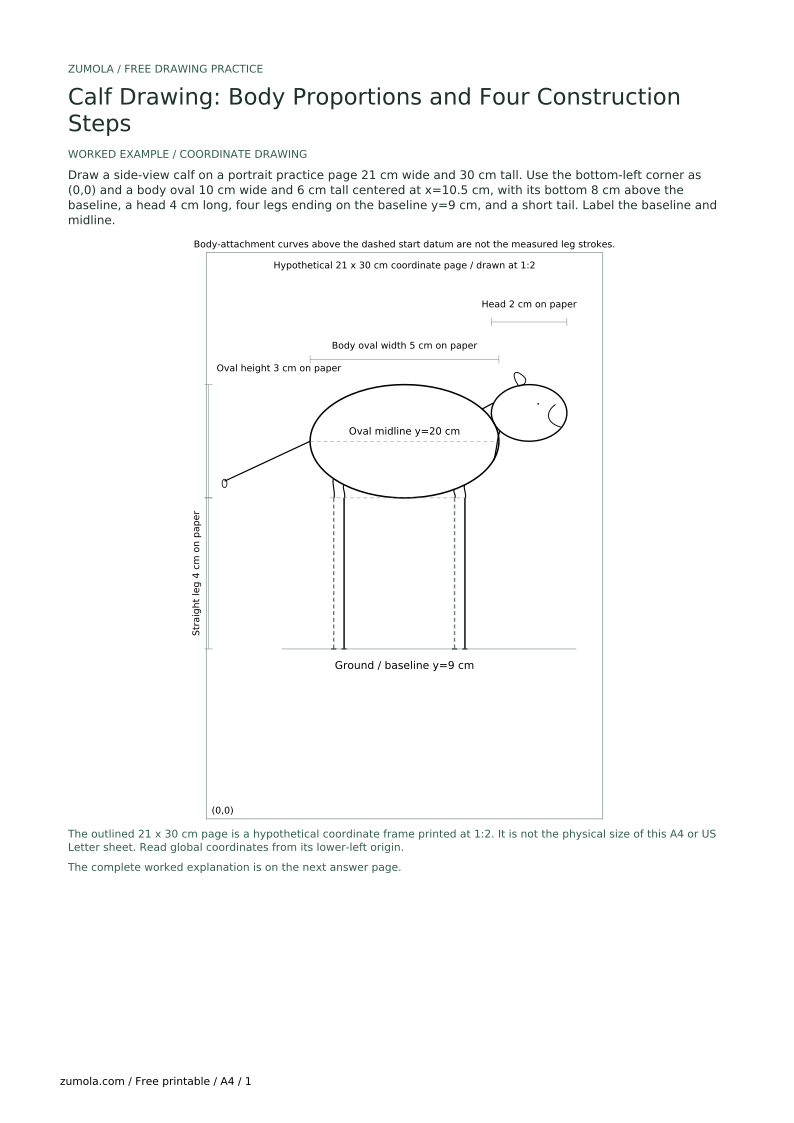
Draw a side-view calf on a portrait practice page 21 cm wide and 30 cm tall. Use the bottom-left corner as (0,0) and a body oval 10 cm wide and 6 cm tall centered at x=10.5 cm, with its bottom 8 cm above the baseline, a head 4 cm long, four legs ending on the baseline y=9 cm, and a short tail. Label the baseline and midline.
Use the portrait page coordinates x=0–21 cm and y=0–30 cm, with the bottom-left corner as (0,0). Place the horizontal baseline at y=9 cm. Center the 10 cm body oval at x=10.5 cm, so it spans x=5.5–15.5 cm; its bottom is 8 cm above the baseline at y=17 cm and its top is y=23 cm, leaving 7 cm to the top edge. Attach a 4 cm head at the front, slightly above the midline; 4 cm is two-thirds of the 6 cm oval height, within the accepted range. Draw two near legs 8 cm long and two far legs 8 cm long, all touching the baseline. Add a 5 cm tail at the rear. Darken the outline and erase guides. Check: oval height = 23 - 17 = 6 cm; horizontal oval midline y = 17 + 3 = 20 cm; head ratio = 4 / 6 = two-thirds; oval-bottom height above the baseline = 17 - 9 = 8 cm, equal to the 8 cm straight-leg length, so all feet reach the ground line.
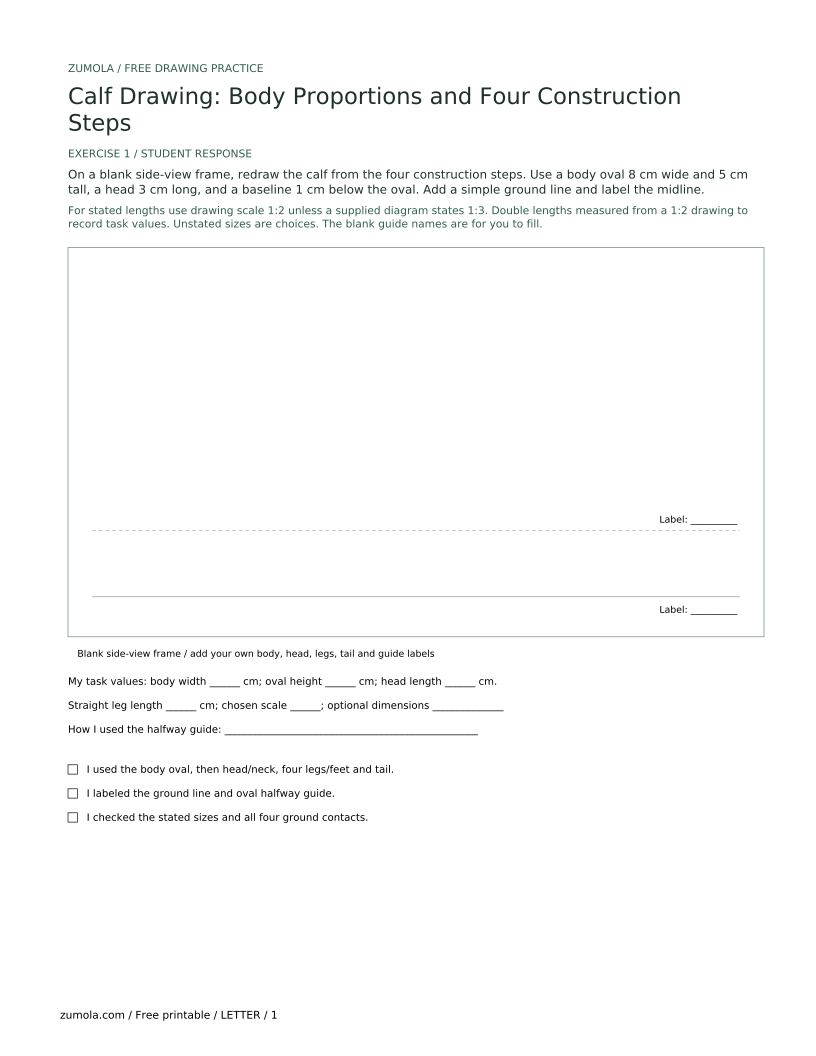
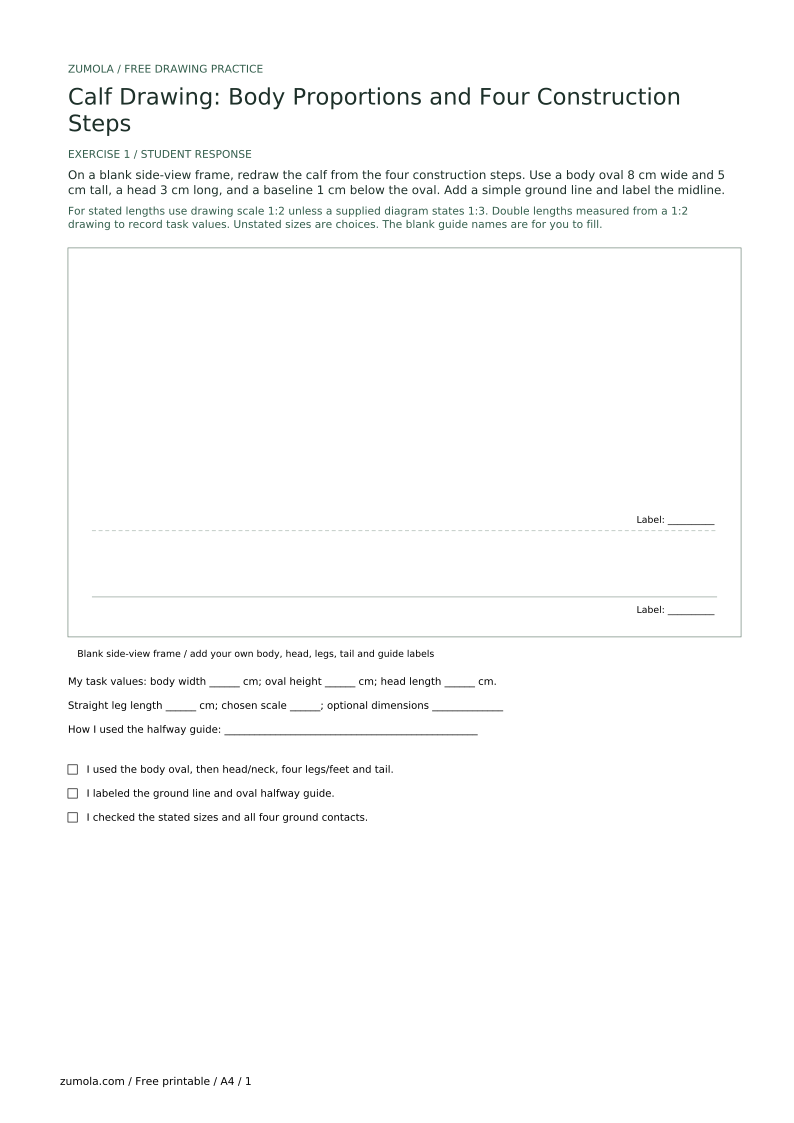
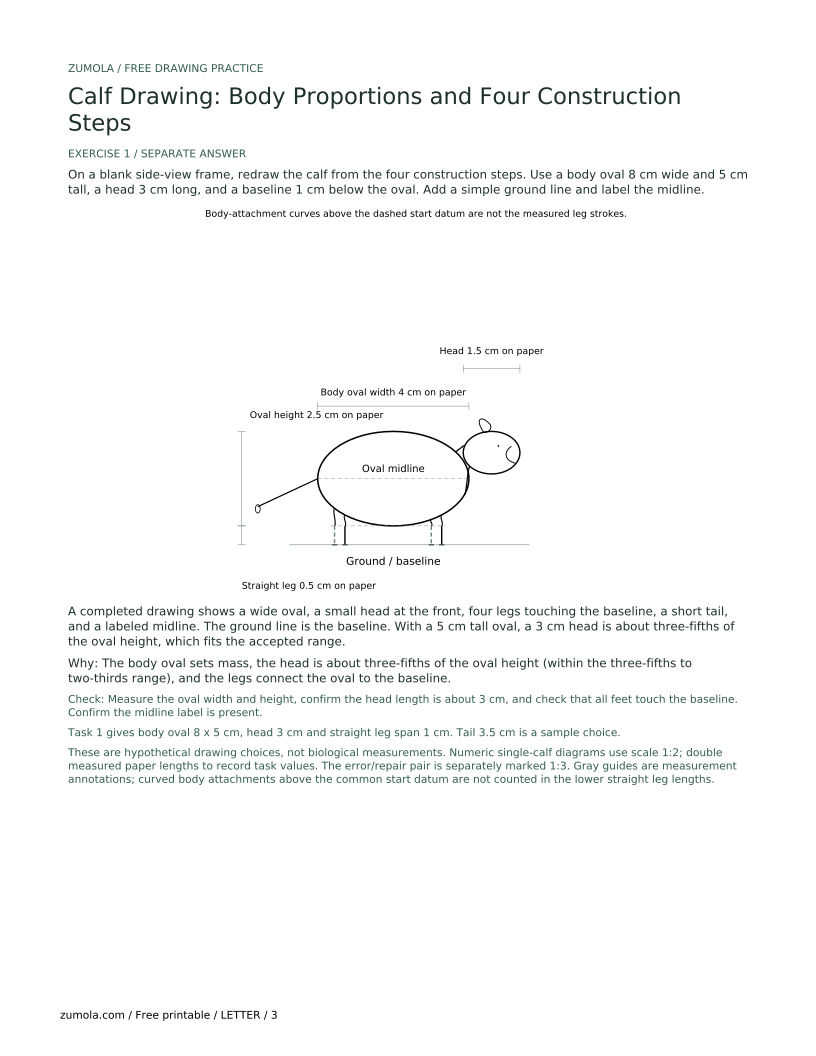
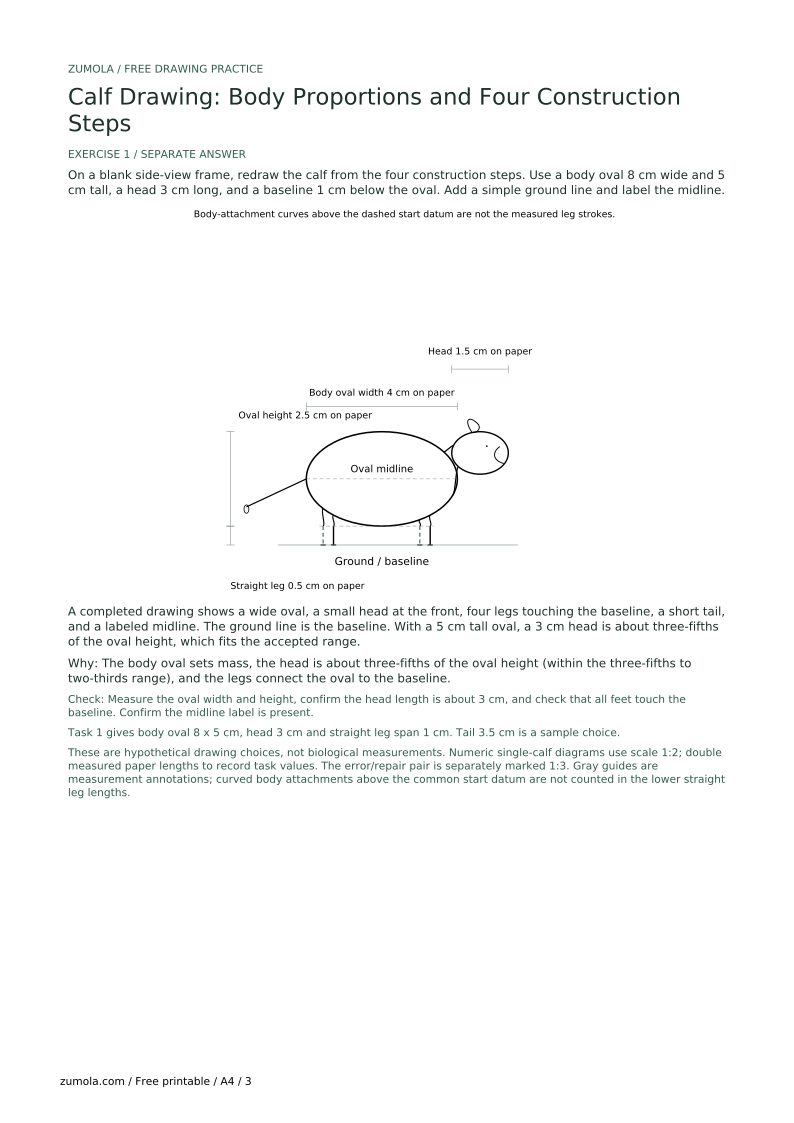
On a blank side-view frame, redraw the calf from the four construction steps. Use a body oval 8 cm wide and 5 cm tall, a head 3 cm long, and a baseline 1 cm below the oval. Add a simple ground line and label the midline.
A completed drawing shows a wide oval, a small head at the front, four legs touching the baseline, a short tail, and a labeled midline. The ground line is the baseline. With a 5 cm tall oval, a 3 cm head is about three-fifths of the oval height, which fits the accepted range.
The body oval sets mass, the head is about three-fifths of the oval height (within the three-fifths to two-thirds range), and the legs connect the oval to the baseline.
Check: Measure the oval width and height, confirm the head length is about 3 cm, and check that all feet touch the baseline. Confirm the midline label is present.
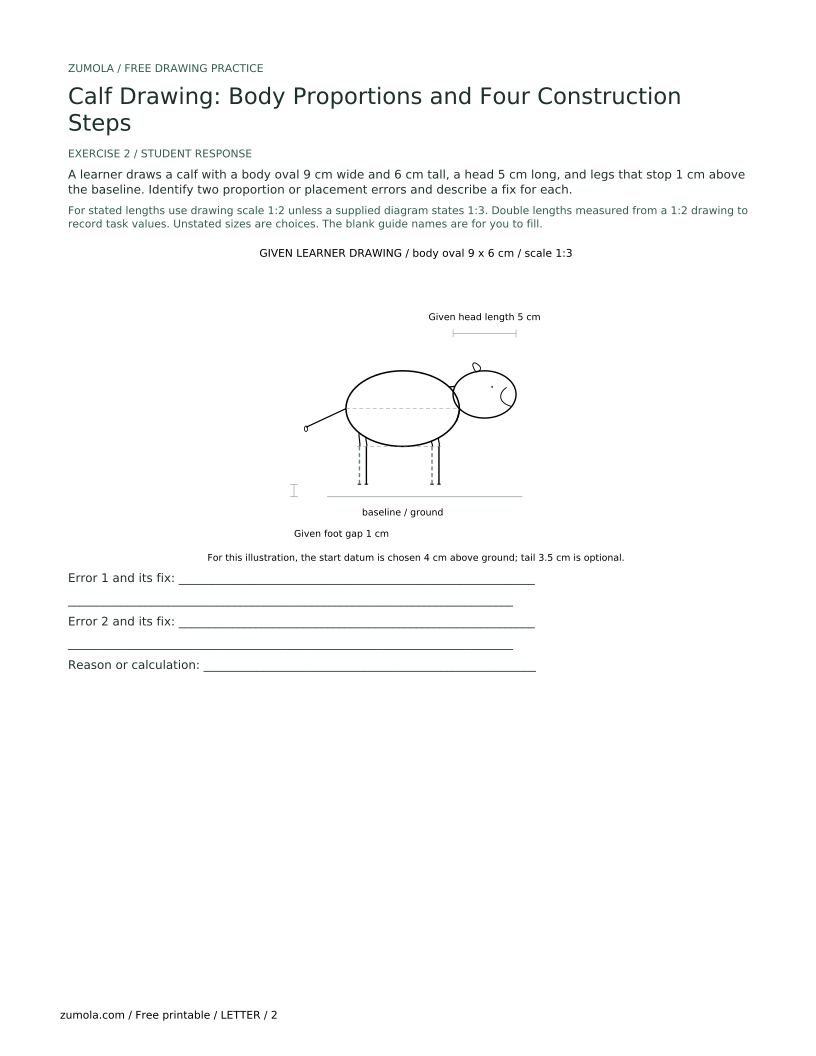
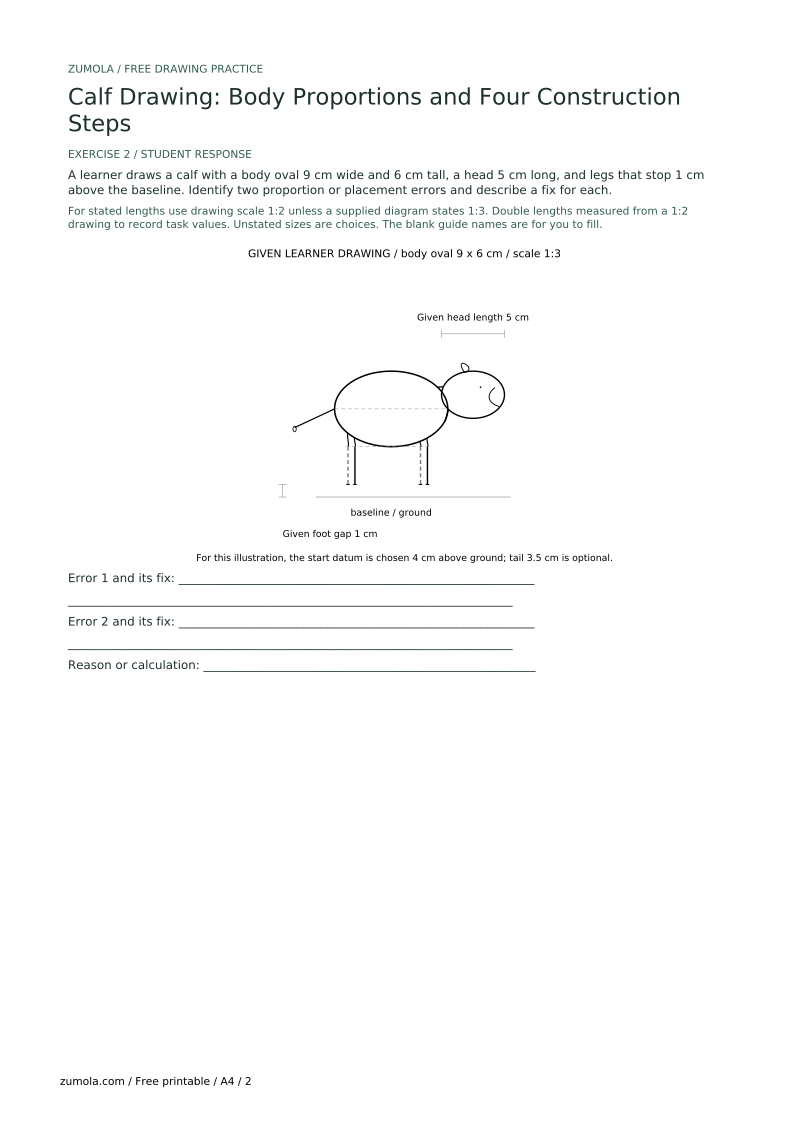
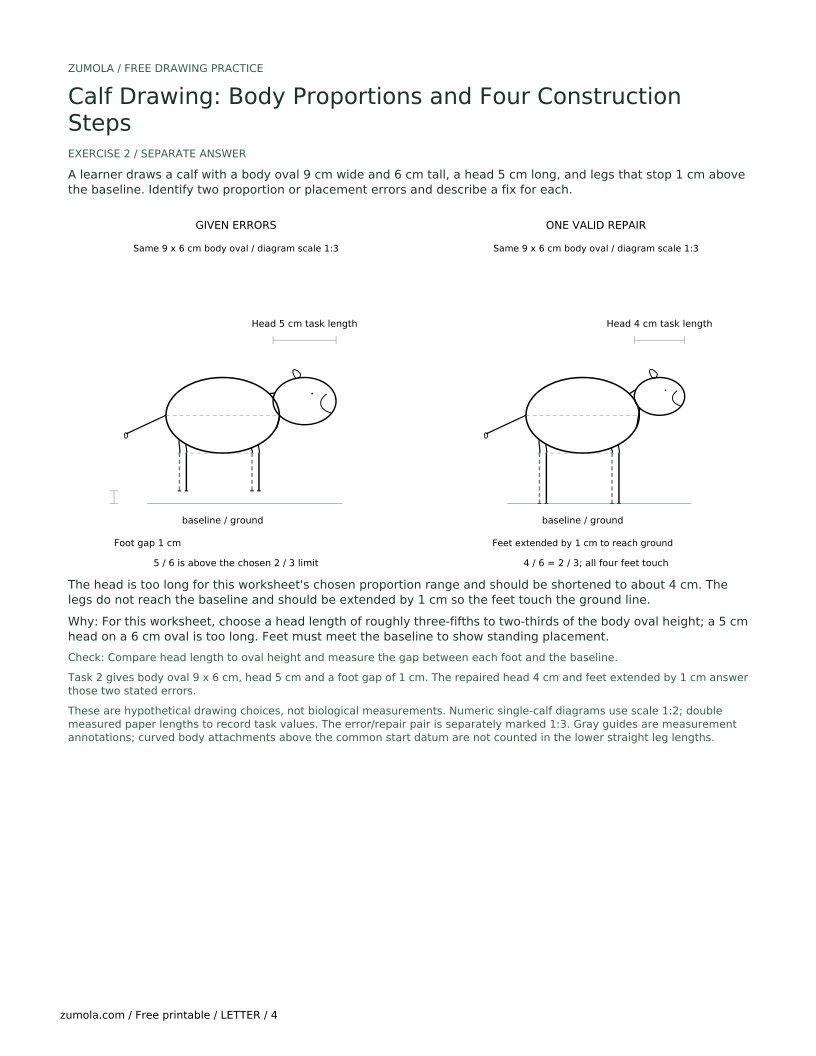
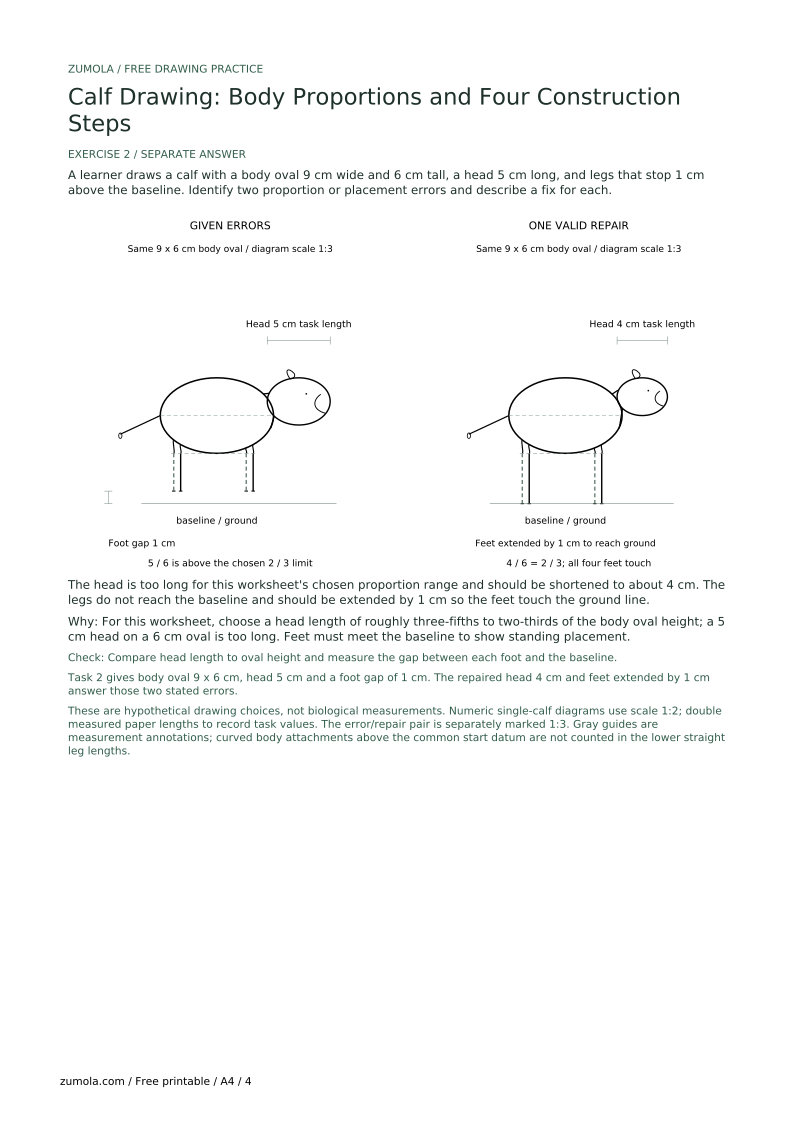
A learner draws a calf with a body oval 9 cm wide and 6 cm tall, a head 5 cm long, and legs that stop 1 cm above the baseline. Identify two proportion or placement errors and describe a fix for each.
The head is too long for this worksheet's chosen proportion range and should be shortened to about 4 cm. The legs do not reach the baseline and should be extended by 1 cm so the feet touch the ground line.
For this worksheet, choose a head length of roughly three-fifths to two-thirds of the body oval height; a 5 cm head on a 6 cm oval is too long. Feet must meet the baseline to show standing placement.
Check: Compare head length to oval height and measure the gap between each foot and the baseline.
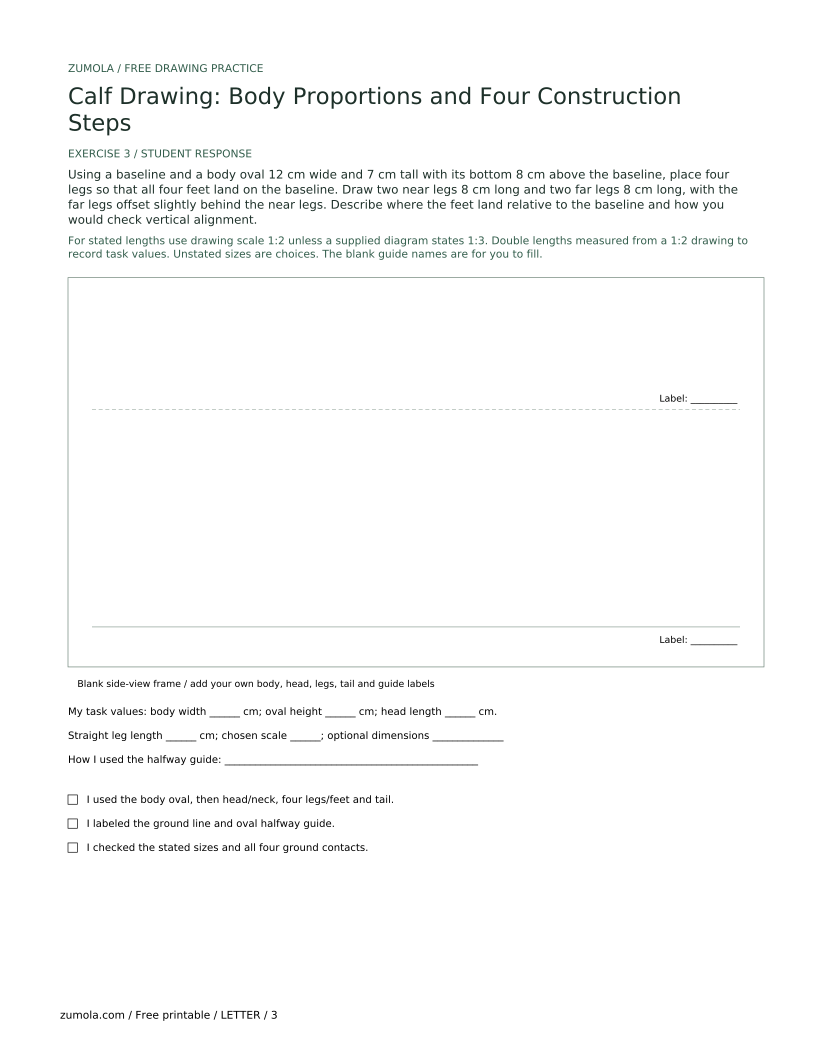
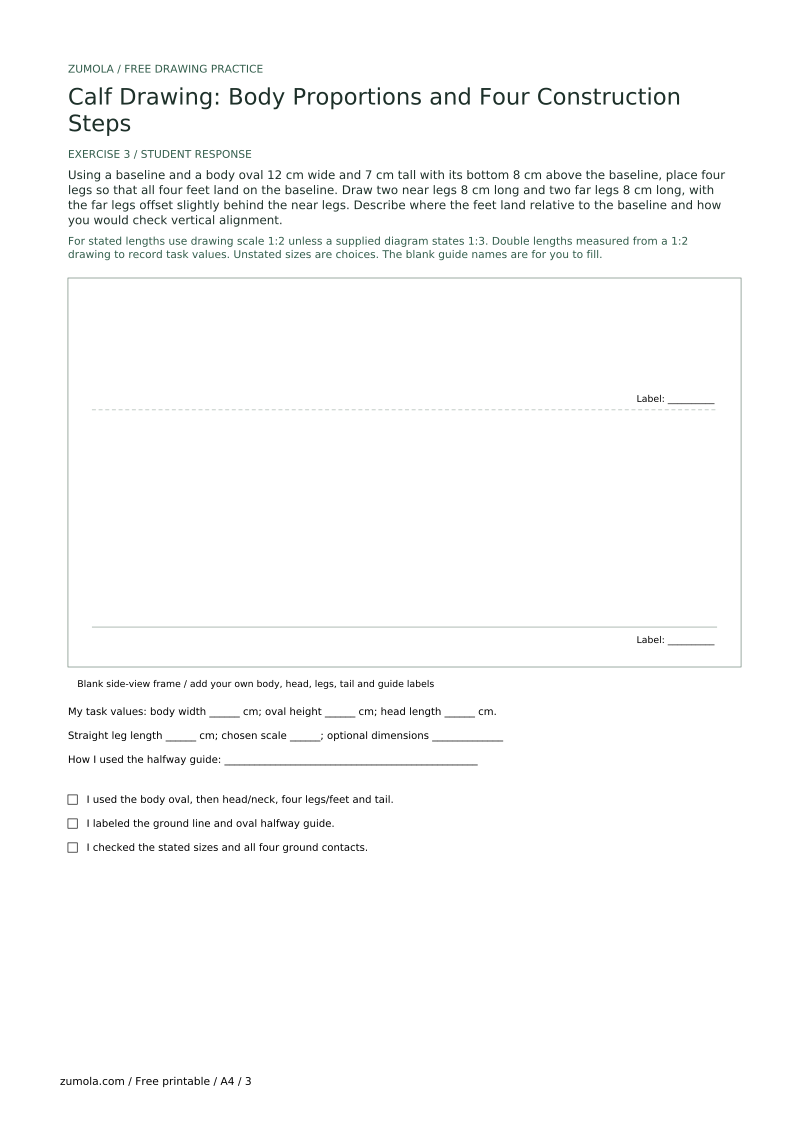
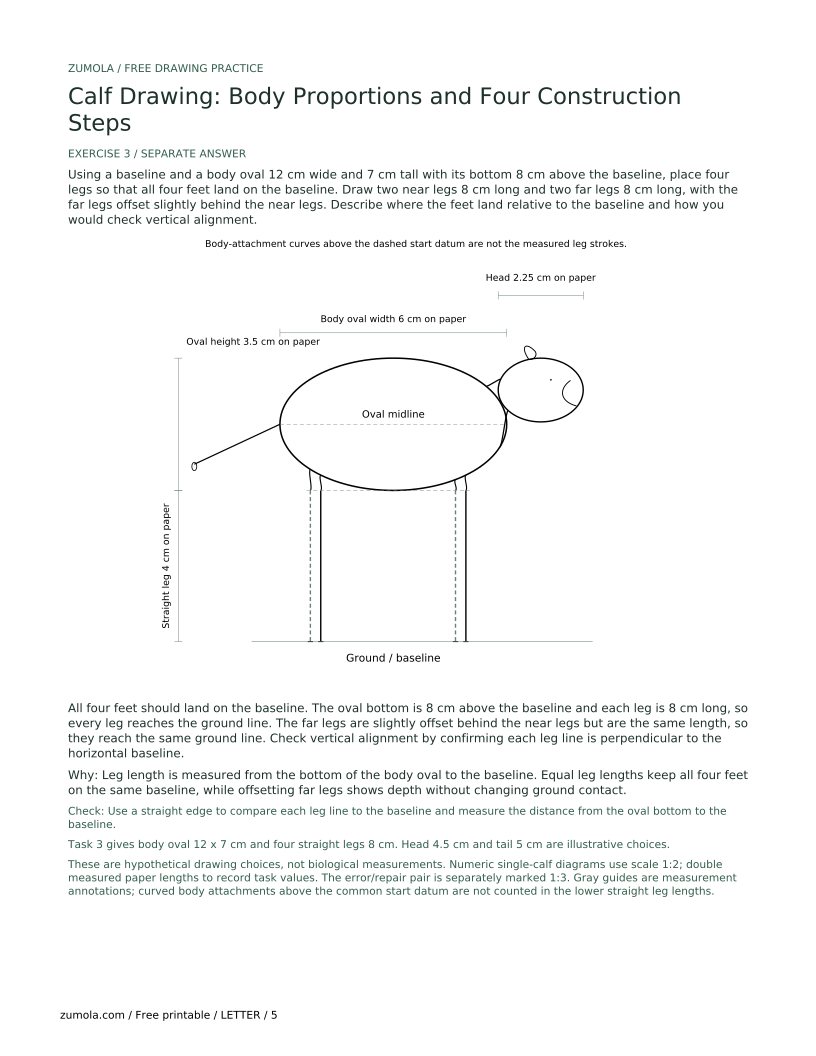
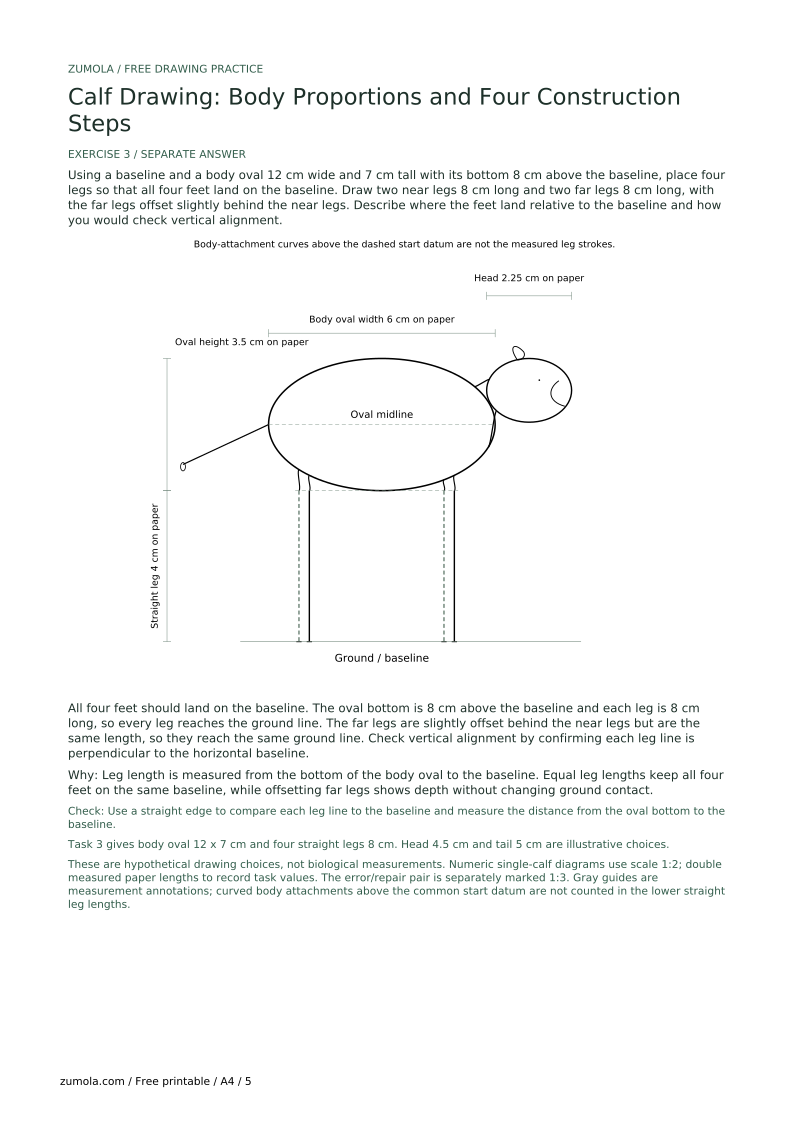
Using a baseline and a body oval 12 cm wide and 7 cm tall with its bottom 8 cm above the baseline, place four legs so that all four feet land on the baseline. Draw two near legs 8 cm long and two far legs 8 cm long, with the far legs offset slightly behind the near legs. Describe where the feet land relative to the baseline and how you would check vertical alignment.
All four feet should land on the baseline. The oval bottom is 8 cm above the baseline and each leg is 8 cm long, so every leg reaches the ground line. The far legs are slightly offset behind the near legs but are the same length, so they reach the same ground line. Check vertical alignment by confirming each leg line is perpendicular to the horizontal baseline.
Leg length is measured from the bottom of the body oval to the baseline. Equal leg lengths keep all four feet on the same baseline, while offsetting far legs shows depth without changing ground contact.
Check: Use a straight edge to compare each leg line to the baseline and measure the distance from the oval bottom to the baseline.
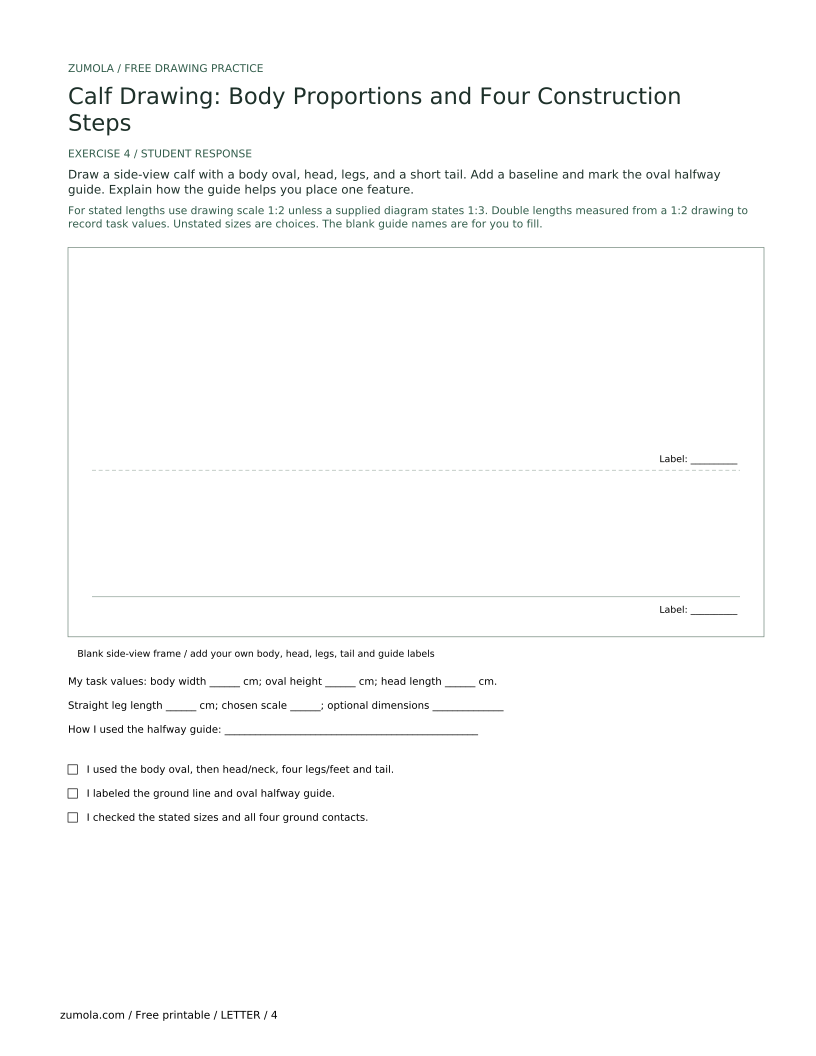
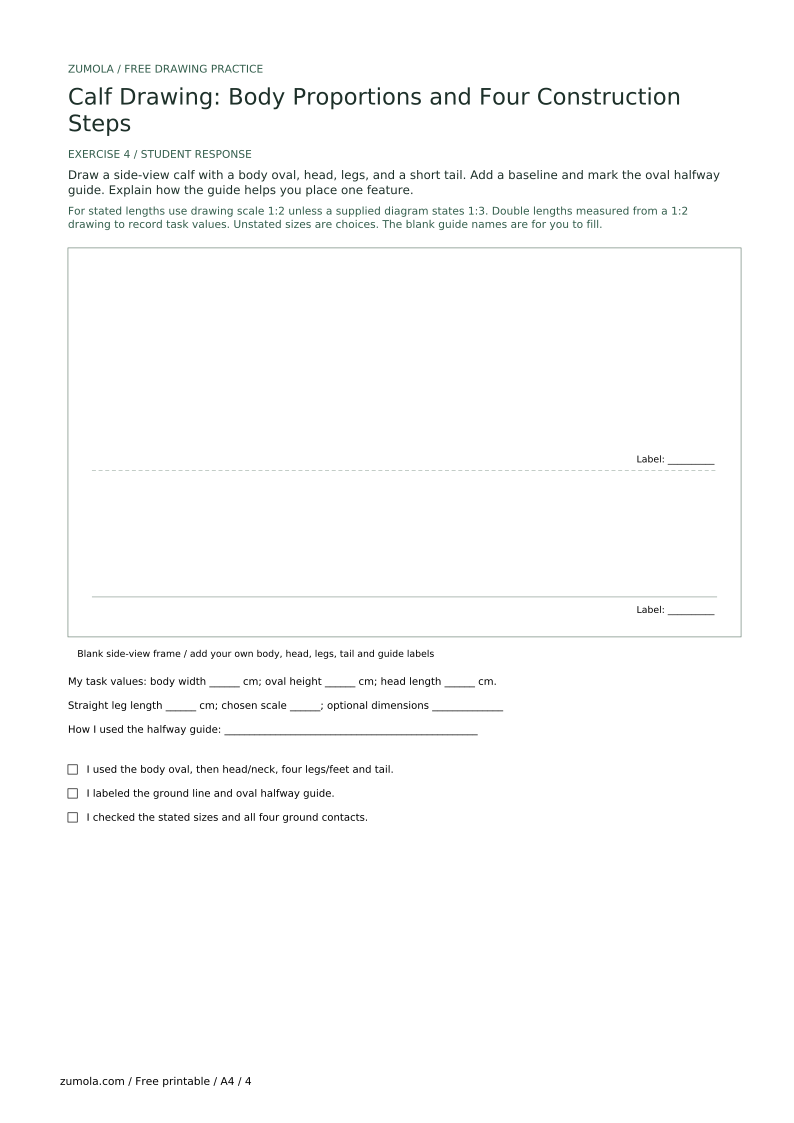
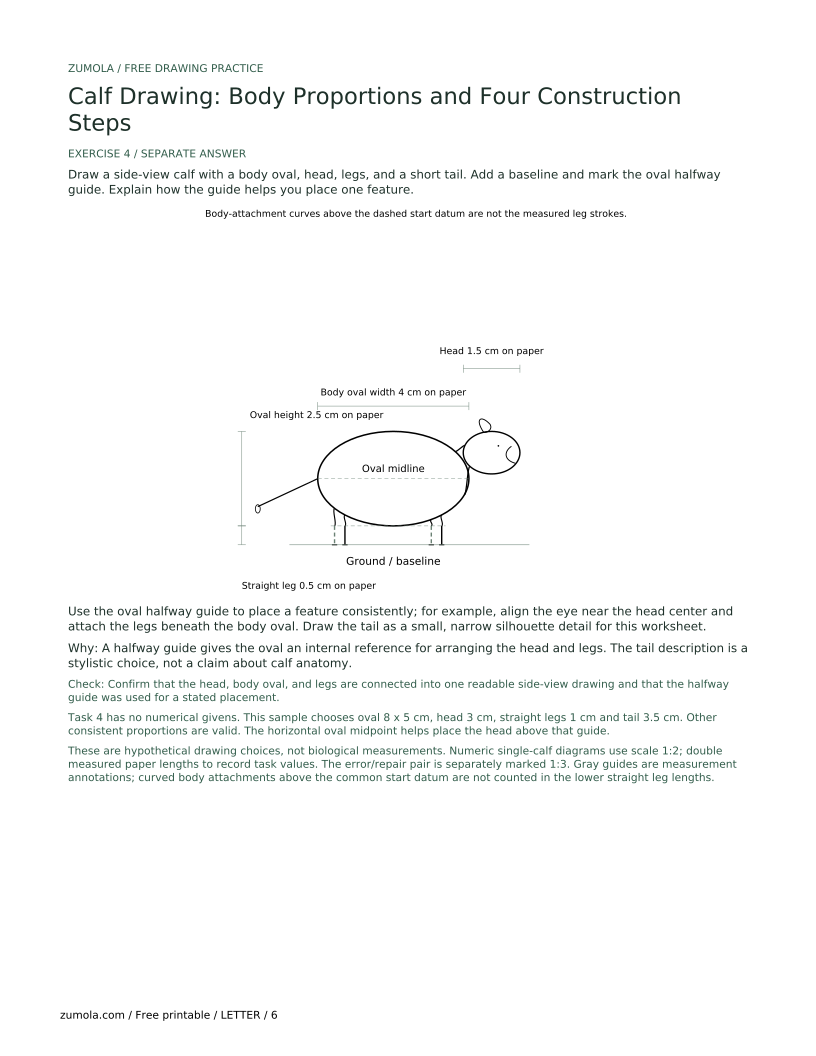
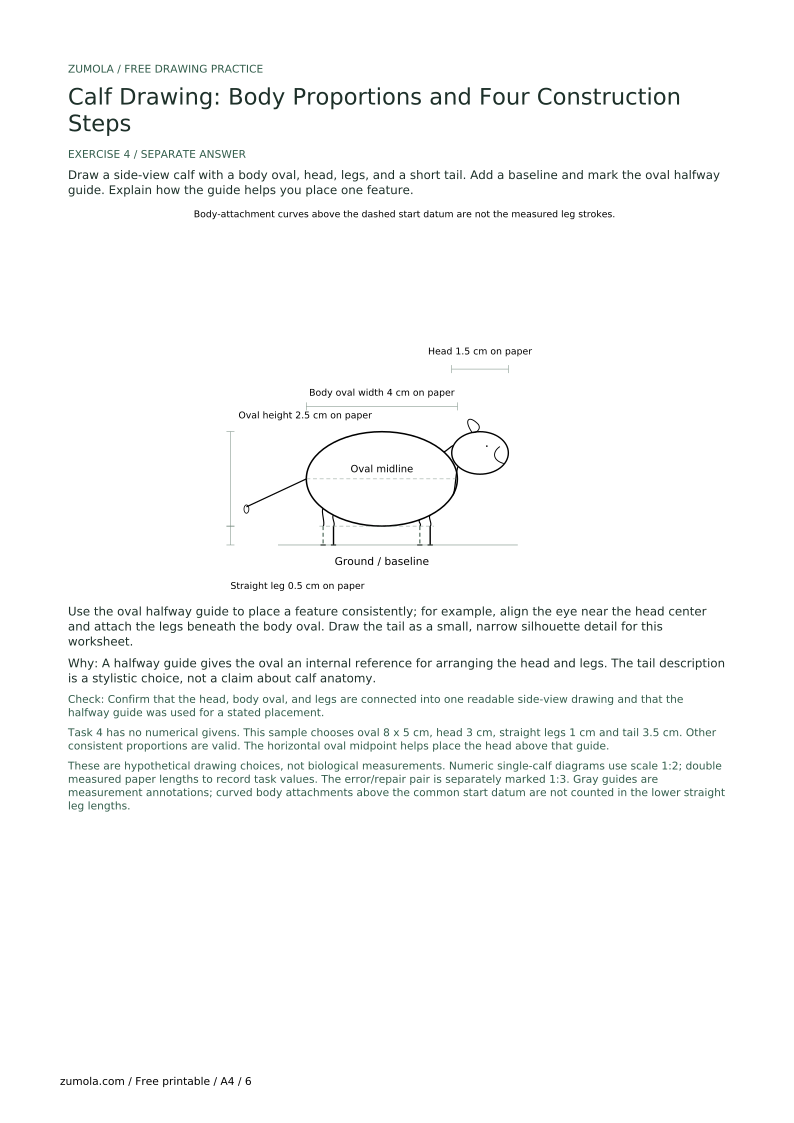
Draw a side-view calf with a body oval, head, legs, and a short tail. Add a baseline and mark the oval halfway guide. Explain how the guide helps you place one feature.
Use the oval halfway guide to place a feature consistently; for example, align the eye near the head center and attach the legs beneath the body oval. Draw the tail as a small, narrow silhouette detail for this worksheet.
A halfway guide gives the oval an internal reference for arranging the head and legs. The tail description is a stylistic choice, not a claim about calf anatomy.
Check: Confirm that the head, body oval, and legs are connected into one readable side-view drawing and that the halfway guide was used for a stated placement.
Reduce the head length to about two-thirds of the body oval height and keep the muzzle short.
Extend each leg line until it touches the baseline, then add a small foot mark.
Use a straight edge or check that each leg line is perpendicular to the horizontal baseline.
Start with a light oval for mass, then attach the head, legs, and tail to it.
Use the same oval height and halfway guide for each practice drawing; the proportions are a worksheet convention, not a biological standard.
Yes. The numbers in this lesson are hypothetical examples. Measure your own paper and keep units consistent.
Drawing far legs slightly behind the near legs helps show depth. For this lesson, draw all four legs so the finished calf matches the rubric and practice tasks.
The calf should have a body oval, a small head, four feet on the baseline, and a short tail. Use the rubric to check proportions and placement.