Free printable resources · Original practice

Ellipse drawing practice.
Find a smoother curve.

Move from large loops to smaller ellipses, rotated axes and simple cylinders. Use the geometric reference to compare balance, smoothness and alignment.

6 practice sheets.
36 guide positions.
Separate reference completions.

Choose your paper and download

Download paper size

Every worksheet and answer is free. No signup.

The complete collection

One pack for each version.

Download the student pack for practice and the separate answer pack to compare. Individual editable sheets appear below. The paper-size choice applies to every download button.

6 pages per file · free · CC BY 4.0

All paper sizes & editable formats
US Letter
A4

Use the axes as a practical check

SheetFocus
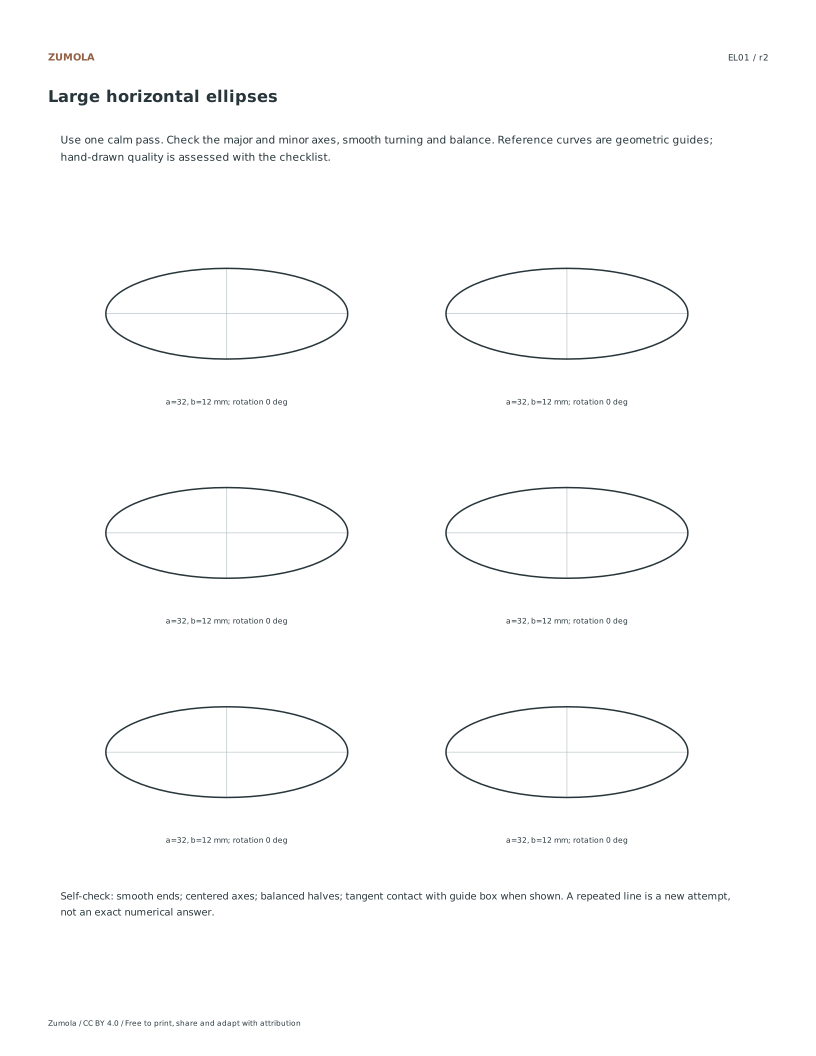
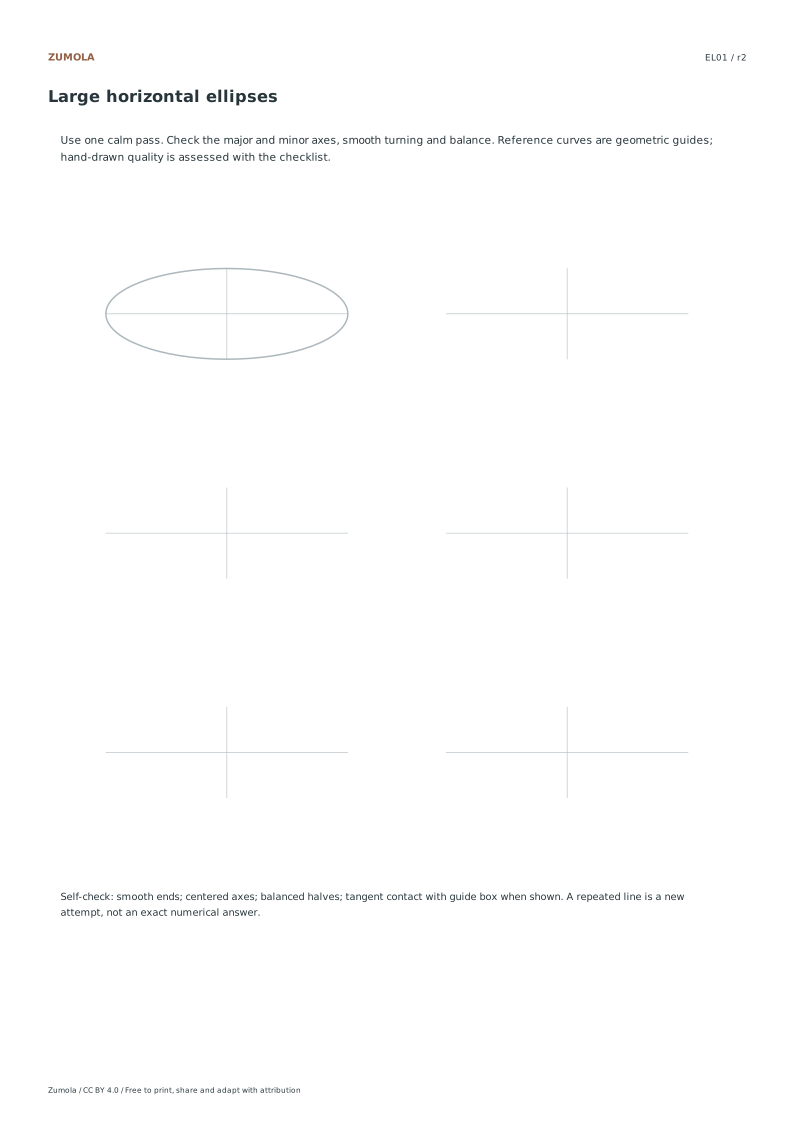
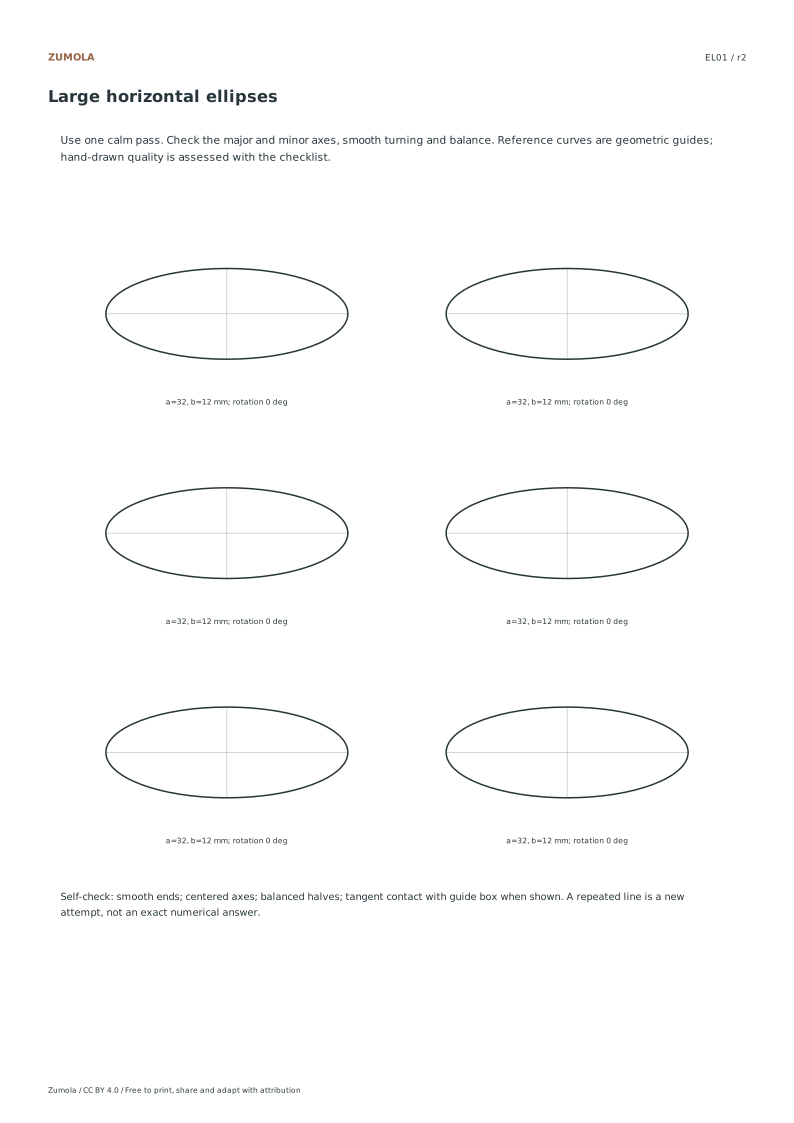
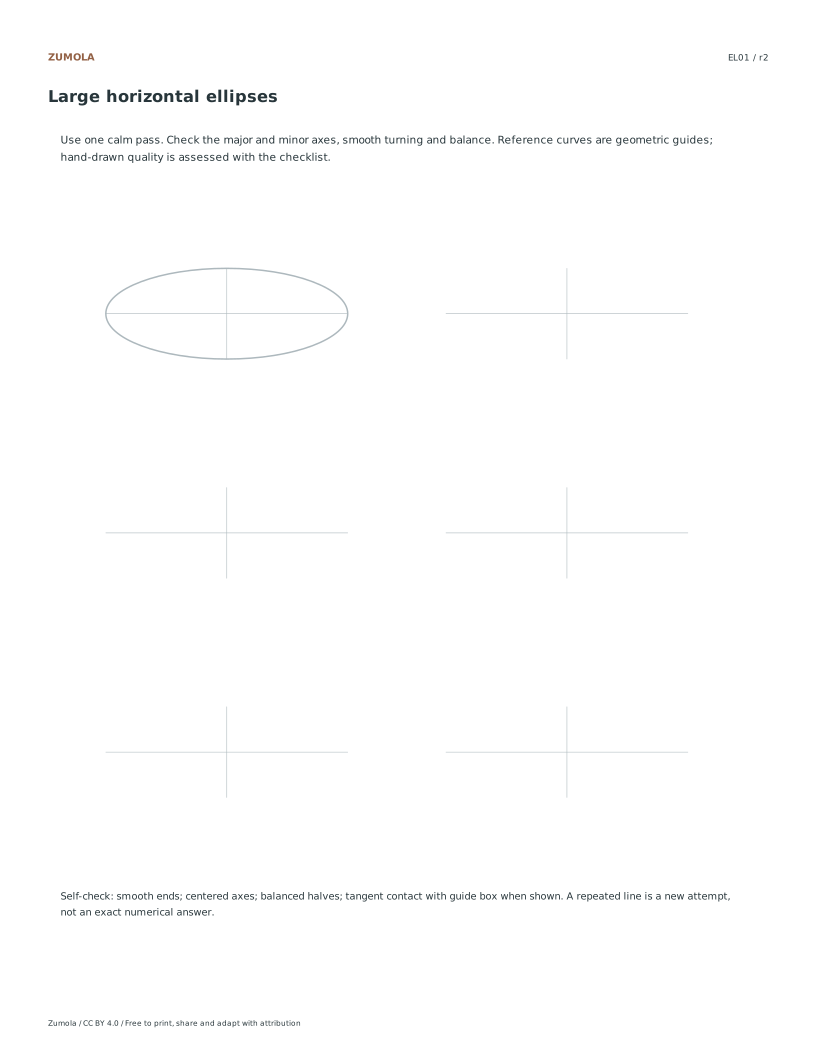
EL01Large horizontal loops
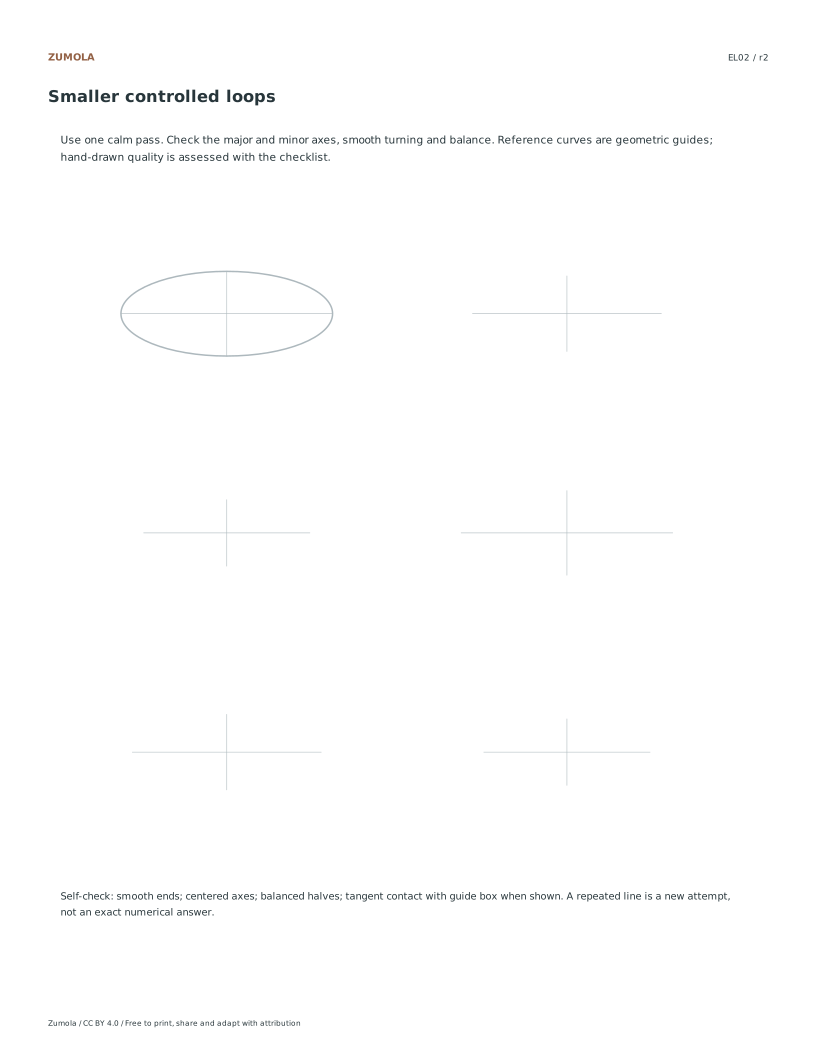
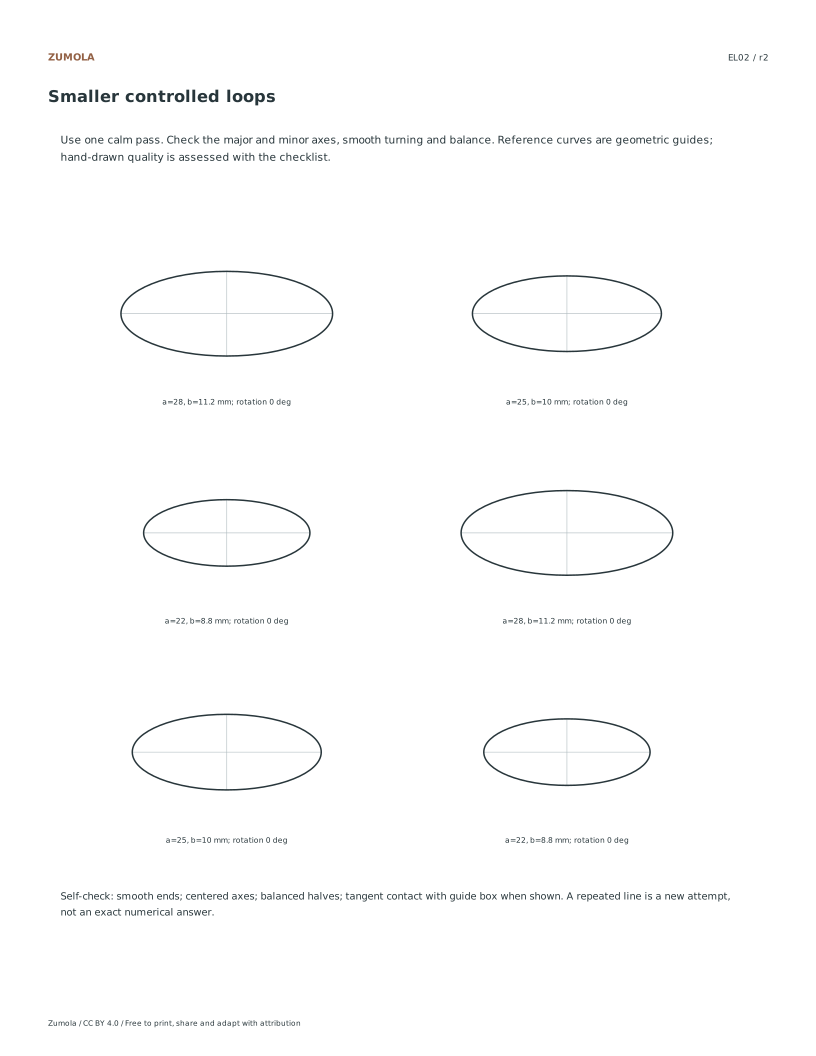
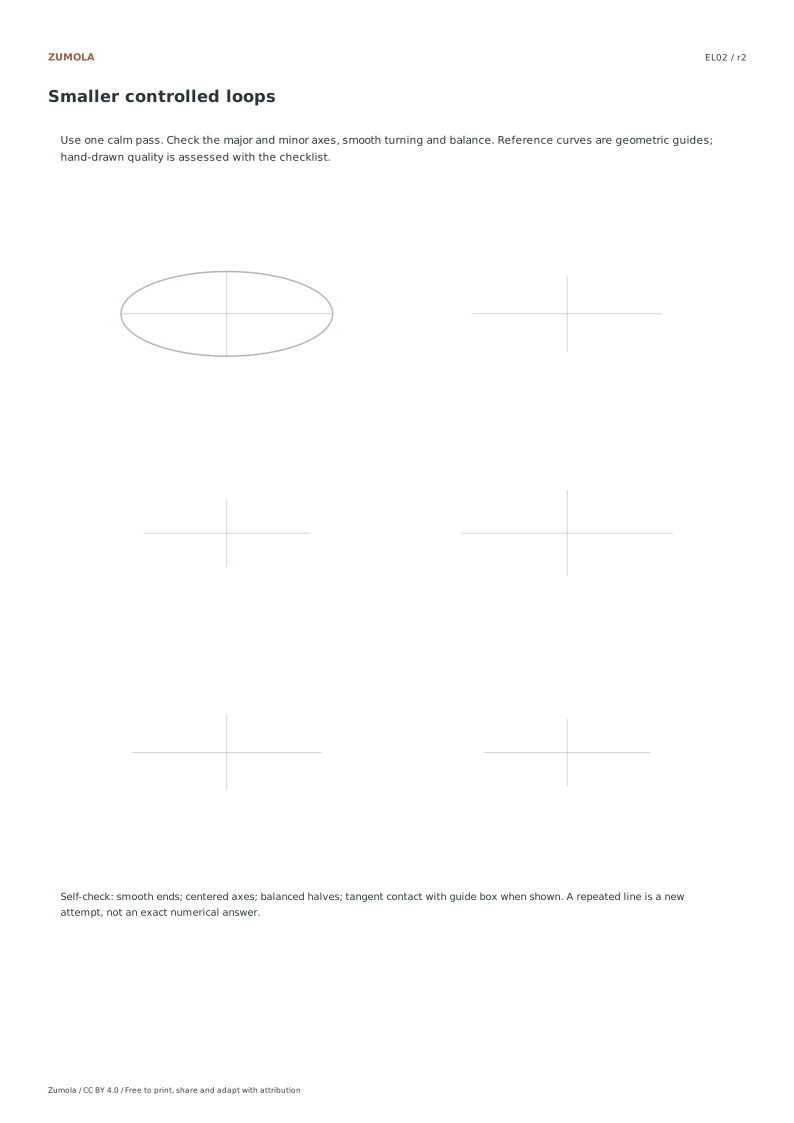
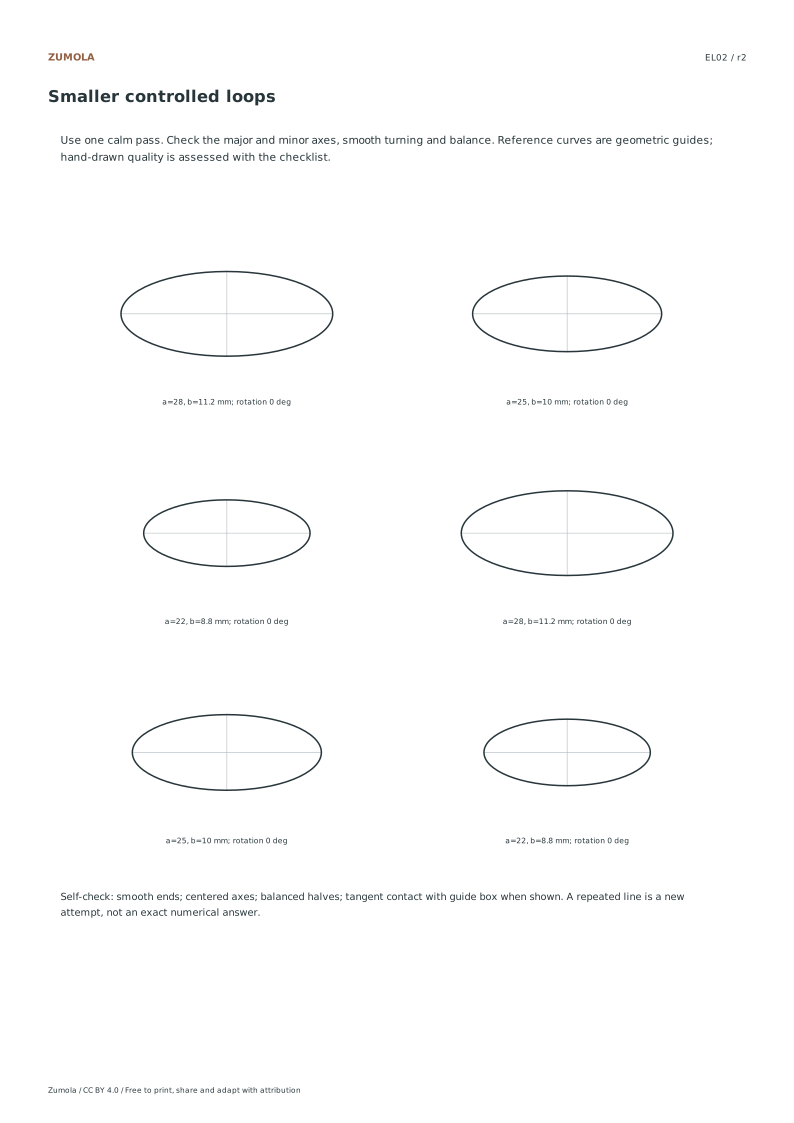
EL02Smaller ellipses with repeated attempts
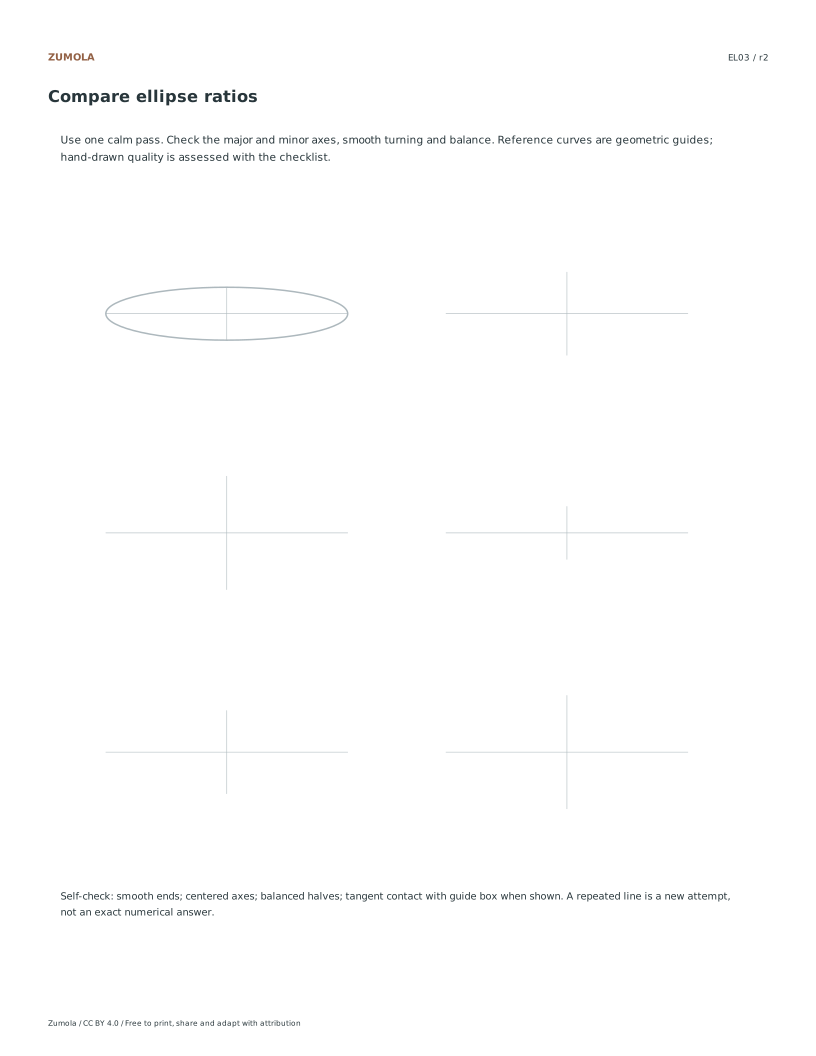
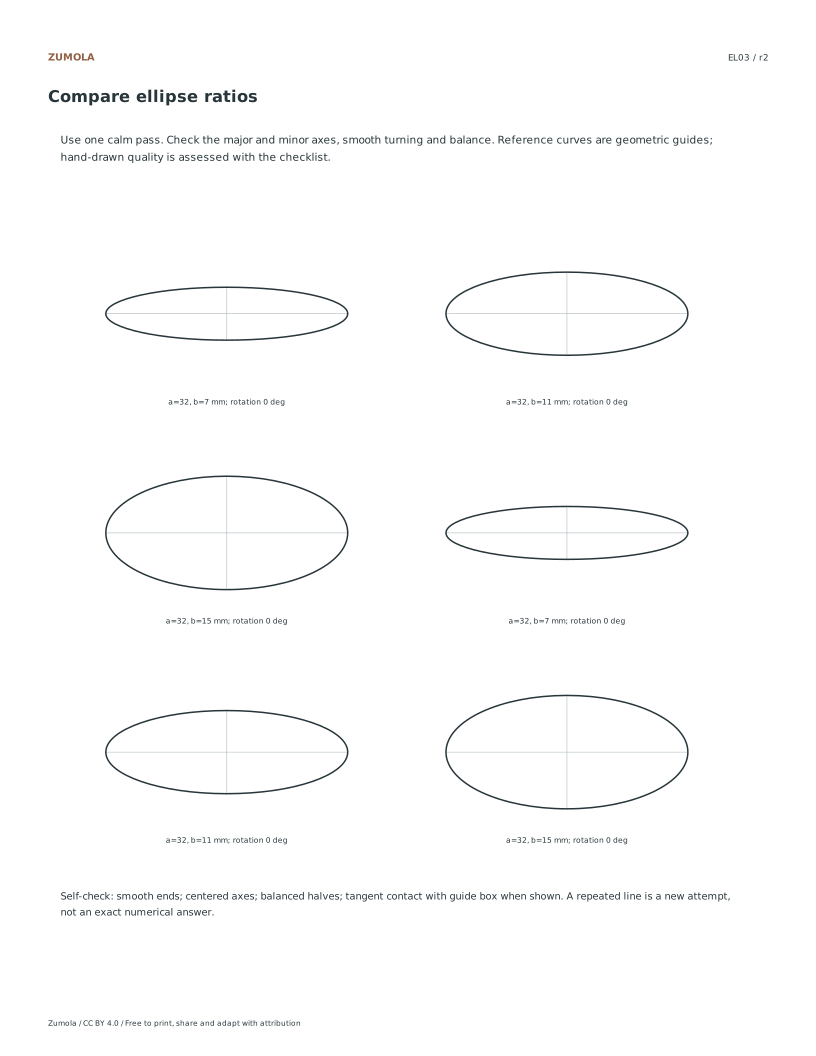
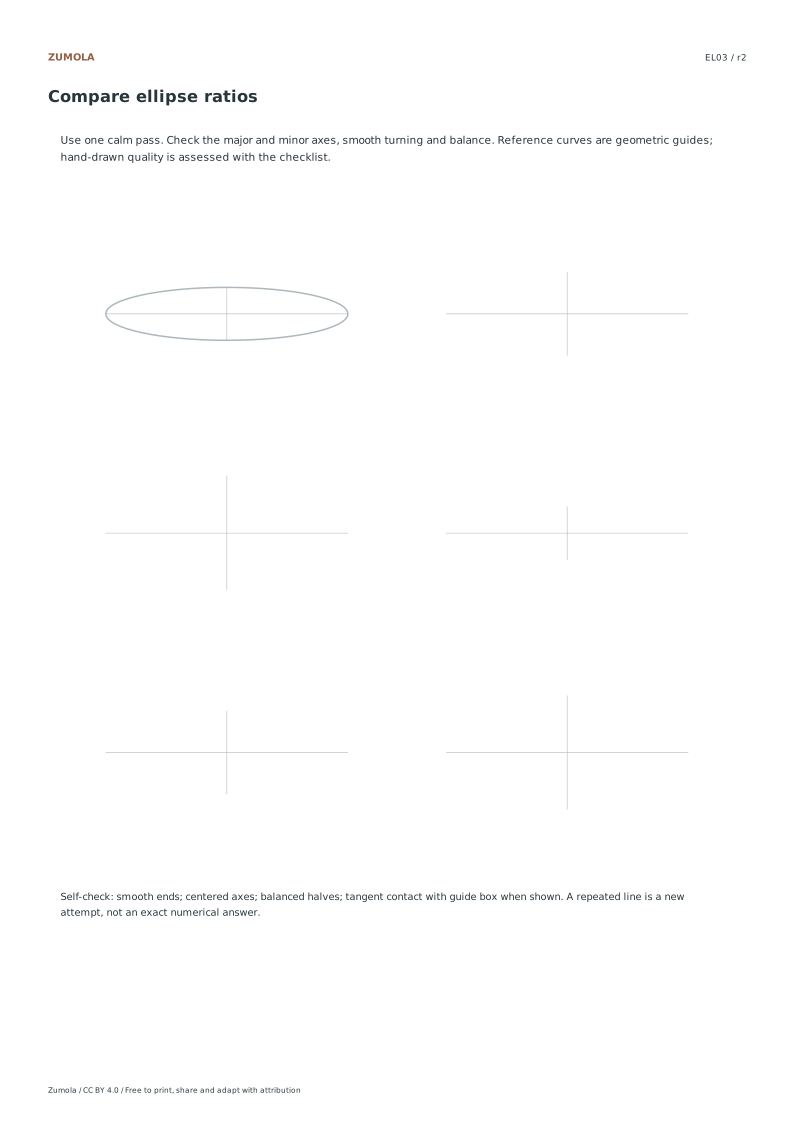
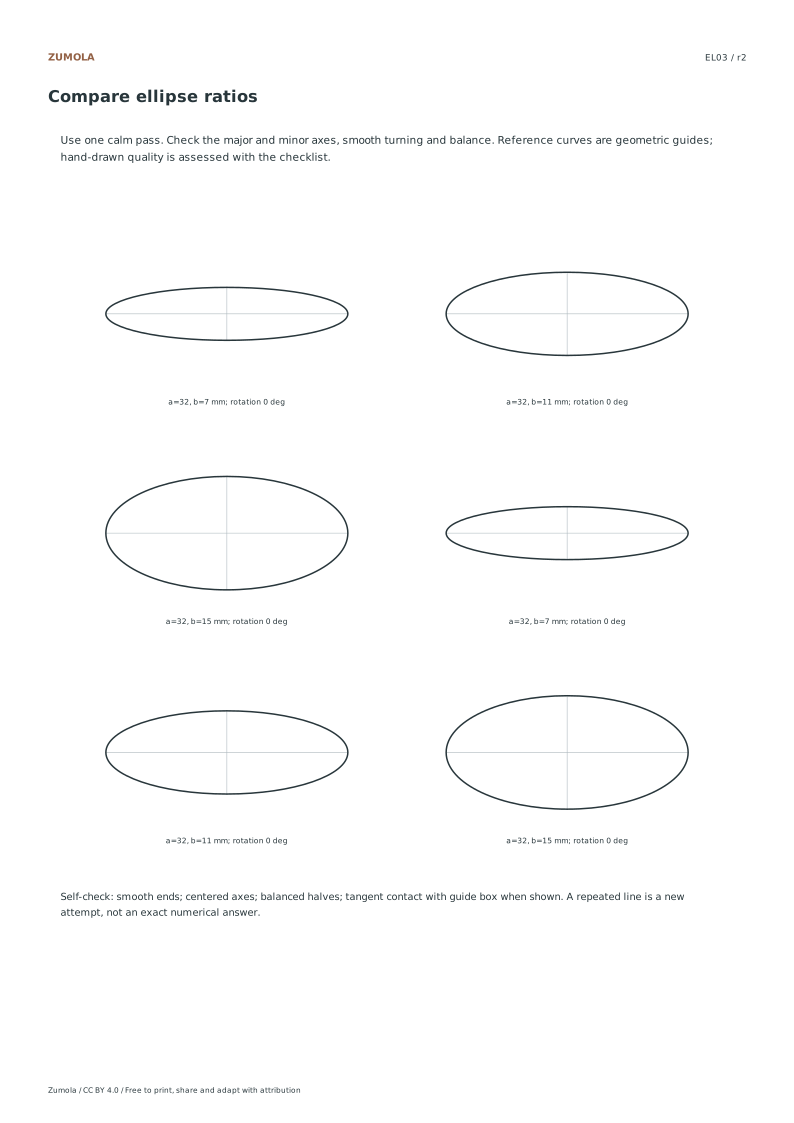
EL03Compare short-to-long axis ratios
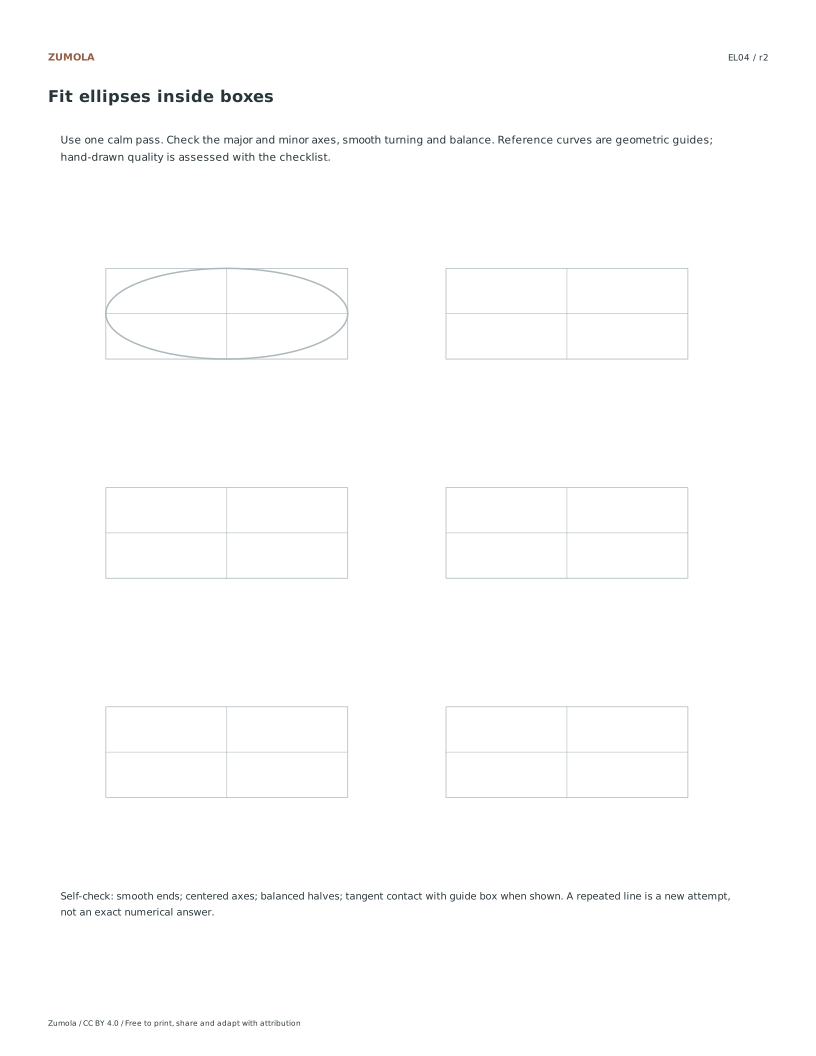
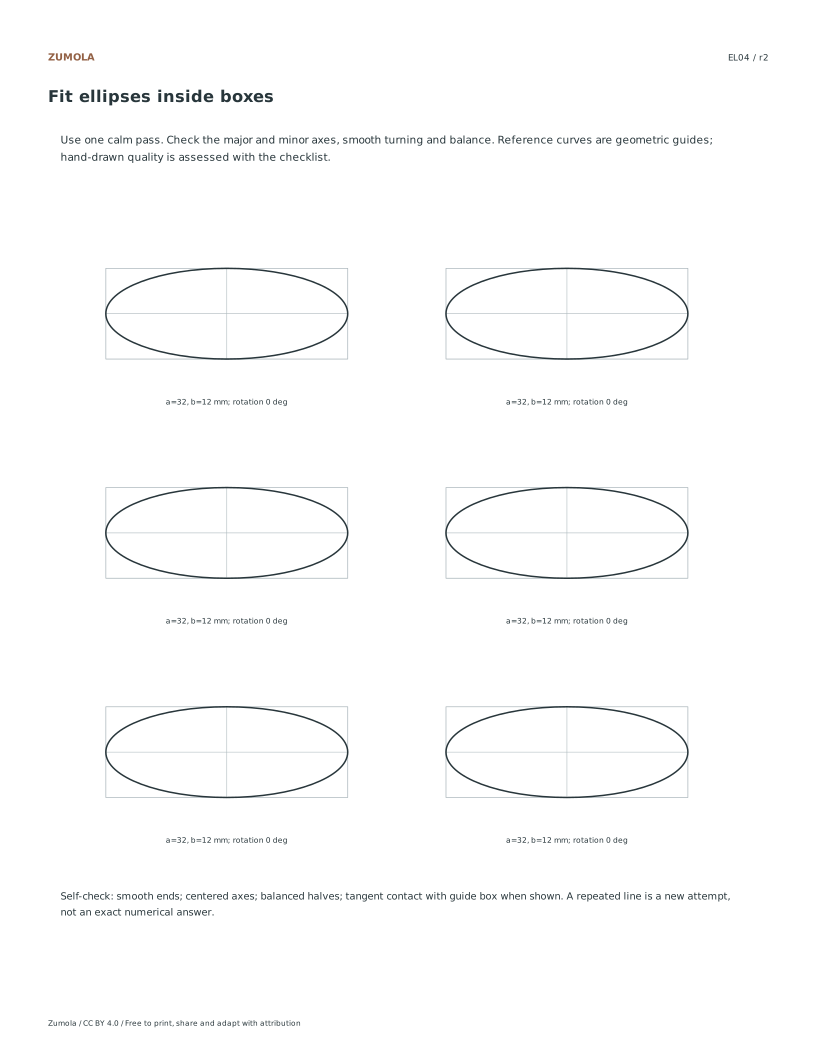
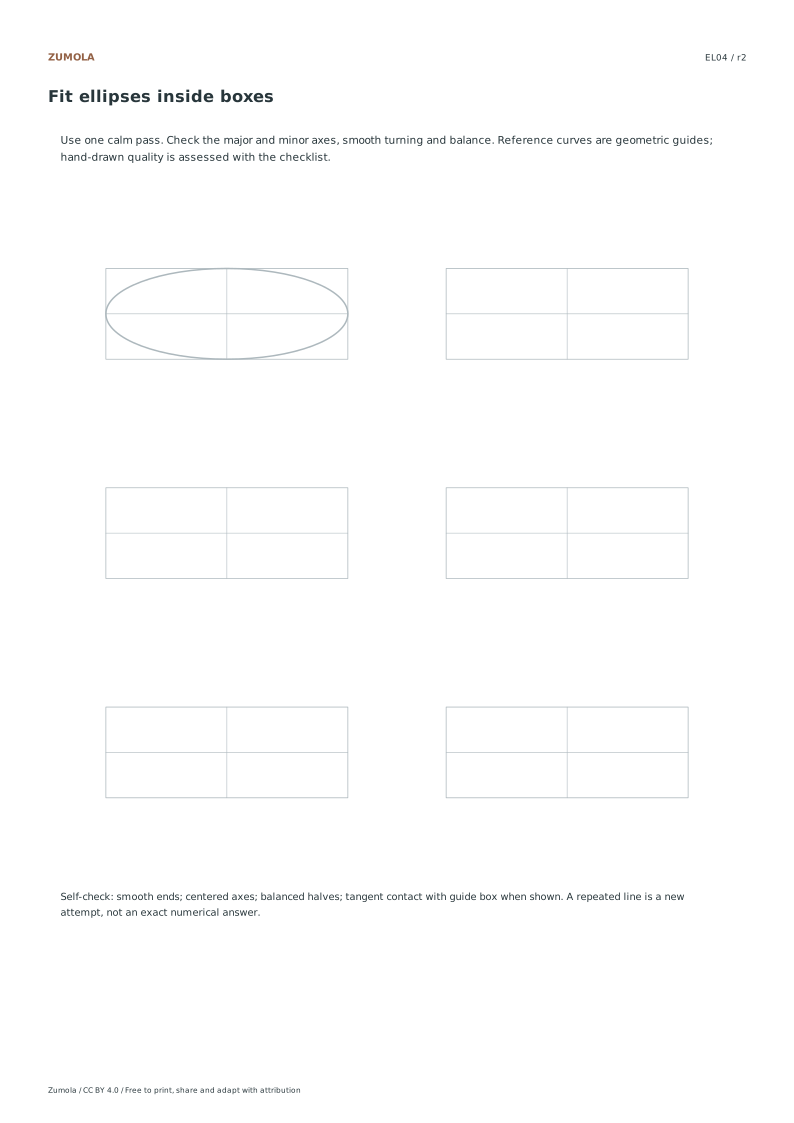
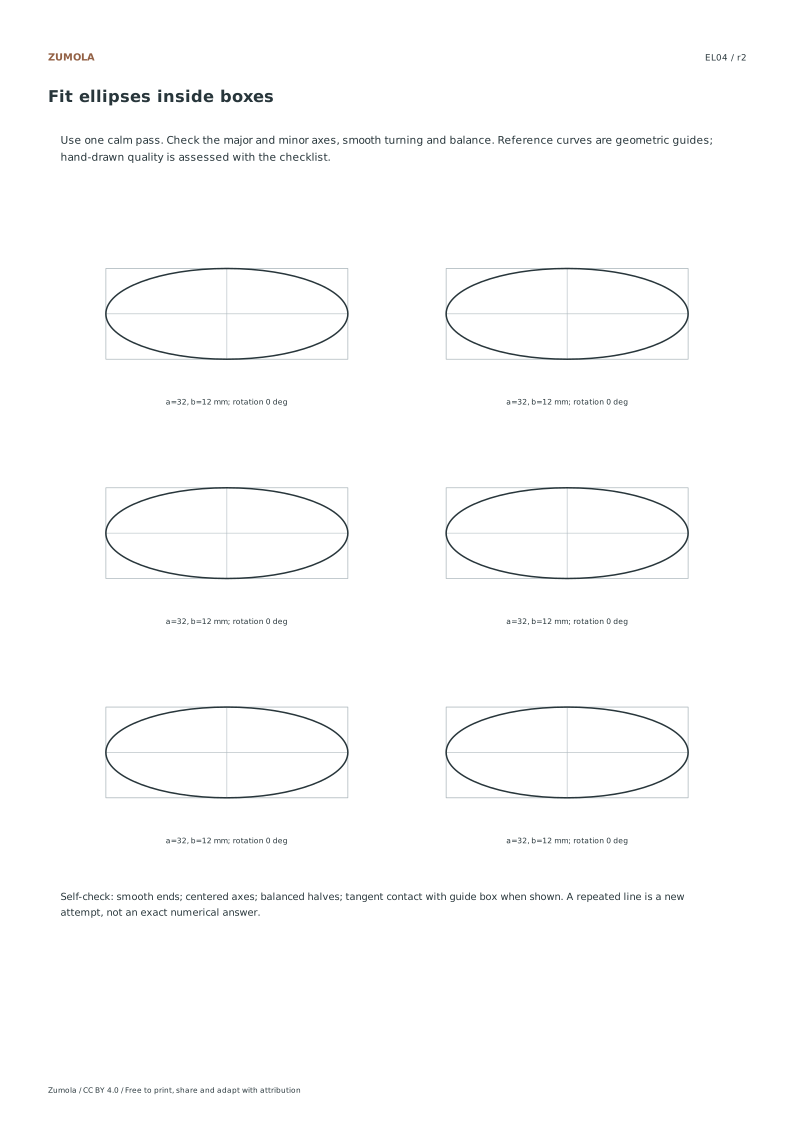
EL04Gentle tangent contact inside rectangles
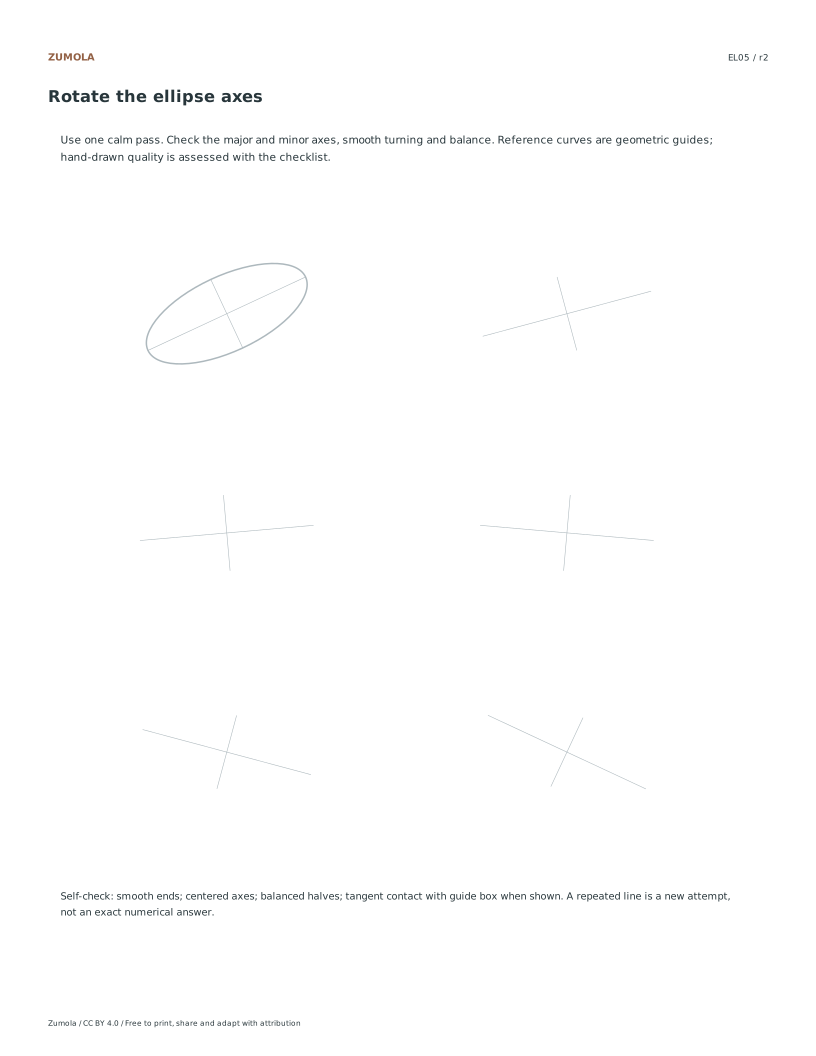
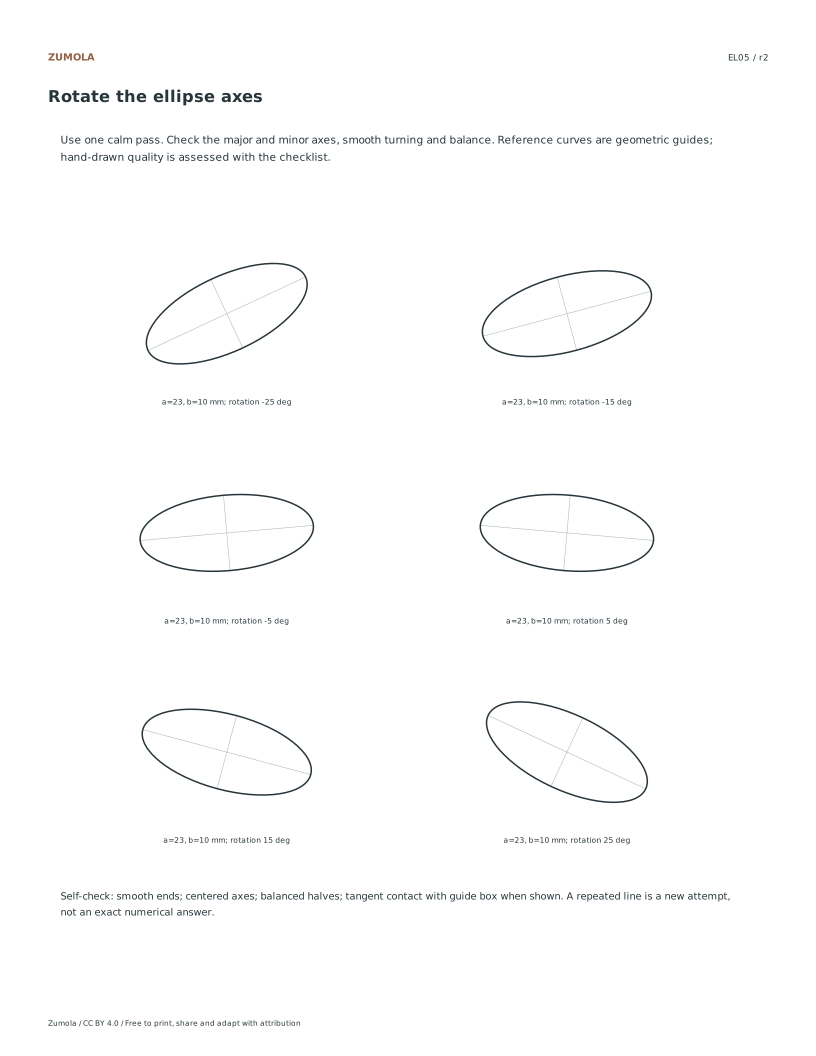
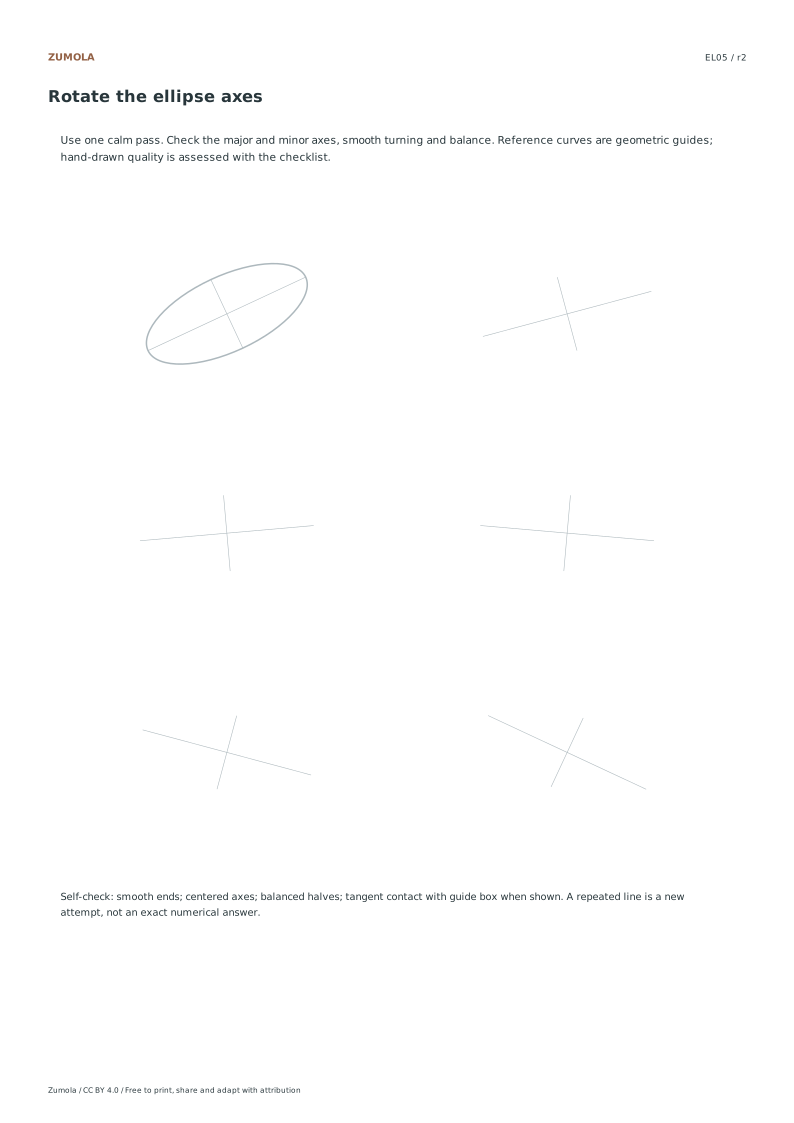
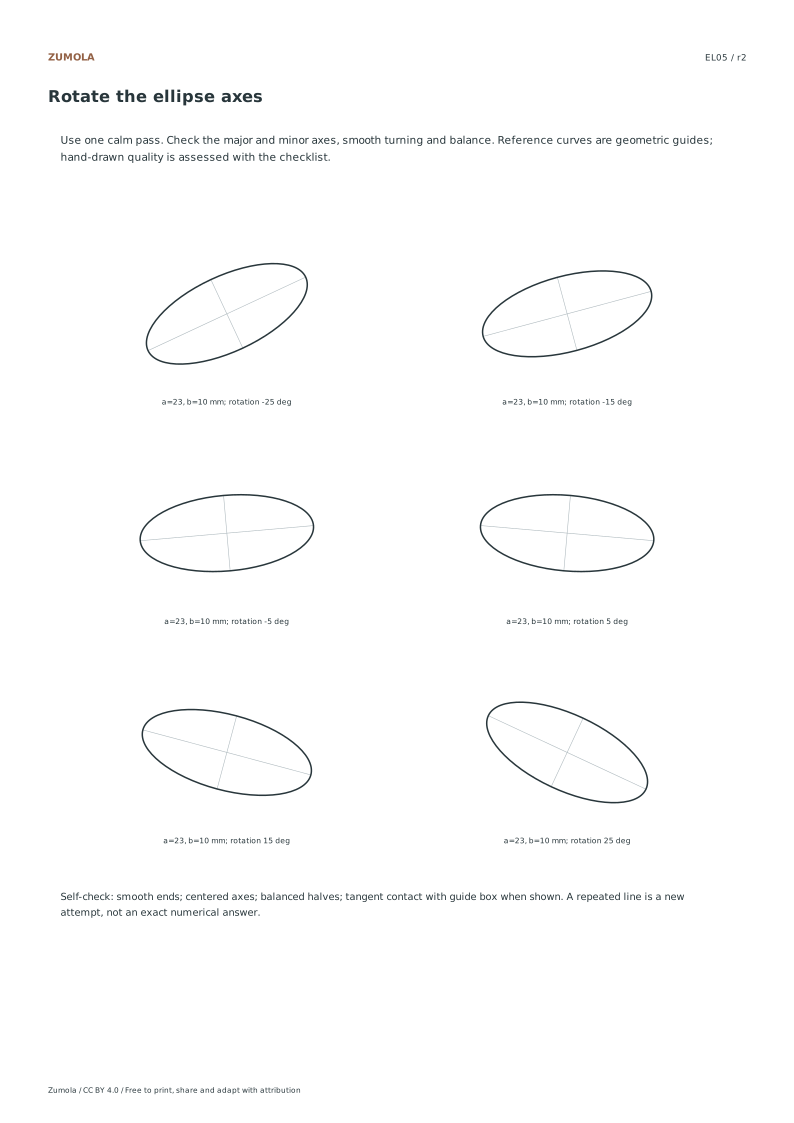
EL05Rotate both perpendicular axes together
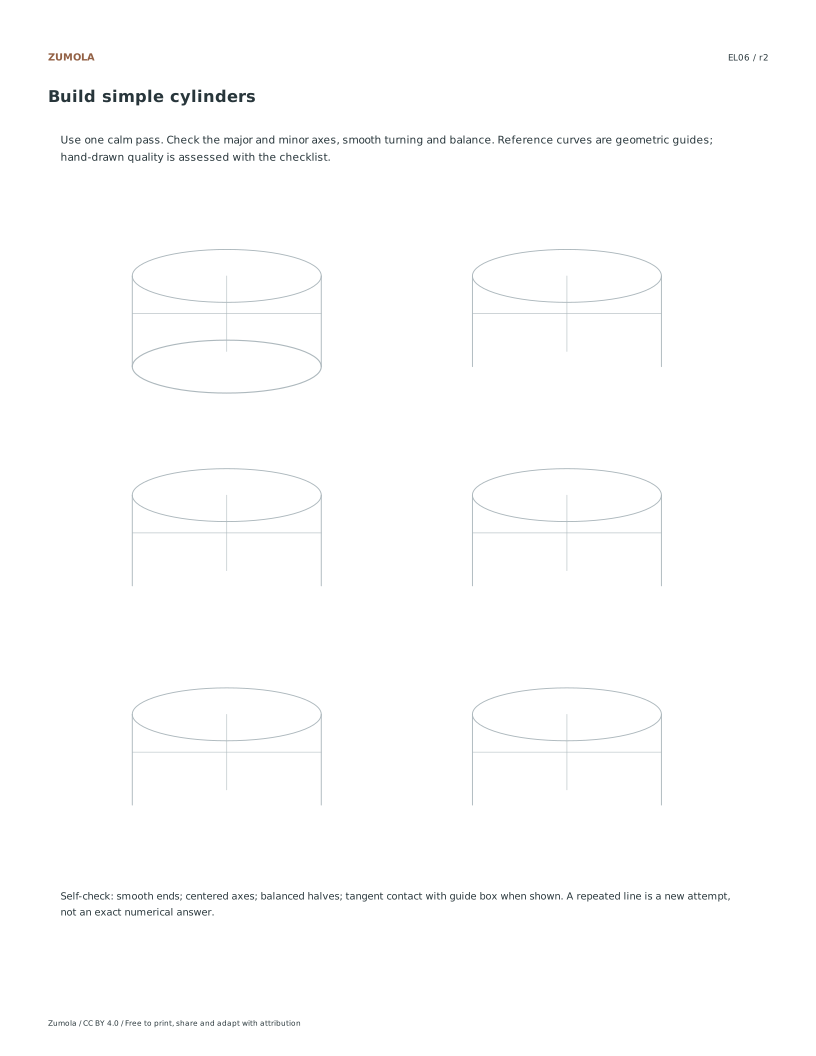
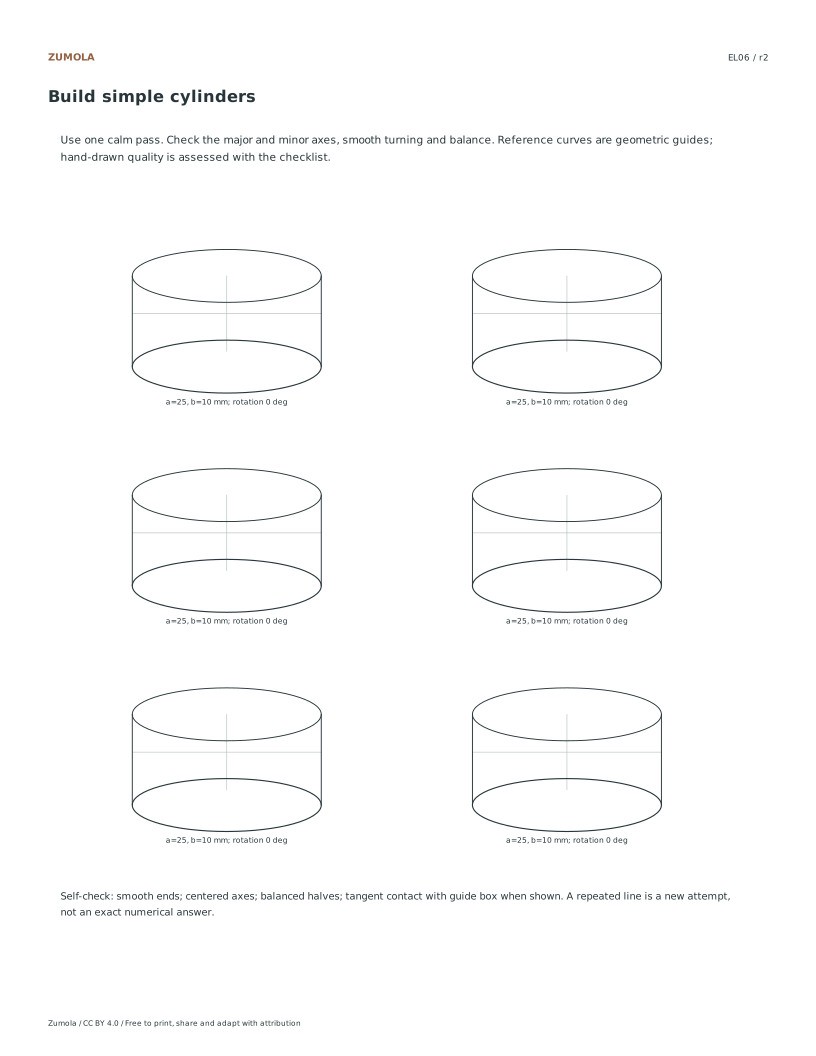
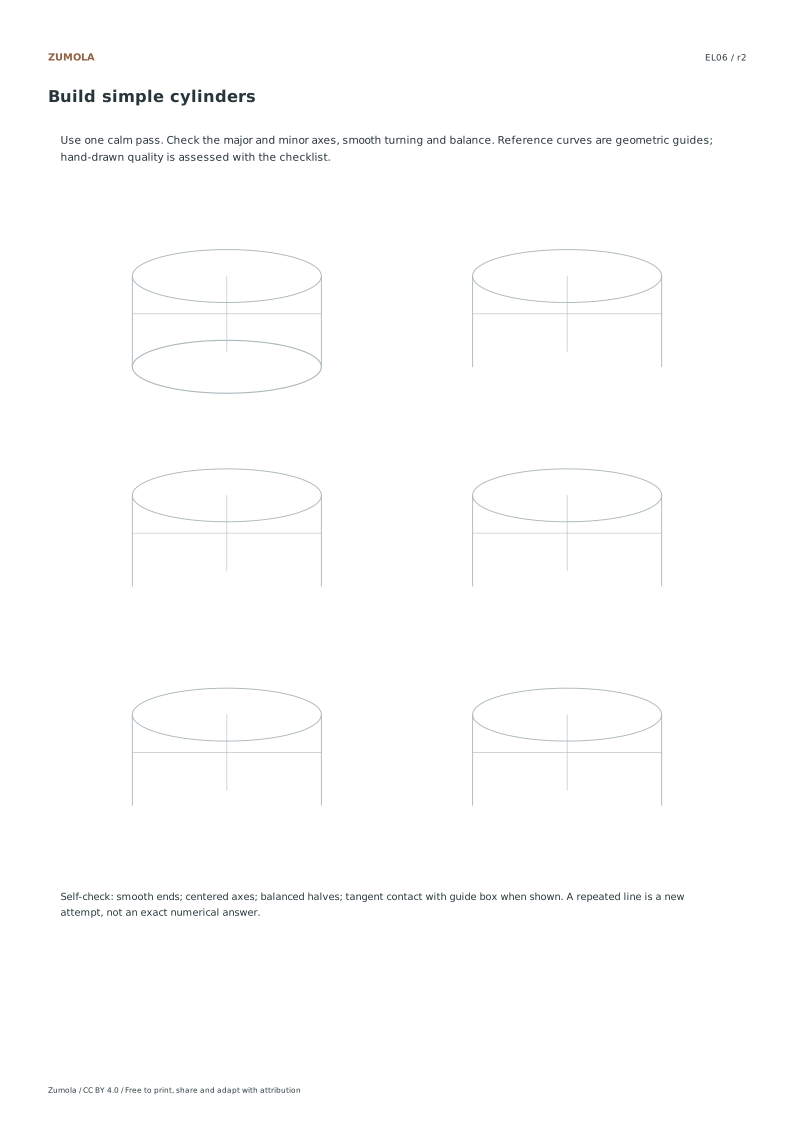
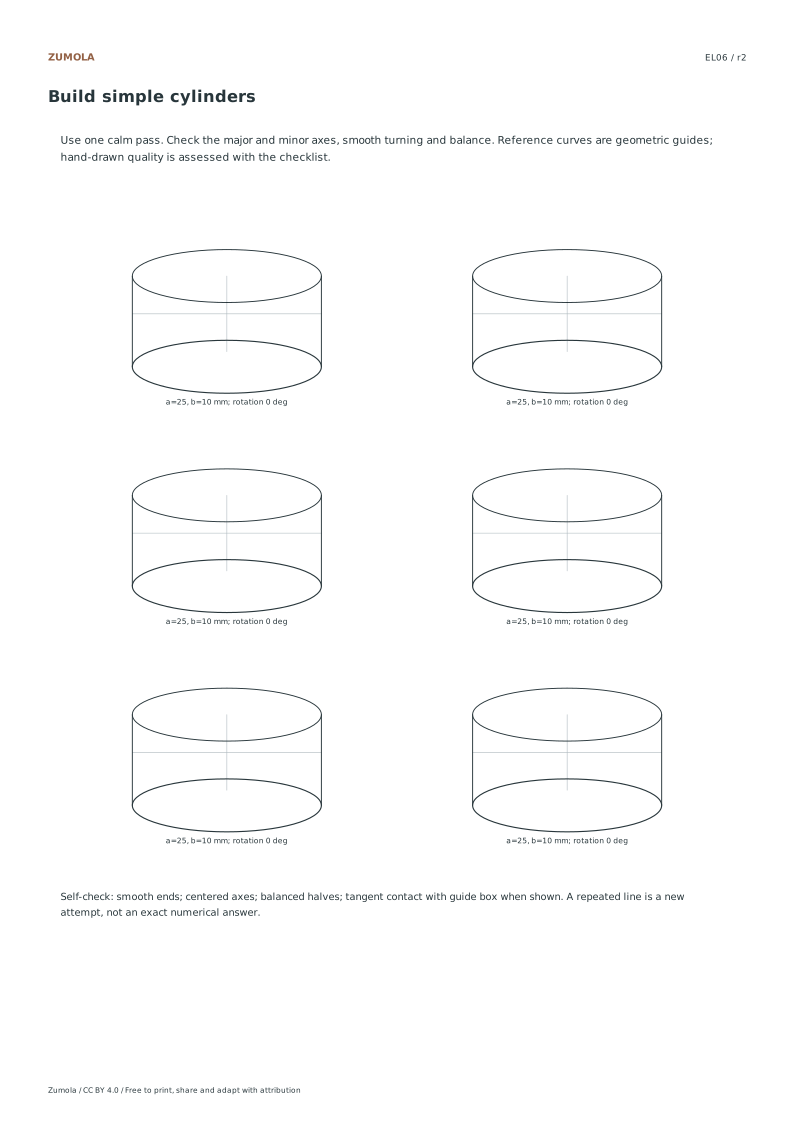
EL06Align two rims to make a simple cylinder

A reference with half-axis lengths a = 32 mm and b = 12 mm has full width 64 mm and full height 24 mm. Rotating it changes its direction while keeping those axis lengths. The four-cubic vector approximation is within about 0.03% of the ideal ellipse after normalizing by its axes; this is a drawing guide, not an exact perspective-circle construction.

Work through the page

  1. Aligning Axes Within Guide Boxes

    Begin by drawing a rectangular guide box that matches the intended width and height of your ellipse. The major axis must run through the long diameter, while the minor axis crosses the short diameter perpendicularly. Ensure these axes intersect at the exact center of the box. This structural foundation helps maintain symmetry and proper axis alignment throughout the drawing process. For an axis-aligned reference with half-width a and half-height b, the mathematical target is x=a cos(t), y=b sin(t). The printable uses smooth cubic curves approximating that ellipse. This step ensures the ellipse fits gently within the guide box without touching the corners, providing a clear boundary for your curve construction.

  2. Drawing Smooth Curves with Reference

    Focus on creating smooth curves by connecting the four cardinal points where the axes meet the guide box edges. Observe the reference completion to understand how the curve transitions between these points. The reference uses a smooth vector approximation to the mathematical ellipse for visual comparison. When drawing, aim for gentle contact with the guide box sides rather than sharp corners. Check for symmetry by comparing opposite quadrants of your drawing. Since this is a two-dimensional exercise, prioritize fluid line quality over complex perspective mechanics. Your hand drawing self-assessment should remain qualitative, focusing on visual smoothness and consistent curvature rather than precise mathematical measurement.

  3. Verifying Symmetry and Proportions

    After completing the initial curve, evaluate the overall shape for balance and proportion. Compare your drawing against the reference completion to check if the minor-to-major ratios match the intended design. For rotated ellipses, ensure the axes remain perpendicular to each other despite the rotation. Look for any lumps or uneven segments that disrupt the flow. The goal is a clean, symmetrical form that aligns with the guide box structure. Remember that this resource covers six practice topics, including simple cylinders and rotated ellipses. Use the reference image as a visual guide for qualitative assessment, ensuring your final result reflects the smooth, balanced characteristics shown in the provided examples.

Small checks that catch common errors

Watch forCheck instead
Drawing the ellipse so it touches the corners of the guide box.Ensure the curve makes gentle contact with the midpoints of the guide box sides, keeping the corners empty to maintain proper shape.
Allowing the major and minor axes to intersect at an angle other than ninety degrees.Verify that the minor axis is strictly perpendicular to the major axis, even when the ellipse is rotated within the guide box.
Creating jagged or uneven transitions between the cardinal points of the ellipse.Focus on smoothness by checking the curve against the reference completion, ensuring a continuous flow without visible breaks or sharp angles.

Before you begin

Useful answers

Is this resource suitable for learning exact perspective circles?

No, this is a two-dimensional ellipse exercise. It focuses on parametric definitions and guide box alignment rather than full exact perspective-circle construction techniques.

How should I assess my drawing quality?

Compare smoothness, balanced halves, axis alignment and contact with the guide box when present. The reference is a comparison target; a hand drawing does not need to match every point exactly.

What defines the shape of the reference ellipse?

The target ellipse uses half-axis lengths a and b. Its coordinates are x=a cos(t), y=b sin(t), rotated when indicated. The vector sheets approximate it with four cubic curves; they are practice references rather than metrology tools.

Are the answers and editable files free too?

Yes. Every linked PDF, SVG, worksheet and answer is free without signup. The original resources use CC BY 4.0: credit Zumola, link the license and indicate changes. Analytics consent is not required to download or use the resources.

Keep practicing

Worksheet preview

Full printable sheet preview

Fit-to-screen preview. Download the PDF to print at actual size.