Free original lessons
Leg Proportion Drawing: Thigh, Knee, Calf, Ankle
Learn to draw legs using segment ratios, joint landmarks, and simple checkpoints for front and side views. Includes practice tasks and a rubric.
Free downloads
Letter & A4
PDF & SVG
Object Drawing Lessons
This lesson teaches how to construct a leg from four proportion forms: thigh, knee, calf, and ankle. You will use a simple convention: measure vertical distances along the leg from the top of the thigh block to the bottom of the ankle block, and compare each segment to a chosen total leg length. The goal is not a single correct outline but a checkable structure that lets you place joints and segment lengths consistently. All numerical examples are hypothetical; measure your own reference or drawing surface to set your own scale. Work on plain paper with a pencil and a ruler or straightedge. Keep units consistent (for example, centimeters or arbitrary grid squares).
Practice materials: Download the free reference pages, practice sheets and separate answer keys below, in A4 and US Letter PDF and SVG formats.
Define the four segment forms
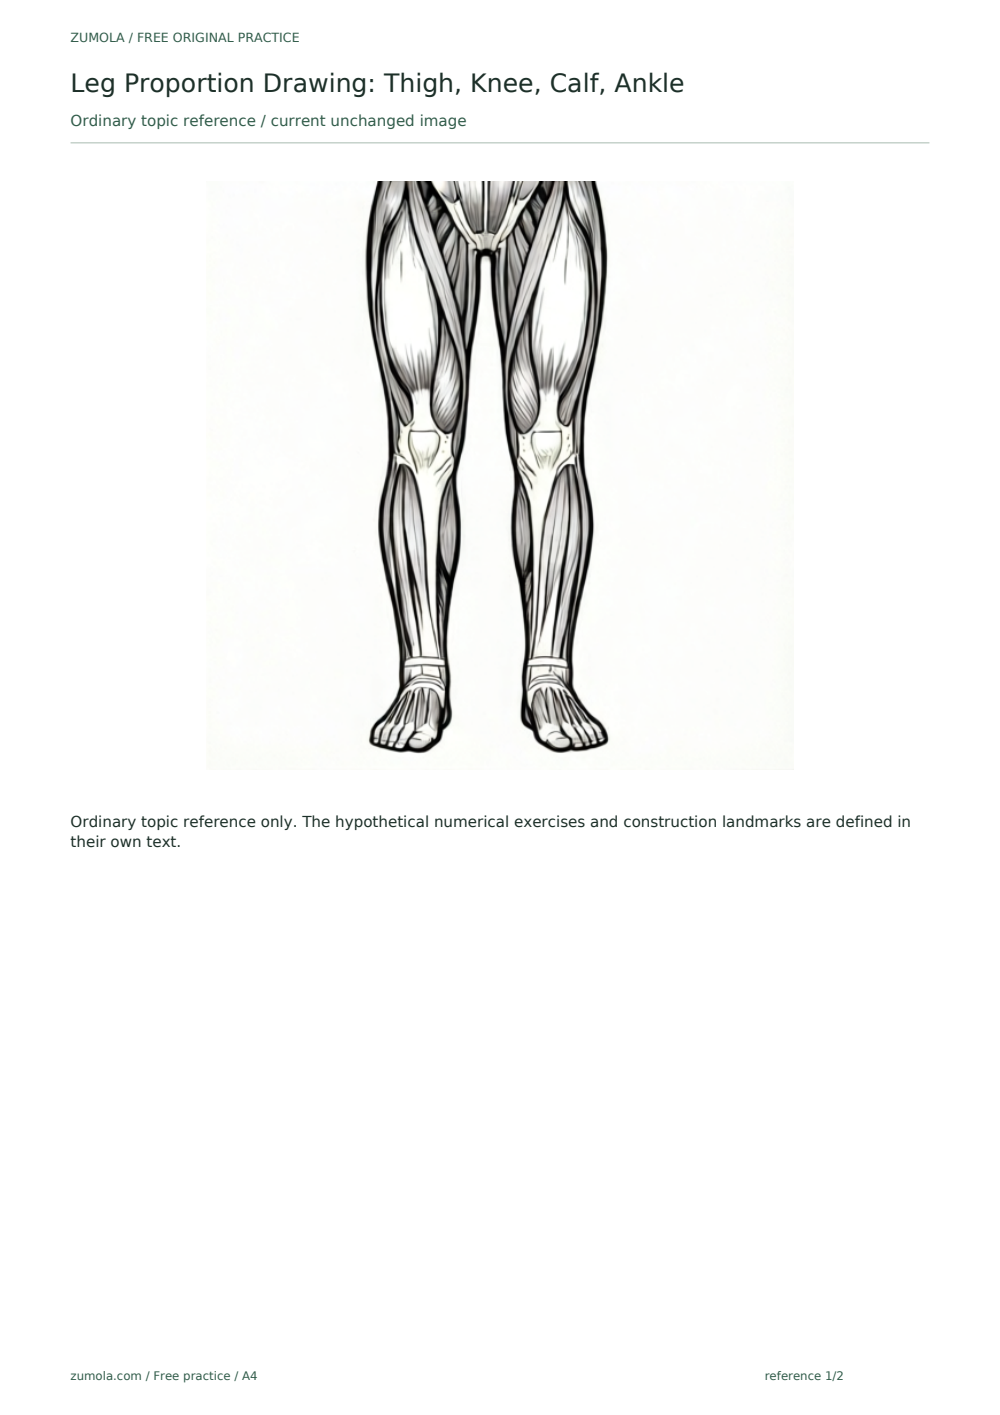
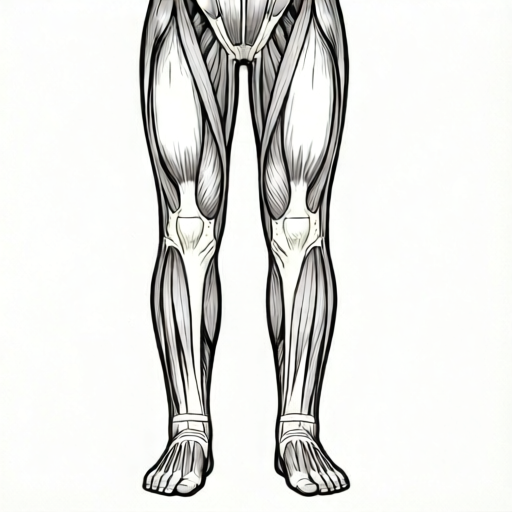
Treat the leg as four stacked forms: thigh, knee, calf, and ankle as four consecutive, non-overlapping blocks; the calf block runs from the bottom of the knee block to the top of the ankle block. In a front view, the thigh and calf are roughly vertical columns with slight taper; the knee is a wider block between them; the ankle is the narrowest point above the foot. In a side view, the thigh angles slightly forward, the knee projects forward, the calf bulges backward, and the ankle sits under the calf.
Use a total leg length L measured from the top of the thigh block to the bottom of the ankle block. Use positive block heights. A practical starting ratio is thigh 40 percent of L, knee block 10 percent, calf 40 percent, and ankle 10 percent. These are hypothetical examples, not universal standards. Adjust them to match your reference. Mark the four boundaries with light horizontal ticks before drawing any outline.
- Draw a vertical guide line and mark the top of the thigh and the ankle point.
- Measure L and place ticks at 40 percent, 50 percent, and 90 percent to mark knee top, knee bottom, and ankle top.
- Sketch the thigh as a tapered column between the first two ticks.
- Sketch the knee block between the 40 and 50 percent ticks, slightly wider than the thigh.
- Sketch the calf between the 50 and 90 percent ticks, with a gentle backward bulge in side view.
- Sketch the ankle between the 90 and 100 percent ticks as a narrow transition.
Place joint landmarks in front and side views
For this worksheet, a knee-center mark is halfway down the knee block and an ankle-center mark is halfway down the ankle block. Use those vertical midpoint heights in both front and side views, and mark them with small crosses before outlining. The positions are classroom construction landmarks, not definitions of anatomical joint centers. The knee outline can project forward and the calf outline backward in a side view without changing the midpoint-height calculation.
Keep the construction landmarks aligned with the chosen front- or side-view guide. Check the vertical height difference from knee center to ankle center: it equals half the knee-block height plus the full calf-block height plus half the ankle-block height. This is a vertical-coordinate check, not the slanted straight-line distance between marks at different horizontal positions. All four block heights must be positive.
- Mark the knee center at the midpoint of the knee block.
- Mark the ankle-center height at the midpoint of the ankle block.
- In side view, mark the forward-most knee point and the backward-most calf point.
- Measure the vertical knee-center to ankle-center difference and compare it with half knee height plus calf height plus half ankle height.
- Adjust landmarks before drawing the final outline.
Build a proportion plate with practice rows
A proportion plate is a single page with a labeled front view, a labeled side view, and blank practice rows. Each practice row contains four tick marks for thigh, knee, calf, and ankle boundaries. The plate is a planning tool, not a finished artwork. Label each row with its total length L so you can compare rows.
On each practice row, draw only the four segment forms and the joint landmarks. Do not add feet, hands, or torso. After each row, run the arithmetic check: thigh plus knee plus calf plus ankle should equal L within your chosen rounding. If a row fails, adjust the tick marks rather than redrawing the whole leg.
- Draw two labeled views at the top of the page: front and side.
- Below them, draw four blank practice rows with a vertical guide in each.
- Label each row with a chosen L value, such as 10 grid squares.
- Complete each row using the four segment forms and joint landmarks.
- Run the arithmetic check on every row and note any adjustments.
Use a convention for style and handwriting
Because leg styles vary, define a convention before drawing. For this lesson, use a simple line convention: solid outline for segment forms, dashed line for the vertical guide, and small crosses for joint landmarks. X-height is baseline to midline for any labels; letter styles may vary as long as labels are readable. This convention allows valid alternatives: a rounded knee block and an angular knee block can both pass if the landmarks and ratios check out.
The rubric rewards consistent measurement and clear landmarks, not a single universal outline. If you choose different ratios, state them on the plate and keep them consistent across rows. The check is arithmetic and visual alignment, not resemblance to one model.
- Write your chosen convention at the top of the plate: line types and label style.
- State your chosen segment ratios as hypothetical values.
- Apply the same convention to every practice row.
- Compare rows using the arithmetic check and landmark alignment.
Worked example
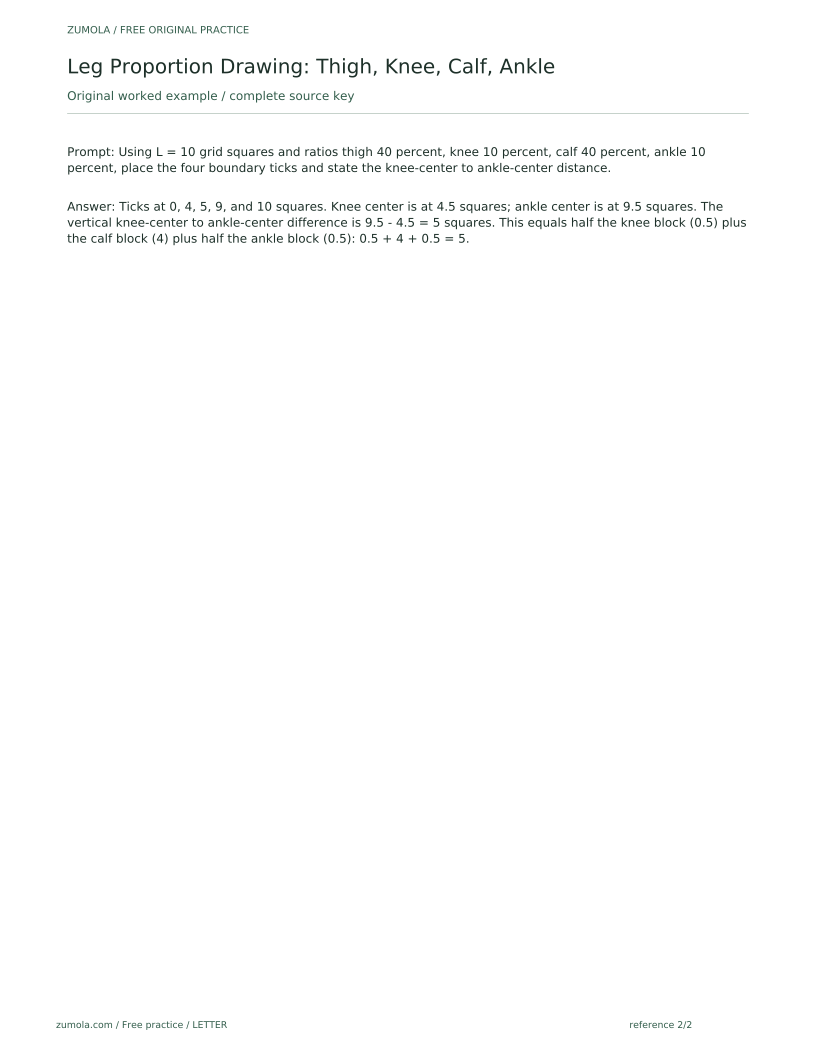
Using L = 10 grid squares and ratios thigh 40 percent, knee 10 percent, calf 40 percent, ankle 10 percent, place the four boundary ticks and state the knee-center to ankle-center distance.
Worked answer
Ticks at 0, 4, 5, 9, and 10 squares. Knee center is at 4.5 squares; ankle center is at 9.5 squares. The vertical knee-center to ankle-center difference is 9.5 - 4.5 = 5 squares. This equals half the knee block (0.5) plus the calf block (4) plus half the ankle block (0.5): 0.5 + 4 + 0.5 = 5.
Four practice exercises
Exercise 1
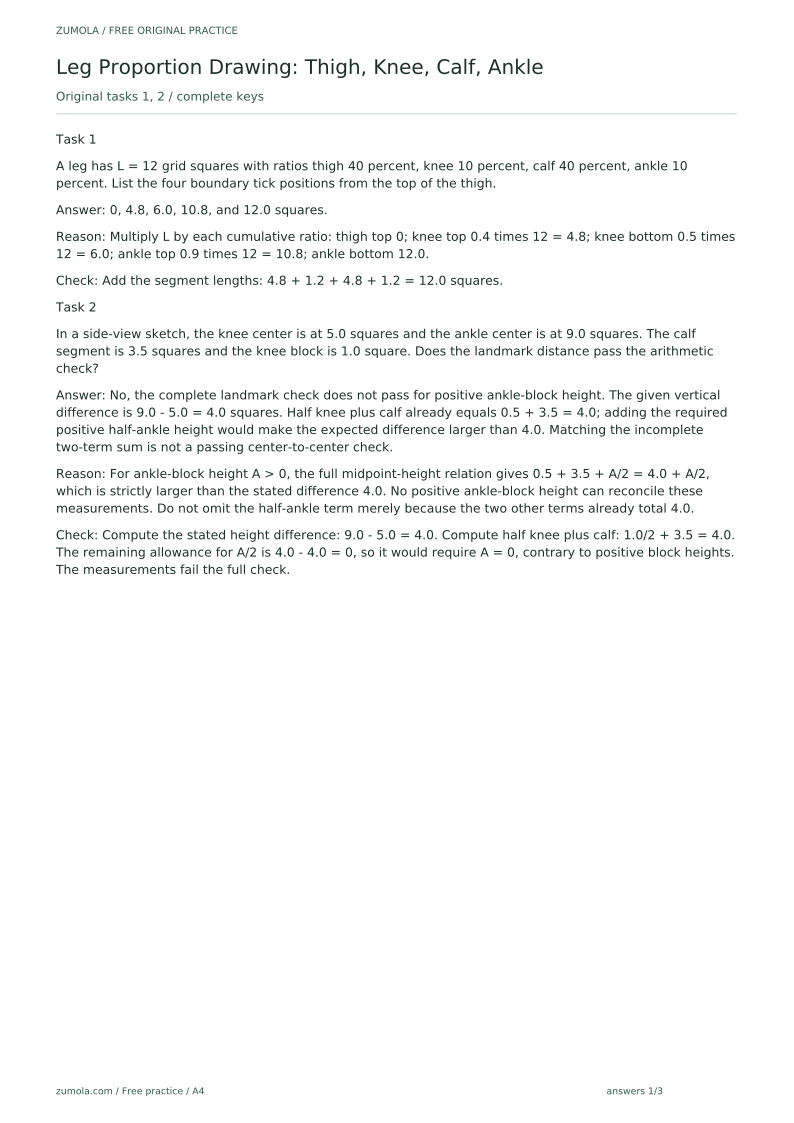
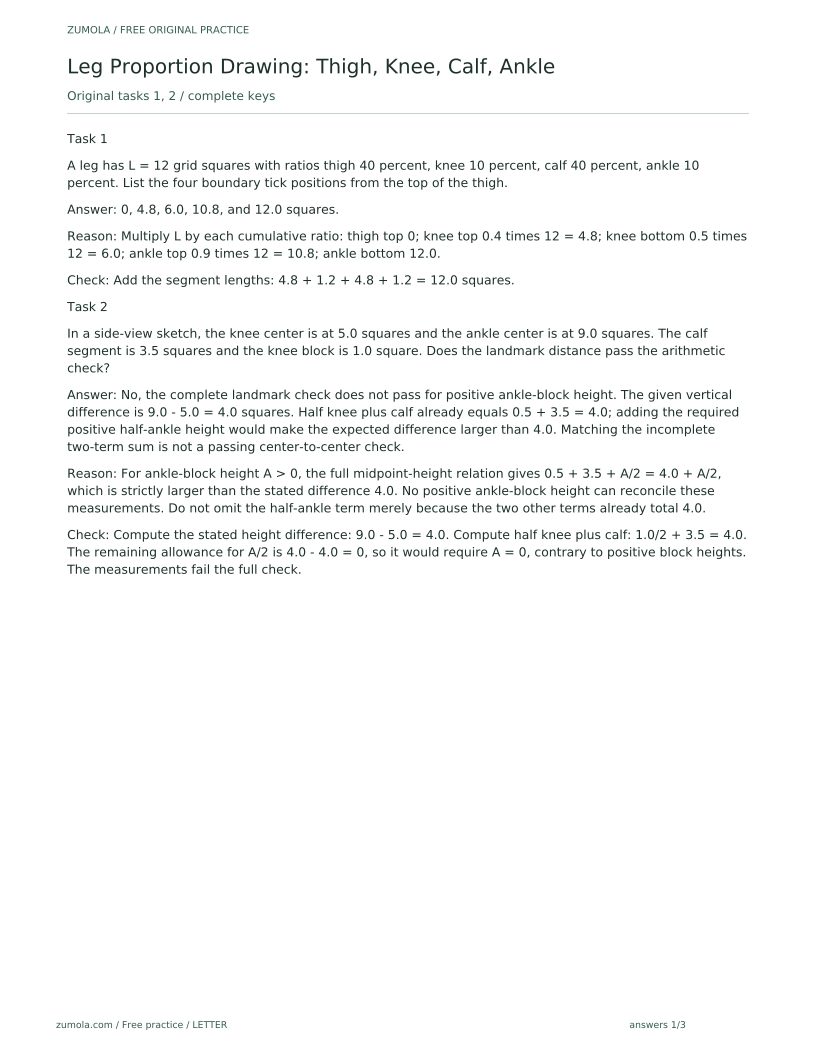
A leg has L = 12 grid squares with ratios thigh 40 percent, knee 10 percent, calf 40 percent, ankle 10 percent. List the four boundary tick positions from the top of the thigh.
Show answer and check
0, 4.8, 6.0, 10.8, and 12.0 squares.
Why: Multiply L by each cumulative ratio: thigh top 0; knee top 0.4 times 12 = 4.8; knee bottom 0.5 times 12 = 6.0; ankle top 0.9 times 12 = 10.8; ankle bottom 12.0.
Check: Add the segment lengths: 4.8 + 1.2 + 4.8 + 1.2 = 12.0 squares.
Exercise 2
In a side-view sketch, the knee center is at 5.0 squares and the ankle center is at 9.0 squares. The calf segment is 3.5 squares and the knee block is 1.0 square. Does the landmark distance pass the arithmetic check?
Show answer and check
No, the complete landmark check does not pass for positive ankle-block height. The given vertical difference is 9.0 - 5.0 = 4.0 squares. Half knee plus calf already equals 0.5 + 3.5 = 4.0; adding the required positive half-ankle height would make the expected difference larger than 4.0. Matching the incomplete two-term sum is not a passing center-to-center check.
Why: For ankle-block height A > 0, the full midpoint-height relation gives 0.5 + 3.5 + A/2 = 4.0 + A/2, which is strictly larger than the stated difference 4.0. No positive ankle-block height can reconcile these measurements. Do not omit the half-ankle term merely because the two other terms already total 4.0.
Check: Compute the stated height difference: 9.0 - 5.0 = 4.0. Compute half knee plus calf: 1.0/2 + 3.5 = 4.0. The remaining allowance for A/2 is 4.0 - 4.0 = 0, so it would require A = 0, contrary to positive block heights. The measurements fail the full check.
Exercise 3
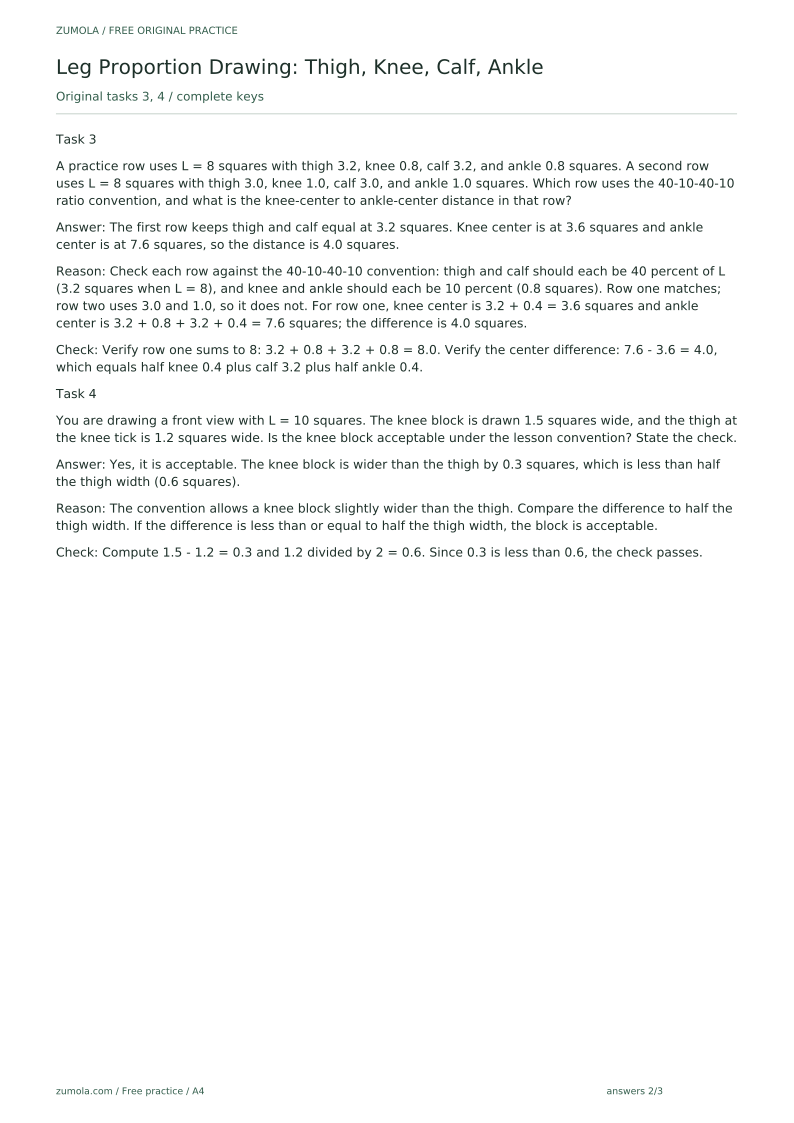
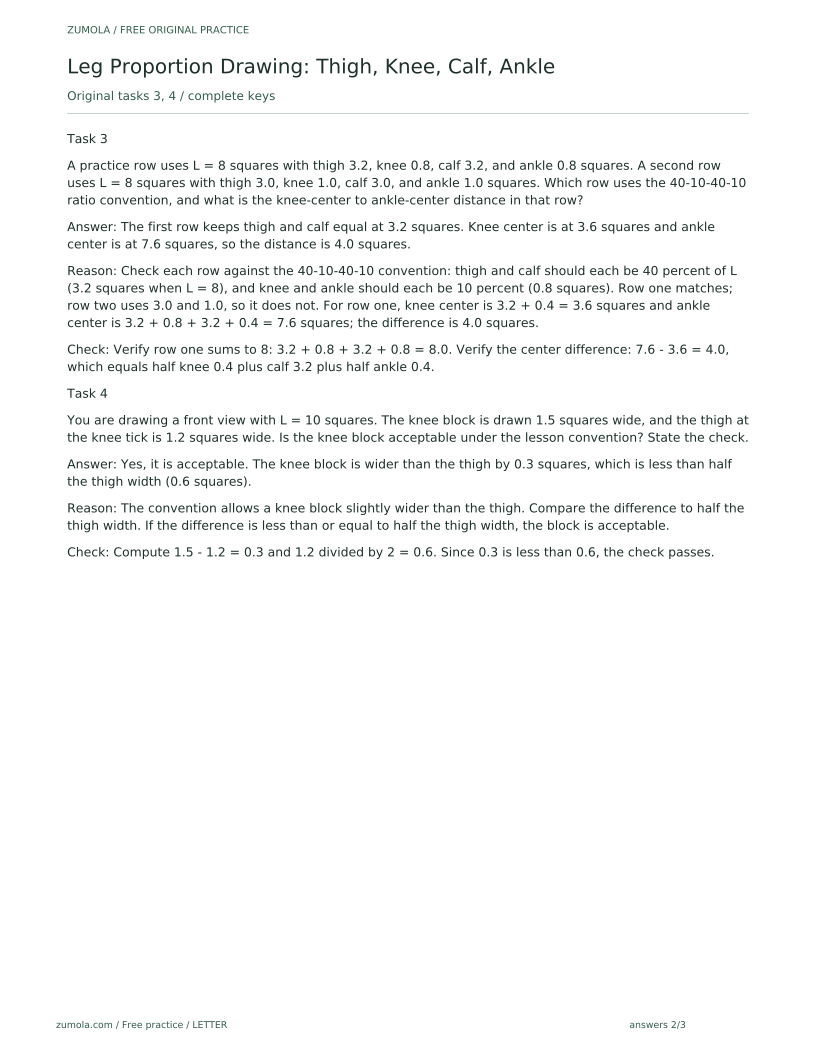
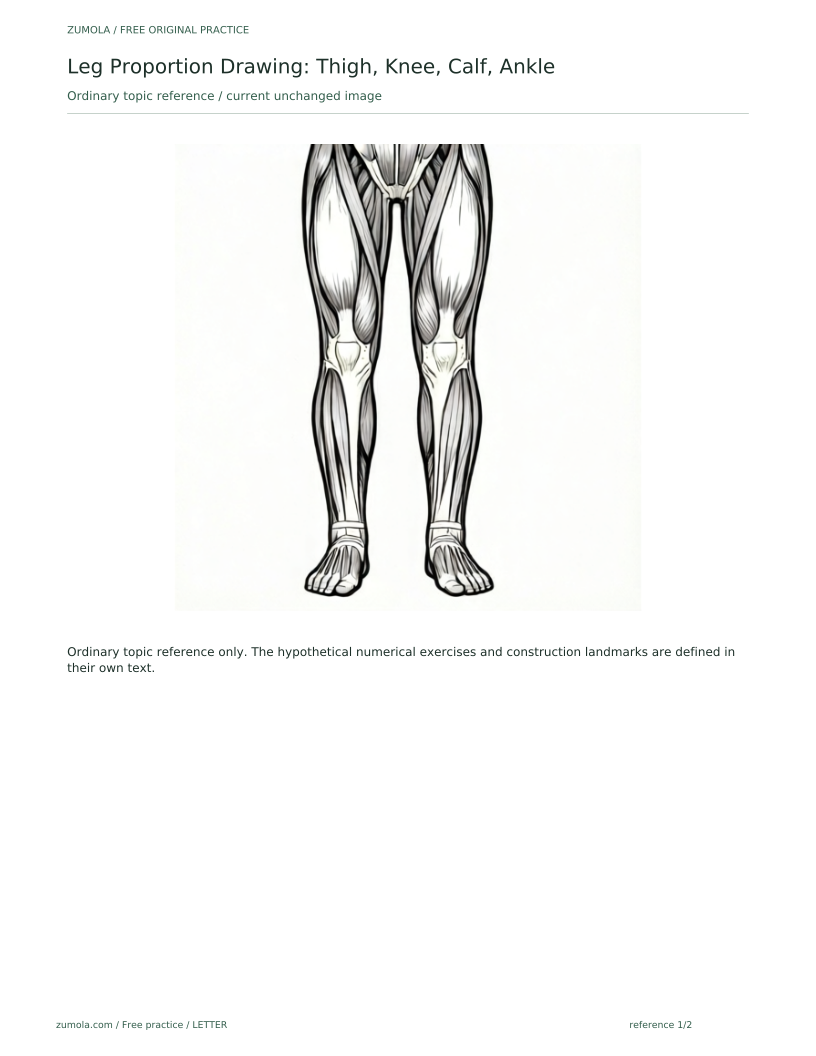
A practice row uses L = 8 squares with thigh 3.2, knee 0.8, calf 3.2, and ankle 0.8 squares. A second row uses L = 8 squares with thigh 3.0, knee 1.0, calf 3.0, and ankle 1.0 squares. Which row uses the 40-10-40-10 ratio convention, and what is the knee-center to ankle-center distance in that row?
Show answer and check
The first row keeps thigh and calf equal at 3.2 squares. Knee center is at 3.6 squares and ankle center is at 7.6 squares, so the distance is 4.0 squares.
Why: Check each row against the 40-10-40-10 convention: thigh and calf should each be 40 percent of L (3.2 squares when L = 8), and knee and ankle should each be 10 percent (0.8 squares). Row one matches; row two uses 3.0 and 1.0, so it does not. For row one, knee center is 3.2 + 0.4 = 3.6 squares and ankle center is 3.2 + 0.8 + 3.2 + 0.4 = 7.6 squares; the difference is 4.0 squares.
Check: Verify row one sums to 8: 3.2 + 0.8 + 3.2 + 0.8 = 8.0. Verify the center difference: 7.6 - 3.6 = 4.0, which equals half knee 0.4 plus calf 3.2 plus half ankle 0.4.
Exercise 4
You are drawing a front view with L = 10 squares. The knee block is drawn 1.5 squares wide, and the thigh at the knee tick is 1.2 squares wide. Is the knee block acceptable under the lesson convention? State the check.
Show answer and check
Yes, it is acceptable. The knee block is wider than the thigh by 0.3 squares, which is less than half the thigh width (0.6 squares).
Why: The convention allows a knee block slightly wider than the thigh. Compare the difference to half the thigh width. If the difference is less than or equal to half the thigh width, the block is acceptable.
Check: Compute 1.5 - 1.2 = 0.3 and 1.2 divided by 2 = 0.6. Since 0.3 is less than 0.6, the check passes.
Common mistakes
- Drawing the knee as a point instead of a block. Reserve a knee block of about 10 percent of L and mark its top and bottom ticks before outlining.
- Letting the calf and thigh have identical taper. In side view, give the calf a gentle backward bulge and keep the thigh taper forward-neutral; check the backward-most calf landmark.
- Skipping the arithmetic check and drifting landmarks. Compare the vertical knee-center to ankle-center difference with half knee height plus calf height plus half ankle height; adjust the ticks before outlining.
- Adding feet or torso details before proportions are stable. Complete four practice rows with only the four segment forms and landmarks; add no other body parts.
Self-check rubric
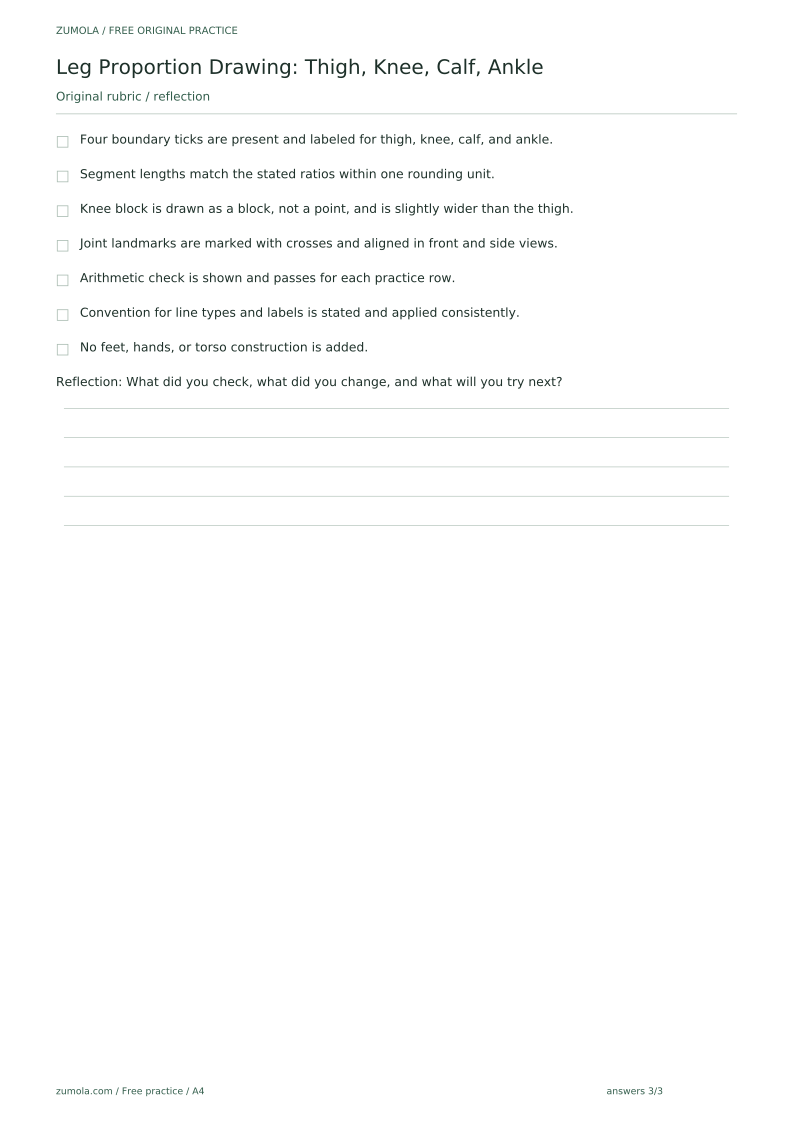
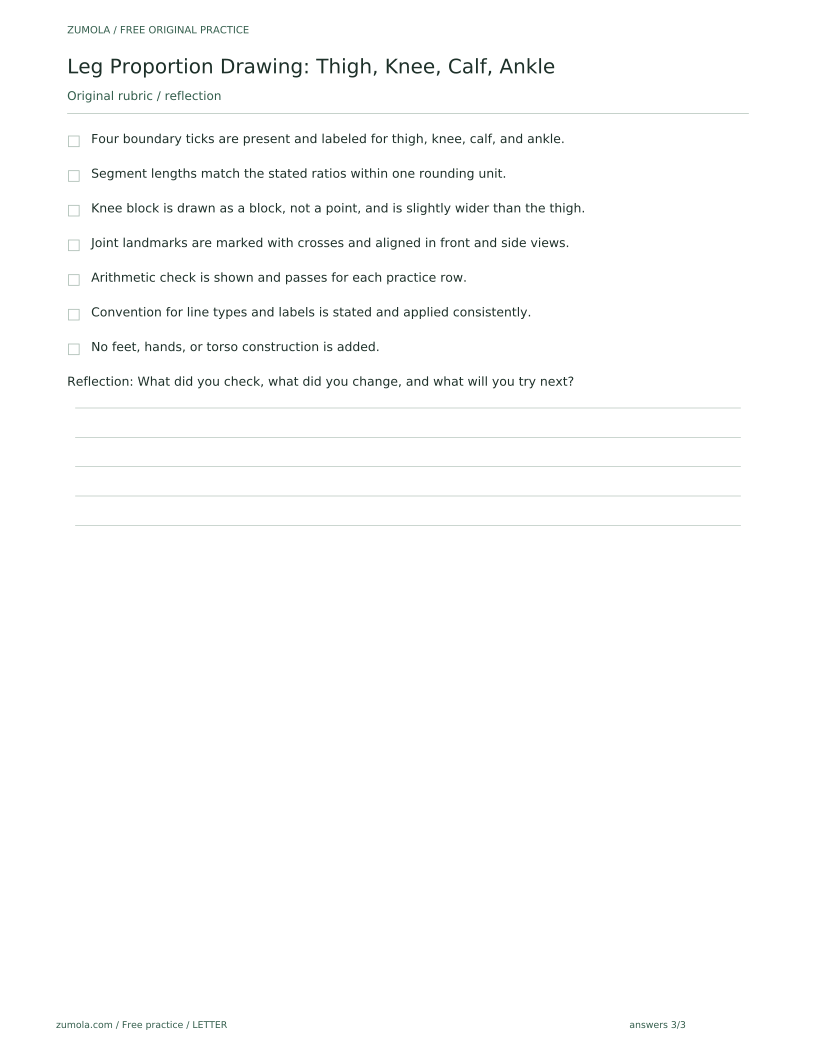
- Four boundary ticks are present and labeled for thigh, knee, calf, and ankle.
- Segment lengths match the stated ratios within one rounding unit.
- Knee block is drawn as a block, not a point, and is slightly wider than the thigh.
- Joint landmarks are marked with crosses and aligned in front and side views.
- Arithmetic check is shown and passes for each practice row.
- Convention for line types and labels is stated and applied consistently.
- No feet, hands, or torso construction is added.
Questions and answers
Are the 40-10-40-10 ratios required?
No. They are hypothetical starting values. Choose ratios that match your reference and state them on your plate; the check is consistency and arithmetic, not a fixed standard.
How do I measure L without a ruler?
Use grid squares or any consistent unit. Count squares from the top of the thigh block to the bottom of the ankle block and keep the same unit for every segment.
What if my knee block looks too wide?
Compare its width to the thigh width at the knee tick. A knee block slightly wider than the thigh is acceptable; if it exceeds the thigh width by more than half, narrow it and recheck landmarks.
Can I use different line styles?
Yes, if you define the convention at the top of the plate and apply it consistently. The rubric allows valid alternatives as long as labels and landmarks remain readable.
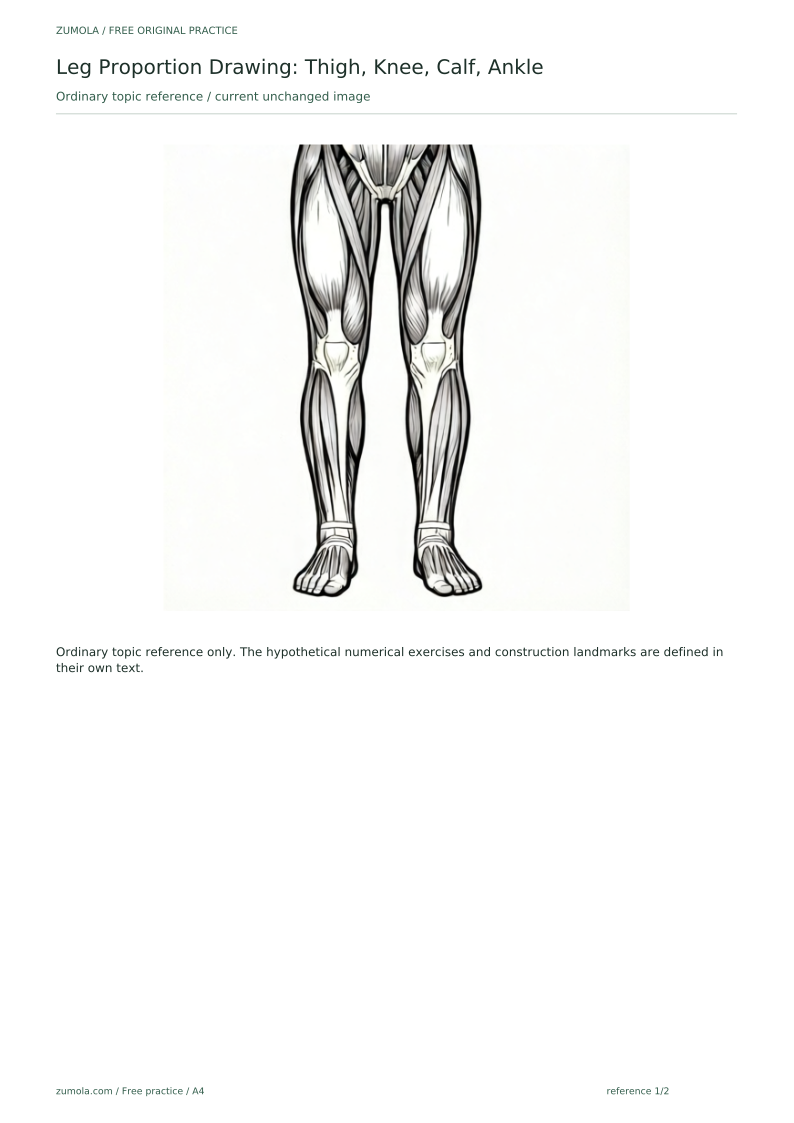
Reference illustration
Free printable downloads
Choose a paper size. Practice sheets and answer keys are separate. Download every file free, without registration.
This standard pack covers the four original exercises, blank work areas, complete keys and necessary figures. Additional extension sets described in the lesson are outside this download.
PDF bundles
Individual SVG pages
Reference-page preview