Free original lessons
Mermaid Scale Nail Art: Row-by-Row Practice for Pointed Scales
Learn to draw pointed mermaid scales on nail templates using row overlays, spacing checks, and a top-coat highlight plan.
Free downloads
Letter & A4
PDF & SVG
Object Drawing Lessons
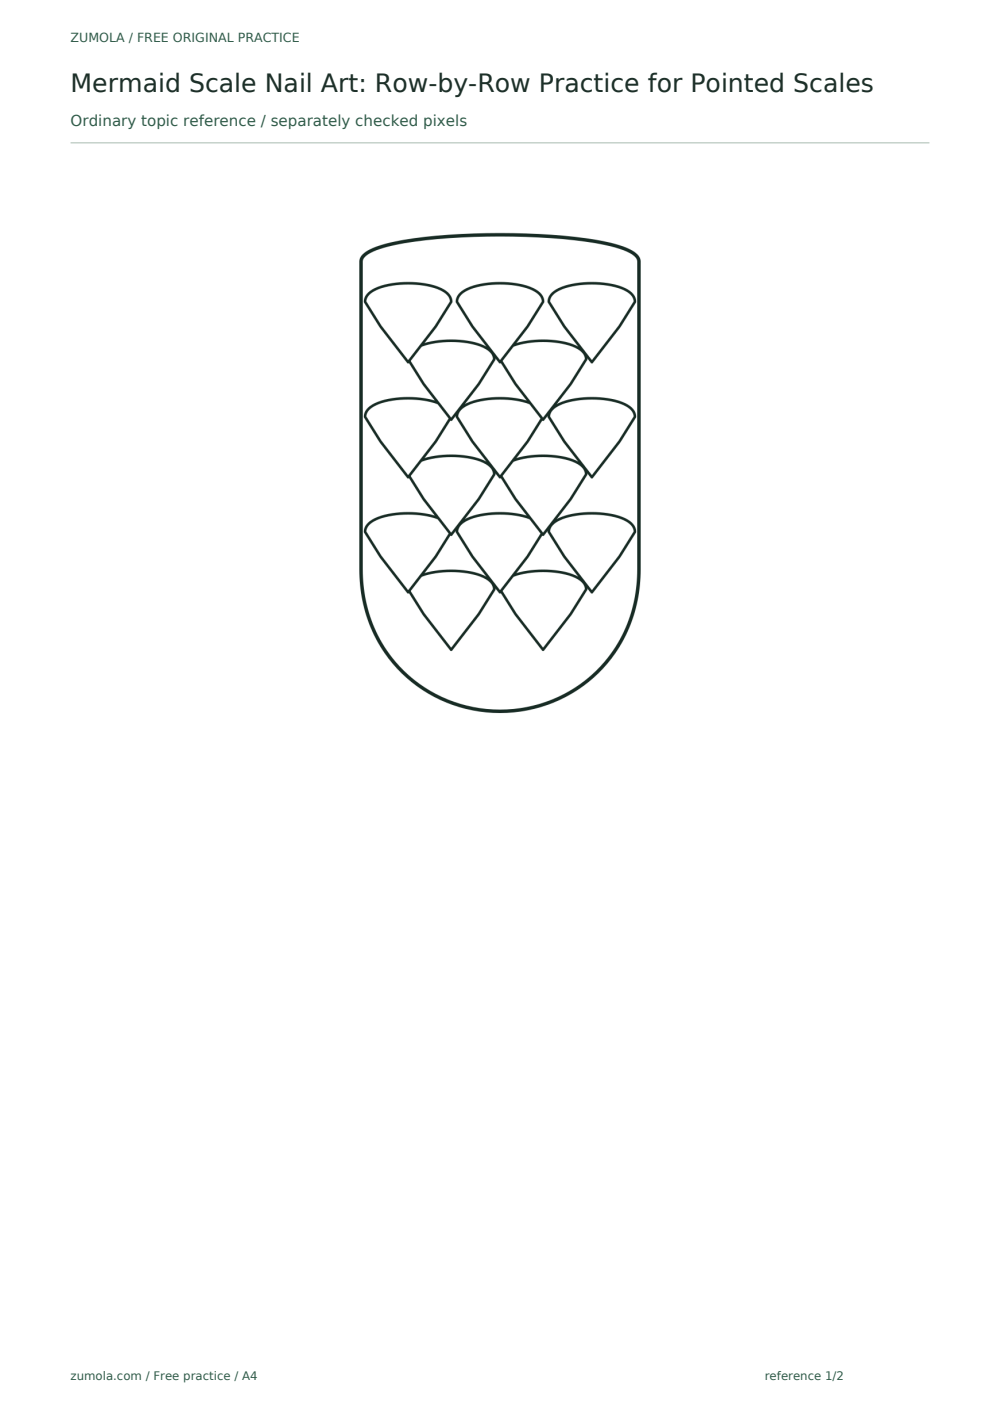
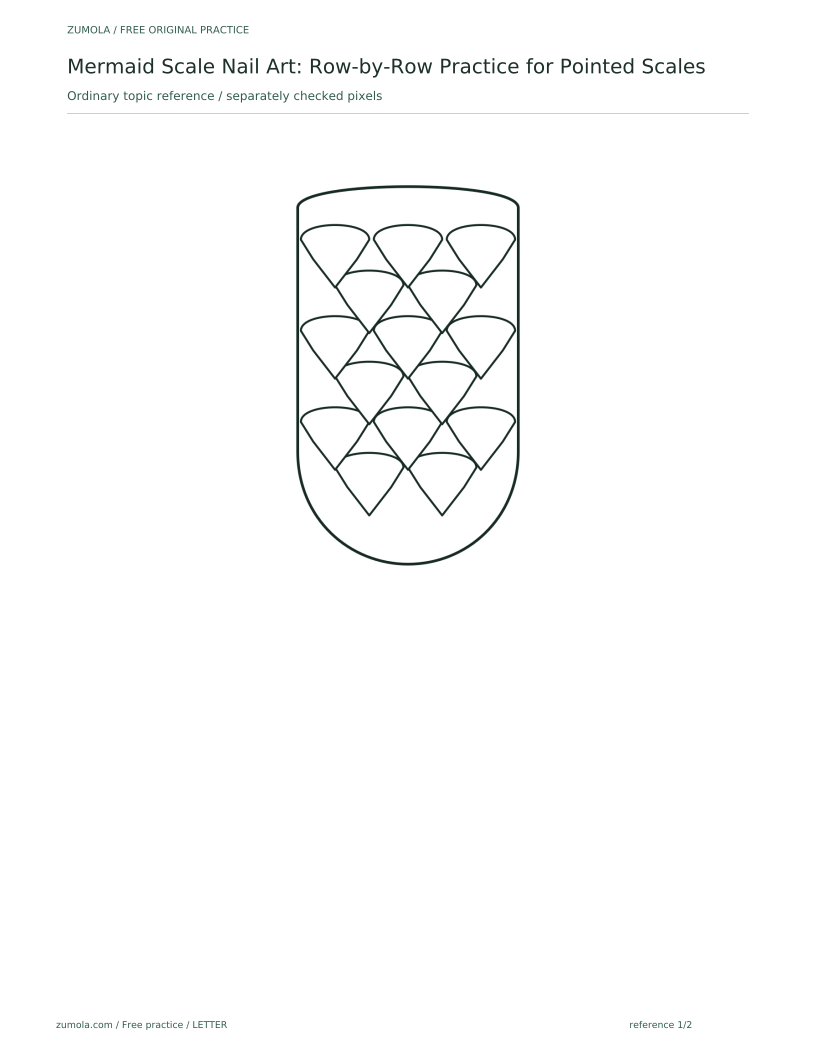
This lesson teaches a repeatable method for drawing pointed mermaid scales on nail-shaped templates. You will use a simple convention: each scale is a pointed oval with a curved top and a V-shaped bottom, and rows alternate offset by half a scale width. The goal is even spacing and clean overlaps, not a single perfect style. Work on paper templates first, then transfer the sequence to nails. All measurements are hypothetical examples; measure your own template and tools before marking. For the numerical exercises, 'template length' means the usable span from the baseline to the tip, excluding any paper below the baseline. A row starts at the curved-top level of its scales; a scale's point is one scale-height above that start. The first row starts at the baseline. Unless an exercise gives a different height, use the setup example's 5 mm scale height. Unless it specifies another gap, use the setup's 0.5 mm gap between adjacent full scales. Count a row only when its entire scale height fits; counting spacing intervals alone is not a full-row count.
Practice materials: Download the free reference pages, practice sheets and separate answer keys below, in A4 and US Letter PDF and SVG formats.
Set up the template and scale convention
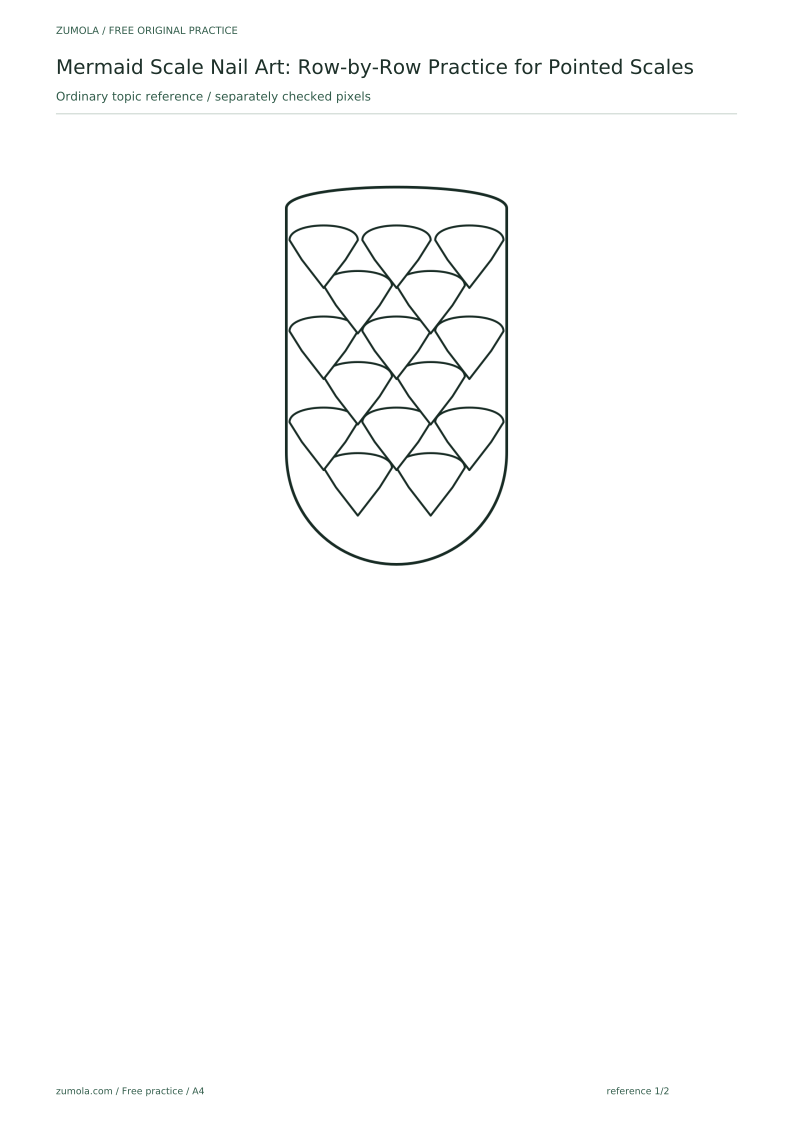
Draw or print a nail-shaped outline about 20 mm long and 12 mm wide at the tip. Mark a baseline 2 mm above the cuticle edge, a midline 10 mm above the baseline, and a vertical centerline down the middle of the template. These numbers are hypothetical; adjust to your template. The scale convention: a pointed oval whose top is a shallow curve and whose bottom is a V. Each scale is about 4 mm wide and 5 mm tall in this example.
Lightly mark row guides every 3 mm from the baseline to the tip. Row 1 starts at the baseline, row 2 is offset half a scale width to the right, and so on. Keep the pointed tips facing the nail tip.
- Measure your template length and width; write the values at the top.
- Mark the baseline and midline with a light pencil.
- Draw horizontal row guides at your chosen spacing.
- Draw one practice scale on scrap paper to confirm the pointed-oval shape.
Place pointed scales row by row
Start at the baseline. Place the first scale centered on the vertical centerline, then add scales left and right with a small gap of about 0.5 mm. In row 2, shift the first scale half a width to the right so its point sits between two scales below. Continue alternating. Stop when the row reaches the nail edges; partial scales at the edges are acceptable if the point stays inside the outline.
Check overlap using scale height minus the distance between consecutive row starts. In the setup example, 5 mm height minus 3 mm row spacing gives 2 mm overlap. In the worked example, 4 mm height minus 2.5 mm spacing gives 1.5 mm overlap. These are separate hypothetical layouts, not a single fixed overlap rule. Every scale point counted as complete must stay inside the usable baseline-to-tip span.
- Draw row 1 from the center outward.
- Offset row 2 by half a scale width.
- Alternate offsets for each new row.
- Trim or omit edge scales that cross the nail outline.
Refine spacing and add the highlight plan
After drawing all rows, check that no two points in the same row touch and that gaps are consistent. Erase and redraw any scale that is more than 1 mm off. For the top-coat highlight, plan a thin curved line along the upper left of each scale, leaving the V clear. This is a drawing plan, not a product claim; test any top coat on scrap first.
Use a simple rubric: even row spacing, consistent scale size, correct half-offset, clean points, and a highlight that follows the curve without covering the V.
- Compare gaps in each row; adjust outliers.
- Mark highlight lines lightly on every third scale.
- Review against the rubric before finalizing.
Worked example
A template is 18 mm long and 10 mm wide. Scale width is 3 mm, height 4 mm, row spacing 2.5 mm. How many full rows fit from baseline to tip, and how many scales fit across the widest row?
Worked answer
Treat the stated 18 mm as the usable baseline-to-tip span. With scale height 4 mm and row-start spacing 2.5 mm, n full rows require 4 + (n - 1) x 2.5 <= 18. Six rows fit: their starts are 0, 2.5, 5, 7.5, 10, and 12.5 mm, and the last point is at 16.5 mm. A seventh row would end at 19 mm, outside the 18 mm span. Across the 10 mm row, use the stated 3 mm scale width and the lesson's 0.5 mm inter-scale gap: 3 x 3 + 2 x 0.5 = 10 mm. Thus 3 full scales fit exactly with no remaining edge space. The quotient 10/3 is about 3.3, not exactly 3.3, and alone does not account for the gaps.
Four practice exercises
Exercise 1
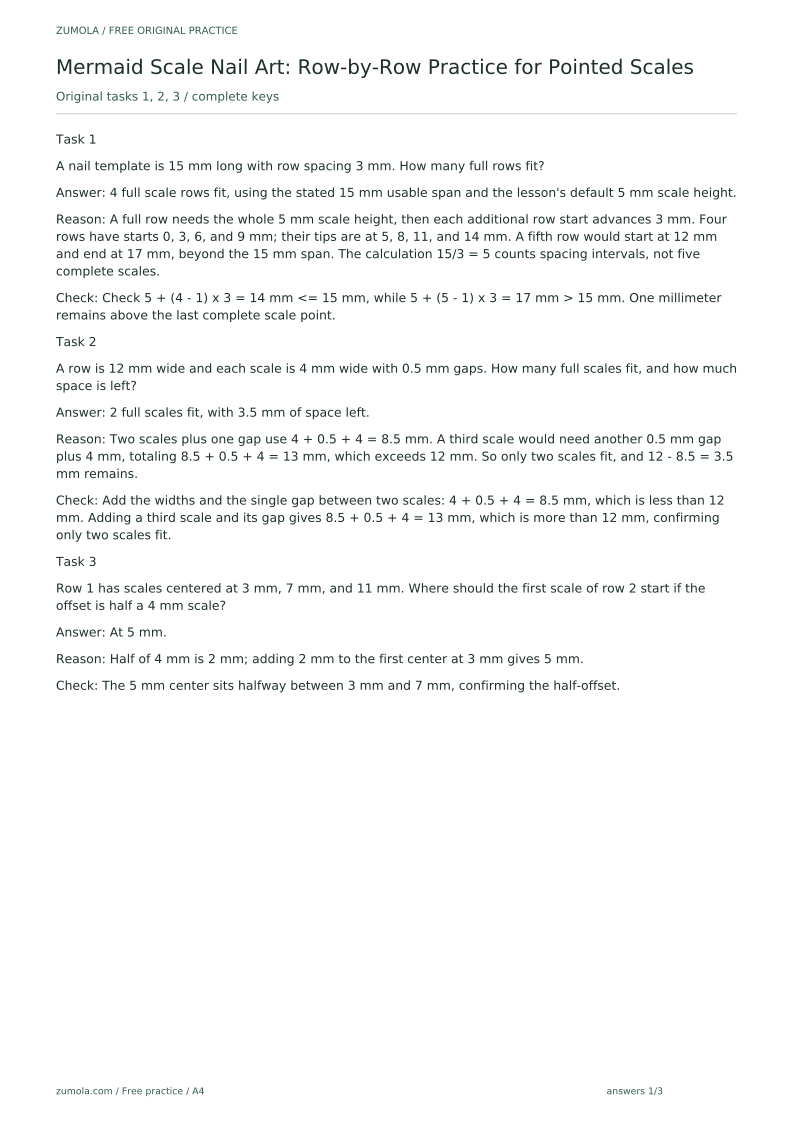
A nail template is 15 mm long with row spacing 3 mm. How many full rows fit?
Show answer and check
4 full scale rows fit, using the stated 15 mm usable span and the lesson's default 5 mm scale height.
Why: A full row needs the whole 5 mm scale height, then each additional row start advances 3 mm. Four rows have starts 0, 3, 6, and 9 mm; their tips are at 5, 8, 11, and 14 mm. A fifth row would start at 12 mm and end at 17 mm, beyond the 15 mm span. The calculation 15/3 = 5 counts spacing intervals, not five complete scales.
Check: Check 5 + (4 - 1) x 3 = 14 mm <= 15 mm, while 5 + (5 - 1) x 3 = 17 mm > 15 mm. One millimeter remains above the last complete scale point.
Exercise 2
A row is 12 mm wide and each scale is 4 mm wide with 0.5 mm gaps. How many full scales fit, and how much space is left?
Show answer and check
2 full scales fit, with 3.5 mm of space left.
Why: Two scales plus one gap use 4 + 0.5 + 4 = 8.5 mm. A third scale would need another 0.5 mm gap plus 4 mm, totaling 8.5 + 0.5 + 4 = 13 mm, which exceeds 12 mm. So only two scales fit, and 12 - 8.5 = 3.5 mm remains.
Check: Add the widths and the single gap between two scales: 4 + 0.5 + 4 = 8.5 mm, which is less than 12 mm. Adding a third scale and its gap gives 8.5 + 0.5 + 4 = 13 mm, which is more than 12 mm, confirming only two scales fit.
Exercise 3
Row 1 has scales centered at 3 mm, 7 mm, and 11 mm. Where should the first scale of row 2 start if the offset is half a 4 mm scale?
Show answer and check
At 5 mm.
Why: Half of 4 mm is 2 mm; adding 2 mm to the first center at 3 mm gives 5 mm.
Check: The 5 mm center sits halfway between 3 mm and 7 mm, confirming the half-offset.
Exercise 4
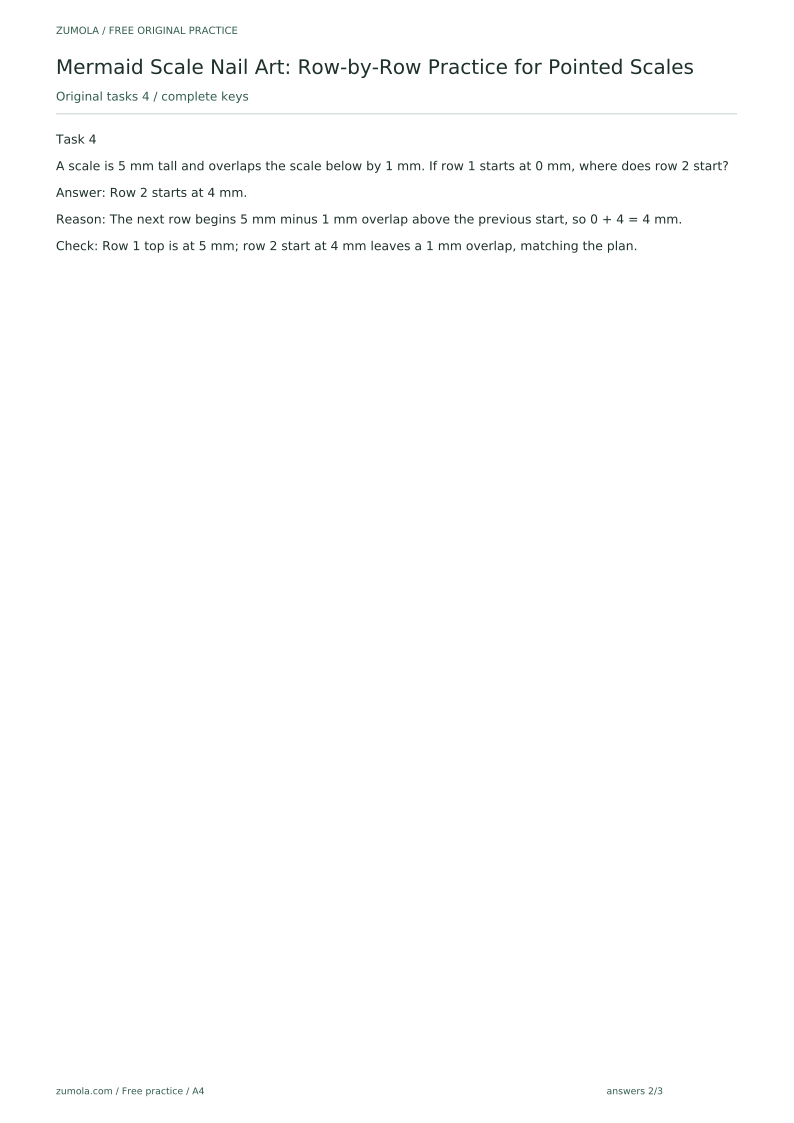
A scale is 5 mm tall and overlaps the scale below by 1 mm. If row 1 starts at 0 mm, where does row 2 start?
Show answer and check
Row 2 starts at 4 mm.
Why: The next row begins 5 mm minus 1 mm overlap above the previous start, so 0 + 4 = 4 mm.
Check: Row 1 top is at 5 mm; row 2 start at 4 mm leaves a 1 mm overlap, matching the plan.
Common mistakes
- Rows are stacked directly above each other instead of offset. Shift every second row by half a scale width; mark the offset on the row guide before drawing.
- Scale points are rounded or blunt. Draw the V bottom first, then curve the top; keep the point centered.
- Scales grow larger toward the tip. Use a small cardboard gauge cut to your scale width and check each scale.
- Highlight covers the V and hides the pattern. Keep the highlight on the upper curve only; leave the lower third clear.
Self-check rubric
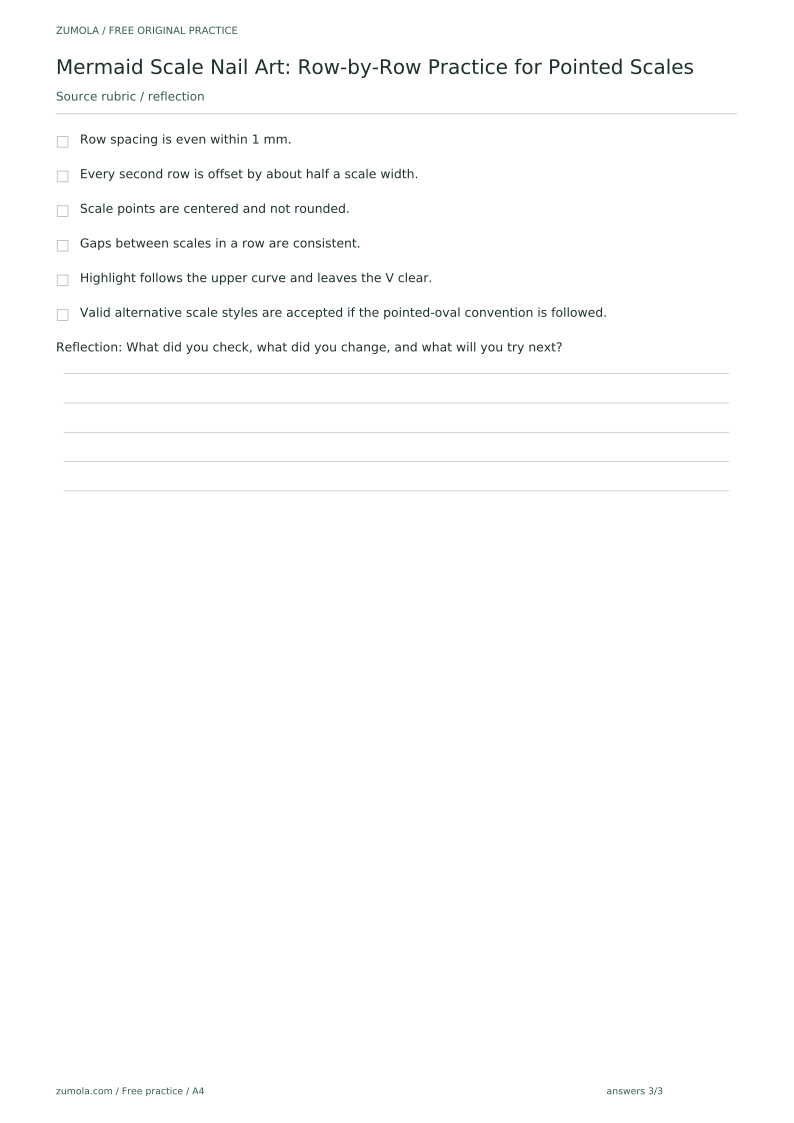
- Row spacing is even within 1 mm.
- Every second row is offset by about half a scale width.
- Scale points are centered and not rounded.
- Gaps between scales in a row are consistent.
- Highlight follows the upper curve and leaves the V clear.
- Valid alternative scale styles are accepted if the pointed-oval convention is followed.
Questions and answers
Do I need a specific nail length?
No. Measure your template and choose a scale size that fits at least three scales across the widest part.
Can I use different scale shapes?
Yes. The rubric allows any pointed scale with a curved top and a V bottom, as long as spacing and offset are consistent.
How many rows should I draw?
Count only complete scale rows between the baseline and the tip. If the usable span is L, scale height h, and row-start spacing s, require h + (n - 1) x s <= L. Provided L >= h, the largest integer count is 1 + floor((L - h)/s); if L < h, no full row fits. Partial rows may be drawn separately and must not be included in the complete-row count.
What if my hand is unsteady?
Draw larger scales first, then reduce size only after row spacing is even.
Reference illustration

Free printable downloads
Choose a paper size. Practice sheets and answer keys are separate. Download every file free, without registration.
This standard pack covers the four original exercises, blank work areas, complete keys and necessary figures. Additional extension sets described in the lesson are outside this download.
PDF bundles
Individual SVG pages
Reference-page preview