Reference diagram
LETTER · Download PDF (1 page)
Free original resources
Learn to draw a shoreline with a clear wave edge and convincing wet-sand texture using a defined convention, checkable steps, and self-contained practice tasks.
Original reference diagrams, four practice exercises and separate worked answers. All files are free. No signup required.
LETTER · Download PDF (1 page)
LETTER · Download PDF (5 pages)
LETTER · Download PDF (4 pages)
Choose A4 or US Letter for your printer. The reference and answer illustrations are not physical rulers; follow the scale instruction printed on the practice worksheet.
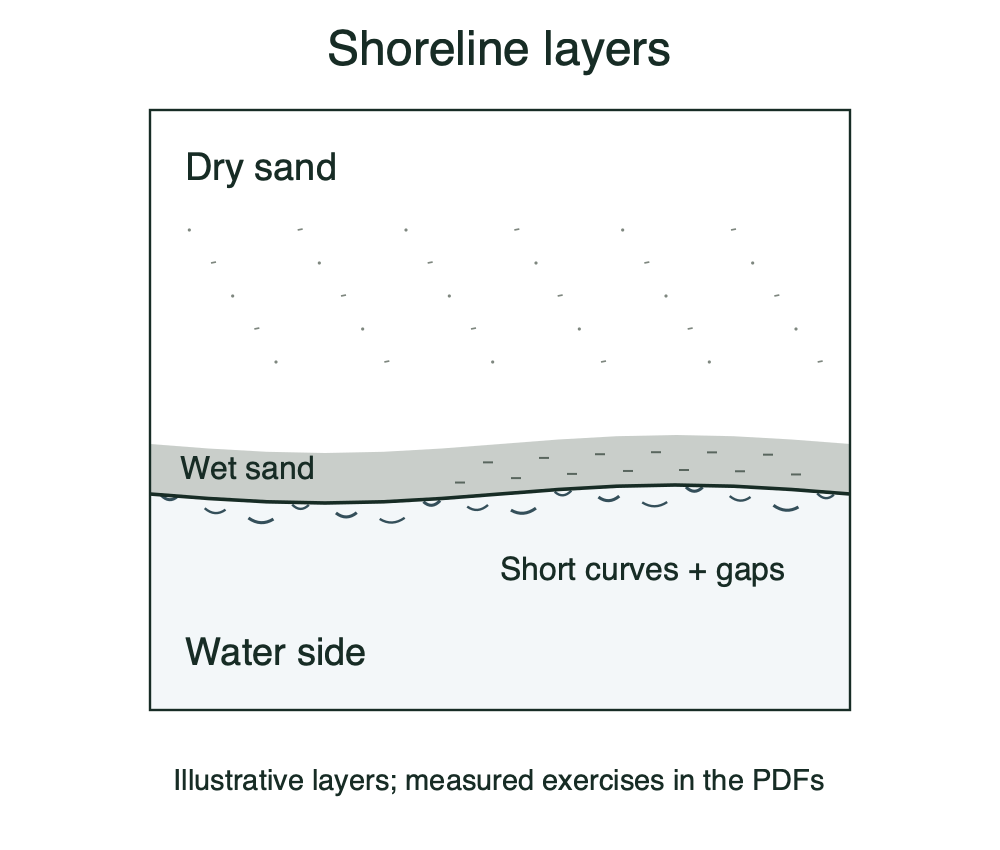
This lesson teaches a focused shore drawing: the meeting of water and sand, with a readable wave edge and wet-sand texture. It excludes ocean wave crests, beach sunsets, and coastal maps. You will use a simple convention: the waterline is the boundary between water and sand; the wave edge is the thin band where the last wave meets the sand; wet sand is the darker, smoother zone just above the waterline. Measure texture-band heights directly on your paper. All numerical examples are hypothetical and should be adjusted to your equipment. The drawing is built in layers: shoreline contour, wave edge, wet-sand band, dry-sand transition, and selective texture marks. Each layer is checked with simple arithmetic and visual tests. The goal is not a single correct picture but a valid shoreline reading under the stated convention, allowing alternative mark styles and proportions.
Begin by drawing a gentle shoreline contour across your paper. It can curve or run diagonally, but it must separate water from sand clearly. Mark the waterline as a single continuous line. Decide the height of the wet-sand band by measuring your actual paper and tools: for example, if your frame is 150 mm tall, a hypothetical wet band of 12 mm is about one-twelfth of the height. Label this value as a hypothetical example and adjust after measuring your own frame.
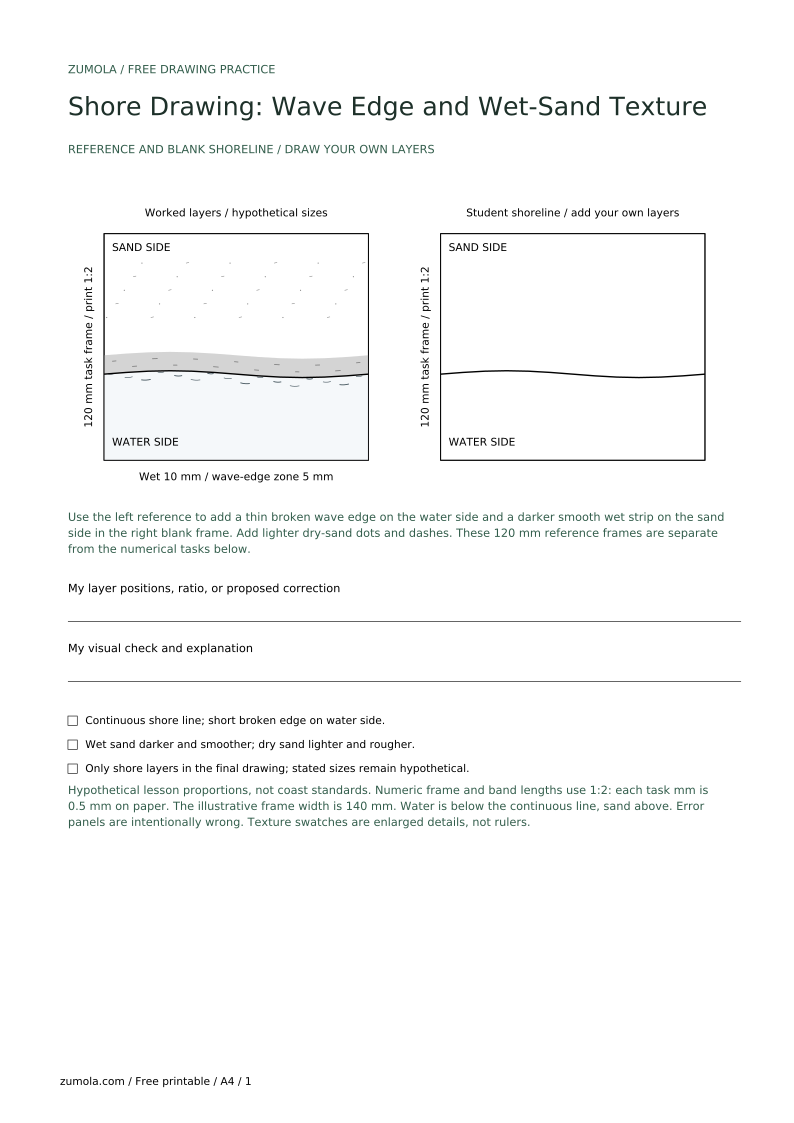
Keep the water side and sand side distinct. The wave edge will sit on the water side of the waterline, and the wet-sand band will sit on the sand side. This separation prevents the common error of merging wave foam with wet sand.
The wave edge is not a thick foam wall. Draw it as a thin band that follows the shoreline contour but breaks into short segments. Use a repeating pattern: a short curve, a gap, a thinner curve. The gaps let sand show through and keep the edge readable. Vary segment length by about one-third to one-half of the wet-band height; these are hypothetical proportions to test on your paper.
Check the edge by stepping back: you should see a continuous shoreline with a broken, thin wave edge, not a solid white stripe. If the edge looks like a crest, reduce its height and increase the gaps.
Wet sand is darker and smoother than dry sand. Fill the wet band with light, even tone first, then add sparse directional marks that follow the shoreline. Avoid heavy cross-hatching; wet sand reflects and compresses texture. Use short, low-contrast strokes and small dark specks near the waterline. The dry sand beyond the wet band should be lighter and slightly rougher, with scattered dots and short dashes.
Measure contrast by comparing the wet band to the dry sand: the wet band should be visibly darker but not black. A simple check is to squint; the wet band should read as one smooth darker strip, while the dry sand remains lighter and more broken.
Integrate the layers by softening the boundary between wet and dry sand while keeping the waterline crisp. The wave edge should touch the waterline in places and leave gaps in others. Check proportions with simple arithmetic: if the wet band is 12 mm and the wave edge is 6 mm, the edge is half the wet band; adjust until the relationship looks balanced on your paper. These values are hypothetical examples, not standards.
Final check: the drawing must read as a shore with a wave edge and wet-sand texture, not as an ocean crest or a beach sunset. Remove any element that suggests a crest, sun, or map symbol.
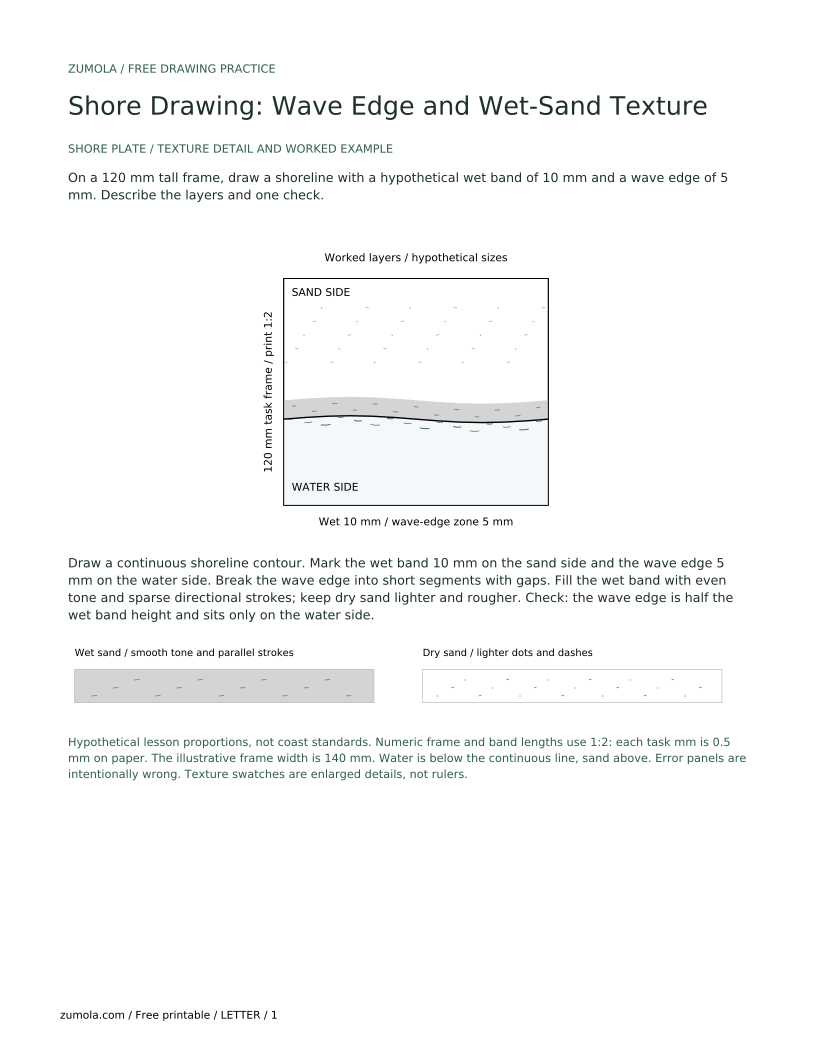
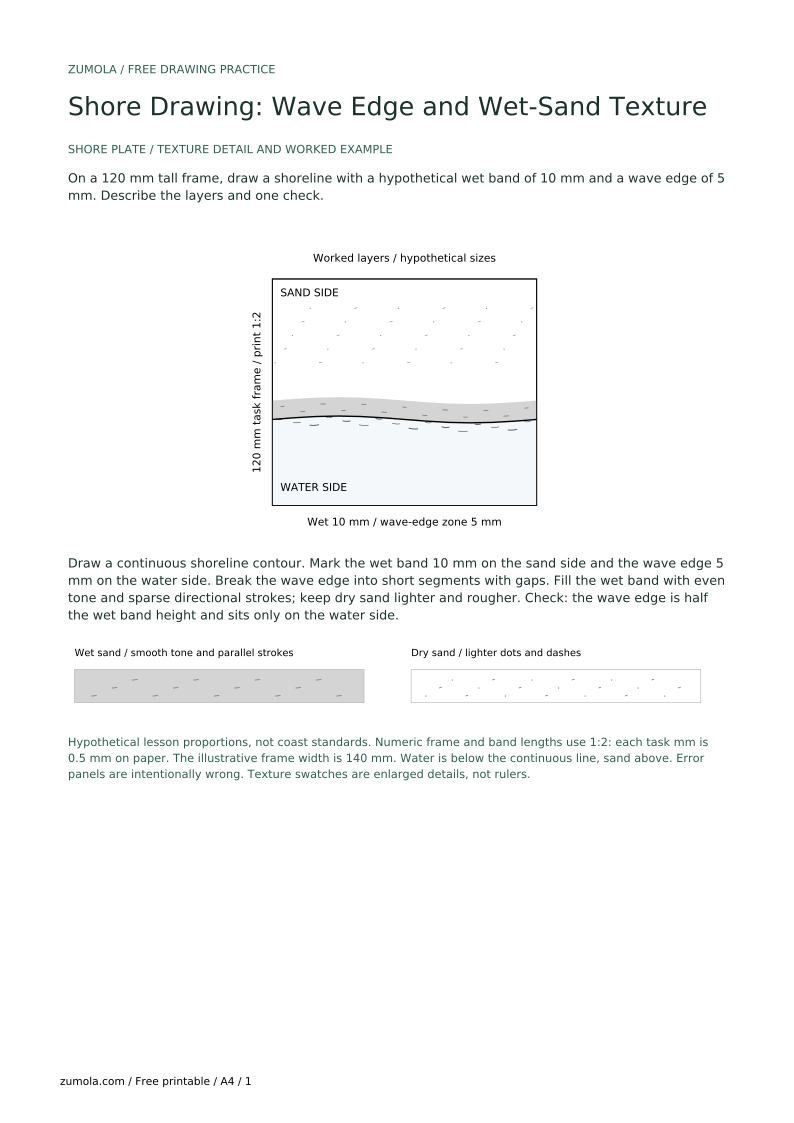
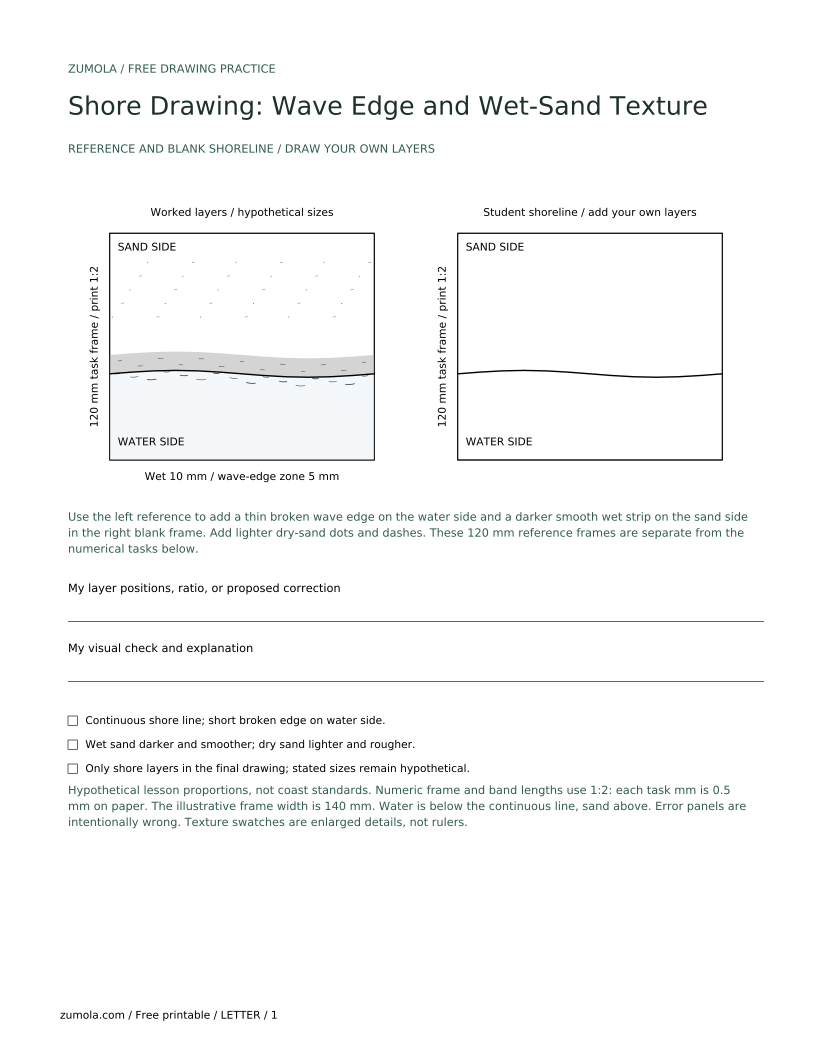
On a 120 mm tall frame, draw a shoreline with a hypothetical wet band of 10 mm and a wave edge of 5 mm. Describe the layers and one check.
Draw a continuous shoreline contour. Mark the wet band 10 mm on the sand side and the wave edge 5 mm on the water side. Break the wave edge into short segments with gaps. Fill the wet band with even tone and sparse directional strokes; keep dry sand lighter and rougher. Check: the wave edge is half the wet band height and sits only on the water side.
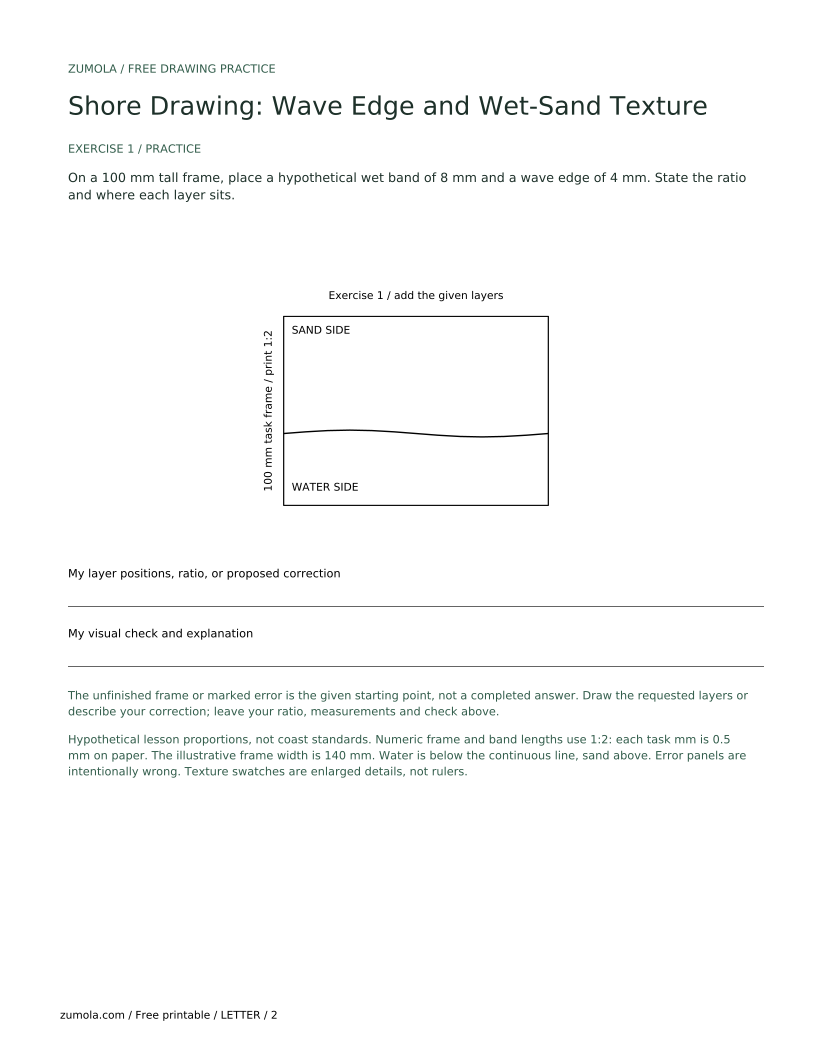
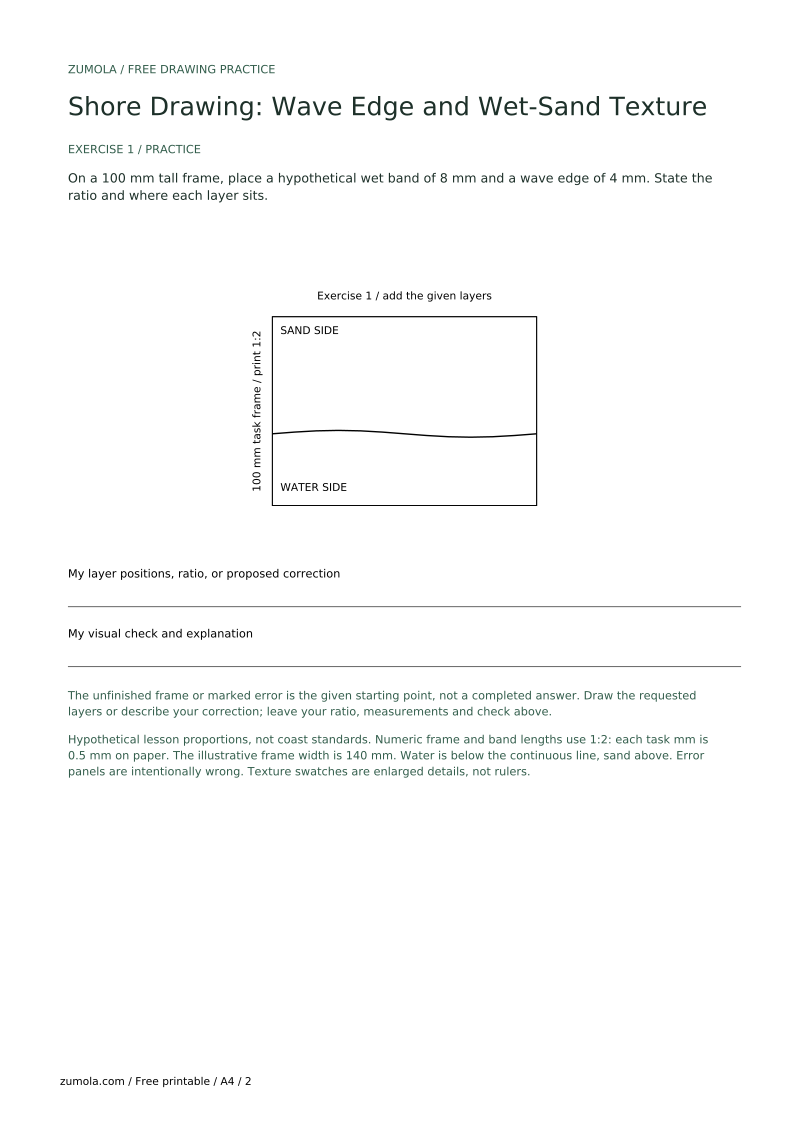
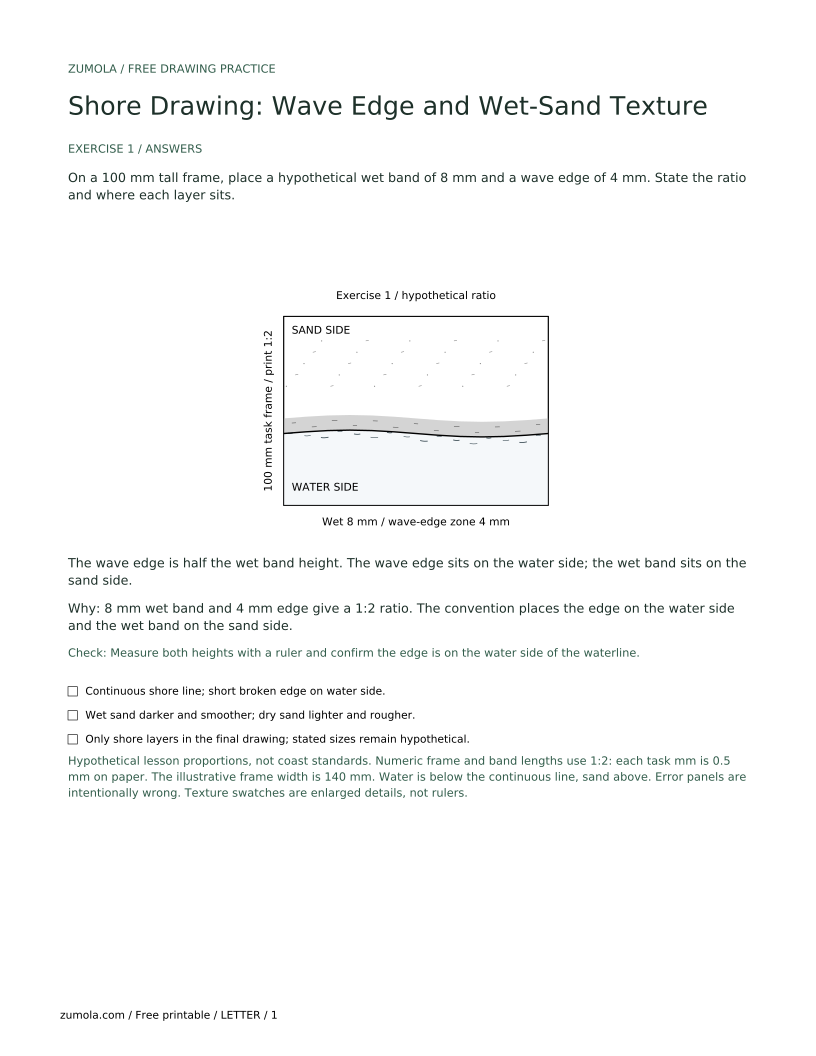
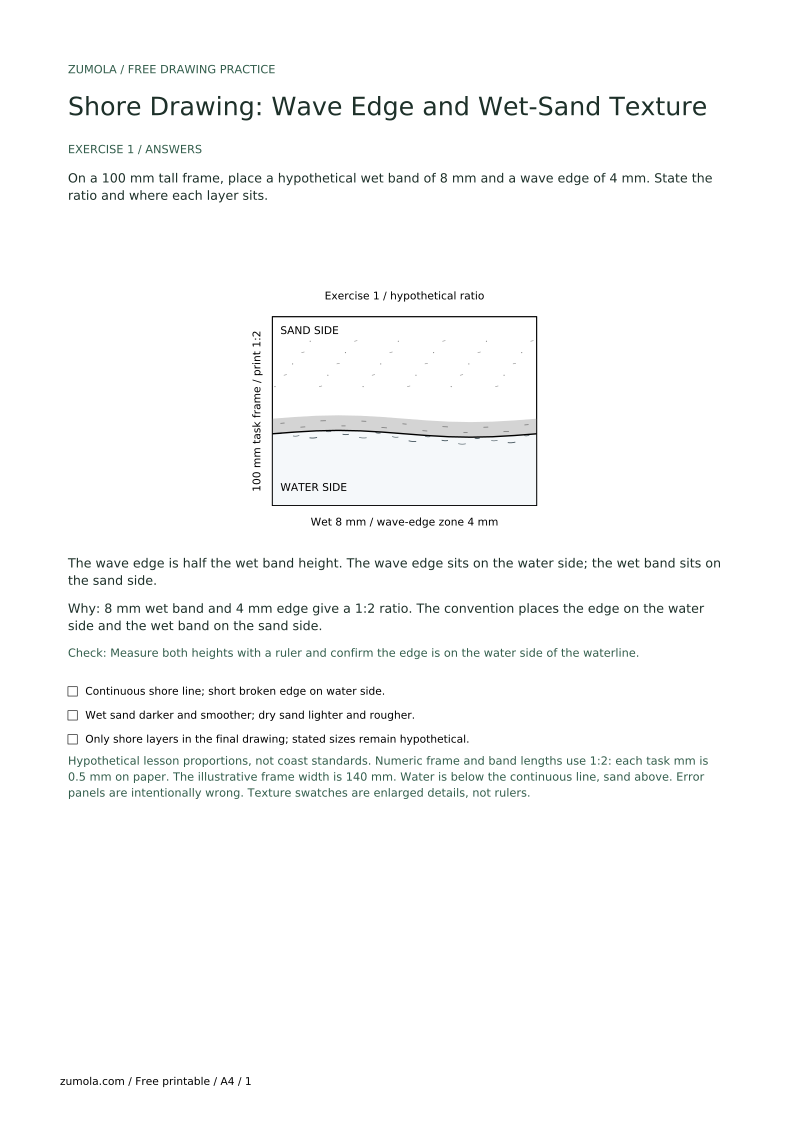
On a 100 mm tall frame, place a hypothetical wet band of 8 mm and a wave edge of 4 mm. State the ratio and where each layer sits.
The wave edge is half the wet band height. The wave edge sits on the water side; the wet band sits on the sand side.
8 mm wet band and 4 mm edge give a 1:2 ratio. The convention places the edge on the water side and the wet band on the sand side.
Check: Measure both heights with a ruler and confirm the edge is on the water side of the waterline.
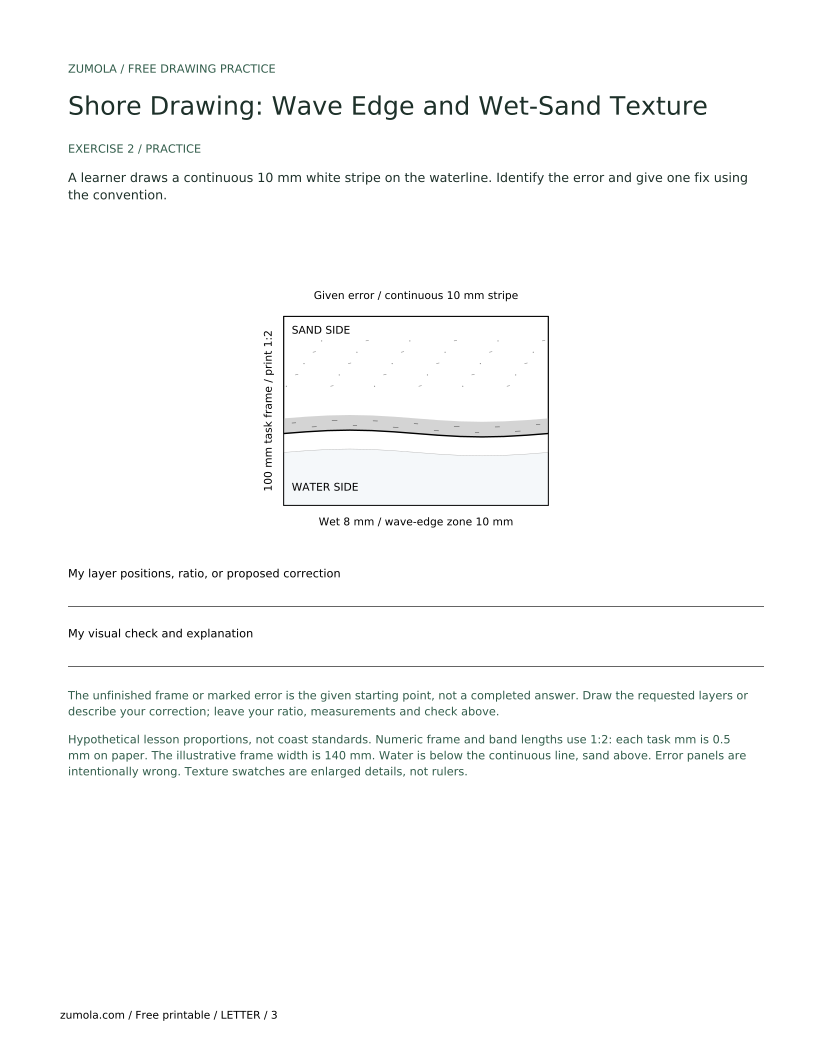
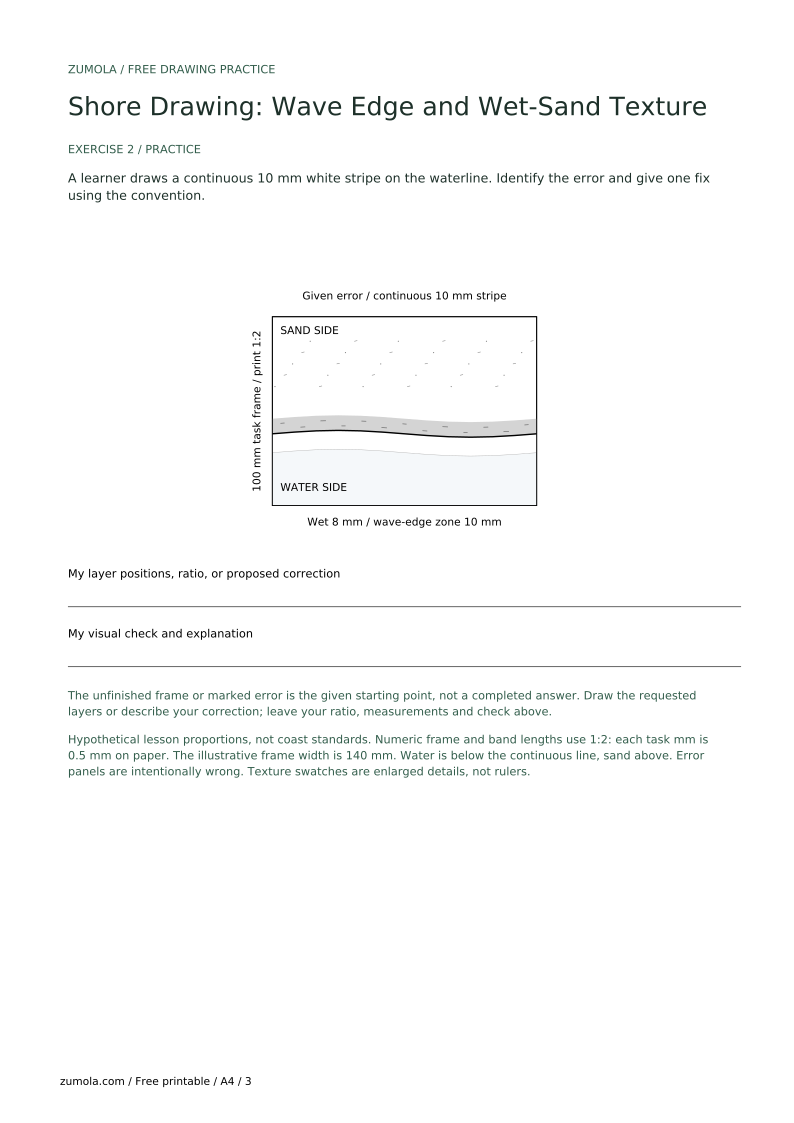
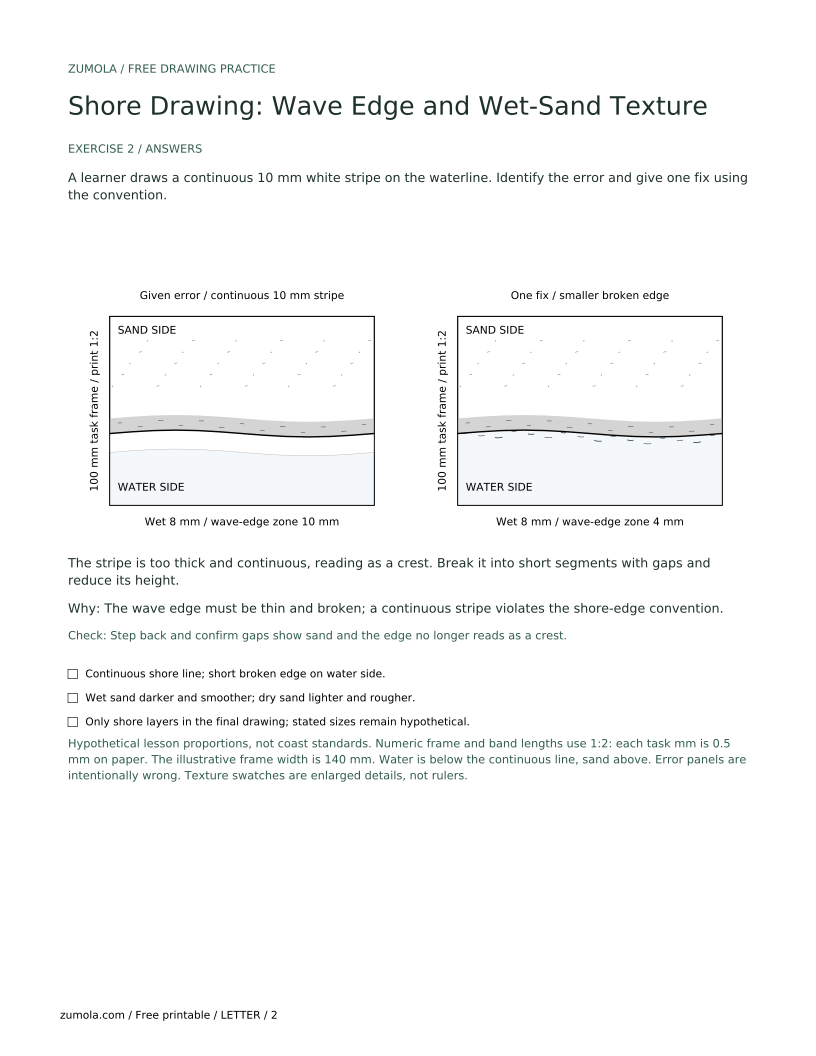
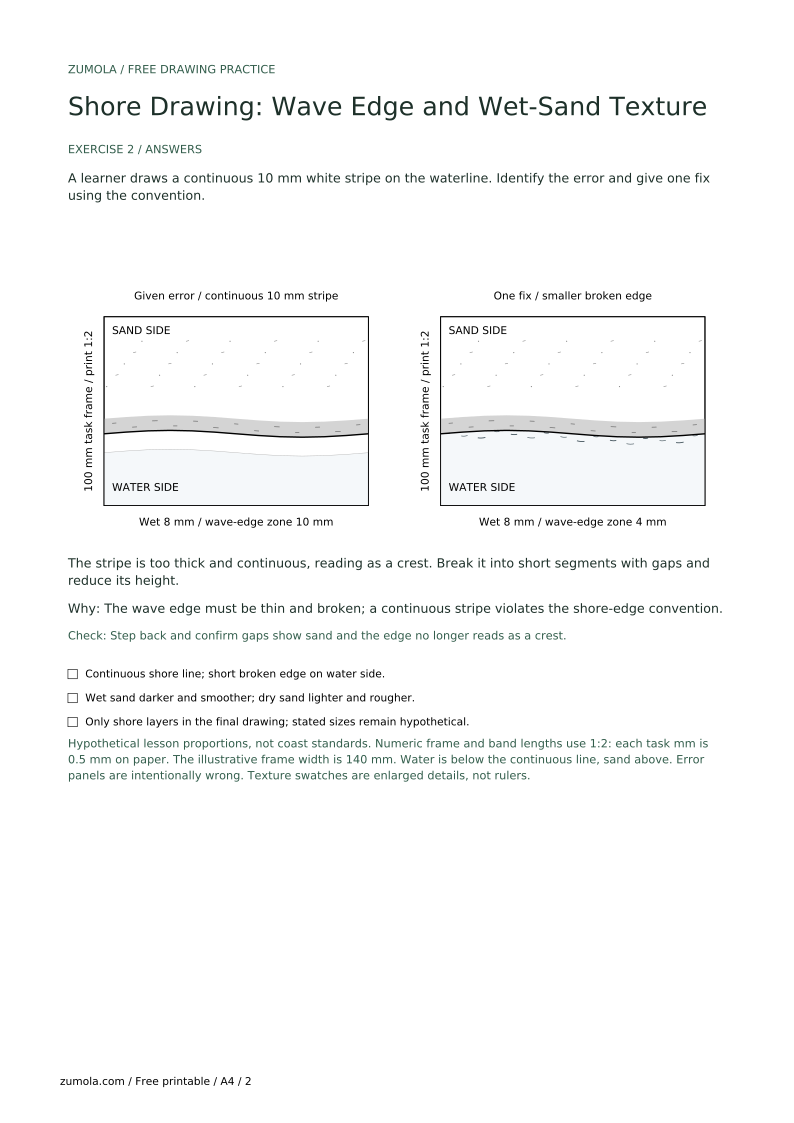
A learner draws a continuous 10 mm white stripe on the waterline. Identify the error and give one fix using the convention.
The stripe is too thick and continuous, reading as a crest. Break it into short segments with gaps and reduce its height.
The wave edge must be thin and broken; a continuous stripe violates the shore-edge convention.
Check: Step back and confirm gaps show sand and the edge no longer reads as a crest.
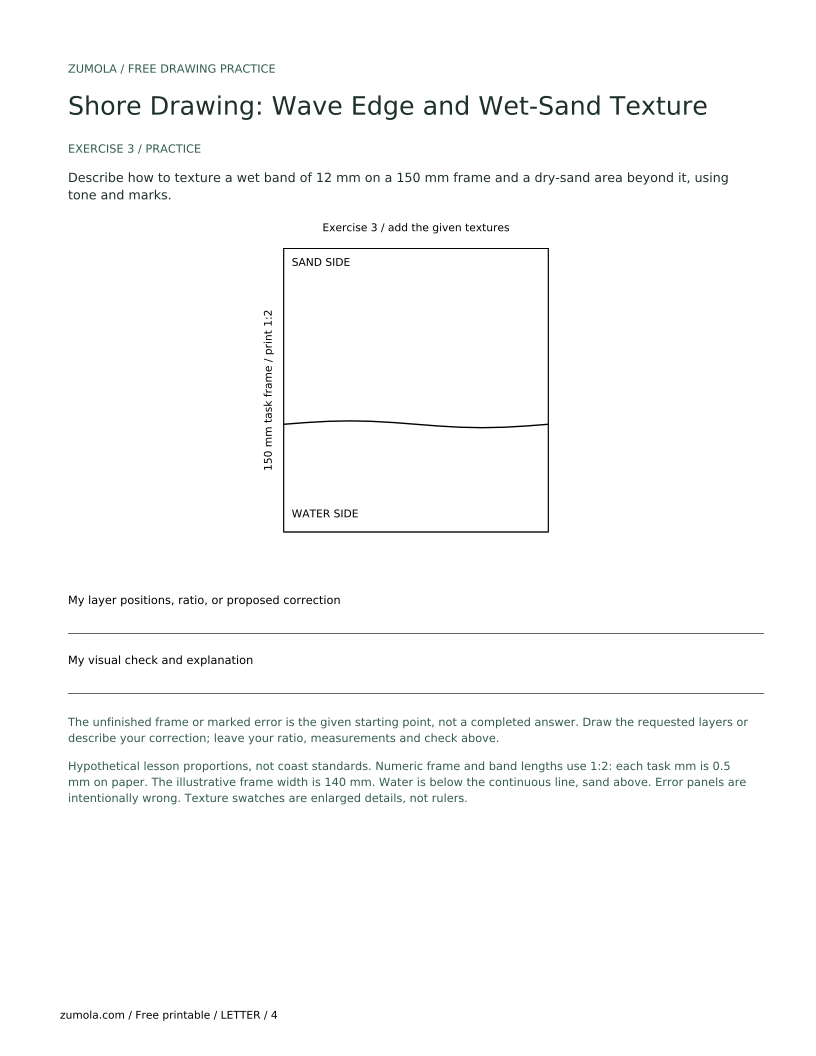
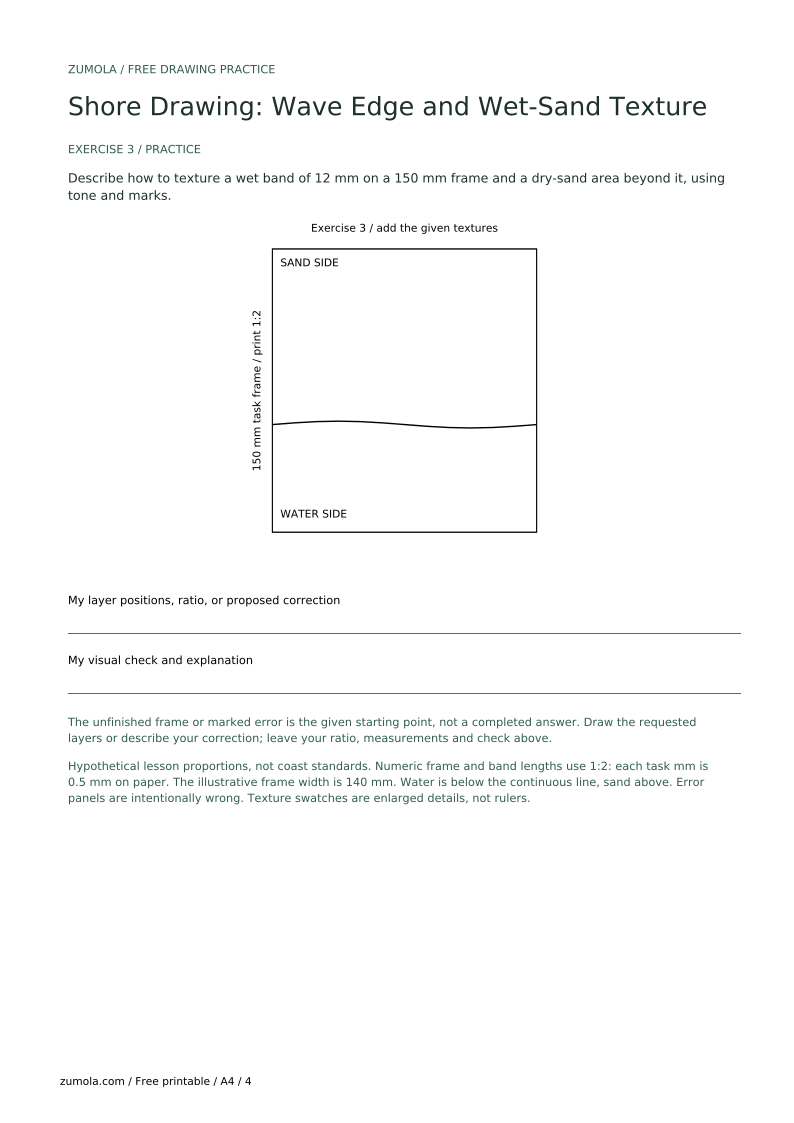
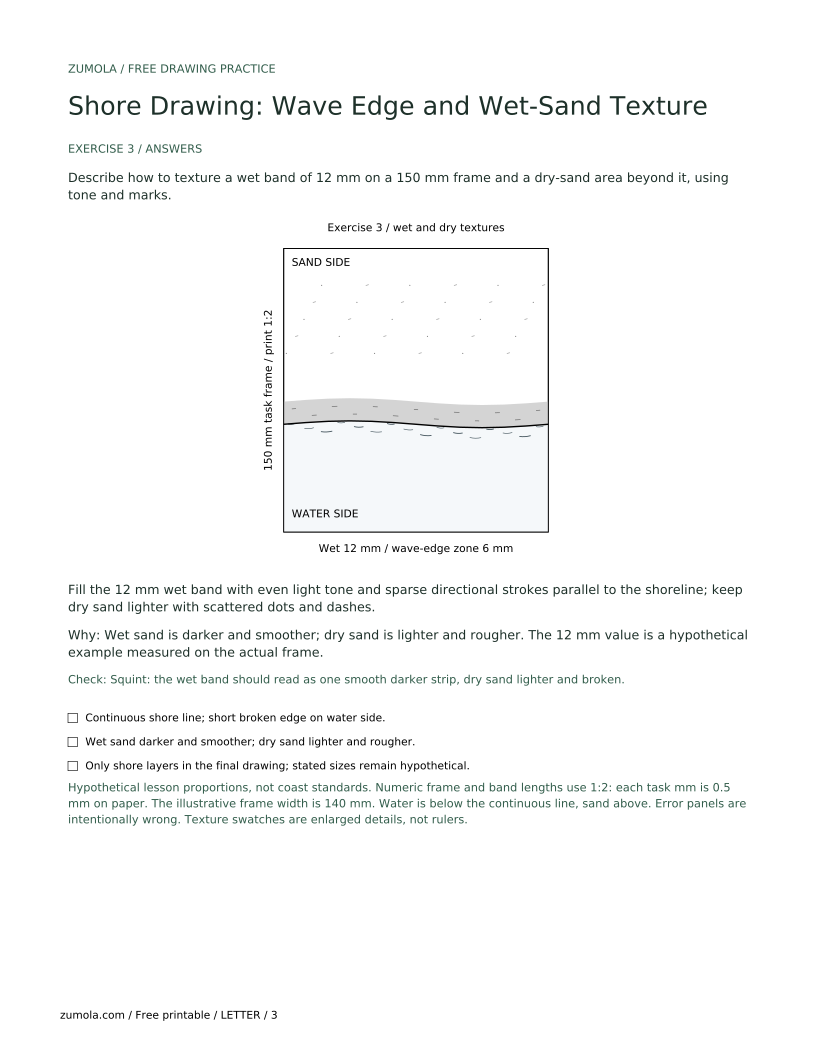
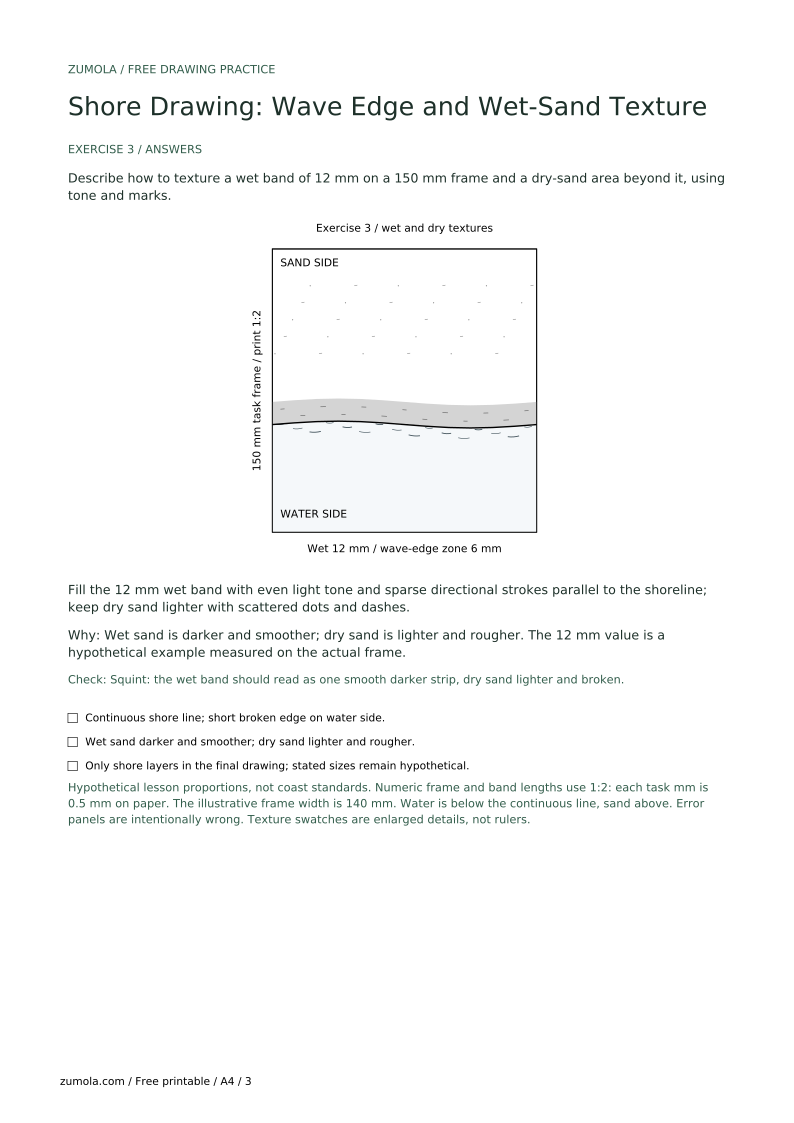
Describe how to texture a wet band of 12 mm on a 150 mm frame and a dry-sand area beyond it, using tone and marks.
Fill the 12 mm wet band with even light tone and sparse directional strokes parallel to the shoreline; keep dry sand lighter with scattered dots and dashes.
Wet sand is darker and smoother; dry sand is lighter and rougher. The 12 mm value is a hypothetical example measured on the actual frame.
Check: Squint: the wet band should read as one smooth darker strip, dry sand lighter and broken.
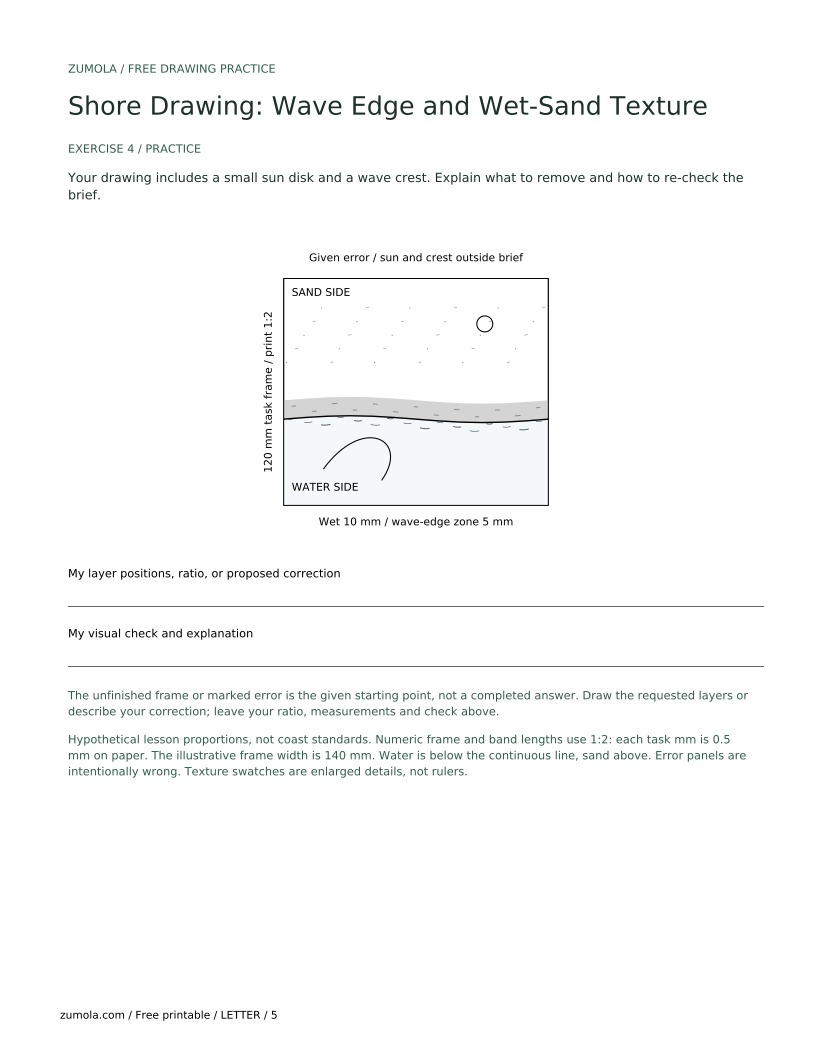
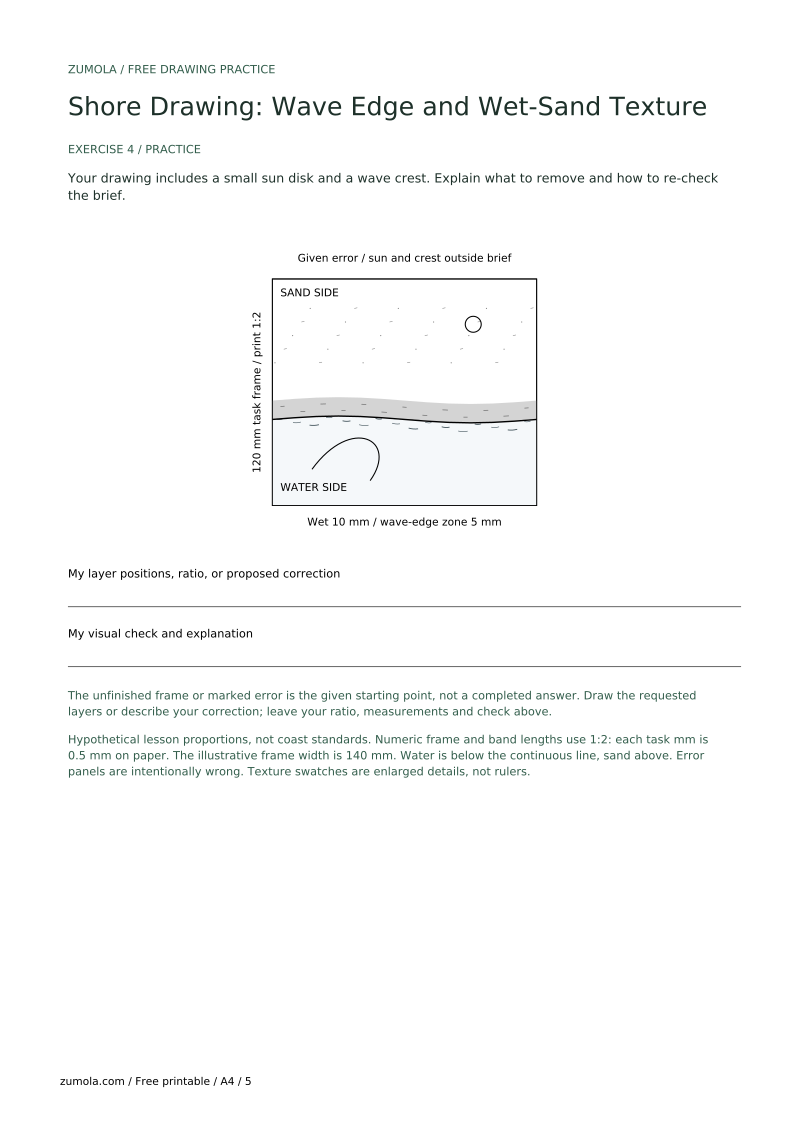
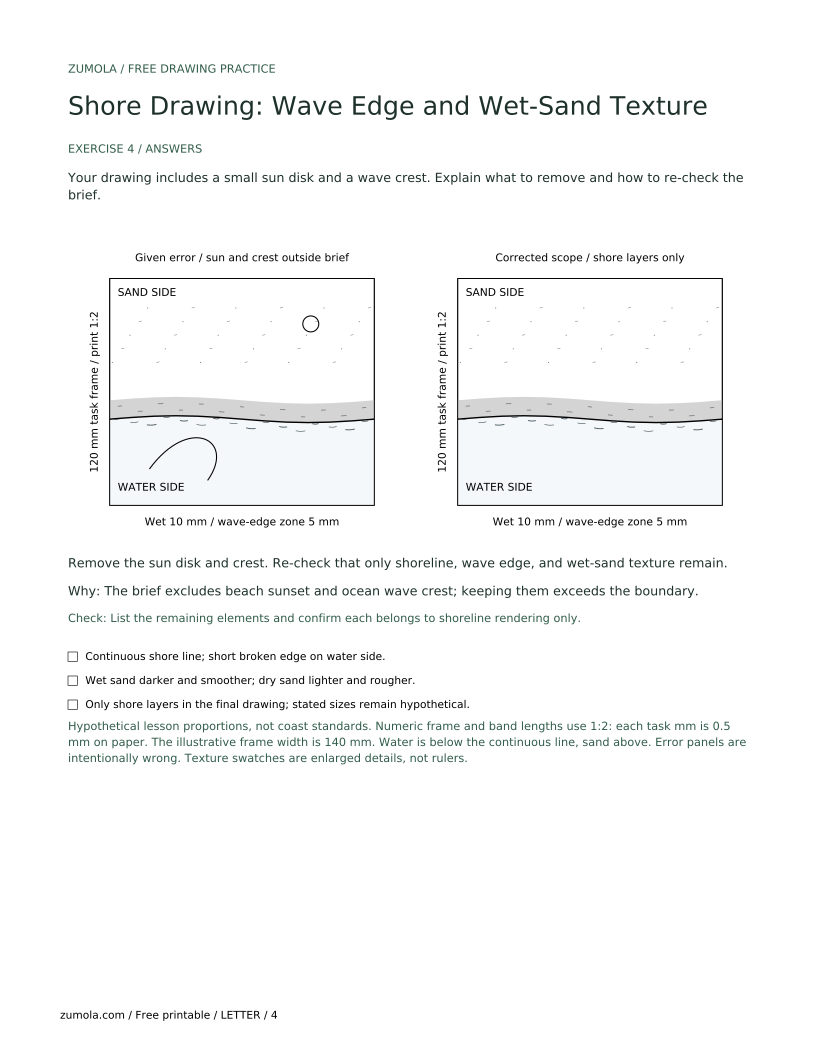
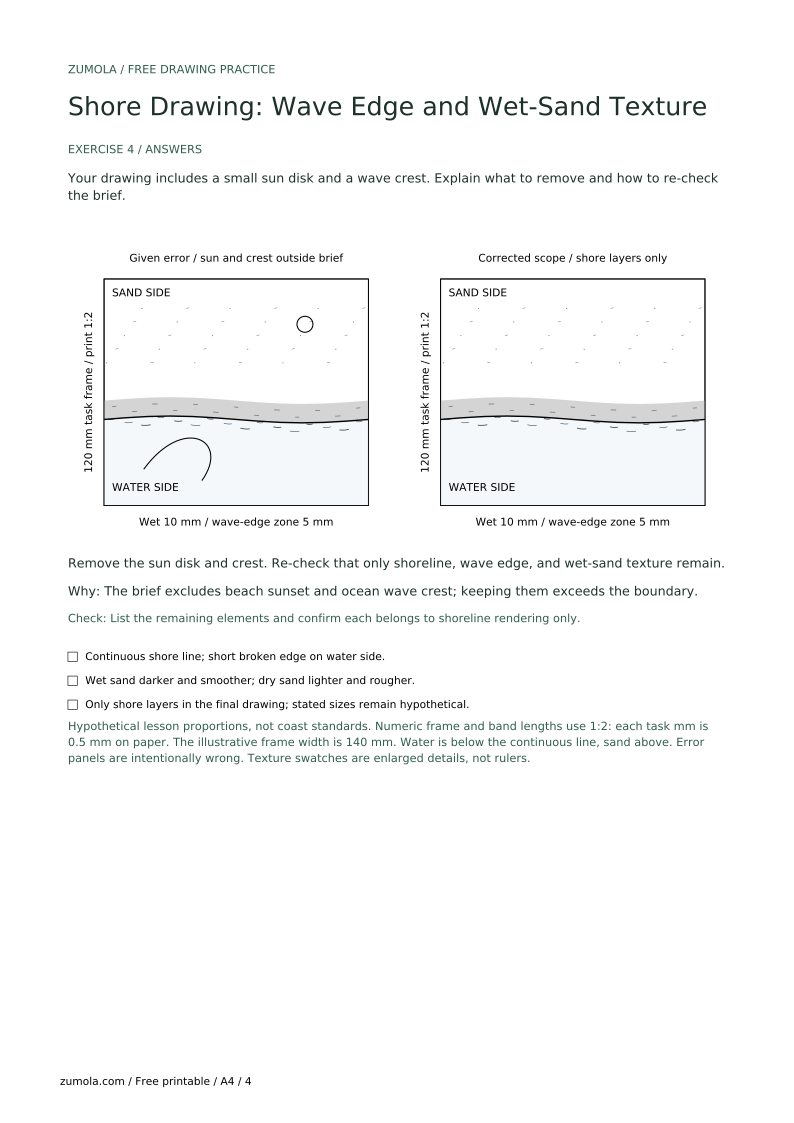
Your drawing includes a small sun disk and a wave crest. Explain what to remove and how to re-check the brief.
Remove the sun disk and crest. Re-check that only shoreline, wave edge, and wet-sand texture remain.
The brief excludes beach sunset and ocean wave crest; keeping them exceeds the boundary.
Check: List the remaining elements and confirm each belongs to shoreline rendering only.
Reduce the edge height and break it into short segments with gaps so sand shows through.
Darken the wet band with even tone and use fewer, smoother directional marks.
Keep the wave edge on the water side of the waterline; re-measure the offset.
Remove crest shapes and sun disks; keep only shoreline, wave edge, and sand texture.
No. Use what you have. Measure your actual paper and tools, and treat any numerical examples as hypothetical starting points.
Visibly darker than dry sand but not black. Squint to check that the wet band reads as one smooth darker strip.
Yes. Any clear contour works as long as water and sand remain distinct and the wave edge stays on the water side.
Lower its height, increase gaps, and thicken only the lower contact with sand.