Free grid drawing worksheets

Look closely.
Draw one cell at a time.

Twelve original drawings, from a quiet leaf to a detailed turtle. Use a matching grid to practice placement and proportion. Each drawing includes a reference, a student worksheet and a reference completion.

12 drawings · 3 levels.
2 attempts on each student sheet.
All references and answers included.

Find your first drawing.

Choose a level
Download paper size

Print a four-drawing set.

Each level pack contains four pages. Choose the student pack for practice, the answer pack to compare, or the larger reference pack for display.

Beginner

4 pages per file · free · CC BY 4.0

All paper sizes & editable formats
US Letter
A4

Intermediate

4 pages per file · free · CC BY 4.0

All paper sizes & editable formats
US Letter
A4

Challenge

4 pages per file · free · CC BY 4.0

All paper sizes & editable formats
US Letter
A4
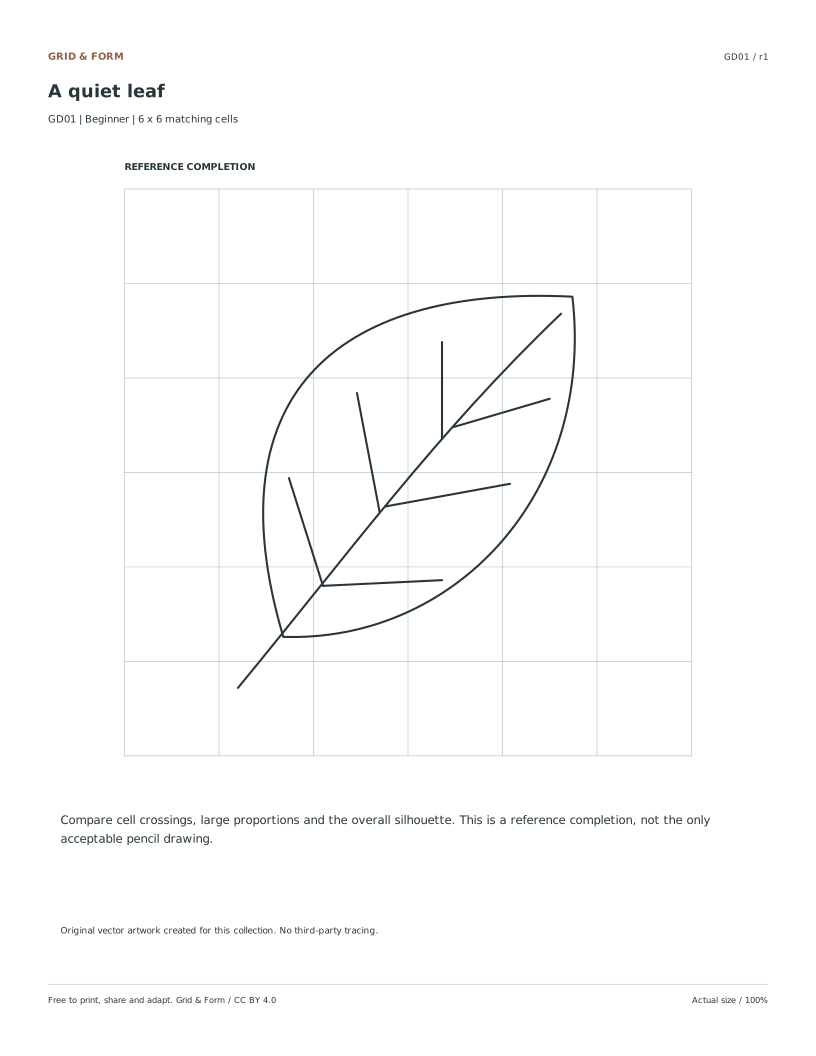
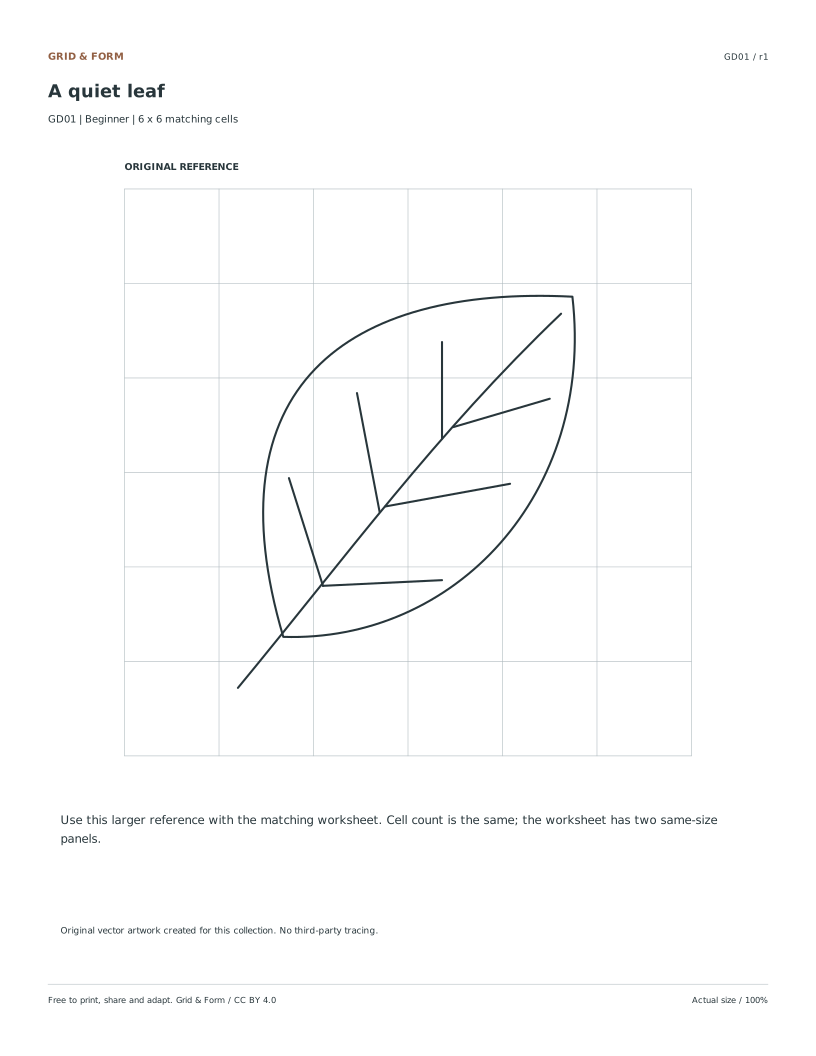
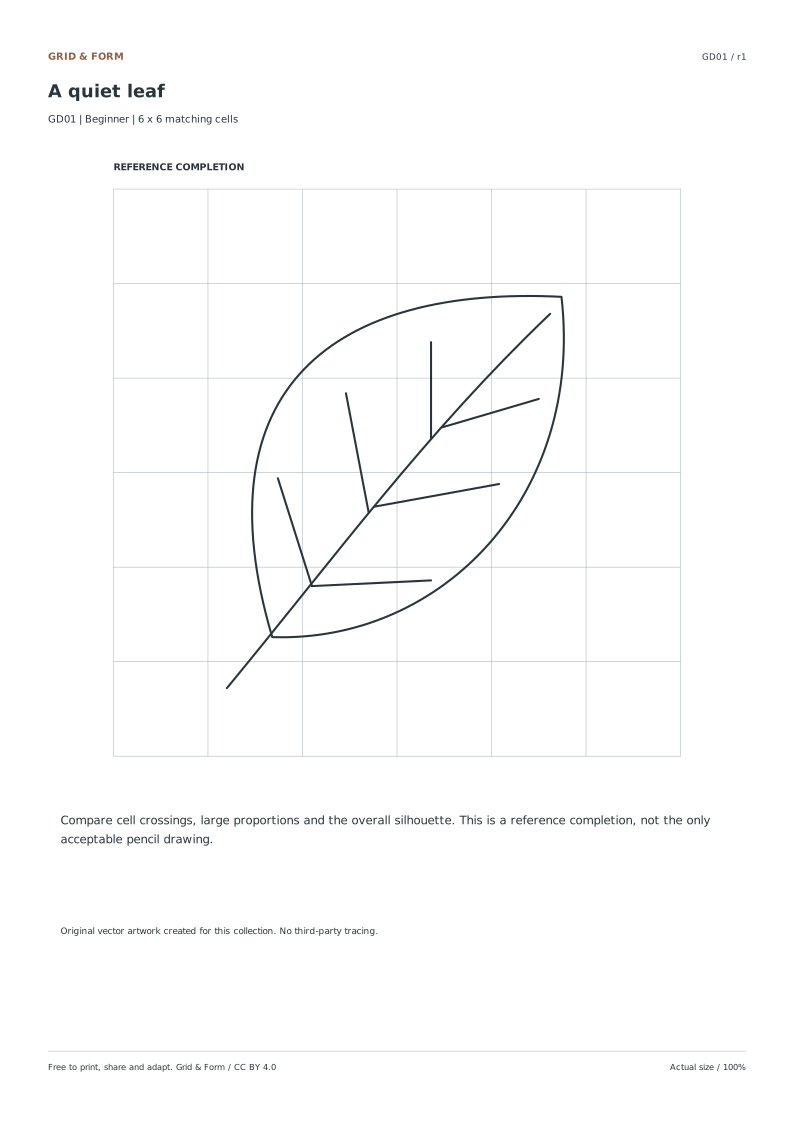
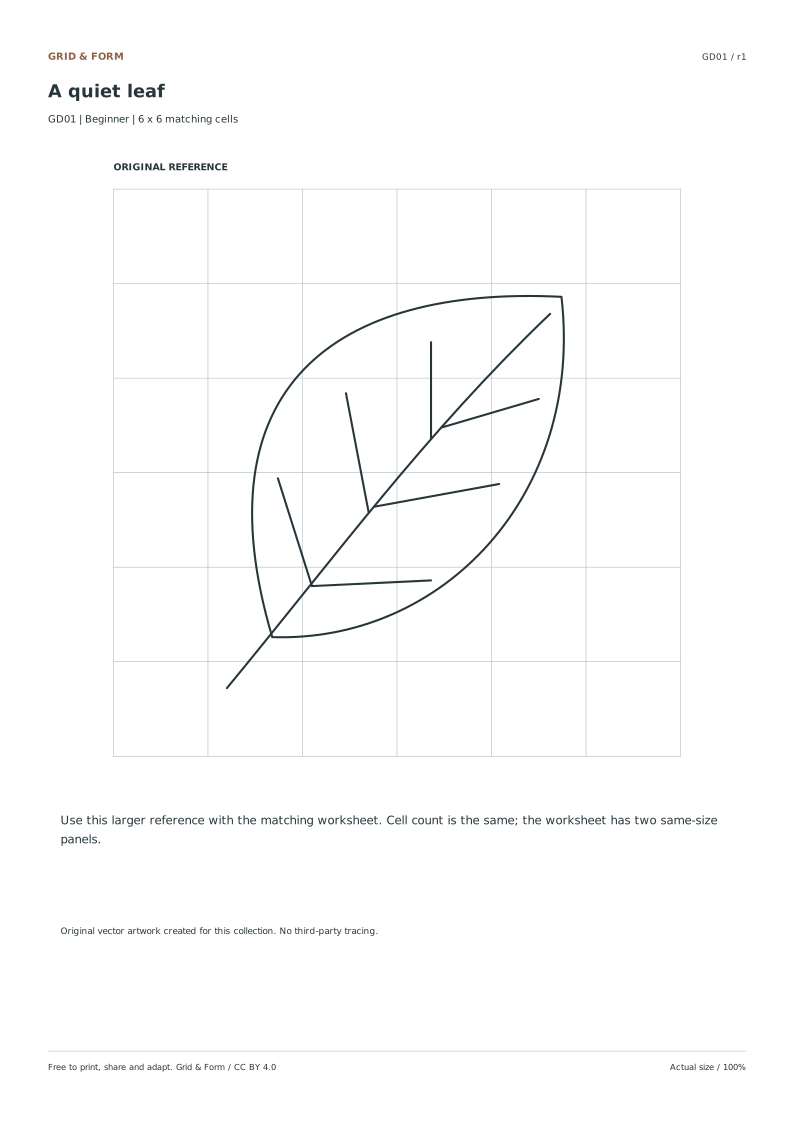
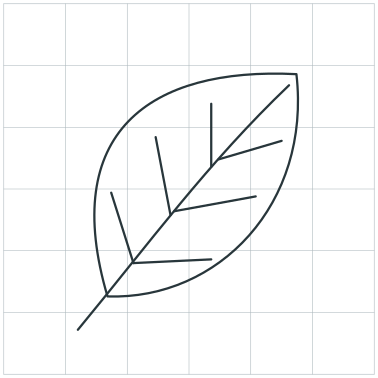
A quiet leaf preview
beginner · 6 × 6 cellsGD01

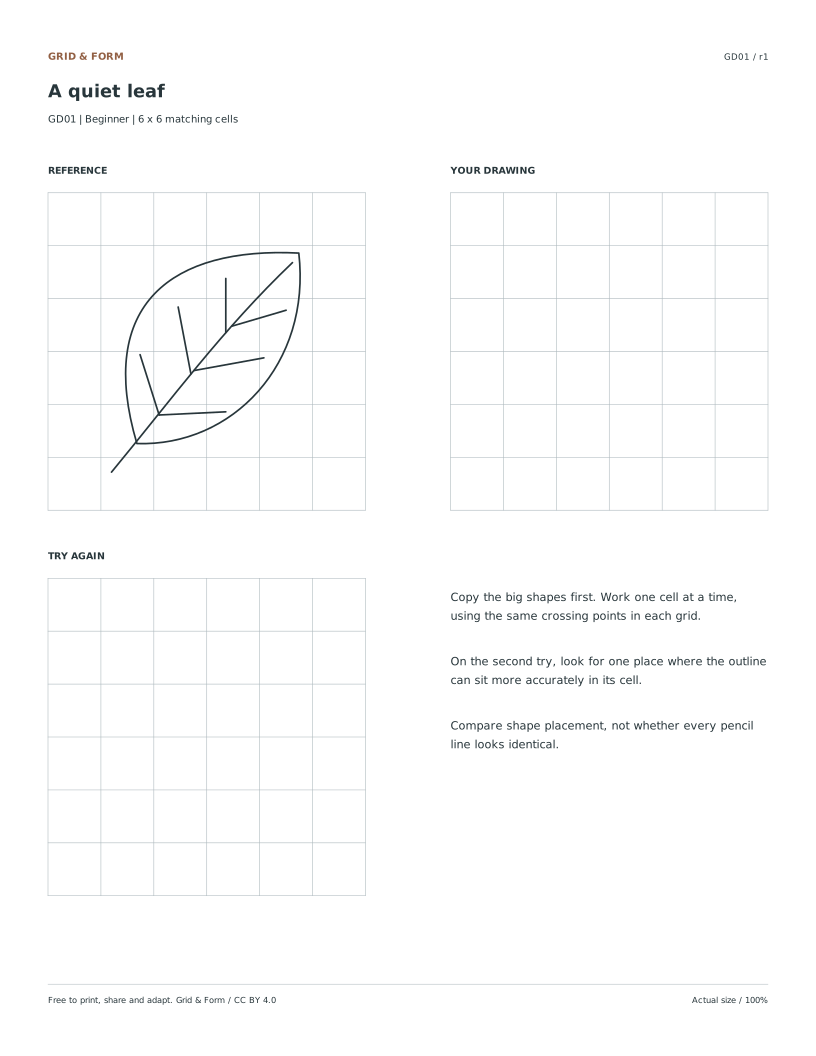
A quiet leaf

A broad outline and a few veins. Begin with the main curve, then place the smaller lines.

1 page per file · free · CC BY 4.0

All paper sizes & editable formats
US Letter
A4
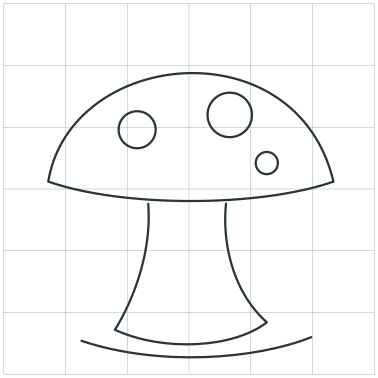
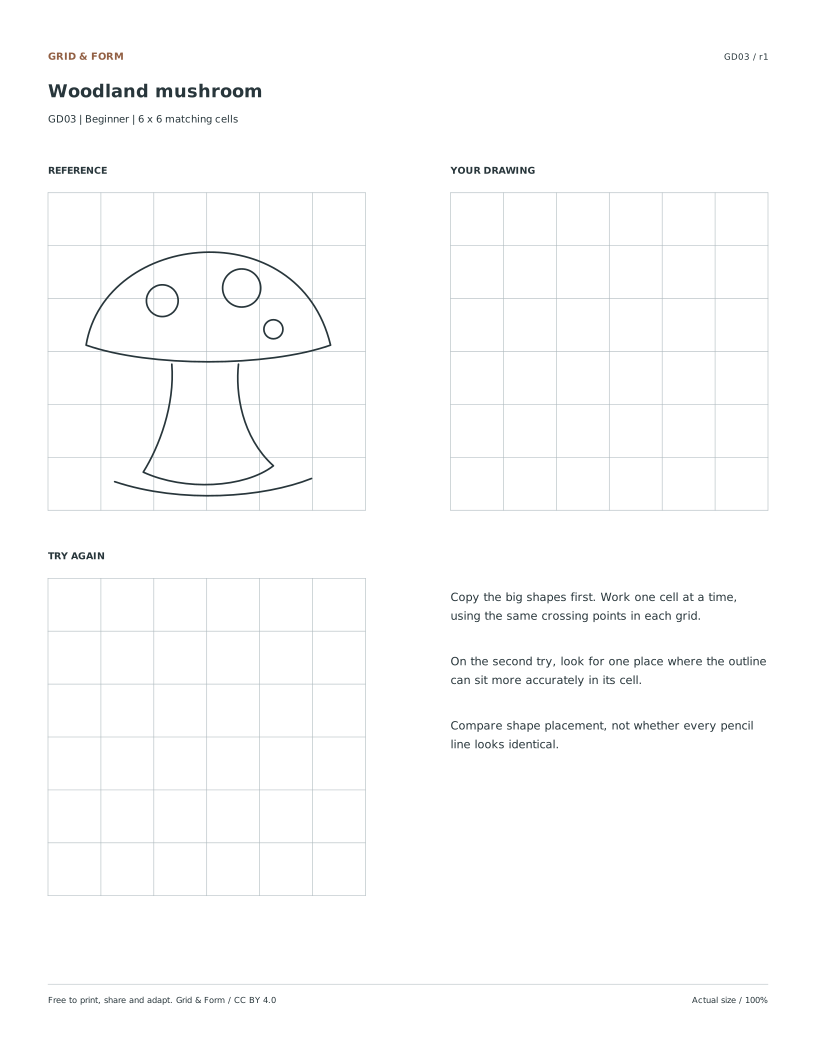
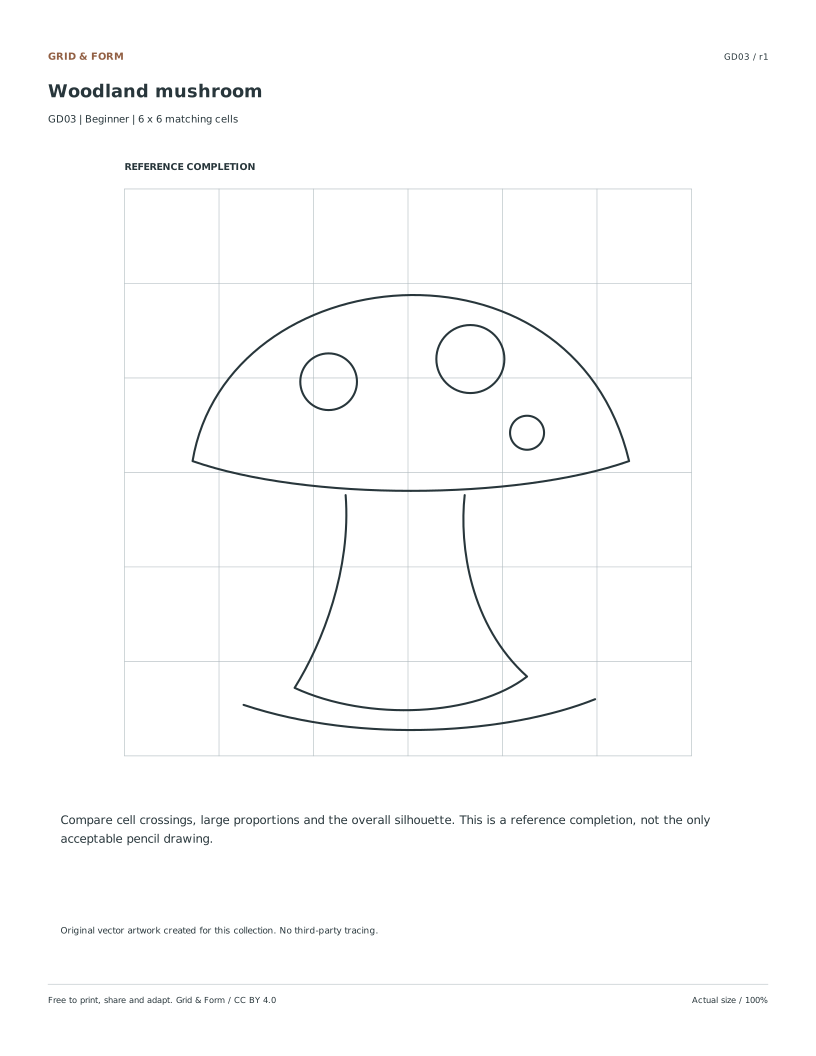
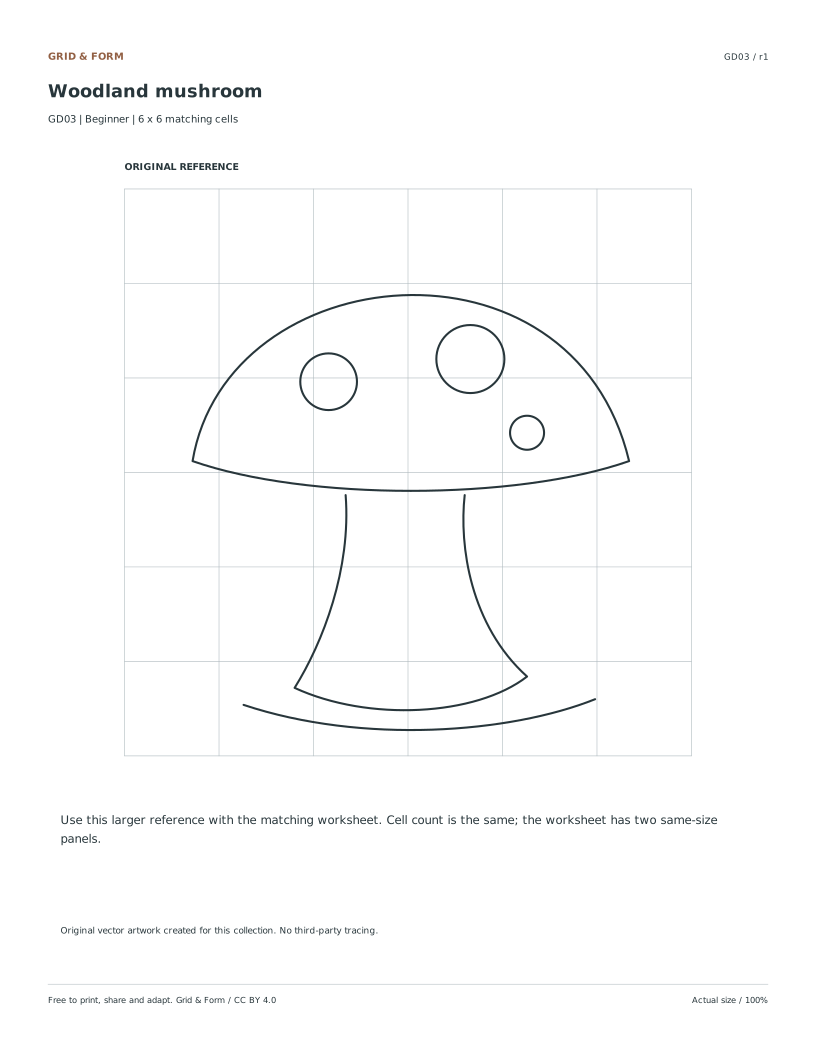
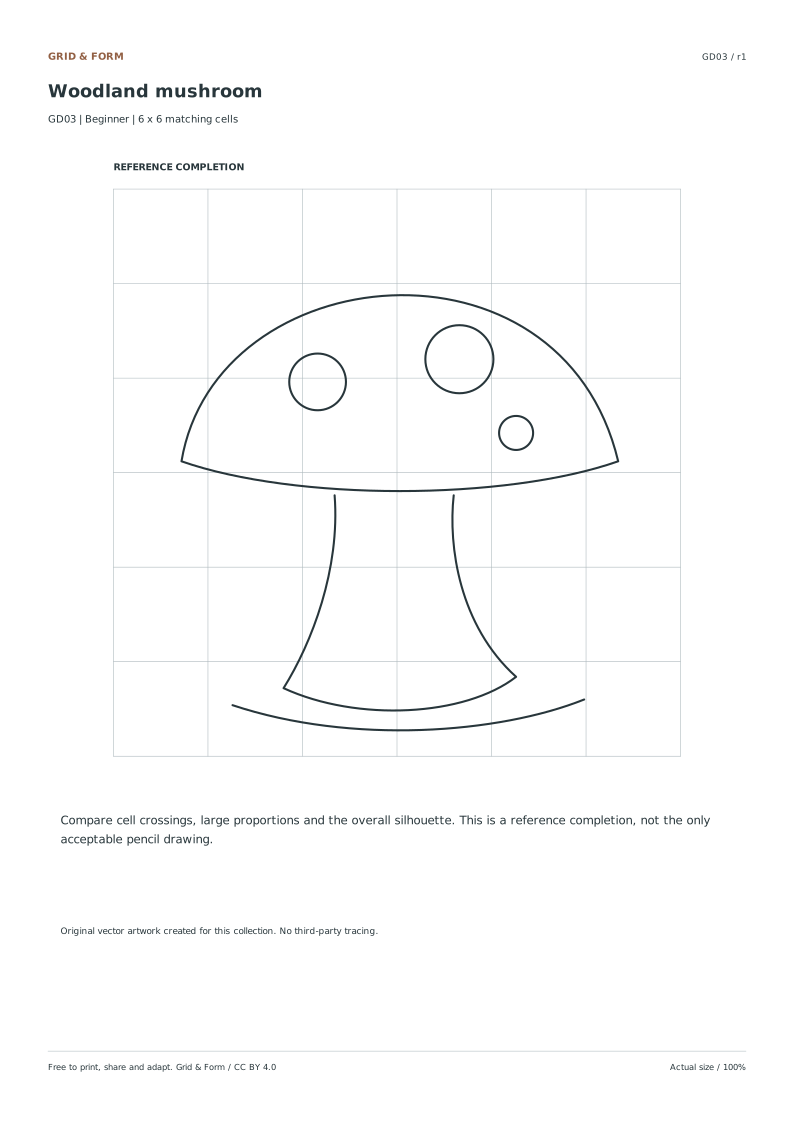
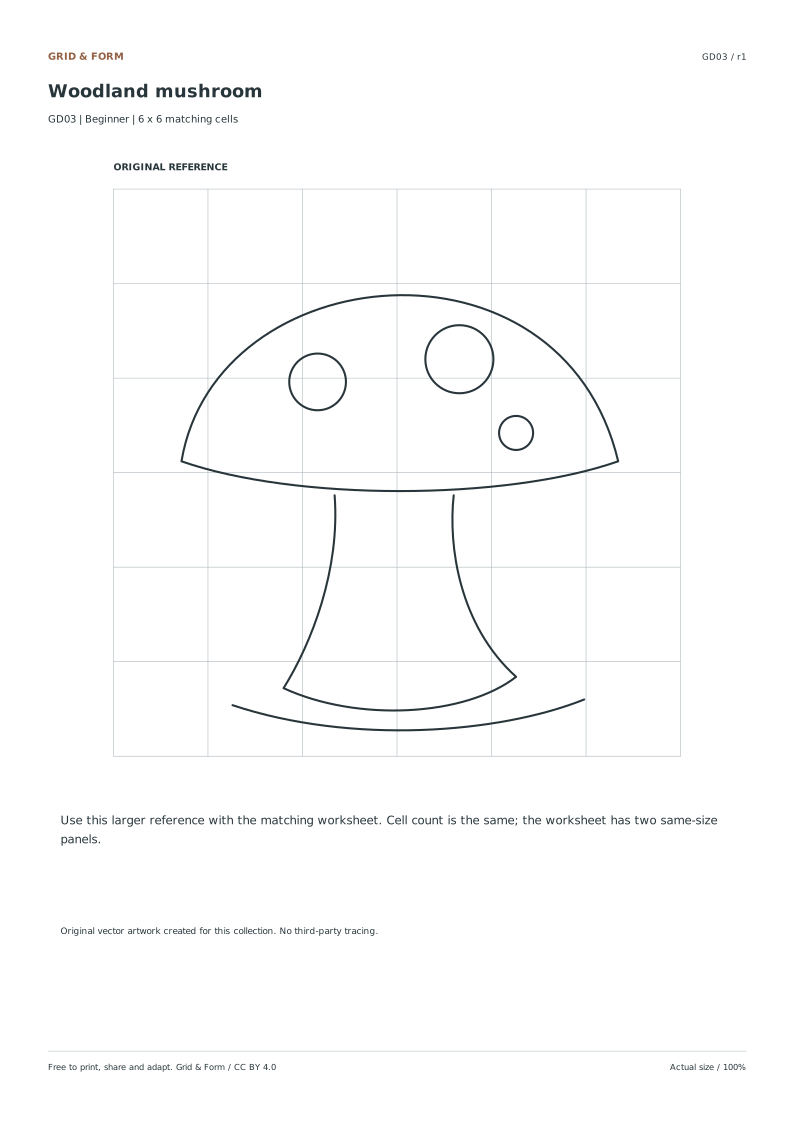
Woodland mushroom preview
beginner · 6 × 6 cellsGD03

Woodland mushroom

Compare the cap width with the stem. Watch where the curved outline crosses a cell edge.

1 page per file · free · CC BY 4.0

All paper sizes & editable formats
US Letter
A4
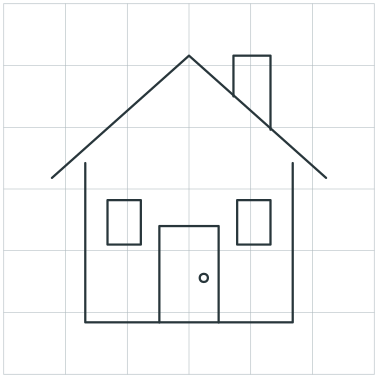
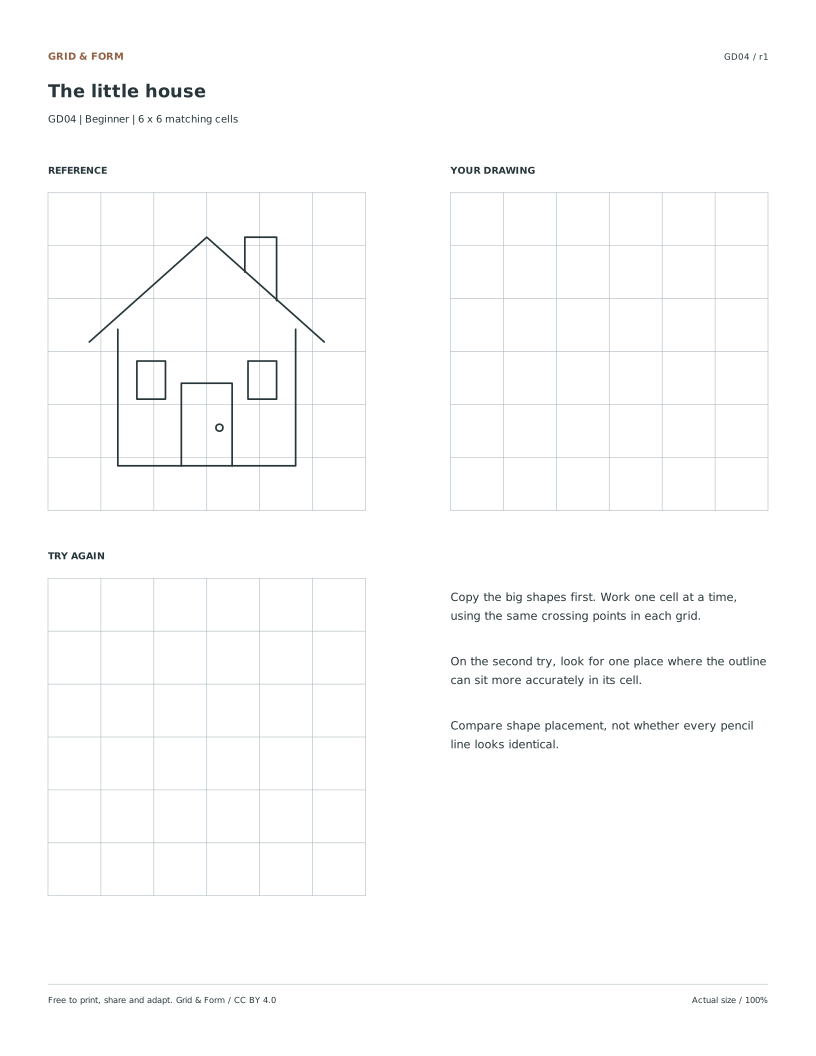
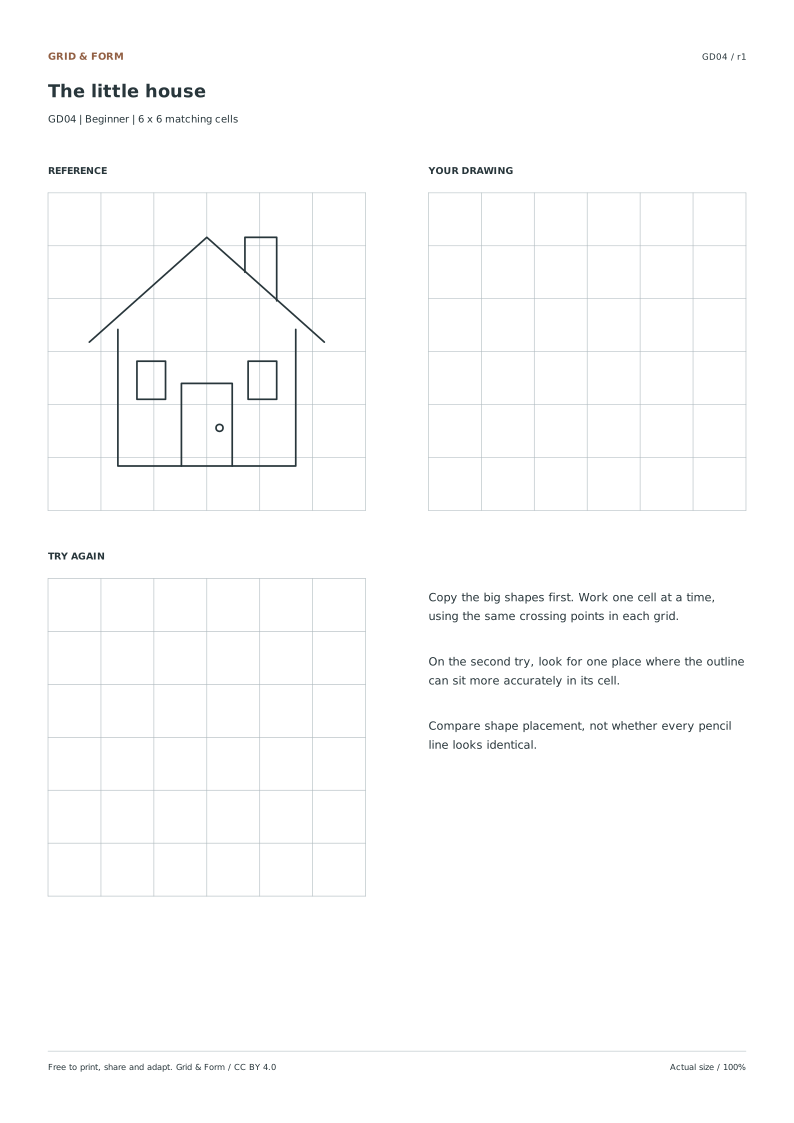
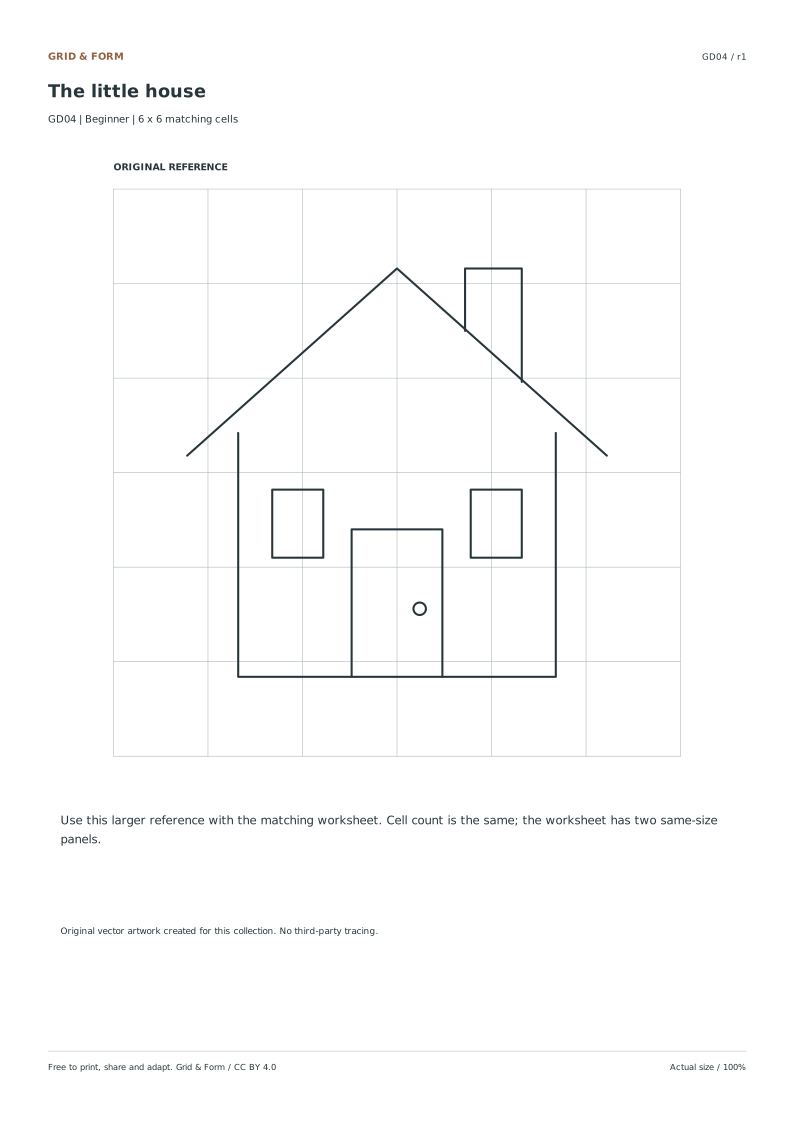
The little house preview
beginner · 6 × 6 cellsGD04

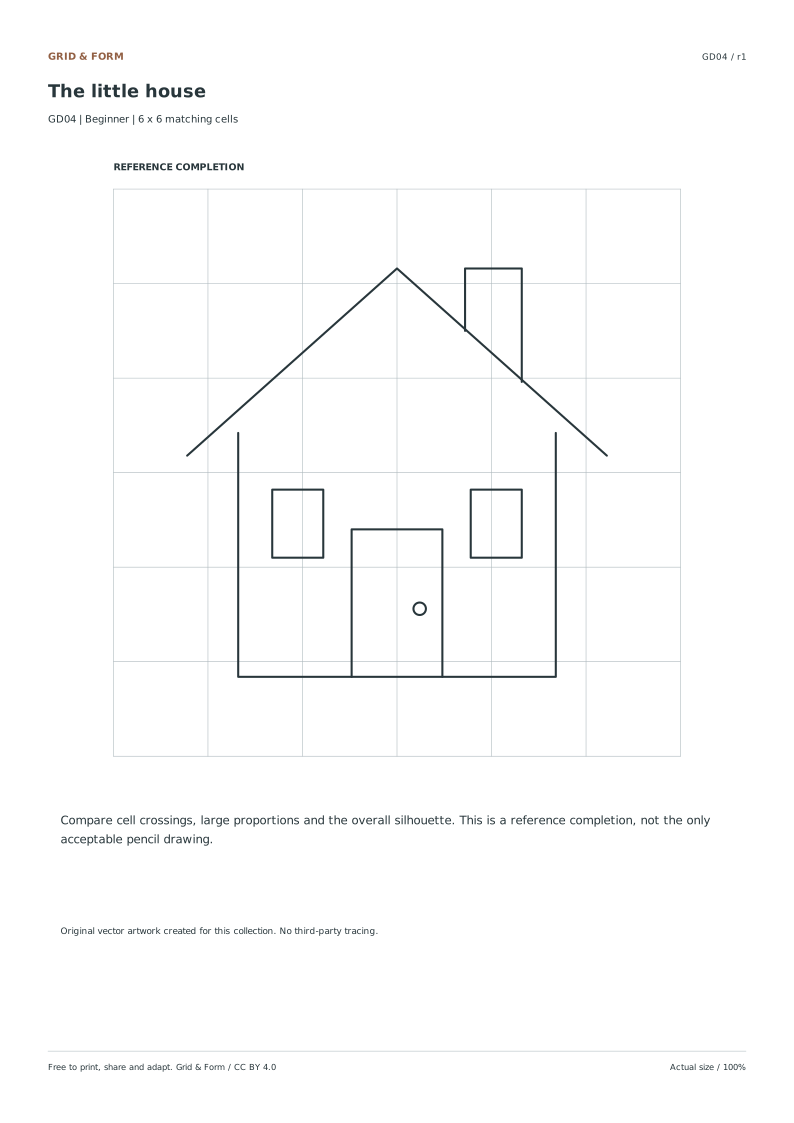
The little house

Align the roof, walls, window and door. Use cell boundaries to compare straight segments.

1 page per file · free · CC BY 4.0

All paper sizes & editable formats
US Letter
A4
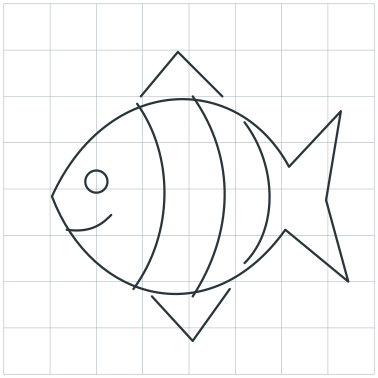
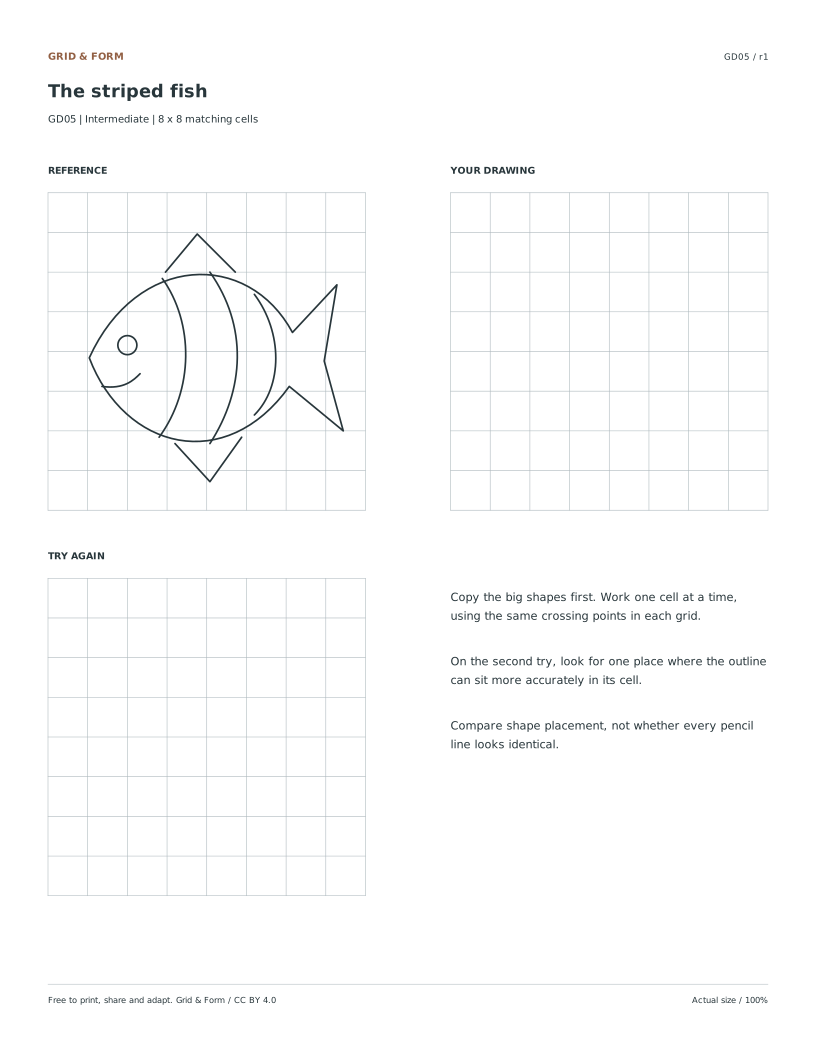
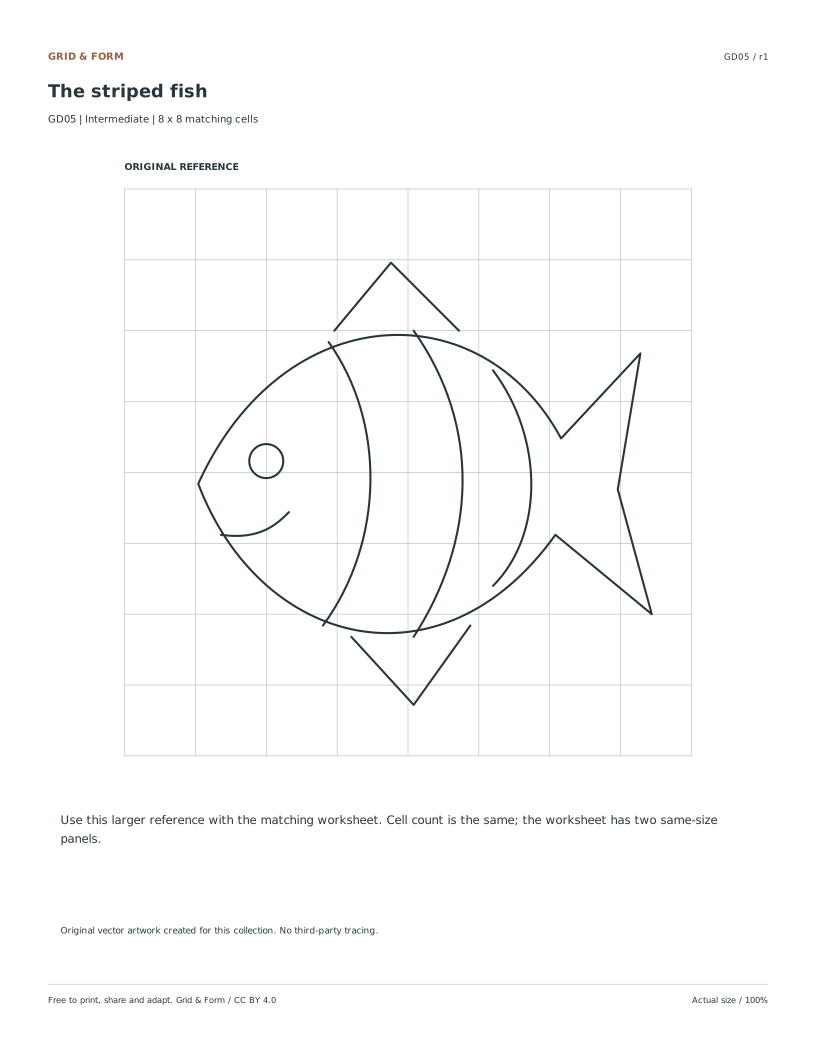
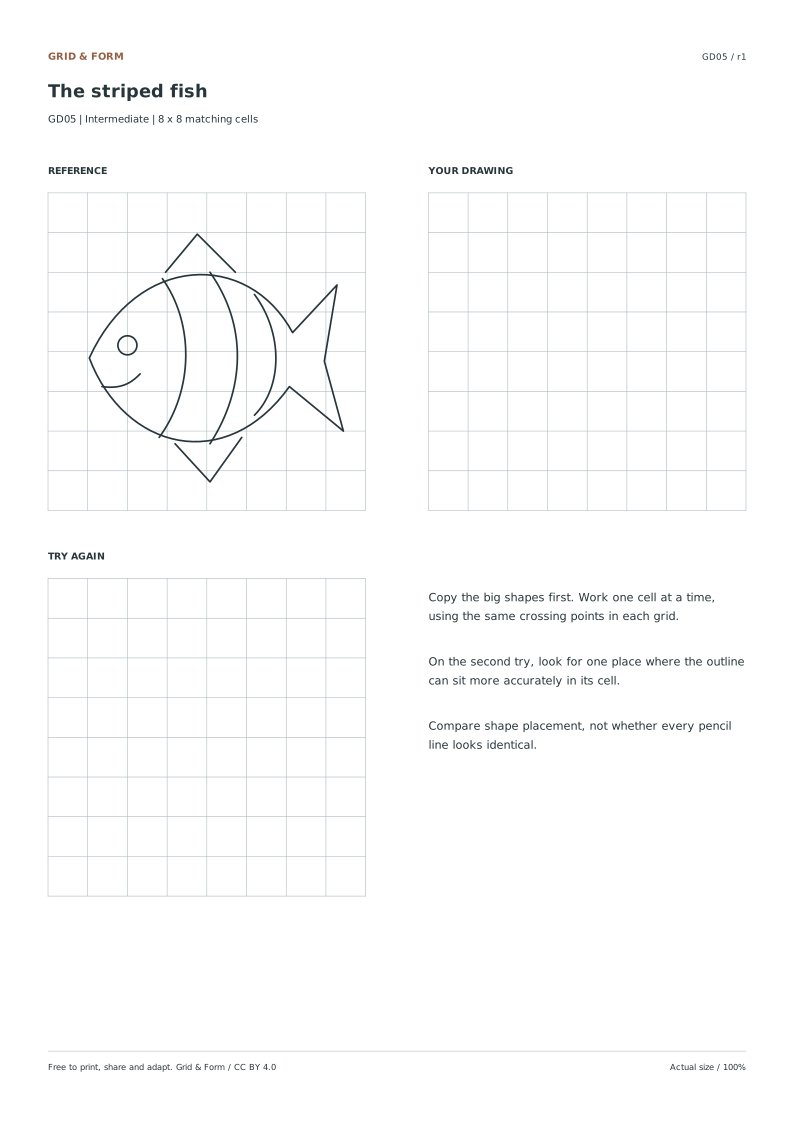
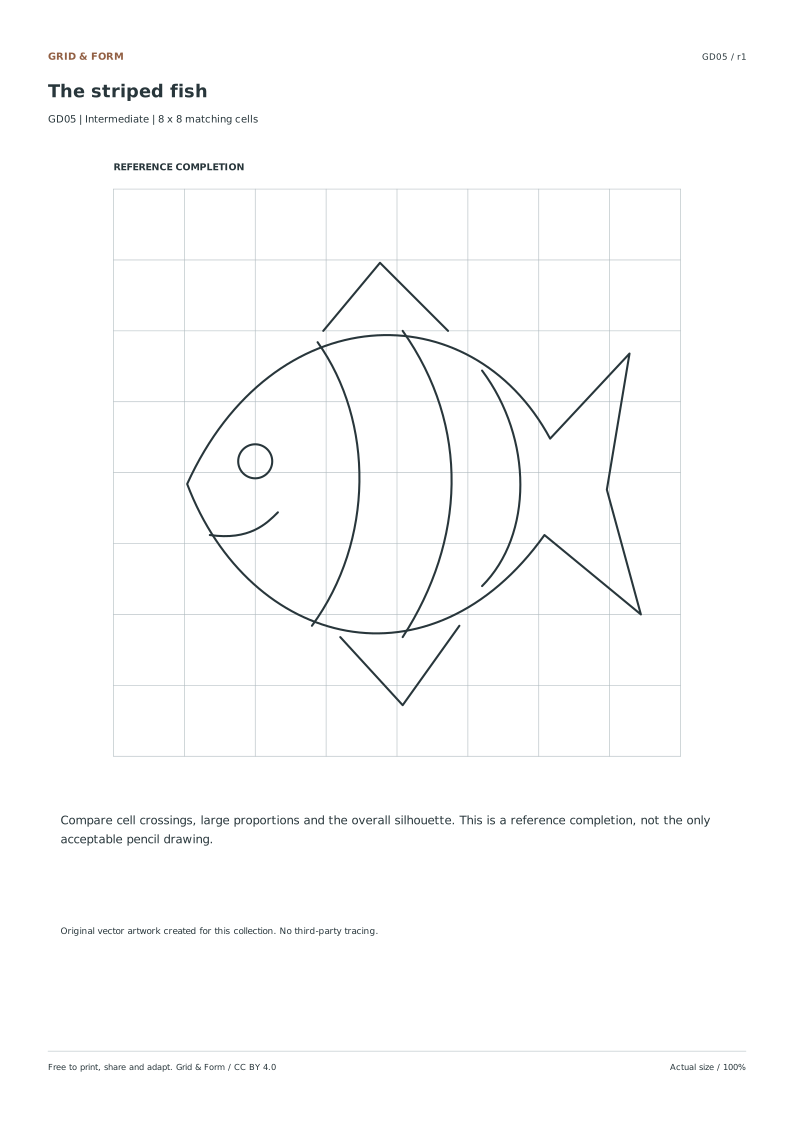
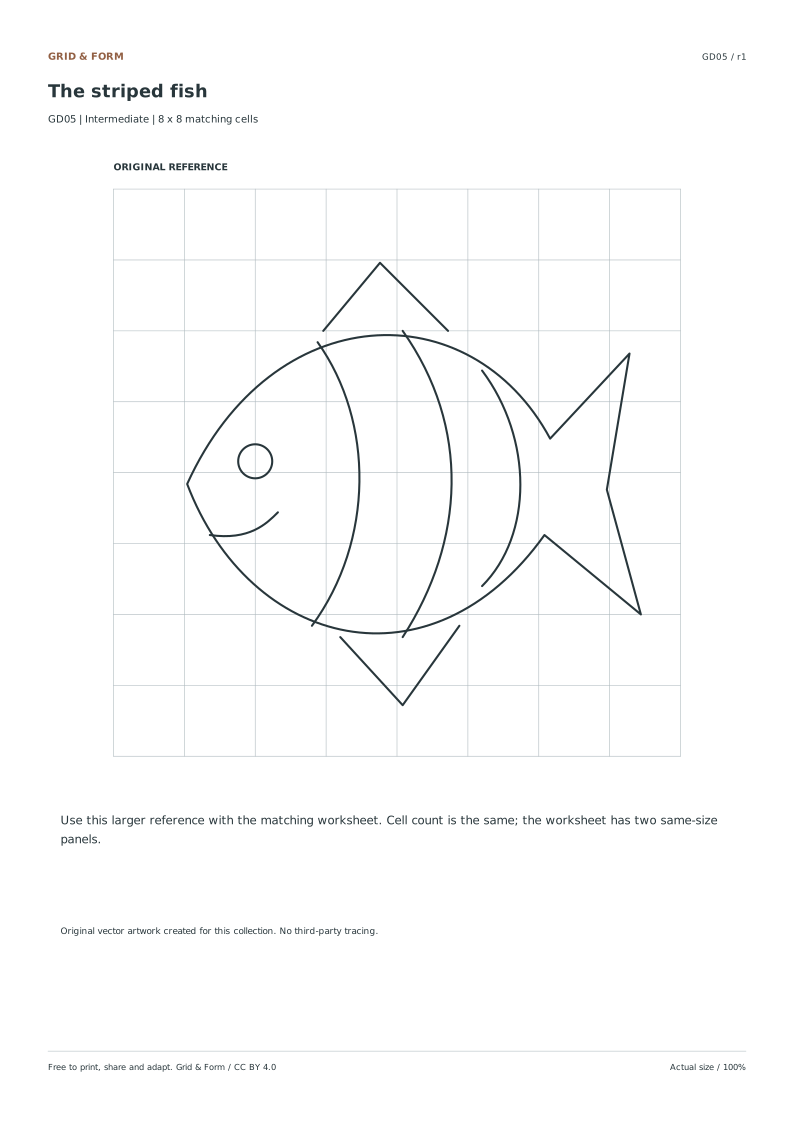
The striped fish preview
intermediate · 8 × 8 cellsGD05

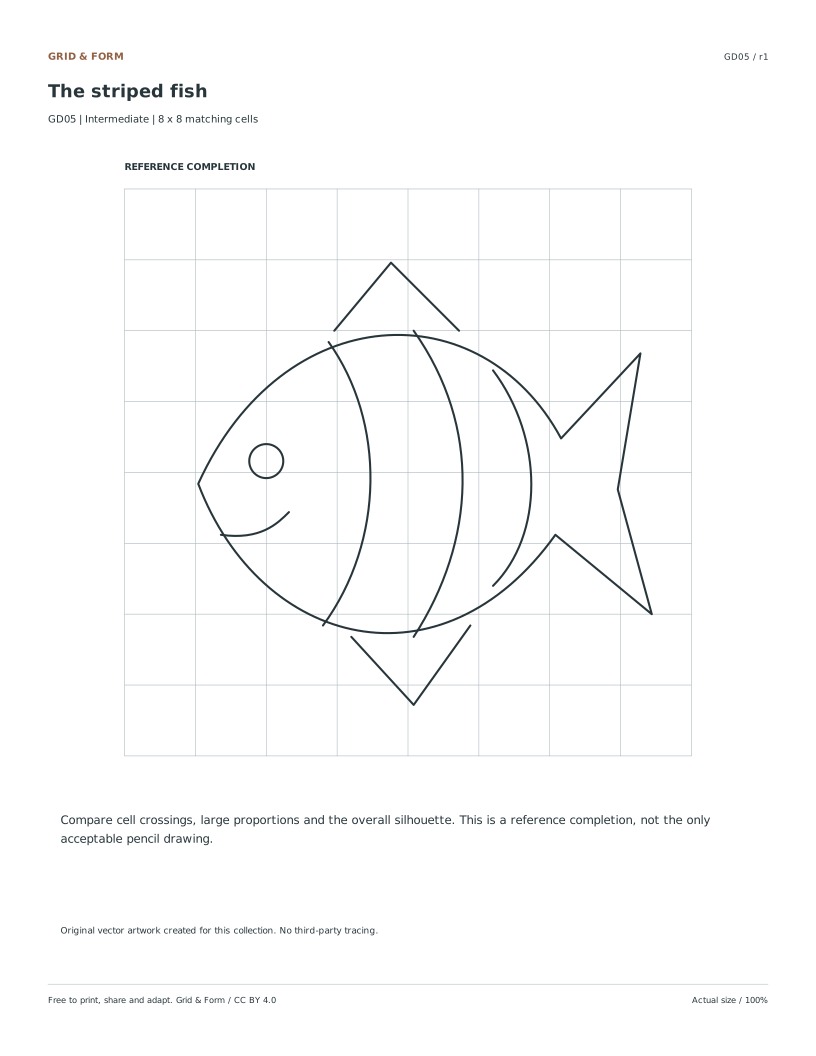
The striped fish

Follow a long curve, then place the fins, tail and stripes inside the larger silhouette.

1 page per file · free · CC BY 4.0

All paper sizes & editable formats
US Letter
A4
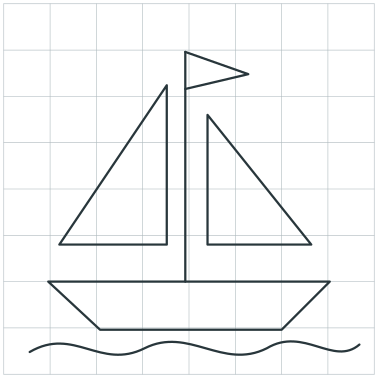
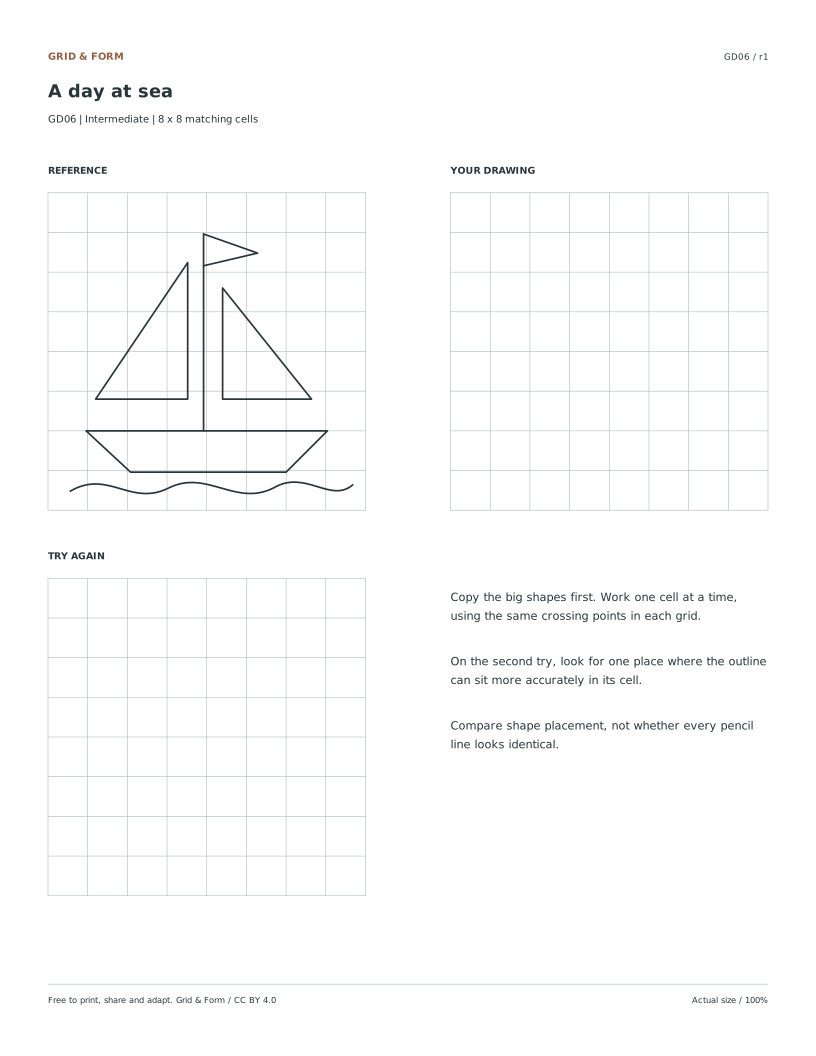
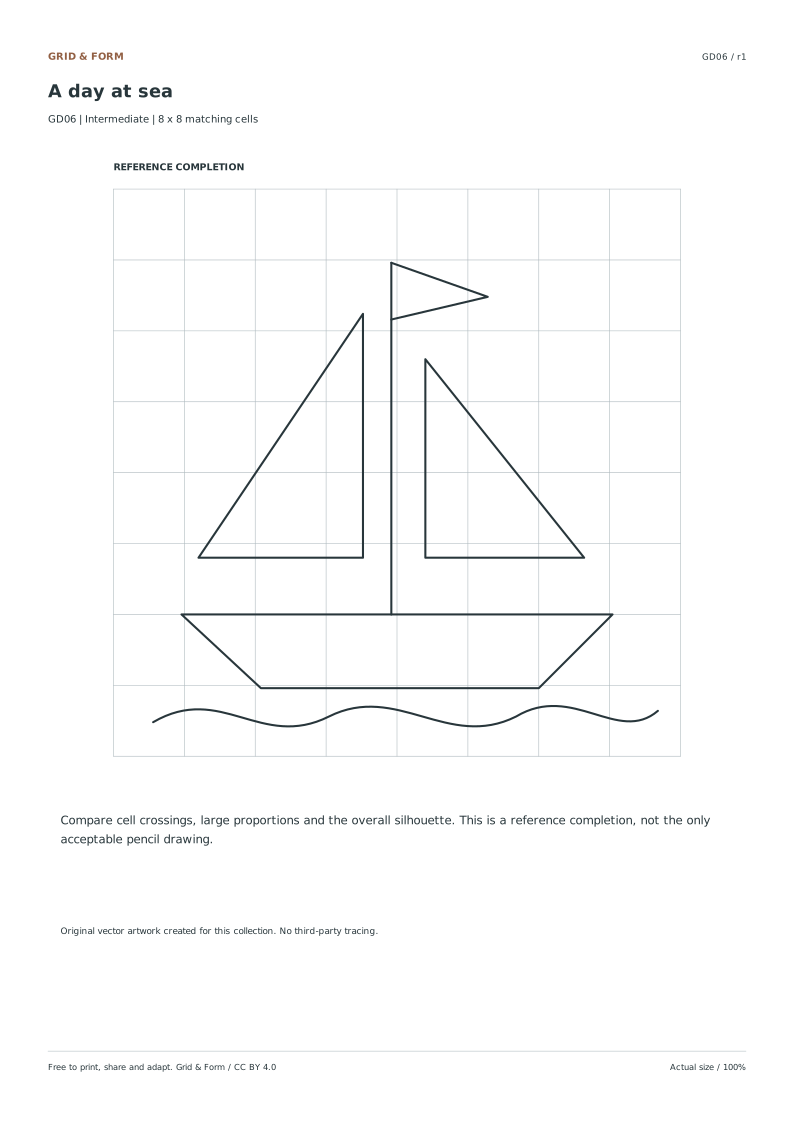
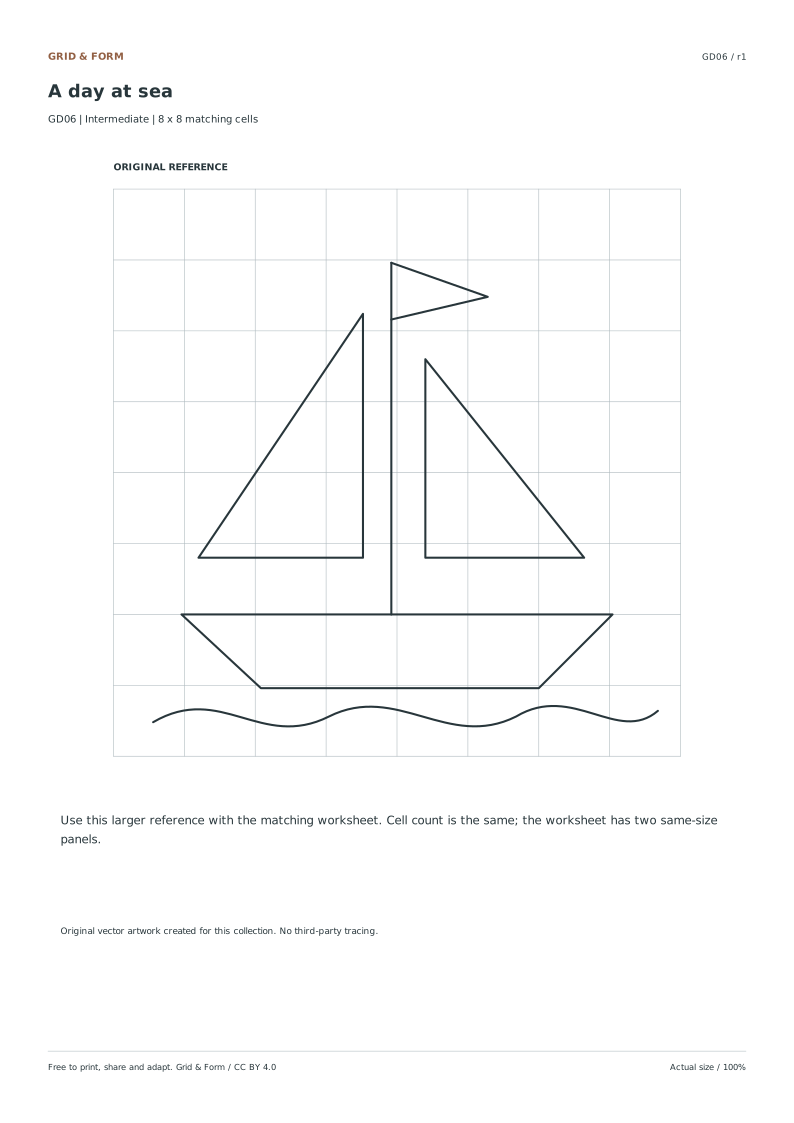
A day at sea preview
intermediate · 8 × 8 cellsGD06

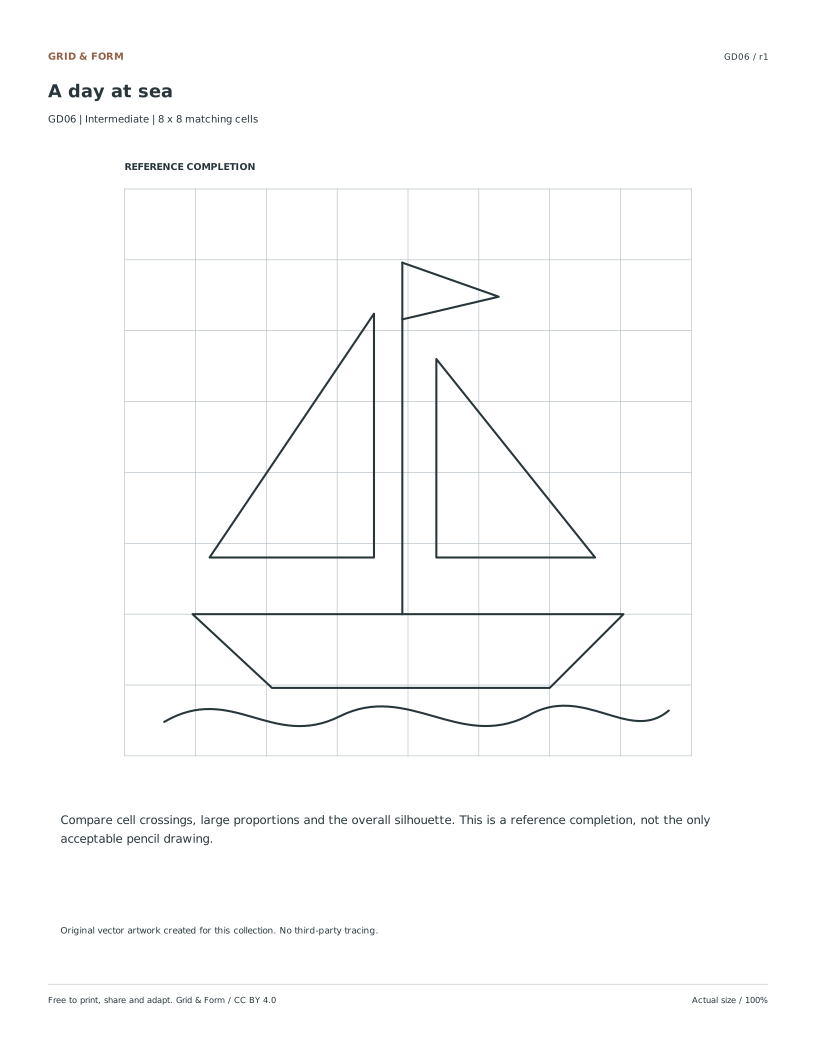
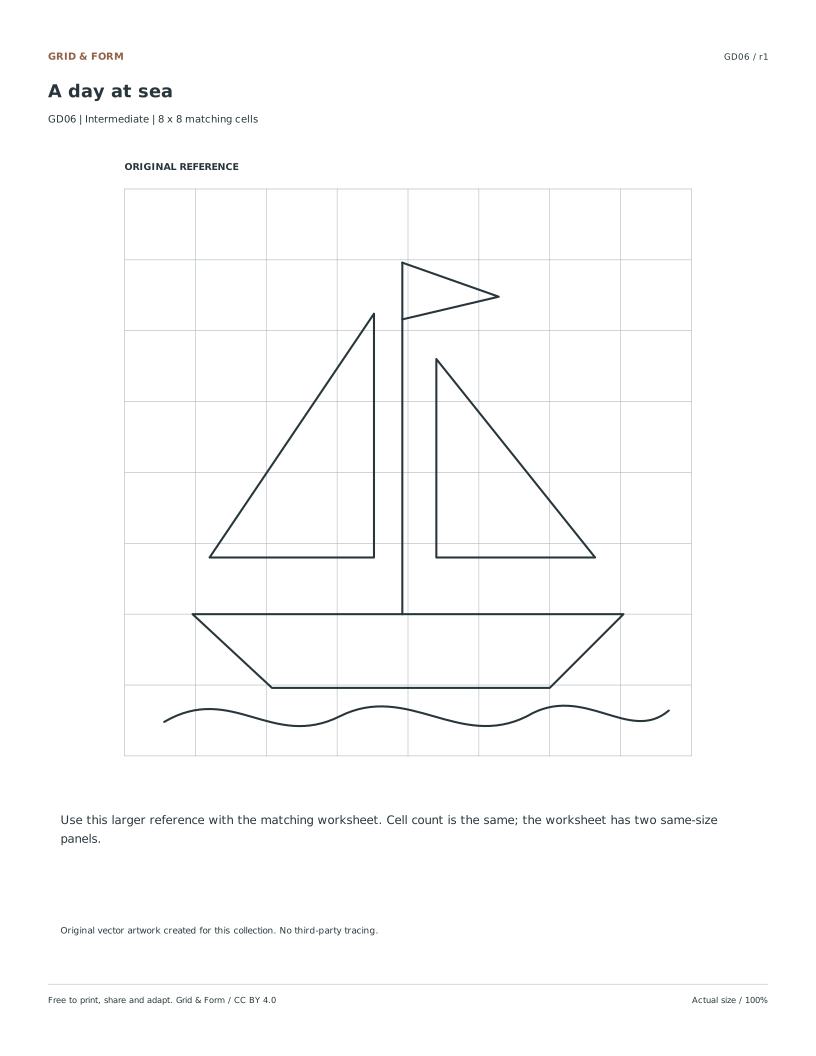
A day at sea

Balance long straight sails with a curved hull. Compare the mast position before adding details.

1 page per file · free · CC BY 4.0

All paper sizes & editable formats
US Letter
A4
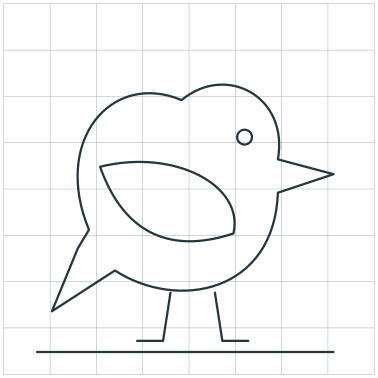
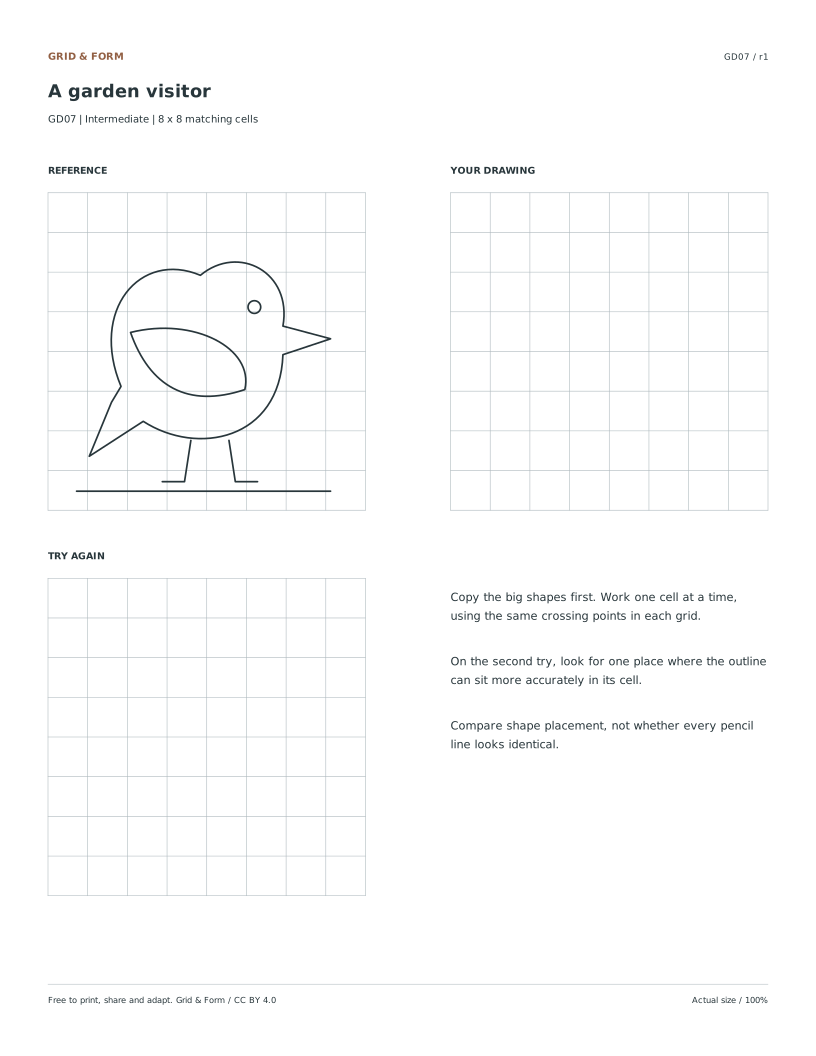
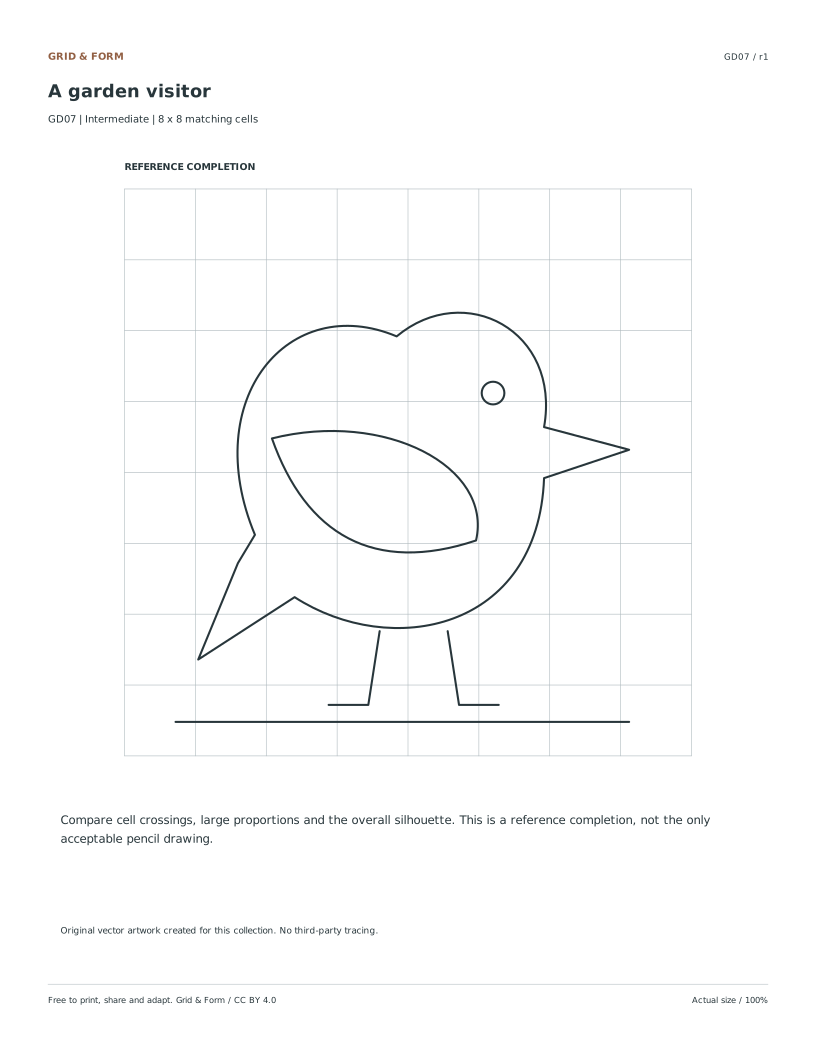
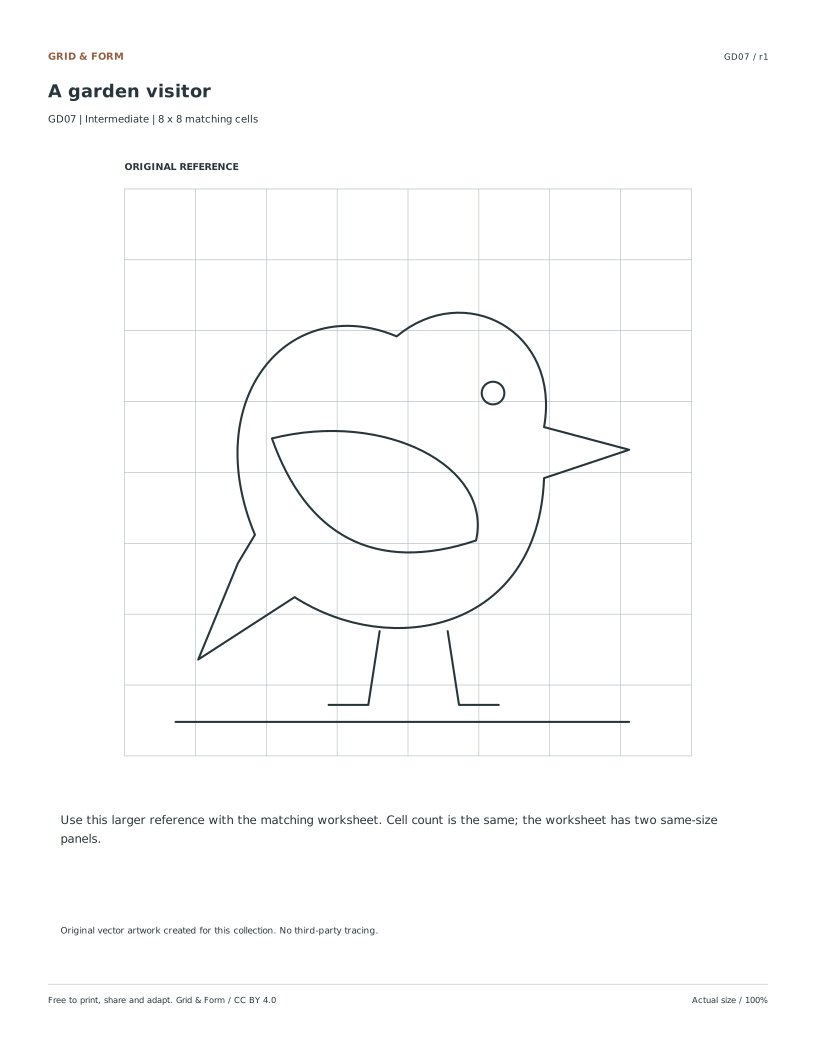
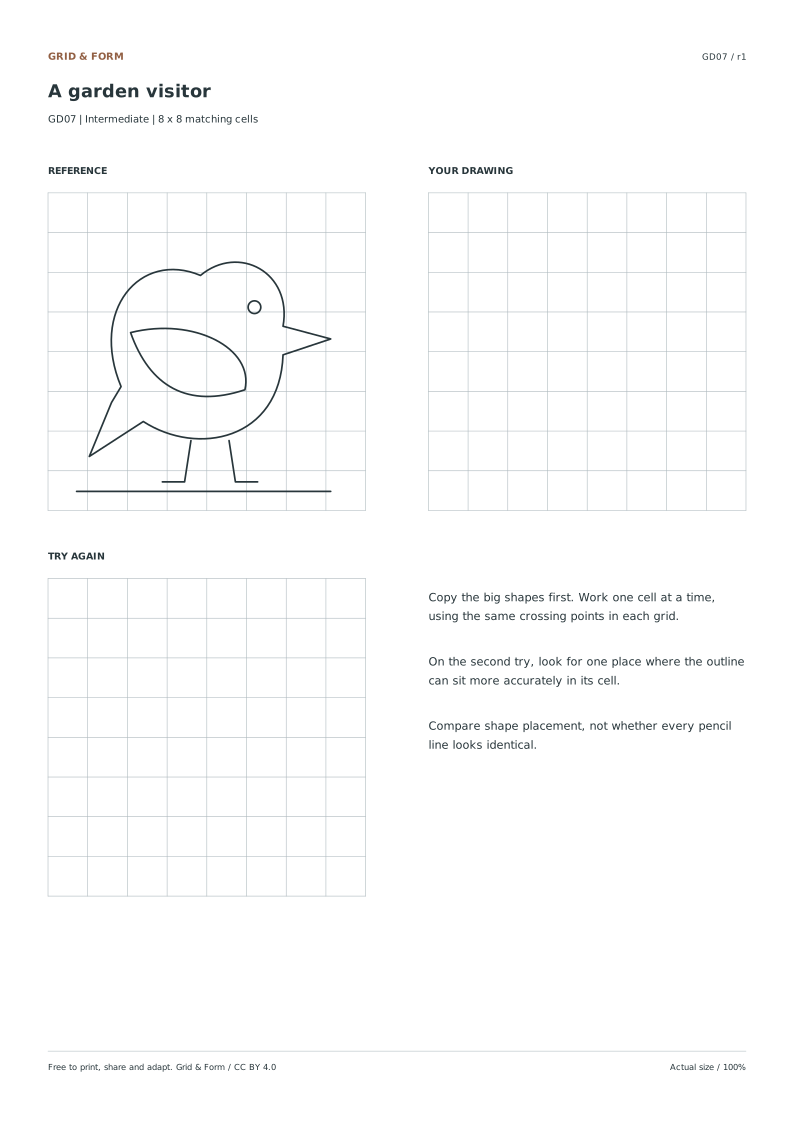
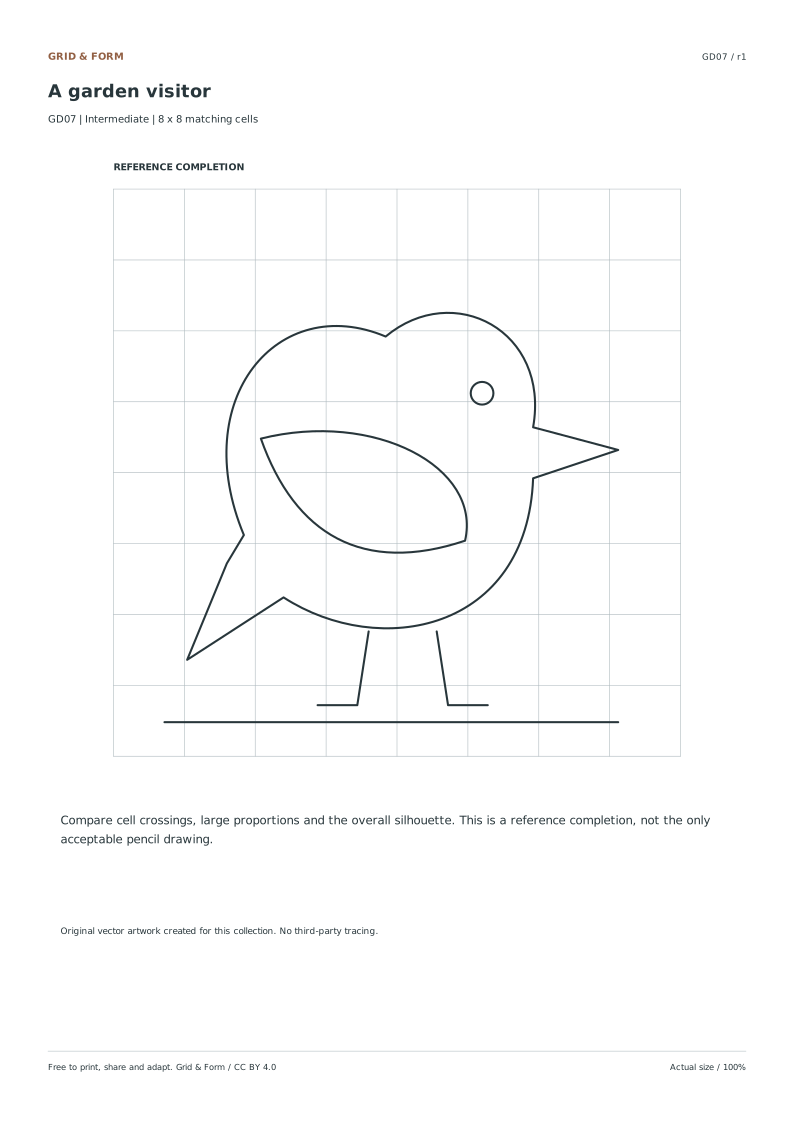
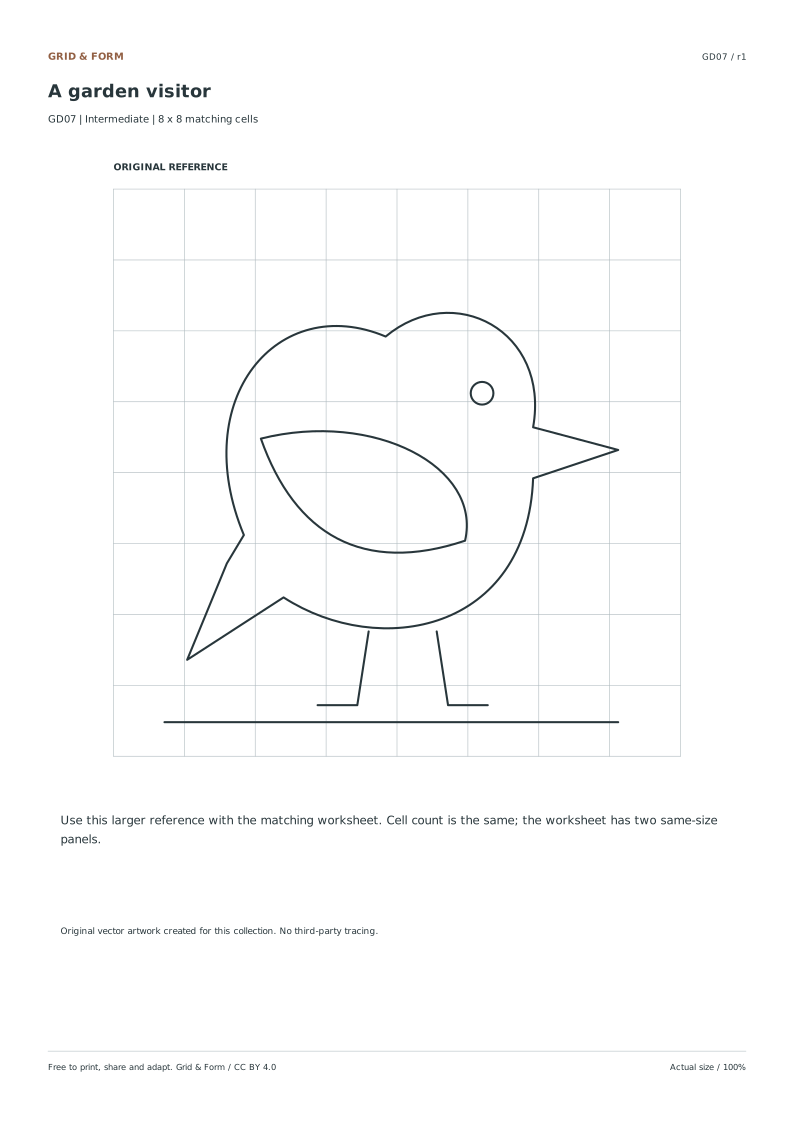
A garden visitor preview
intermediate · 8 × 8 cellsGD07

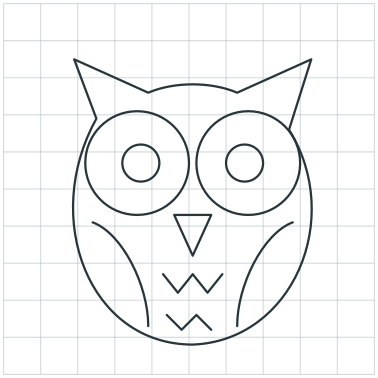
A garden visitor

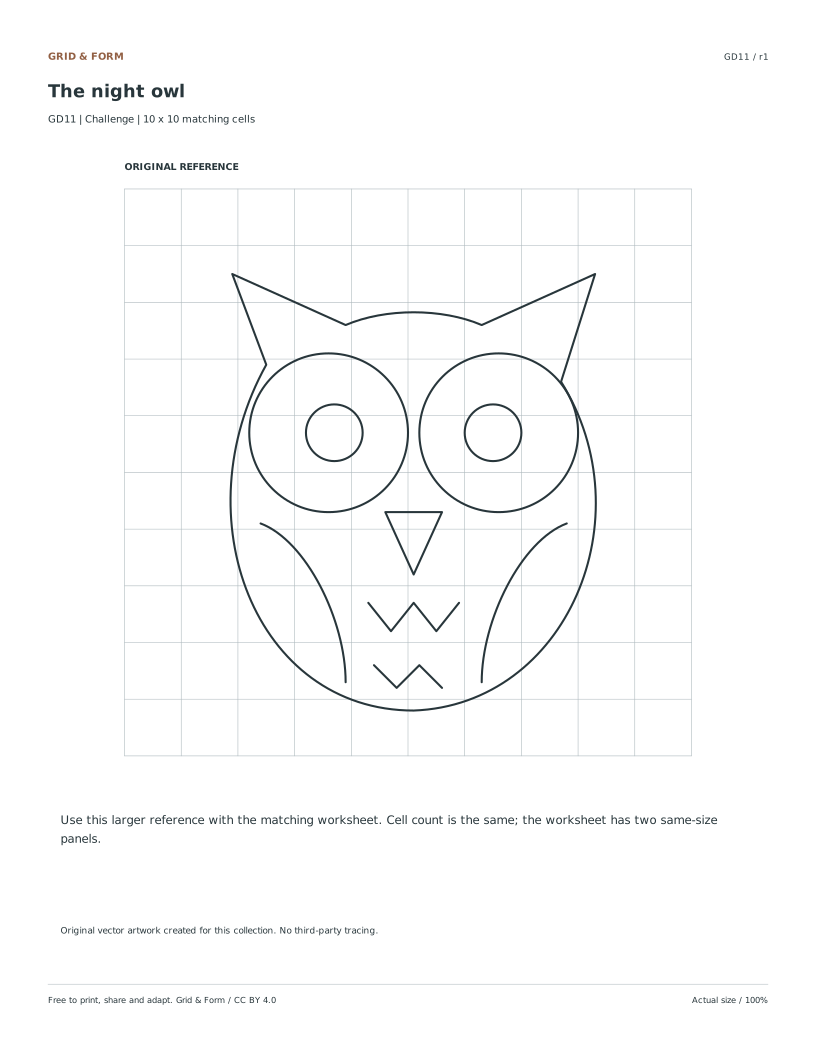
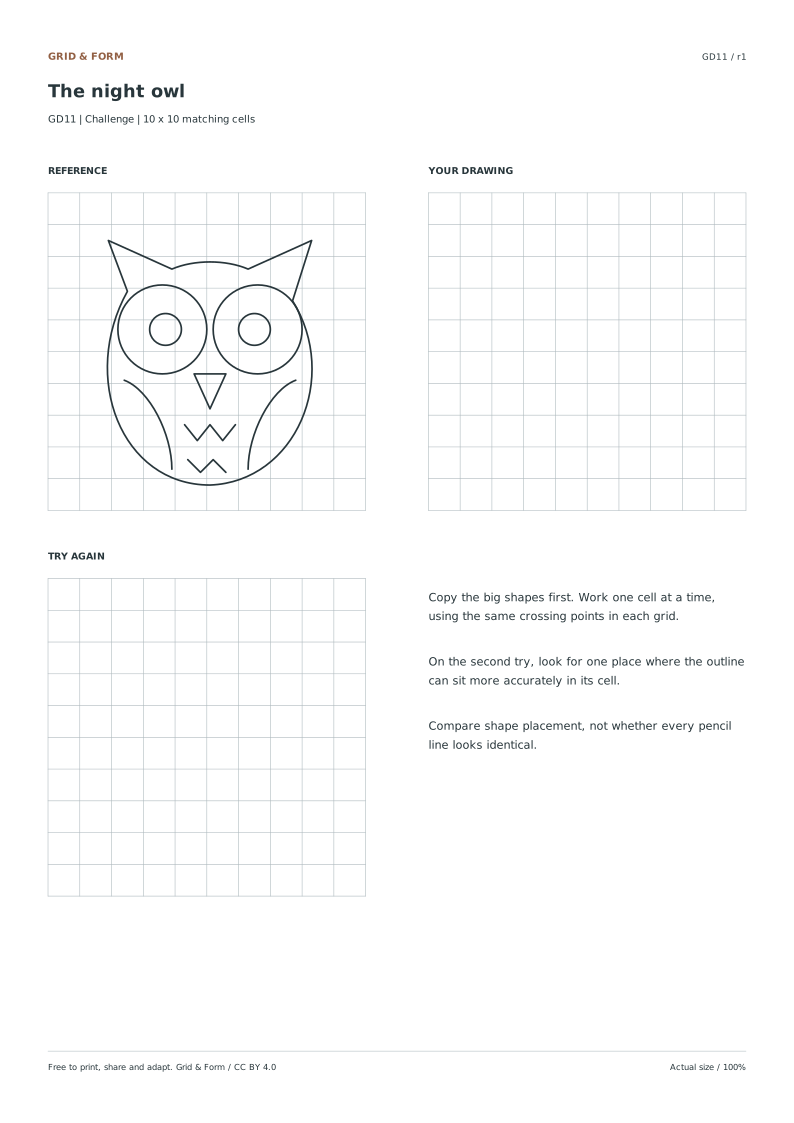
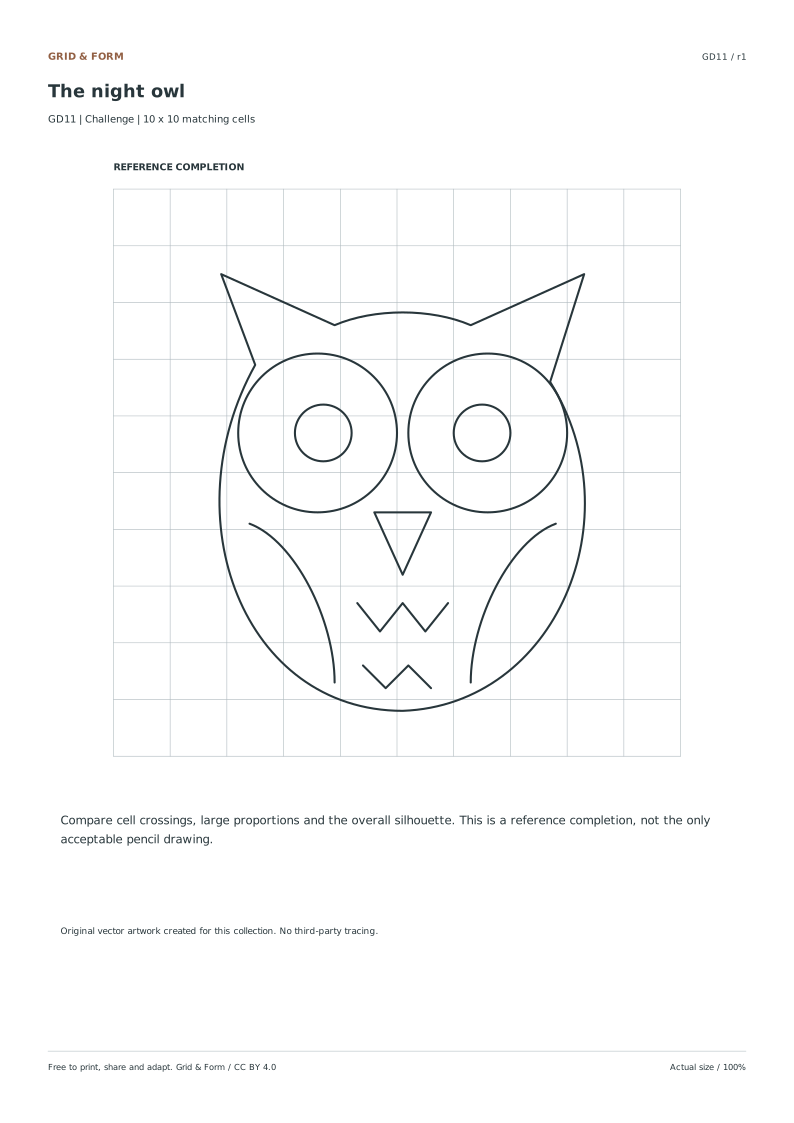
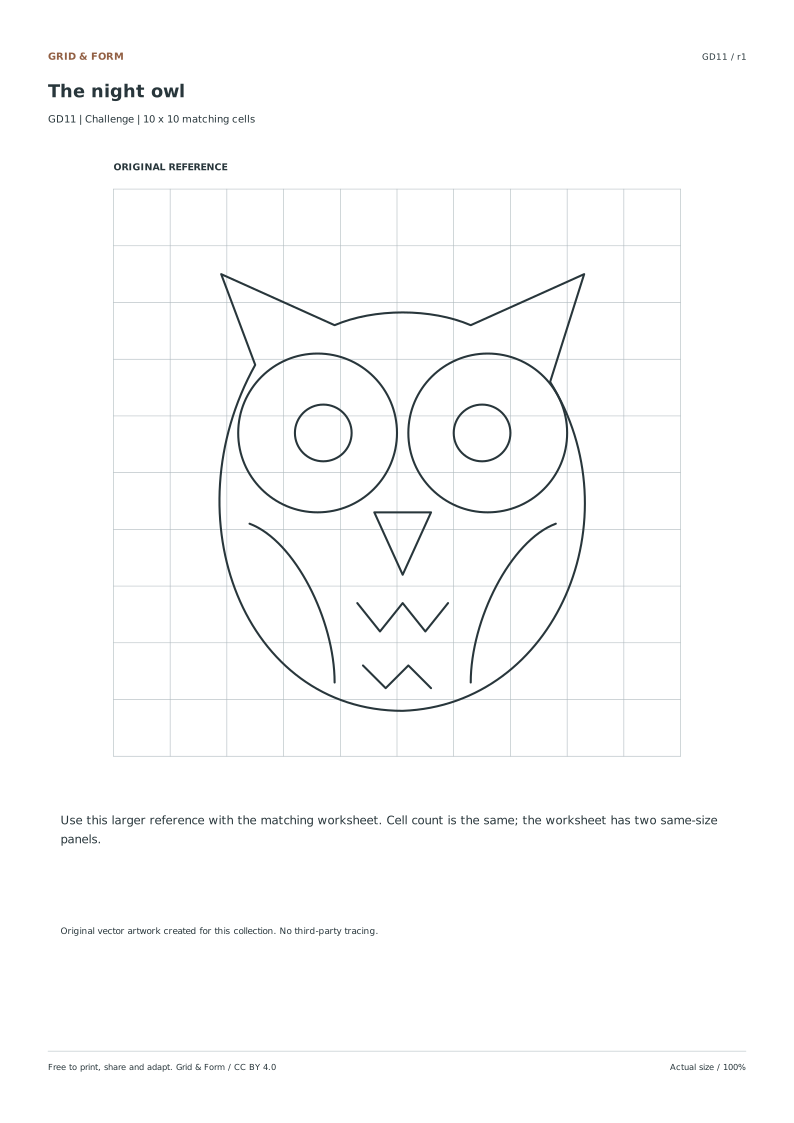
Place the body, head and beak first. Add the small wing detail after the outline feels balanced.

1 page per file · free · CC BY 4.0

All paper sizes & editable formats
US Letter
A4
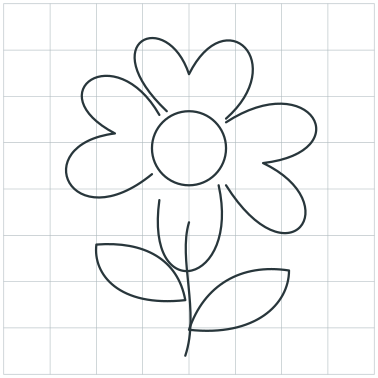
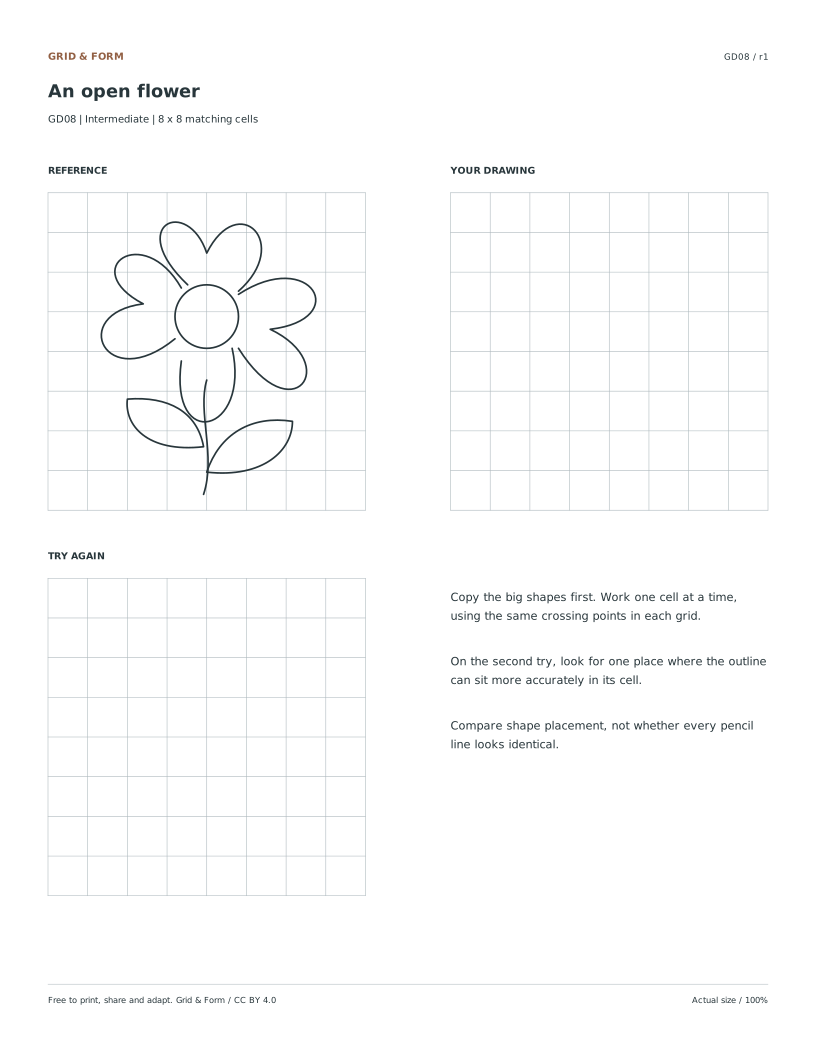
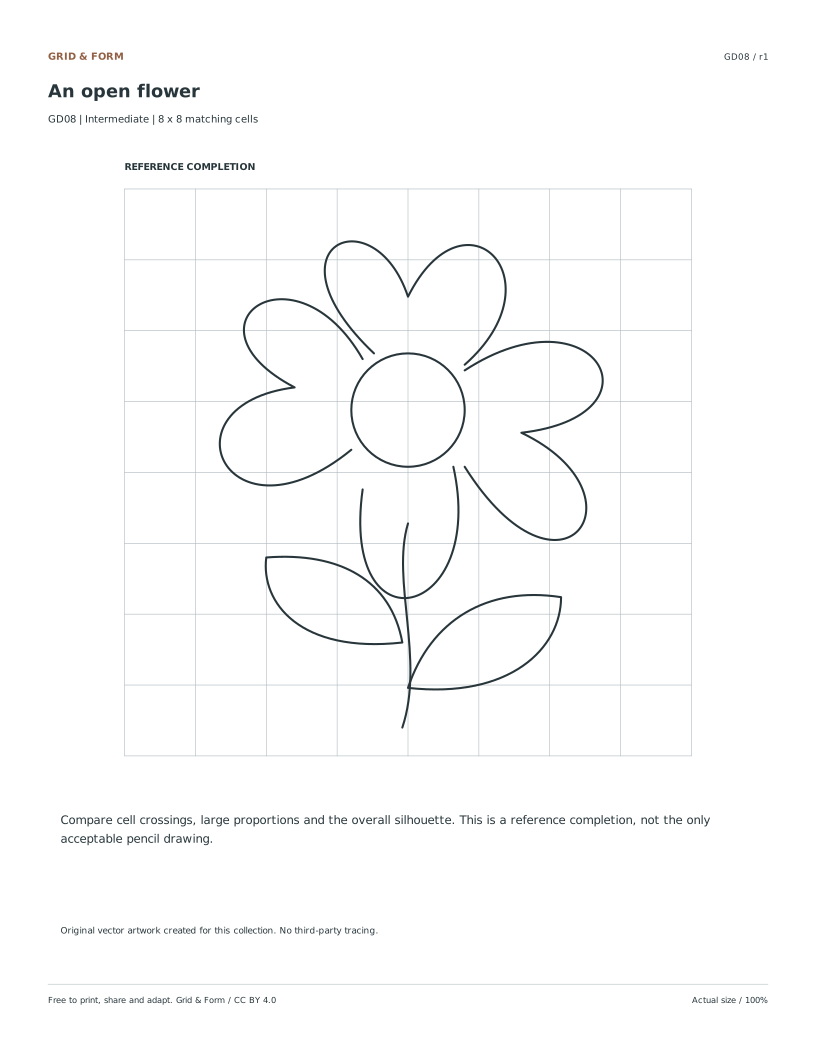
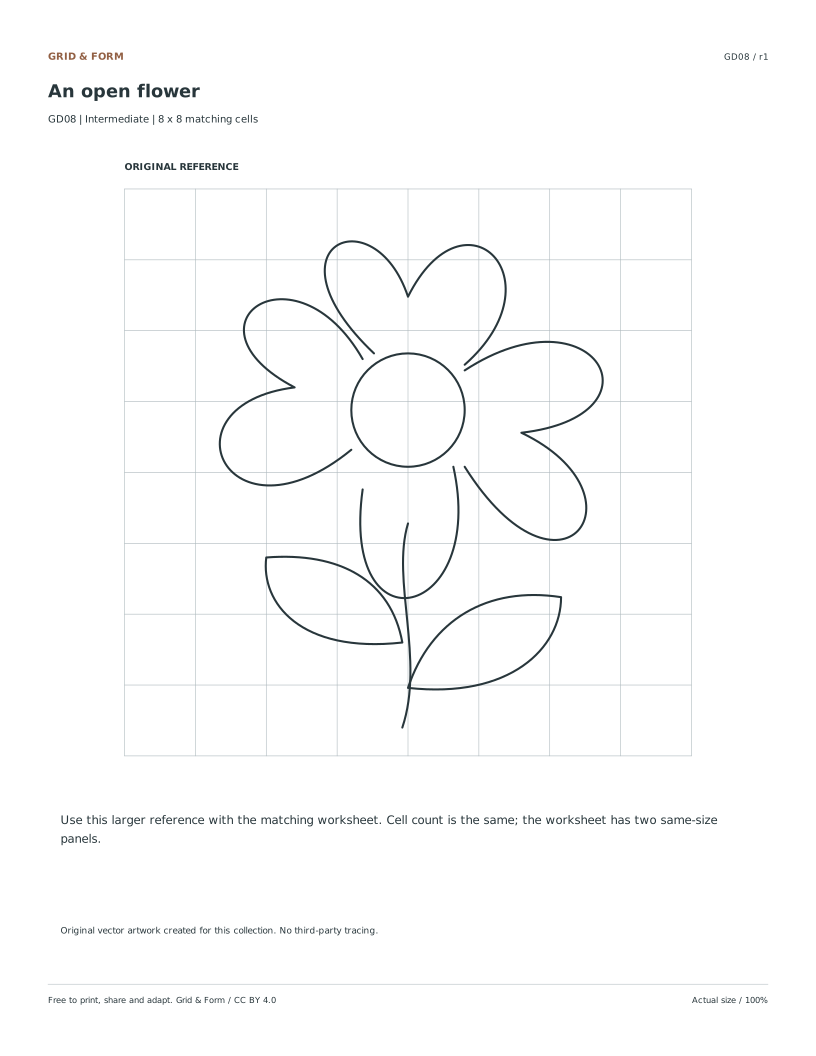
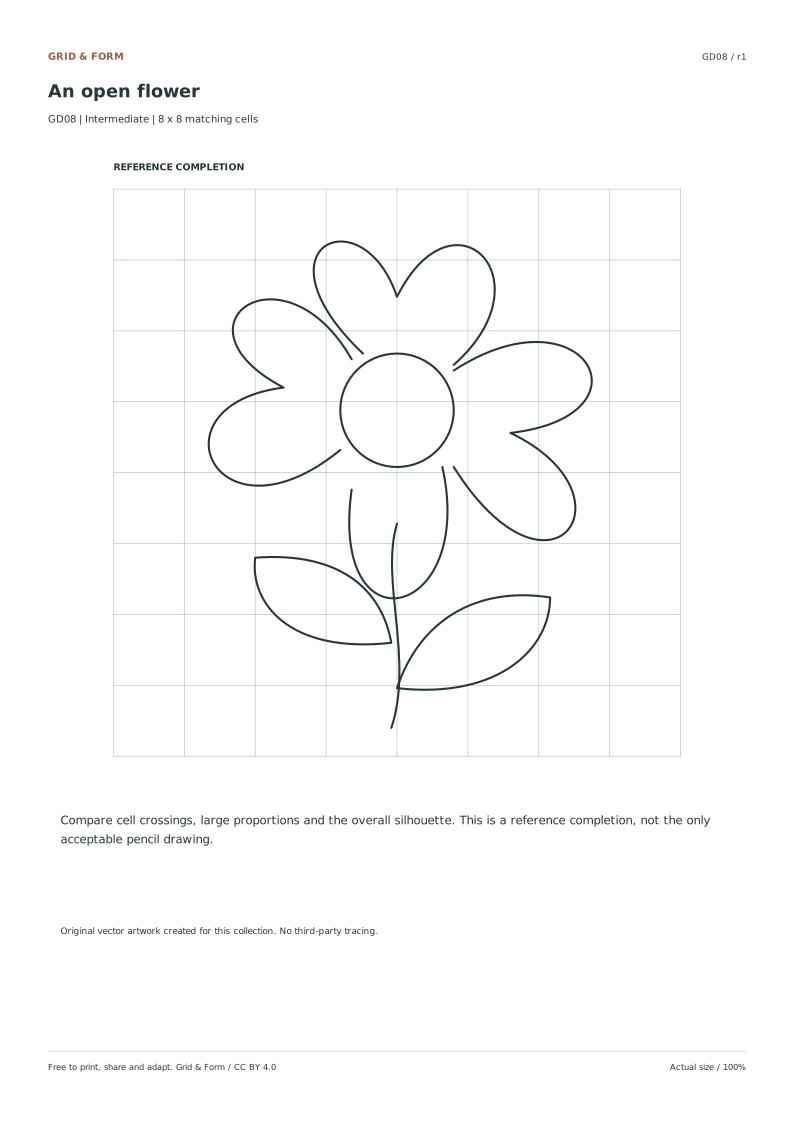
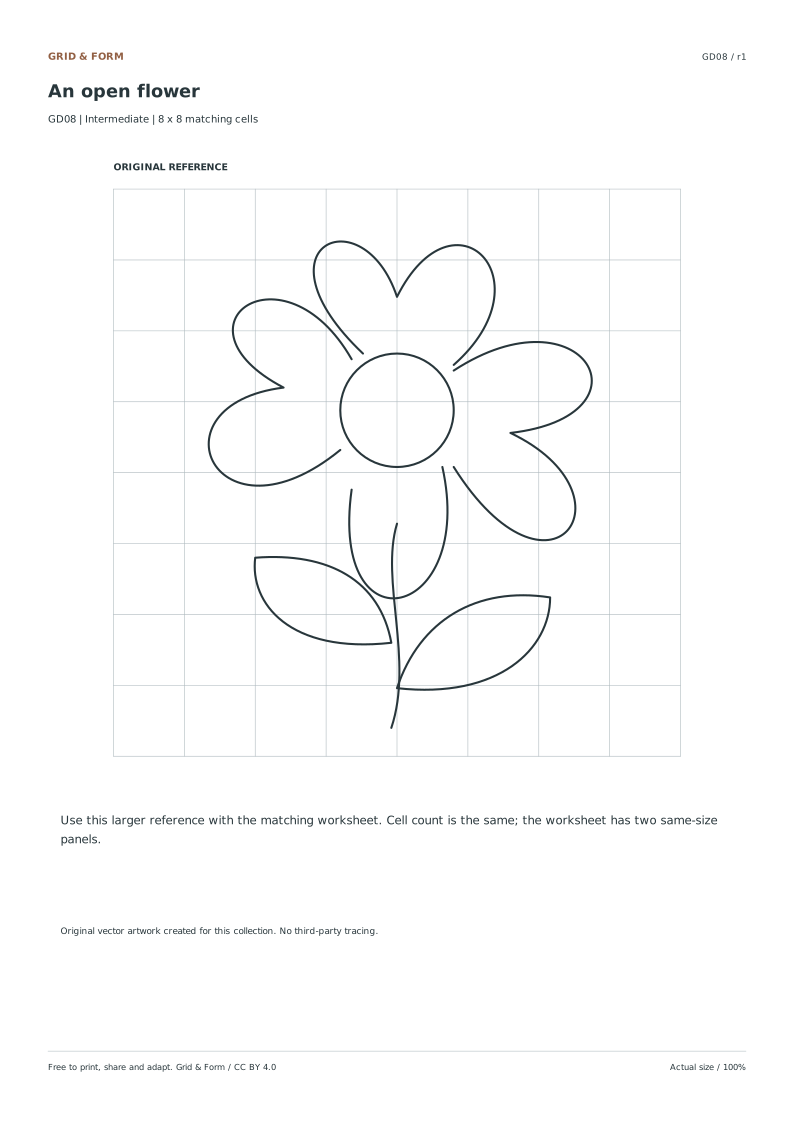
An open flower preview
intermediate · 8 × 8 cellsGD08

An open flower

Use the center as an anchor. Compare petals one cell at a time rather than assuming symmetry.

1 page per file · free · CC BY 4.0

All paper sizes & editable formats
US Letter
A4
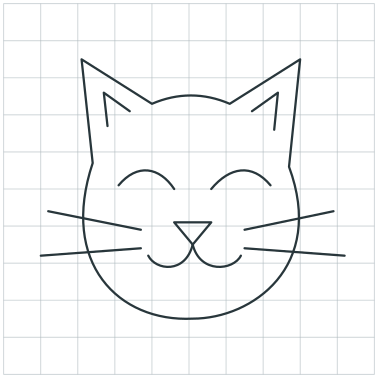
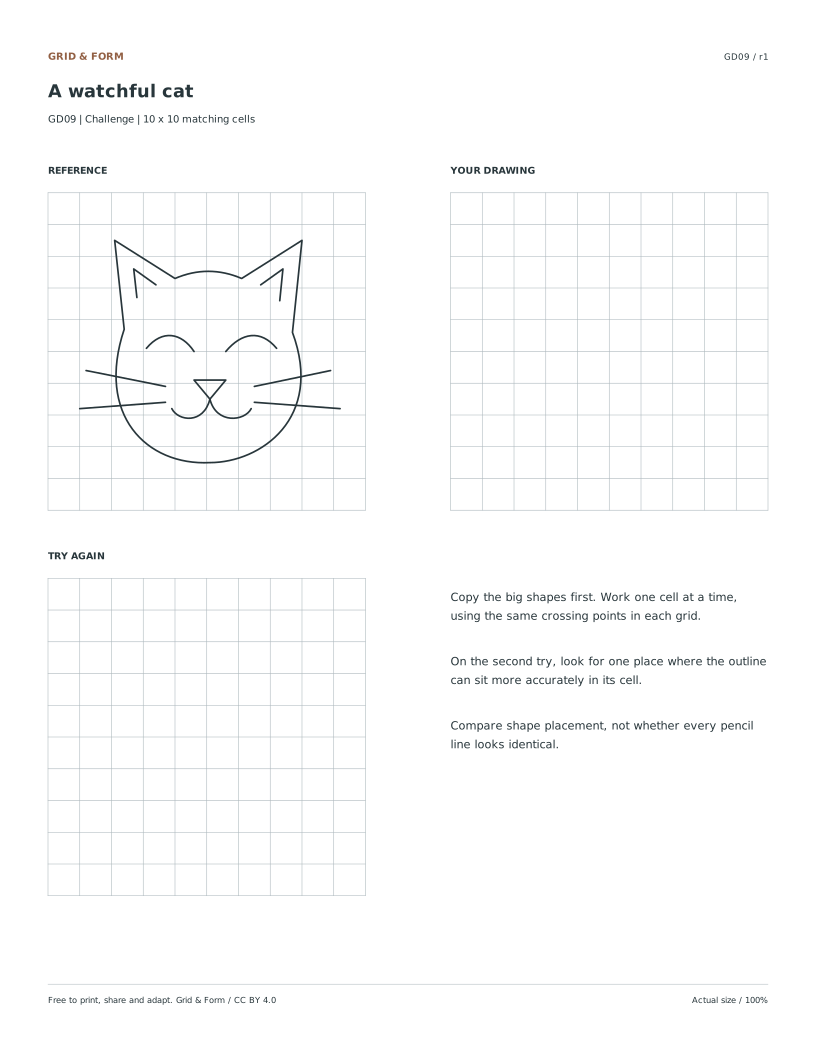
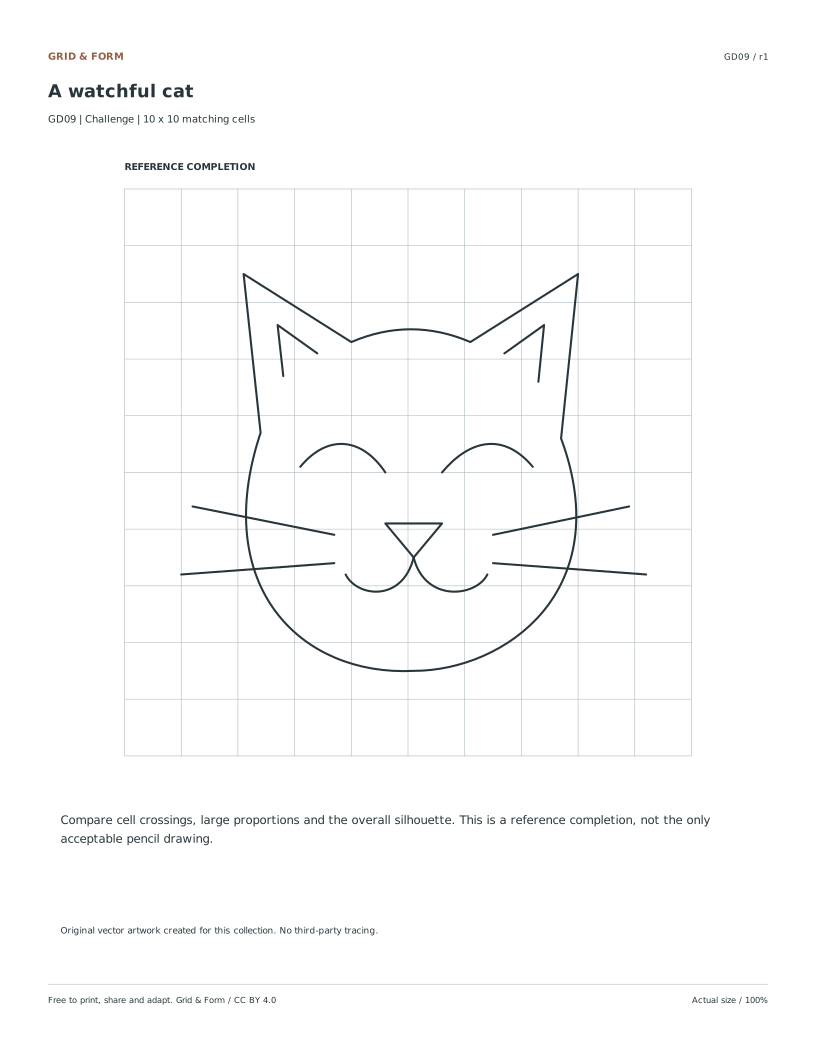
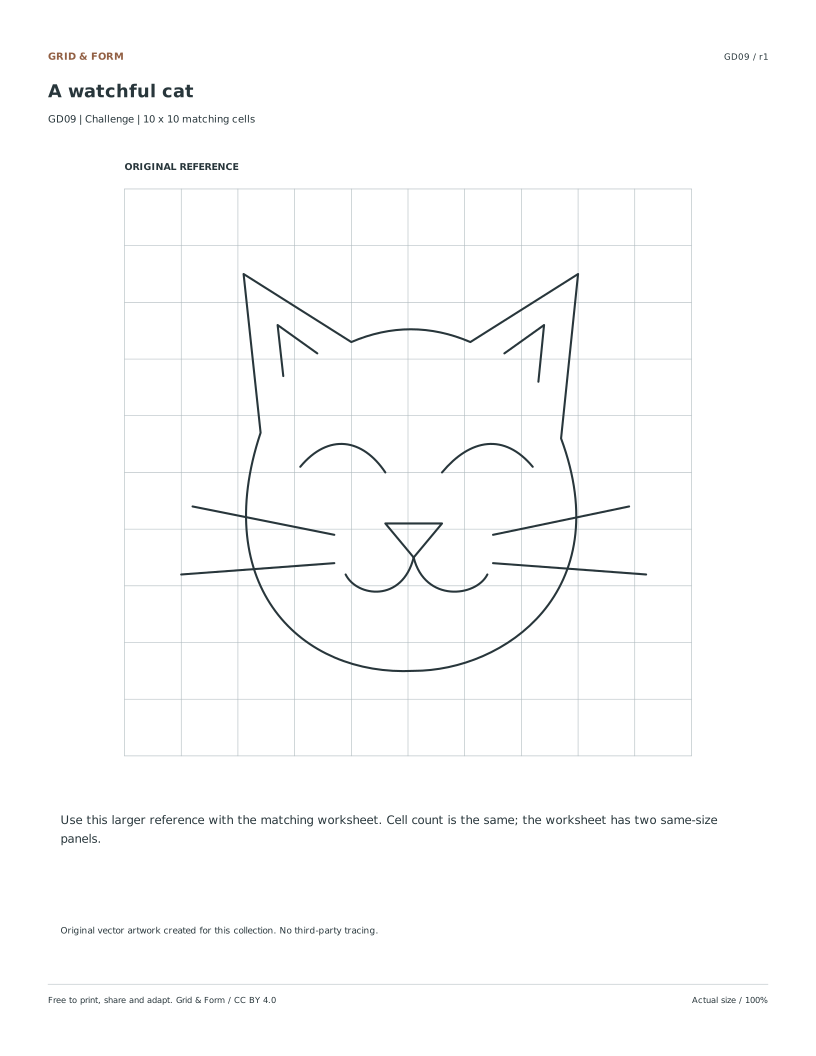
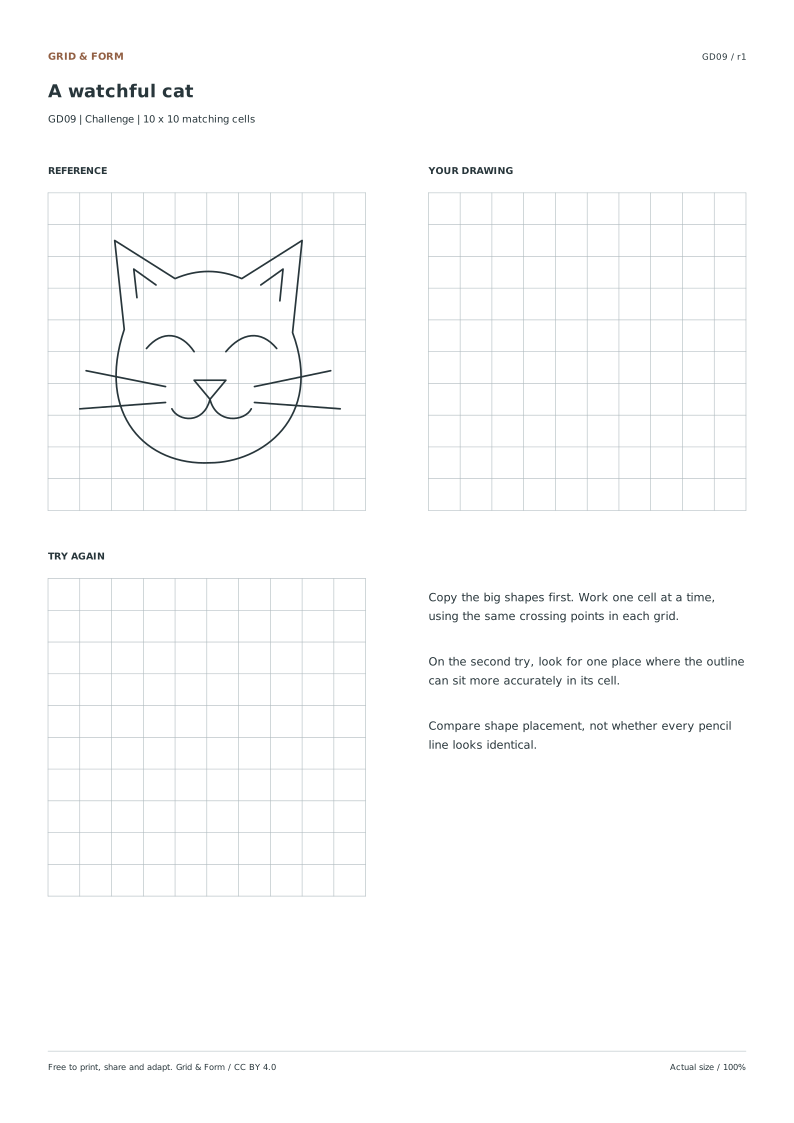
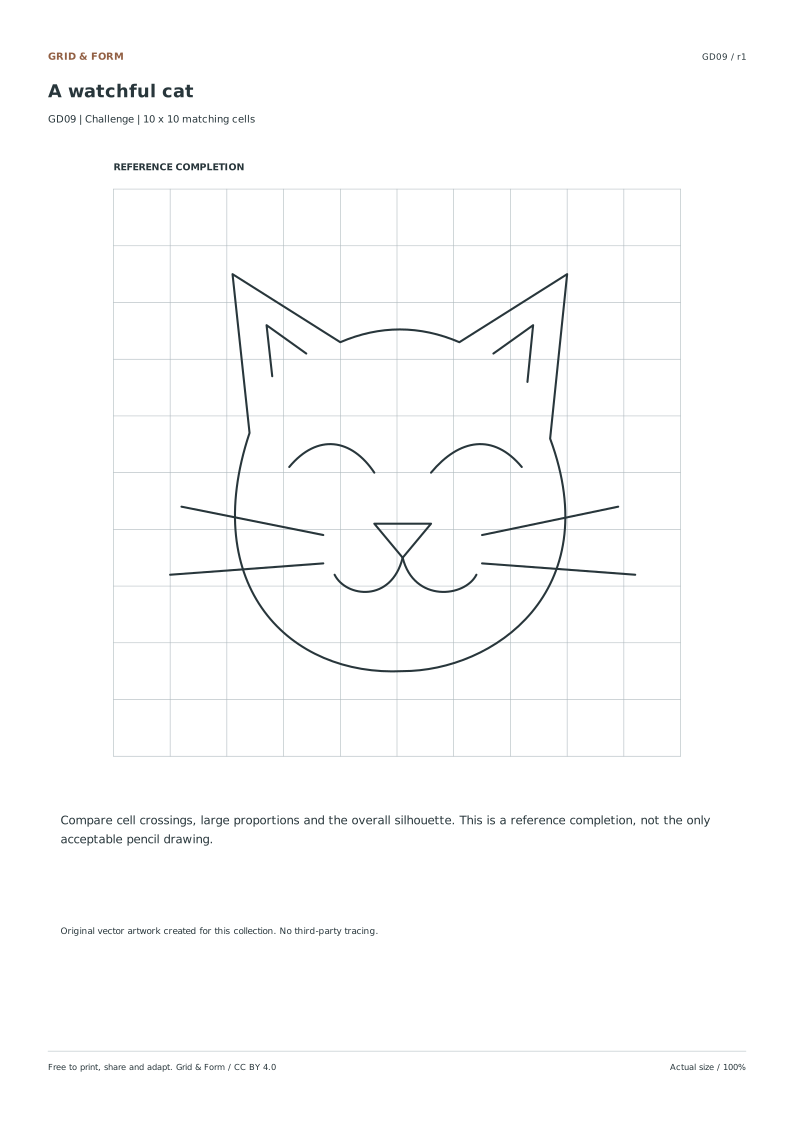
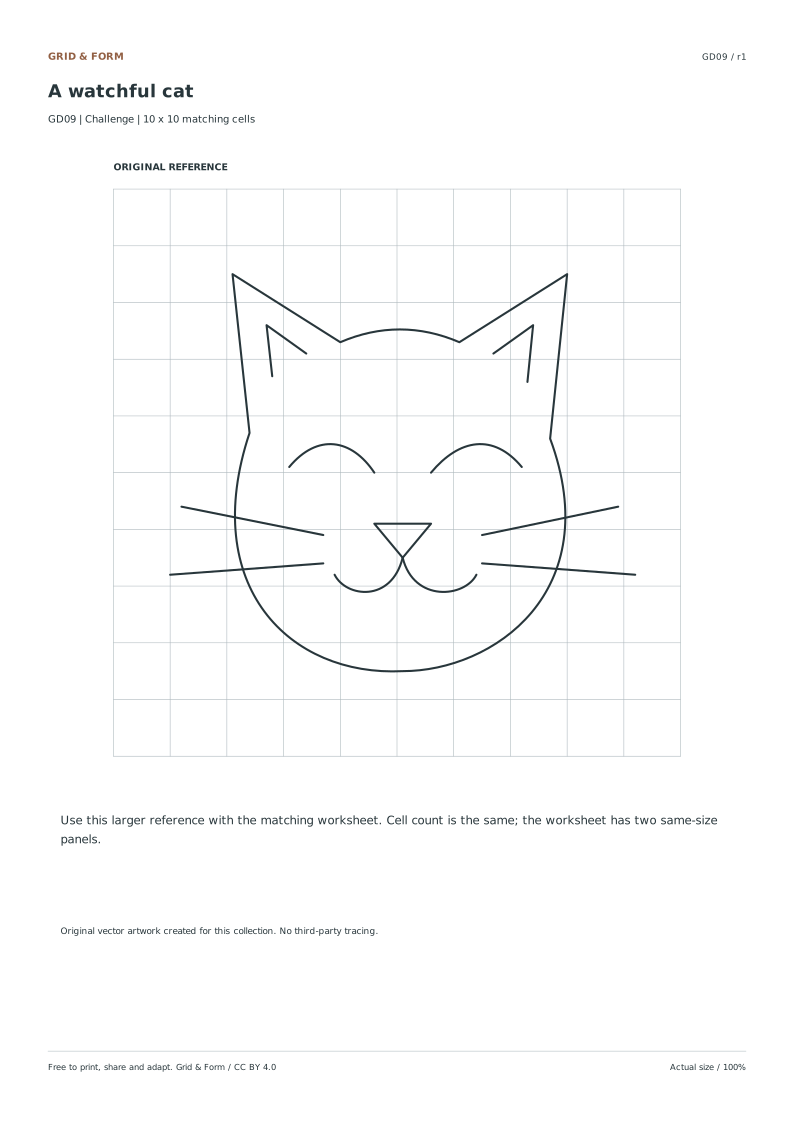
A watchful cat preview
challenge · 10 × 10 cellsGD09

A watchful cat

Place the ears and cheek outline first, then compare the eyes, nose and long whiskers.

1 page per file · free · CC BY 4.0

All paper sizes & editable formats
US Letter
A4
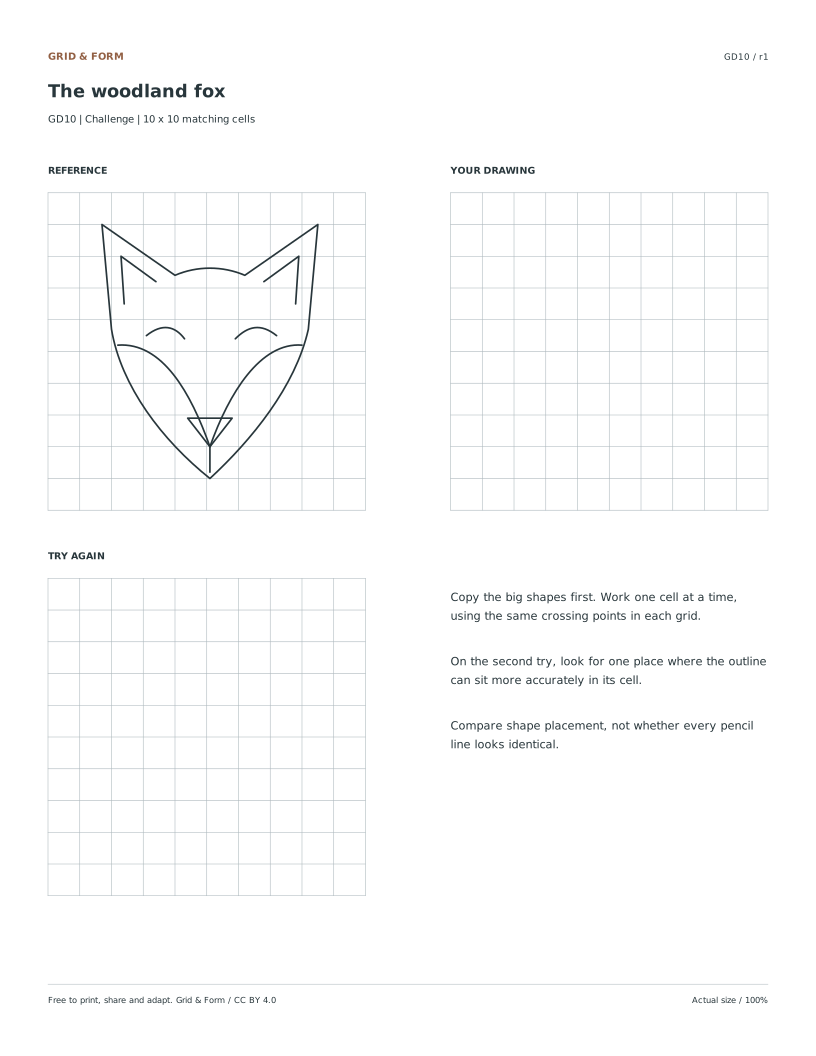
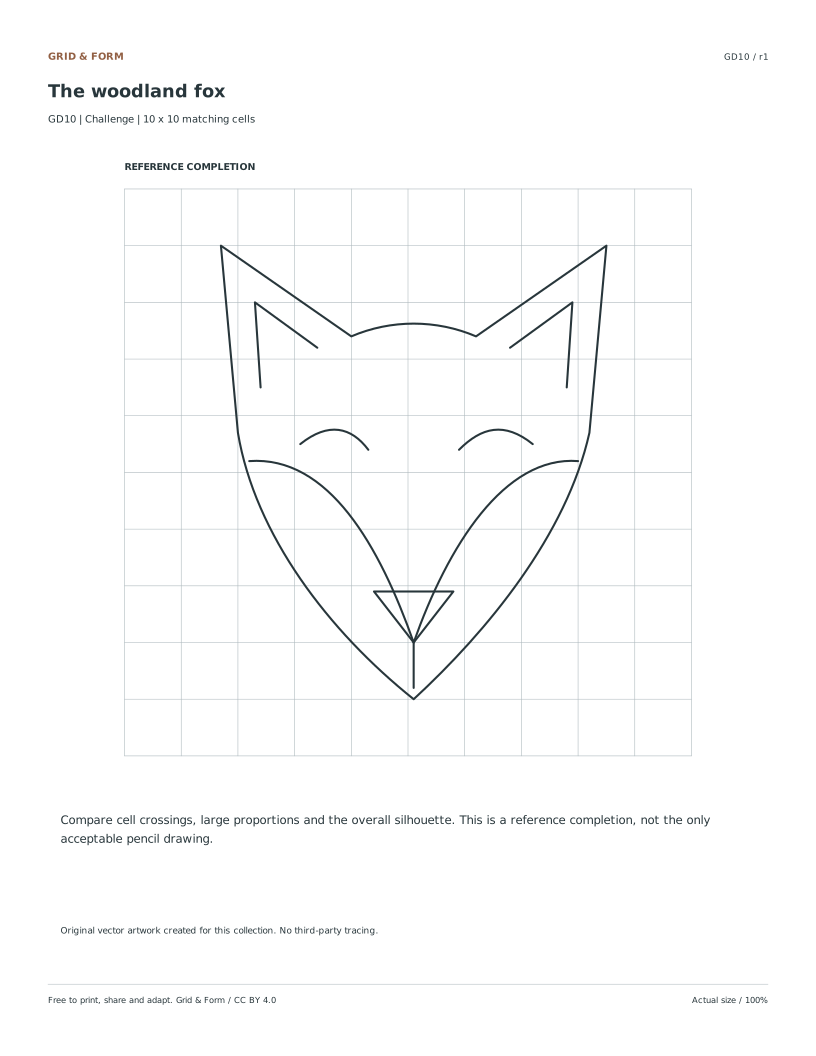
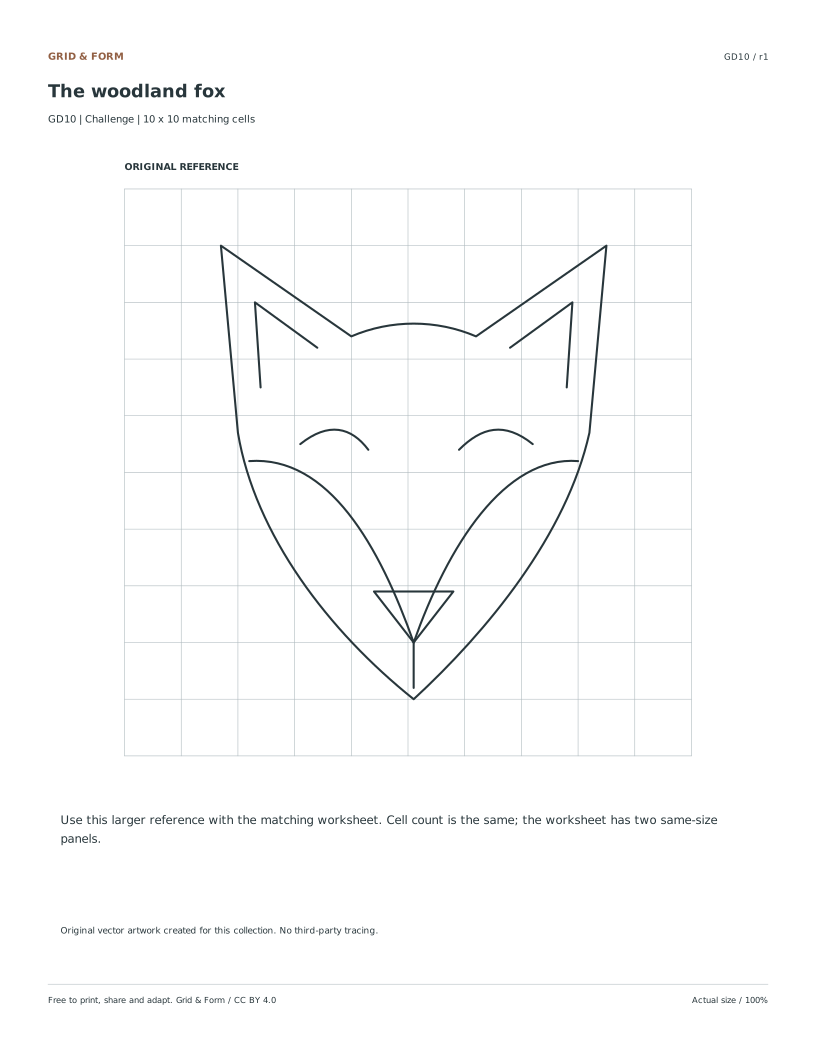
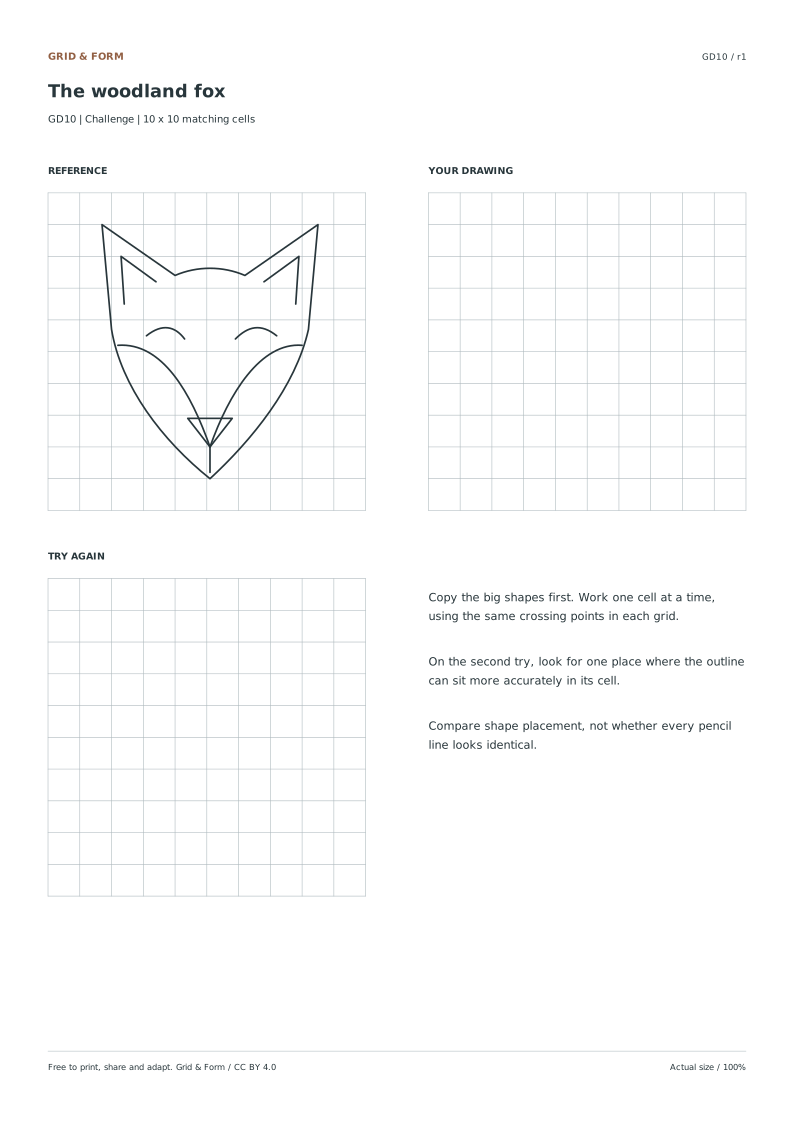
The woodland fox preview
challenge · 10 × 10 cellsGD10

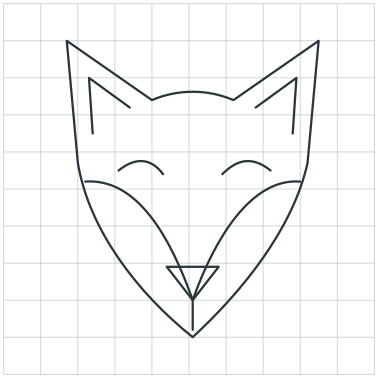
The woodland fox

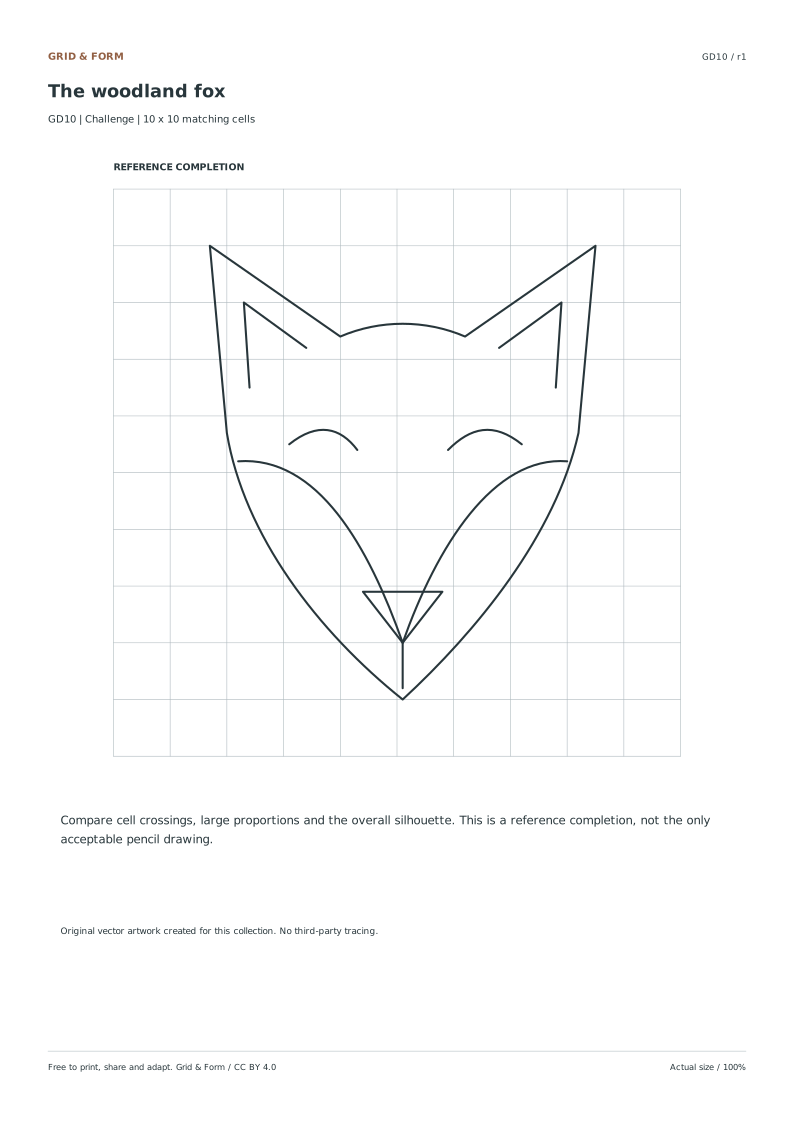
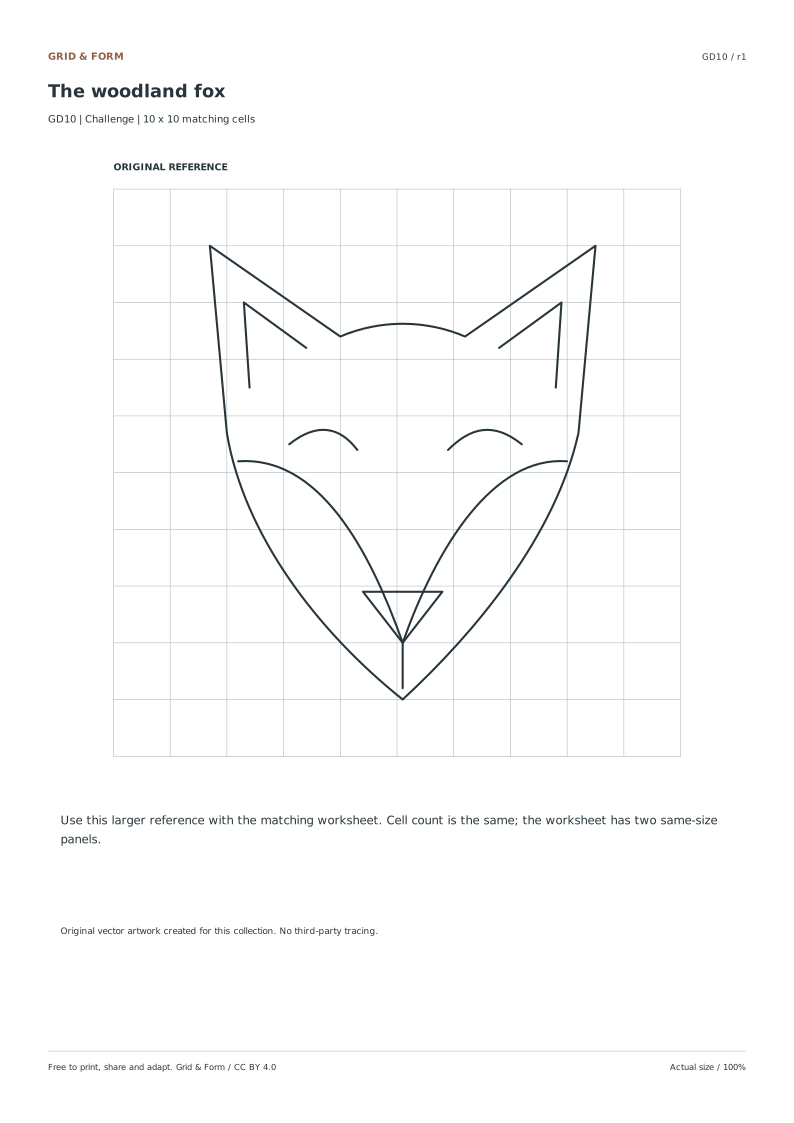
Track the pointed ears and narrow face, then place the cheek curves and small nose.

1 page per file · free · CC BY 4.0

All paper sizes & editable formats
US Letter
A4
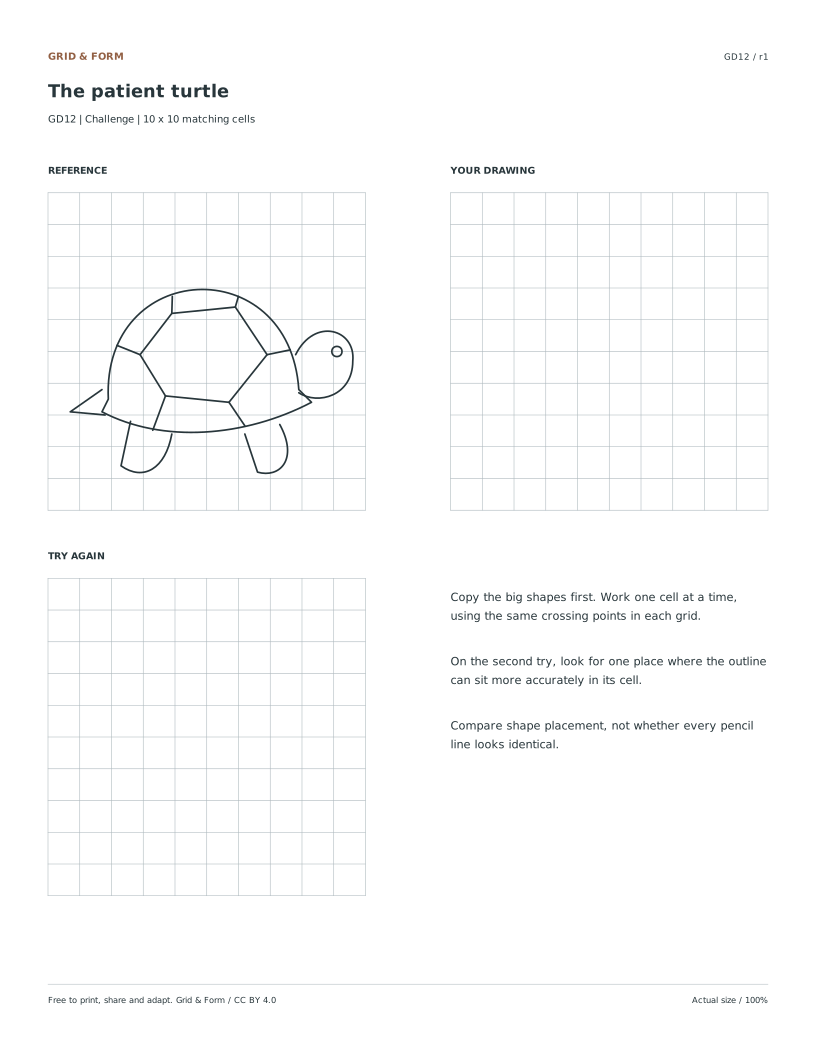
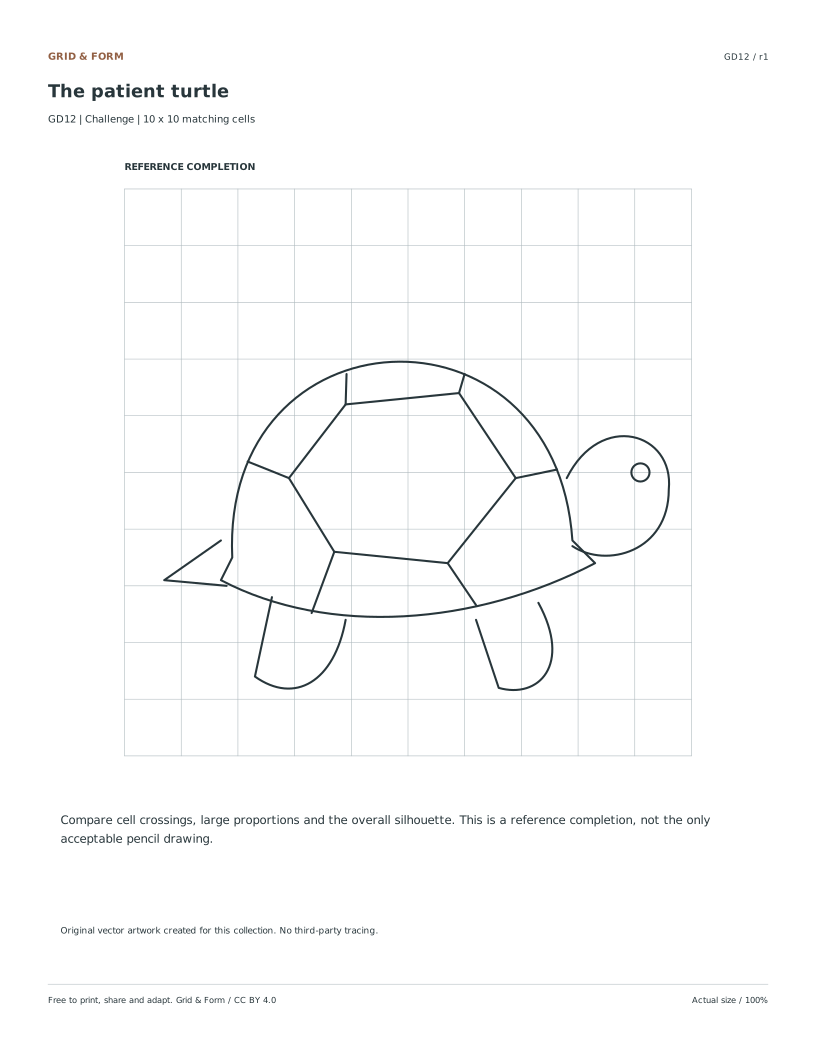
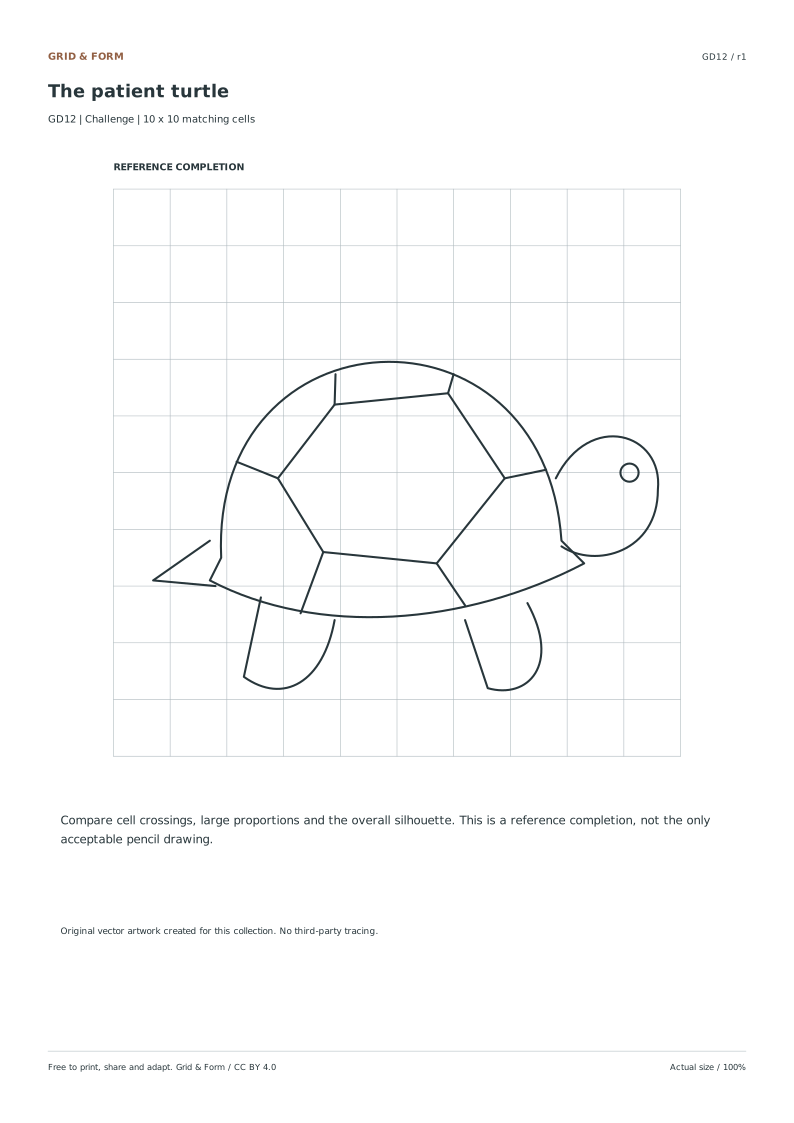
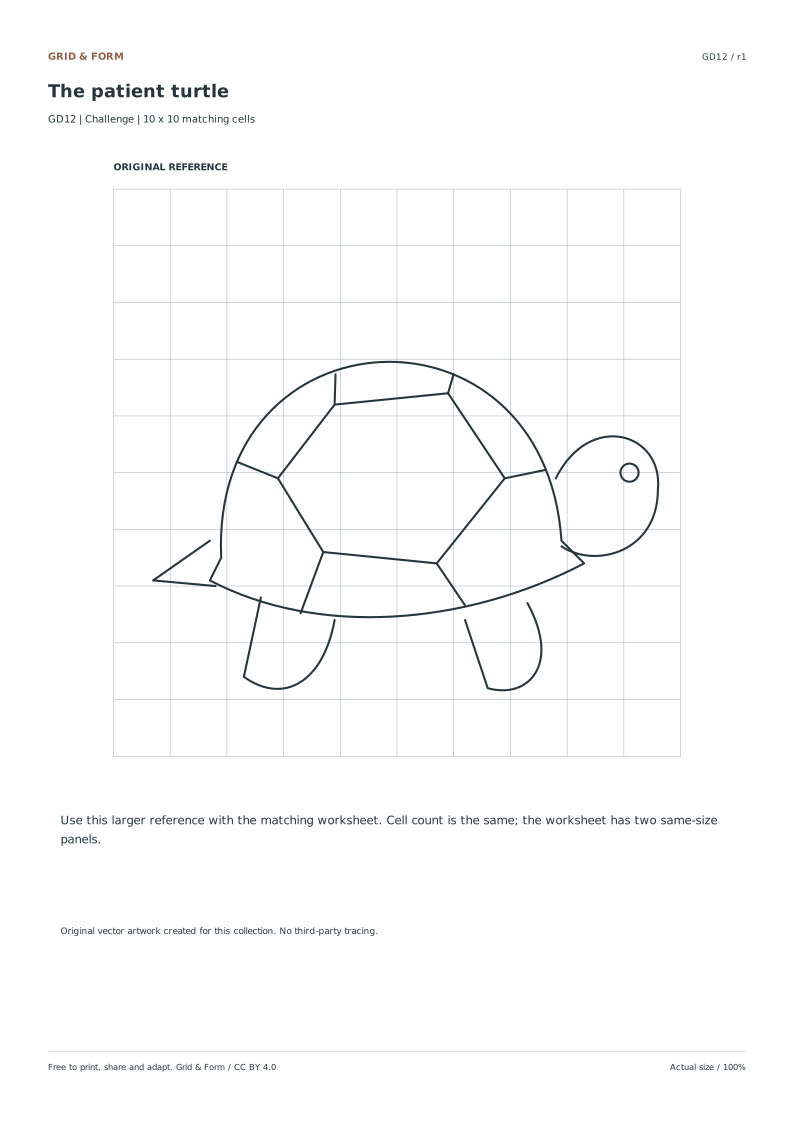
The patient turtle preview
challenge · 10 × 10 cellsGD12

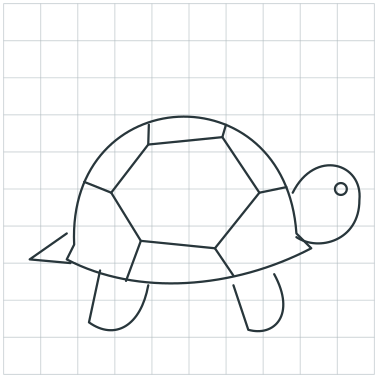
The patient turtle

A detailed shell and small limbs make this a useful slow-looking challenge.

1 page per file · free · CC BY 4.0

All paper sizes & editable formats
US Letter
A4

A grid makes the question smaller.

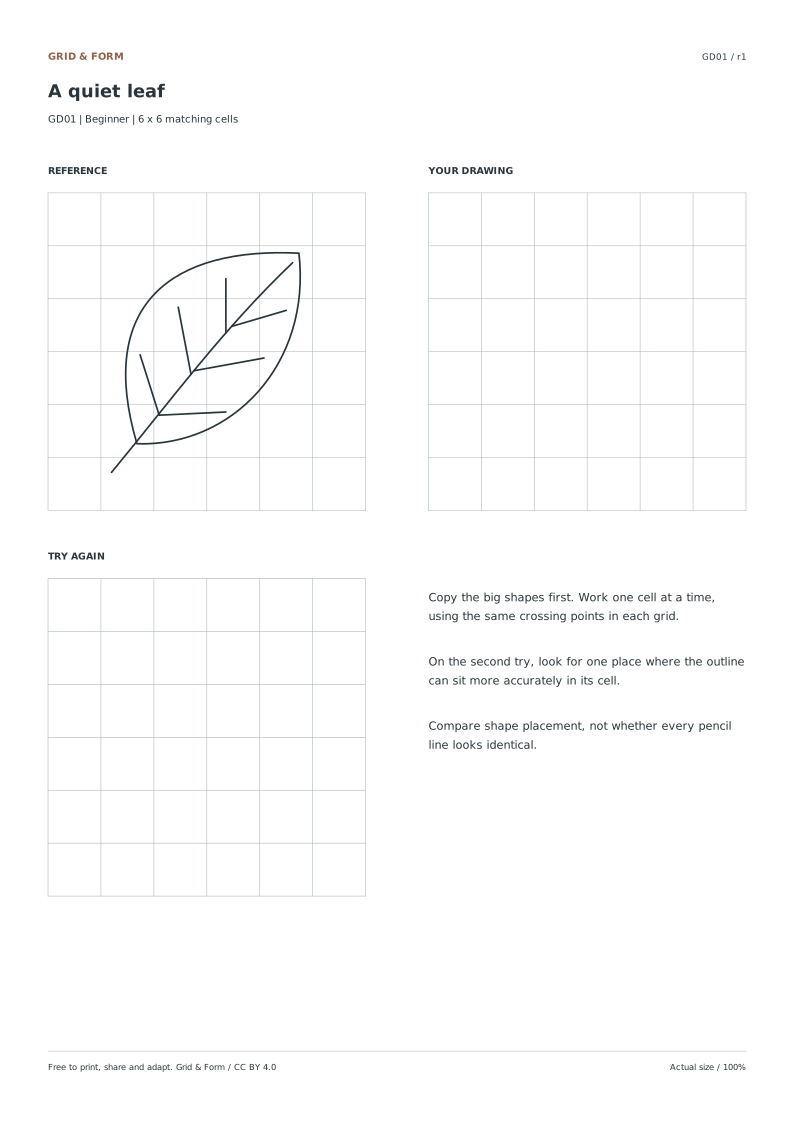
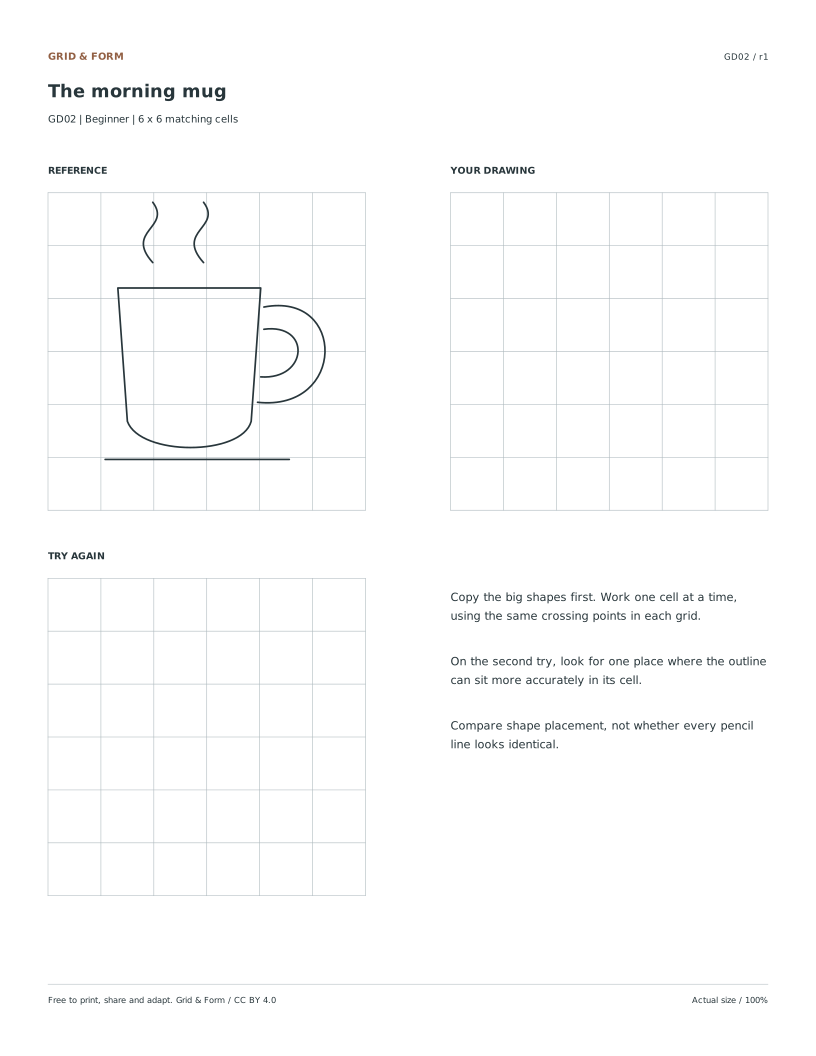
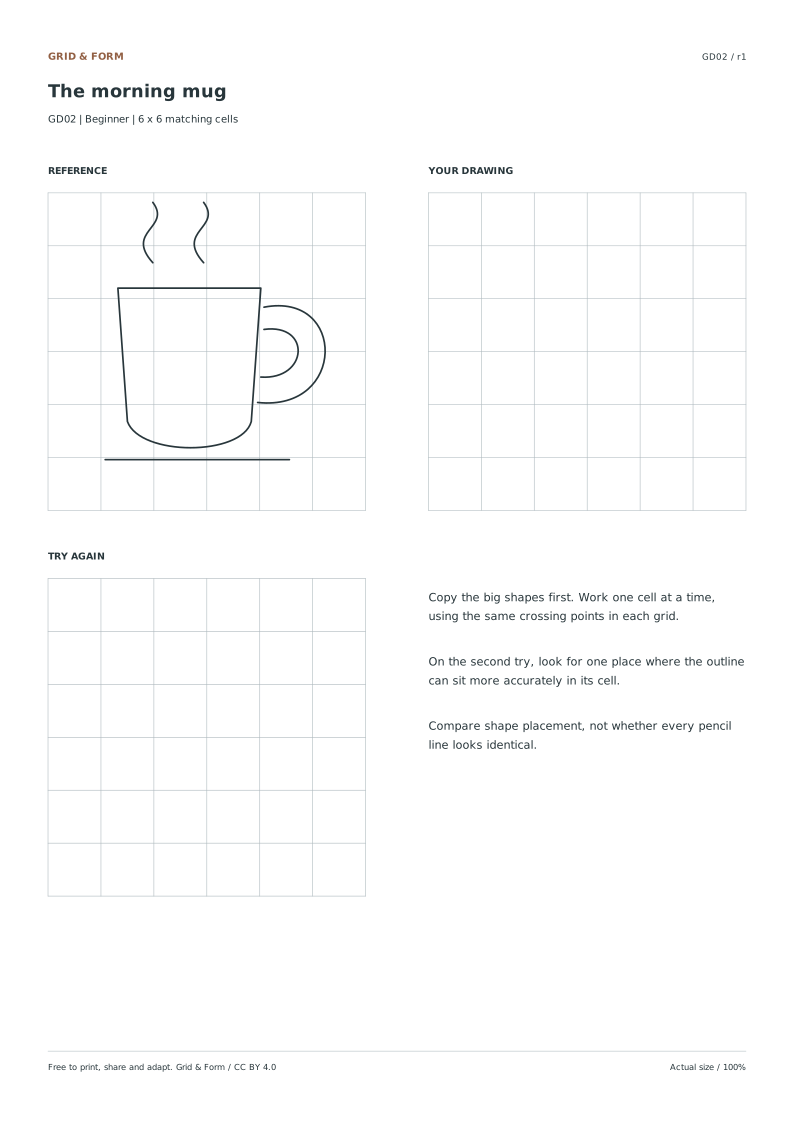
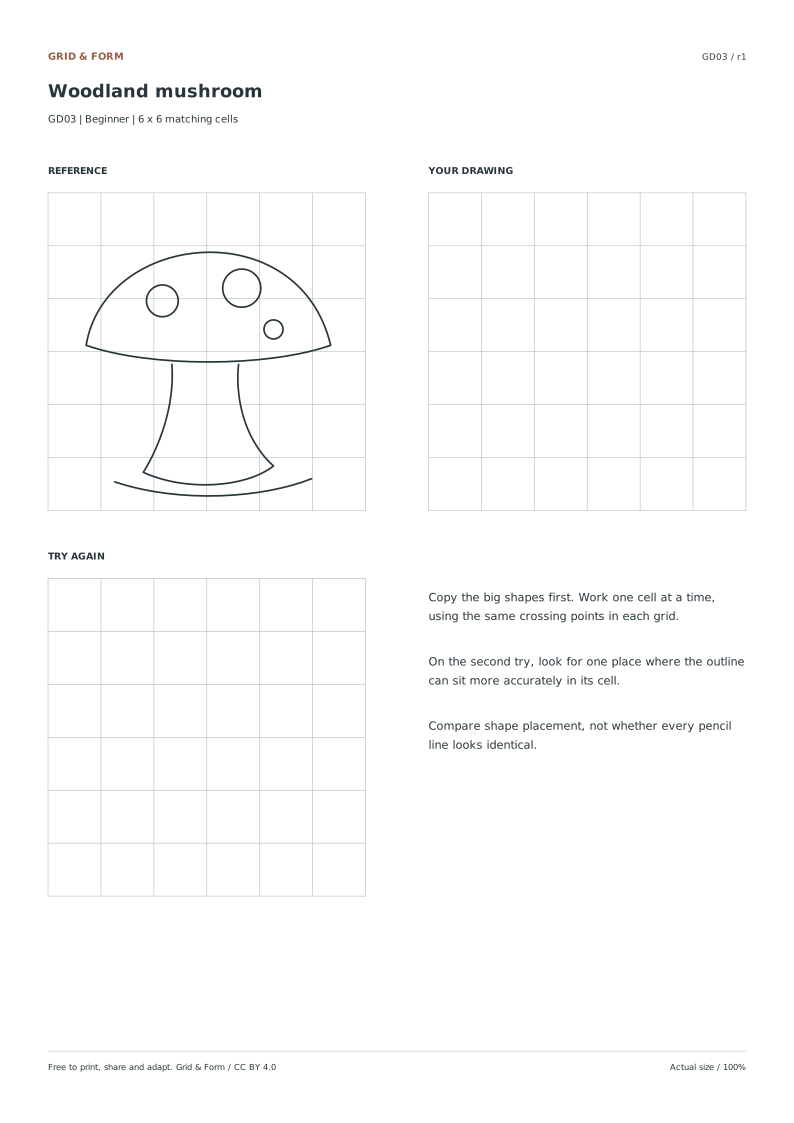
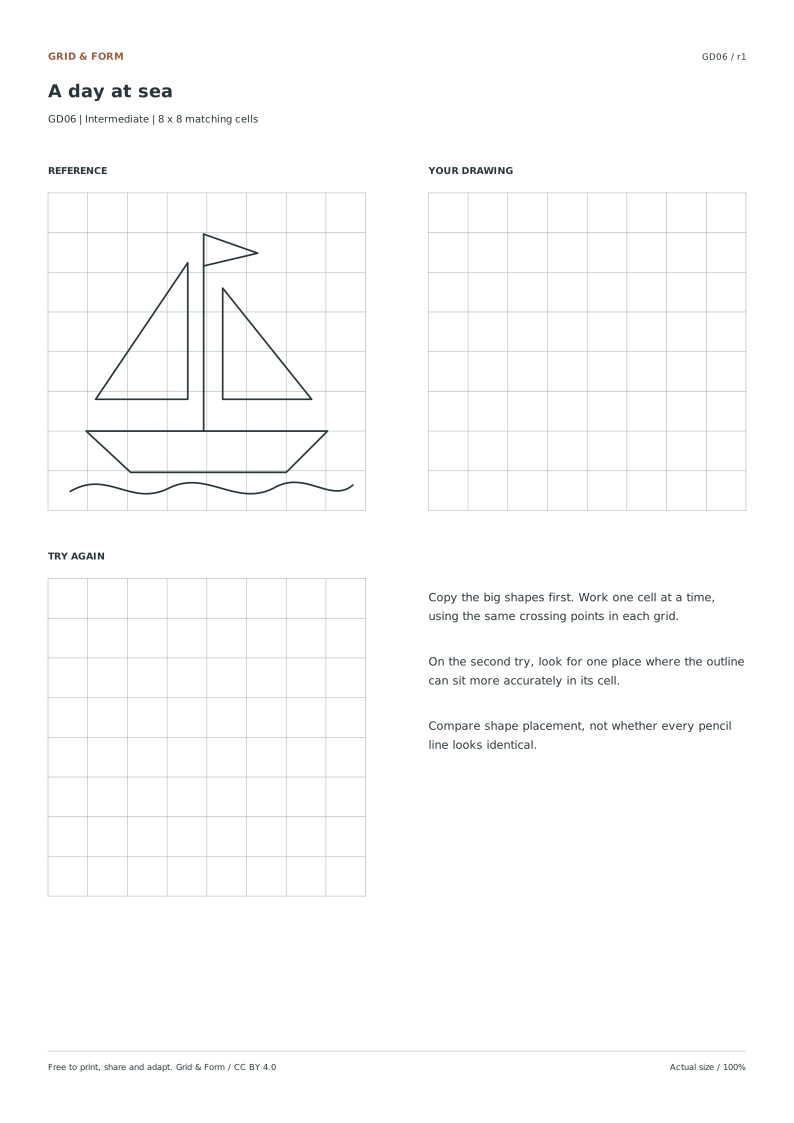
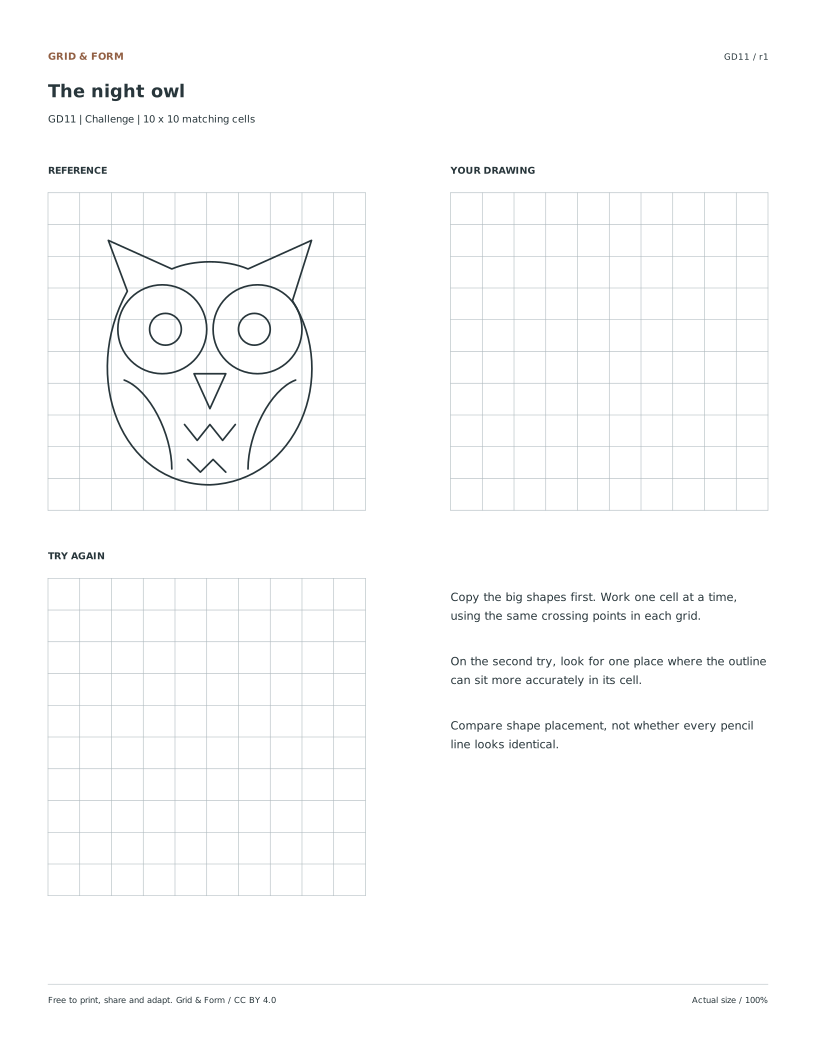
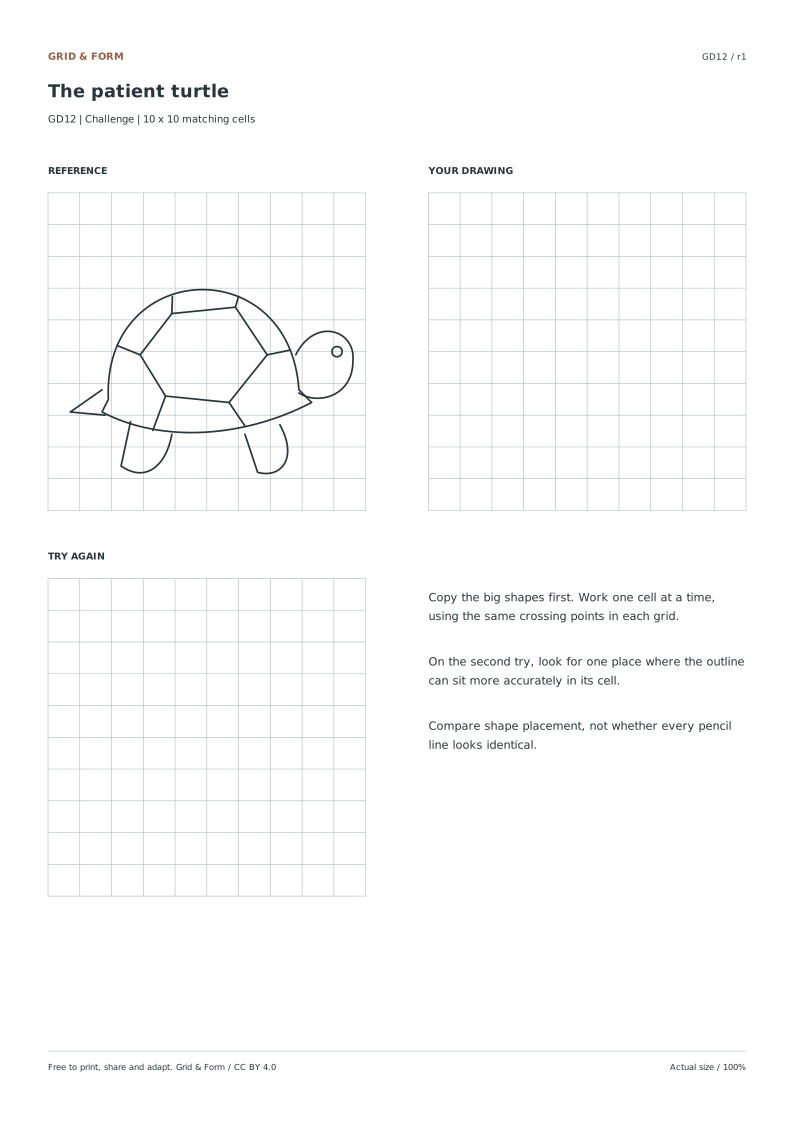
Instead of asking where an entire leaf should go, ask where one curve crosses one cell. On the student page, the source and target panels are both 84 mm square and have the same cell count. This is a same-size copying task.

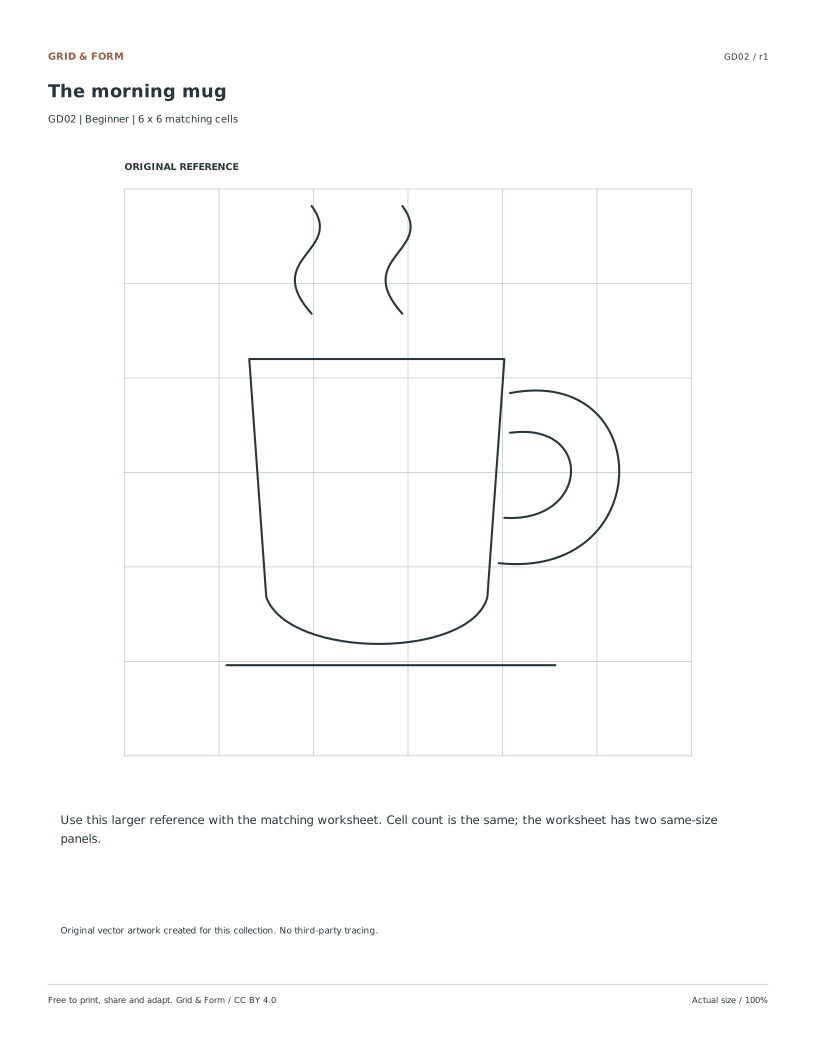
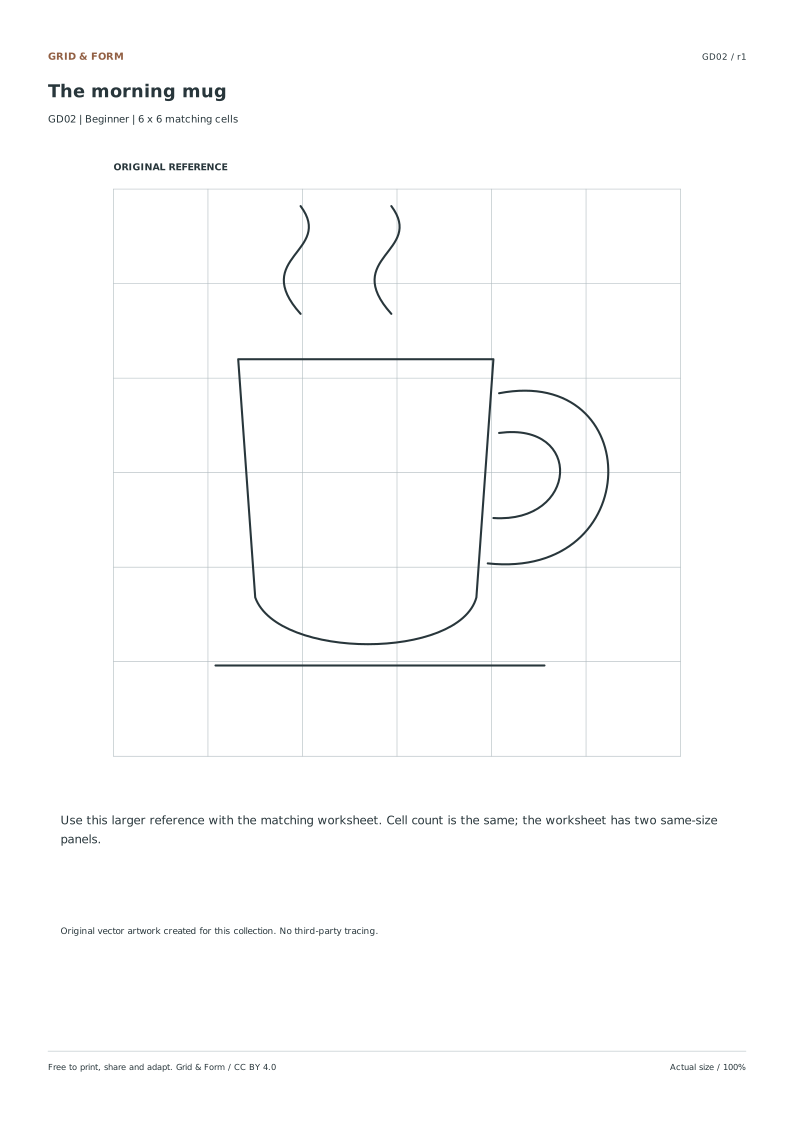
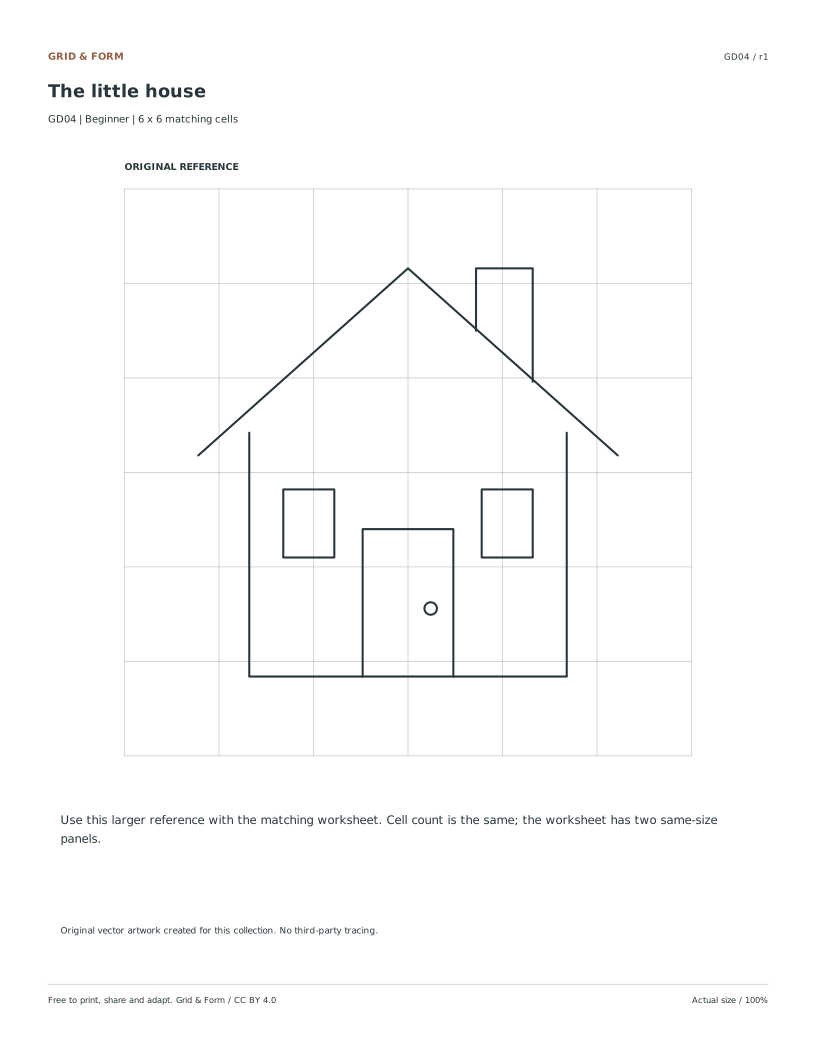
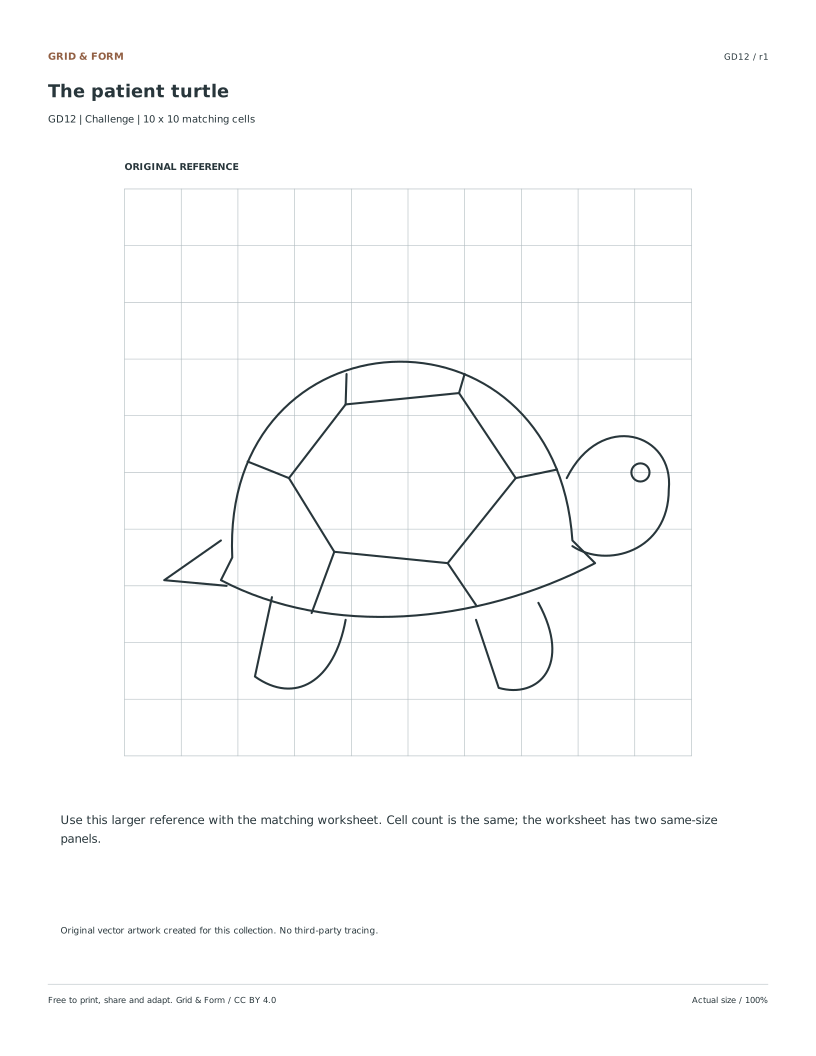
The separate full-page reference is larger for easier viewing. It has the same number of cells, so matching cell positions still work even though the physical drawing is larger.

  1. Find the outer limits.

    Mark the top, bottom, left and right extremes of the subject. Check which cells contain them.

  2. Place the large shapes.

    Work lightly. Follow the outline through neighboring cells, comparing crossing points and the direction of each curve.

  3. Add the small details.

    Use the large shapes as anchors. Check the eyes, veins, stripes or windows against their own cells.

  4. Try a second version.

    Use the lower blank grid. Pick one specific improvement instead of correcting every mark at once.

Three levels, one method

More cells.
More decisions.

Beginner
6 × 6 cells
Intermediate
8 × 8 cells
Challenge
10 × 10 cells
Each level
4 original drawings

Levels are starting points for this collection, not age or ability labels. Choose a drawing that gives you something useful to notice without making every cell feel crowded.

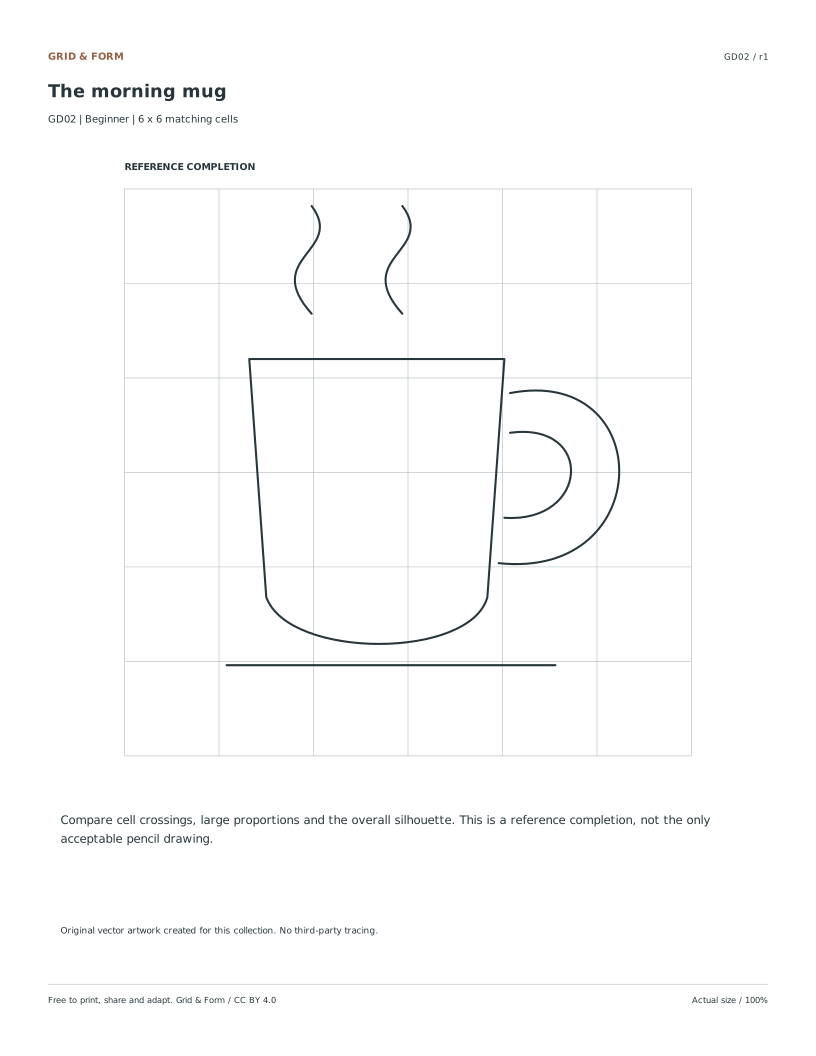
Use the answer as a reference.

Check placement before line quality.

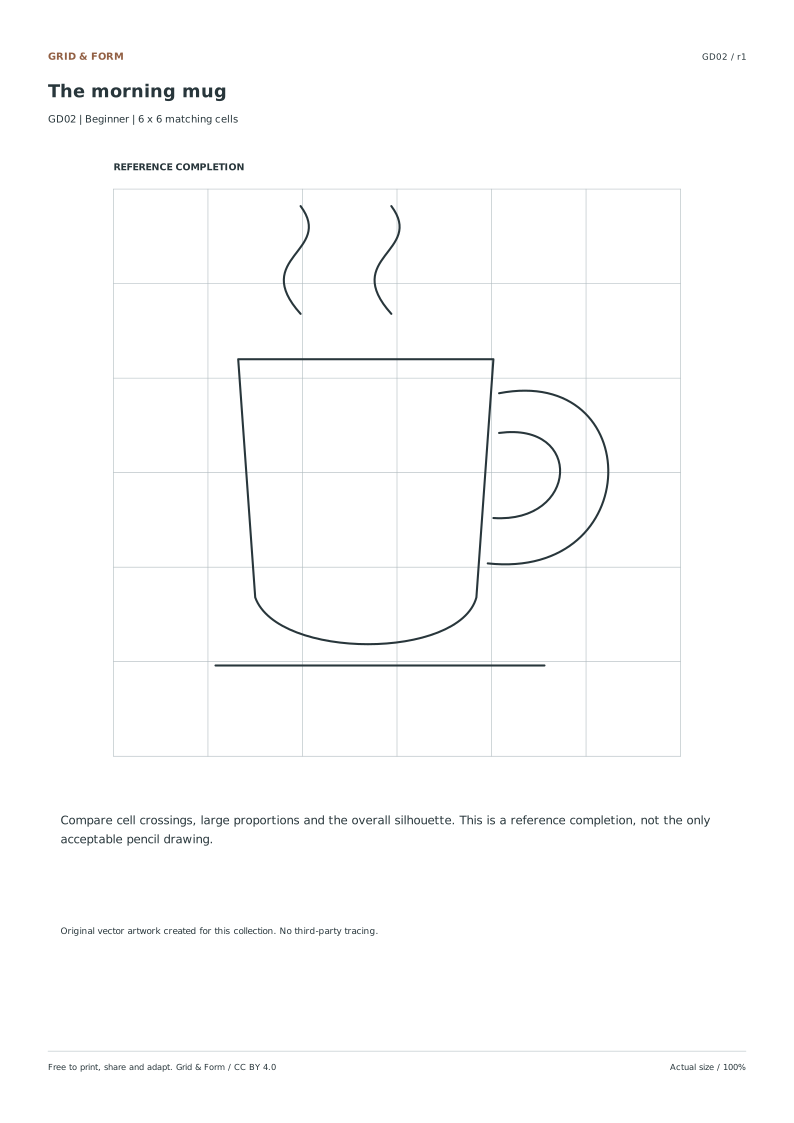
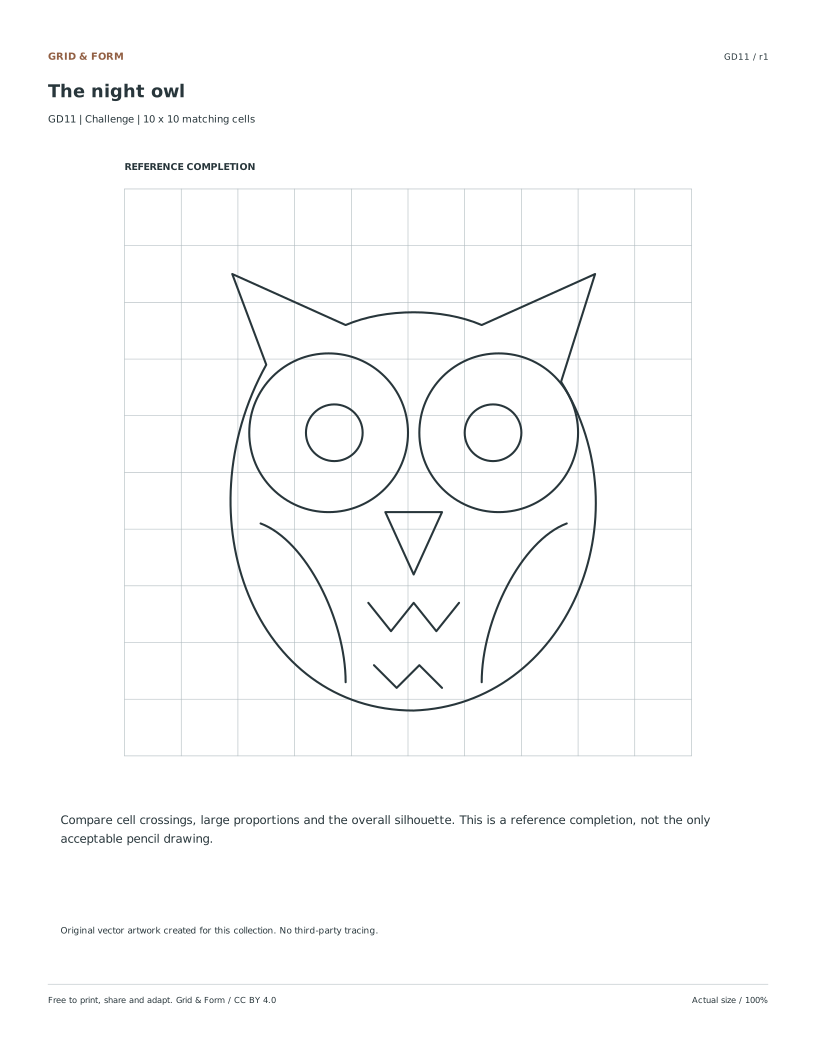
Look at the same grid intersection in the reference and your drawing. Is the curve in the correct cell? Does it pass near the right edge or the center? Compare the width and height of the whole silhouette before judging tiny details.

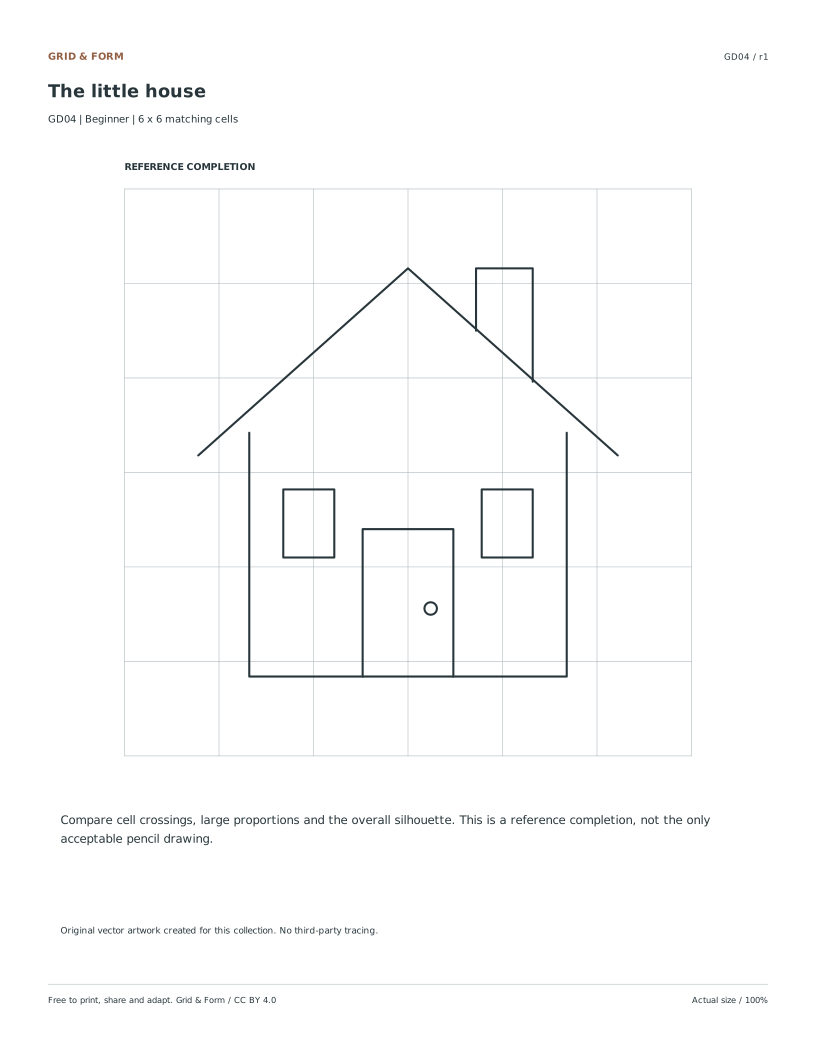
A pencil stroke does not need to match a vector curve perfectly. The completion shows a consistent target for proportion and position, rather than a single acceptable artistic result.

Change one thing on the second attempt.

Write a small observation: “The mug handle was too wide,” or “The bird’s eye was one cell too low.” Then redraw with that correction in mind. A specific observation gives the next attempt a purpose.

All reference drawings are original vector compositions created for this collection. They are not traced characters, copied worksheet art or images taken from another publisher.

A few useful answers

Before you begin

Are the grid drawing worksheets free with answers?

Yes. Each of the 12 drawings has a student PDF, a reference completion PDF and a larger reference PDF, with editable single-sheet SVGs. All come in Letter and A4.

Do I need to print the separate reference page?

No. The student worksheet already includes a small source image next to the blank grid. Use the separate reference for a larger display or shared classroom demonstration.

Will the reference and student grids always be the same physical size?

The two top panels on the student page are the same size. The separate reference and answer pages use larger 150 mm grids. The cell count, rather than physical panel size, is what matches across versions.

Can I remove the grid after drawing?

If you redraw the grid yourself, use a light pencil and erase it carefully. On these printed worksheets the grid is ink, so it is part of the page. You can also adapt the SVG under the free reuse license.
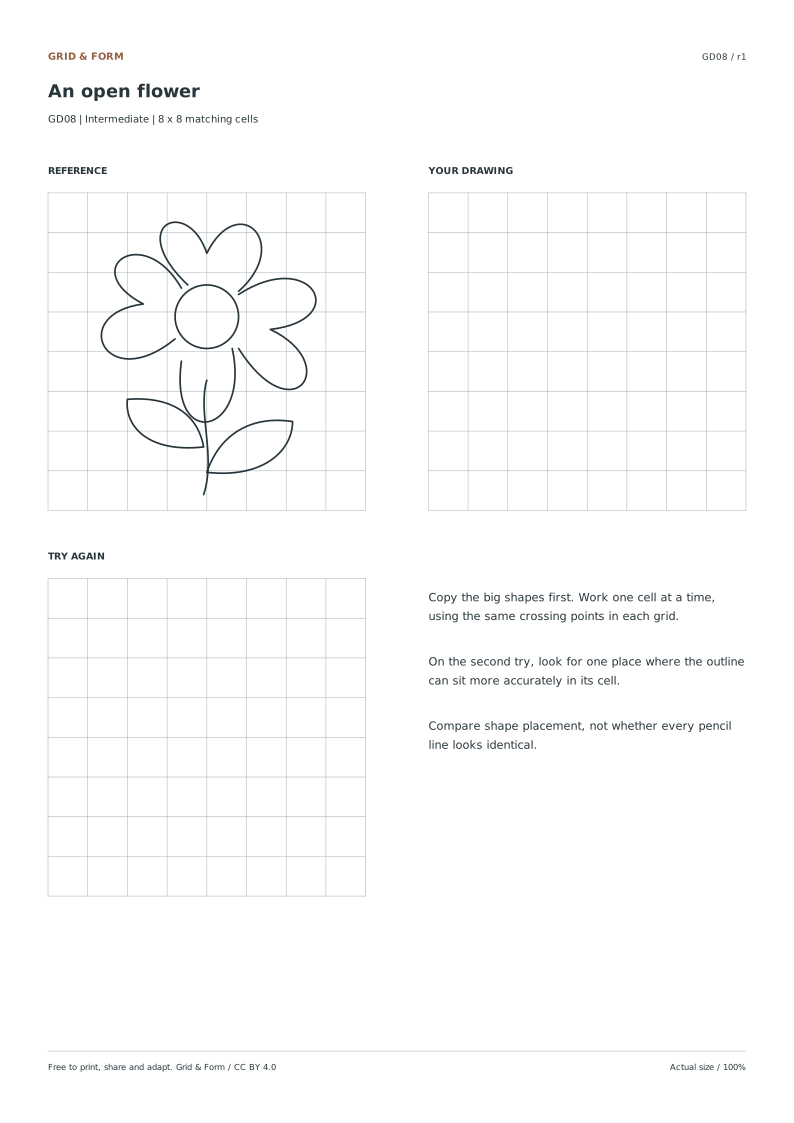
Worksheet preview

Full printable sheet preview

Fit-to-screen preview. Download the PDF to print at actual size.