Free original resources
Crochet Chart Grid Generator: Plan Graphs by Stitch and Row Gauge
Plan an original crochet chart by entering stitch width and row height separately, so the grid matches real proportions before you draw letters or motifs.
Free resources
Letter & A4
PDF & SVG
Letter & A4
PDF & SVG
Make it yours.
Free · no signup · calculated in your browser
Your free printable kit.
Original reference, student practice and separate worked answers. No account or payment.
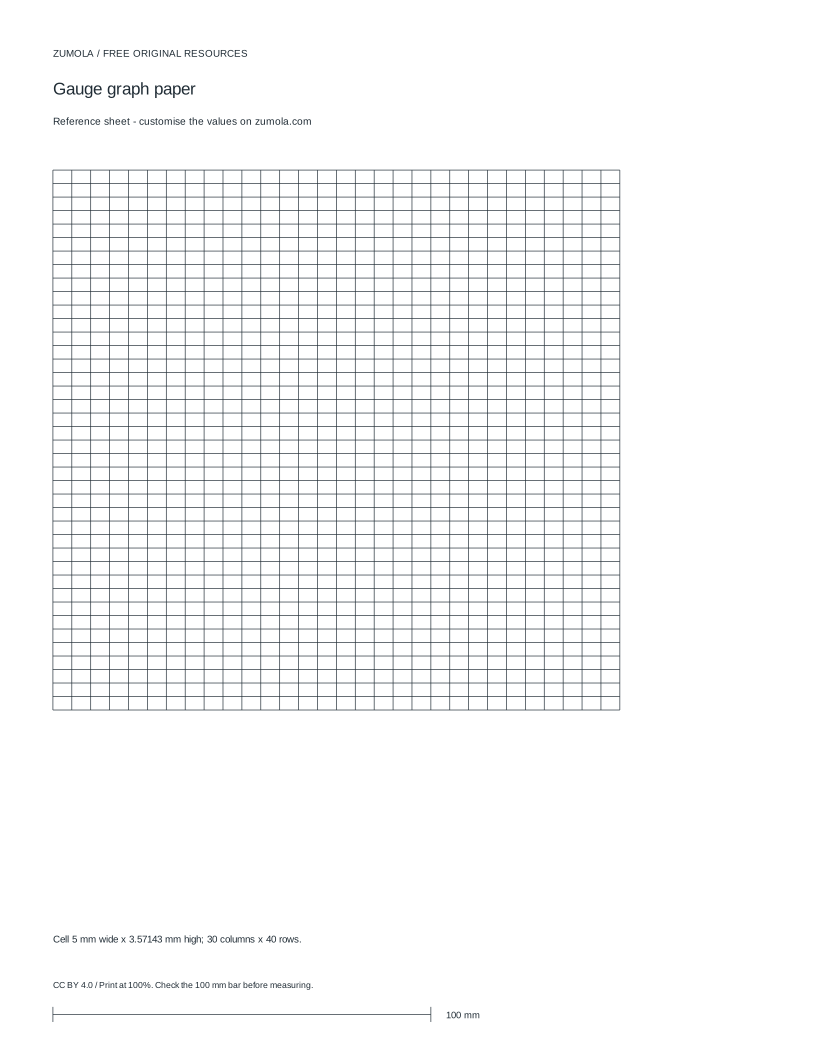
Practice worksheet
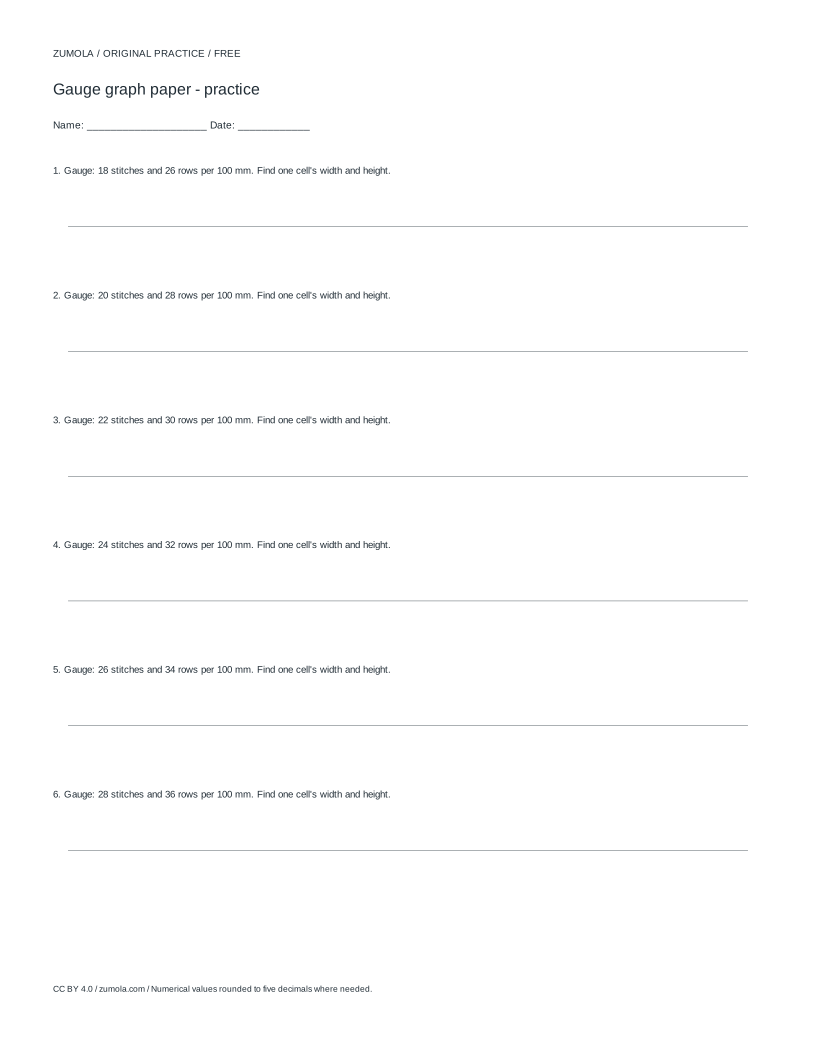
Worked answers / rubric
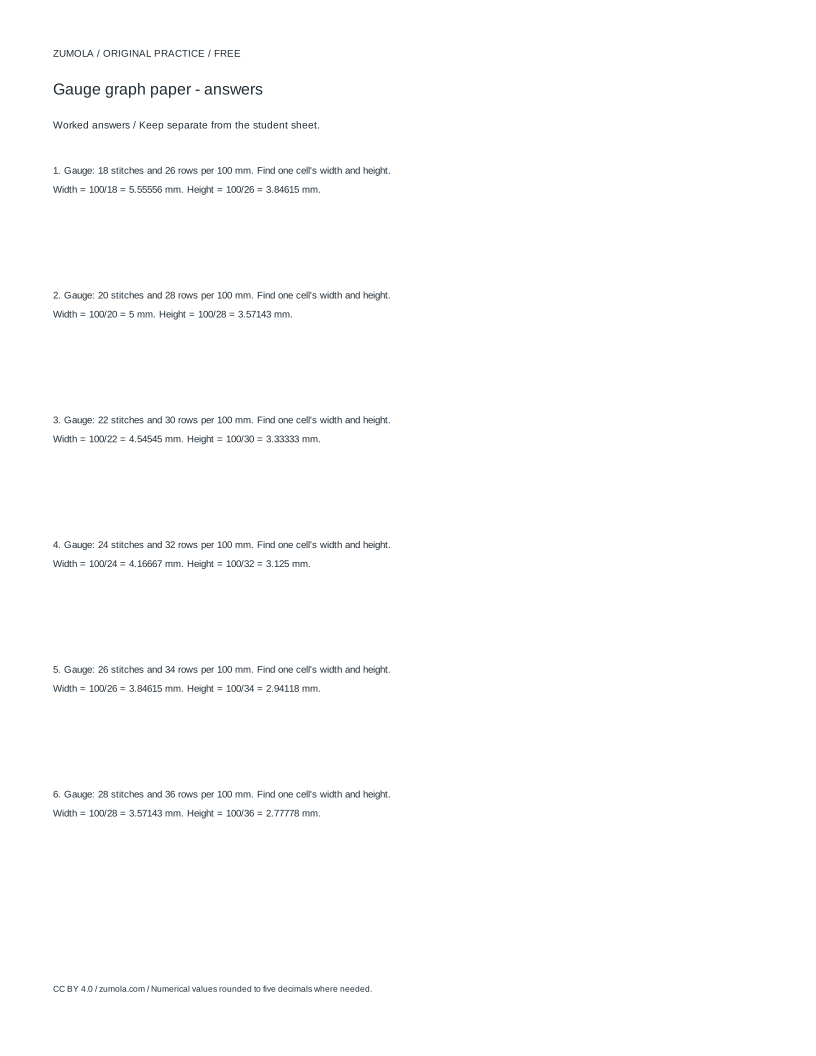
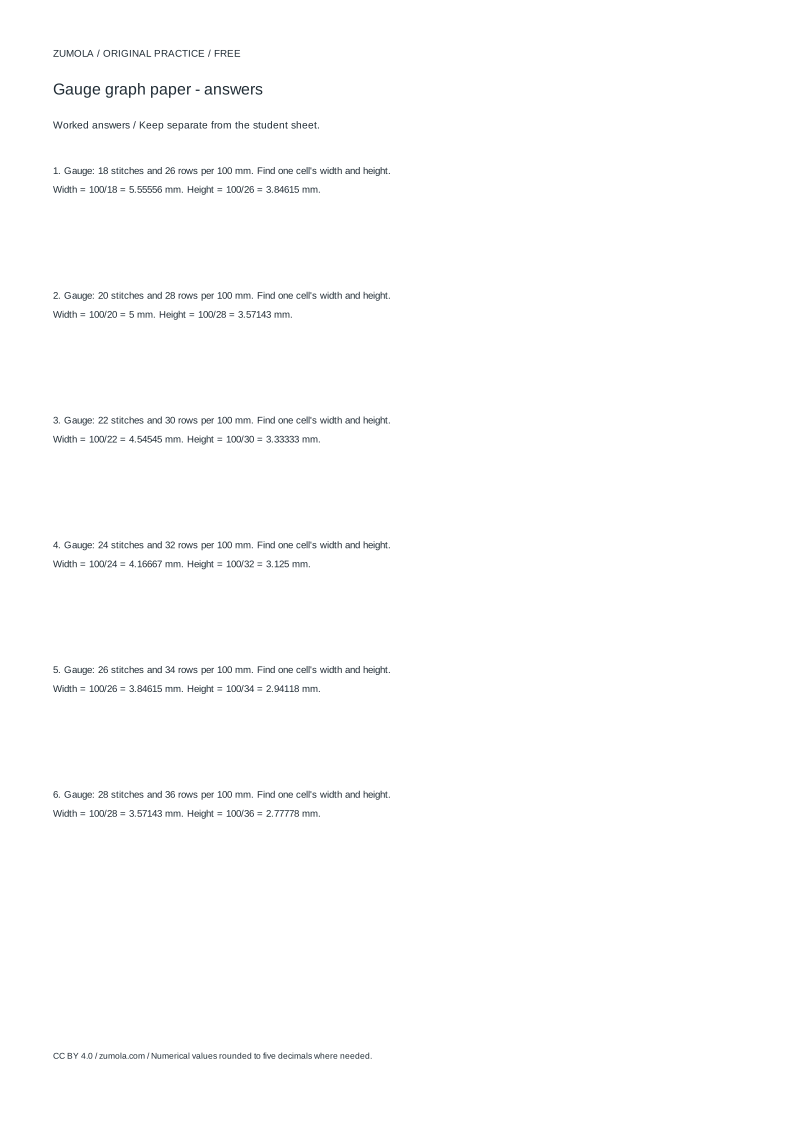
Print at Actual size / 100%. Check the calibration bar before using physical dimensions.
A crochet chart is only useful if its grid reflects the shape of your actual stitches. Crochet stitches are usually wider than they are tall, so a square grid can distort a design. This page explains how to plan an original chart using separate stitch-width and row-height measurements, how to check that the grid is not inverted, and how to treat the generated chart and your written crochet steps as two separate checks.
Why stitch width and row height must be entered separately
In crochet, one stitch occupies a width across the row, while one row occupies a height. These are different measurements. If you treat them as equal, a motif drawn on the grid will not match the proportions of the finished fabric. Entering stitch width and row height as separate values lets the grid cells become rectangles that mirror the real fabric.
The grid is a planning aid, not a guarantee. The chart shows where each stitch or block belongs in a coordinate layout. Your written pattern still controls how those positions are worked. Keep the two records side by side and compare them before you begin.
- Measure the width of a set of stitches and divide by the number of stitches to get stitch width.
- Measure the height of a set of rows and divide by the number of rows to get row height.
- Enter stitch width and row height as separate values in the same unit, such as millimetres.
- Confirm the grid cell is wider than it is tall when your stitches are wider than tall.
Checking the grid is not inverted
An inverted grid happens when width and height are swapped. The chart then looks plausible but stretches the design in the wrong direction. A quick check is to compare the cell proportions with your measurements: if stitch width is 5 mm and row height is about 3.57 mm, each cell should be wider than tall.
The schematic settings here use 30 columns and 40 rows, with a cell width of 5 and a cell height of about 3.57 in abstract coordinate units. These numbers describe the grid layout, not a printer setting. Use them to reason about proportions, then verify your own measurements independently.
- Write your stitch width and row height on the same line with their unit.
- Compare the two numbers: the larger one belongs to the wider direction.
- Check a few cells on the chart: they should be wider than tall if your stitch width exceeds row height.
- If the chart looks tall and narrow, swap the two values and recheck.
Planning letters and motifs on the grid
Letters and simple motifs work best when you sketch them on the grid first and count cells rather than eyeballing. Decide how many cells wide and tall each letter should be, then mark the cells. Because cells are rectangular, a letter that looks balanced on paper may need adjustment once you account for the true stitch proportions.
For filet-style or bead-style planning, the same principle applies: the grid represents positions, and the written steps describe the working method. Do not assume the chart alone is a complete pattern. Treat the chart as a map and the written steps as the route.
- Choose a cell span for each letter, for example 5 cells wide and 7 cells tall.
- Mark the cells on the grid and count them to confirm the span.
- Compare the marked shape with your intended proportions.
- Write the corresponding stitch or block sequence separately and check it against the chart.
Separating chart approval from crochet approval
A chart can be correct as a drawing yet wrong as a crochet plan. Approve the chart first: are the proportions right, are the letters placed as intended, and is the grid not inverted? Then approve the crochet steps: does each row match the chart, and are the stitch counts consistent?
Keeping these two approvals separate prevents a common error: accepting a chart because it looks neat, then discovering the written rows do not match it. Record both checks before you start working.
- Review the chart for proportion and placement.
- Review the written row sequence against the chart.
- Note any mismatch and correct the chart or the steps, not both at once.
- Begin crocheting only after both checks pass.
Try this example
A crocheter measures stitch width as 5 mm and row height as 3.57 mm, then plans a 30-column by 40-row chart. Is the grid proportion correct, and what is the approximate chart width and height in coordinate units?
Show the worked explanation
Stitch width 5 mm is greater than row height 3.57 mm, so cells should be wider than tall, which matches the plan. Width is 30 columns times 5 = 150 coordinate units. Height is 40 rows times 3.57 = about 142.8 coordinate units. The chart is slightly wider than tall, consistent with the measurements. These are abstract coordinate units, not printer settings.
Common mistakes
- Entering the same value for stitch width and row height. Measure width and height separately and enter each value in the same unit.
- Swapping stitch width and row height, producing an inverted grid. Compare the two numbers and confirm the larger value belongs to the wider direction.
- Treating the chart as a complete pattern. Write the stitch sequence separately and check it row by row against the chart.
Check your work
- Stitch width and row height are recorded separately with a shared unit.
- The grid cell is wider than tall when stitch width exceeds row height.
- Letter or motif spans are counted in cells, not estimated by eye.
- The written stitch sequence is checked row by row against the chart.
- Chart approval and crochet-step approval are recorded as separate checks.
Questions before you start
Should stitch width and row height be entered in the same unit?
Yes. Use one unit, such as millimetres, for both values so the grid proportions are meaningful.
How do I know the grid is not inverted?
Check that the cell is wider than tall when your stitch width is greater than your row height. If the chart looks tall and narrow, the values are likely swapped.
Does the chart replace a written crochet pattern?
No. The chart shows positions on a grid. The written steps describe how to work each row, and the two should be checked against each other.