Free original resources
Knitting Graph Paper: Non-Square Cells from Stitch and Row Gauge
Learn how stitch and row gauge set the width and height of knitting graph cells, why the grid is not square, and how to check the aspect ratio before charting.
Free resources
Letter & A4
PDF & SVG
Letter & A4
PDF & SVG
Make it yours.
Free · no signup · calculated in your browser
Your free printable kit.
Original reference, student practice and separate worked answers. No account or payment.
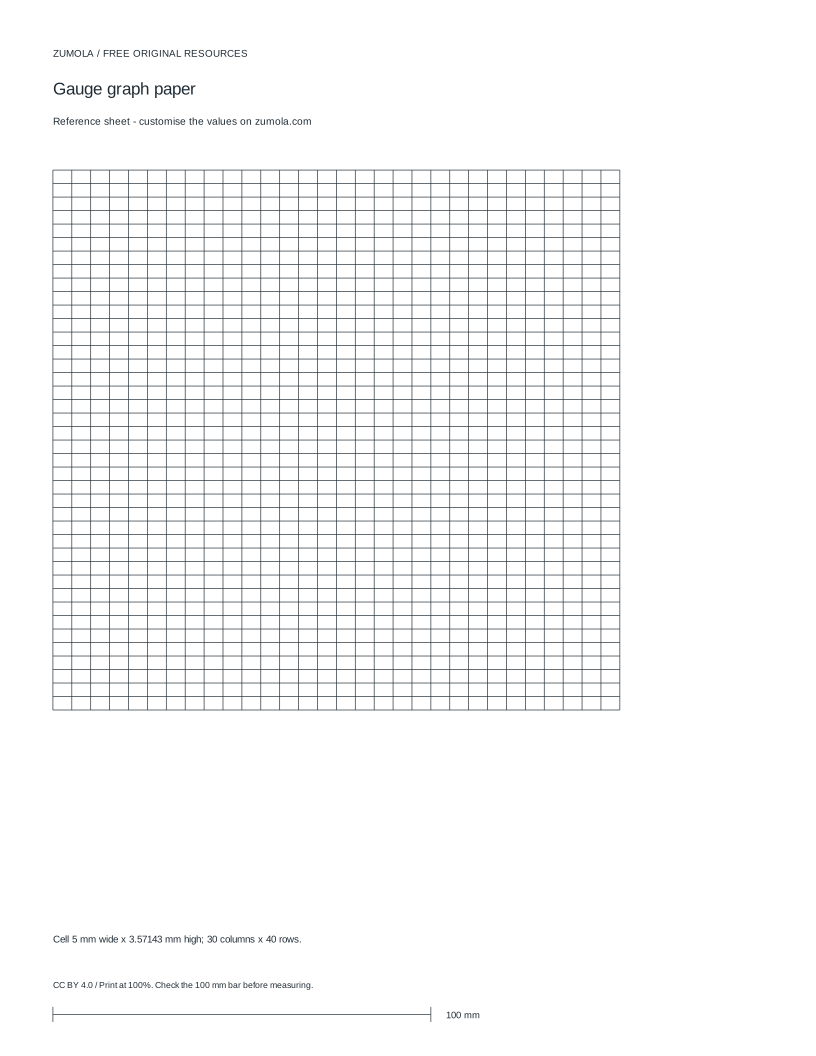
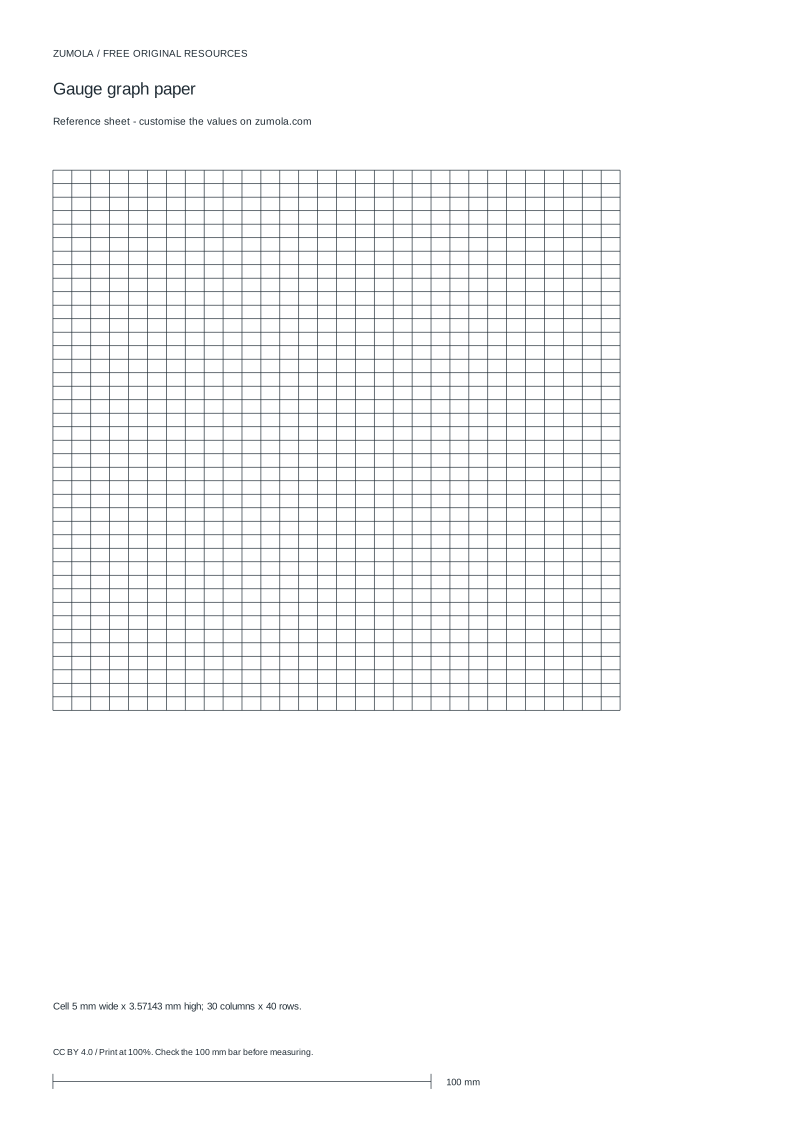
Practice worksheet
Worked answers / rubric
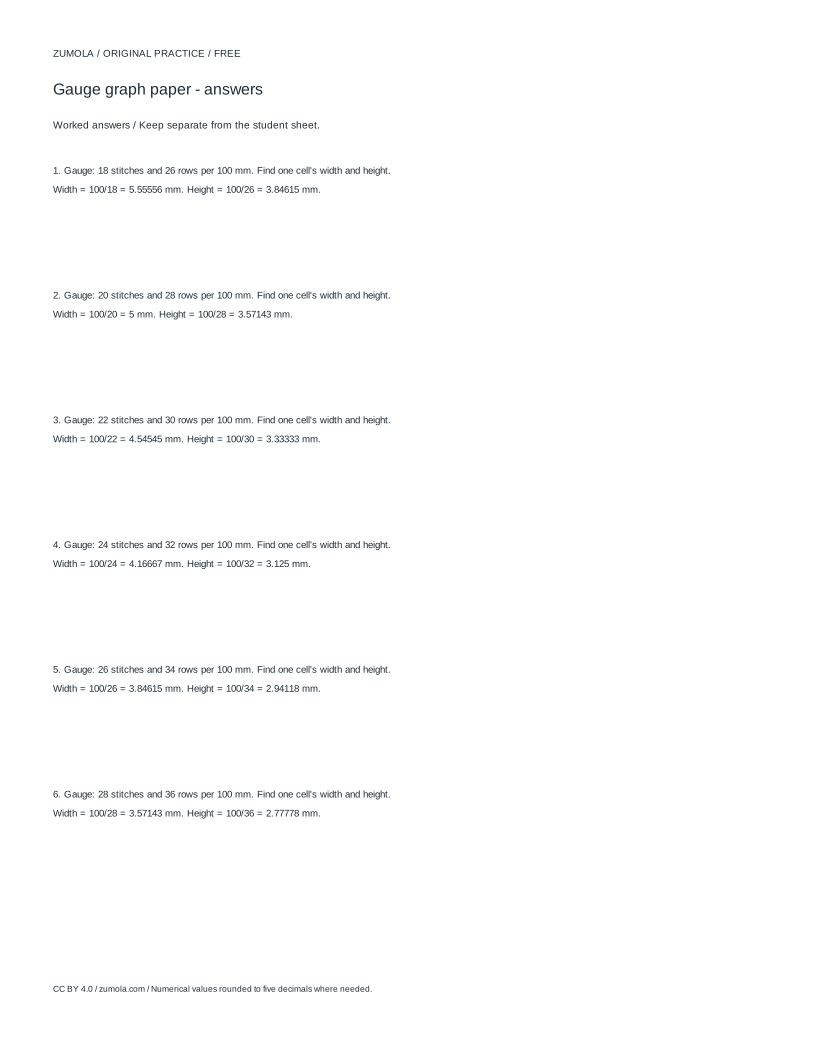
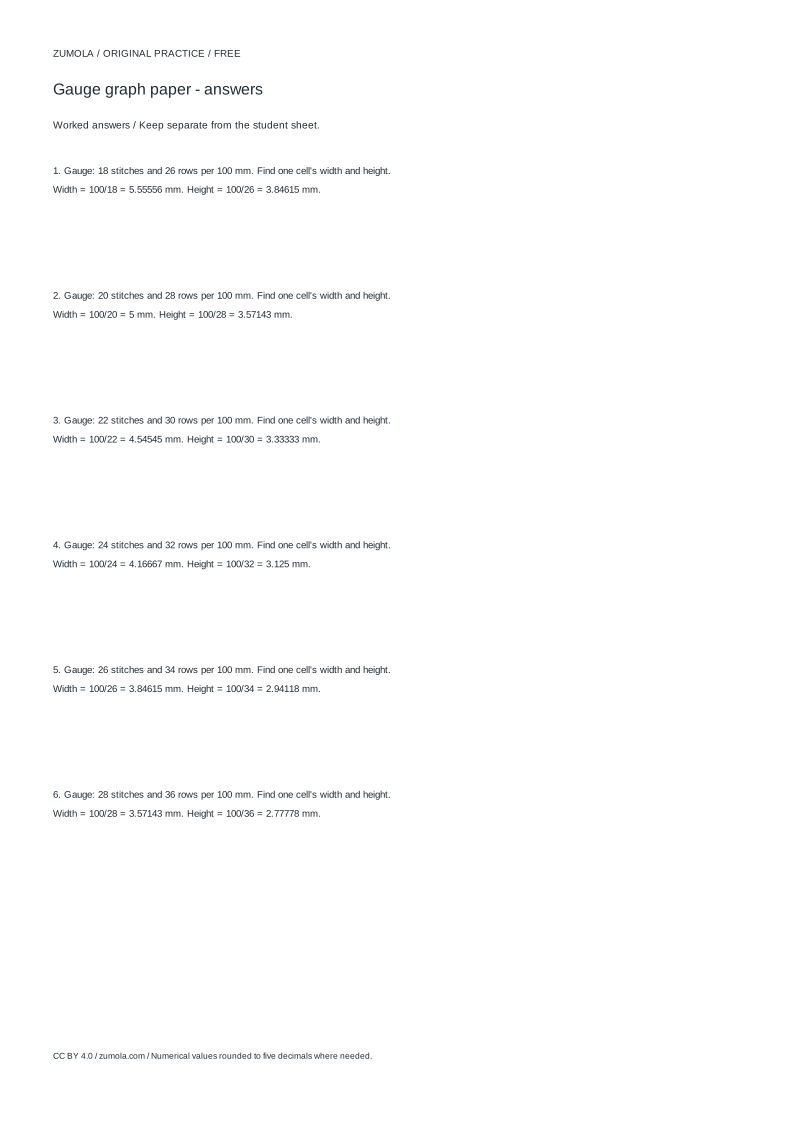
Print at Actual size / 100%. Check the calibration bar before using physical dimensions.
Knitting charts work best when each cell matches the shape of one stitch. Because knitted stitches are usually wider than they are tall, a chart built on ordinary square graph paper distorts the design. This page explains how horizontal stitch density and vertical row density produce rectangular cells, how to keep the two values in the right order, and how to verify the grid before you rely on it.
Why Knitting Graph Cells Are Rectangular
A single knitted stitch has a width set by the number of stitches across a measured distance and a height set by the number of rows over a measured distance. Those two densities are rarely equal. If you measure 20 stitches across 10 cm, each stitch is about 0.5 cm wide. If you measure 28 rows across 10 cm, each row is about 0.357 cm tall. A chart cell that represents one stitch must therefore be wider than it is tall.
Square graph paper forces every cell to the same width and height, so a chart drawn on it stretches or compresses the design. Non-square knitting graph paper fixes the cell width from stitch density and the cell height from row density, so the chart's proportions follow the fabric rather than an arbitrary square.
- Measure a swatch and record stitches per unit of width.
- Measure the same swatch and record rows per unit of height.
- Convert each density into a single-cell width and a single-cell height in the same unit.
- Confirm the cell width is larger than the cell height for typical stockinette, then build the grid.
Keeping Stitch Density and Row Density in the Right Order
The most common error is swapping the two inputs. Stitch density controls horizontal cell width; row density controls vertical cell height. If you enter rows as the horizontal value, the grid turns sideways: cells become tall and narrow, and every charted motif is distorted in the opposite direction.
Label the inputs before typing. Write 'stitches across' next to the horizontal field and 'rows up' next to the vertical field, then read the numbers back. A quick sanity check: for ordinary stockinette, stitches are usually wider than rows are tall, so the cell width should exceed the cell height. If your result shows the reverse, the values are probably reversed.
- Write the horizontal value as stitches per measured width.
- Write the vertical value as rows per measured height.
- Check that both use the same measurement unit.
- Compare the resulting cell width and cell height; expect width to be greater for stockinette.
Verifying the Grid Before Charting
A generated grid is only useful if its proportions match your gauge. Treat the grid and the hand-knitting steps as separate checks. First confirm the grid's aspect ratio: divide cell width by cell height and compare it with stitches-per-unit divided by rows-per-unit. The two ratios should agree.
Second, confirm the chart against the actual knitting. Count the cells across a motif and compare that count with the stitches you will cast on for that section. Count the cells up and compare with the rows you will work. If the counts match your pattern plan, the chart is ready to use. Print at 100% only after checking a calibration bar, because scaling changes cell size.
- Divide cell width by cell height to get the grid ratio.
- Divide stitch density by row density to get the gauge ratio.
- Confirm the two ratios match.
- Count cells across and up for one motif and compare with planned stitches and rows.
Worked Example: A 20-by-28 Gauge
Suppose a swatch gives 20 stitches across 10 cm and 28 rows across 10 cm. Each stitch is 10 divided by 20, or 0.5 cm wide. Each row is 10 divided by 28, about 0.357 cm tall. A chart cell should therefore be 0.5 cm wide and about 0.357 cm tall.
The grid ratio is 0.5 divided by 0.357, about 1.4. The gauge ratio is 20 divided by 28, also about 0.714 in stitches per row terms; the reciprocal, 28 divided by 20, is 1.4. The match confirms the cells are oriented correctly. A motif 6 cells wide and 10 cells tall represents 6 stitches and 10 rows, which at this gauge covers about 3 cm across and 3.57 cm up.
- Compute stitch width: 10 cm divided by 20 stitches equals 0.5 cm.
- Compute row height: 10 cm divided by 28 rows equals about 0.357 cm.
- Check the ratio: 0.5 divided by 0.357 is about 1.4.
- Translate a 6-by-10 motif into 6 stitches and 10 rows.
Charting With a Rubric, Not a Single Answer
Knitting charts can be drawn in more than one valid way. Some knitters mark every stitch, others mark only pattern changes, and colourwork charts may use symbols or shaded cells. Because several approaches are legitimate, judge a finished chart against clear criteria rather than expecting one exact drawing.
Use the rubric below to review a chart before knitting from it. The goal is a chart that communicates the design accurately and matches the gauge you measured.
- Confirm cell proportions match the measured gauge.
- Confirm stitch and row counts match the pattern plan.
- Confirm symbols or shading are explained in a key.
- Confirm the chart reads in the direction you will knit.
Separating the Chart From the Knitting
A correct chart does not guarantee correct knitting, and a knitting error does not mean the chart is wrong. Keep the two checks separate. Verify the grid's proportions and counts first, then verify your cast-on, row count, and stitch placement against the chart as you work.
If the finished fabric looks stretched, re-measure the swatch rather than redrawing the chart immediately. Gauge can change with yarn, needles, and tension, so the chart should follow a fresh measurement.
- Check the grid independently of the knitting.
- Check the knitting independently of the grid.
- Re-measure gauge if the fabric proportions differ from the chart.
- Update the chart only after confirming a new gauge.
Try this example
A swatch measures 20 stitches across 10 cm and 28 rows across 10 cm. Find the cell width, cell height, and the size of a 6-cell-wide, 10-cell-tall motif.
Show the worked explanation
Cell width is 10 divided by 20, or 0.5 cm. Cell height is 10 divided by 28, about 0.357 cm. The grid ratio is 0.5 divided by 0.357, about 1.4, matching 28 divided by 20. A 6-by-10 motif represents 6 stitches and 10 rows, covering about 3 cm across and 3.57 cm up.
Common mistakes
- Entering row density in the horizontal field and stitch density in the vertical field. Label each field before typing and confirm the cell width exceeds the cell height for stockinette.
- Measuring stitches and rows over different distances without converting to the same unit. Convert both densities to a common unit, such as stitches per 10 cm and rows per 10 cm, before generating the grid.
- Printing the grid at a reduced scale and assuming cell sizes are unchanged. Print at 100% only after checking a calibration bar, then re-measure one cell against the calculated width and height.
Check your work
- Cell width equals the measured stitch width in the chosen unit.
- Cell height equals the measured row height in the chosen unit.
- The grid ratio matches the gauge ratio, confirming stitch and row values are not swapped.
- Cell counts across and up match the planned stitch and row counts for the motif.
- A key explains any symbols or shading used in the chart.
Questions before you start
Why is knitting graph paper not made of squares?
Because one stitch is usually wider than one row is tall. Non-square cells let each cell represent one stitch accurately, so the chart's proportions match the knitted fabric.
Which value sets the cell width?
Horizontal stitch density sets the cell width. Vertical row density sets the cell height. Swapping them turns the grid sideways and distorts the chart.
How do I check the grid is oriented correctly?
Divide cell width by cell height and compare it with stitch density divided by row density. If the ratios agree, the orientation is correct.