Reference diagram
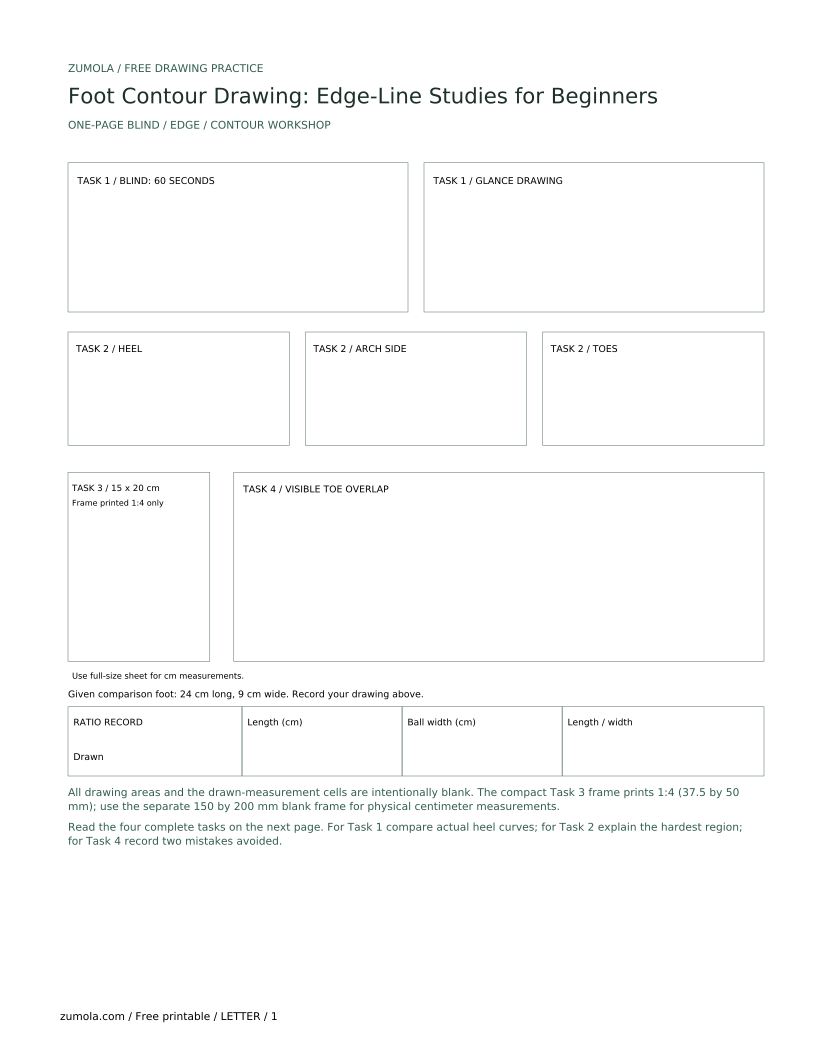
LETTER · Download PDF (2 pages)
Free original lessons
Free foot contour drawing PDFs: blind-contour and edge studies, a full-size practice frame, four tasks and separate illustrated answers.
Original reference diagrams, four practice exercises and separate worked answers. All files are free. No signup required.
LETTER · Download PDF (2 pages)
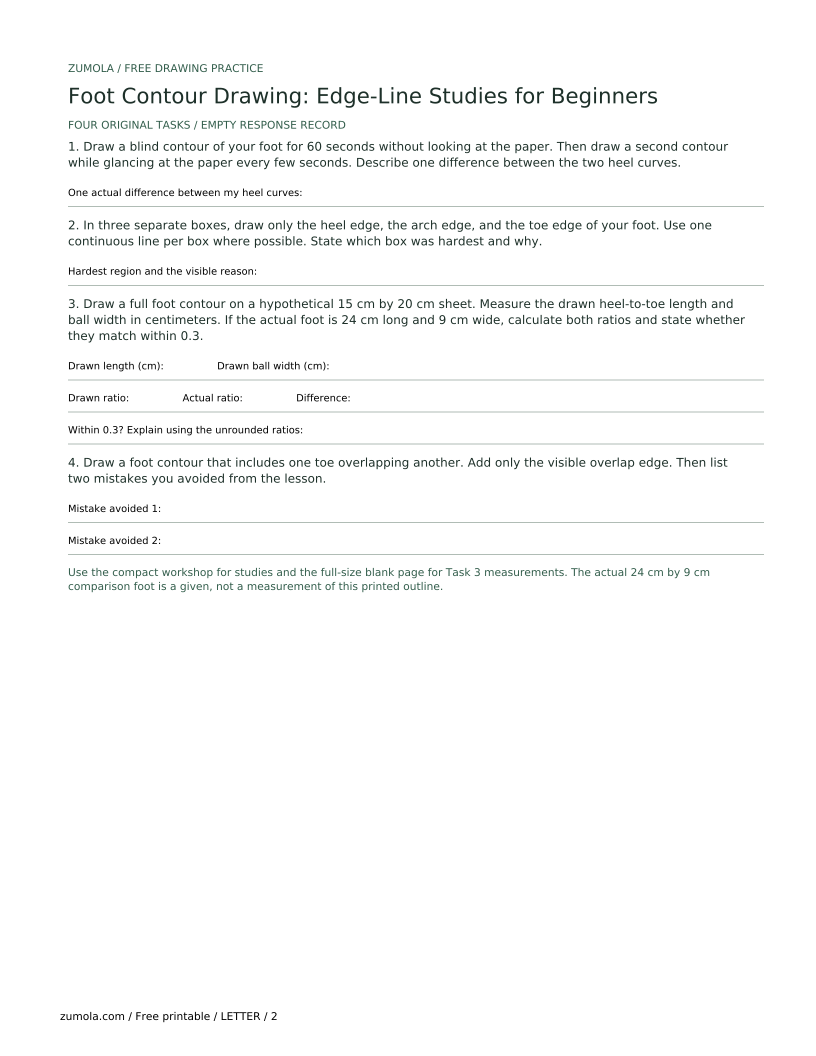
LETTER · Download PDF (3 pages)
LETTER · Download PDF (6 pages)
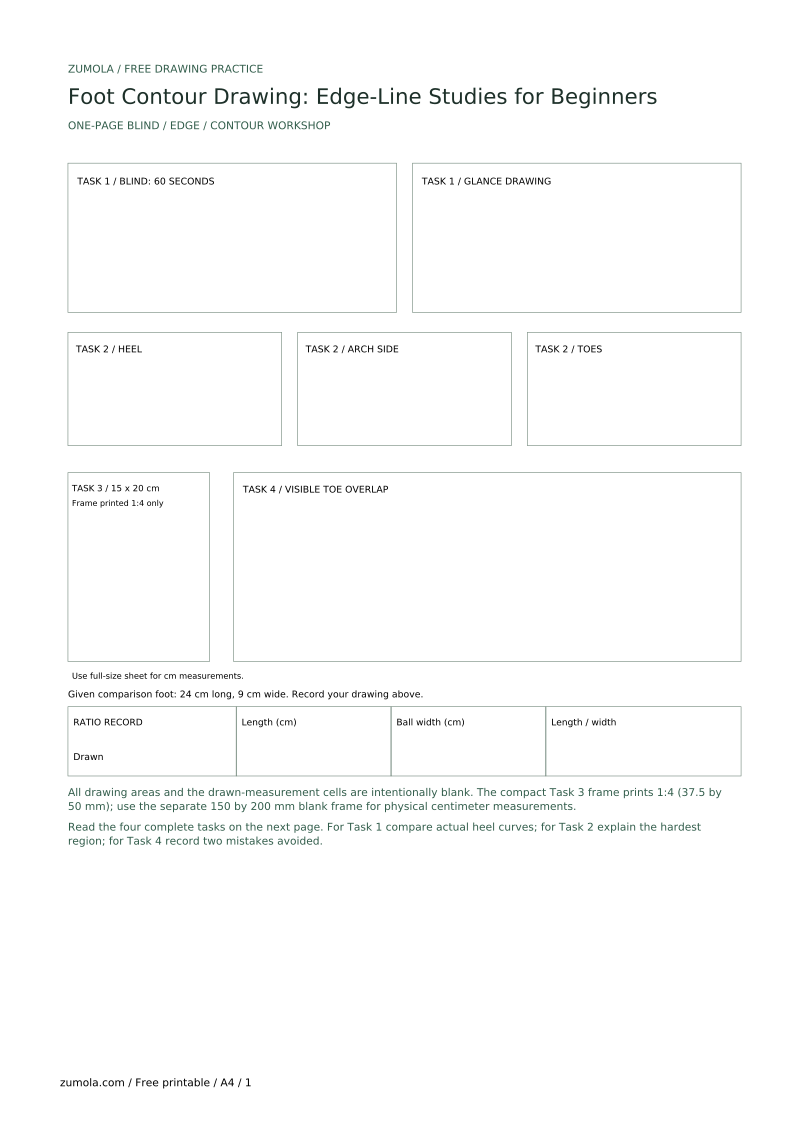
Choose A4 or US Letter for your printer. The reference and answer illustrations are not physical rulers; follow the scale instruction printed on the practice worksheet.
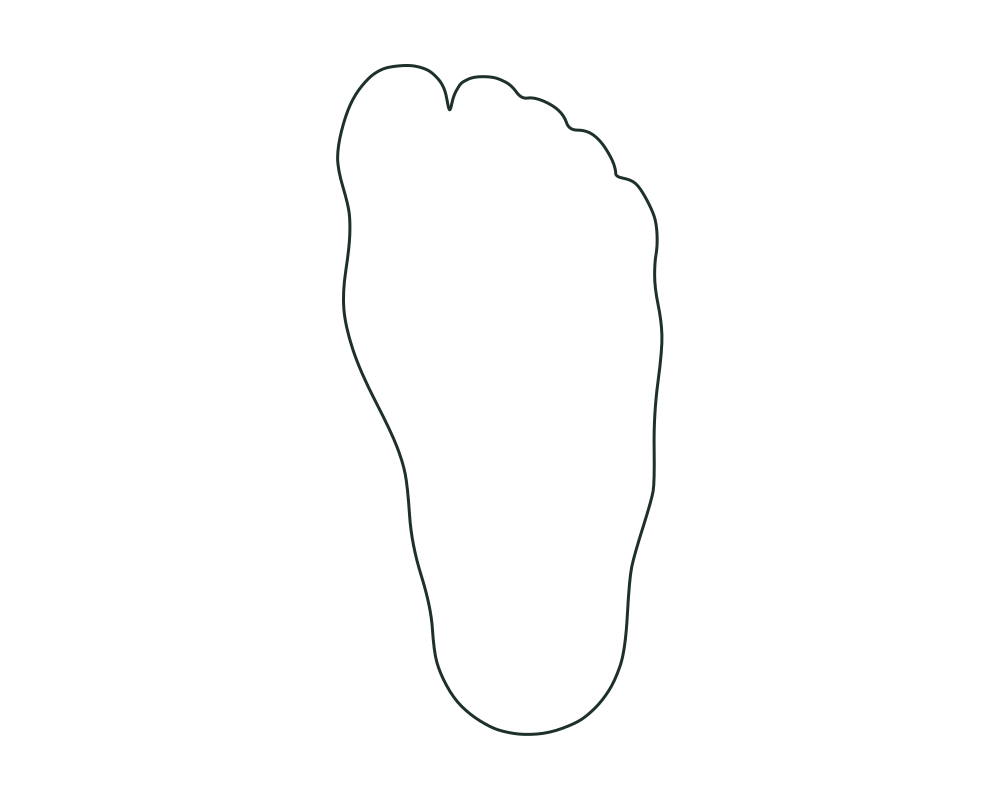
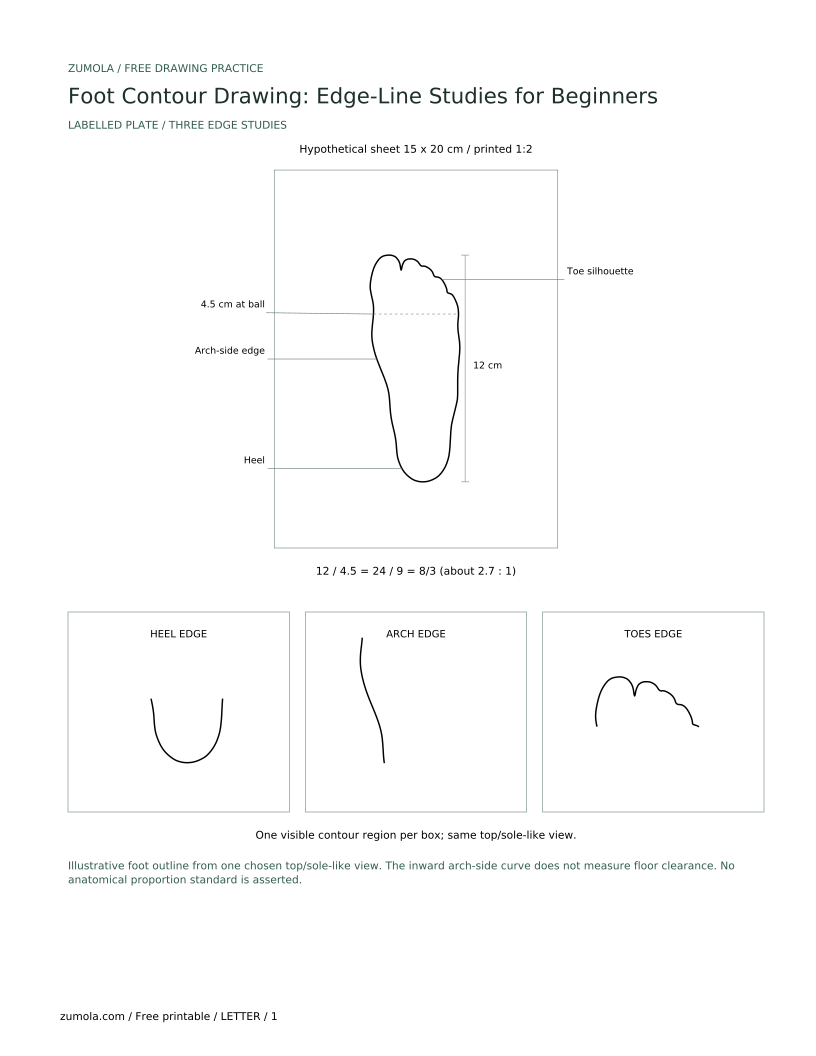
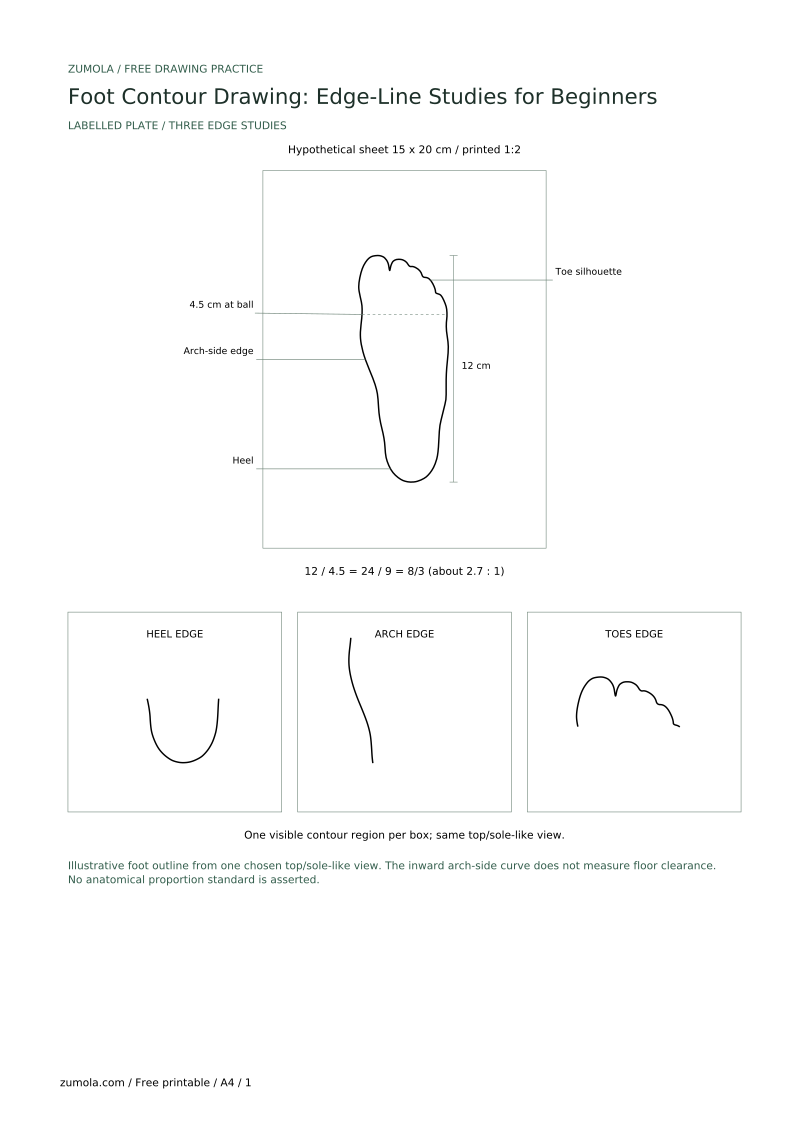
Contour drawing records the visible edge of a form. For a foot, follow the silhouette from heel around the toes and back, noting the inward curve on the arch side and any visible toe overlap. Choose and keep one view. A top or sole-view silhouette does not measure how high the arch stands above the floor. Practice blind contour, isolated edge studies, and a complete contour. Labels are optional and should remain legible without covering the edge. The free download kit below includes six A4 and US Letter PDFs: labelled references, a one-page workshop with companion tasks and a full-size blank frame, and separate illustrated answers.
Rest your foot on a support sheet and draw on a separate sheet so the reference stays visible. Keep a comfortable, steady view with the heel and toes in sight. Draw the outer edge and only short internal edges that actually show one toe overlapping another. Do not invent overlap lines or add nails, hair, tendons, or shading. In a top or sole view, the medial arch appears as an inward silhouette curve; a side-view arch above a floor line is a different view and should be labeled separately.
Choose a hypothetical paper size, for example 15 cm by 20 cm, and label it as a hypothetical example. Measure your actual paper and pencil, not a standard. Keep units consistent in centimeters.
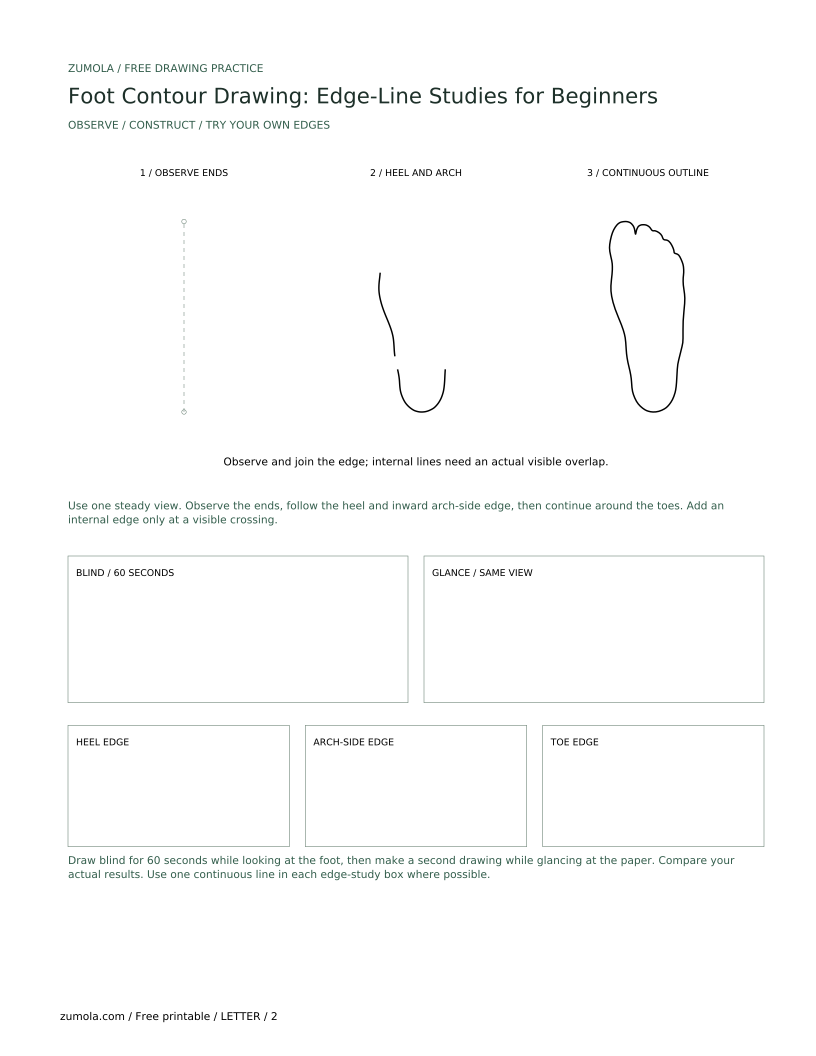
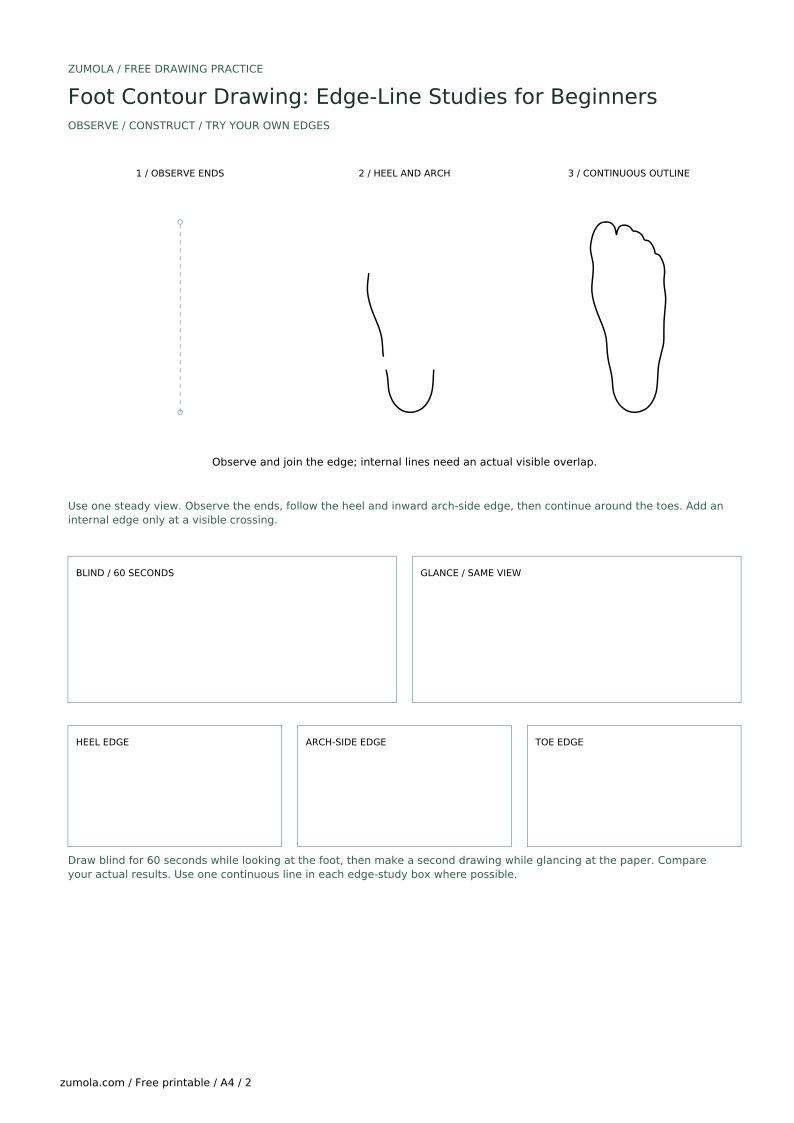
Blind contour means keeping your eyes on the foot rather than the drawing paper while your pencil follows the observed edge. Use 60 seconds for this classroom exercise. A distorted result is acceptable; keeping the line continuous does not require an accurate shape. The goal is to coordinate observation and pencil movement, not to promise a particular learning result.
After one blind contour, draw a second one while glancing at the paper every few seconds. Compare where the heel curve and toe gaps appear.
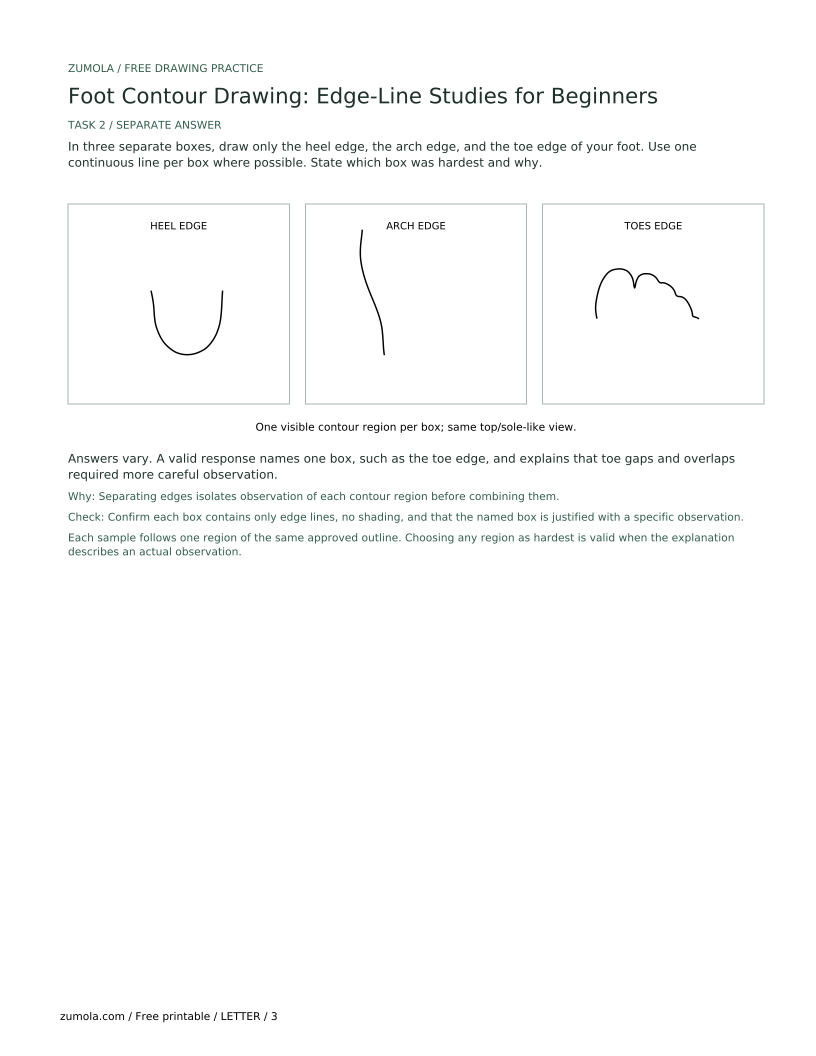
Divide a practice sheet into three boxes. In box one, study the rounded heel edge. In box two, follow the visible inward curve on the arch side. In box three, study the front toe silhouette and any visible notches between toes. Use the same chosen view for these components and the final drawing. A paper baseline can locate the drawing but is not evidence of an actual floor-contact height.
Use the same convention: edge only, no shading. If a toe overlaps another, draw the visible overlap line as a short internal edge.
On a fresh sheet, combine the three studies from the same view into one contour. Start at the heel, follow the outer edge across the toe silhouette, and return along the inward arch-side edge. Keep the line continuous where possible. Add an internal edge only where a toe visibly crosses another.
Check proportions with simple arithmetic: measure the drawn heel-to-toe length and the drawn width at the ball. If your actual foot is 24 cm long and 9 cm wide, a hypothetical example, the ratio is about 2.7 to 1. Compare your drawing ratio to that value. Compare unrounded ratios for the 0.3 classroom acceptance band, then round for reporting. This band is a chosen exercise rule, not an anatomical, clinical, manufacturing, or printing standard.
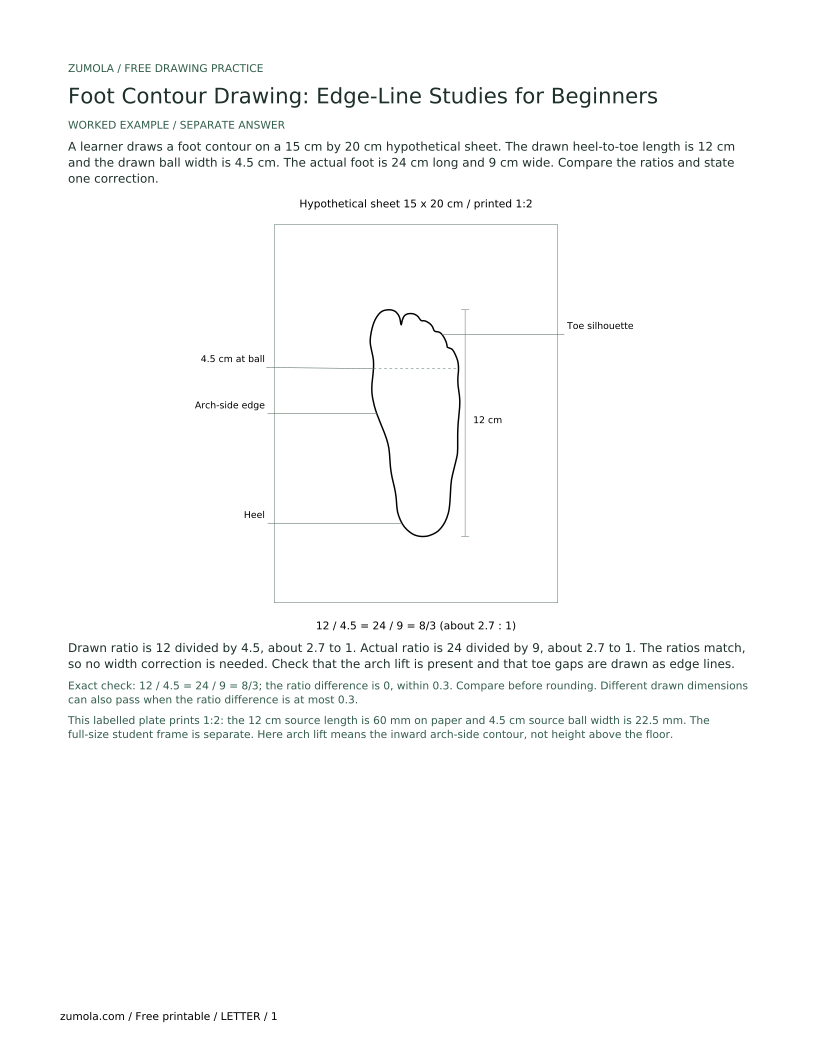
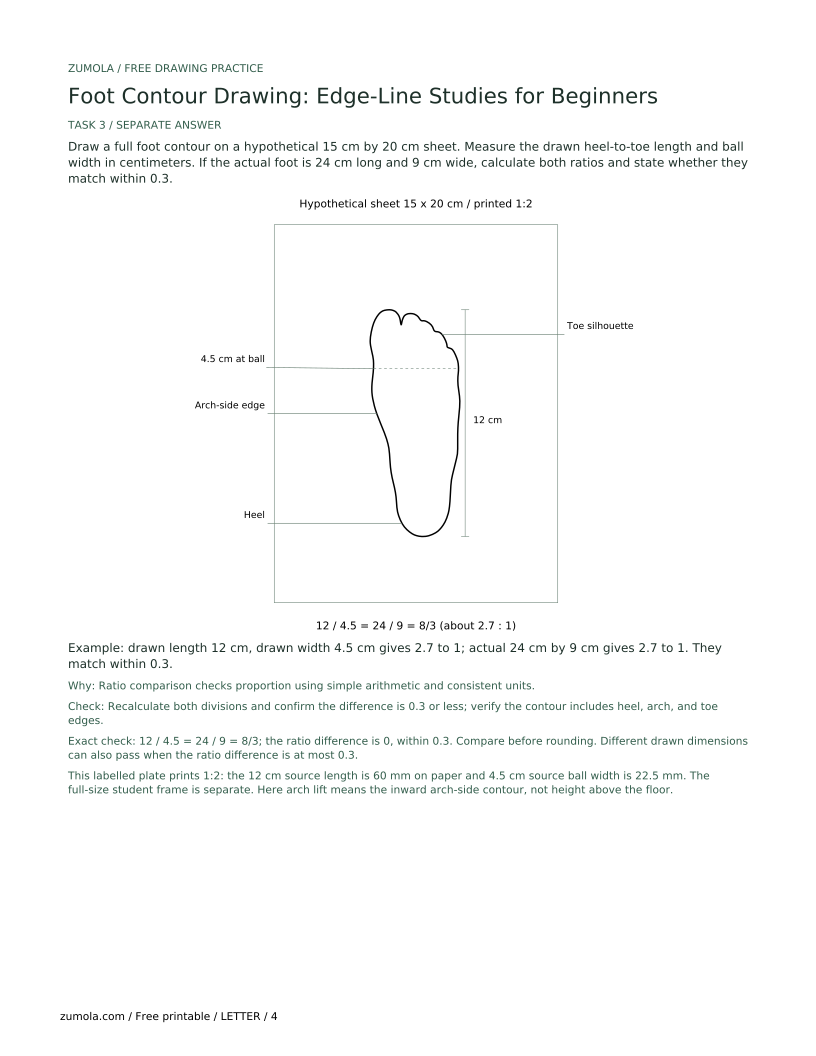
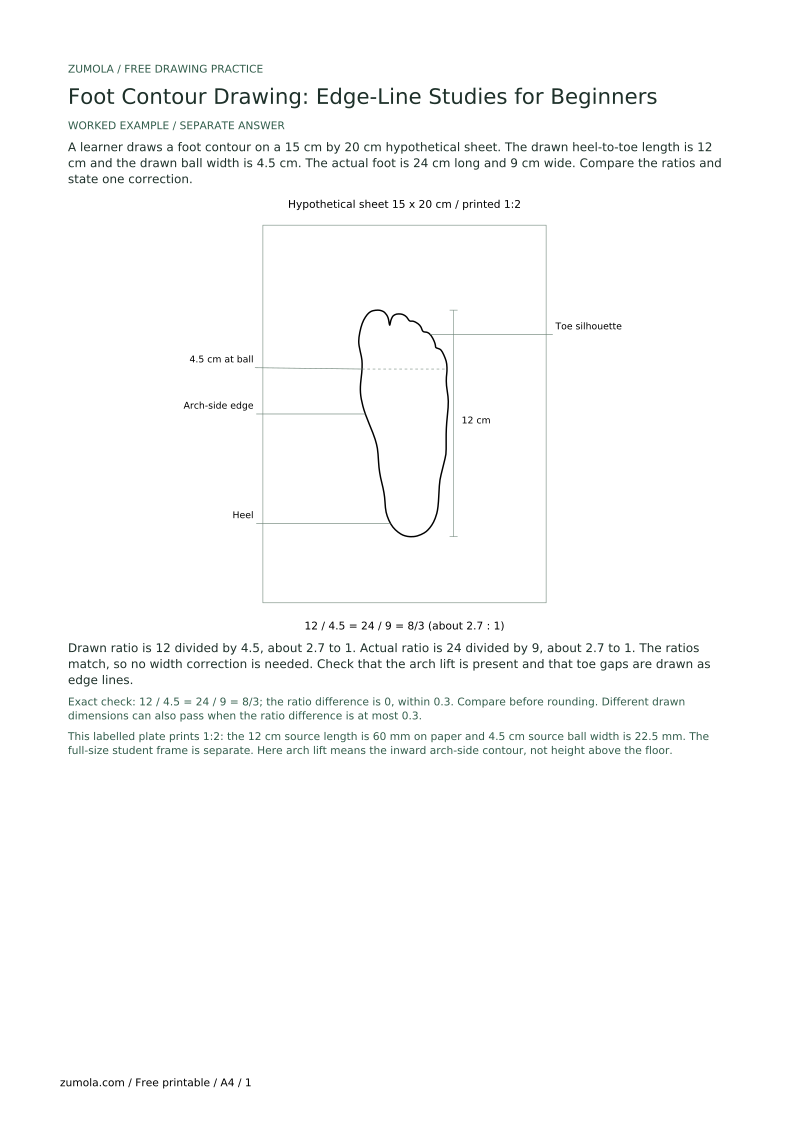
A learner draws a foot contour on a 15 cm by 20 cm hypothetical sheet. The drawn heel-to-toe length is 12 cm and the drawn ball width is 4.5 cm. The actual foot is 24 cm long and 9 cm wide. Compare the ratios and state one correction.
Drawn ratio is 12 divided by 4.5, about 2.7 to 1. Actual ratio is 24 divided by 9, about 2.7 to 1. The ratios match, so no width correction is needed. Check that the arch lift is present and that toe gaps are drawn as edge lines.
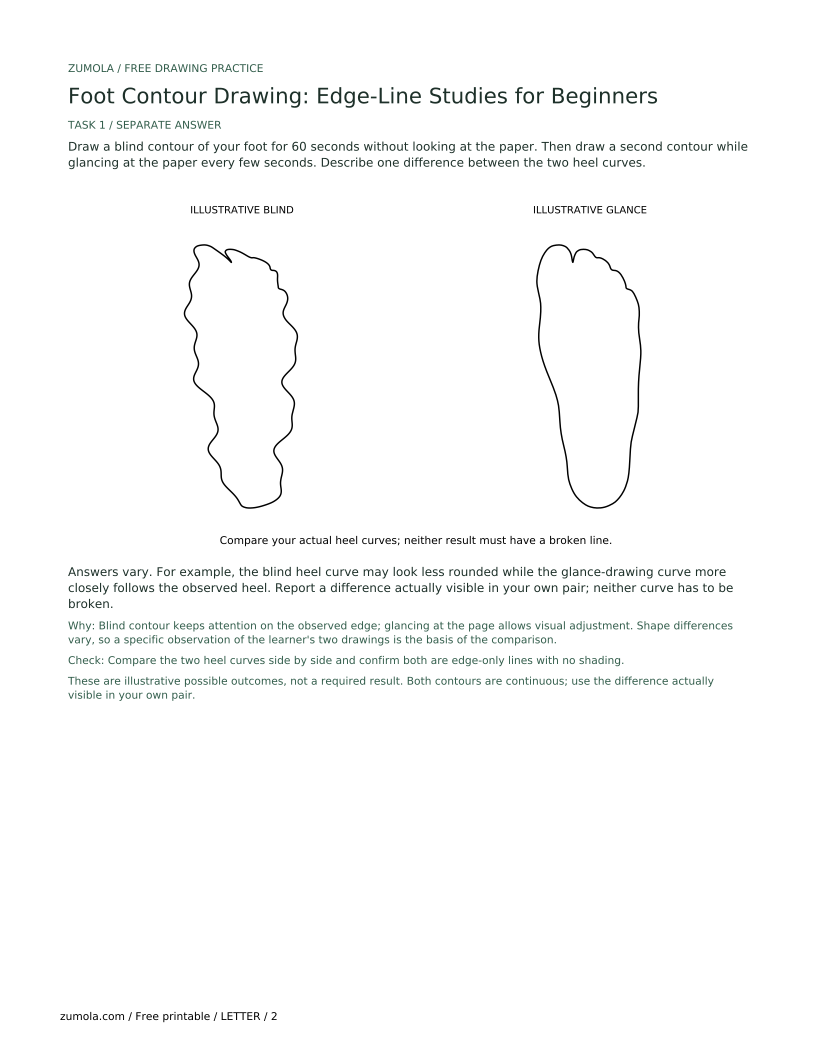
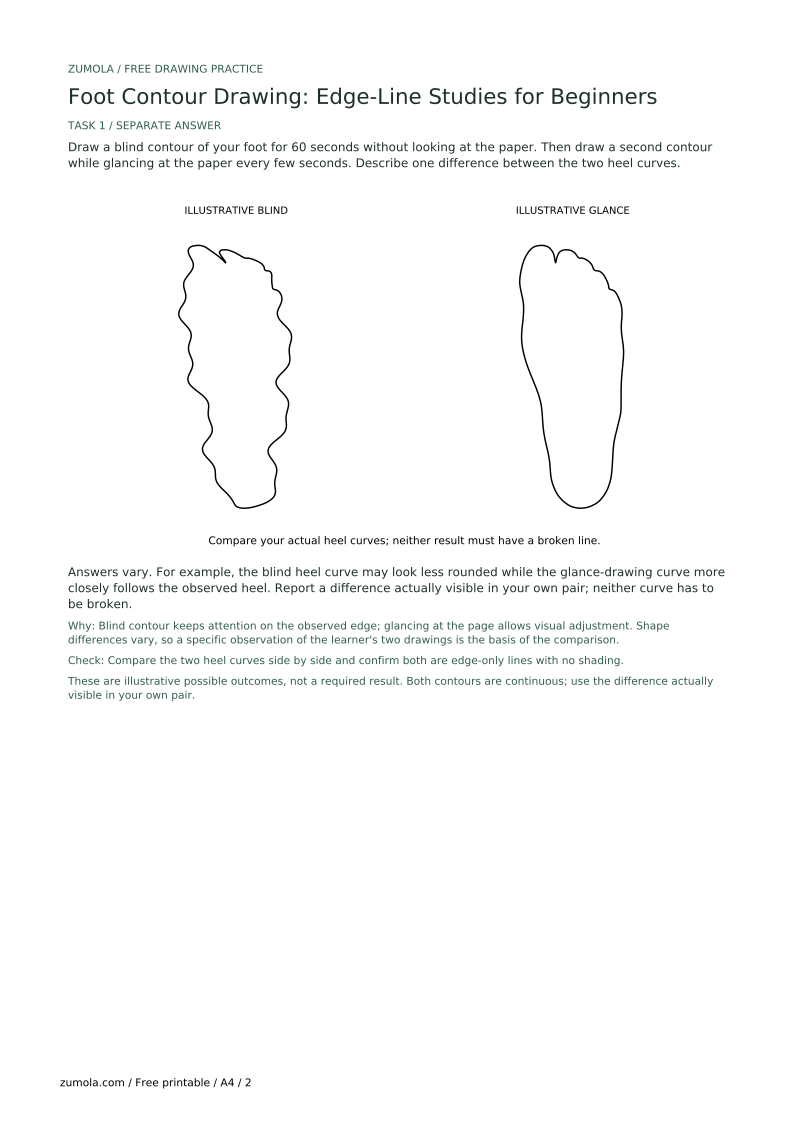
Draw a blind contour of your foot for 60 seconds without looking at the paper. Then draw a second contour while glancing at the paper every few seconds. Describe one difference between the two heel curves.
Answers vary. For example, the blind heel curve may look less rounded while the glance-drawing curve more closely follows the observed heel. Report a difference actually visible in your own pair; neither curve has to be broken.
Blind contour keeps attention on the observed edge; glancing at the page allows visual adjustment. Shape differences vary, so a specific observation of the learner's two drawings is the basis of the comparison.
Check: Compare the two heel curves side by side and confirm both are edge-only lines with no shading.
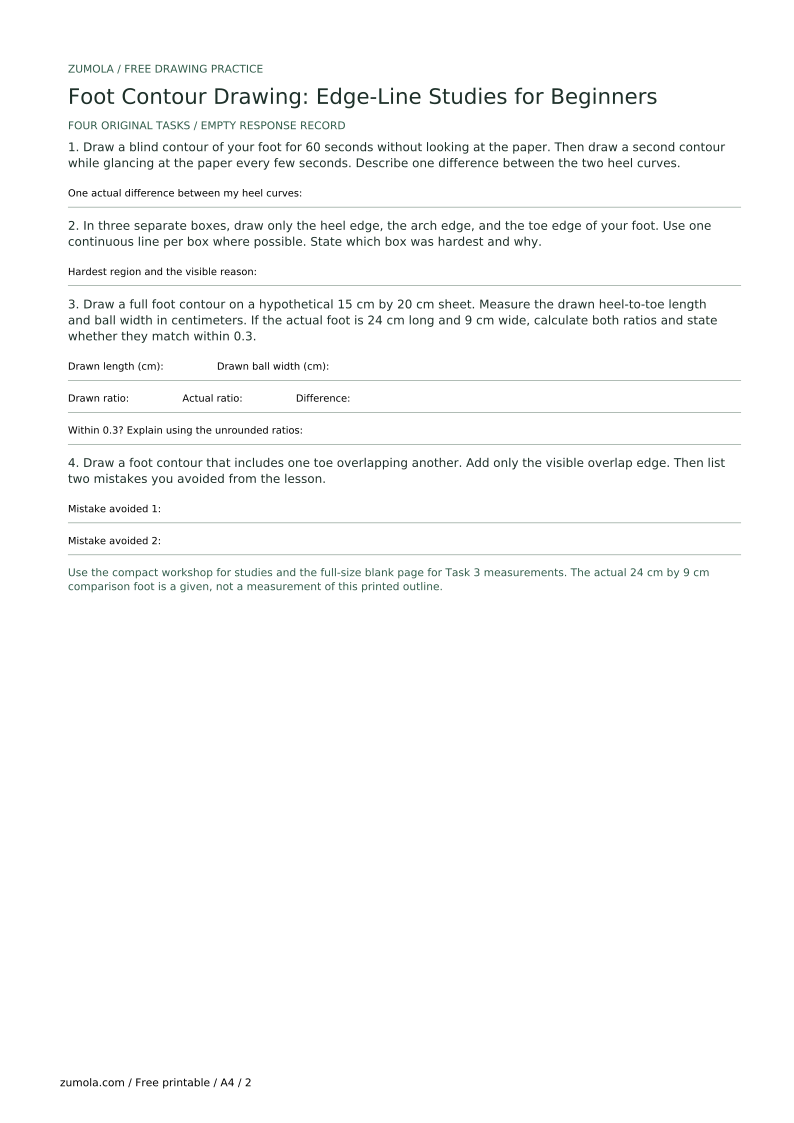
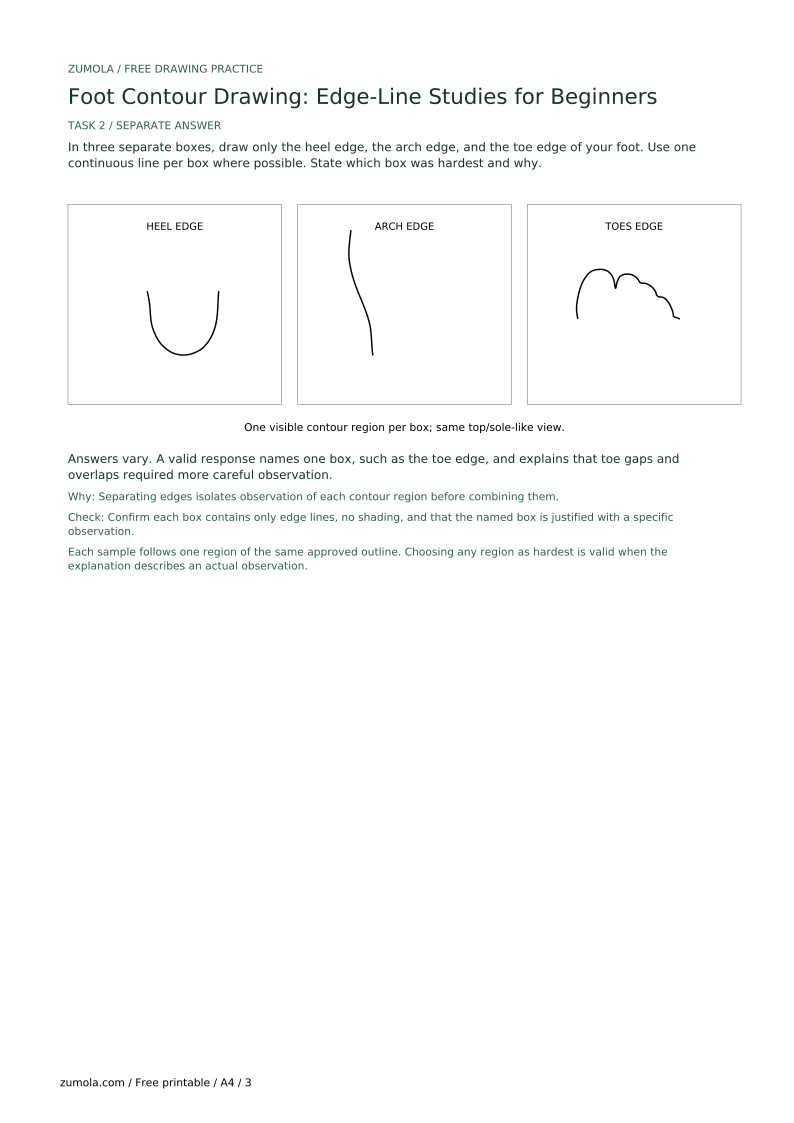
In three separate boxes, draw only the heel edge, the arch edge, and the toe edge of your foot. Use one continuous line per box where possible. State which box was hardest and why.
Answers vary. A valid response names one box, such as the toe edge, and explains that toe gaps and overlaps required more careful observation.
Separating edges isolates observation of each contour region before combining them.
Check: Confirm each box contains only edge lines, no shading, and that the named box is justified with a specific observation.
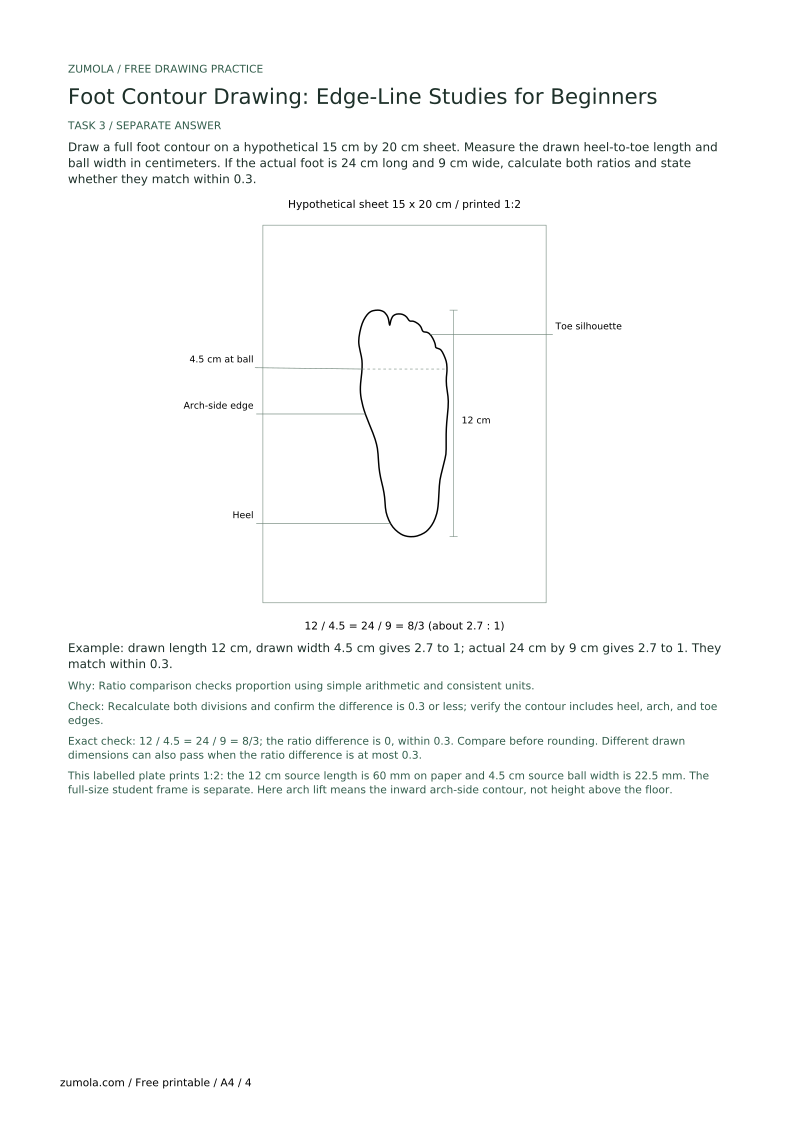
Draw a full foot contour on a hypothetical 15 cm by 20 cm sheet. Measure the drawn heel-to-toe length and ball width in centimeters. If the actual foot is 24 cm long and 9 cm wide, calculate both ratios and state whether they match within 0.3.
Example: drawn length 12 cm, drawn width 4.5 cm gives 2.7 to 1; actual 24 cm by 9 cm gives 2.7 to 1. They match within 0.3.
Ratio comparison checks proportion using simple arithmetic and consistent units.
Check: Recalculate both divisions and confirm the difference is 0.3 or less; verify the contour includes heel, arch, and toe edges.
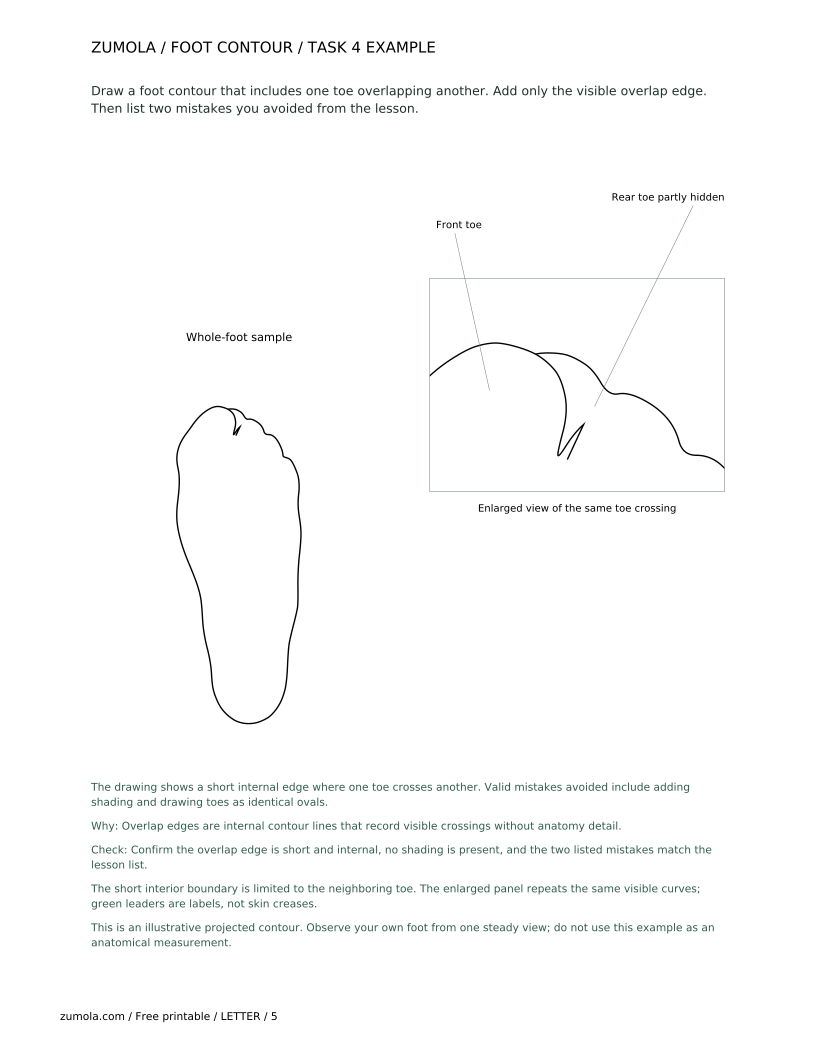
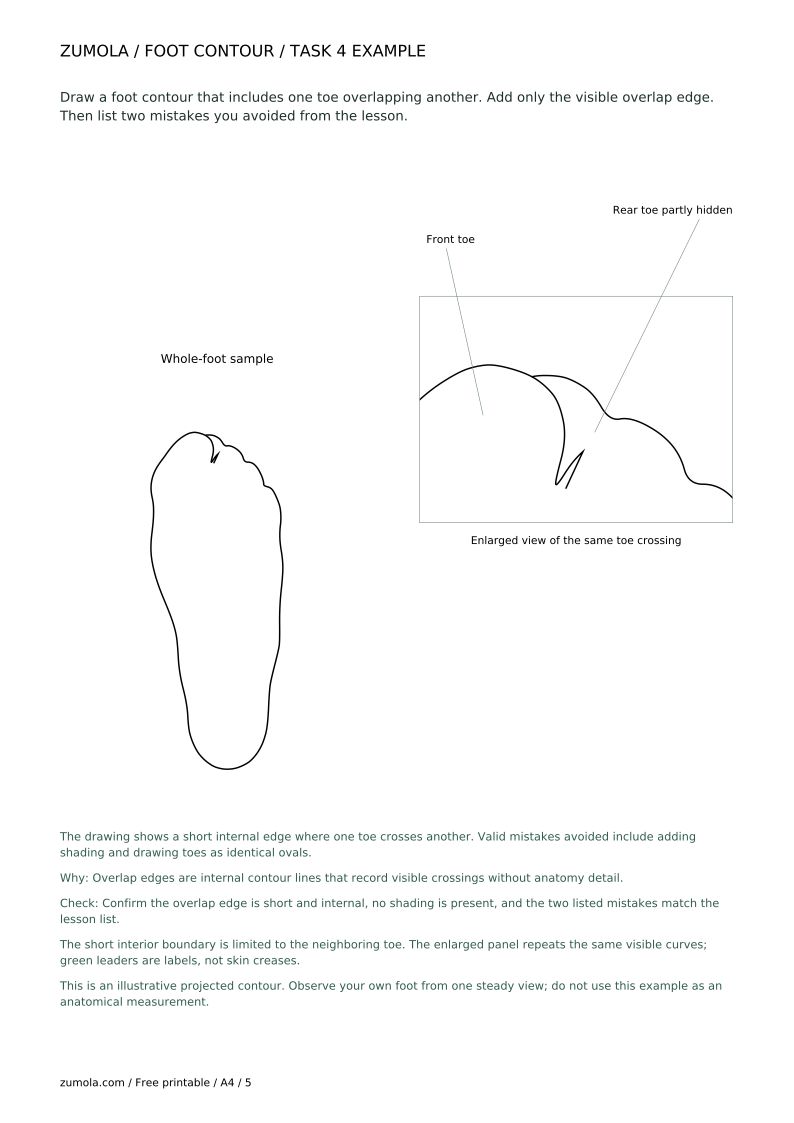
Draw a foot contour that includes one toe overlapping another. Add only the visible overlap edge. Then list two mistakes you avoided from the lesson.
The drawing shows a short internal edge where one toe crosses another. Valid mistakes avoided include adding shading and drawing toes as identical ovals.
Overlap edges are internal contour lines that record visible crossings without anatomy detail.
Check: Confirm the overlap edge is short and internal, no shading is present, and the two listed mistakes match the lesson list.
Erase or omit non-edge marks; keep only visible contour and overlap lines.
Practice one continuous line for the outer edge before adding overlaps.
Observe actual gaps and lengths; draw each toe edge separately.
Observe and copy that inward edge in the chosen view. Do not treat a top or sole-view silhouette as a measurement of arch height above the floor.
No. This lesson records visible edges only; anatomy detail is excluded.
Use 60 seconds for the blind-contour task in this lesson. You may choose five to ten minutes for a slower complete contour; these are optional classroom timings.
Yes. Optional labels may use any legible style; lettering does not determine foot proportions.
Yes. The free kit includes A4 and US Letter reference, practice and answer PDFs, plus matching SVG pages. The practice pack includes a 150 by 200 mm blank frame; check the printed size before measuring.