Reference diagram
LETTER · Download PDF (2 pages)
Free original resources
Learn to draw hair texture by comparing curl, wave, and straight stroke marks. Practice direction, spacing, and pressure with clear checks and a rubric.
Original reference diagrams, four practice exercises and separate worked answers. All files are free. No signup required.
LETTER · Download PDF (2 pages)
LETTER · Download PDF (6 pages)
LETTER · Download PDF (5 pages)
Choose A4 or US Letter for your printer. The reference and answer illustrations are not physical rulers; follow the scale instruction printed on the practice worksheet.
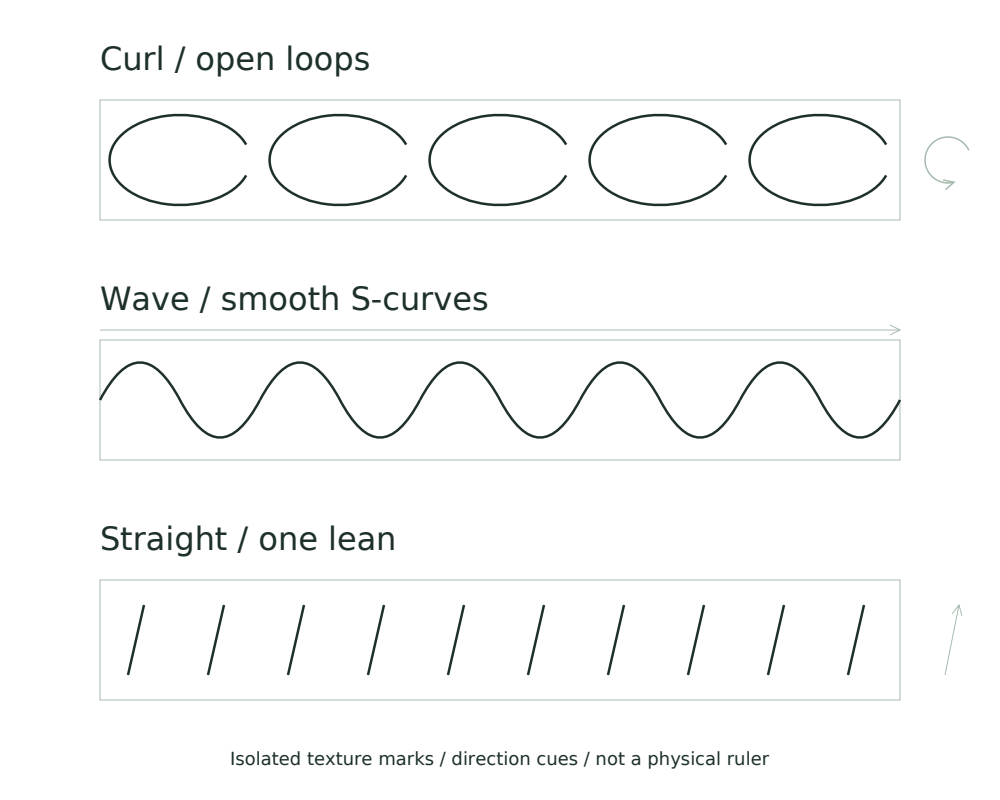
Hair texture in drawing comes from how stroke marks repeat, bend, and vary in pressure. This lesson isolates three texture marks: curl (looping or spiral strokes), wave (S-curve strokes), and straight (short, direct strokes). You will compare their direction, spacing, and rhythm, then reproduce each in practice bands. The goal is not a hairstyle or a full head, but control of the marks themselves. All measurements are simple and checkable; any numerical values are hypothetical examples you can adjust to your paper and tool.
A curl mark turns back on itself. Draw it as a small loop or spiral that closes or nearly closes. The stroke changes direction sharply, so pressure should lighten at the turn to avoid a blob. A wave mark flows in an S-curve: it bends one way, then the other, without closing. A straight mark is a short, direct stroke with little bend. These are texture marks, not hairstyles; you are comparing how the line behaves, not designing a haircut.
Direction matters. Curl marks often radiate from a center or follow a spiral path. Wave marks have a clear travel direction along the S. Straight marks align with a chosen flow. Spacing also separates them: curls cluster in tight groups, waves space more evenly, and straight marks can be dense or sparse. Use a light pencil for the first pass, then darken only the marks that read clearly.
Direction arrows help you plan before drawing. For a curl, the arrow follows the loop; for a wave, it follows the S; for a straight mark, it shows the lean. Pressure control keeps texture readable. Heavy pressure at a curl's turn creates a dark knot; light pressure there keeps the loop open. Wave marks can vary pressure along the S to suggest softness, but keep the change gradual. Straight marks often use consistent pressure so the texture reads as crisp.
A simple check is to look at the mark's width. If a curl turn is wider than the loop itself, pressure was too heavy. If a wave has a sharp corner instead of a bend, the direction changed too abruptly. If straight marks cross each other randomly, the flow is unclear. Adjust one variable at a time: first direction, then spacing, then pressure.
Rhythm is the repeat of a mark. A curl band can repeat loops at a steady size; a wave band can repeat S-curves at a steady spacing; a straight band can repeat strokes at a steady lean. Rhythm makes texture look intentional. Start with a slow count: one loop, pause, next loop. Then speed up slightly while keeping the same spacing. If the marks drift or change size, slow down again.
Use a simple arithmetic check. Suppose your band is ten centimeters wide and you plan five wave marks. Each mark should occupy about two centimeters. If your marks average three centimeters, you will fit only three or four, and the rhythm will break. These numbers are hypothetical examples; measure your own band and adjust. The point is to plan spacing before drawing, then compare the result to the plan.
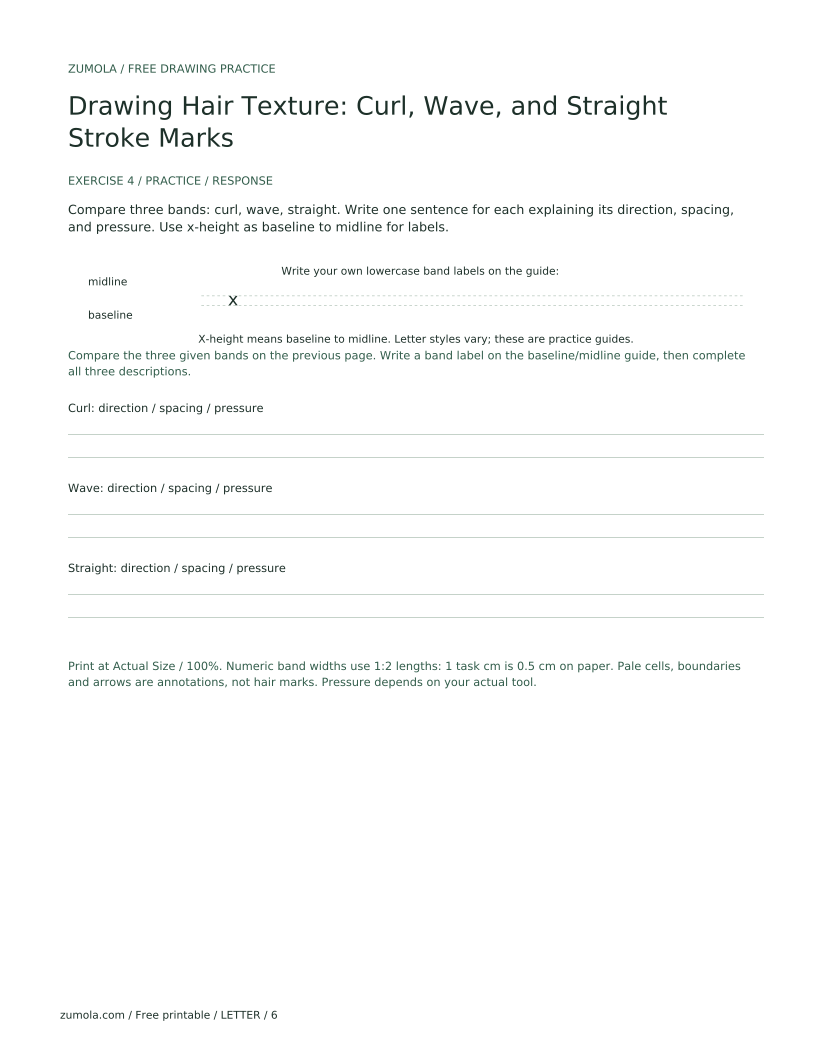
When judging texture marks, use an explicitly defined convention so valid alternatives are allowed. For this lesson, x-height means baseline to midline, and letter styles vary. That convention applies to any handwritten labels you add to your practice bands. Do not assume one universal letter shape or one universal curl shape. A curl can be a closed loop, an open spiral, or a tight coil; all are valid if they match the chosen direction and spacing.
The rubric below rewards control and comparison, not a single correct appearance. A wave that bends smoothly but leans slightly differently from the sample is still valid. A straight mark that is shorter than the example is valid if it is consistent. The key is that you can explain your choice using direction, spacing, and pressure.
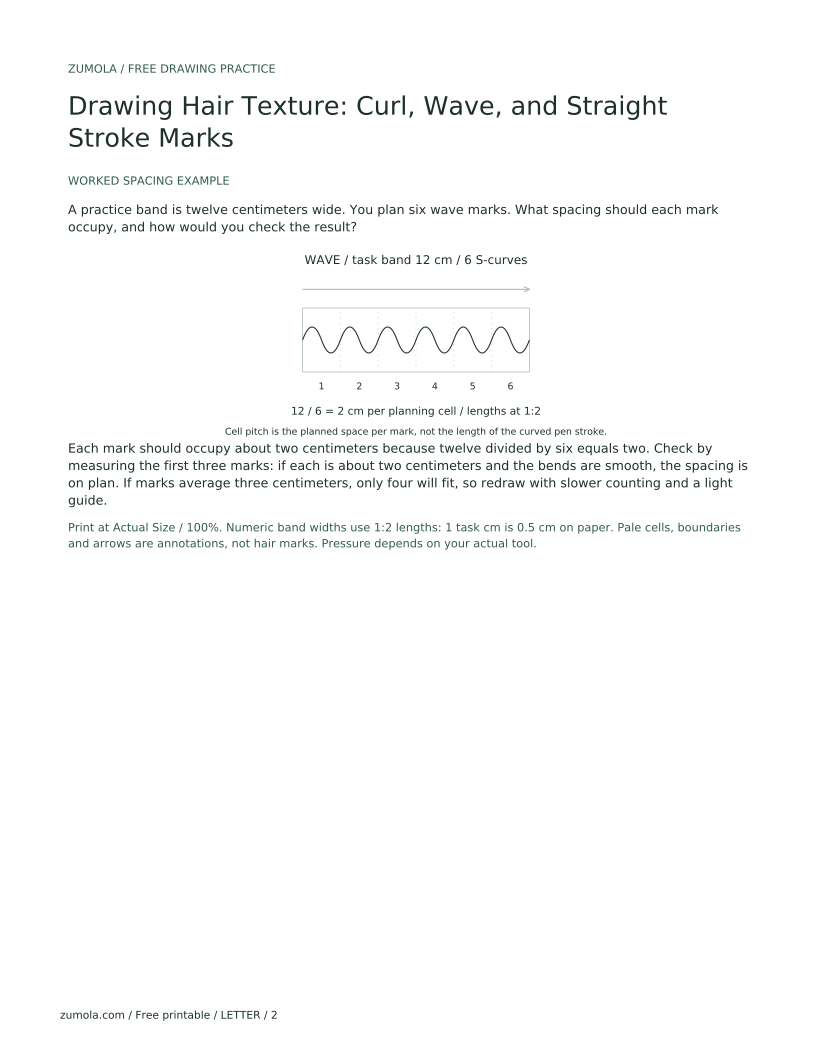
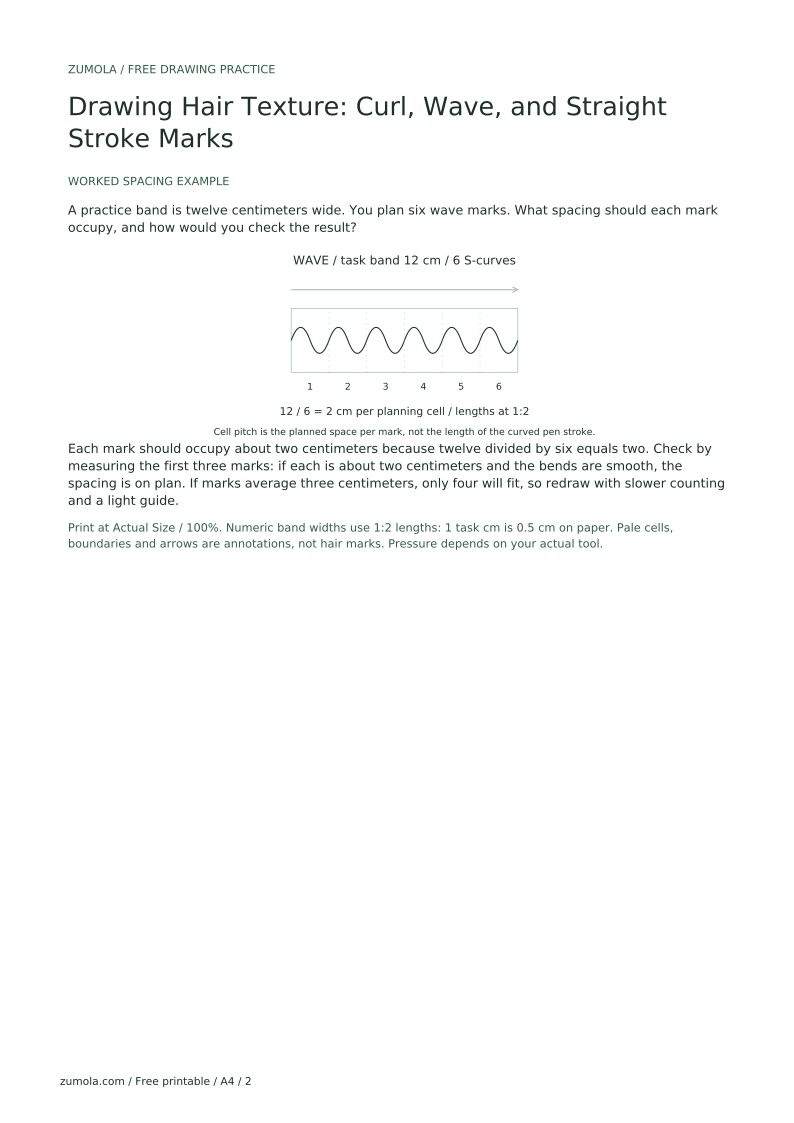
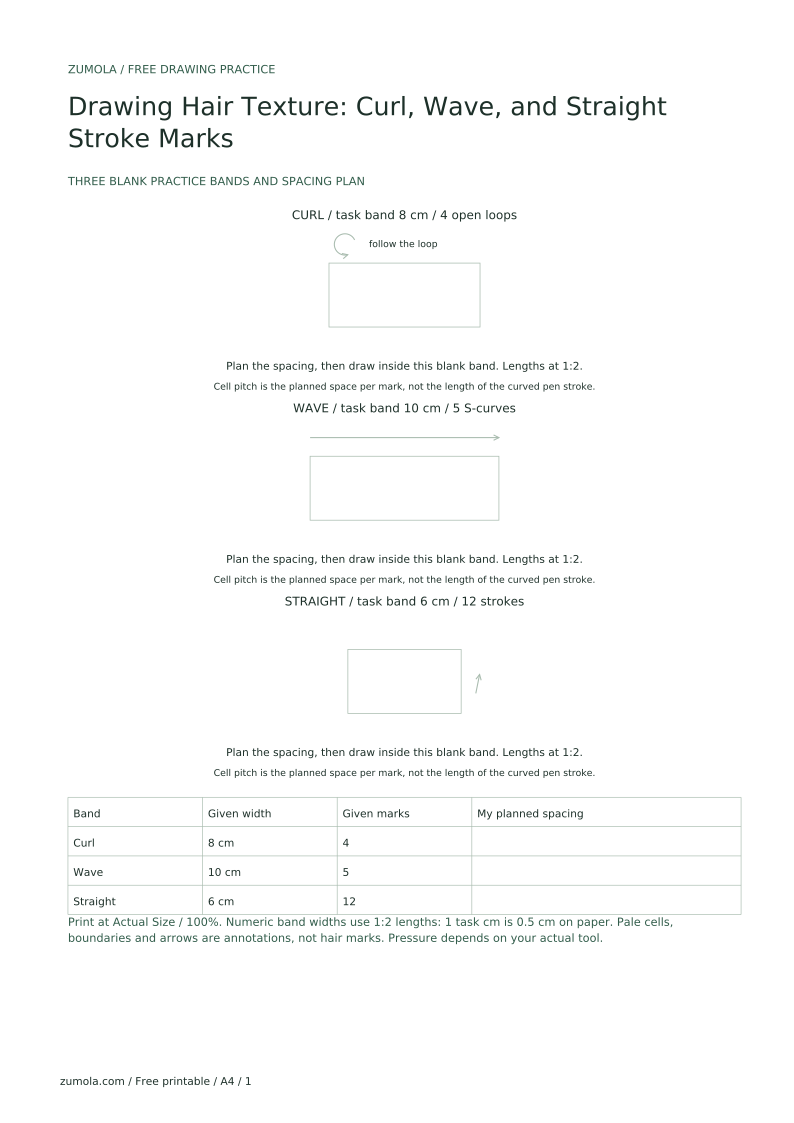
A practice band is twelve centimeters wide. You plan six wave marks. What spacing should each mark occupy, and how would you check the result?
Each mark should occupy about two centimeters because twelve divided by six equals two. Check by measuring the first three marks: if each is about two centimeters and the bends are smooth, the spacing is on plan. If marks average three centimeters, only four will fit, so redraw with slower counting and a light guide.
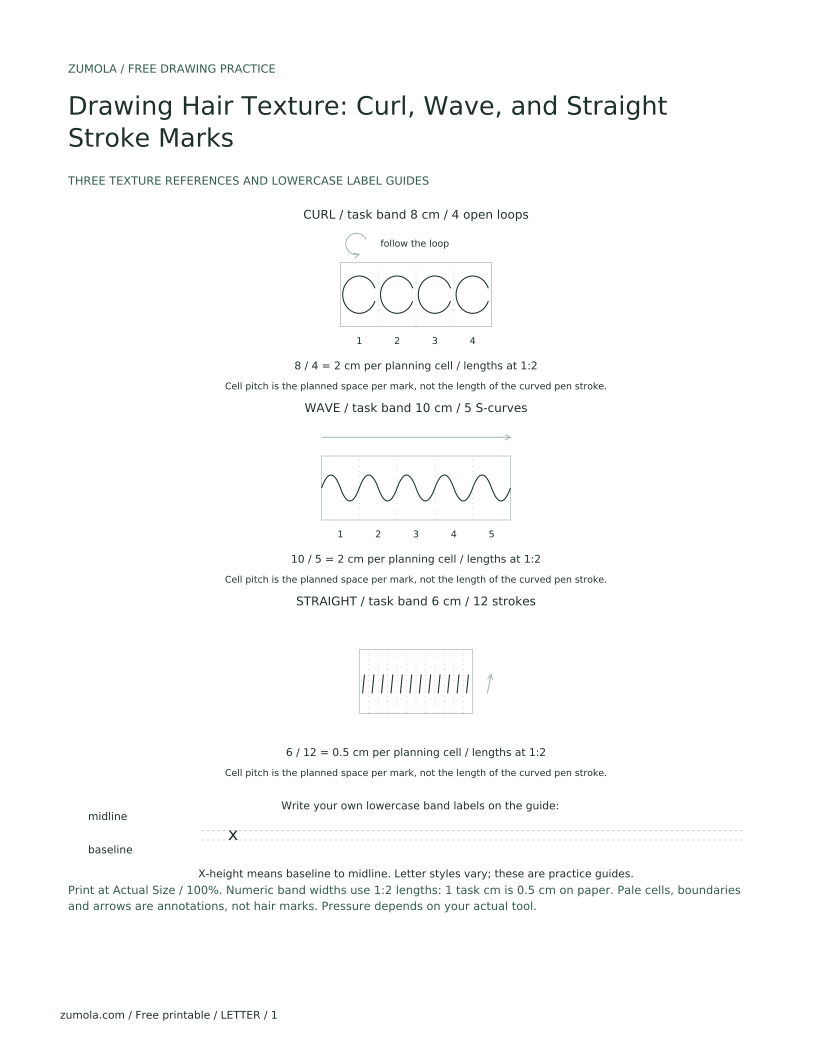
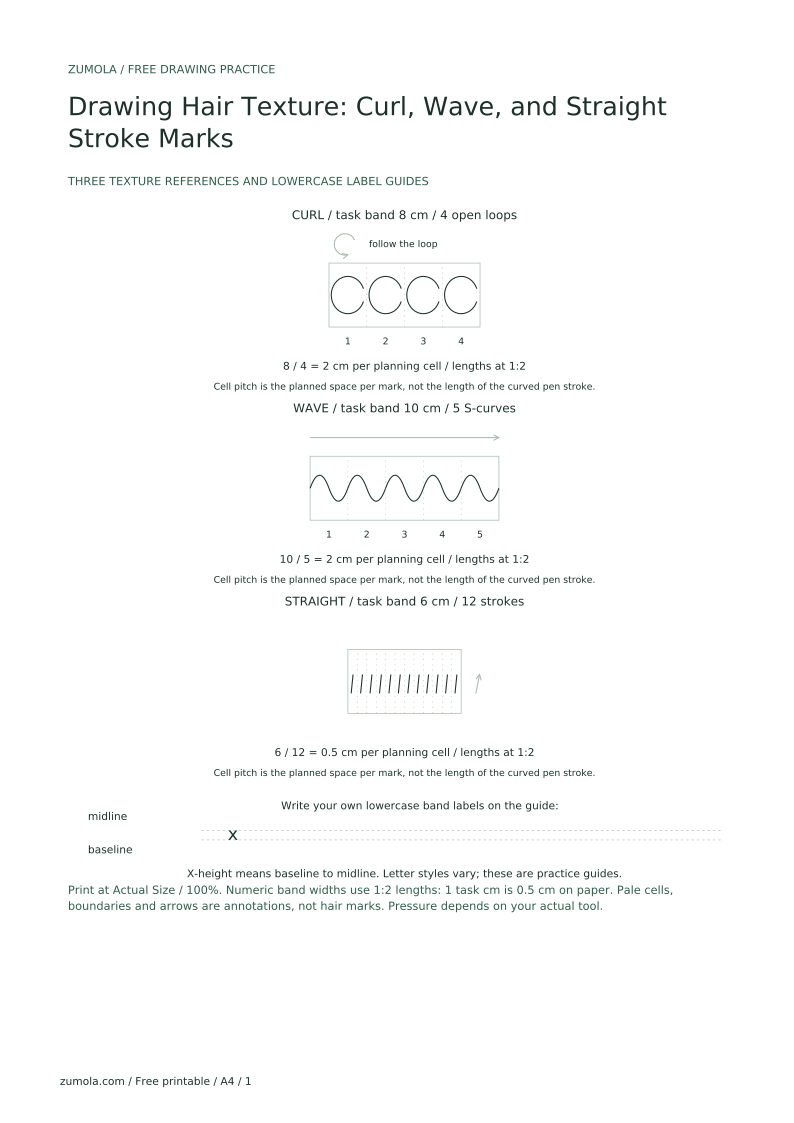
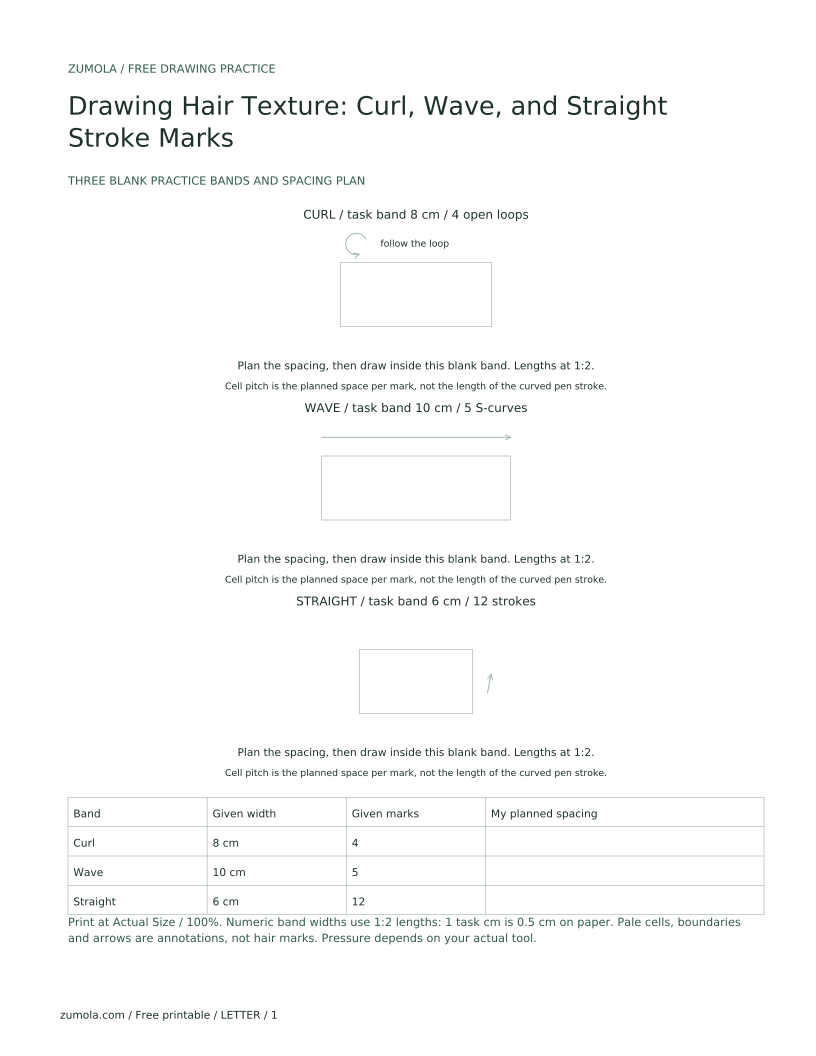
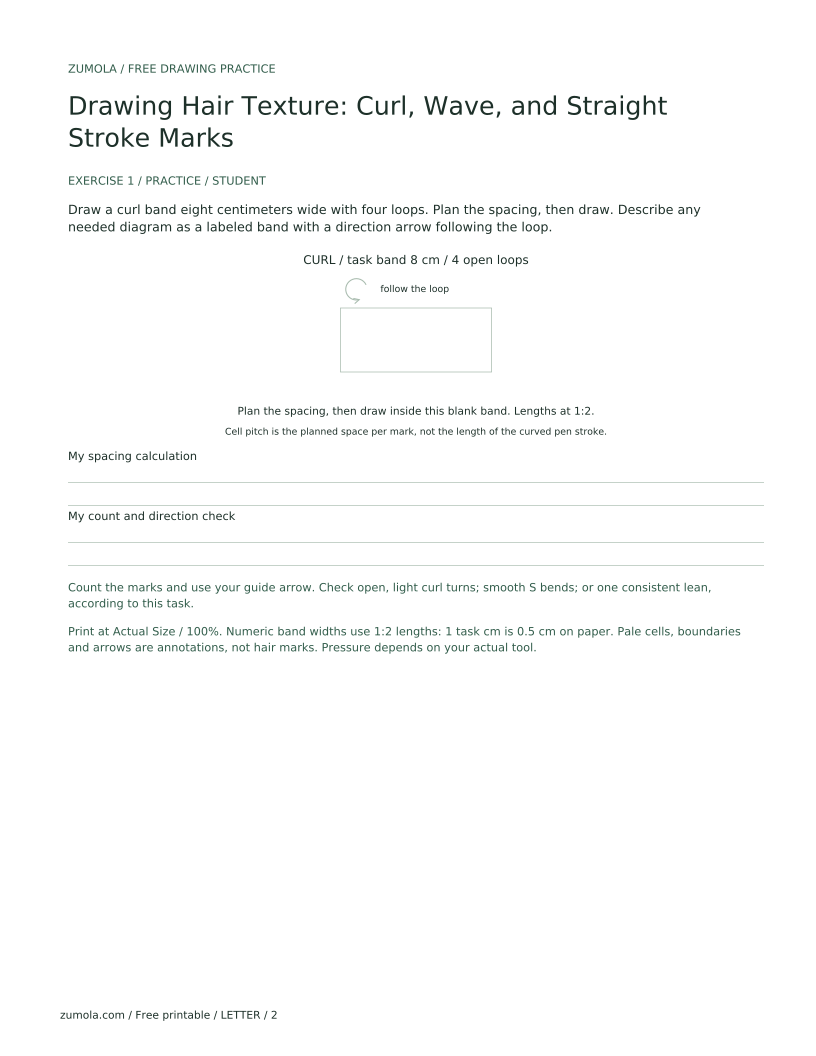
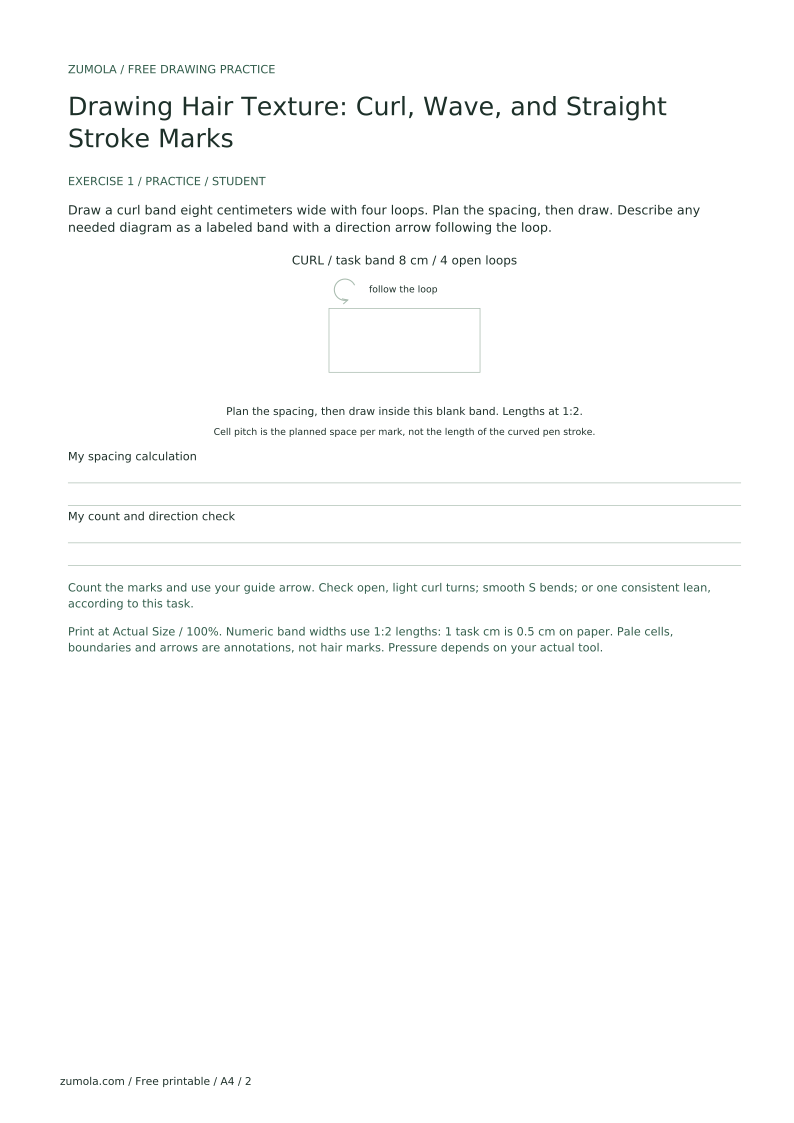
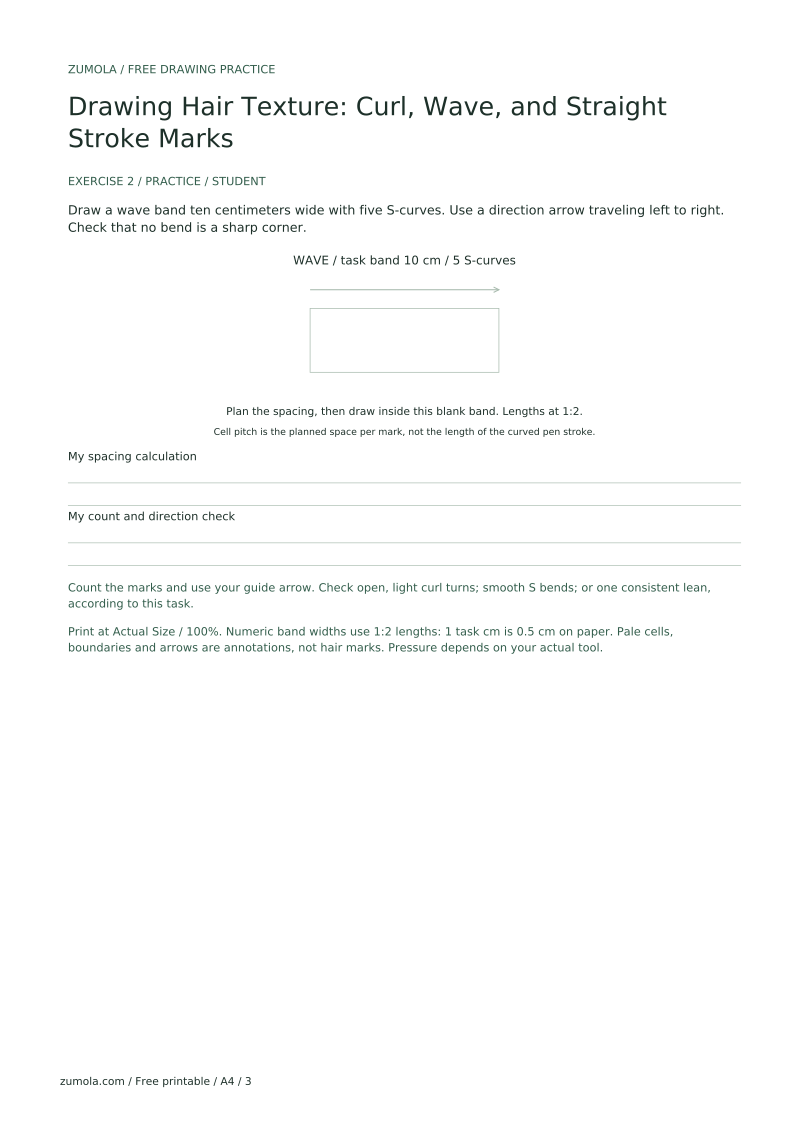
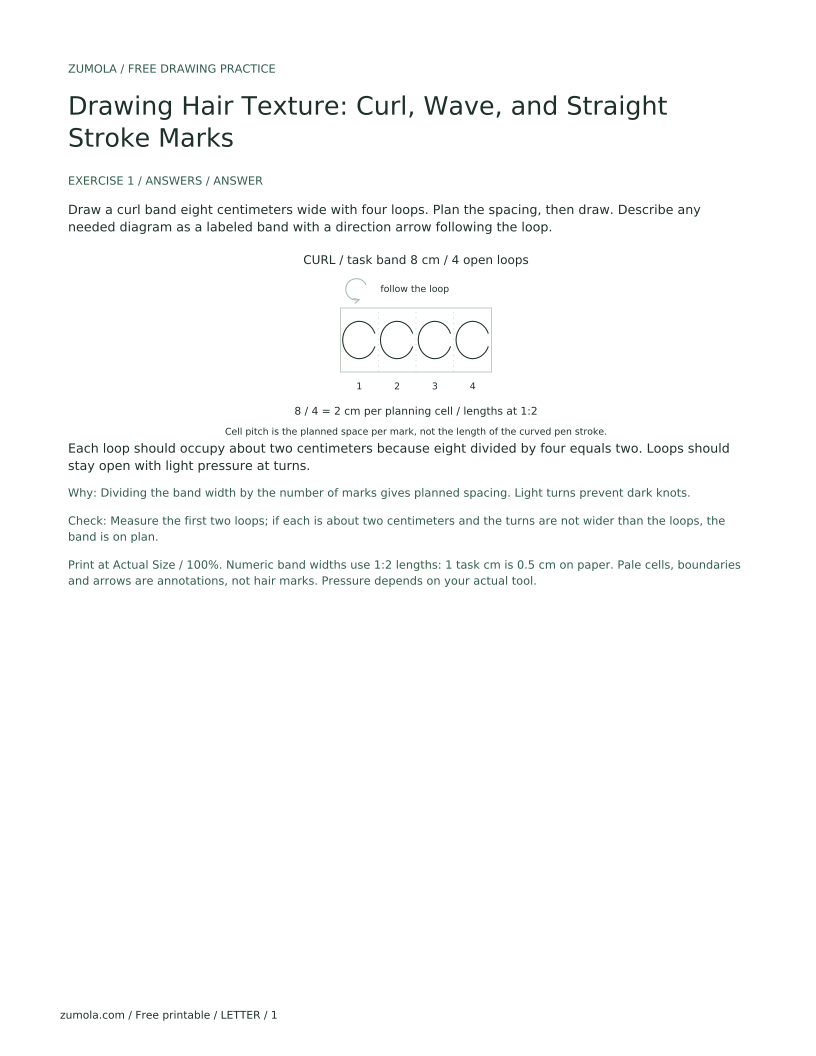
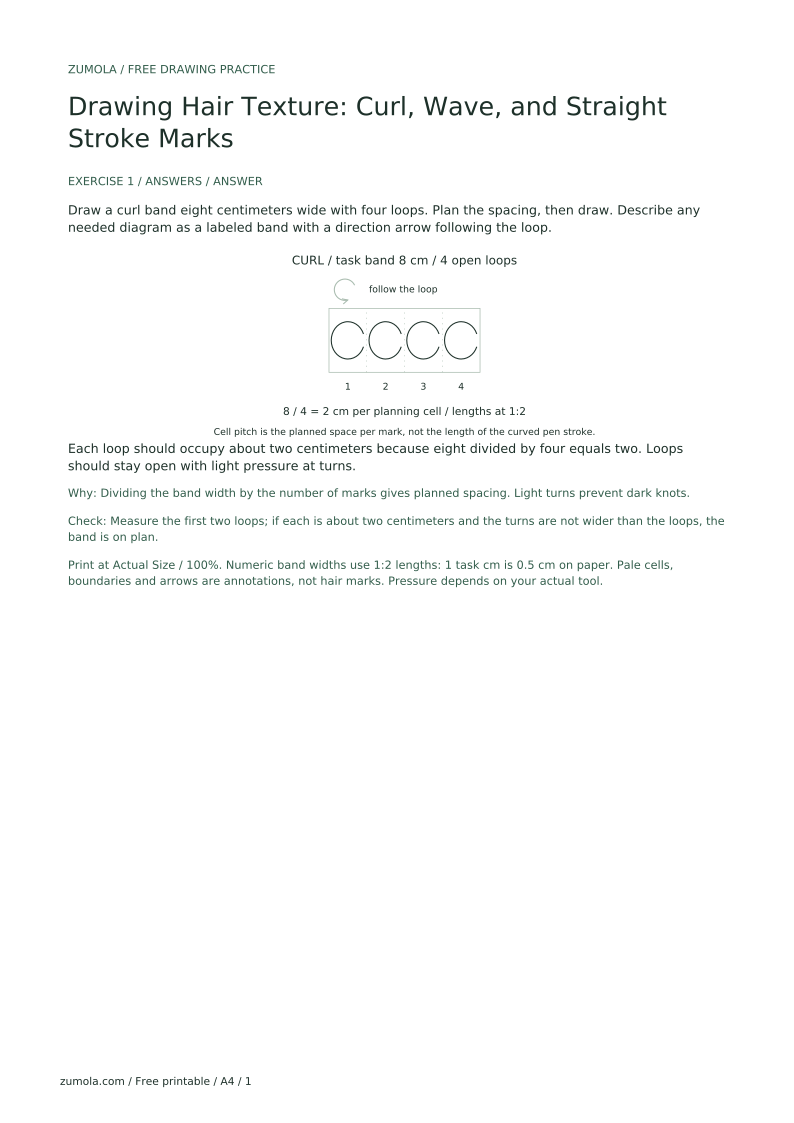
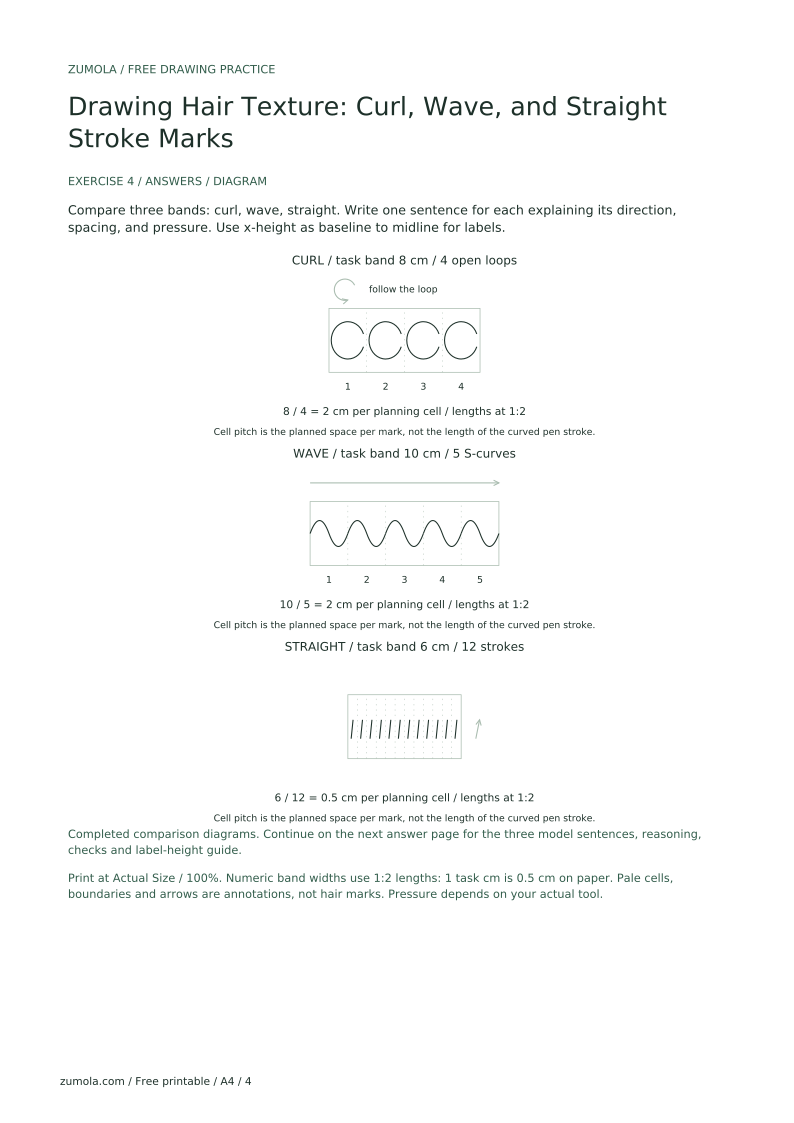
Draw a curl band eight centimeters wide with four loops. Plan the spacing, then draw. Describe any needed diagram as a labeled band with a direction arrow following the loop.
Each loop should occupy about two centimeters because eight divided by four equals two. Loops should stay open with light pressure at turns.
Dividing the band width by the number of marks gives planned spacing. Light turns prevent dark knots.
Check: Measure the first two loops; if each is about two centimeters and the turns are not wider than the loops, the band is on plan.
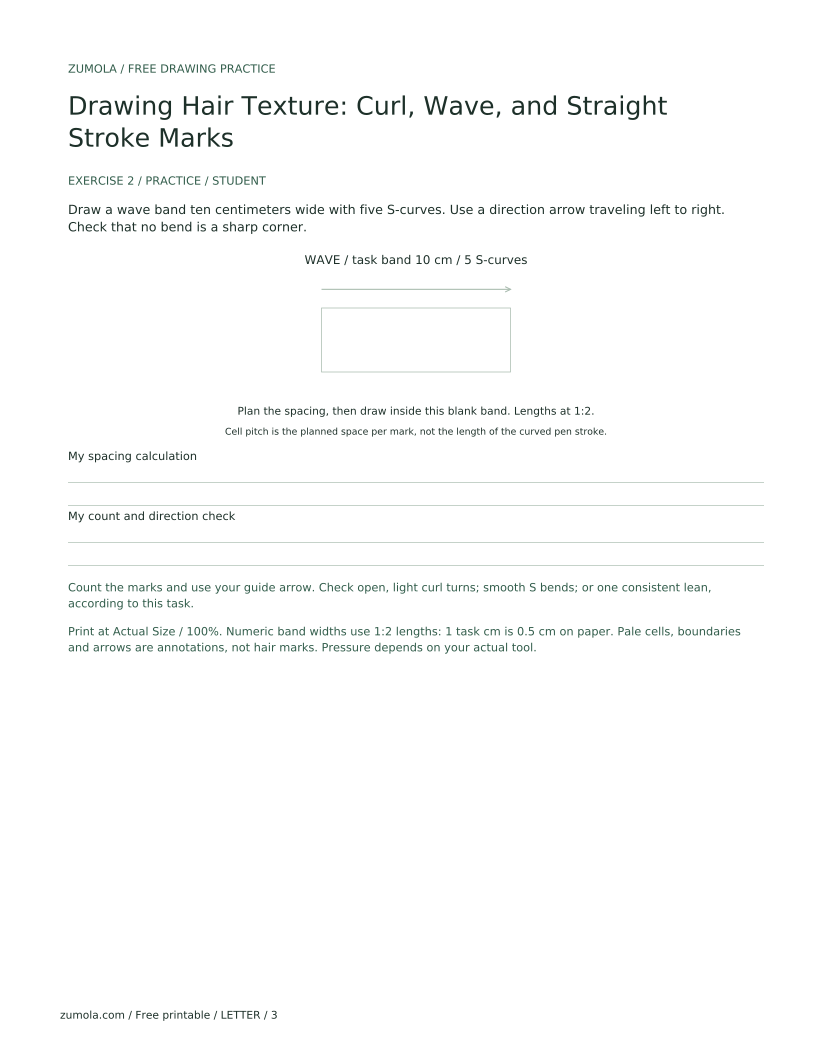
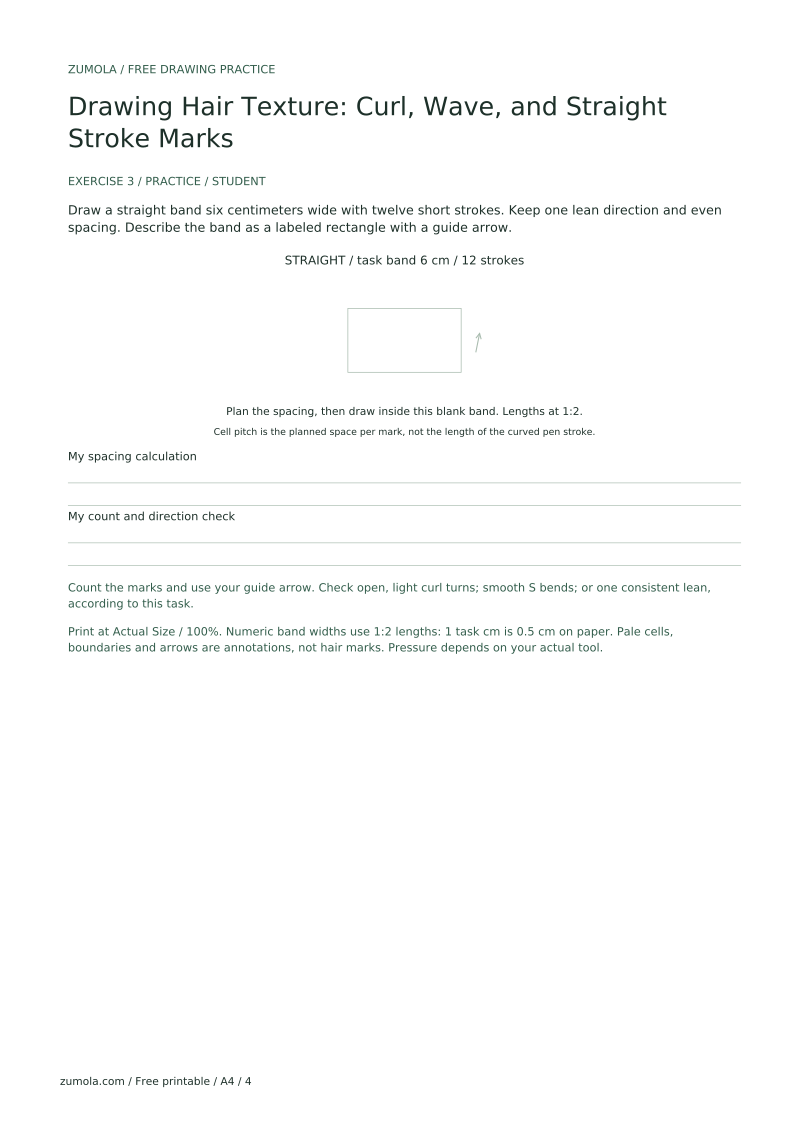
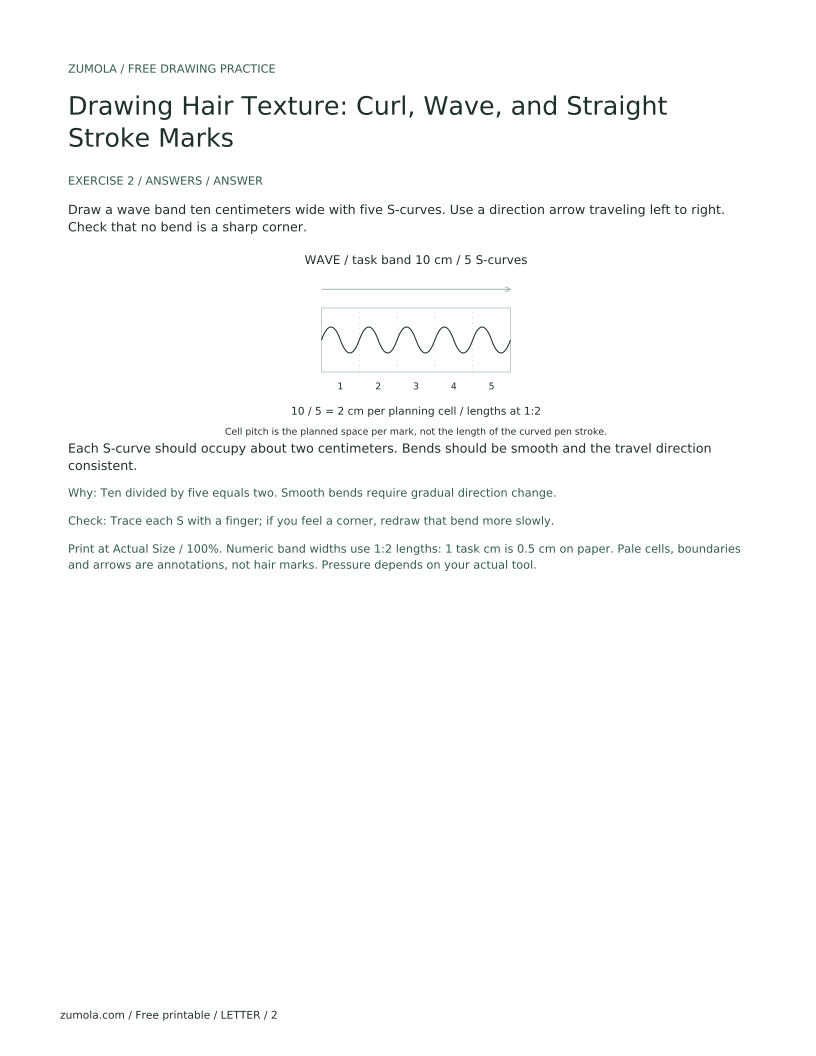
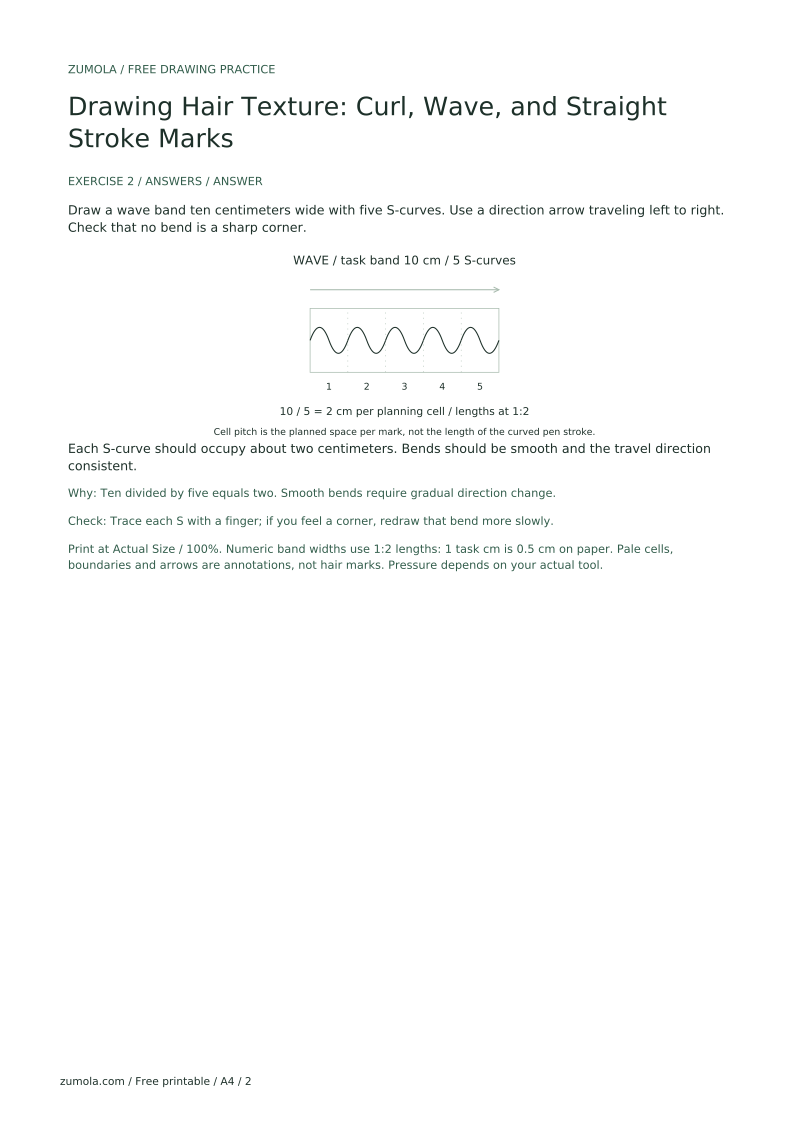
Draw a wave band ten centimeters wide with five S-curves. Use a direction arrow traveling left to right. Check that no bend is a sharp corner.
Each S-curve should occupy about two centimeters. Bends should be smooth and the travel direction consistent.
Ten divided by five equals two. Smooth bends require gradual direction change.
Check: Trace each S with a finger; if you feel a corner, redraw that bend more slowly.
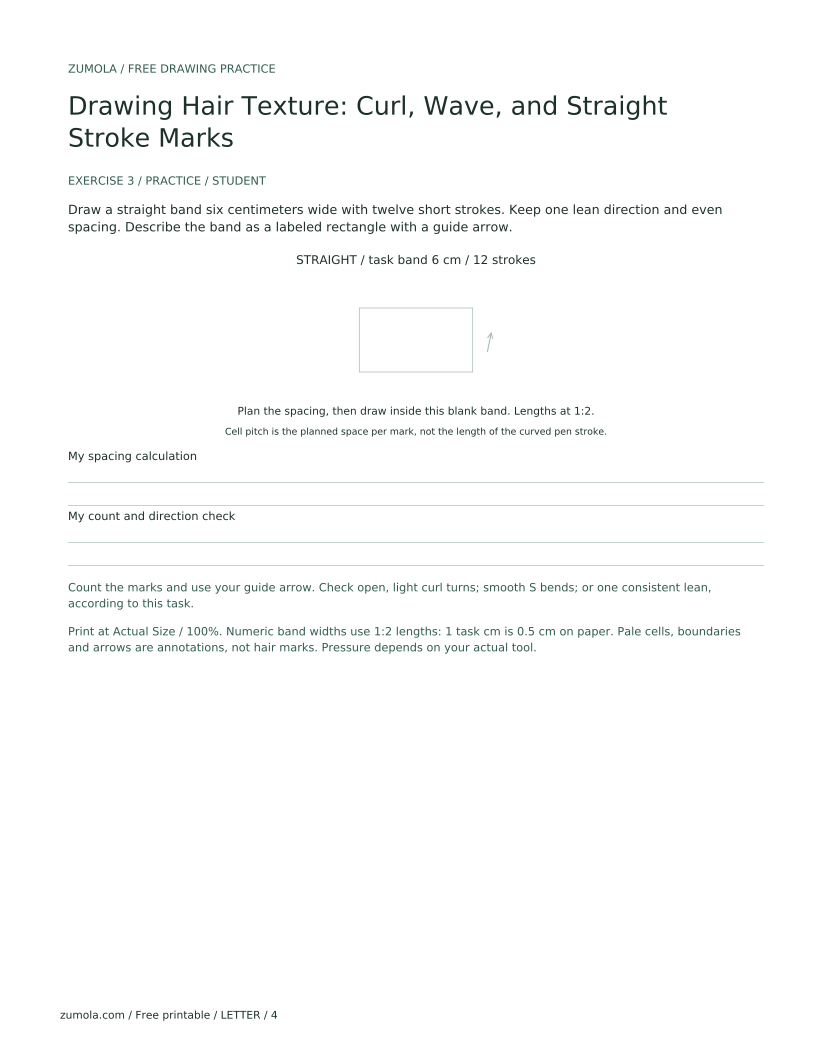
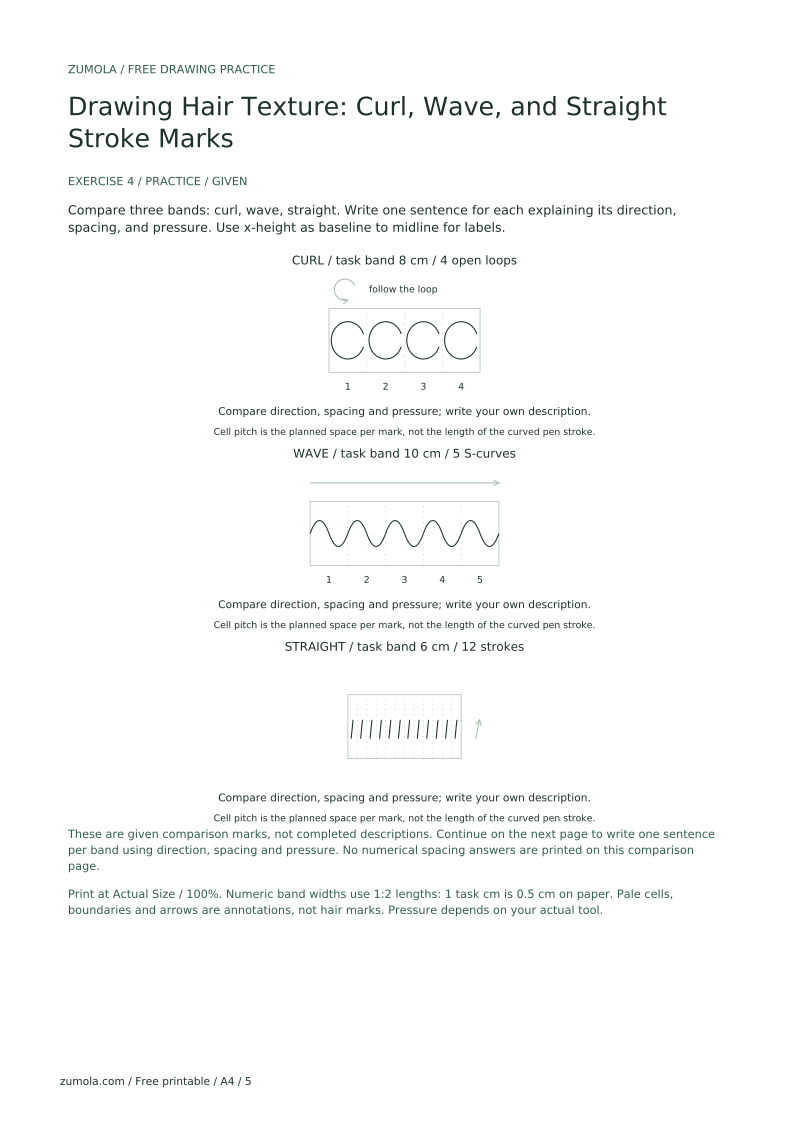
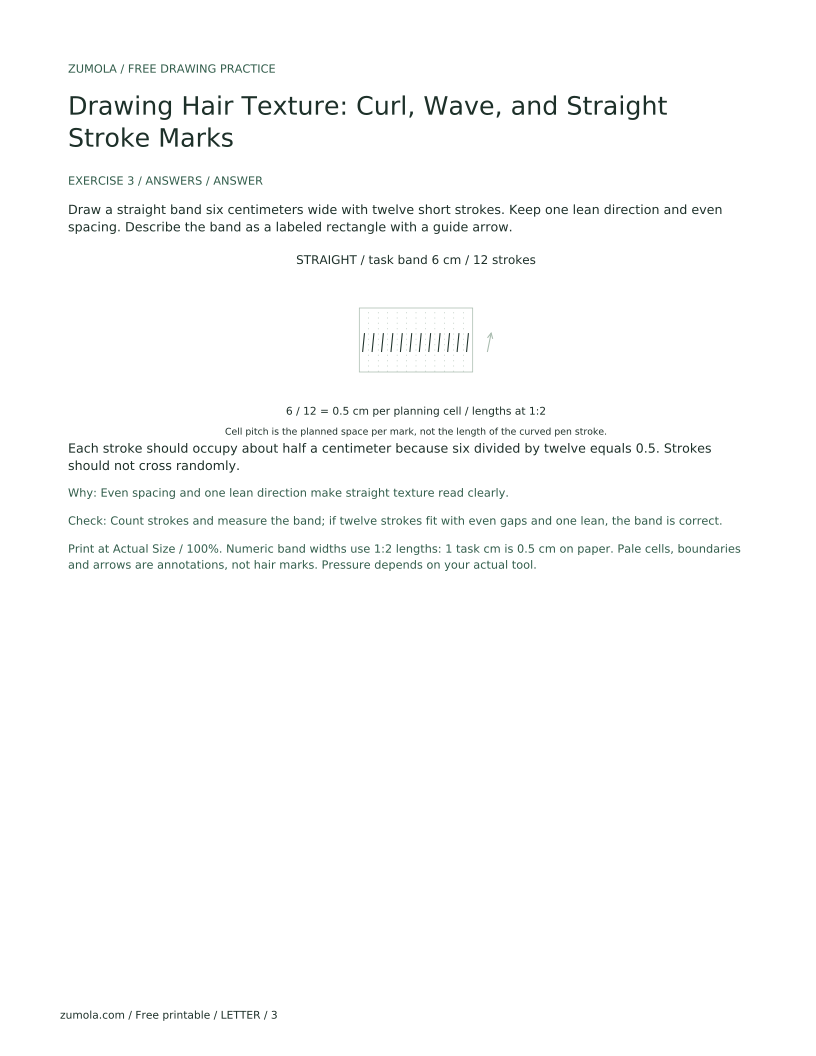
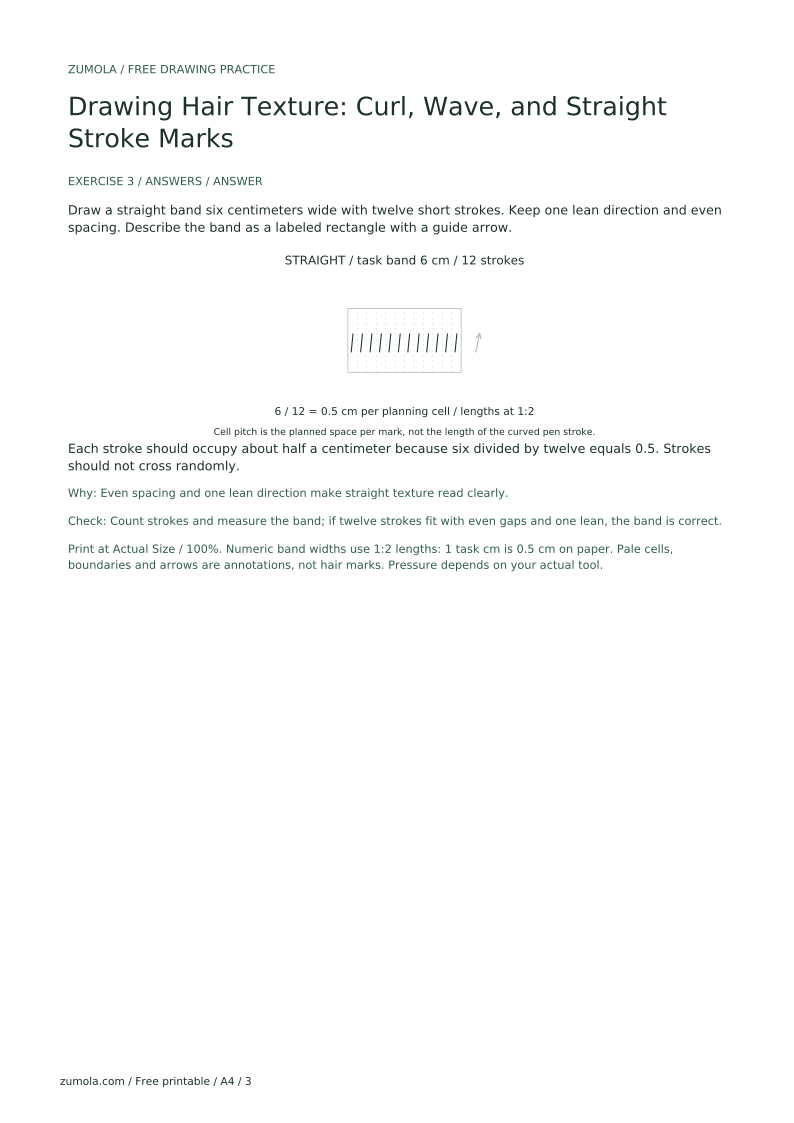
Draw a straight band six centimeters wide with twelve short strokes. Keep one lean direction and even spacing. Describe the band as a labeled rectangle with a guide arrow.
Each stroke should occupy about half a centimeter because six divided by twelve equals 0.5. Strokes should not cross randomly.
Even spacing and one lean direction make straight texture read clearly.
Check: Count strokes and measure the band; if twelve strokes fit with even gaps and one lean, the band is correct.
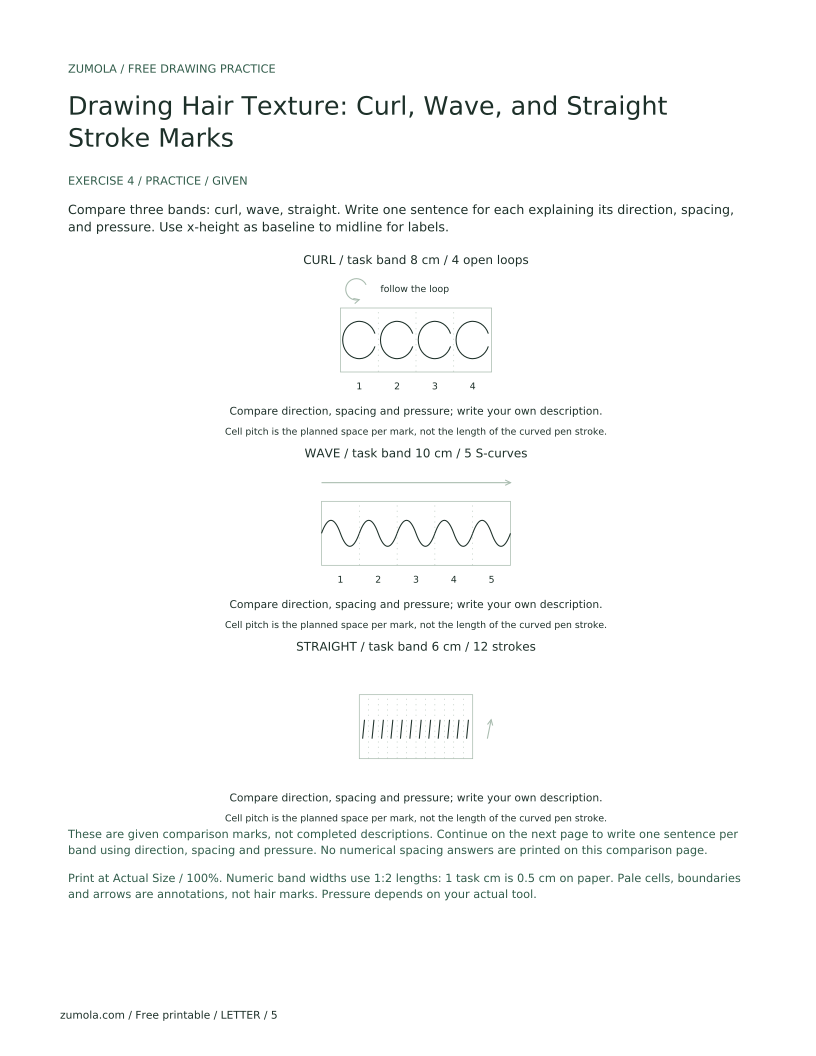
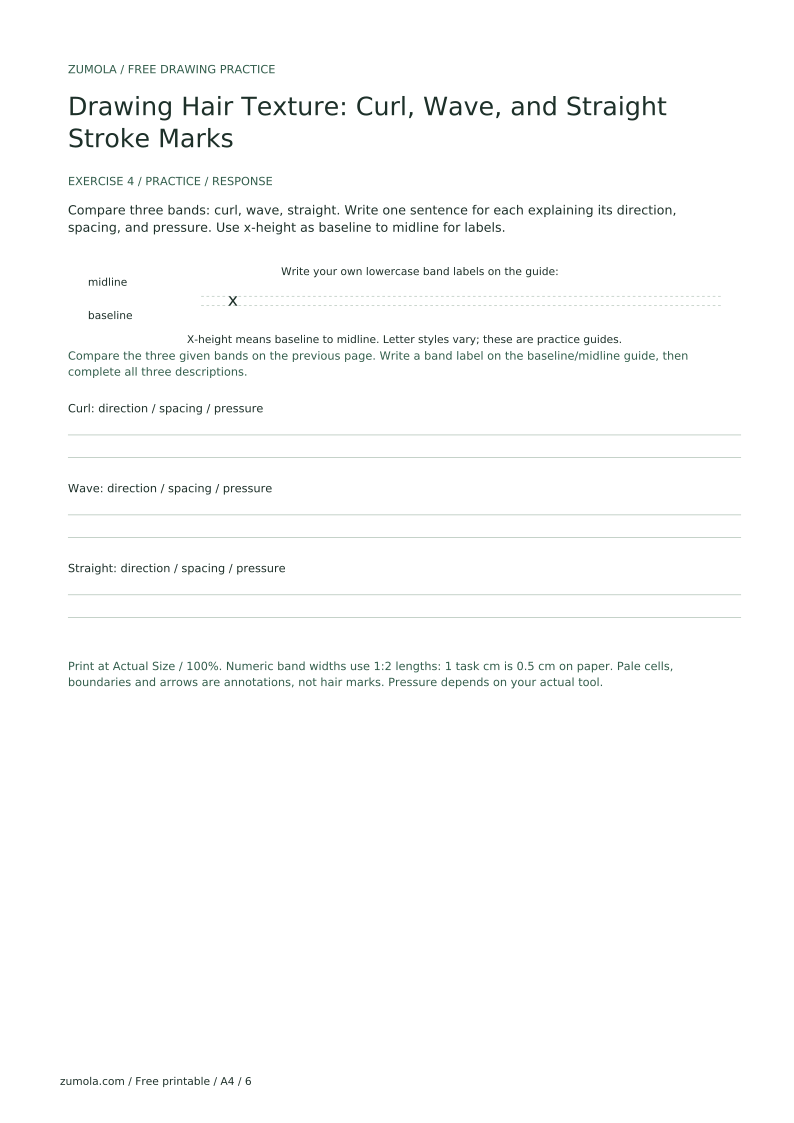
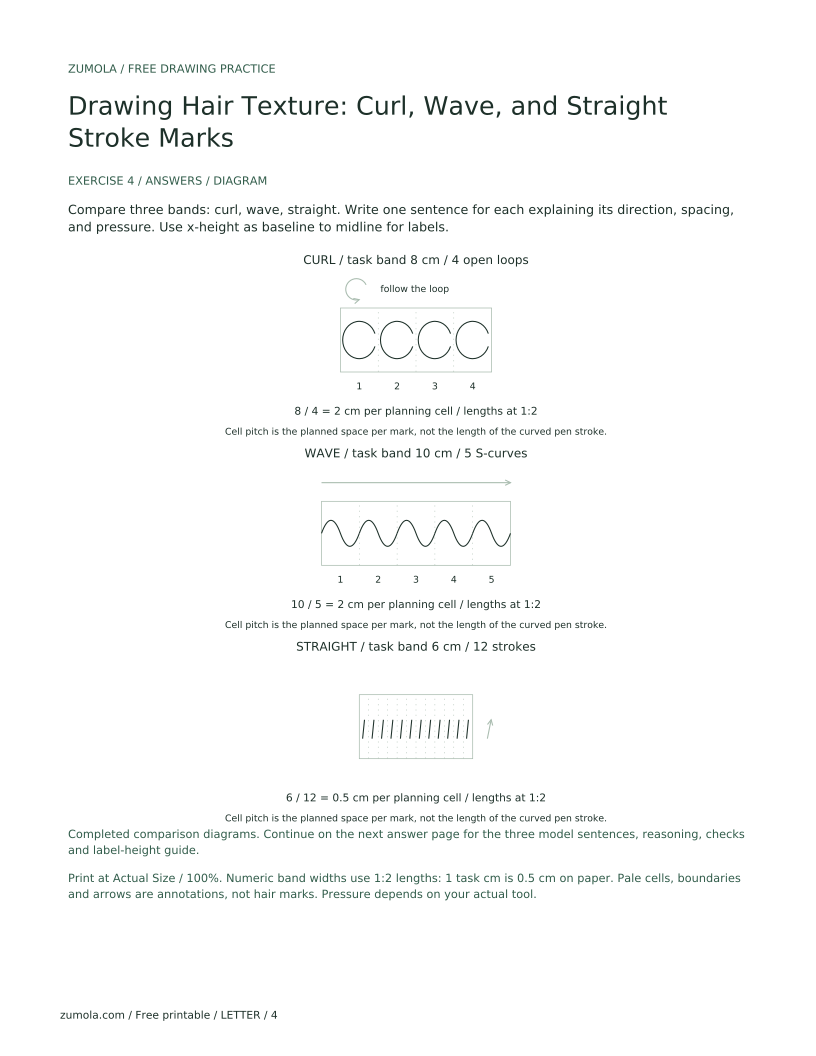
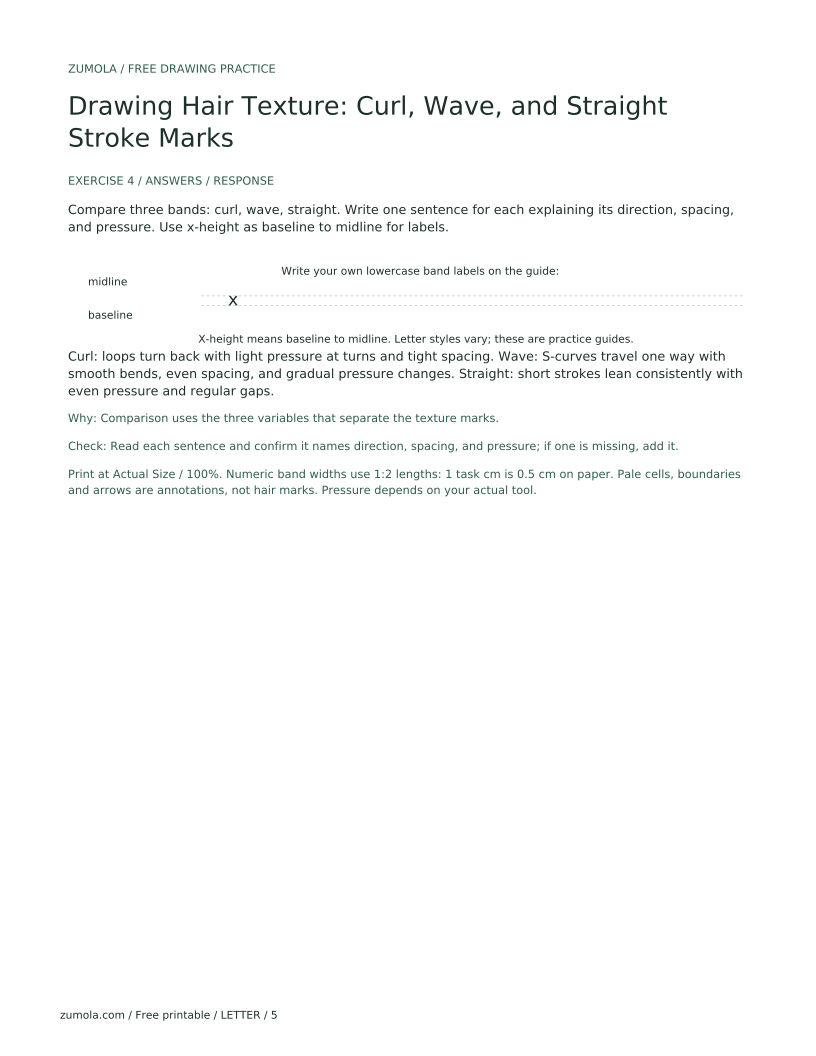
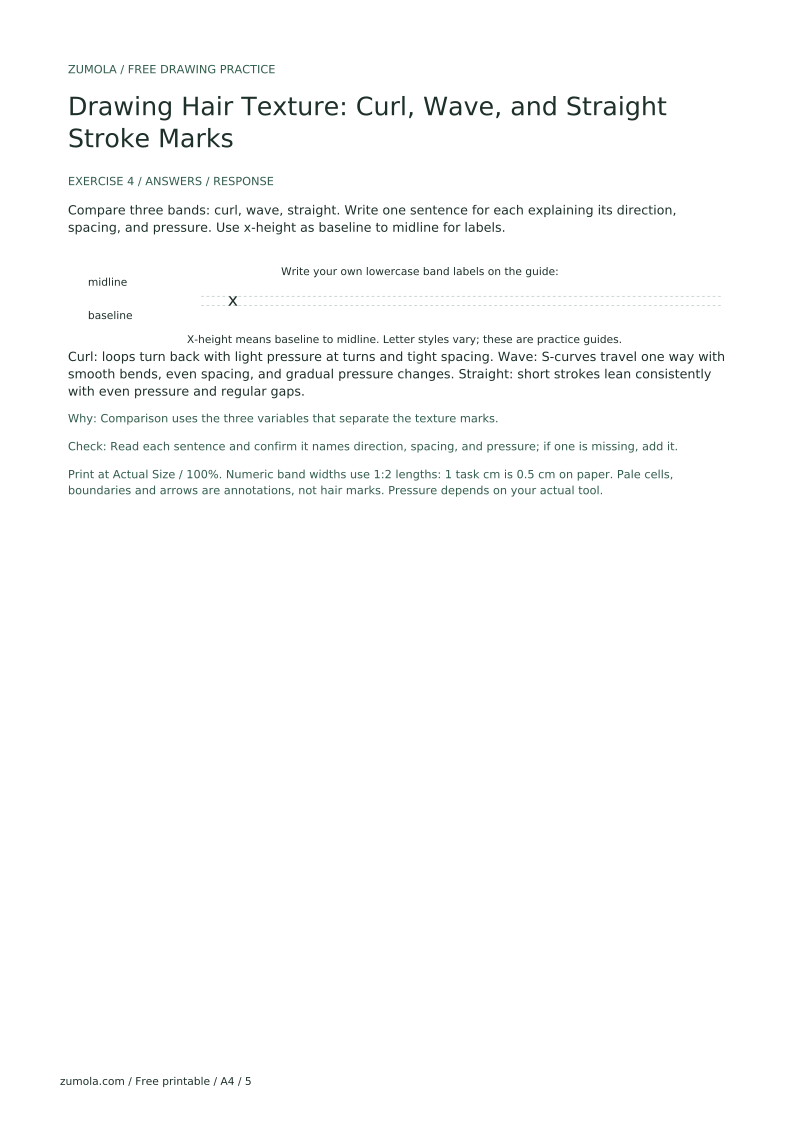
Compare three bands: curl, wave, straight. Write one sentence for each explaining its direction, spacing, and pressure. Use x-height as baseline to midline for labels.
Curl: loops turn back with light pressure at turns and tight spacing. Wave: S-curves travel one way with smooth bends, even spacing, and gradual pressure changes. Straight: short strokes lean consistently with even pressure and regular gaps.
Comparison uses the three variables that separate the texture marks.
Check: Read each sentence and confirm it names direction, spacing, and pressure; if one is missing, add it.
Lighten pressure at each turn and keep the loop open; check that the turn is narrower than the loop.
Slow down and change direction gradually; trace the S with a light finger first.
Choose one lean direction and keep spacing even; redraw with a light guide arrow.
Count marks and plan spacing before drawing; use a measured band width.
No. This lesson isolates texture stroke marks only. Hairstyle shape, strand sectioning, and full head construction are outside the boundary.
Yes, but pressure control is harder. Practice light marks first and measure your actual tool's behavior rather than assuming a standard.
Choose a number that divides your band width evenly. Five marks in a ten-centimeter band is a hypothetical example; adjust to your paper.
No. Closed loops, open spirals, and coils are all valid if they follow your chosen direction and spacing convention.