Reference diagram
LETTER · Download PDF (3 pages)
Free original resources
Learn to draw stick figures with clear poses and expressive heads, then combine them for funny, readable scenes using a simple convention and self-check rubric.
Original reference diagrams, four practice exercises and separate worked answers. All files are free. No signup required.
LETTER · Download PDF (3 pages)
LETTER · Download PDF (4 pages)
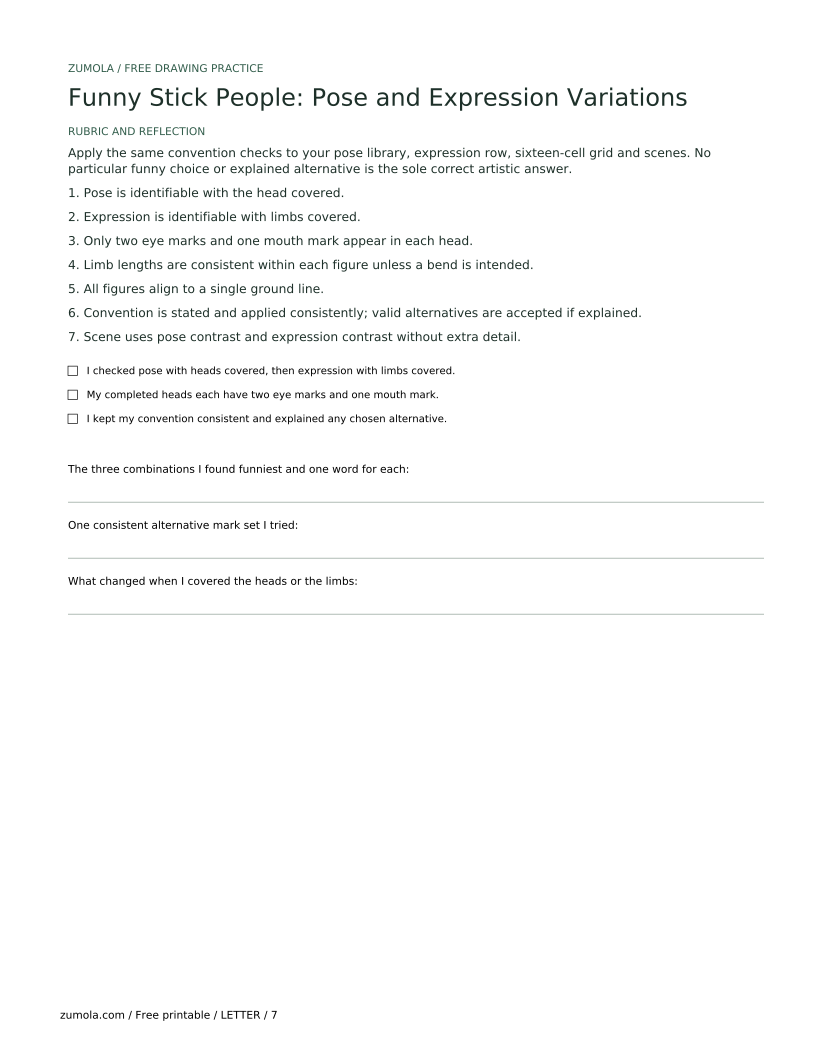
LETTER · Download PDF (7 pages)
Choose A4 or US Letter for your printer. The reference and answer illustrations are not physical rulers; follow the scale instruction printed on the practice worksheet.
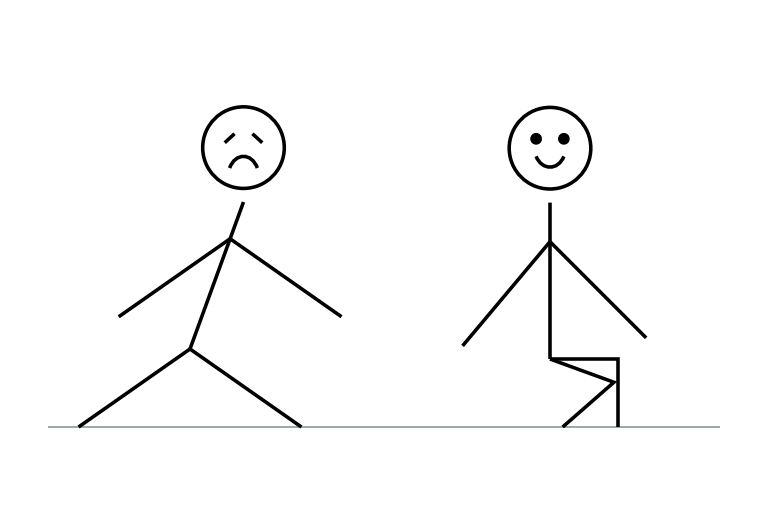
Stick figures work because a few deliberate lines carry pose and mood. This lesson defines a drawing convention so your figures stay readable, shows how to vary limbs for walk, run, wave, and sit, and how to change only the head marks to shift expression. You will combine poses and expressions in blank panels, then judge your work with a rubric that accepts valid alternatives rather than one universal answer.
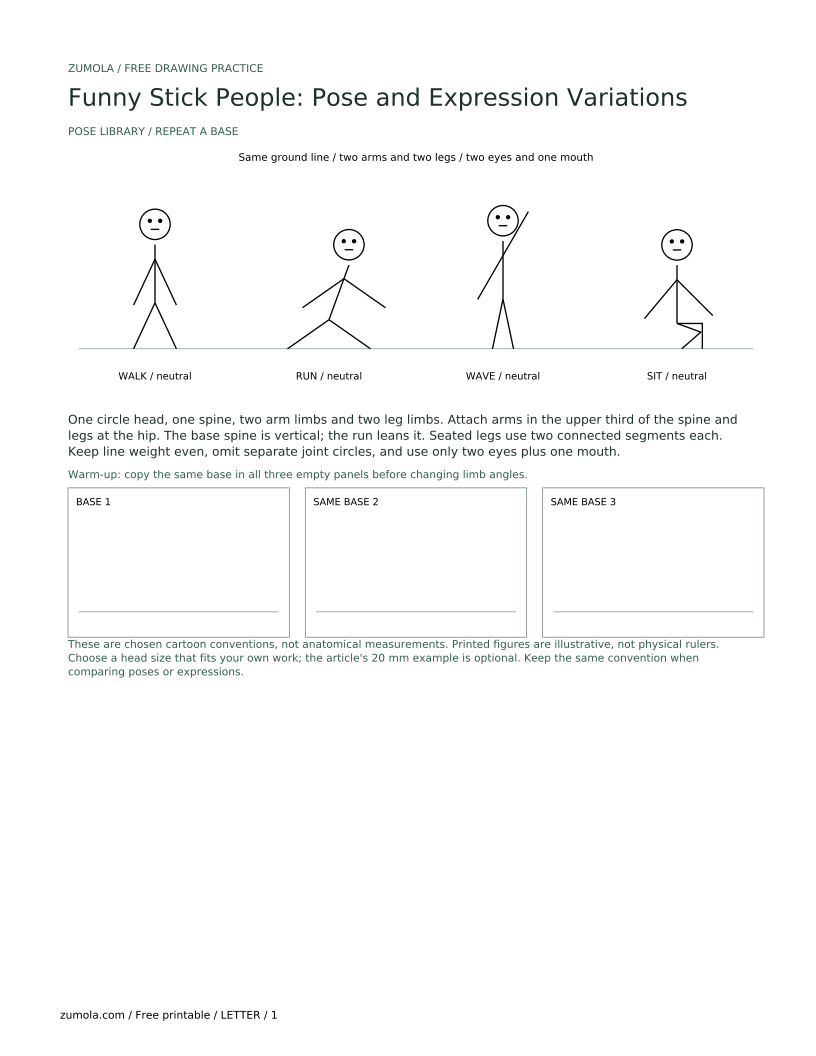
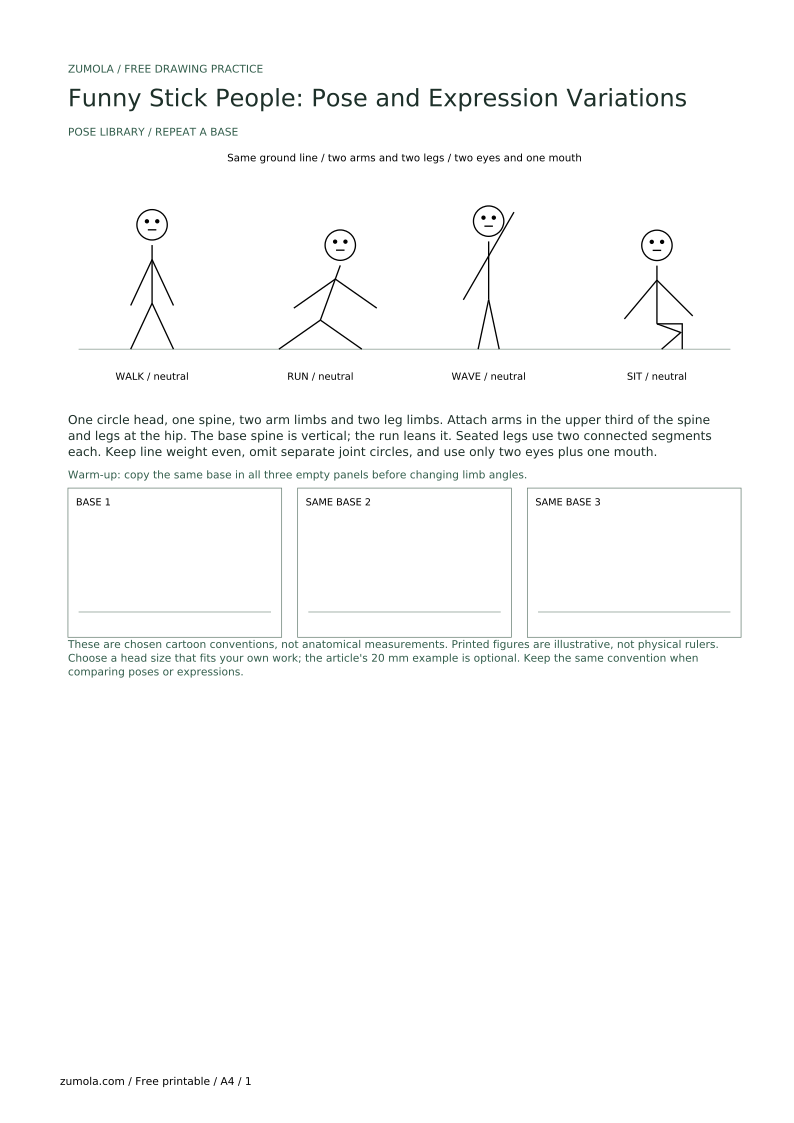
For the basic upright figure, use one head circle, one straight vertical spine, two arm lines, and two leg lines. Joints are implied where lines meet; no separate elbow or knee circles are needed. A posed variation may lean the straight spine, and a bent limb may use two straight segments meeting at an implied joint. Those stated exceptions include the running lean and the seated knees below. Keep line weight even and avoid shading so the pose reads at a glance.
Place the head circle above the spine with a small gap or a touching point, and keep the spine length consistent across a series so pose changes are comparable. Arms attach at the top third of the spine; legs attach at the bottom. This is a chosen convention, not a universal standard, so any consistent alternative is acceptable if you state it.
Expression lives only in the head: two eye marks and one mouth mark. Do not add hair, clothing, or facial detail beyond these marks. That boundary keeps the exercise about pose and expression, not proportion or character design.
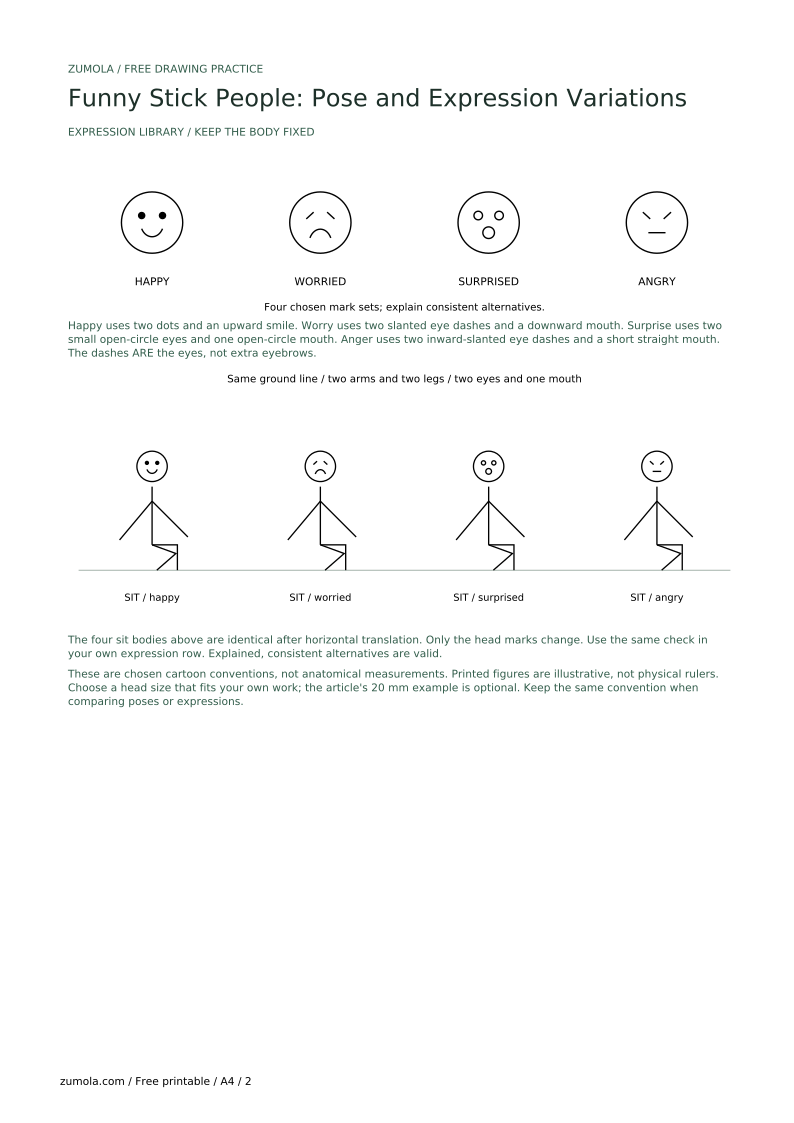
Pose is encoded by limb direction and length. A walk shows one leg forward and one back with opposite arm swing. A run increases the angle between legs and bends the spine slightly forward. A wave lifts one arm above the shoulder while the other stays low. A sit bends both legs at an implied knee, with the spine upright or slightly leaned.
Keep limb lengths equal within a figure unless the pose requires a bend; a bent leg can be drawn as two segments meeting at an implied knee. Mark the ground with a single horizontal line so standing, walking, and sitting figures share a reference.
Funny variation comes from contrast: a serious run pose with a surprised head, or a relaxed sit with a wide grin. Change one variable at a time so you can see which change created the effect.
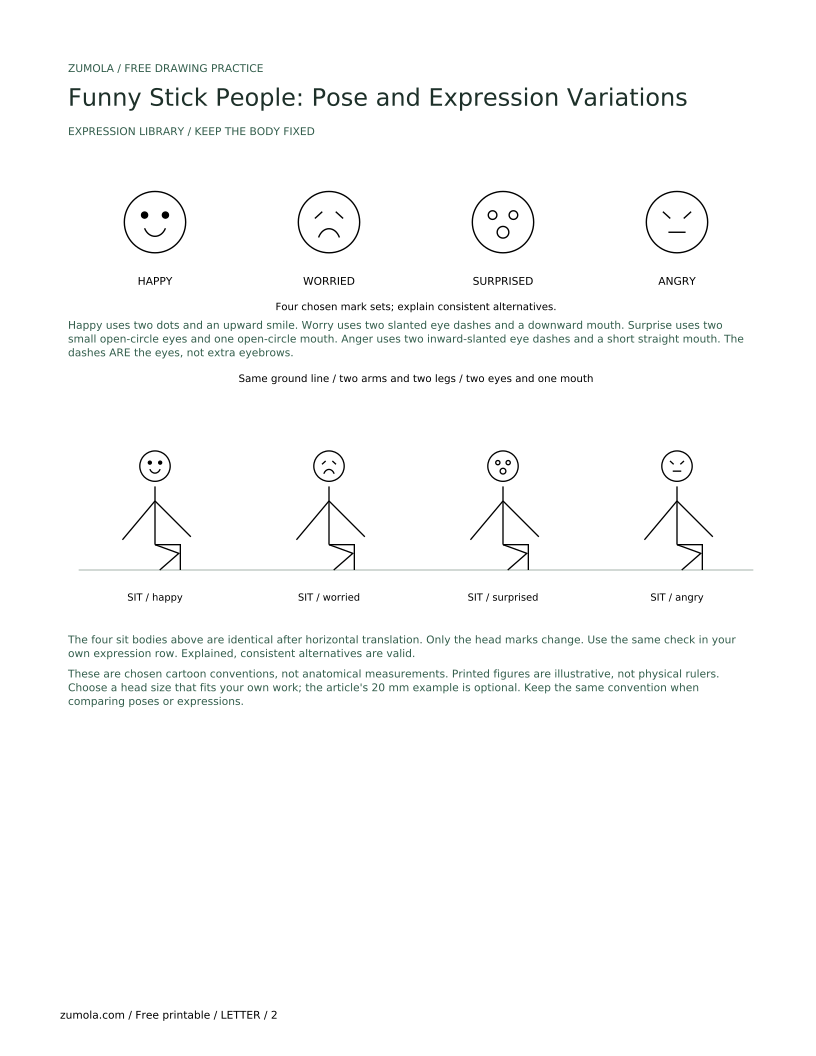
Use two eye marks and one mouth mark. Eye marks can be dots, short dashes, or small circles; mouth marks can be a short line, a curve up, a curve down, or an open shape. Keep the marks inside or just at the head circle edge so the head stays readable.
Surprise: two small circles for eyes and a small open mouth. Happiness: curved-up mouth and dot eyes. Worry: slanted dash eyes and a curved-down mouth. Anger: slanted dash eyes and a straight short mouth. These are conventions you choose and apply consistently; other mark sets are valid if you can explain them.
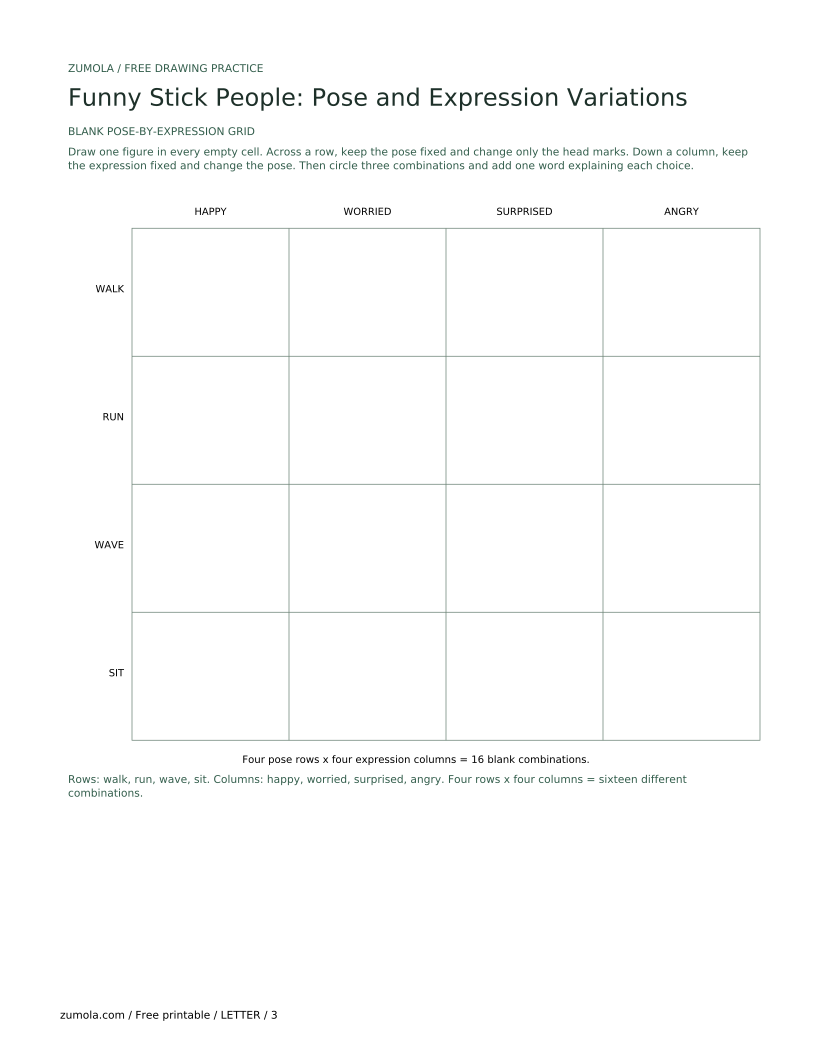
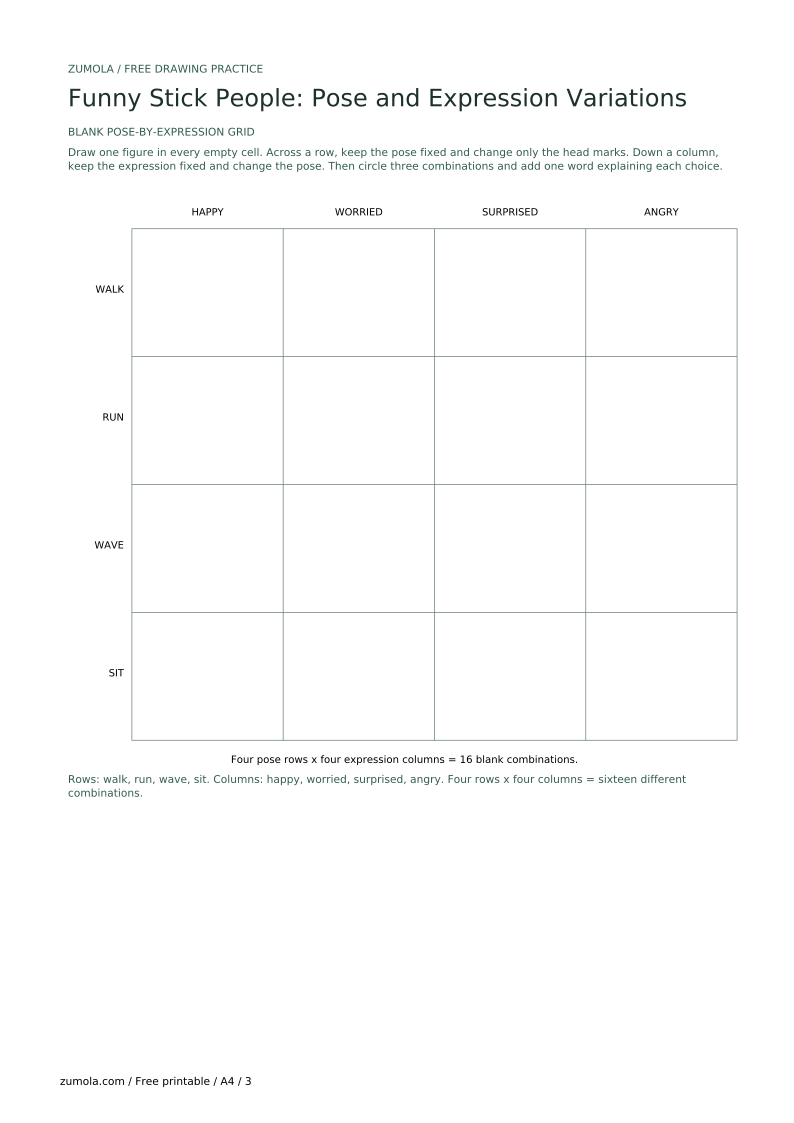
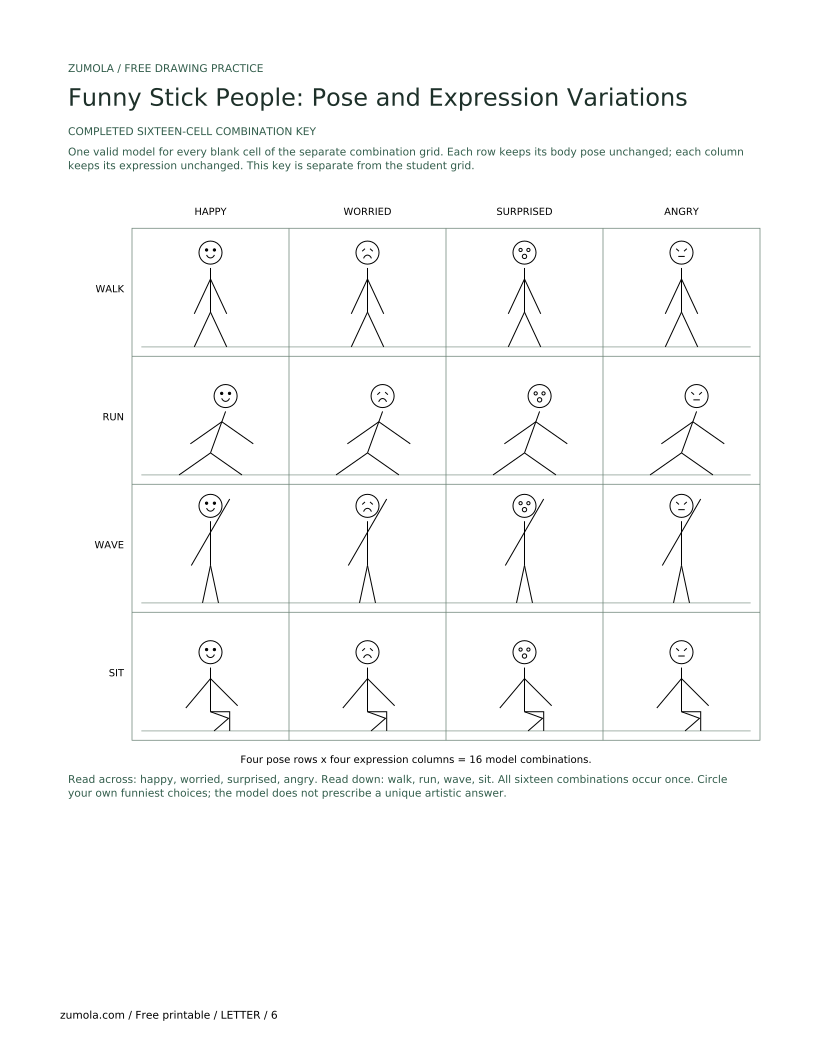
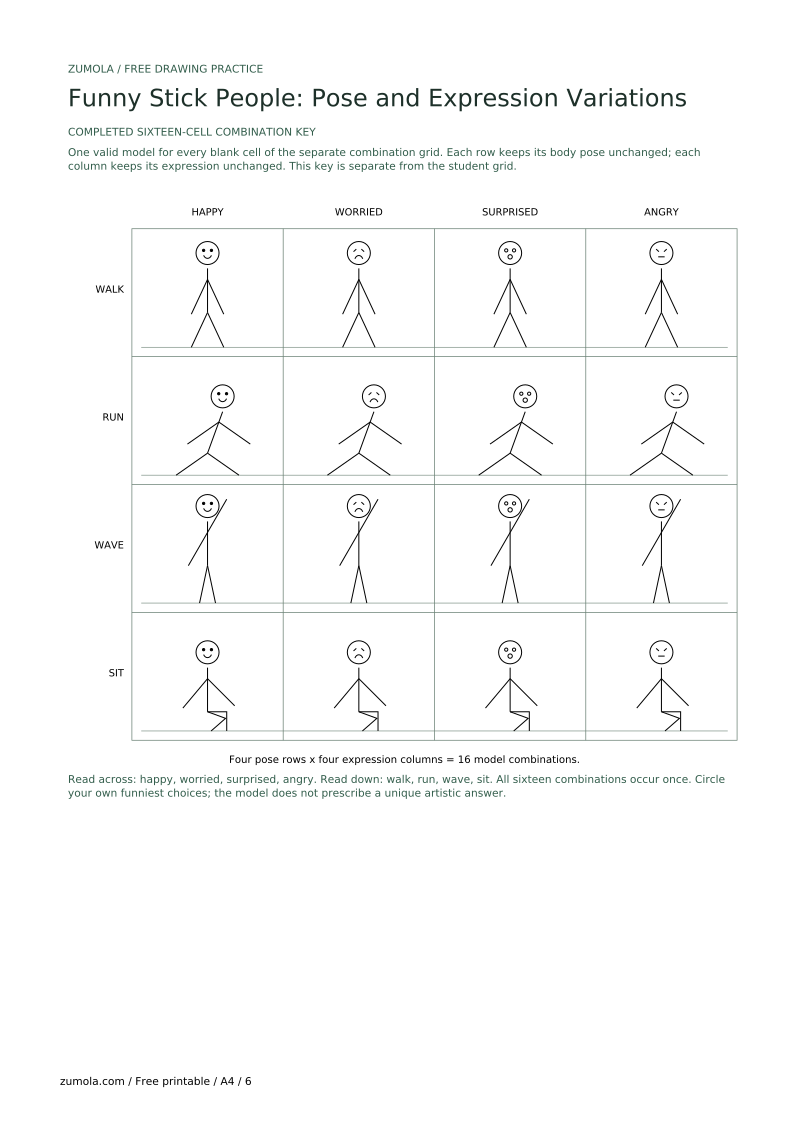
Combine expression with pose in a four-by-four grid: four pose rows (walk, run, wave, sit) and four expression columns (happy, worried, surprised, angry) give sixteen combinations. Across each row, hold the complete body pose identical and change only the head marks. Down each column, hold the expression mark set identical while changing the pose. Each pose therefore appears once with each expression.
A readable stick figure passes three checks: the pose is identifiable without the head, the expression is identifiable without the limbs, and the ground line matches the pose. If a viewer cannot name the pose in two seconds, adjust limb angles rather than adding detail.
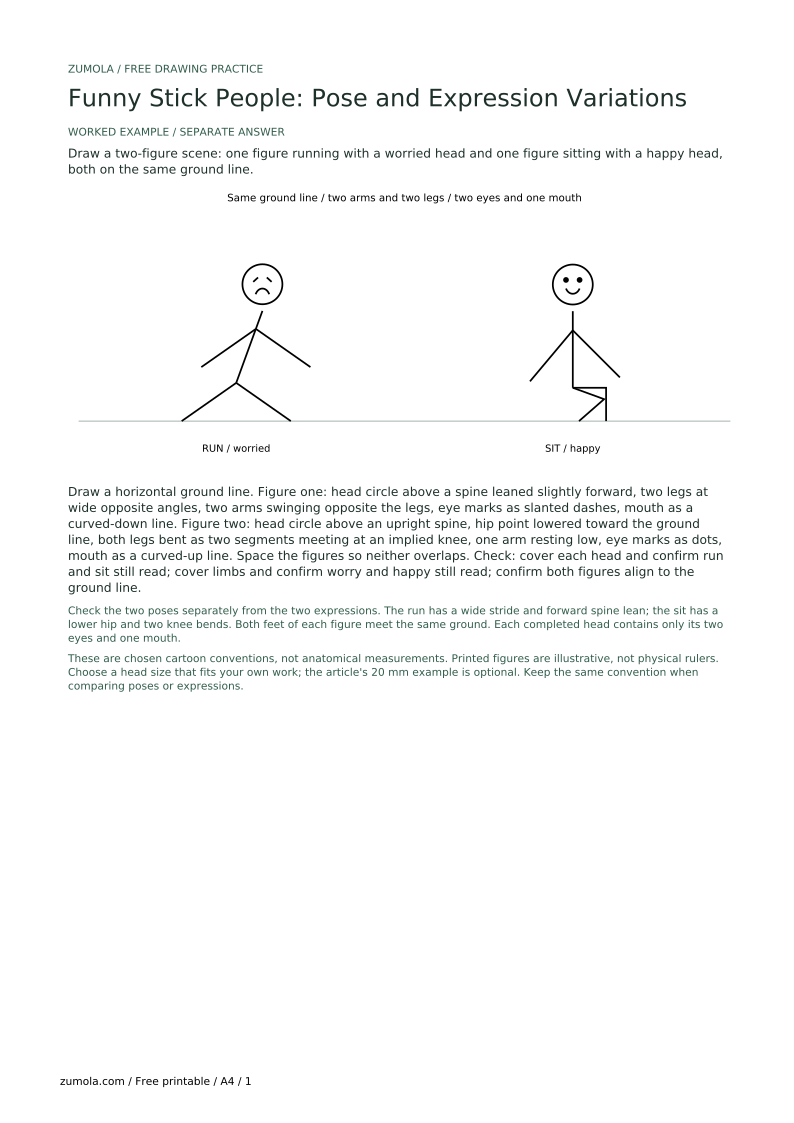
For a combined scene, place two or three figures on one ground line with clear spacing. Use pose contrast and expression contrast together: one figure running with a worried head beside one sitting with a happy head. Keep all figures to the same convention so the scene stays coherent.
Measure your own paper and tools rather than assuming sizes. If you choose a head circle diameter, label it as a hypothetical example, such as a 20 mm circle on your paper, and keep it consistent. Any numerical value here is an example you set, not a manufacturing or printer standard.
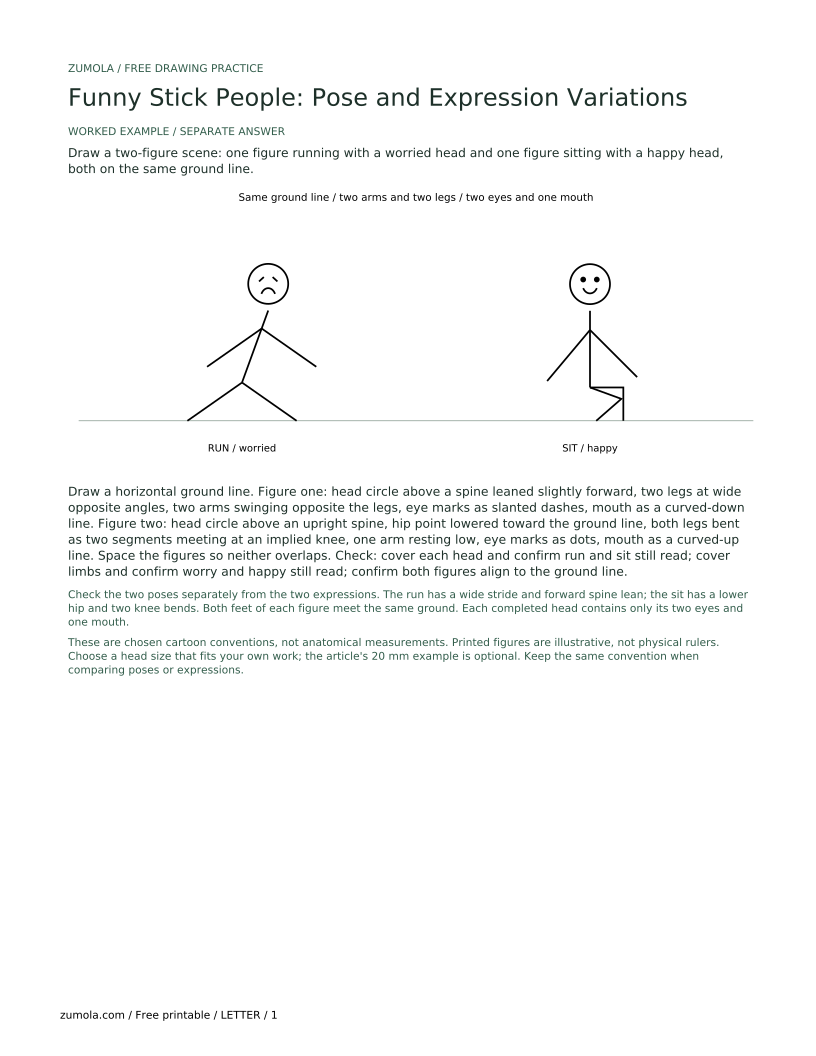
Draw a two-figure scene: one figure running with a worried head and one figure sitting with a happy head, both on the same ground line.
Draw a horizontal ground line. Figure one: head circle above a spine leaned slightly forward, two legs at wide opposite angles, two arms swinging opposite the legs, eye marks as slanted dashes, mouth as a curved-down line. Figure two: head circle above an upright spine, hip point lowered toward the ground line, both legs bent as two segments meeting at an implied knee, one arm resting low, eye marks as dots, mouth as a curved-up line. Space the figures so neither overlaps. Check: cover each head and confirm run and sit still read; cover limbs and confirm worry and happy still read; confirm both figures align to the ground line.
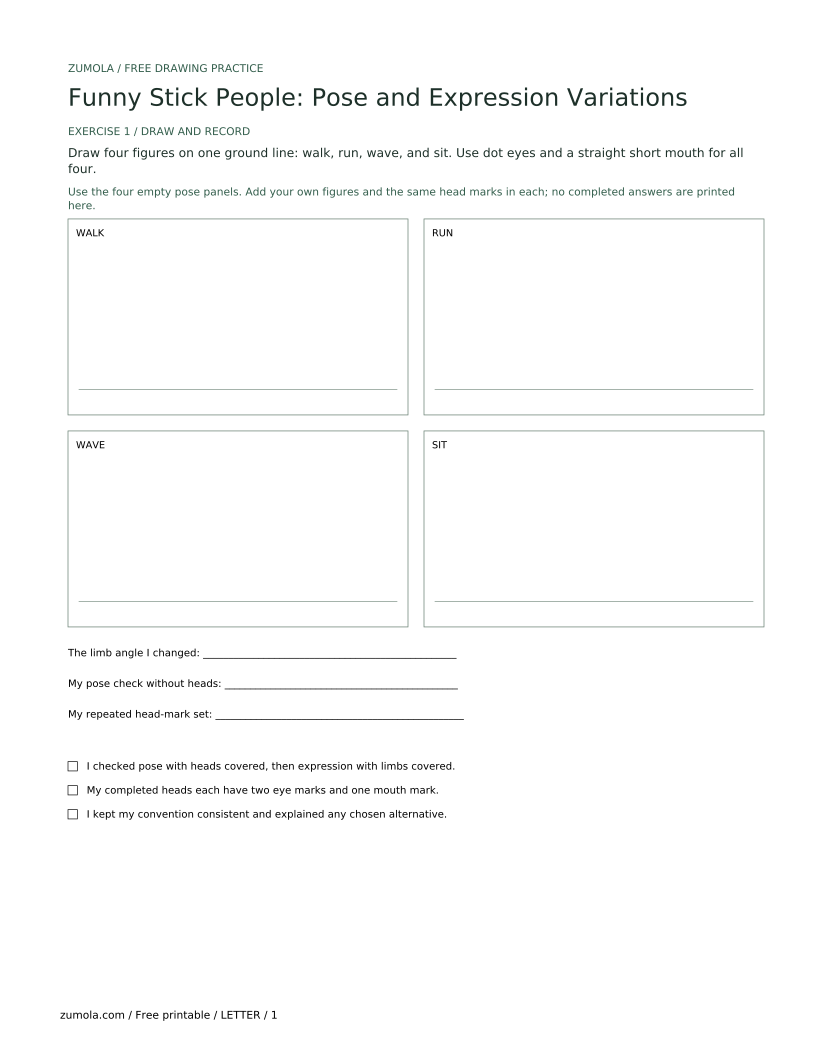
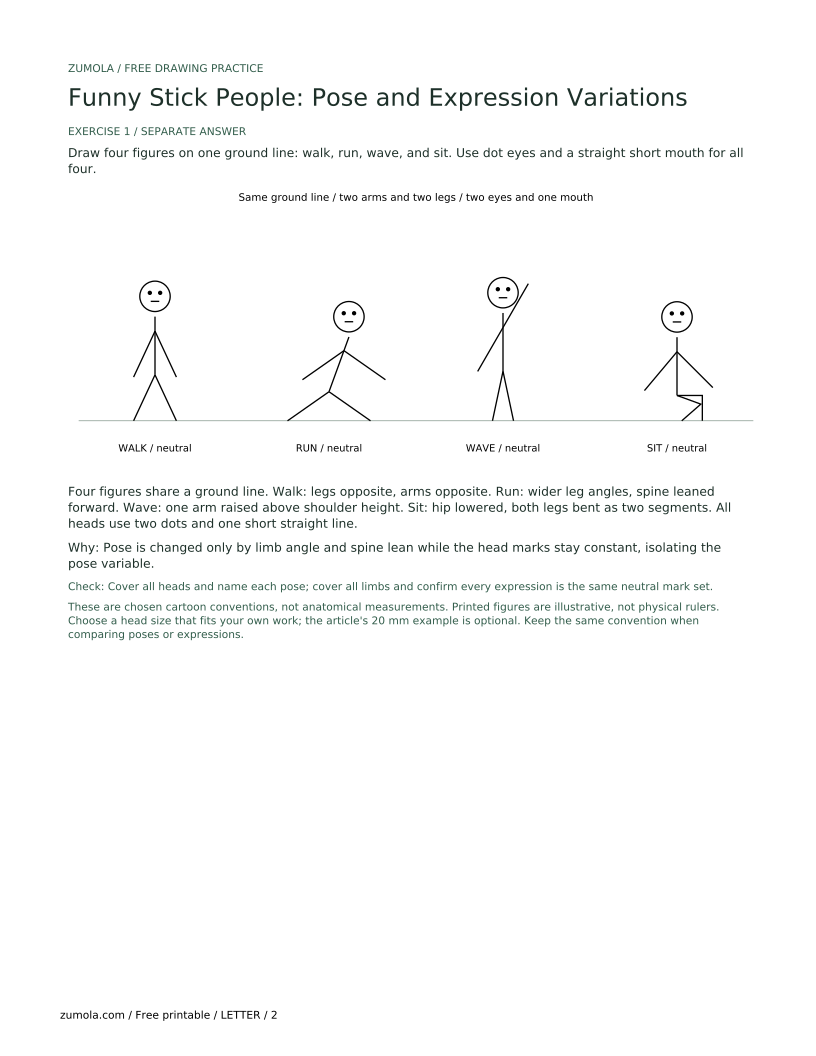
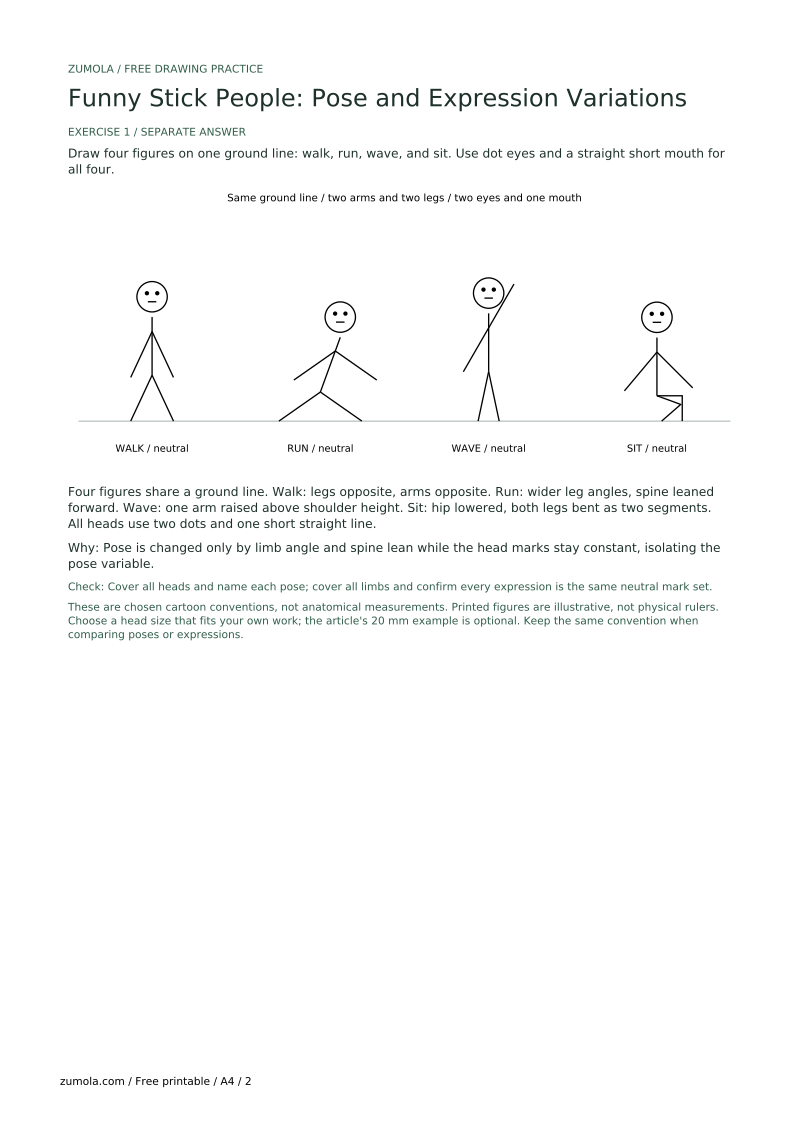
Draw four figures on one ground line: walk, run, wave, and sit. Use dot eyes and a straight short mouth for all four.
Four figures share a ground line. Walk: legs opposite, arms opposite. Run: wider leg angles, spine leaned forward. Wave: one arm raised above shoulder height. Sit: hip lowered, both legs bent as two segments. All heads use two dots and one short straight line.
Pose is changed only by limb angle and spine lean while the head marks stay constant, isolating the pose variable.
Check: Cover all heads and name each pose; cover all limbs and confirm every expression is the same neutral mark set.
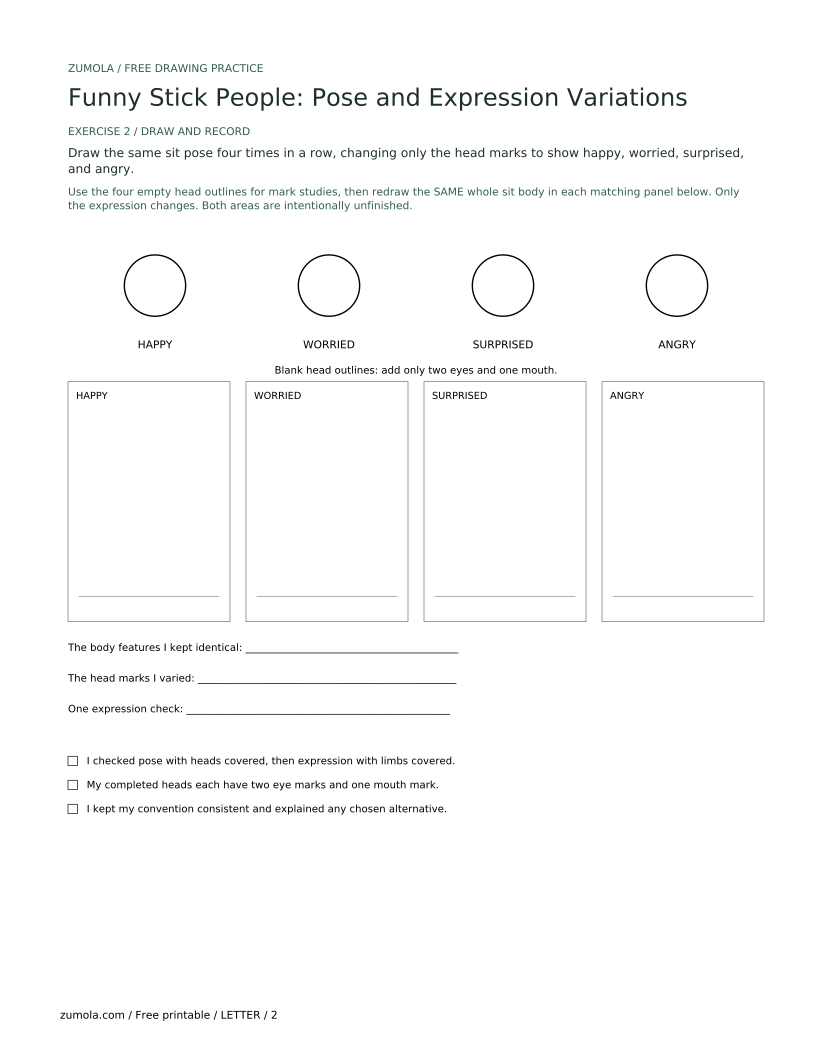
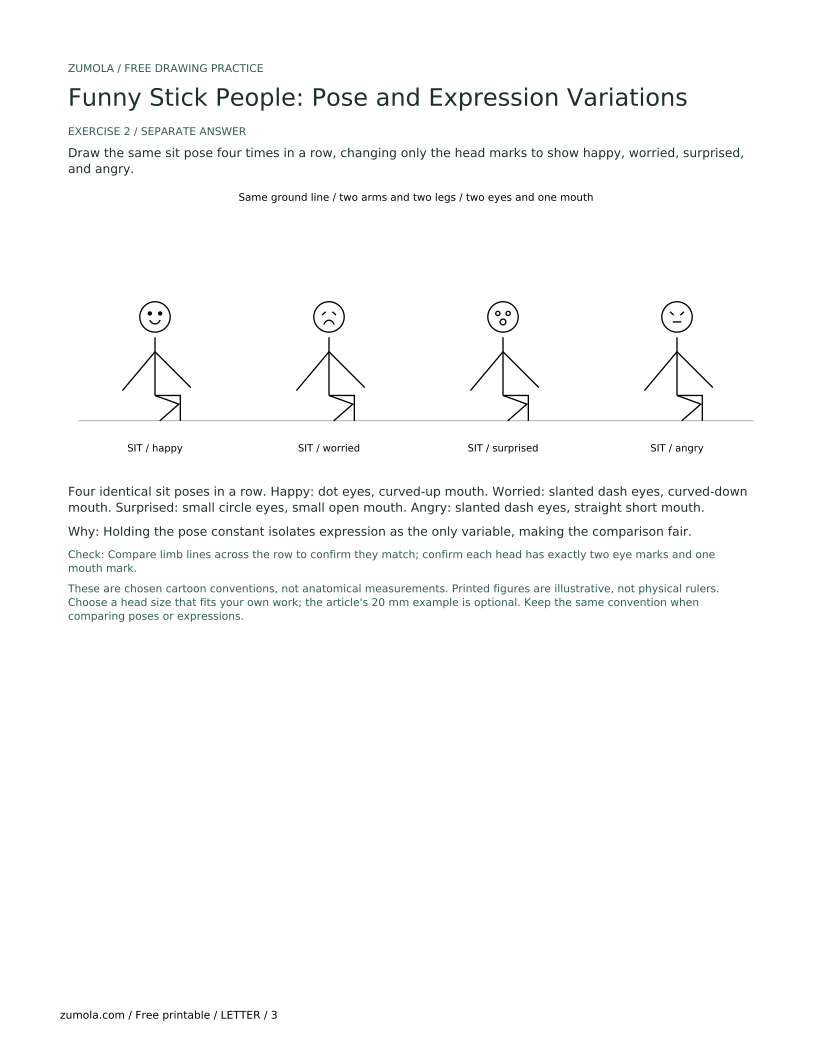
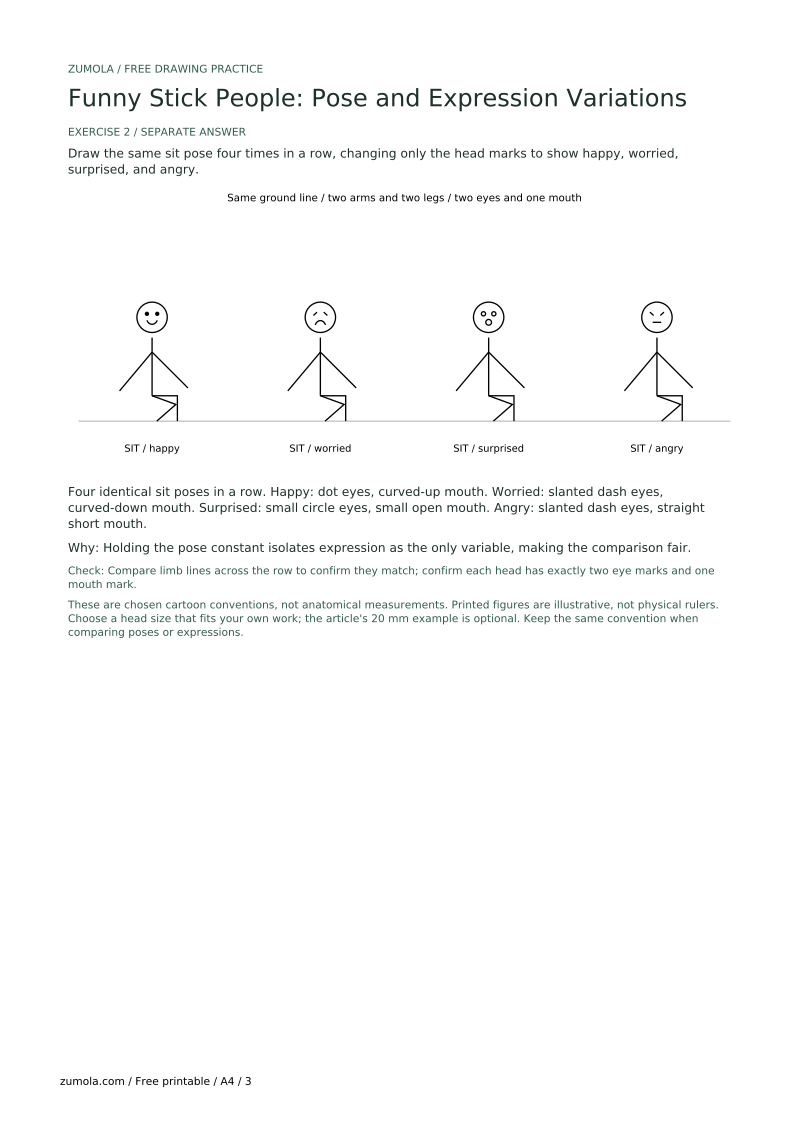
Draw the same sit pose four times in a row, changing only the head marks to show happy, worried, surprised, and angry.
Four identical sit poses in a row. Happy: dot eyes, curved-up mouth. Worried: slanted dash eyes, curved-down mouth. Surprised: small circle eyes, small open mouth. Angry: slanted dash eyes, straight short mouth.
Holding the pose constant isolates expression as the only variable, making the comparison fair.
Check: Compare limb lines across the row to confirm they match; confirm each head has exactly two eye marks and one mouth mark.
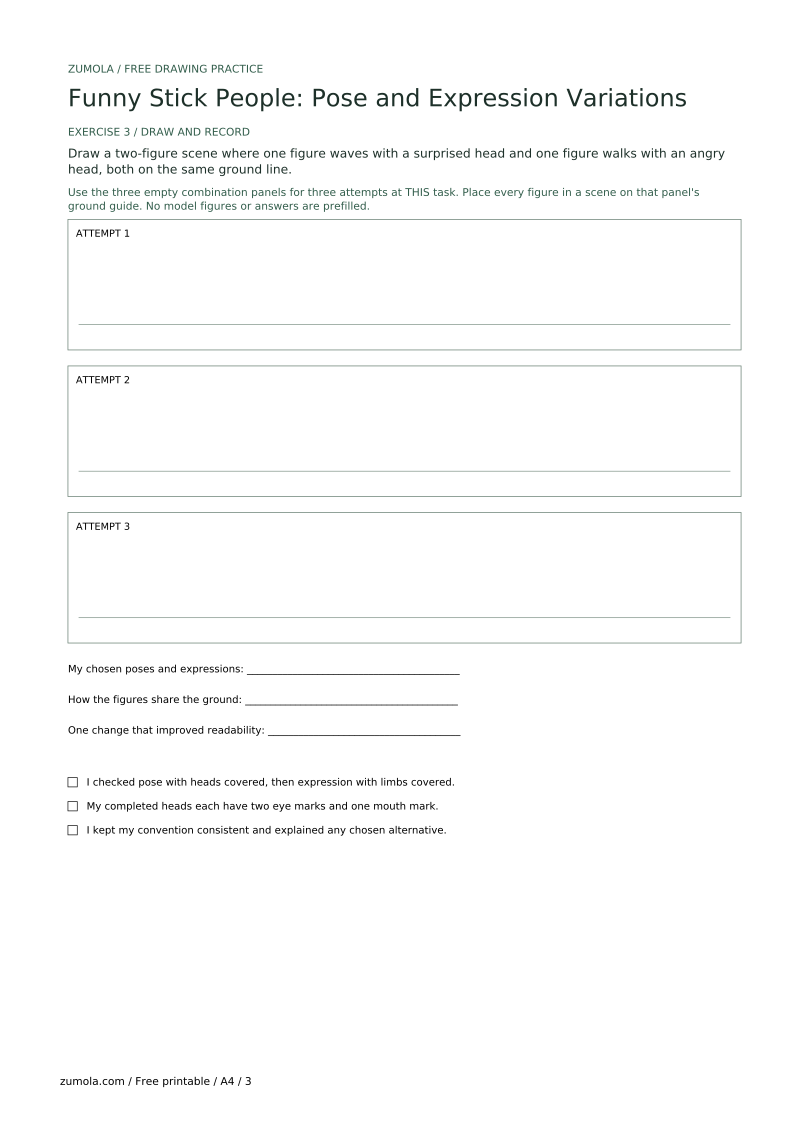
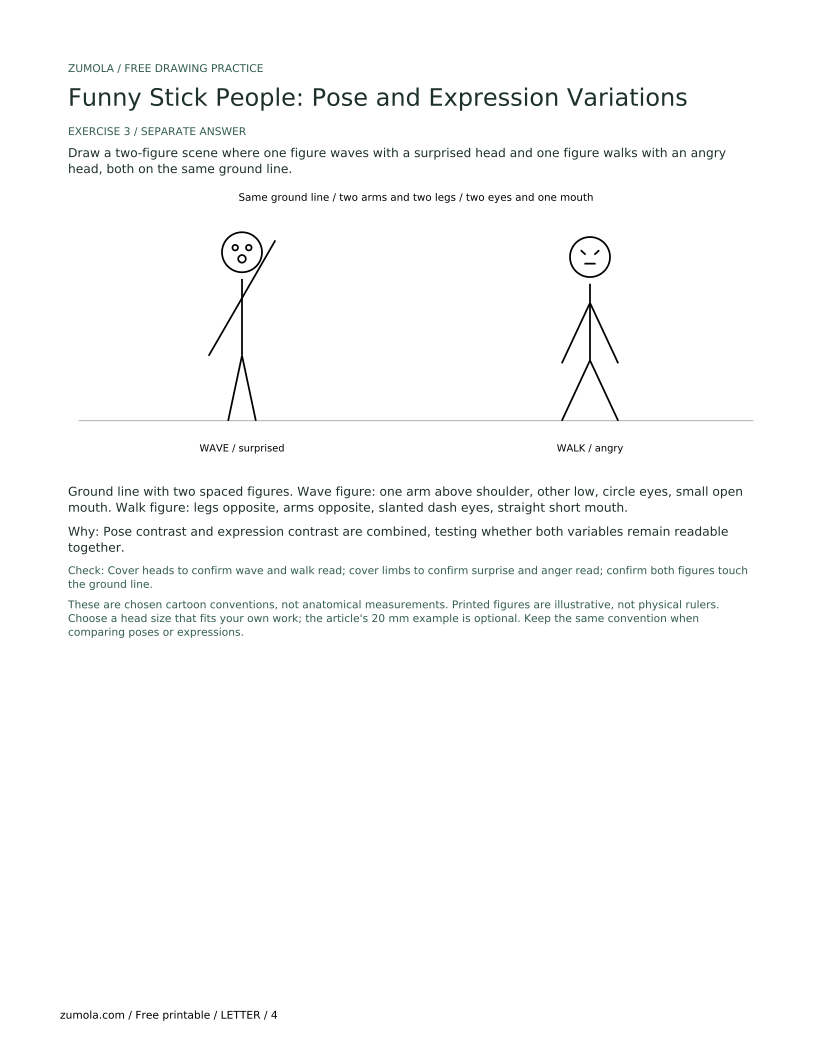
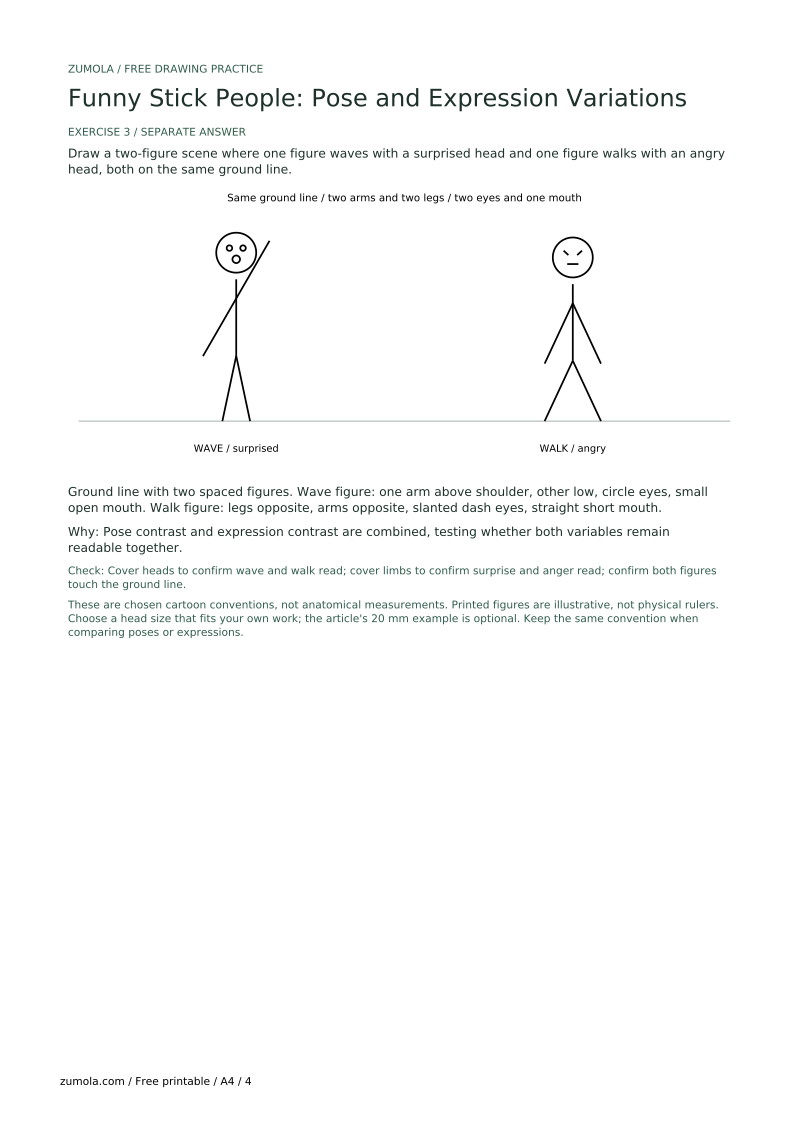
Draw a two-figure scene where one figure waves with a surprised head and one figure walks with an angry head, both on the same ground line.
Ground line with two spaced figures. Wave figure: one arm above shoulder, other low, circle eyes, small open mouth. Walk figure: legs opposite, arms opposite, slanted dash eyes, straight short mouth.
Pose contrast and expression contrast are combined, testing whether both variables remain readable together.
Check: Cover heads to confirm wave and walk read; cover limbs to confirm surprise and anger read; confirm both figures touch the ground line.
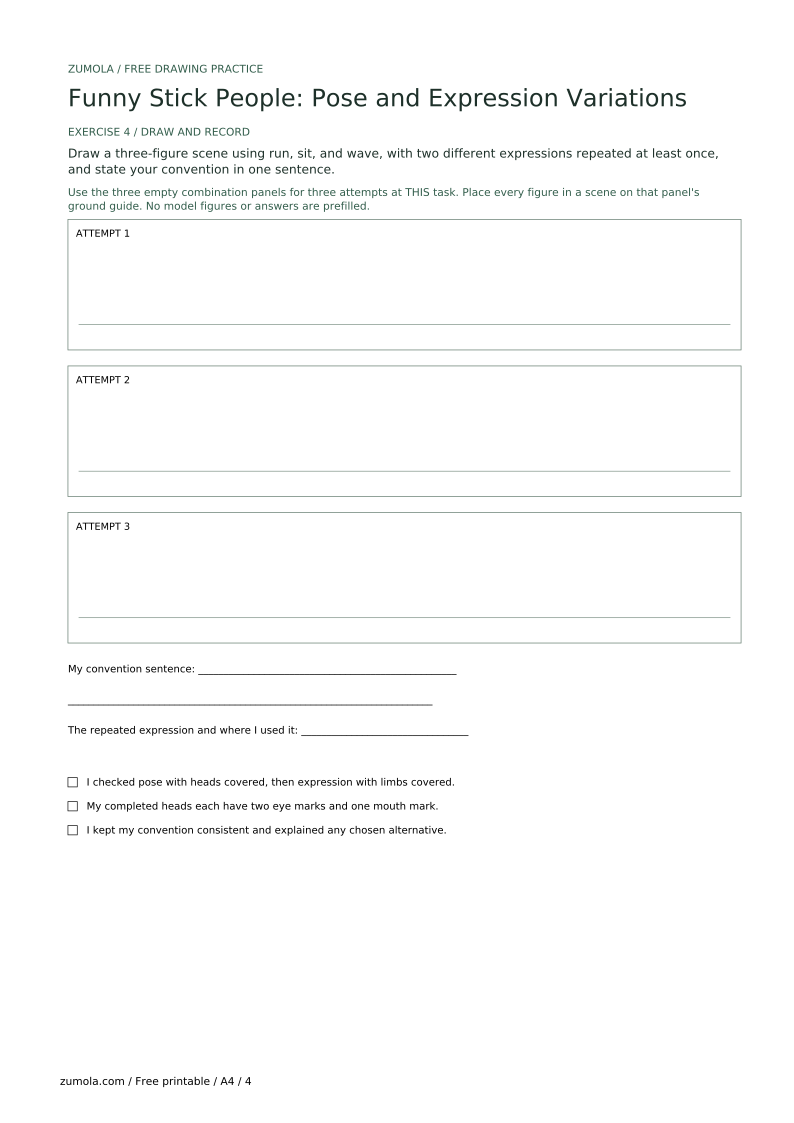
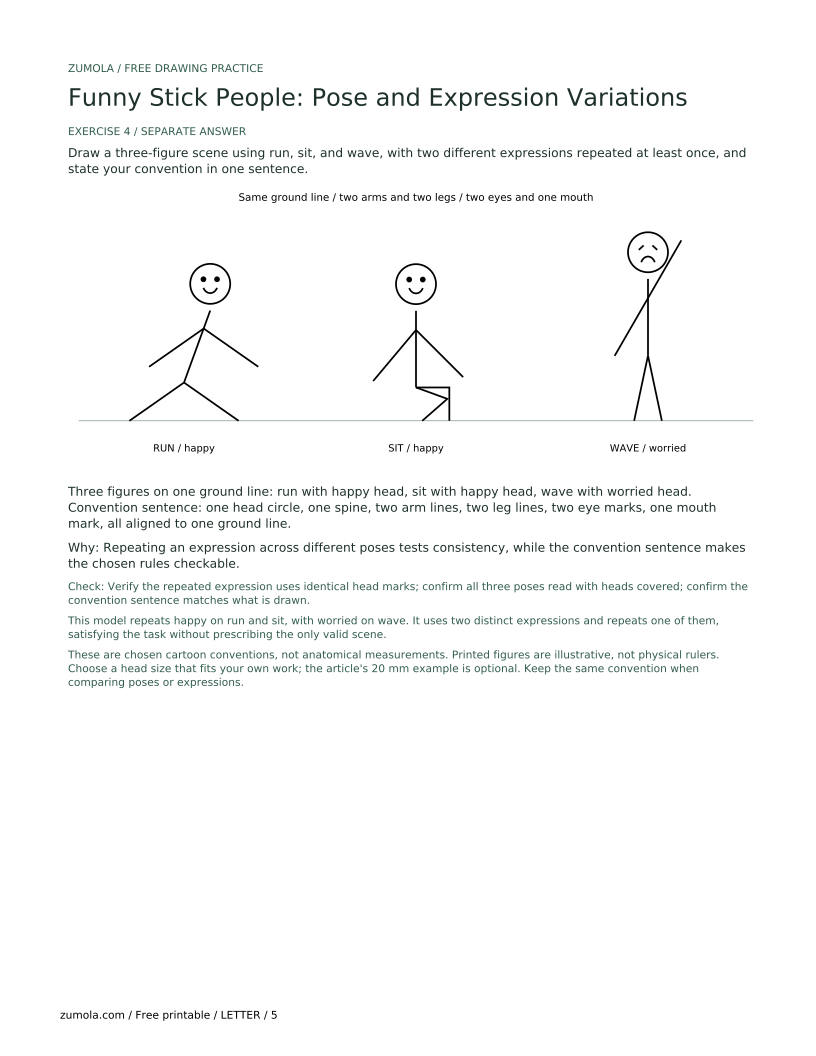
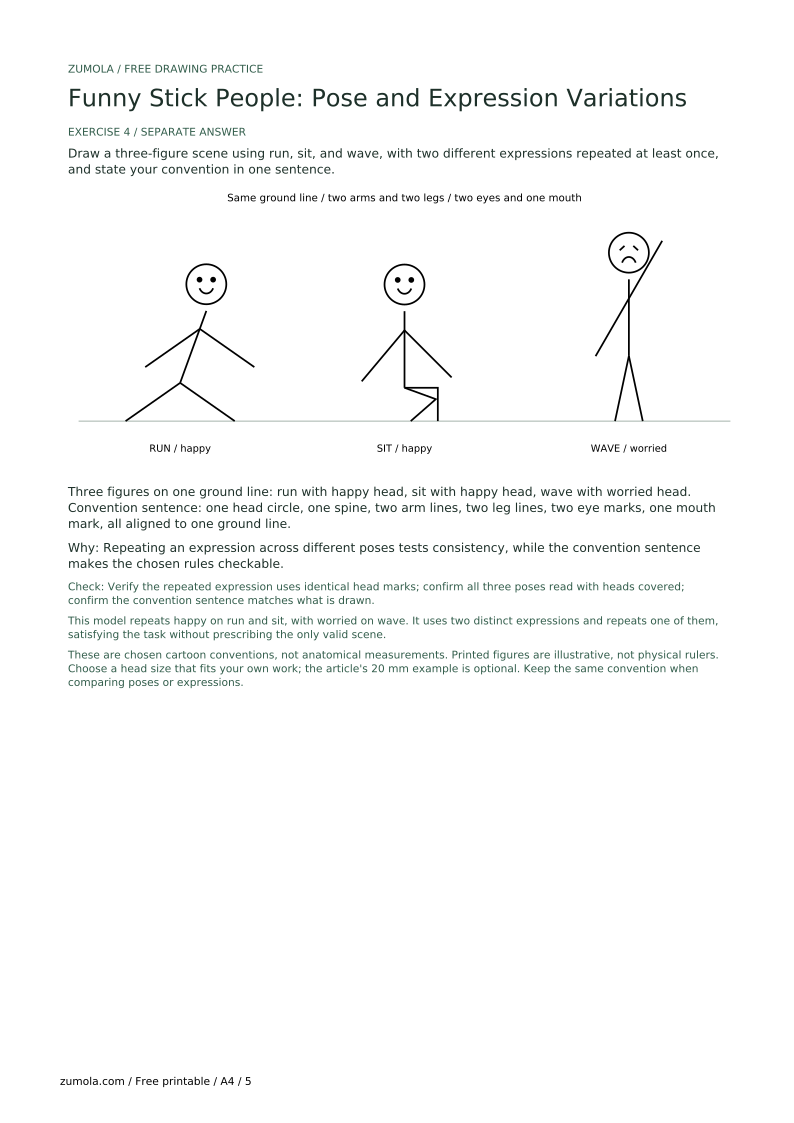
Draw a three-figure scene using run, sit, and wave, with two different expressions repeated at least once, and state your convention in one sentence.
Three figures on one ground line: run with happy head, sit with happy head, wave with worried head. Convention sentence: one head circle, one spine, two arm lines, two leg lines, two eye marks, one mouth mark, all aligned to one ground line.
Repeating an expression across different poses tests consistency, while the convention sentence makes the chosen rules checkable.
Check: Verify the repeated expression uses identical head marks; confirm all three poses read with heads covered; confirm the convention sentence matches what is drawn.
Erase extra marks and keep only two eyes and one mouth so pose and expression stay the focus.
Set one limb length for the series and keep it, changing only angle unless a bend is intended.
Keep eye and mouth marks large enough to sit clearly inside the head circle.
Draw the ground line first and align every foot or hip point to it.
Separate joint circles are not needed. The basic figure uses straight limb lines, while the seated pose uses two connected segments per bent leg. A leaned running spine remains one straight segment. Keep those exceptions explicit rather than adding extra joint marks.
Yes, if you apply them consistently and can explain what each shape means. The rubric accepts valid alternatives, not one universal answer.
Two or three figures on one ground line is enough to show pose and expression contrast without clutter.
Choose a size that fits your paper and keep it consistent. Any number you pick is a hypothetical example for your own sheet, not a standard.