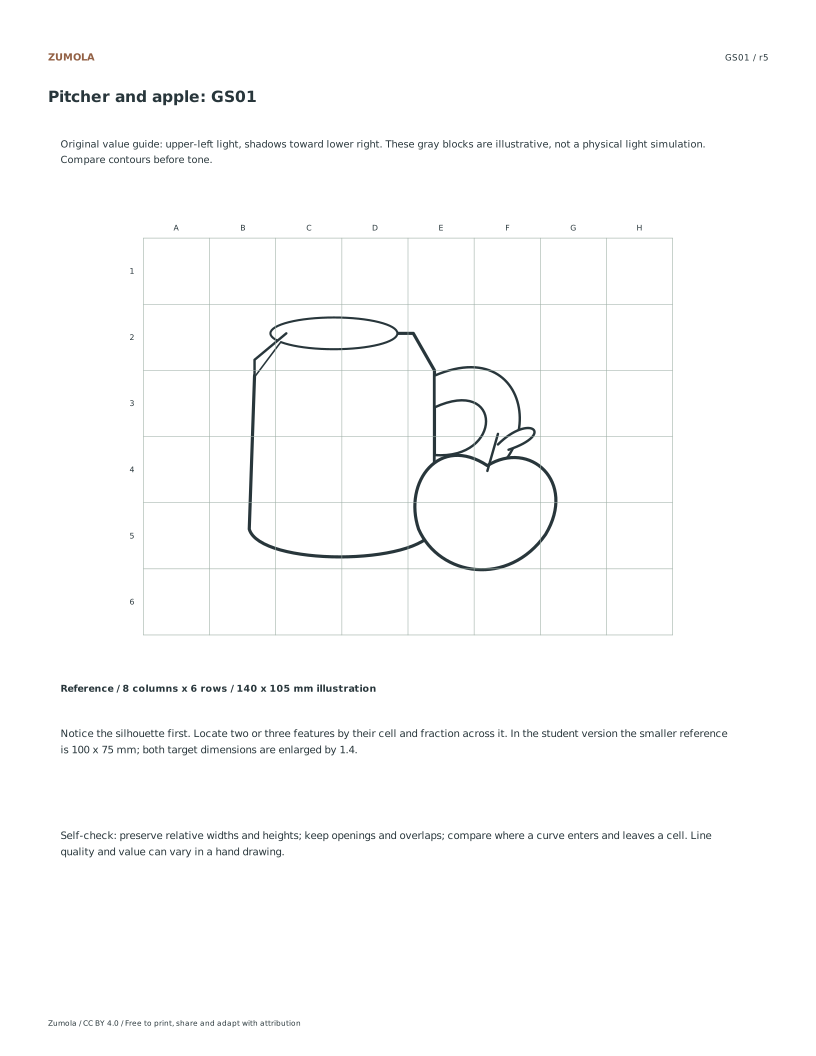
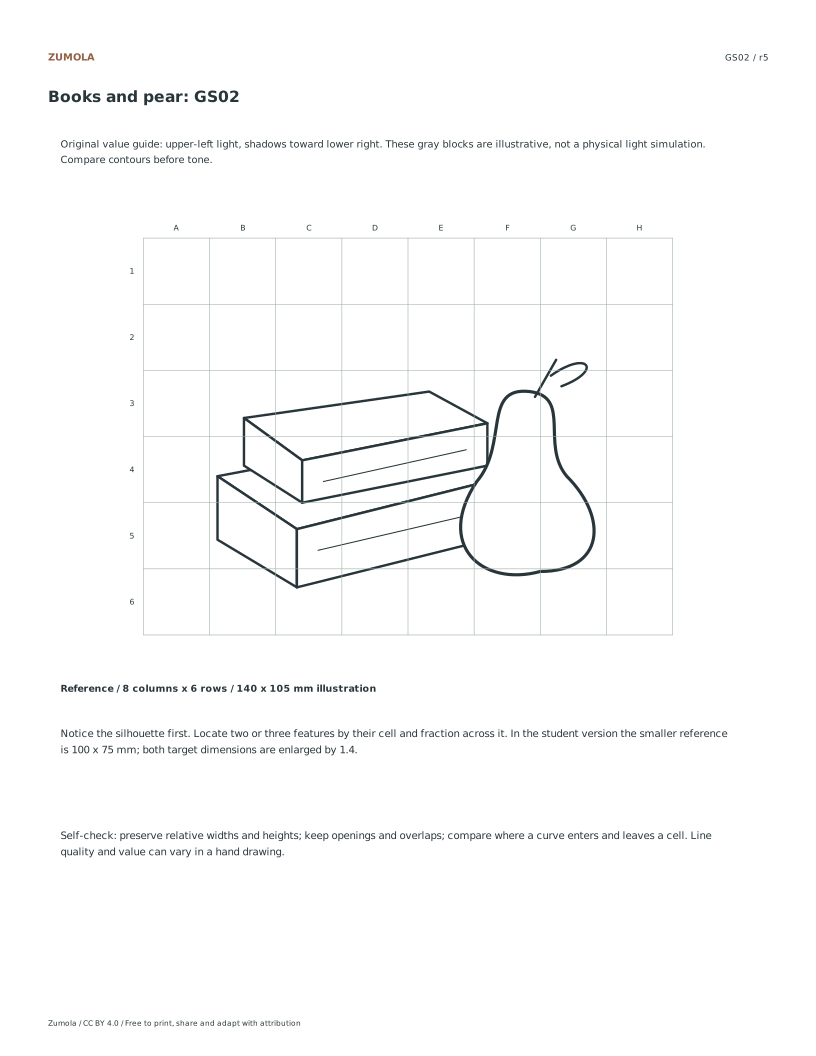
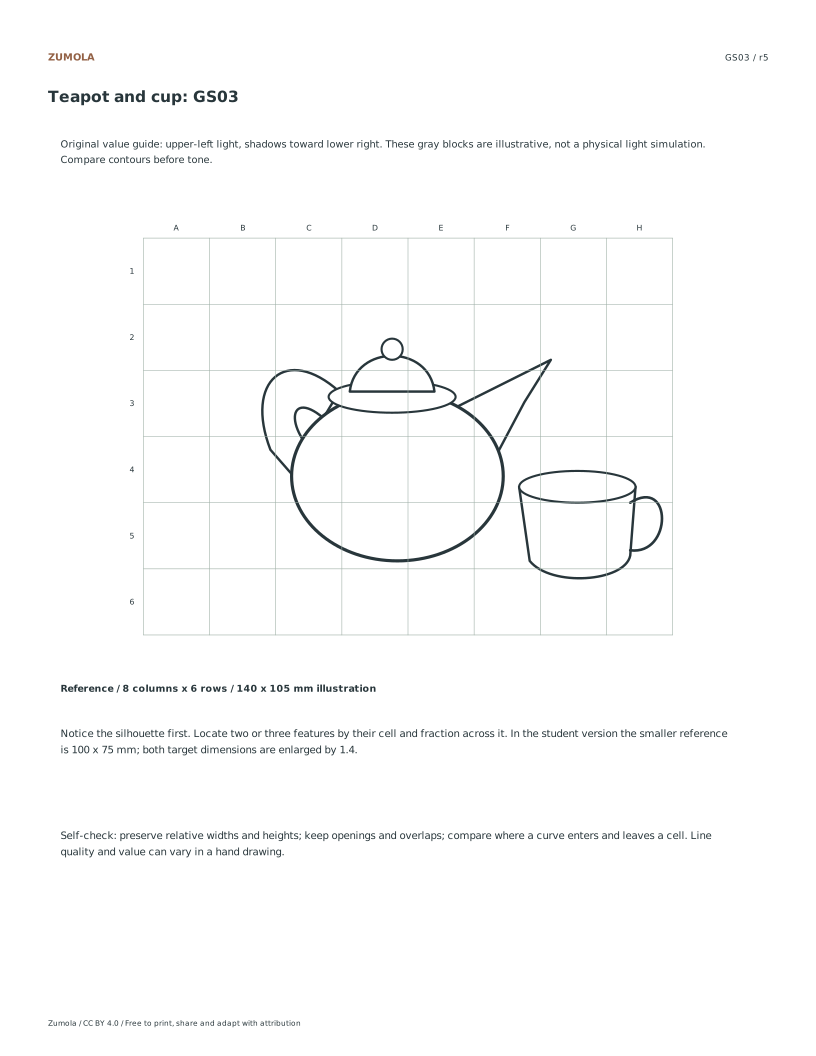
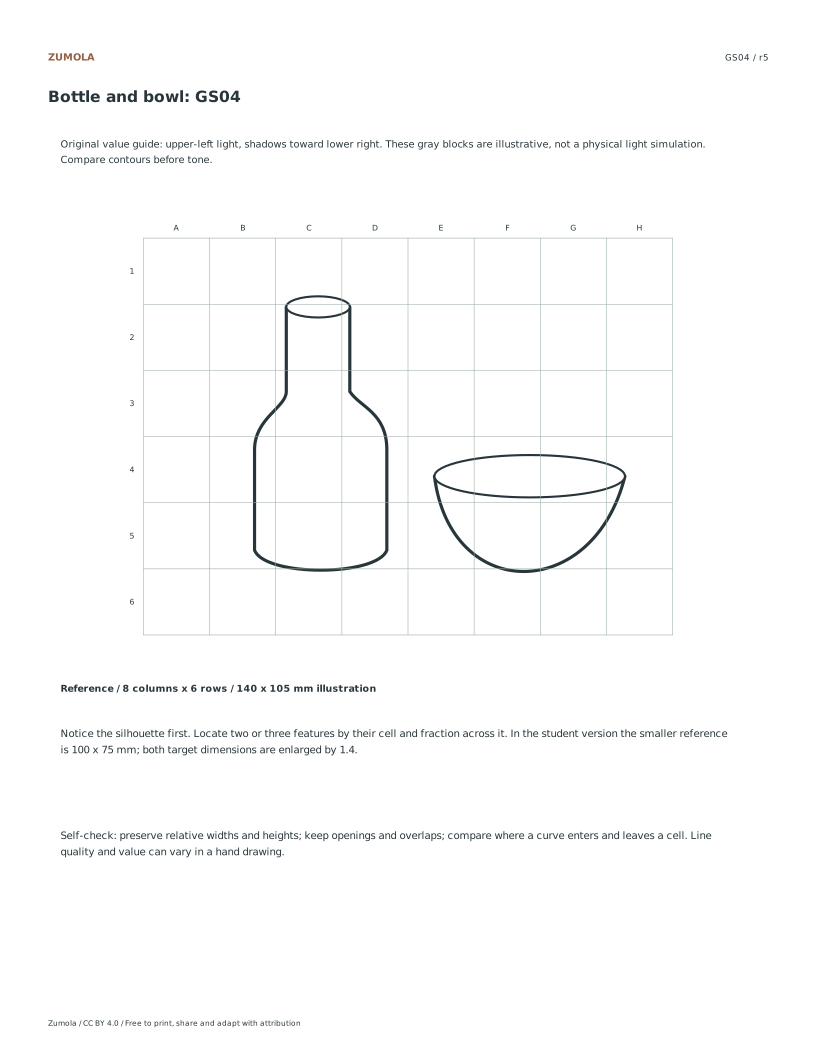
Still life grid drawing. Contour first. Then value.
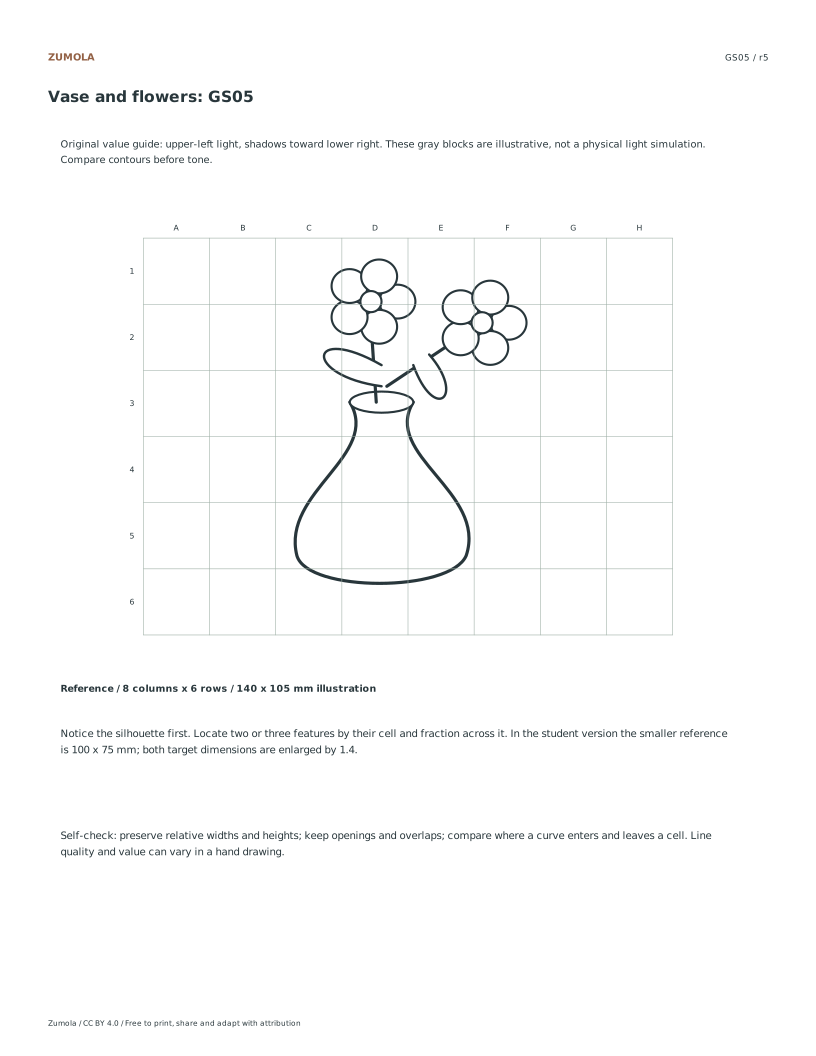
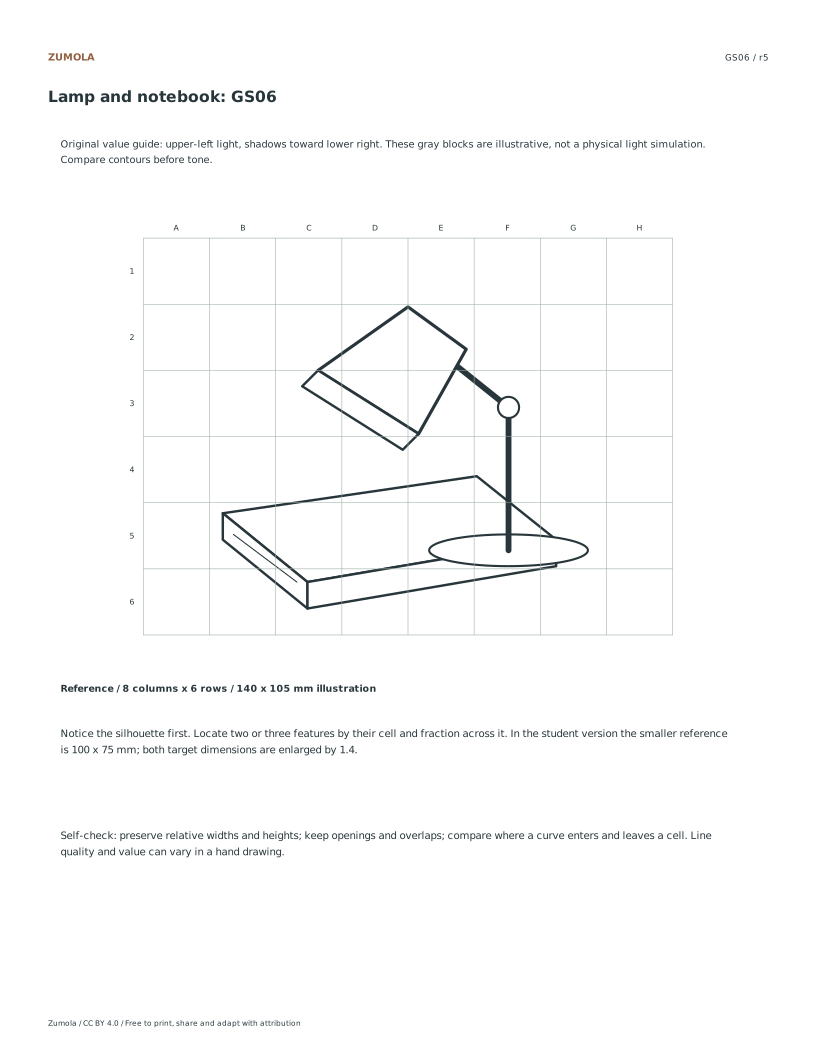
Compare line and illustrative value references from six arrangements. Place contours and open gaps before applying the same enlargement to tone shapes.
6 original still lifes. Line + value + practice + answers.
A reference, a task and a way to check it
Compare line and illustrative value references from six arrangements. Place contours and open gaps before applying the same enlargement to tone shapes.
Choose US Letter or A4 for prepared downloads. Original PDF and SVG files, worksheets and reference answers are free without signup. Collection packs contain the same individual pages in order.
Choose your paper and download
Download paper size
Every worksheet and answer is free. No signup.
The complete collection
Keep practice and answers separate.
Use the student pack first, then compare the reference or answer. Packs are PDFs; individual sheets below also include editable SVG files. The paper choice applies to every download.
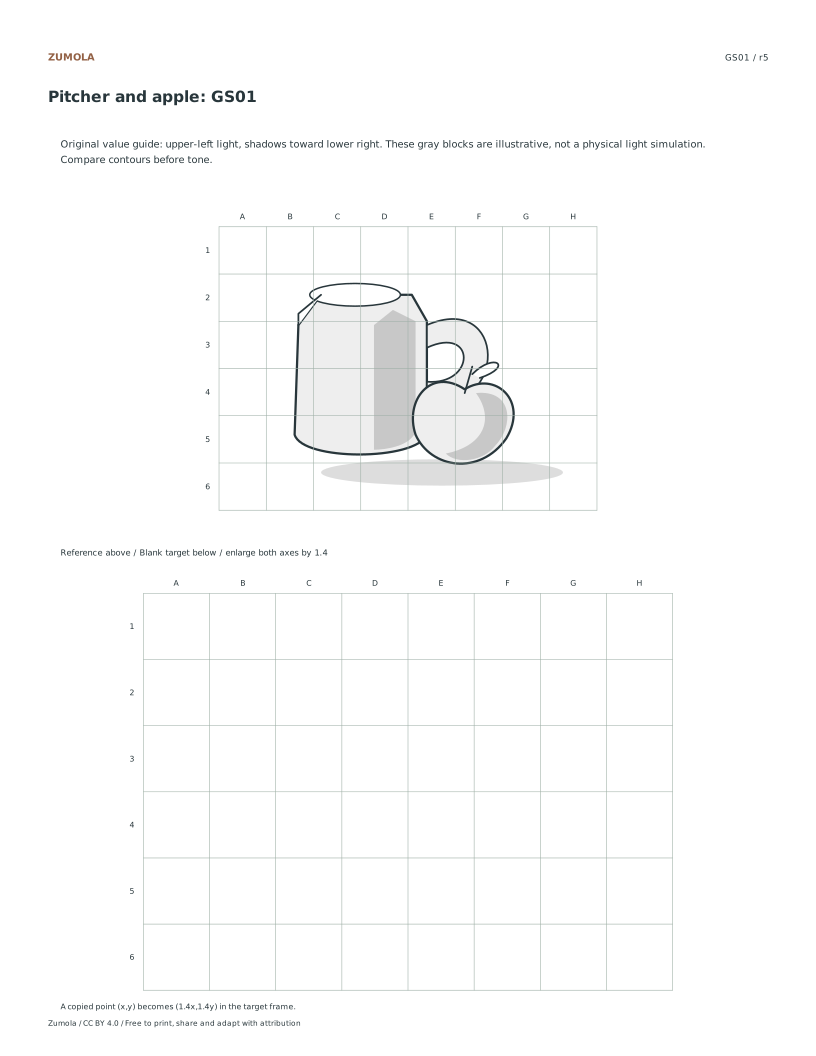
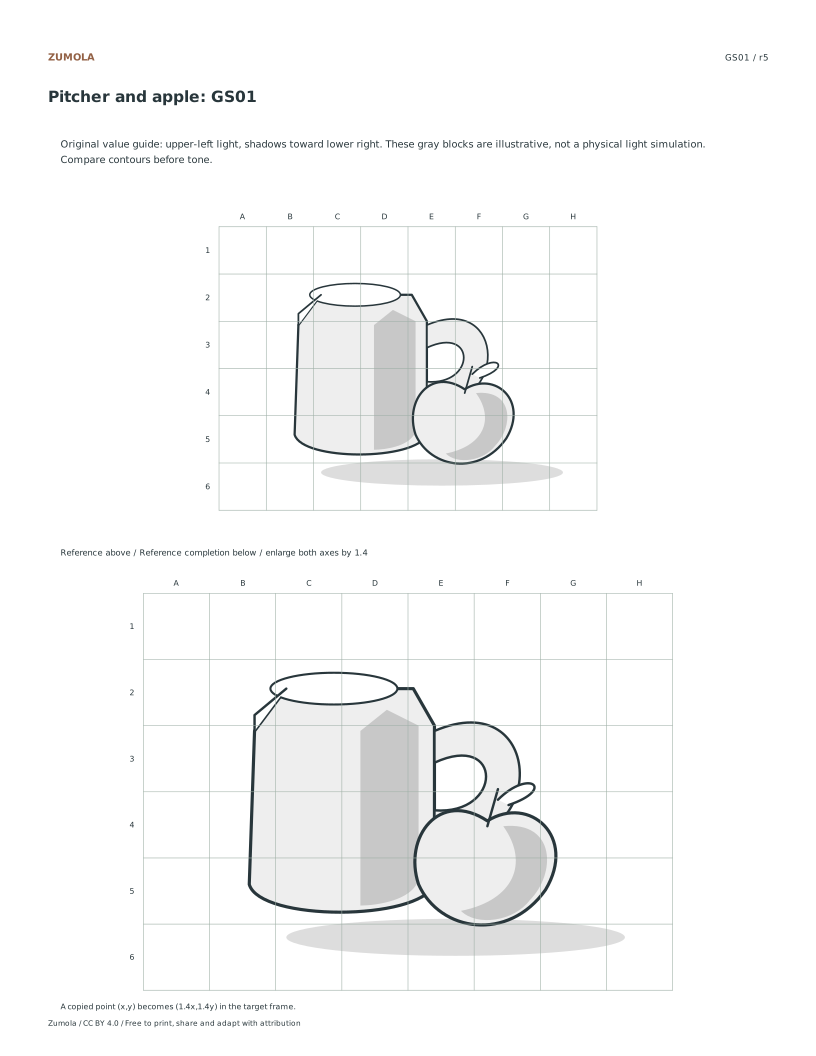
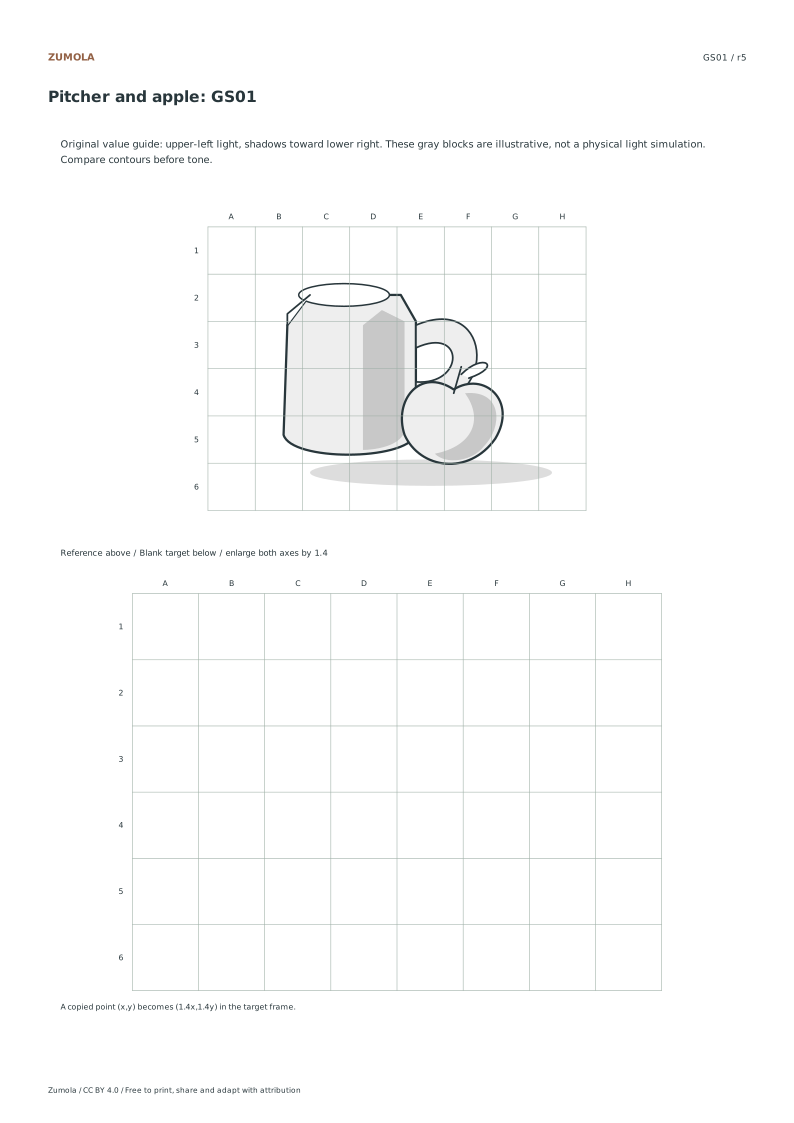
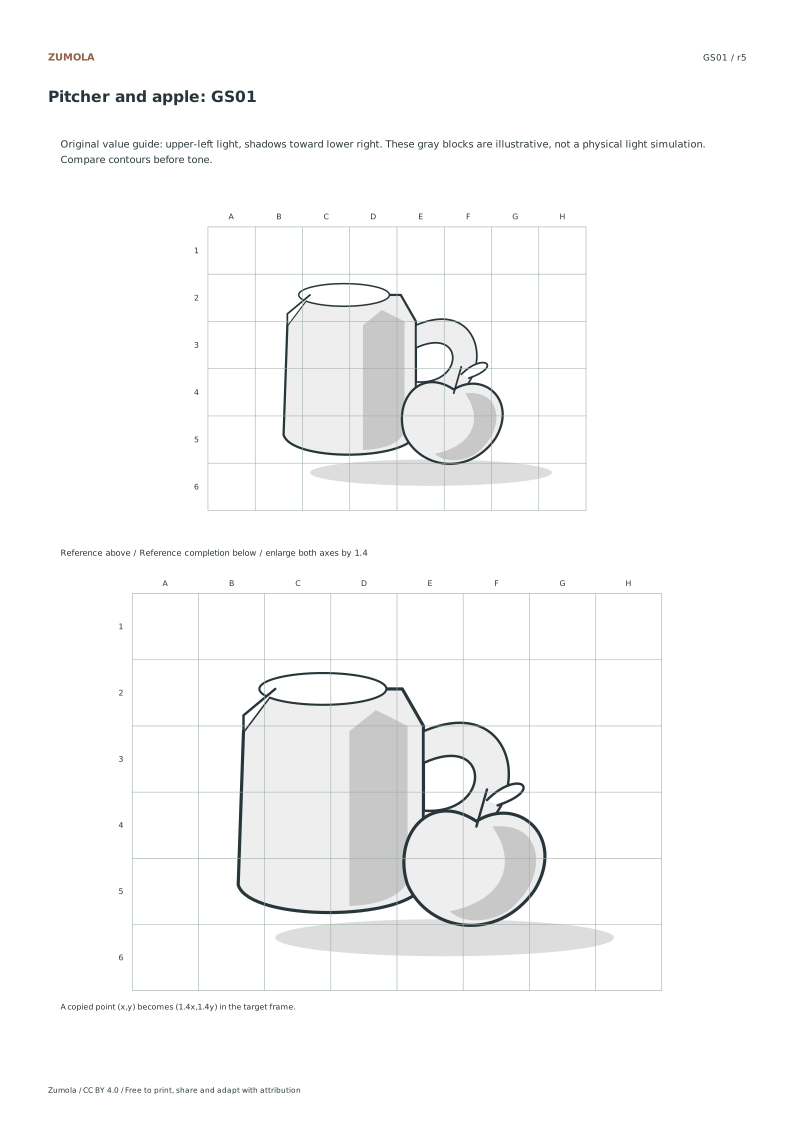
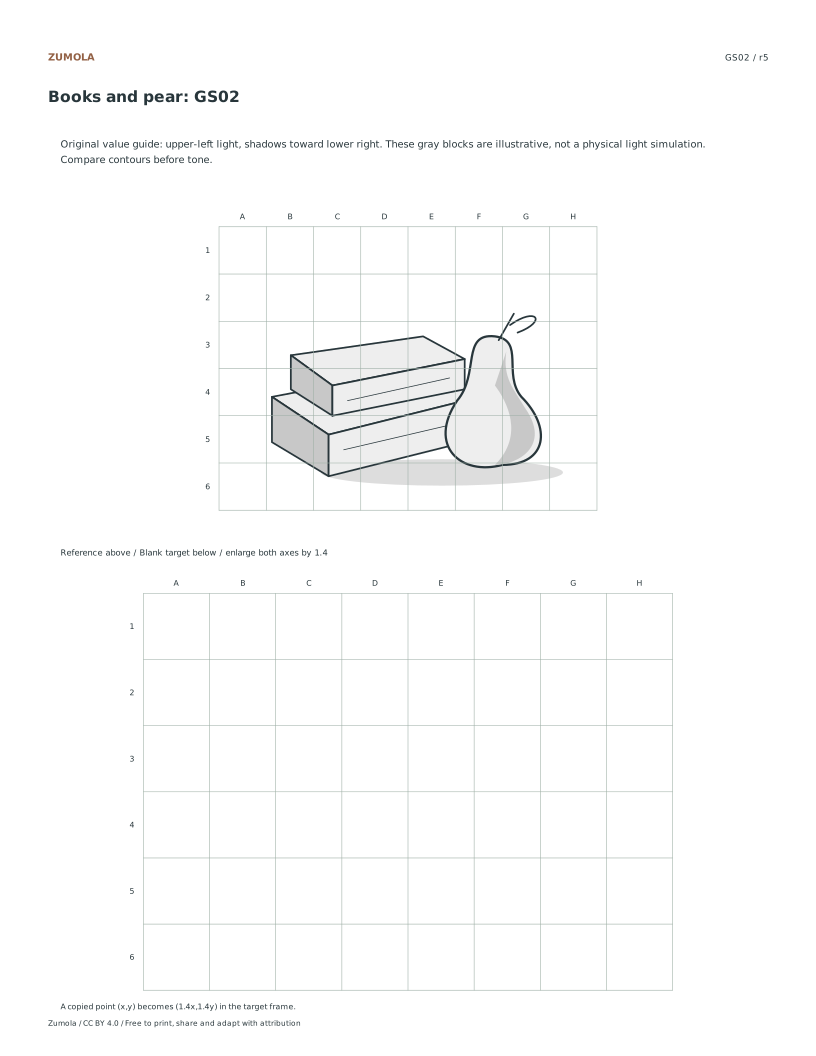
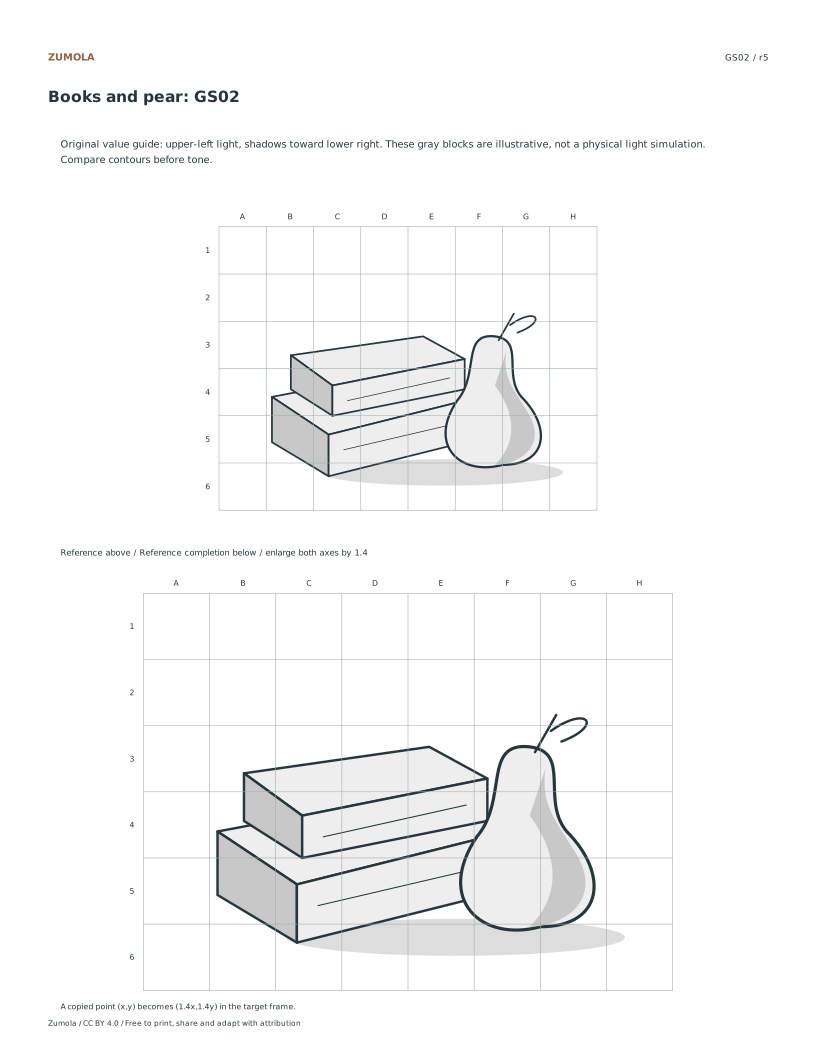
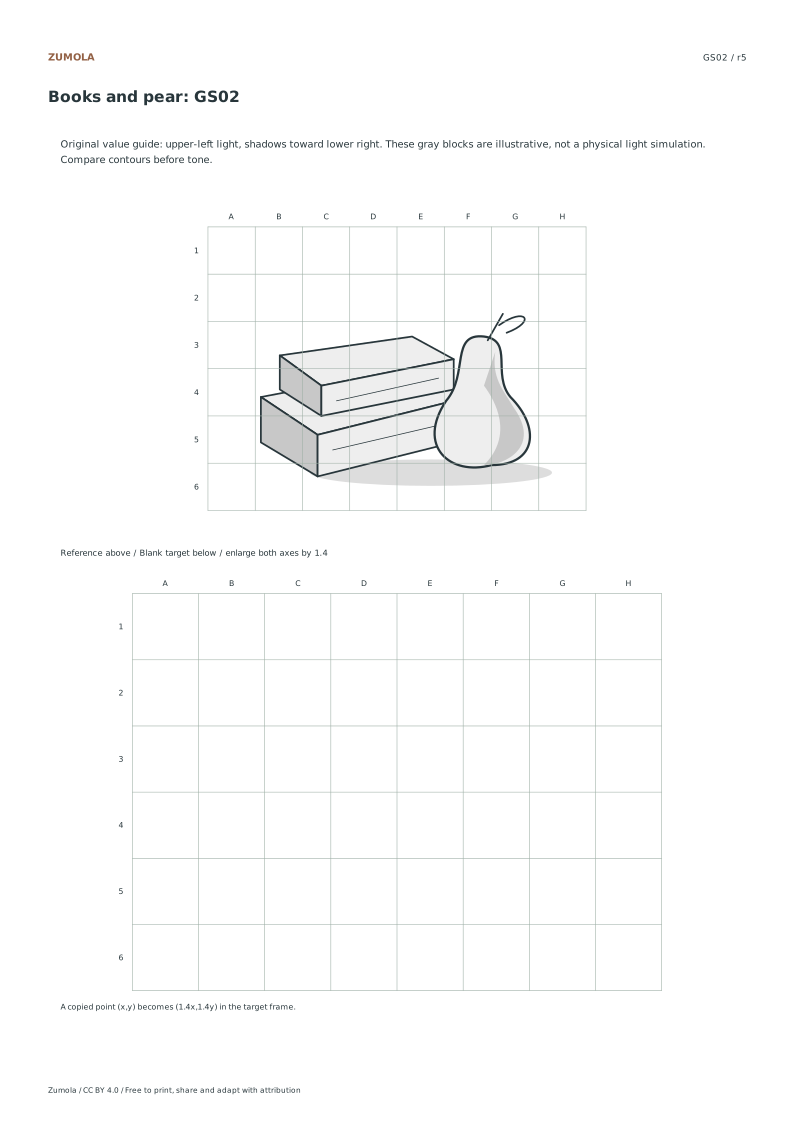
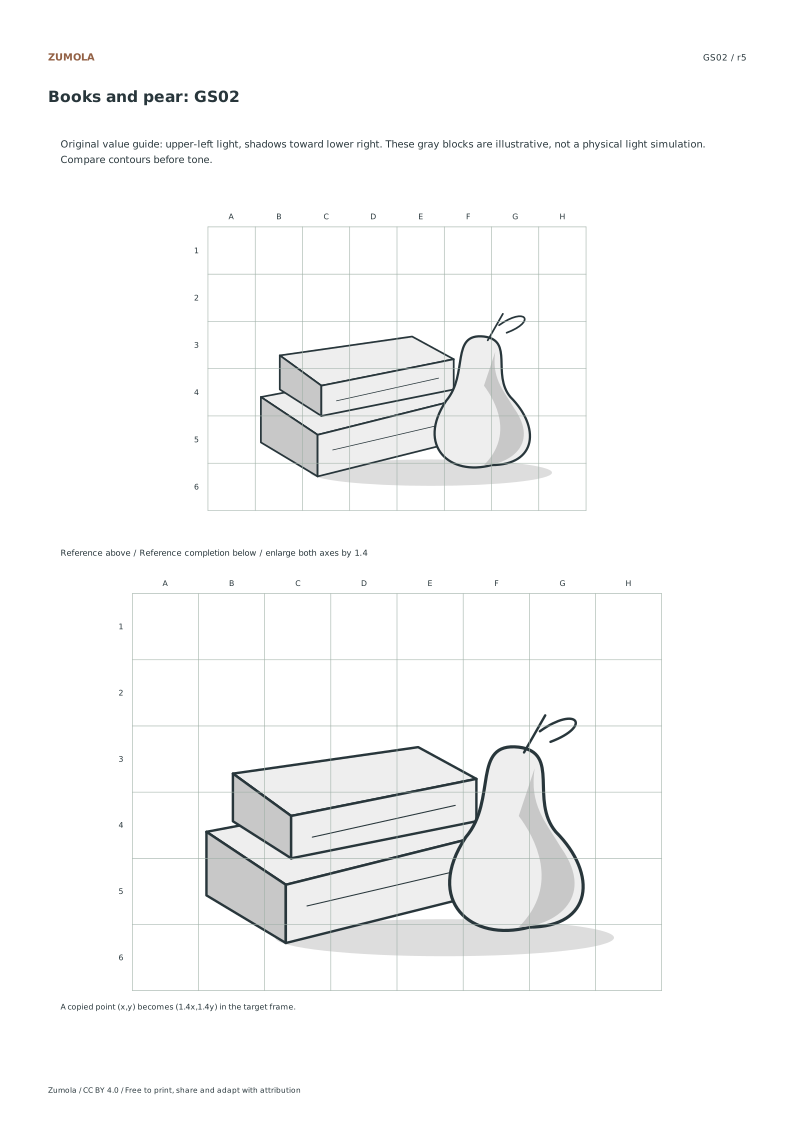
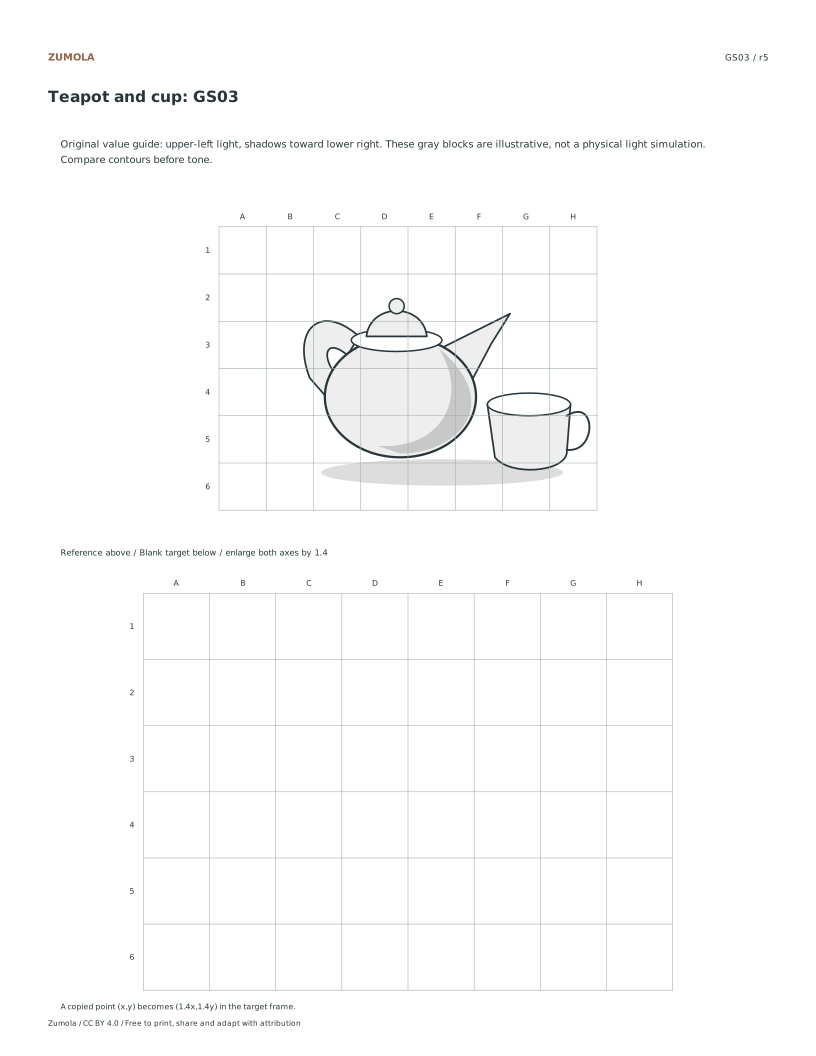
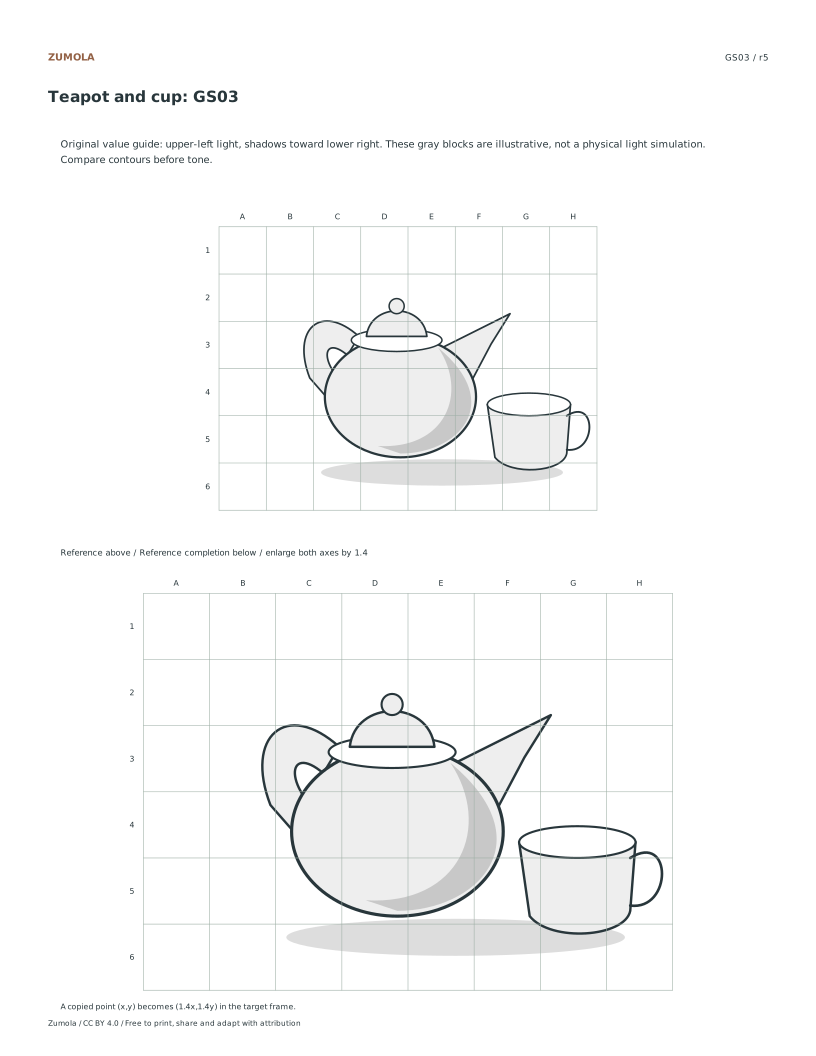
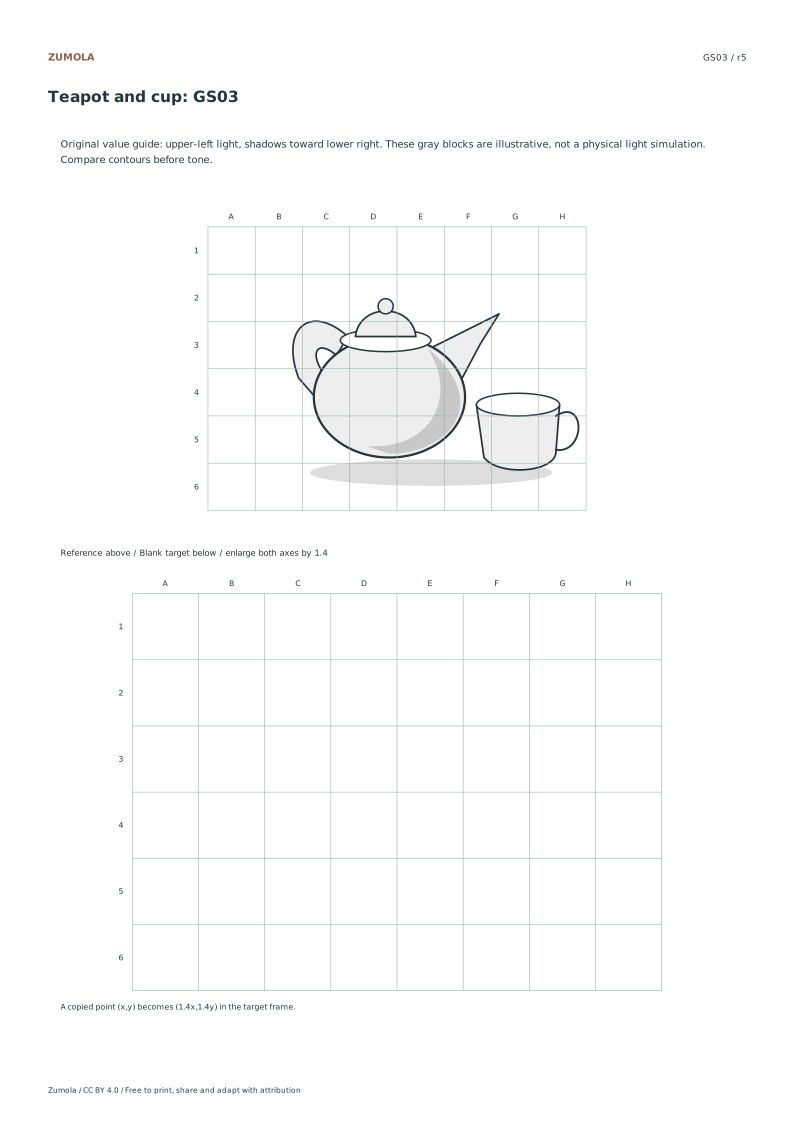
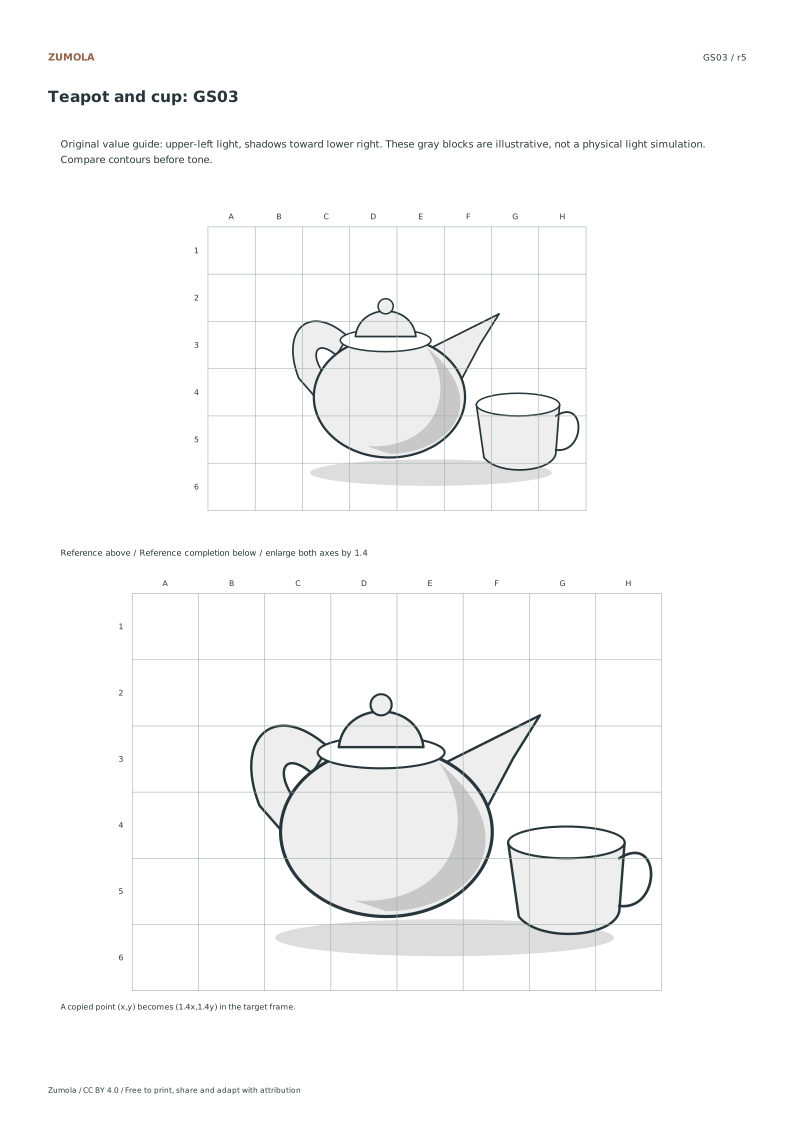
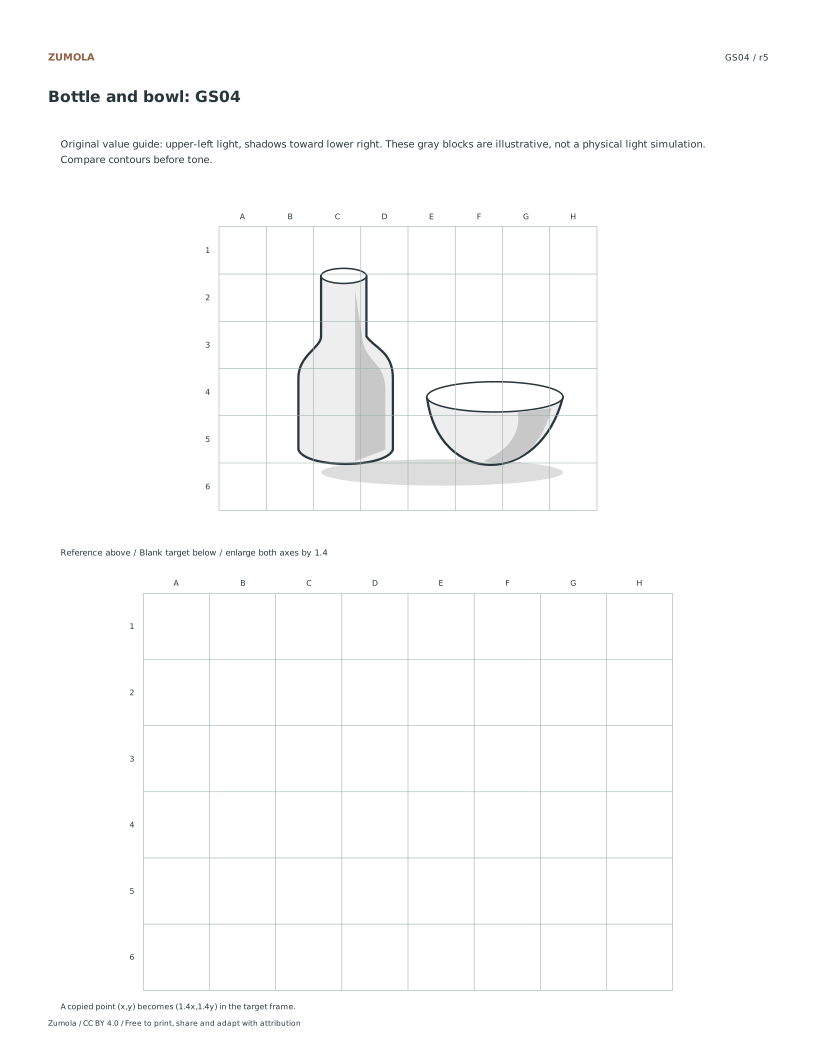
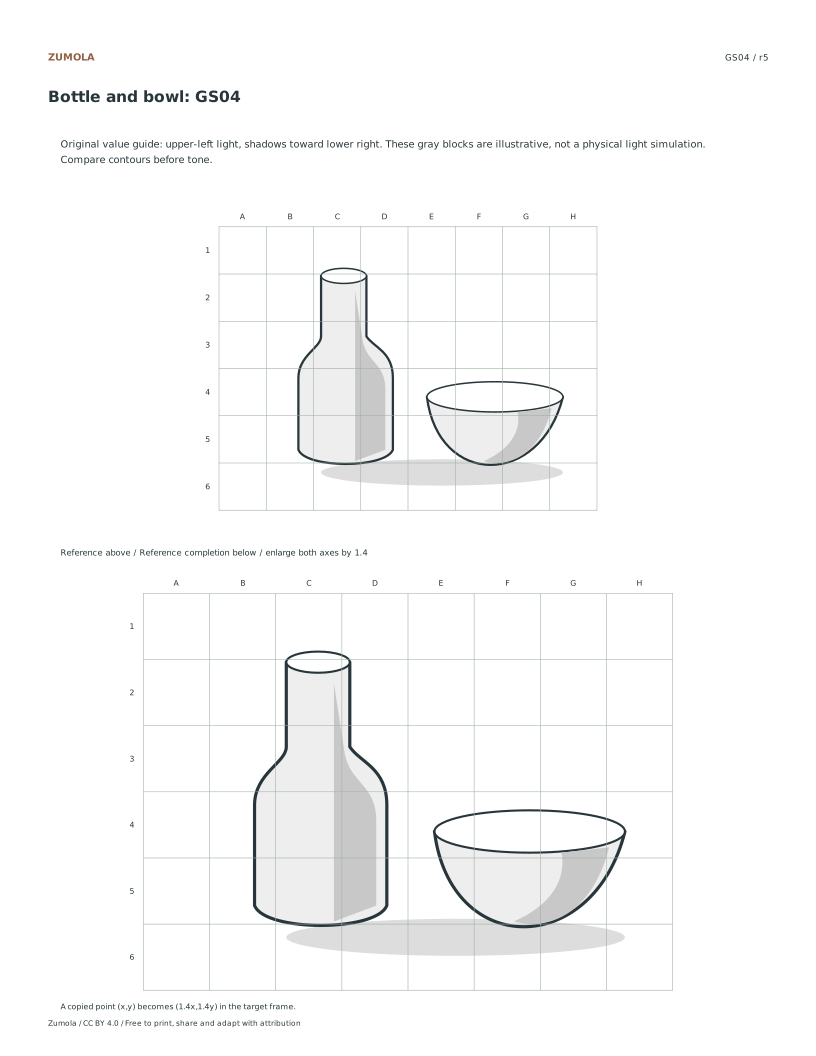
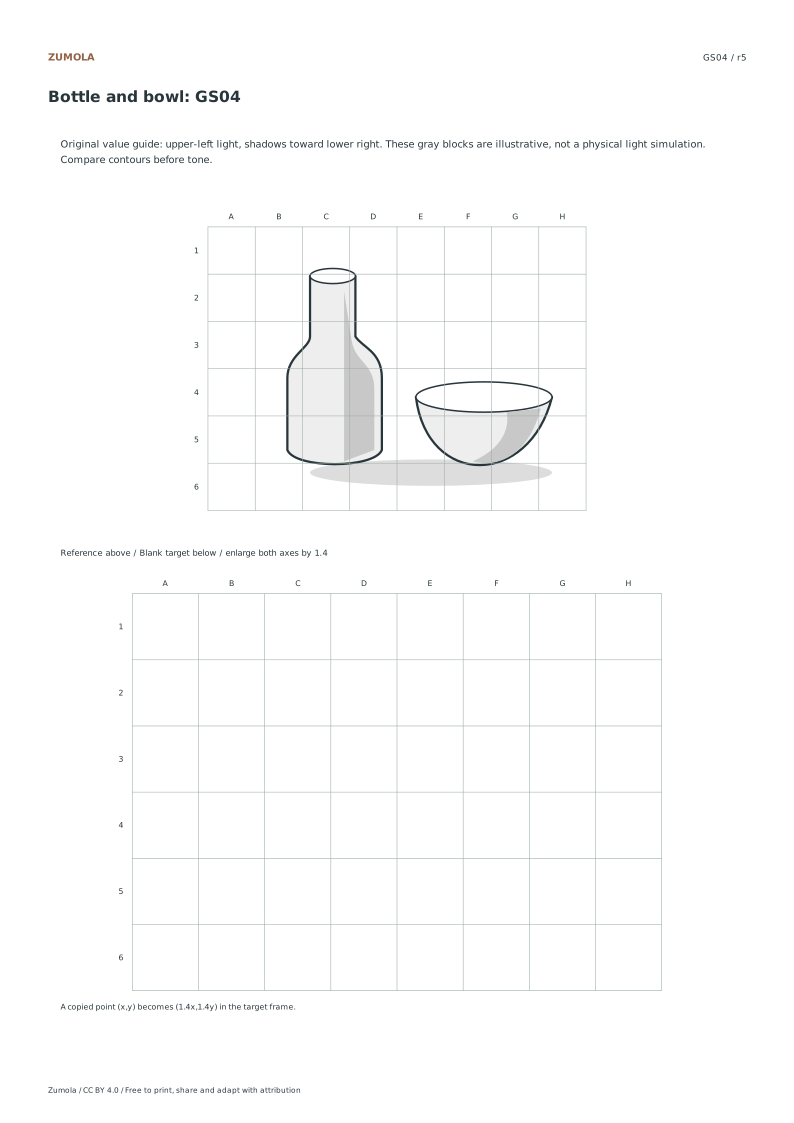
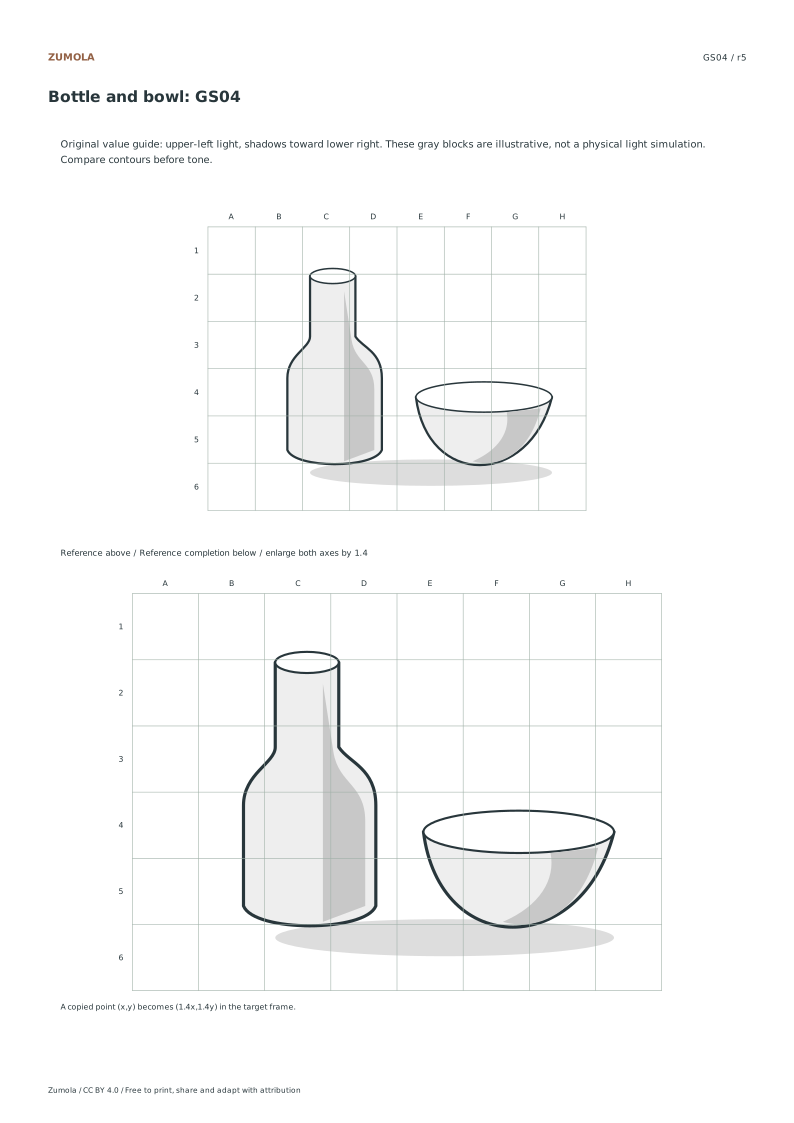
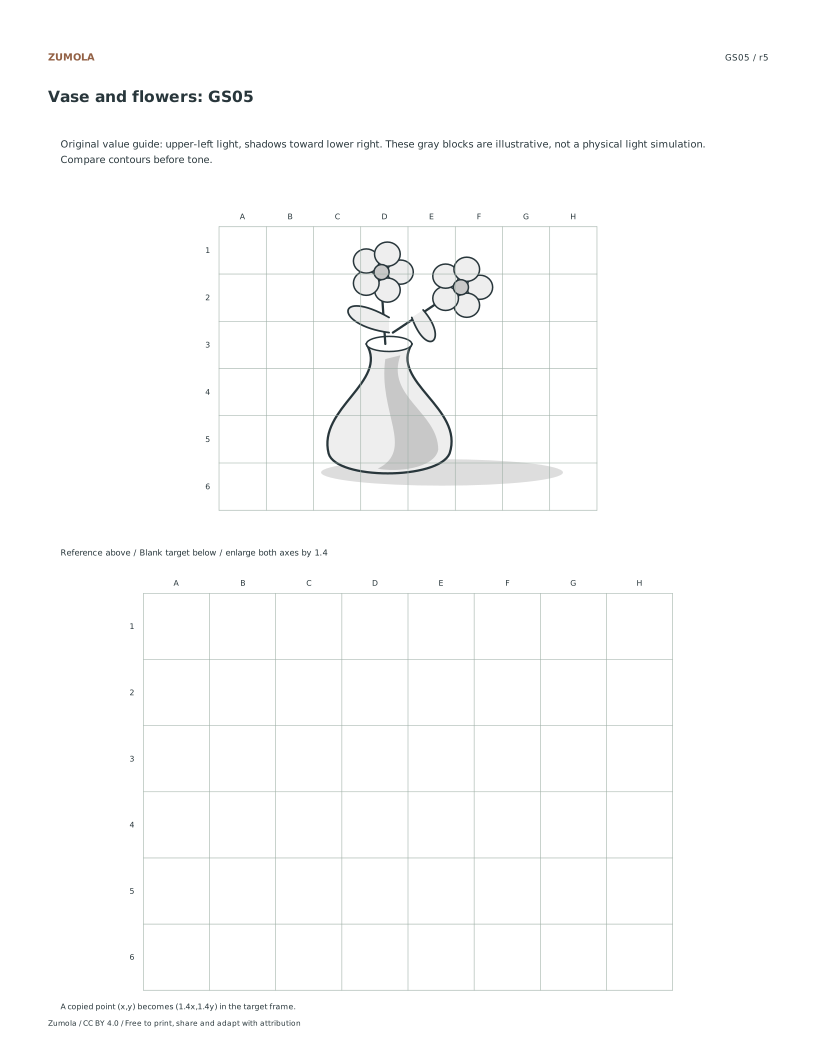
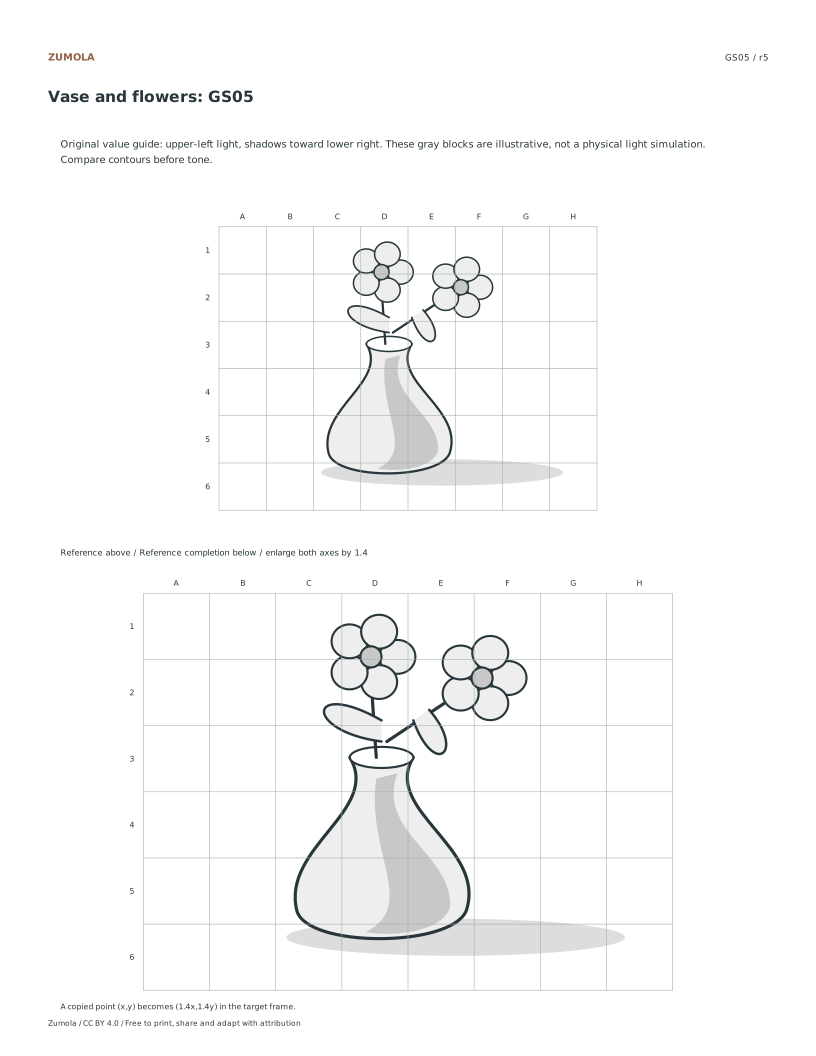
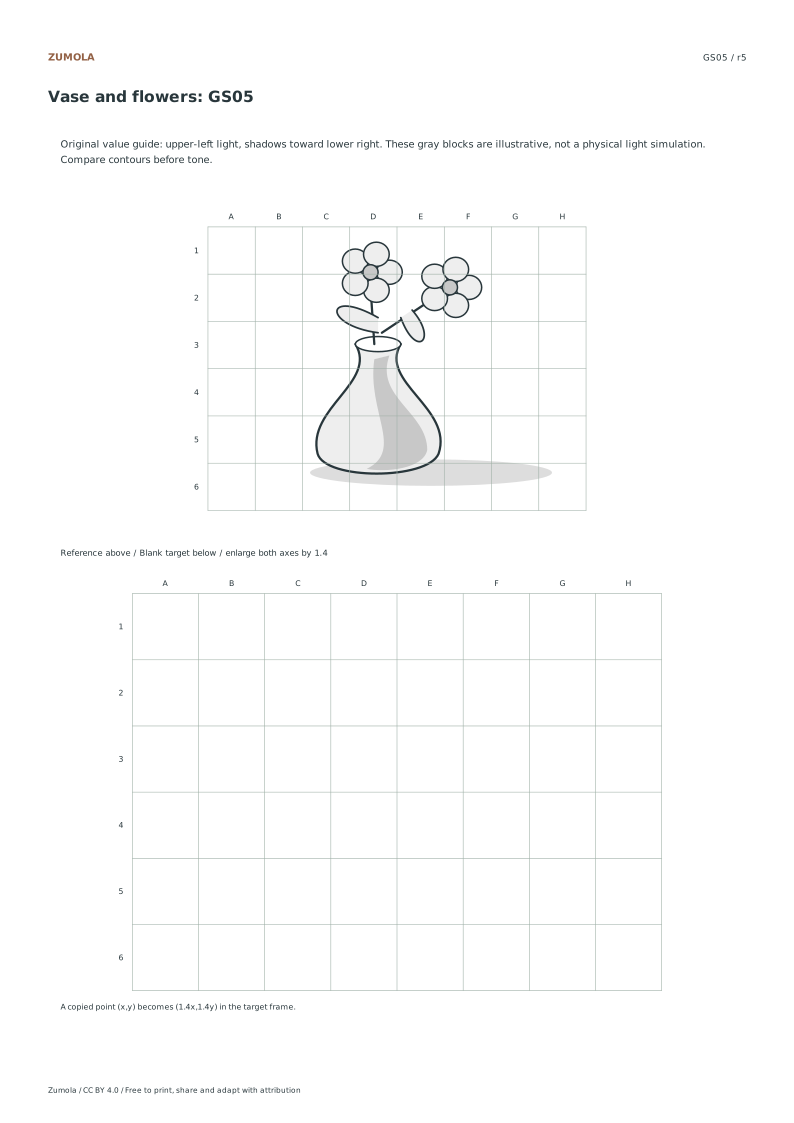
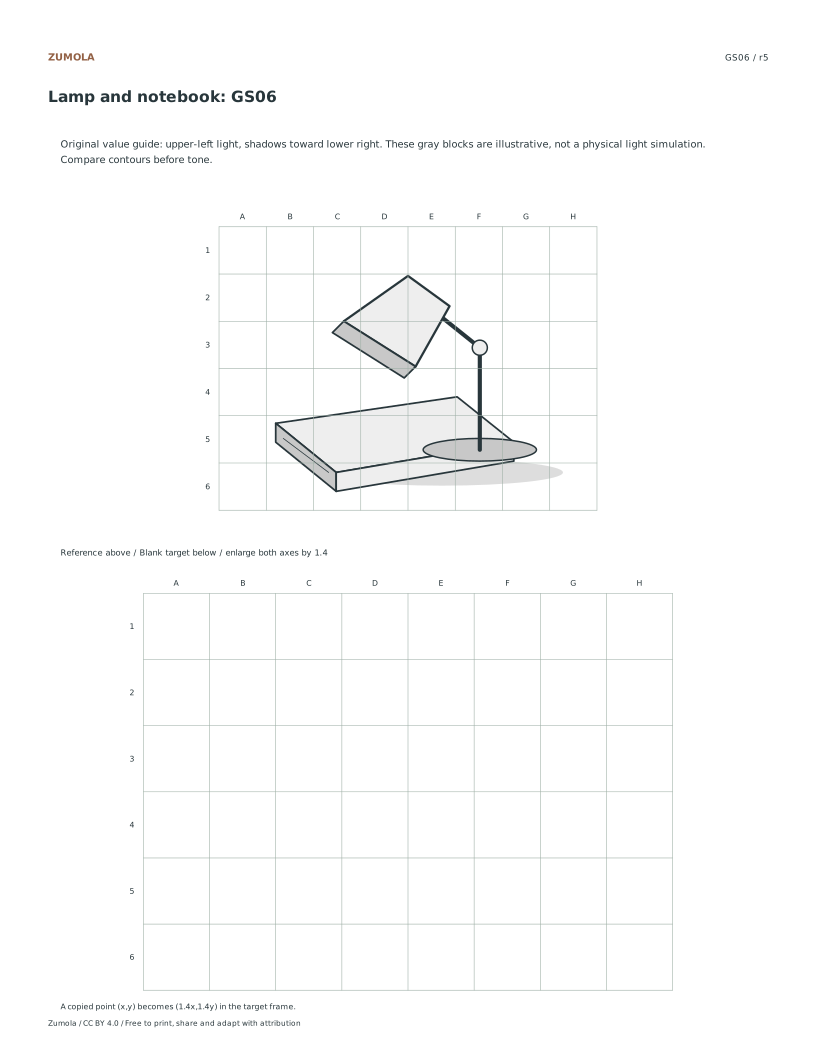
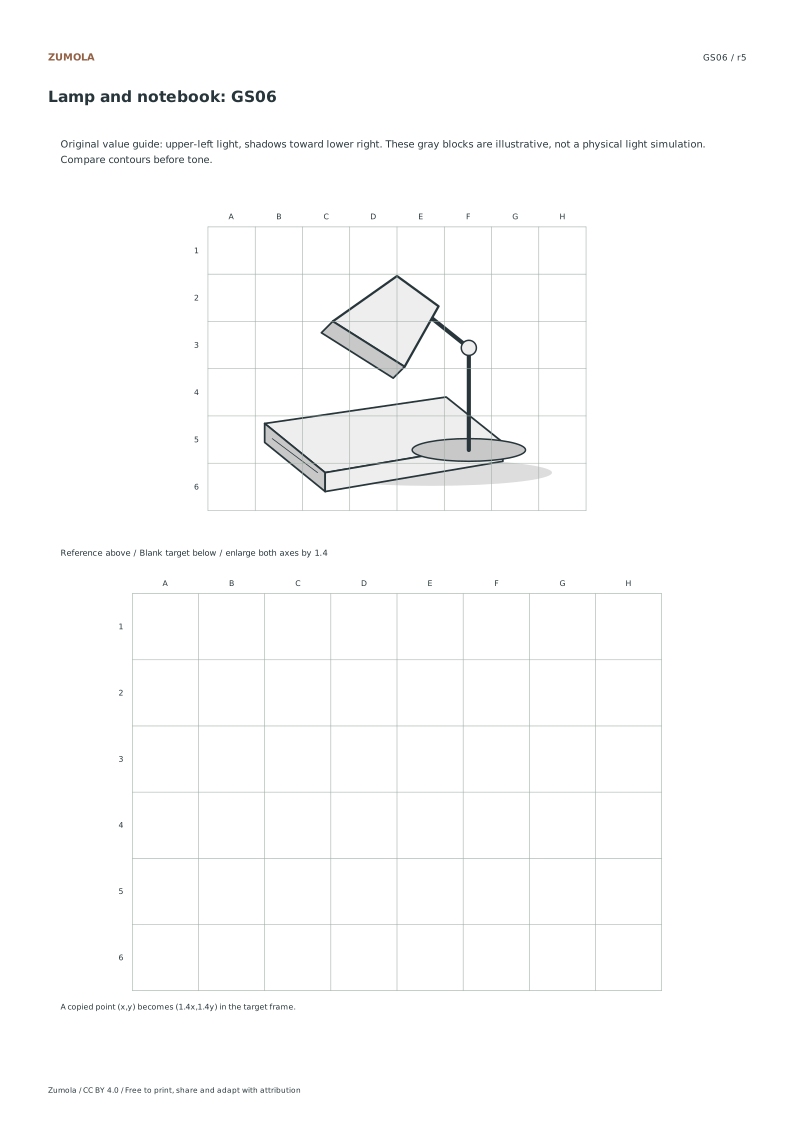
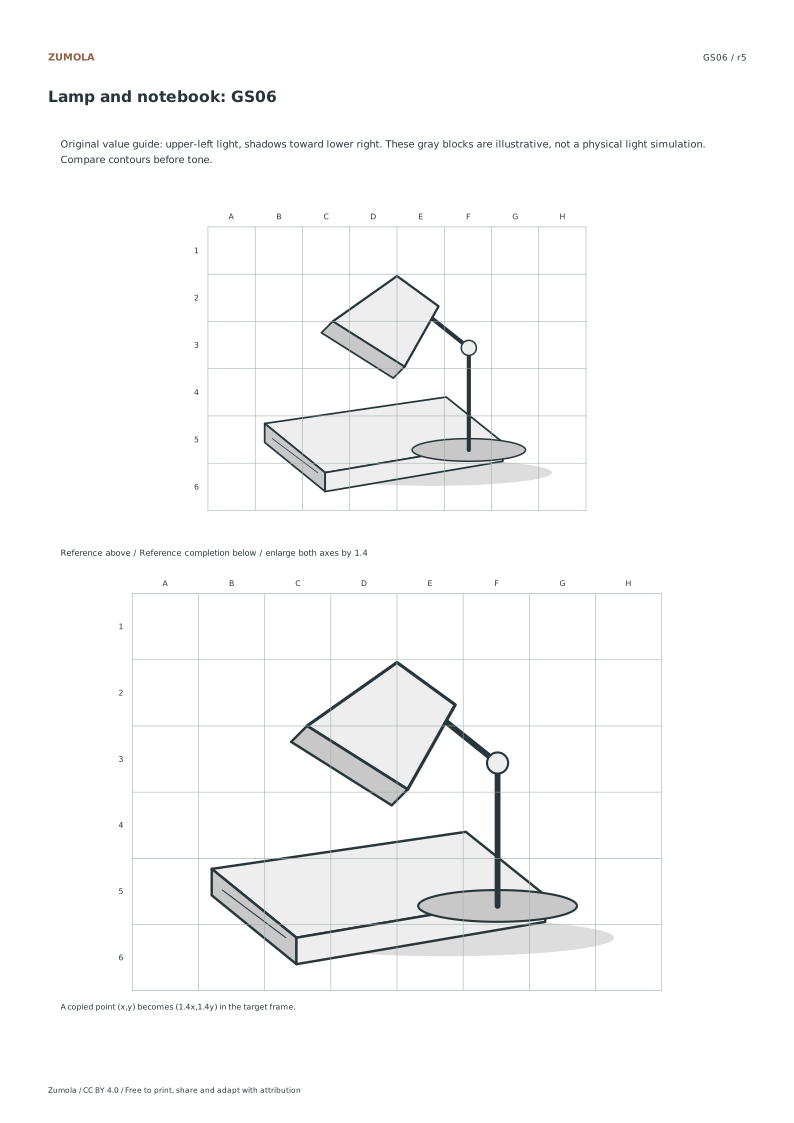
On every student page, the top reference uses 8 × 6 cells at 12.5 mm per cell, for a 100 × 75 mm illustration. The lower target uses the same number of cells at 17.5 mm, giving 140 × 105 mm. Both length ratios equal 1.4. A point halfway across a reference cell belongs halfway across its matching target cell; row and column locations do not change.
Use the student pack for attempts and keep the completed-reference pack separately. Each pack repeats its individual pages rather than adding more subjects. Compare the outer silhouette first, then two or three internal landmarks and the gaps between them. A hand rendering can differ in line quality while retaining the mapped relationships. The supplied drawings are original stylized studies, with no photographs, identified portrait subjects or copied character art.
Read line and value as separate layers
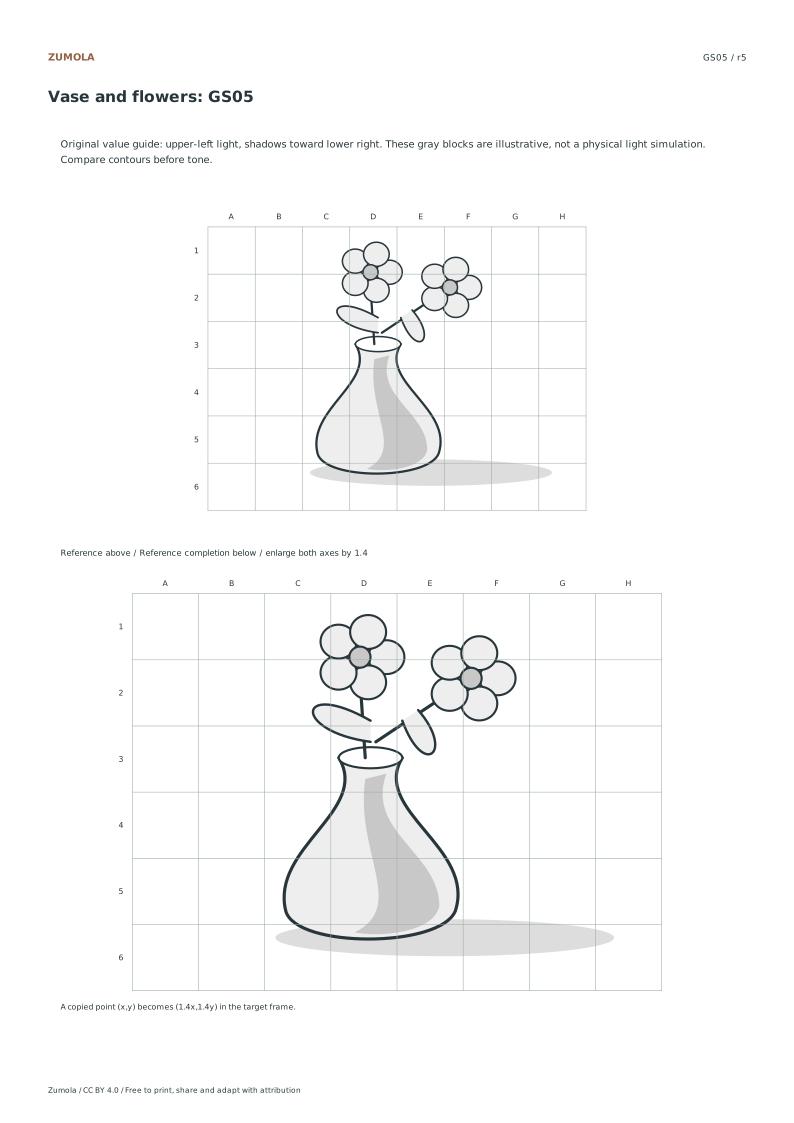
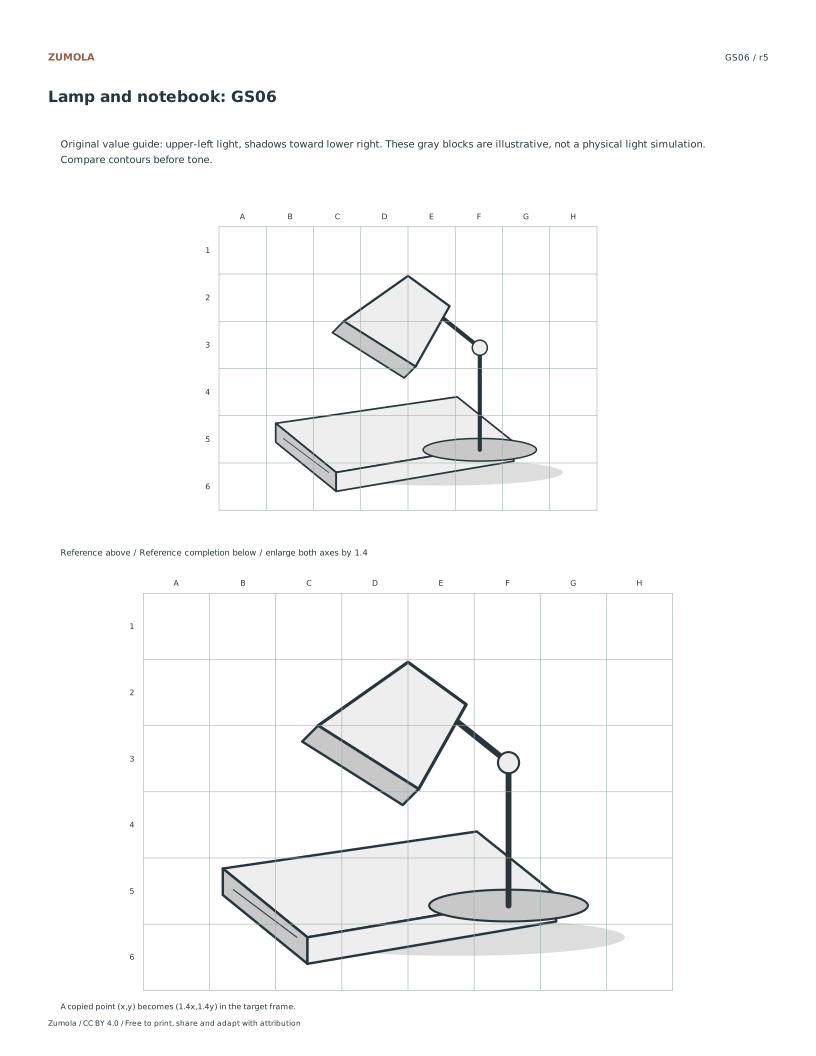
The line-reference and value-reference files retain the same structural contours. The value guide uses three neutral gray fills on white paper, with a stated upper-left light direction and shadows extending down-right. These are illustrative blocks rather than a photorealistic light calculation. Follow an overlap in the line sheet before copying its tone in the student frame.
Work through the page
Setting Up the Grid System Choose a student sheet to see the smaller 100 × 75 mm reference and larger blank 140 × 105 mm target together. These are illustration-frame dimensions, not the dimensions of the paper itself. Both frames have eight columns and six rows, with cell sizes of 12.5 mm and 17.5 mm. Begin with an object’s overall width and height and then locate a gap beside it. The line-reference version strips away the value fills while keeping the structural contours. The value-reference version uses three illustrative gray tones on white paper, so you can study the arrangement before adding tone to your copy.
Applying Value Blocks Correctly When filling in the illustrative value blocks, remember that the light source is positioned at the upper left. Cast shadows should consistently fall toward the lower right of each object. These blocks are not intended to simulate photorealistic lighting or replicate photographs. Instead, they serve as structural guides for understanding form. Use the three-level grayscale references provided in the same path geometry to match tones accurately. Focus on distinguishing structural overlaps from accidental lines that might appear to cut through foreground objects. This approach helps maintain clarity in the six distinct arrangements, such as the pitcher with apple or the teapot with cup.
Verifying Structural Integrity Review contours before tones. Use the line reference to locate an overlap, then compare that edge with the value reference. The student model and its completed answer use the same original value geometry; the lower completion is a uniform 1.4 enlargement. Cast shadows extend toward the lower right under the stated upper-left light direction. The gray blocks are an illustrative guide rather than a physical lighting simulation. A hand drawing can vary in texture and mark-making while retaining the object sizes, open gaps and order of overlaps. Compare those relationships instead of trying to reproduce a photograph that is not part of this collection.
Checks that catch common errors
Watch for
Check instead
Placing cast shadows toward the upper left instead of the lower right.
Adjust shadows to fall toward the lower right, consistent with the upper-left light source indicated in the illustrative value blocks.
Confusing structural overlaps with accidental lines cutting through foreground objects.
Review the contours carefully to distinguish intentional structural overlaps from accidental lines, ensuring foreground objects remain clearly defined.
Using incorrect scaling dimensions for the target paper.
Ensure the target paper is one hundred forty by one hundred five millimeters to maintain the uniform one point four enlargement from the source.
Match the file before printing
Print the PDF matching the paper in your printer at Actual size / 100% if you want to retain the millimeter dimensions defined in the file. Turn off Fit and Shrink when those dimensions matter. Uniform resizing preserves relative image proportions and angles but changes physical lengths. Unequal resizing can distort both. SVG editors and browser print dialogs can also change scale, so measure a physical calibration span when the task relies on size.
These files have digital geometry and layout checks. Physical printer testing has not been completed. Complete a student page before comparing the worked answer or reference illustration. A geometric or counting result can be exact, while a hand drawing can vary in its marks and interpretation. The original resources use CC BY 4.0: credit Zumola, link the license and indicate changes.
Useful answers
Are the value blocks photorealistic?
No, the illustrative value blocks are not photorealistic light simulations or photographs. They are structural guides using three-level grayscale references to help understand form and shadow placement.
How do I check my work?
Use the answer version which shares the same grays and contours as the student version. Check objects and gaps before applying value to ensure structural accuracy and correct overlap interpretation.
What is the scaling factor?
The source image is one hundred by seventy-five millimeters, and the target is one hundred forty by one hundred five millimeters. This results in a uniform one point four enlargement for accurate proportional drawing.
Are the answers and editable files free too?
Yes. Every linked original worksheet, answer, PDF and SVG is free without signup. Individual SVG sheets stay editable; collection packs are PDF files. Analytics consent is not required to use the resources.
Optional Google Analytics helps us understand which free resources are useful. It is off until you allow it. Drawing tools and downloads work with either choice. Privacy details