Reference diagram
LETTER · Download PDF (2 pages)
Free original resources
Learn to draw a ghost in single-weight line art using draped sheet contour construction, with clear steps, common mistakes, and four practice tasks.
Original reference diagrams, four practice exercises and separate worked answers. All files are free. No signup required.
LETTER · Download PDF (2 pages)
LETTER · Download PDF (5 pages)
LETTER · Download PDF (4 pages)
Choose A4 or US Letter for your printer. The reference and answer illustrations are not physical rulers; follow the scale instruction printed on the practice worksheet.
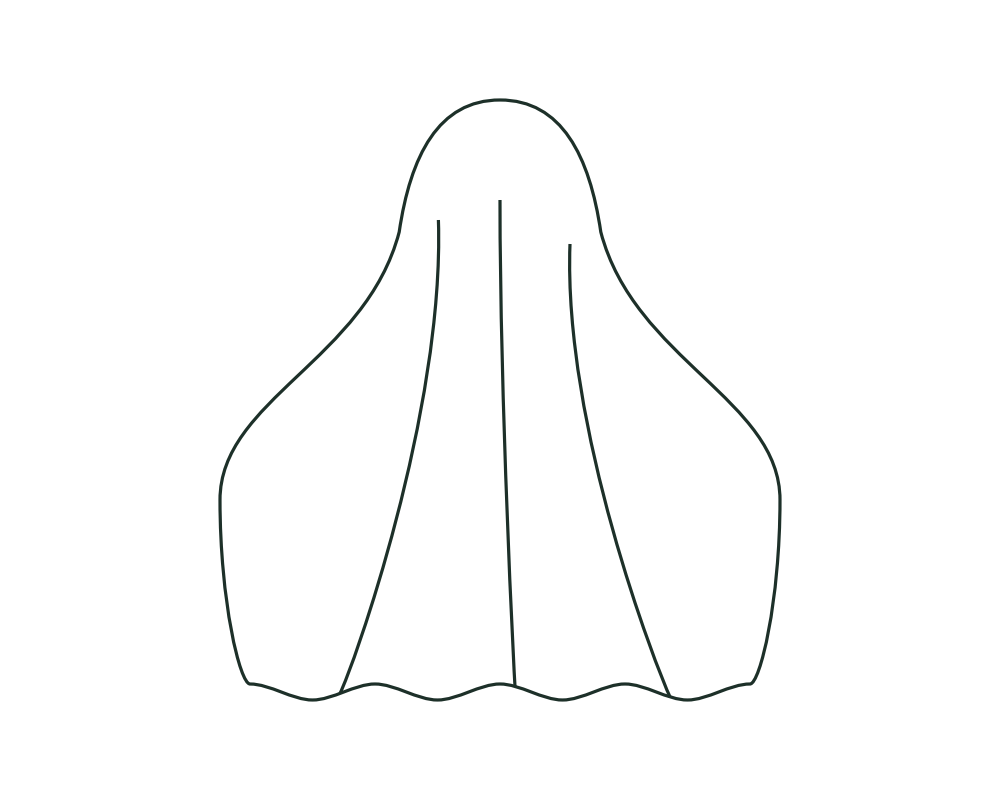
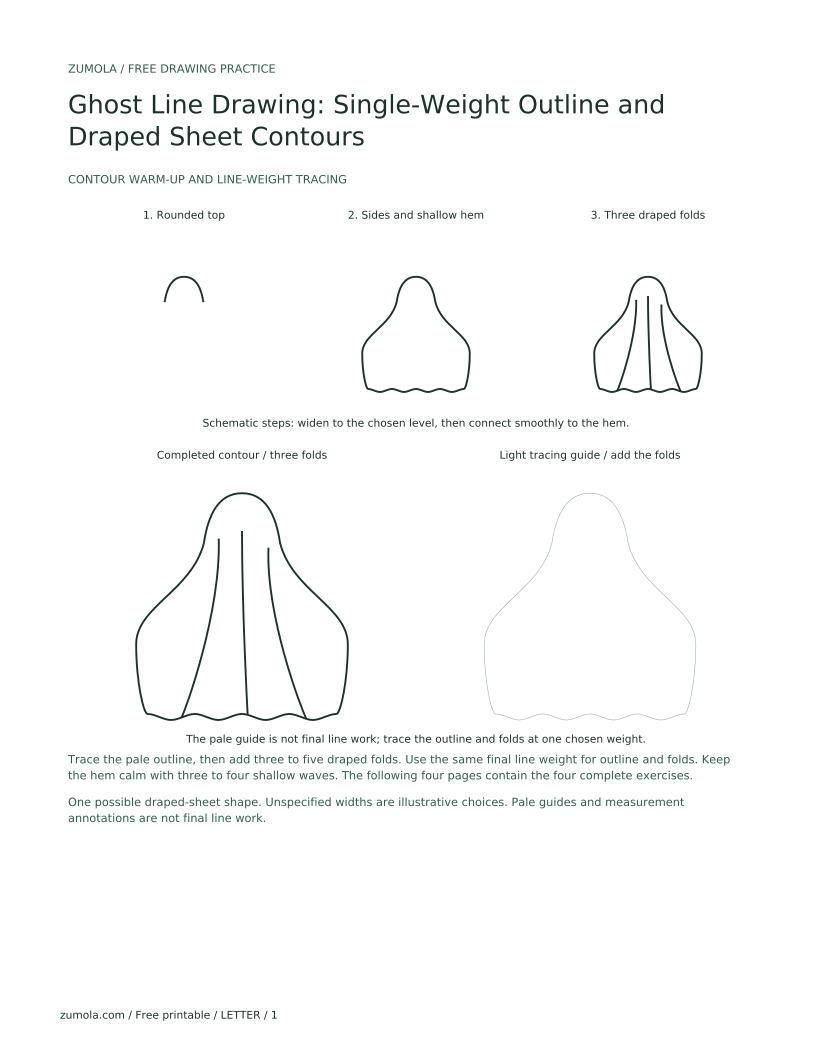
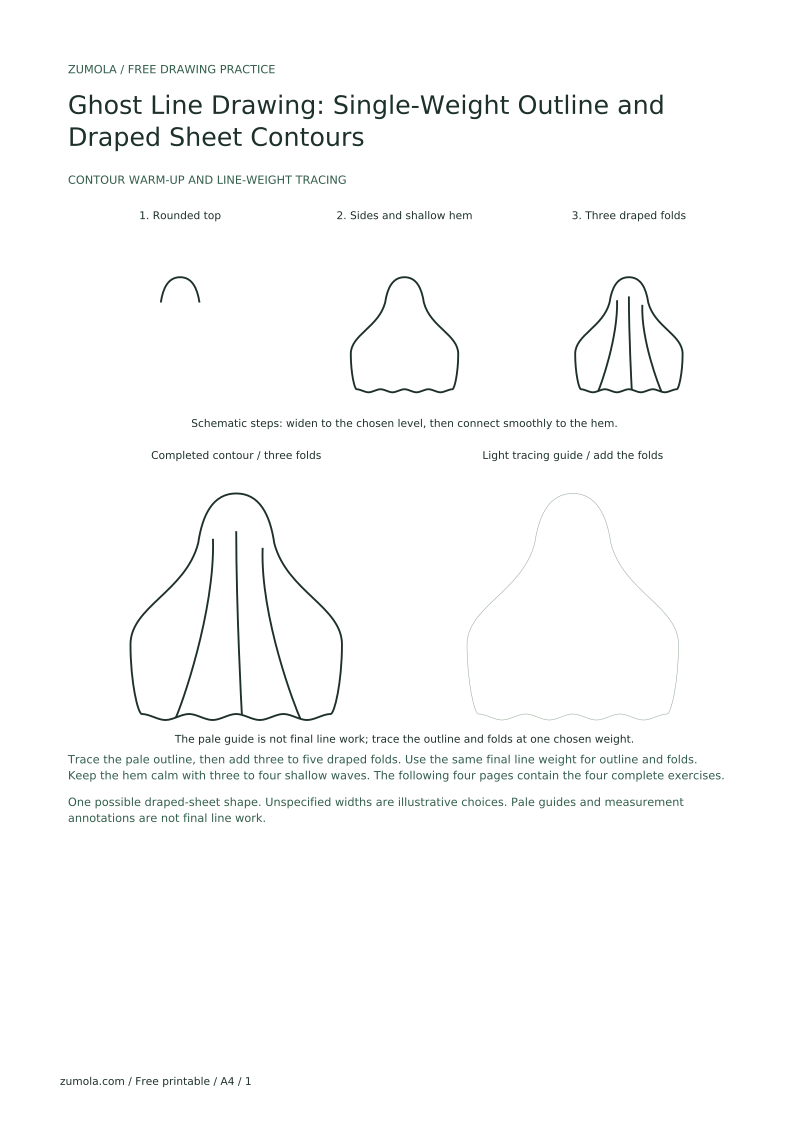
This lesson teaches a ghost line drawing built from draped sheet contours and rendered with a single-weight outline. The goal is a clean, readable silhouette where every line carries the same visual weight and the folds describe cloth falling over an implied form. You will plan the sheet as a set of hanging curves, then commit to one line thickness throughout. The convention is explicit: single-weight means the outline and interior contour lines are drawn at the same thickness, with no shading, hatching, or tapering. Hand-drawn contour shapes vary, so the rubric rewards consistent weight and logical drape rather than one exact silhouette. All measurements below are hypothetical examples; measure your own paper and pen before drawing.
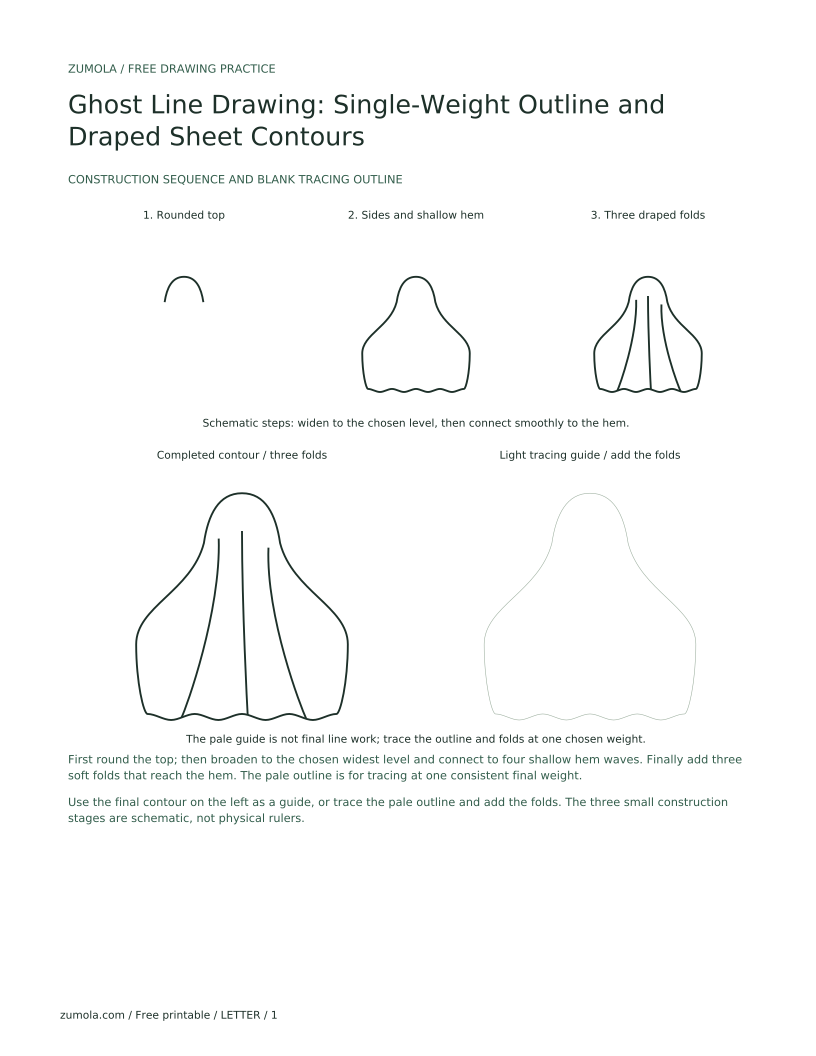
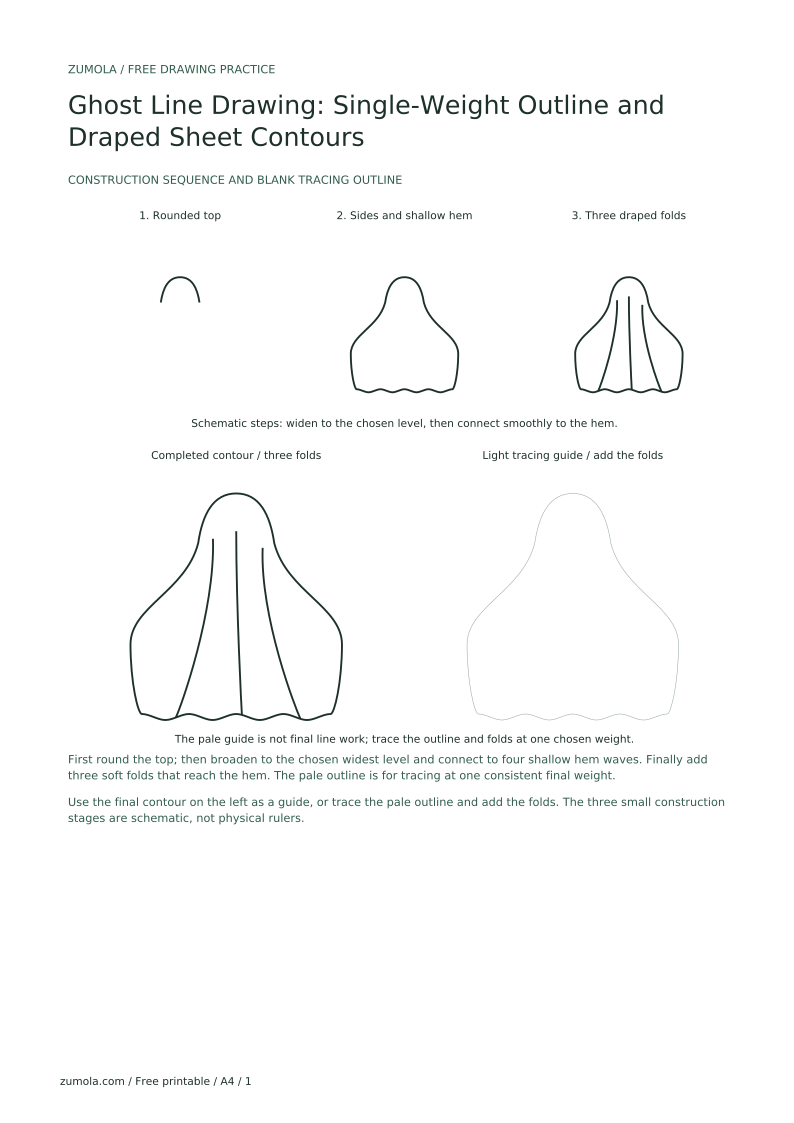
A ghost reads as cloth, not as a blob. Begin by imagining a sheet dropped over a rounded form: the fabric pulls tight over the top, gathers at the sides, and hangs in soft vertical folds toward the hem. Sketch these as light guide curves first, then refine them into final contours.
Use a single-weight convention from the start. Choose one pen or pencil and keep the same pressure for every final line. If you use a pencil, do not switch to a darker grade midway. The guide lines can be lighter, but the committed outline and fold lines must match in thickness.
The silhouette is the outer boundary of the sheet. Keep it continuous and calm. Begin with a rounded top over the implied form, then let the sides broaden toward the chosen widest level. In the general construction use roughly two-thirds of the height, but an explicit exercise fraction overrides that guide. Below that level the sides may narrow slightly into the hem. The widest cross-section and the hem are separate measurements; do not assume that they have the same width.
Keep the hem simple. Three or four shallow dips are enough to suggest cloth. Deep, repeated scallops can make the drawing look like a curtain rather than a draped sheet.
Interior folds explain how the cloth hangs. They should start near the top or sides and flow downward, spreading slightly as they approach the hem. Avoid folds that stop abruptly in the middle of the sheet; each fold should either reach the hem or fade into another fold.
Use the same line weight as the outline. The folds are contours, not shading. Their job is to describe direction and volume through placement alone.
Single-weight line art depends on consistency. After drawing, compare the outline and the interior folds side by side. If one line looks heavier, redraw it with the same tool and pressure rather than thickening the others to match.
Readability matters more than detail. A viewer should recognize a draped sheet from the silhouette alone. If the folds compete with the outline, reduce their number rather than adding more.
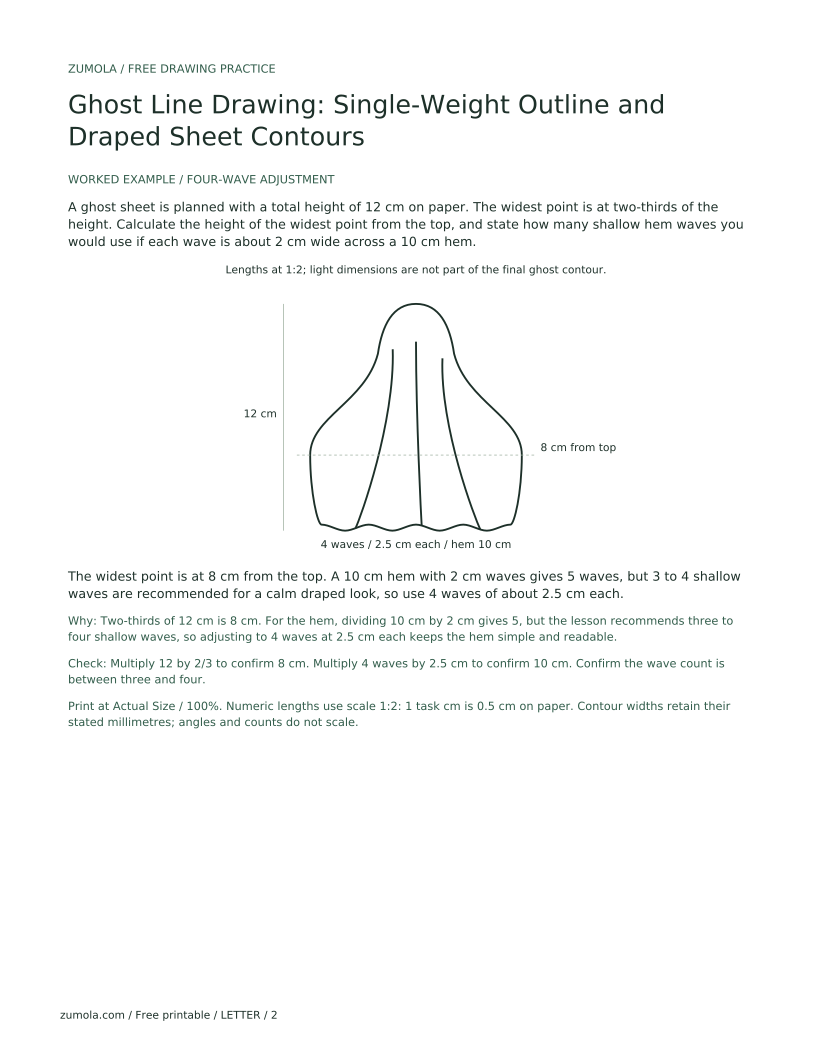
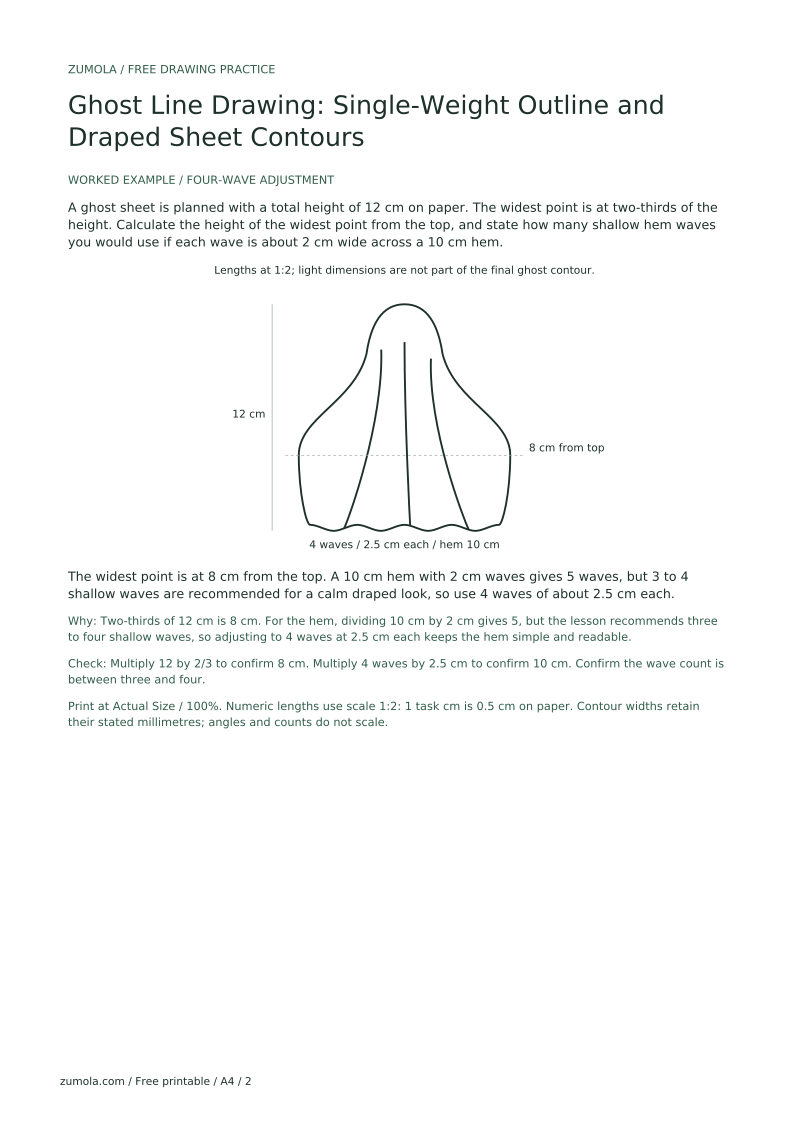
A ghost sheet is planned with a total height of 12 cm on paper. The widest point is at two-thirds of the height. Calculate the height of the widest point from the top, and state how many shallow hem waves you would use if each wave is about 2 cm wide across a 10 cm hem.
The widest point is at 8 cm from the top. A 10 cm hem with 2 cm waves gives 5 waves, but 3 to 4 shallow waves are recommended for a calm draped look, so use 4 waves of about 2.5 cm each.
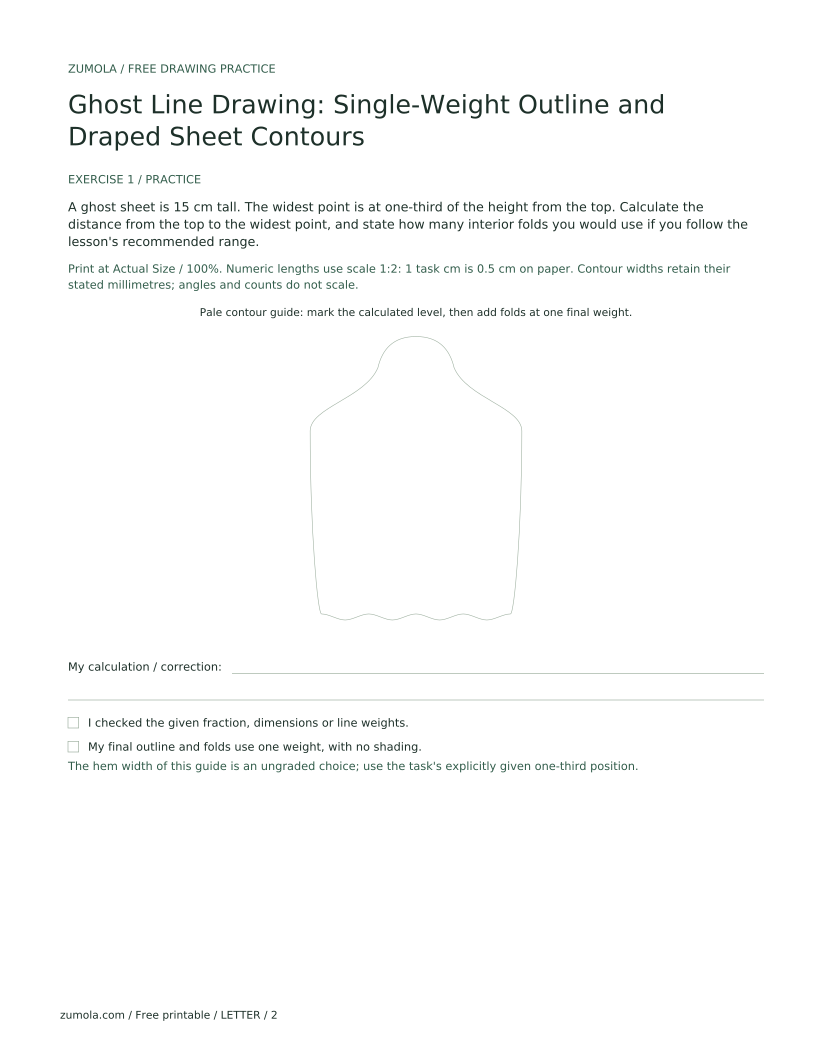
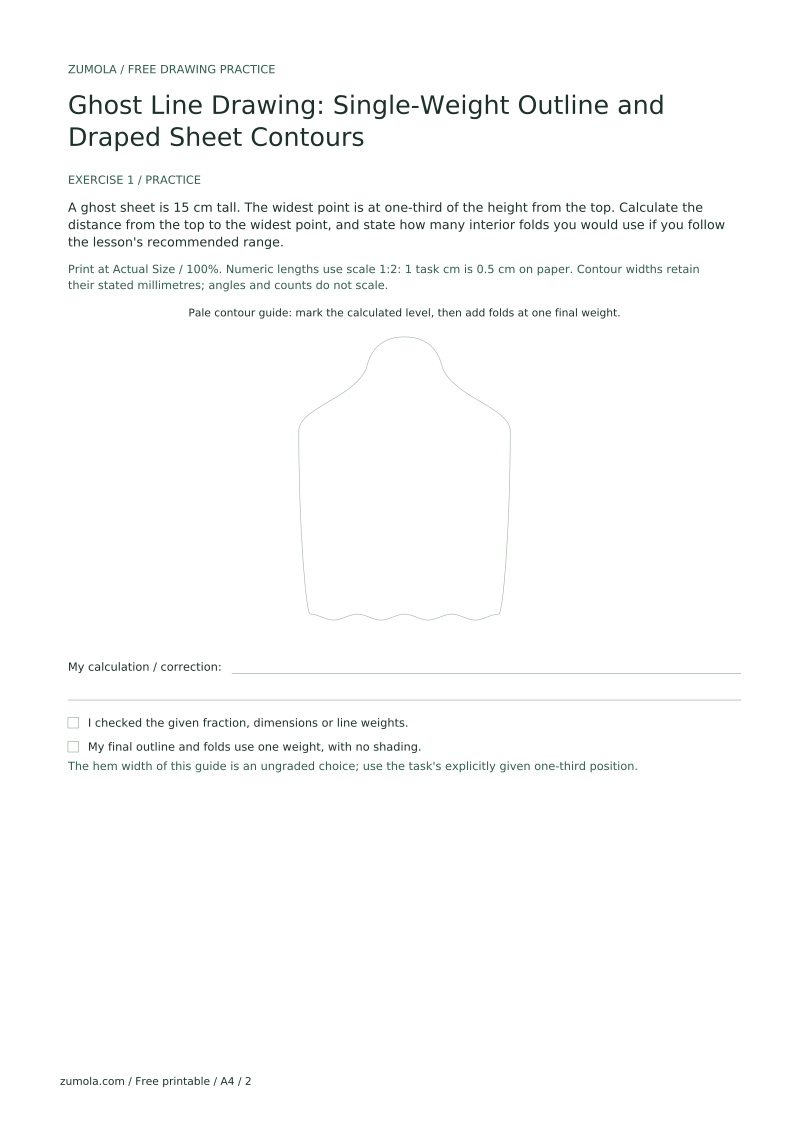
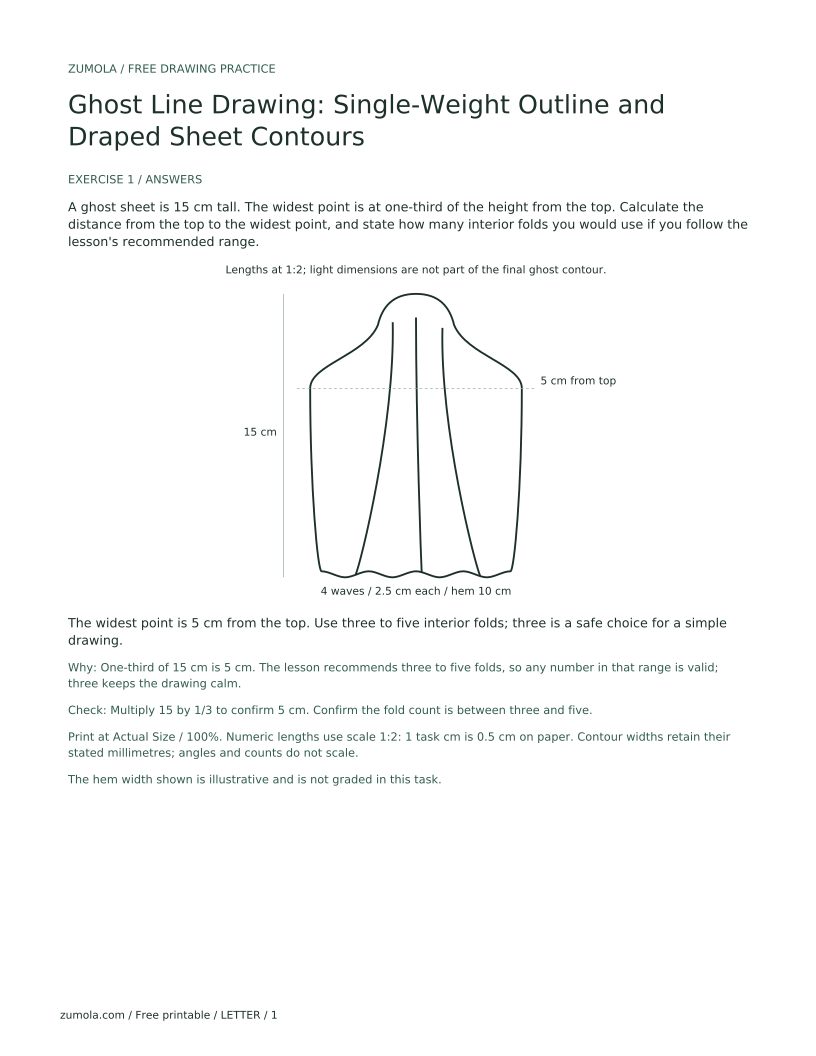
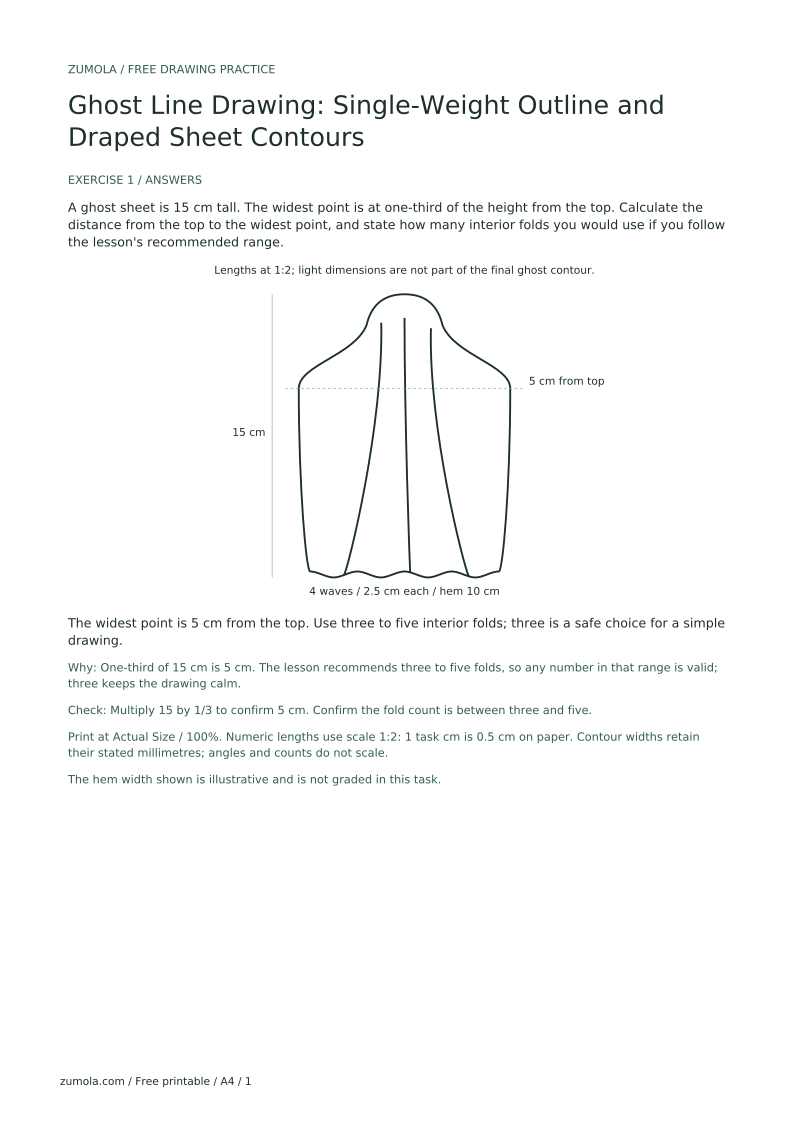
A ghost sheet is 15 cm tall. The widest point is at one-third of the height from the top. Calculate the distance from the top to the widest point, and state how many interior folds you would use if you follow the lesson's recommended range.
The widest point is 5 cm from the top. Use three to five interior folds; three is a safe choice for a simple drawing.
One-third of 15 cm is 5 cm. The lesson recommends three to five folds, so any number in that range is valid; three keeps the drawing calm.
Check: Multiply 15 by 1/3 to confirm 5 cm. Confirm the fold count is between three and five.
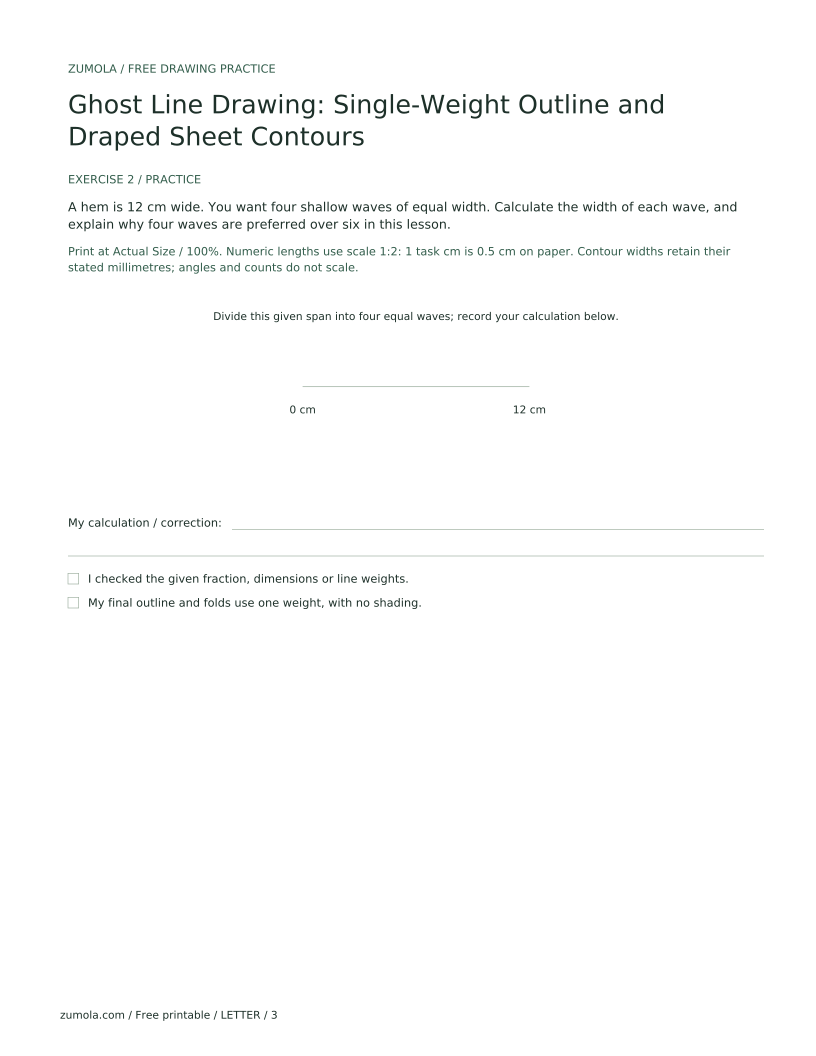
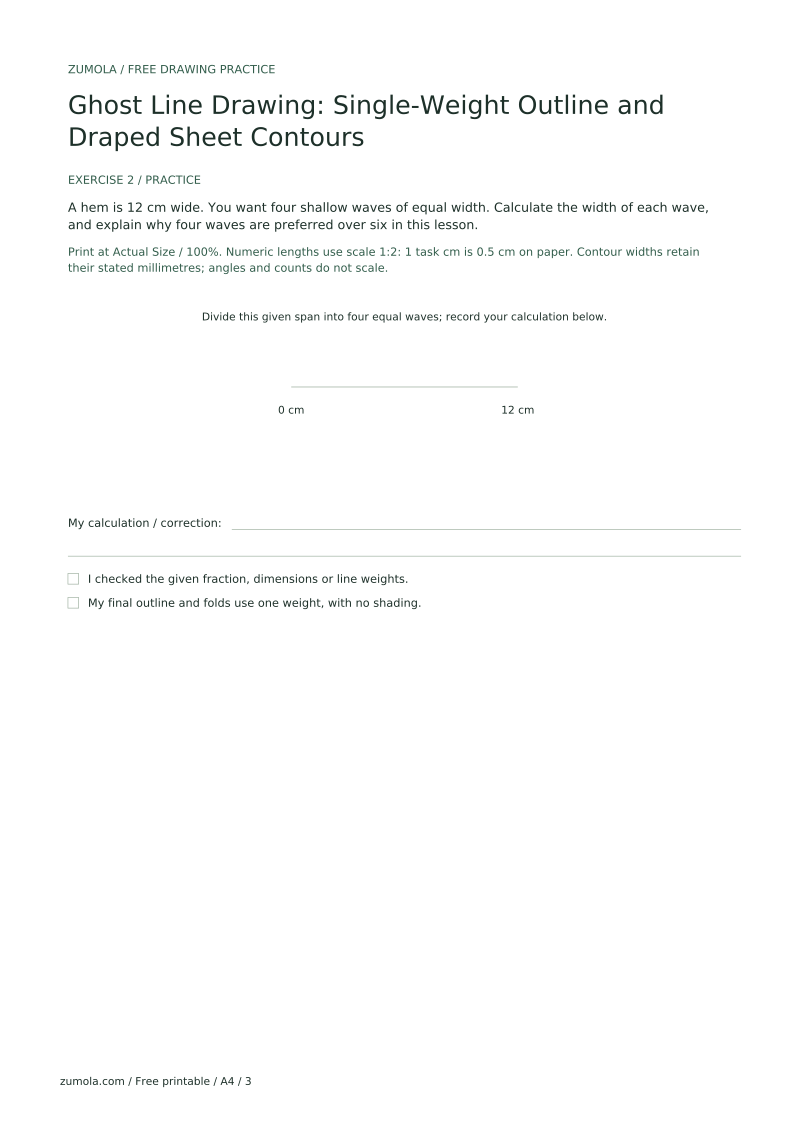
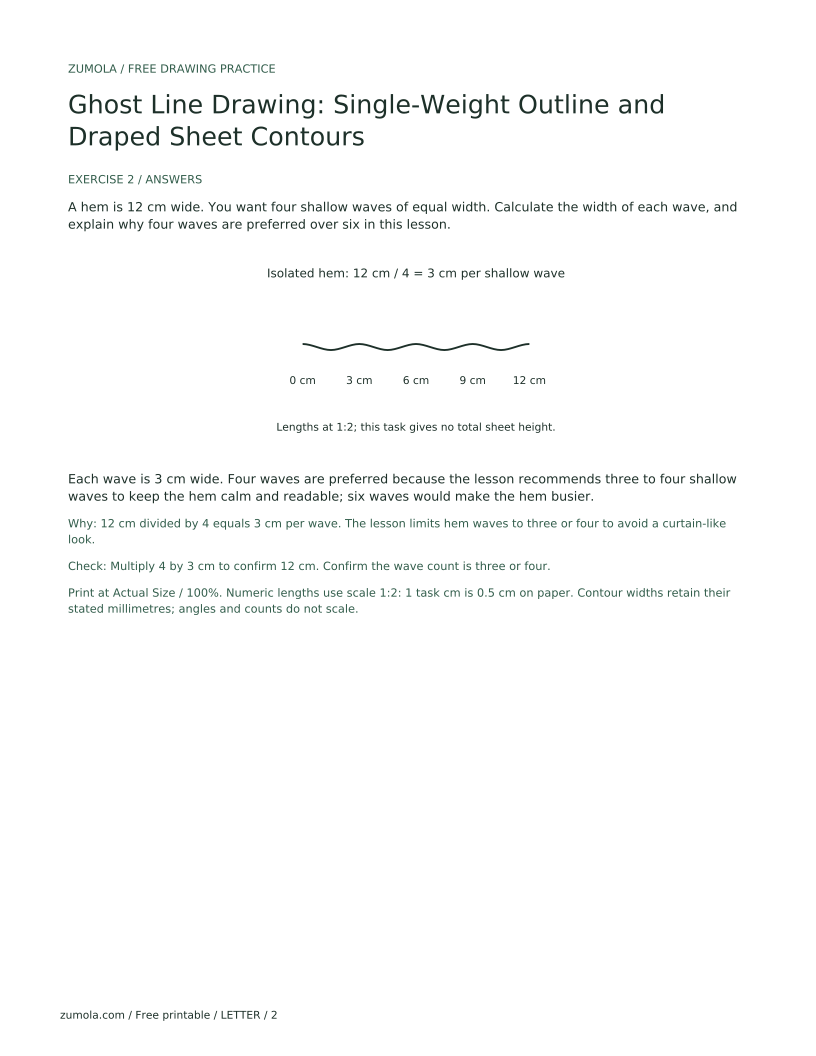
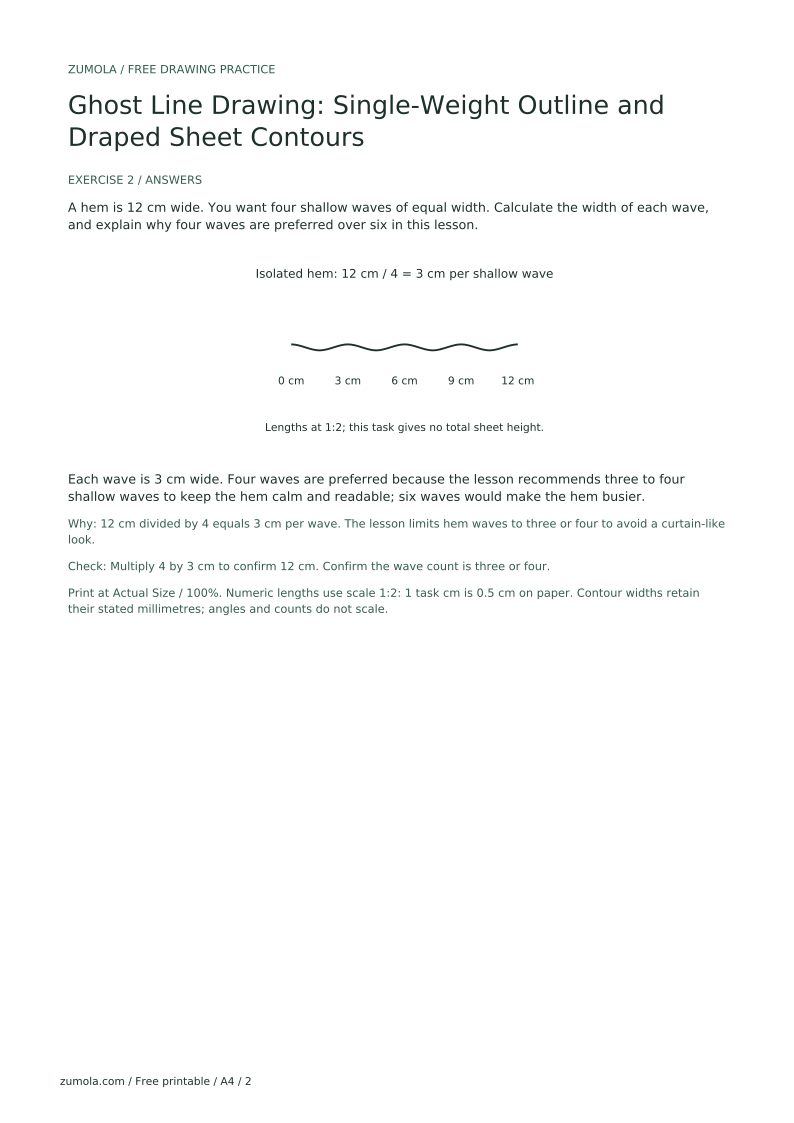
A hem is 12 cm wide. You want four shallow waves of equal width. Calculate the width of each wave, and explain why four waves are preferred over six in this lesson.
Each wave is 3 cm wide. Four waves are preferred because the lesson recommends three to four shallow waves to keep the hem calm and readable; six waves would make the hem busier.
12 cm divided by 4 equals 3 cm per wave. The lesson limits hem waves to three or four to avoid a curtain-like look.
Check: Multiply 4 by 3 cm to confirm 12 cm. Confirm the wave count is three or four.
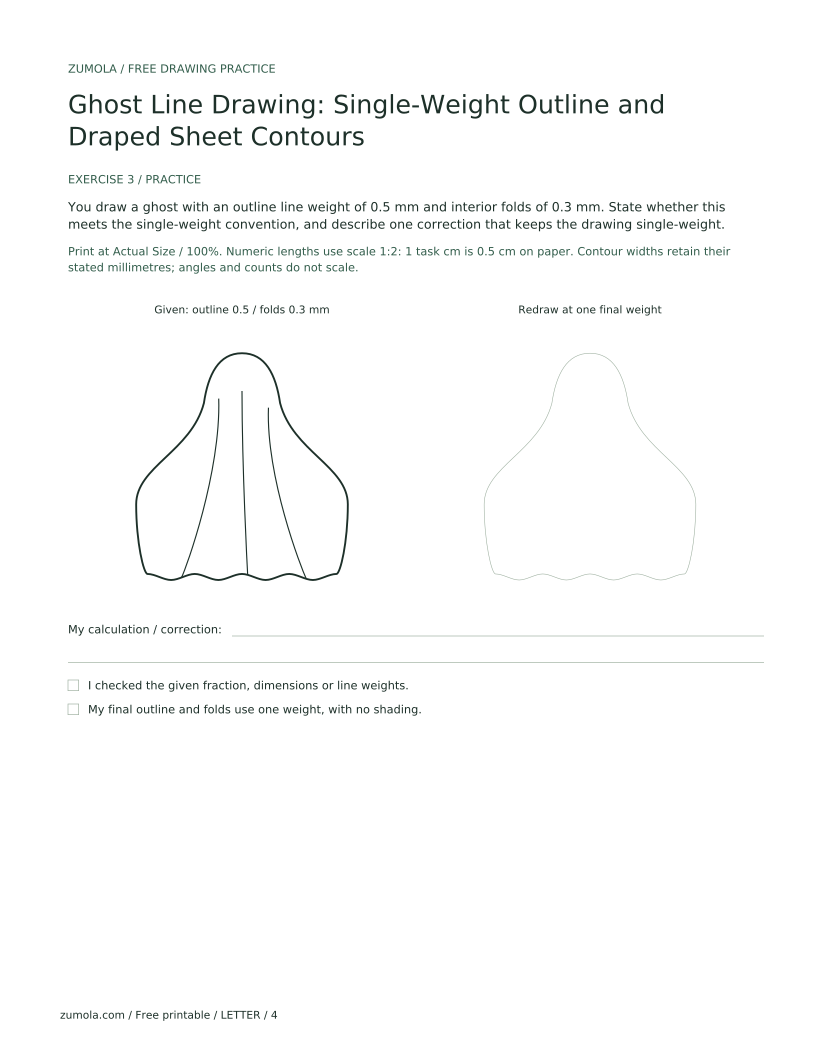
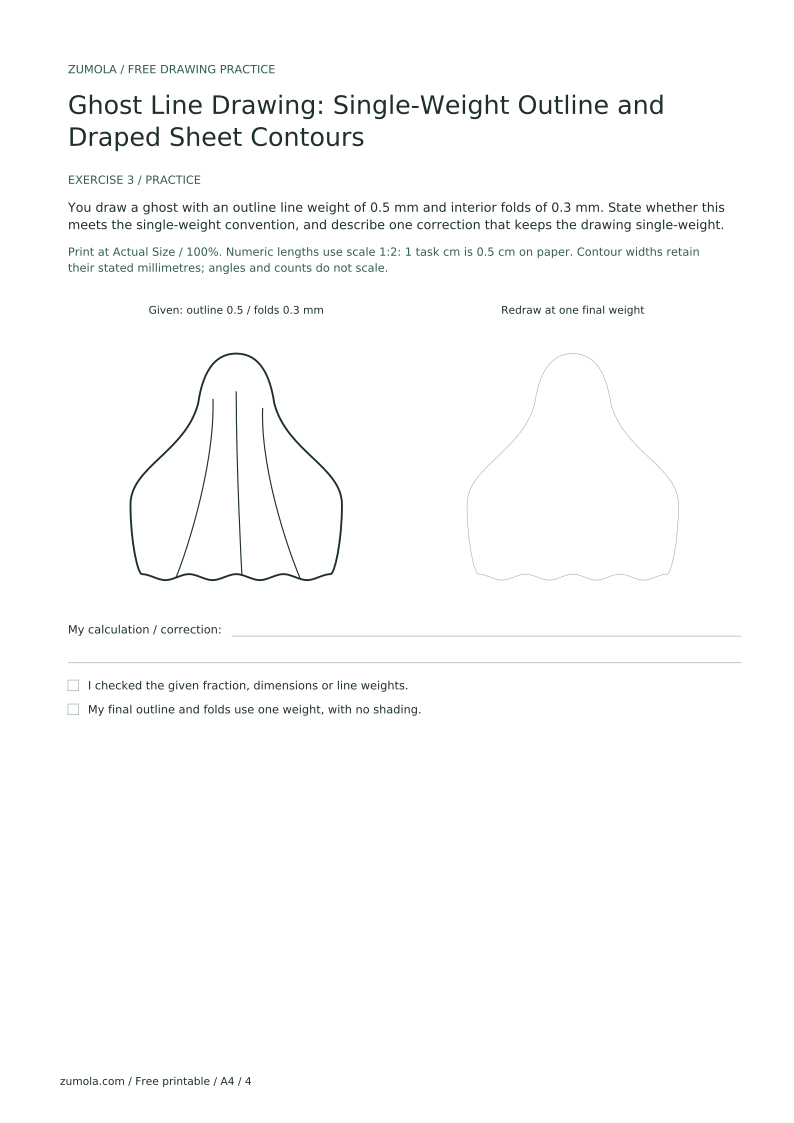
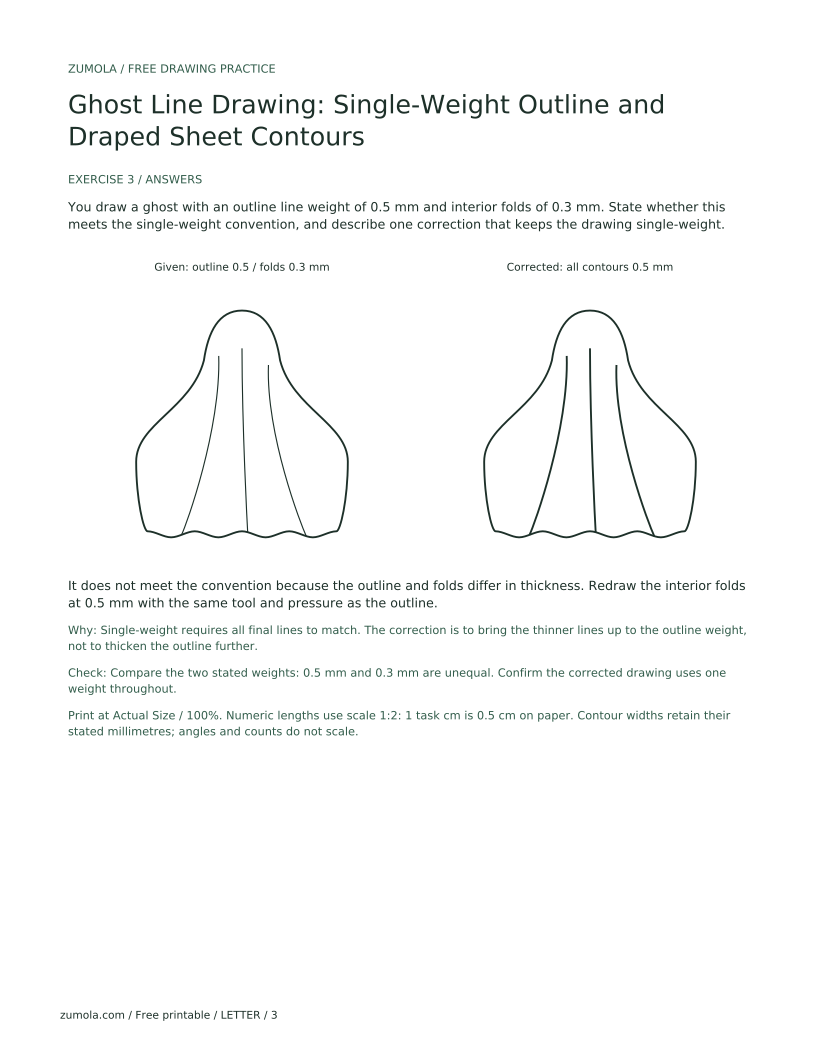
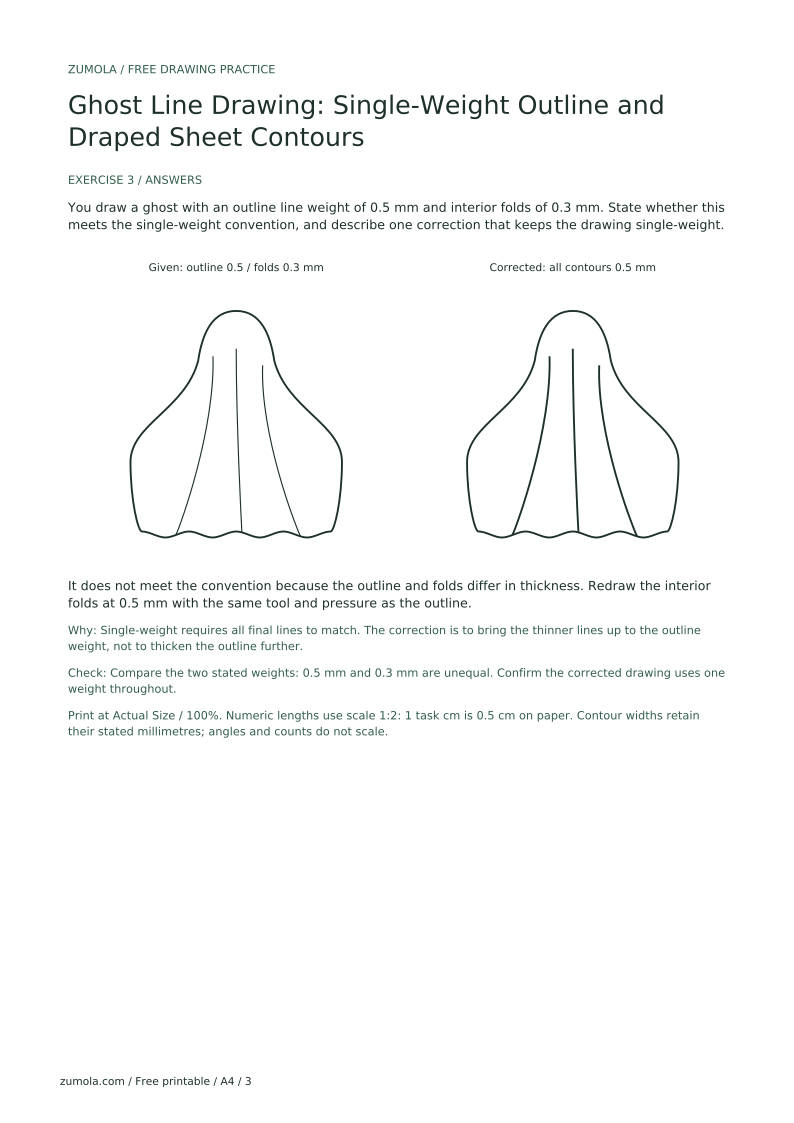
You draw a ghost with an outline line weight of 0.5 mm and interior folds of 0.3 mm. State whether this meets the single-weight convention, and describe one correction that keeps the drawing single-weight.
It does not meet the convention because the outline and folds differ in thickness. Redraw the interior folds at 0.5 mm with the same tool and pressure as the outline.
Single-weight requires all final lines to match. The correction is to bring the thinner lines up to the outline weight, not to thicken the outline further.
Check: Compare the two stated weights: 0.5 mm and 0.3 mm are unequal. Confirm the corrected drawing uses one weight throughout.
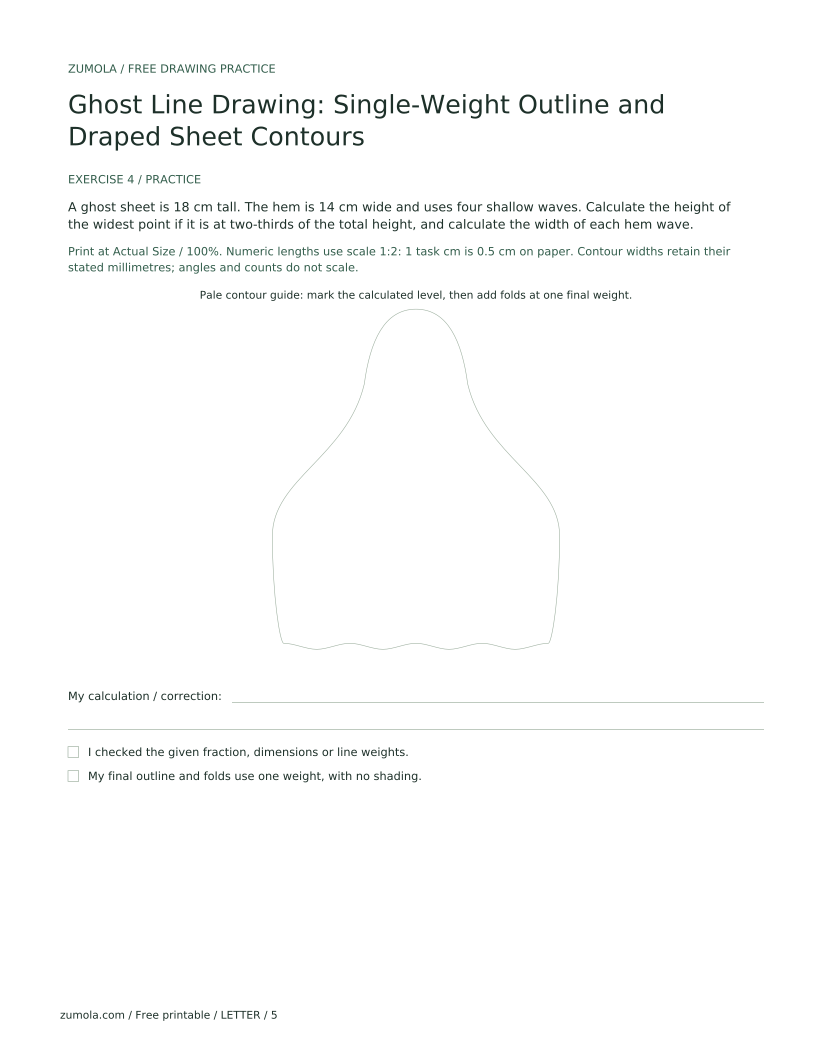
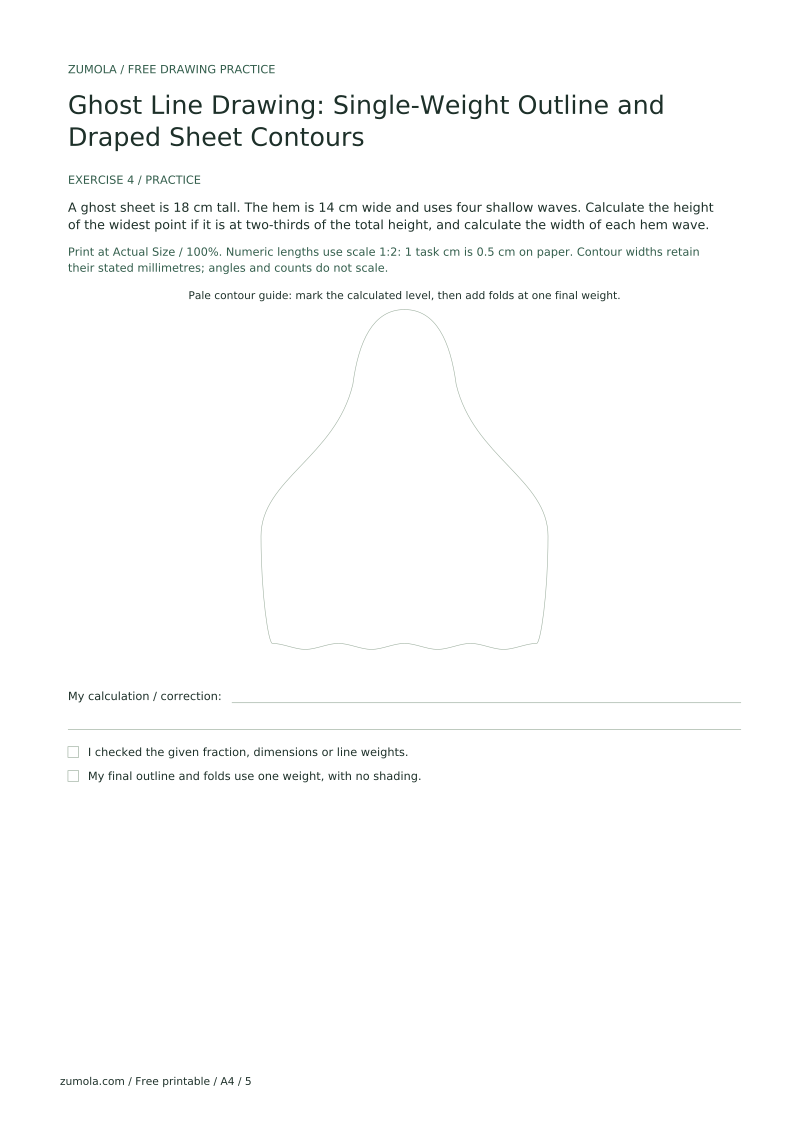
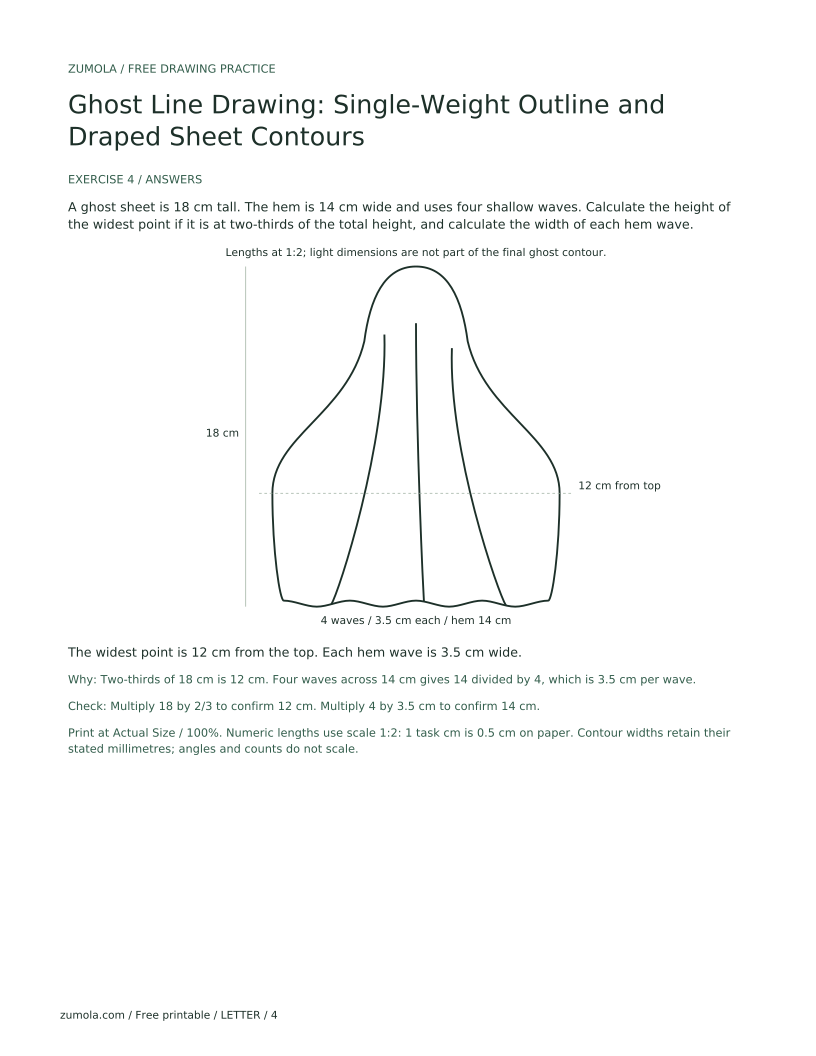
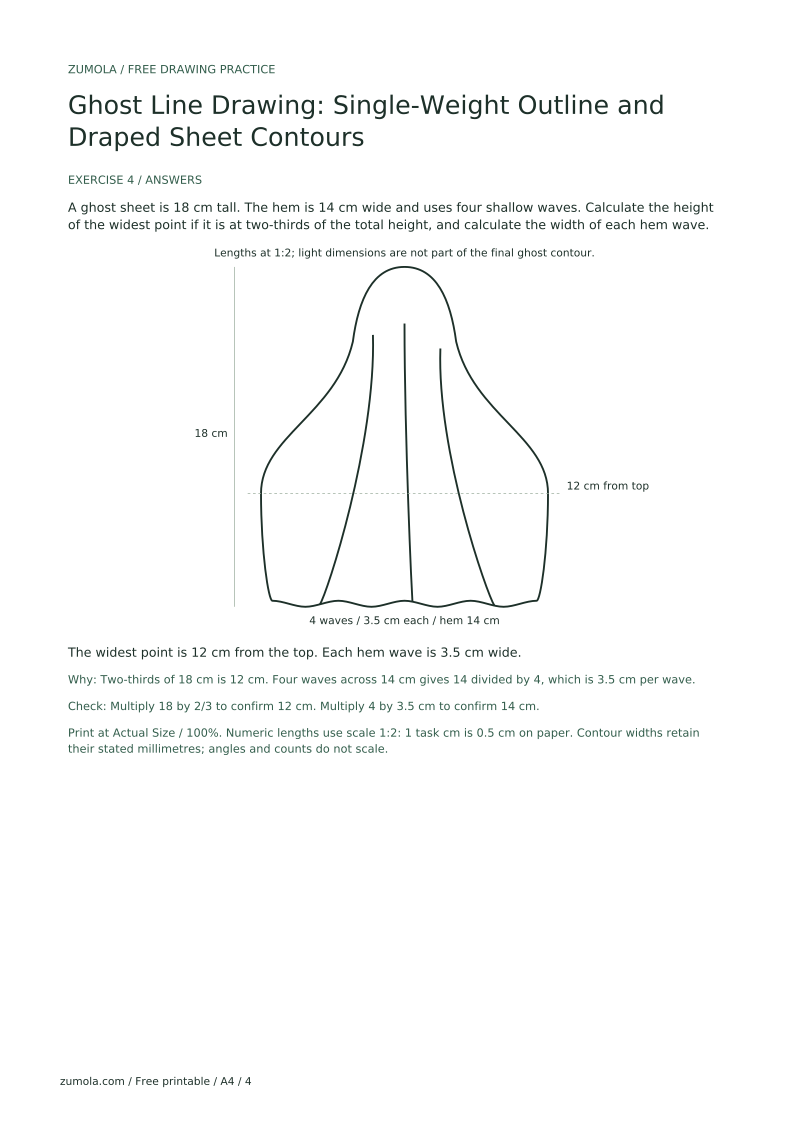
A ghost sheet is 18 cm tall. The hem is 14 cm wide and uses four shallow waves. Calculate the height of the widest point if it is at two-thirds of the total height, and calculate the width of each hem wave.
The widest point is 12 cm from the top. Each hem wave is 3.5 cm wide.
Two-thirds of 18 cm is 12 cm. Four waves across 14 cm gives 14 divided by 4, which is 3.5 cm per wave.
Check: Multiply 18 by 2/3 to confirm 12 cm. Multiply 4 by 3.5 cm to confirm 14 cm.
Use one tool and one pressure for all final lines; redraw inconsistent lines instead of thickening others.
Curve each fold gently in the direction of gravity and let it reach the hem or fade into another fold.
Use three or four shallow waves, each wider than it is deep, to suggest cloth rather than a curtain.
Describe volume through fold placement only; keep the drawing strictly single-weight line art.
It means the outline and all interior contour lines are drawn at the same thickness, with no tapering, shading, or hatching.
Three to five interior folds are usually enough. Fewer folds read more clearly; more folds can clutter the silhouette.
Yes, as long as you keep one consistent grade and pressure for the final lines. Do not switch to a darker pencil midway.
No. The rounded top curve and the widening sides imply the form. The sheet itself carries the drawing.