Reference diagrams
LETTER · Download PDF
A4 · Download PDF
Free original resources
Learn to draw an acorn with a rounded nut body, pointed tip, textured cap, and curved stem. Trace, grid, and complete-the-drawing practice sheets support nut drawing.
Four original cases, with reference diagrams, practice sheets and worked answers. Everything is free; no signup required.
LETTER · Download PDF
A4 · Download PDF
LETTER · Download PDF
A4 · Download PDF
LETTER · Download PDF
A4 · Download PDF
Use A4 or US Letter to match your printer. Use the stated values and conditions to solve each exercise; diagrams are not physical measuring rulers.
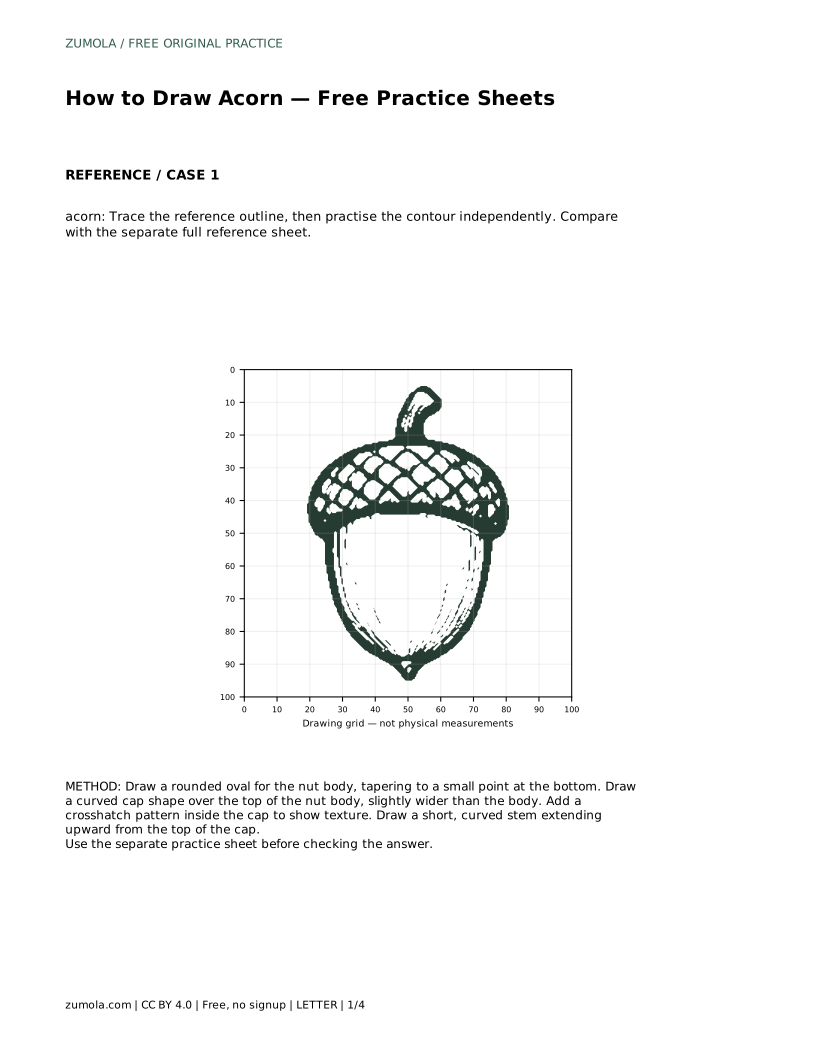
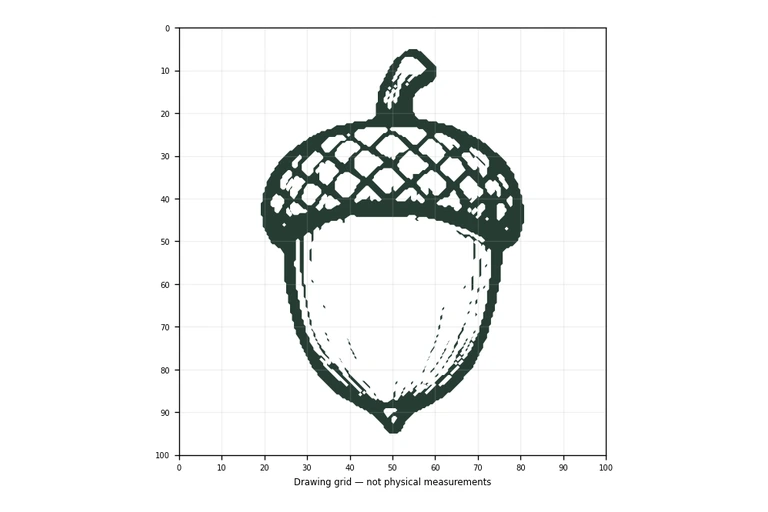
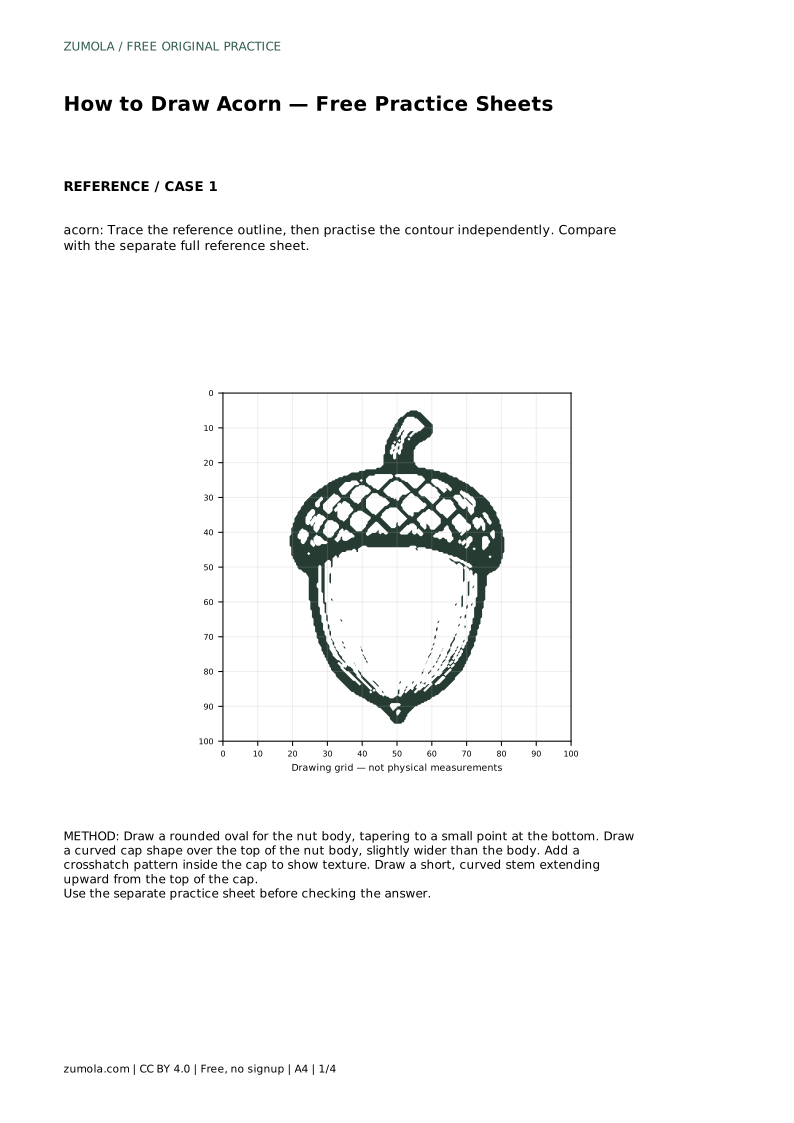
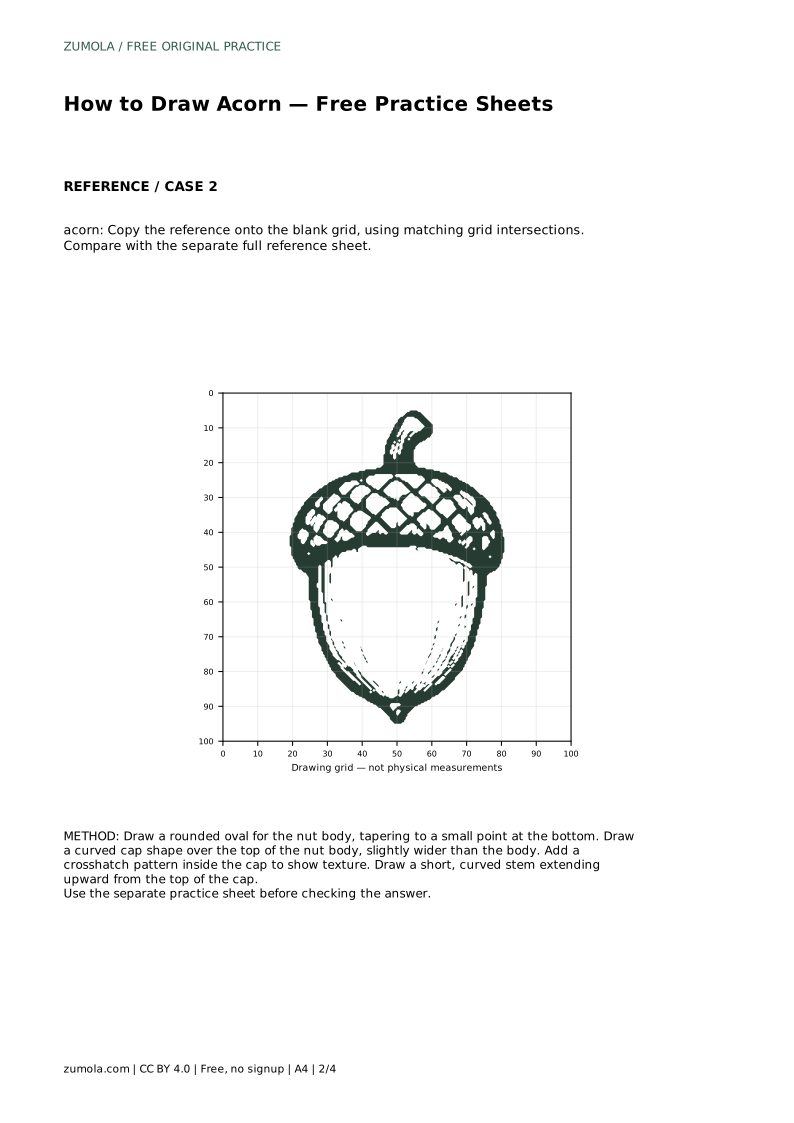
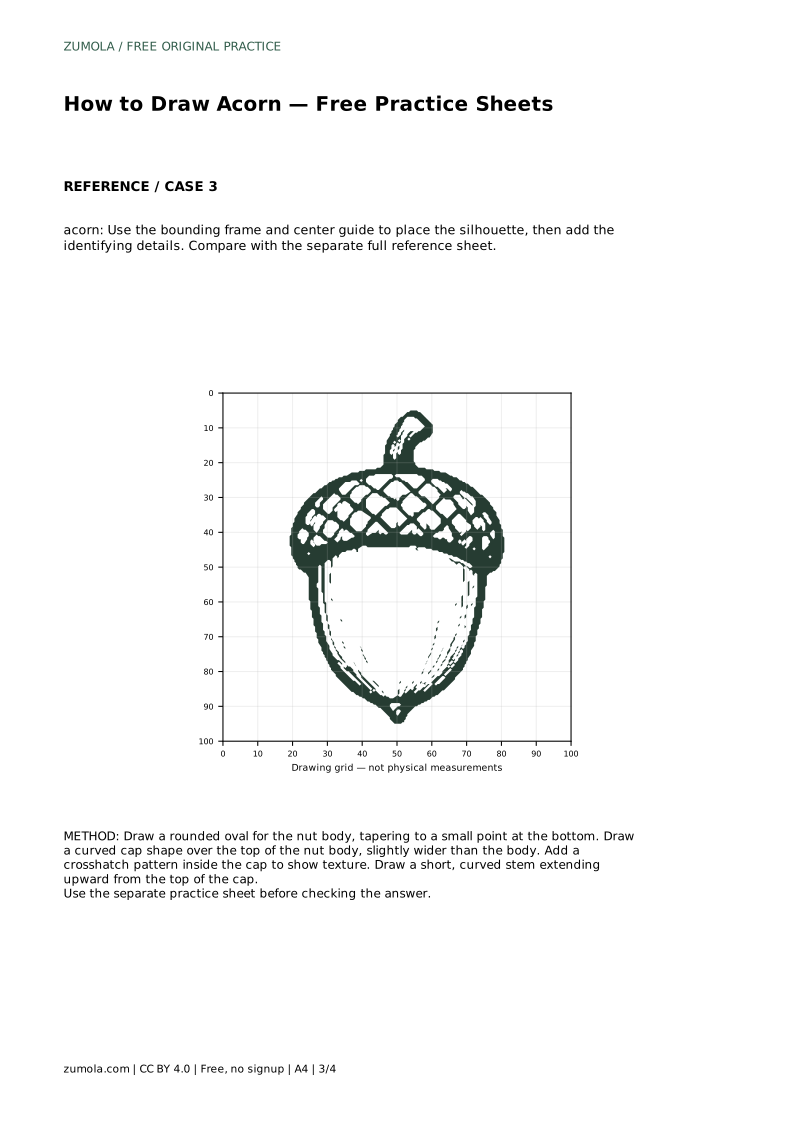
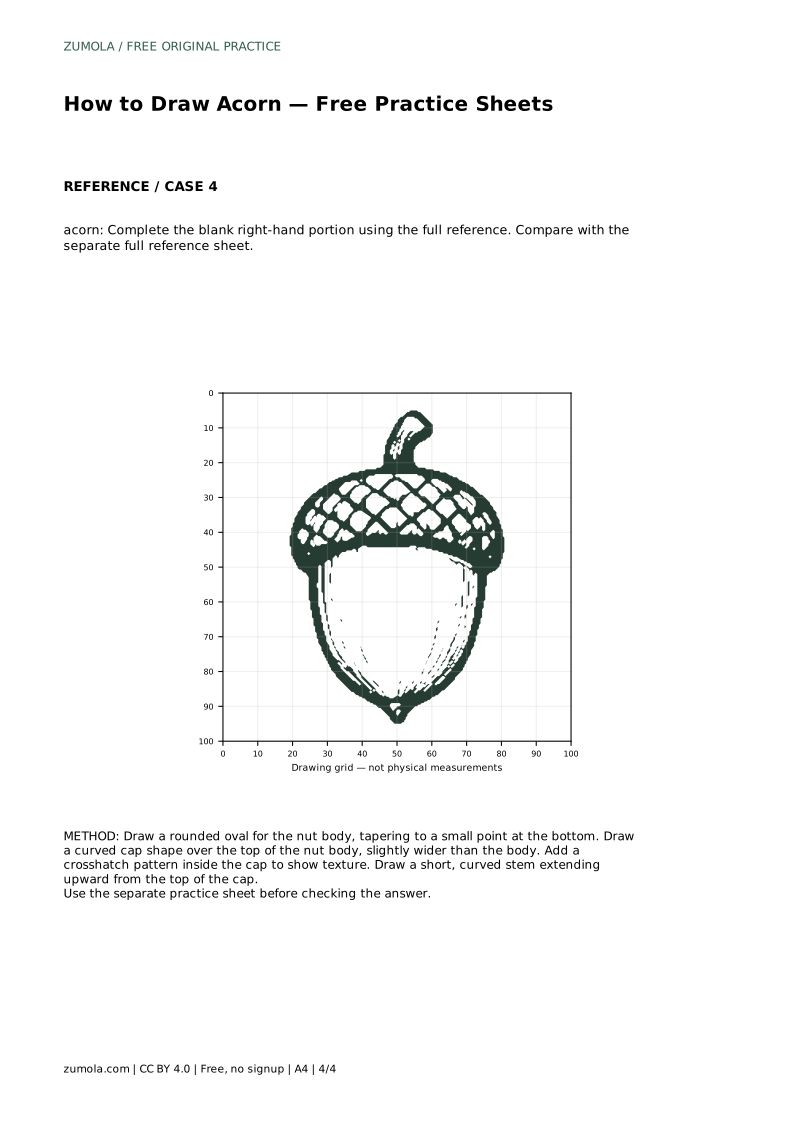
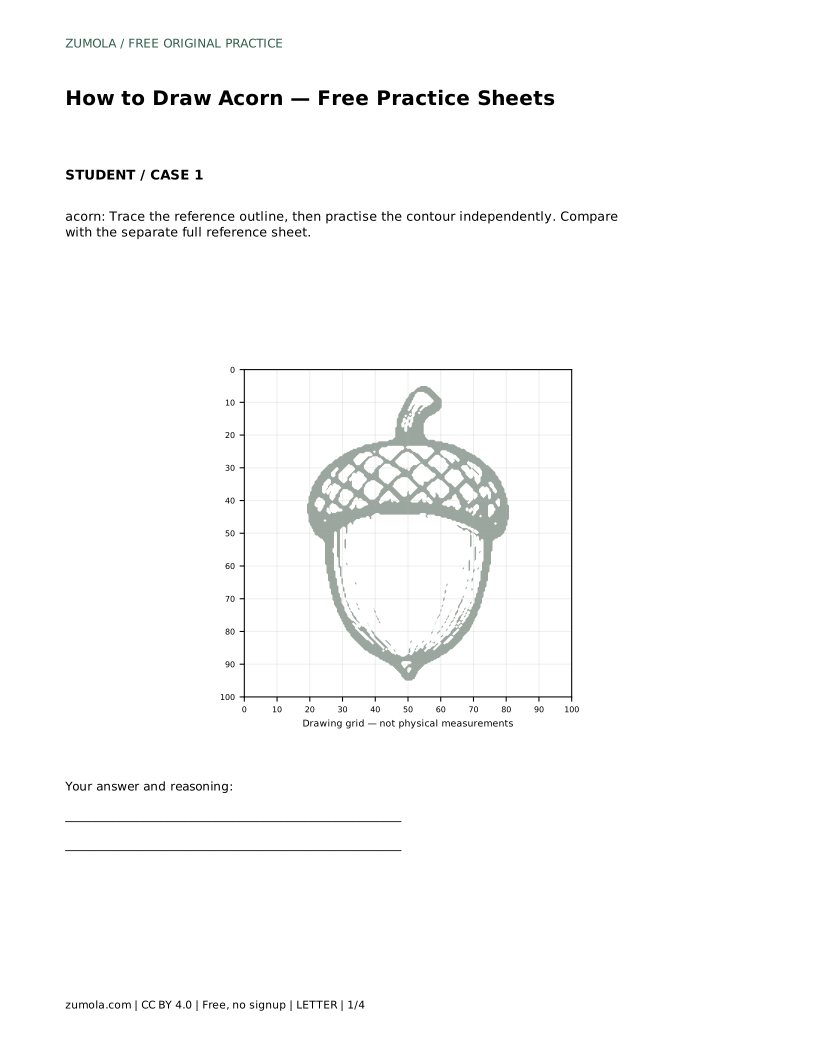
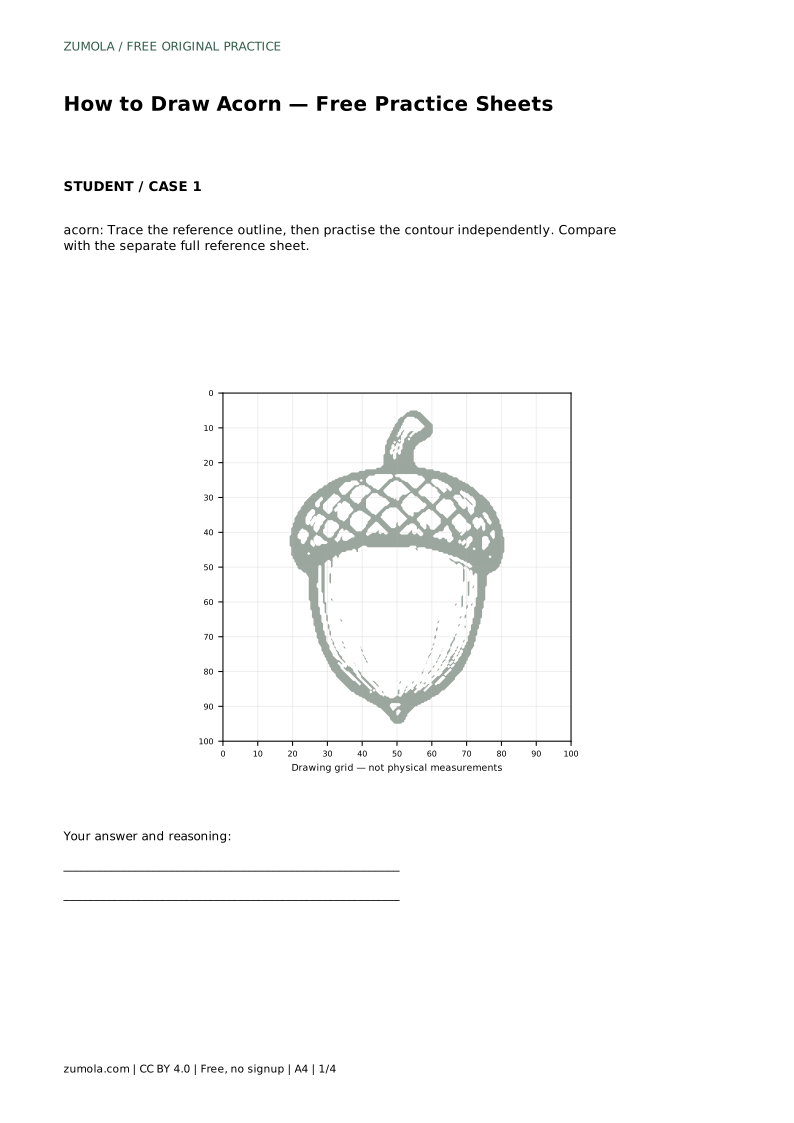
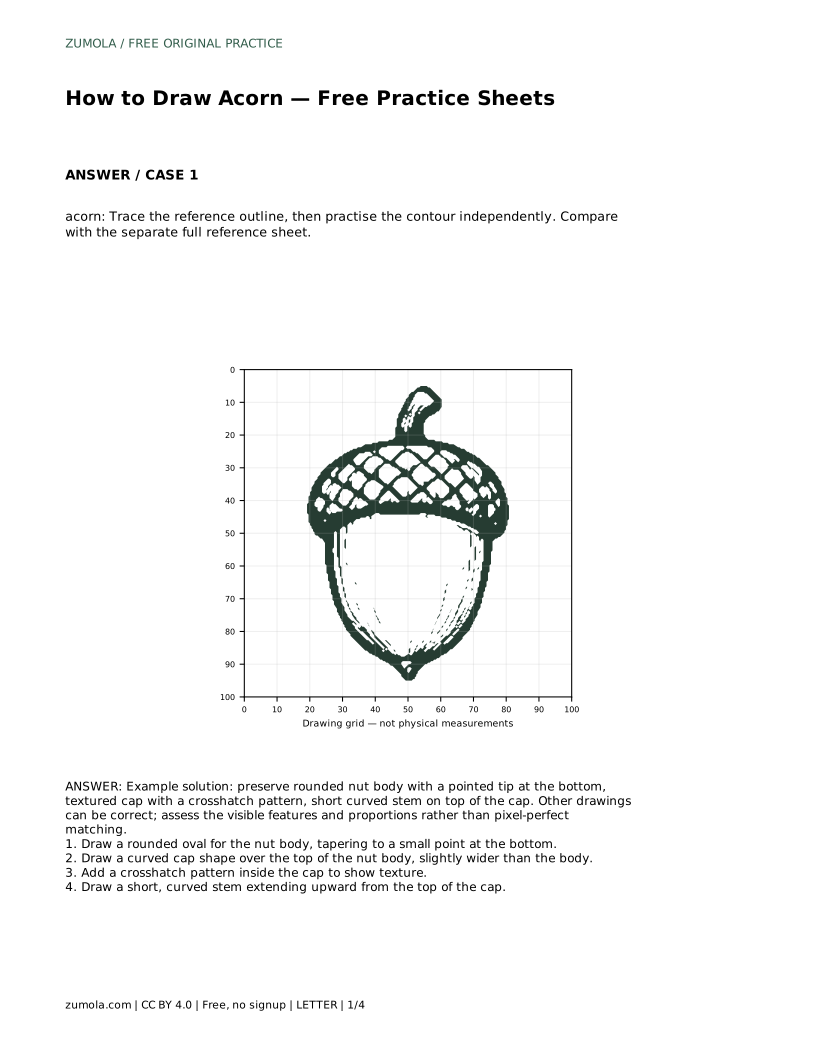
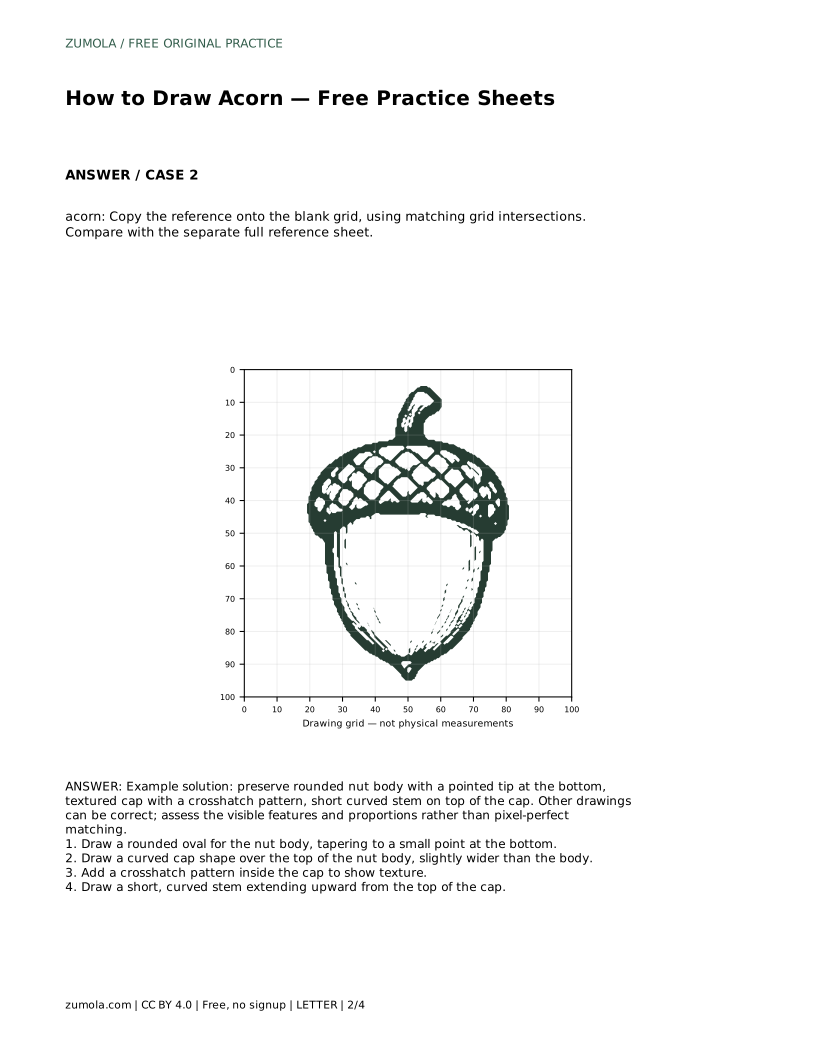
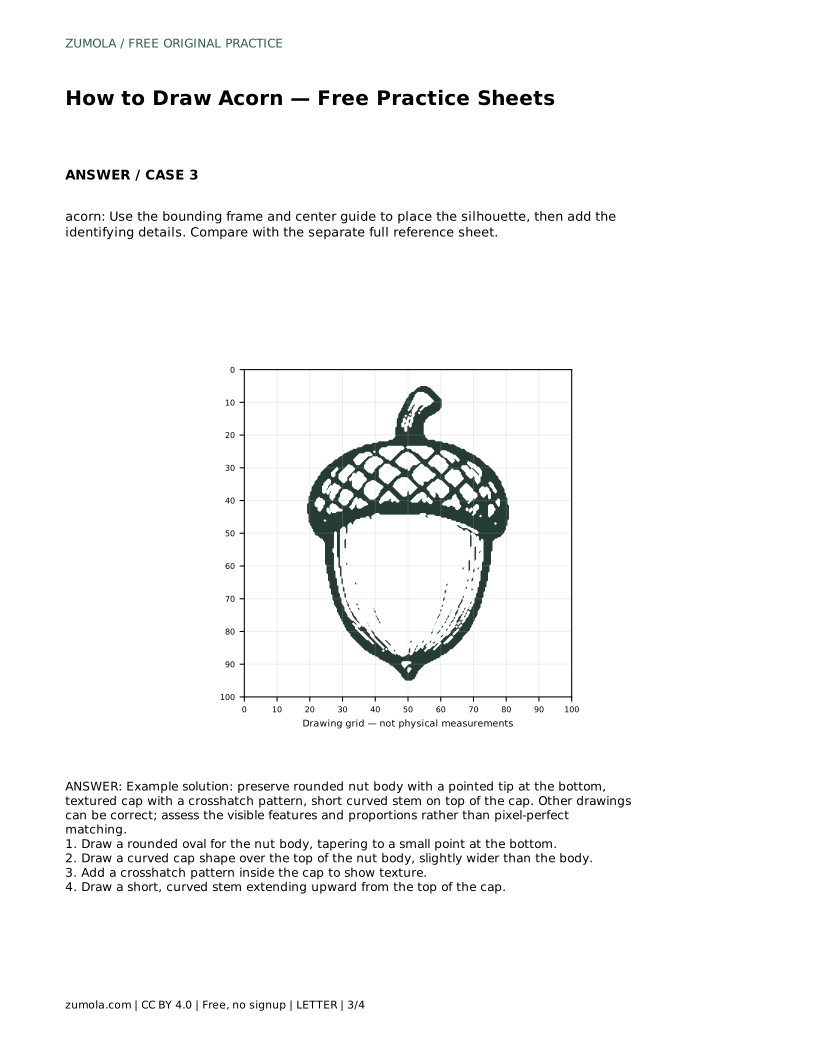
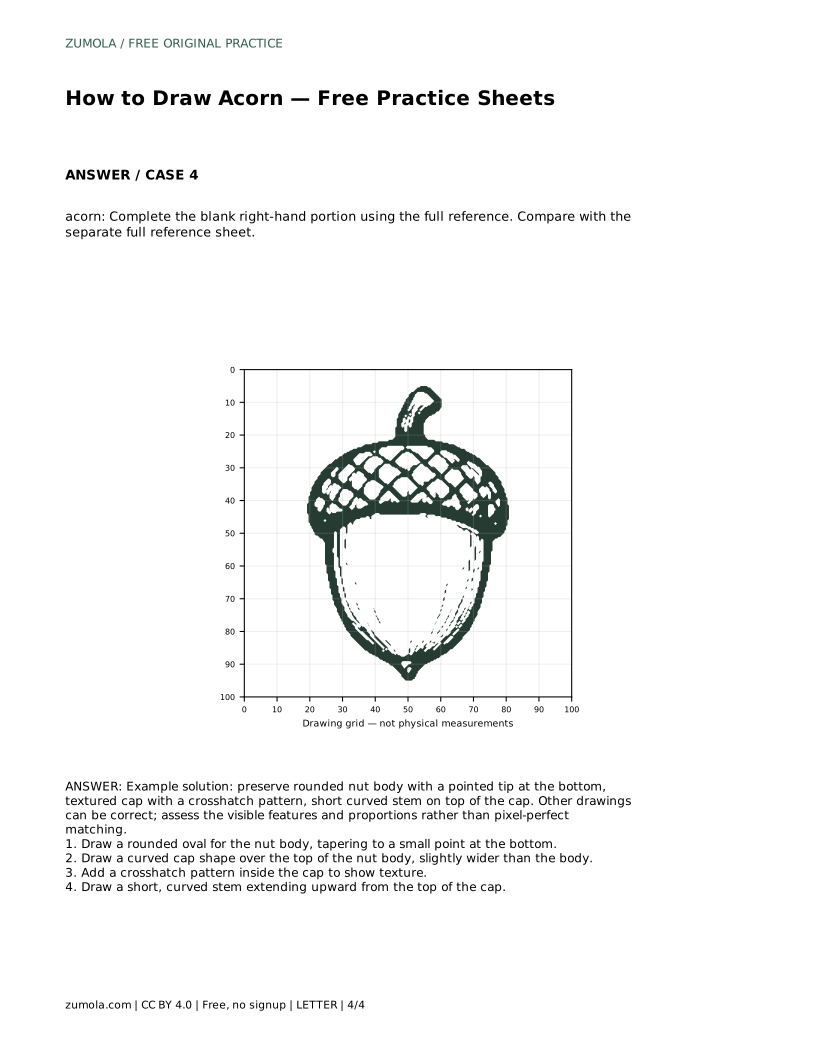
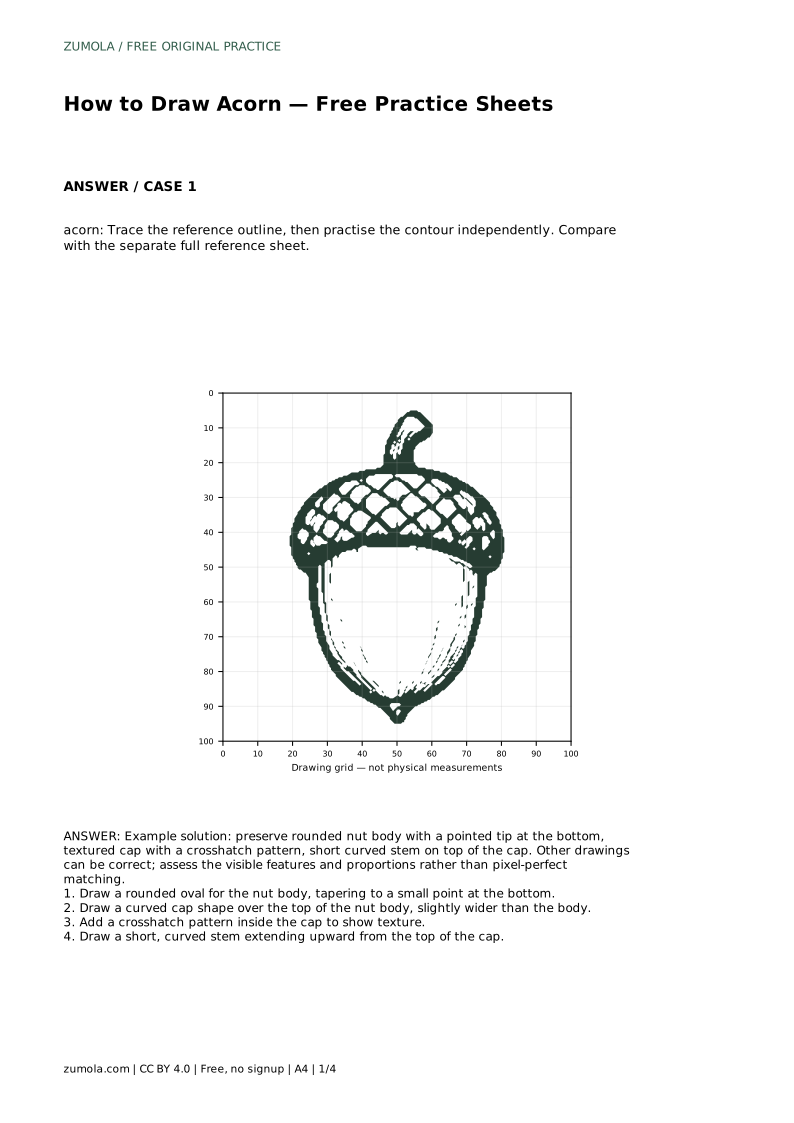
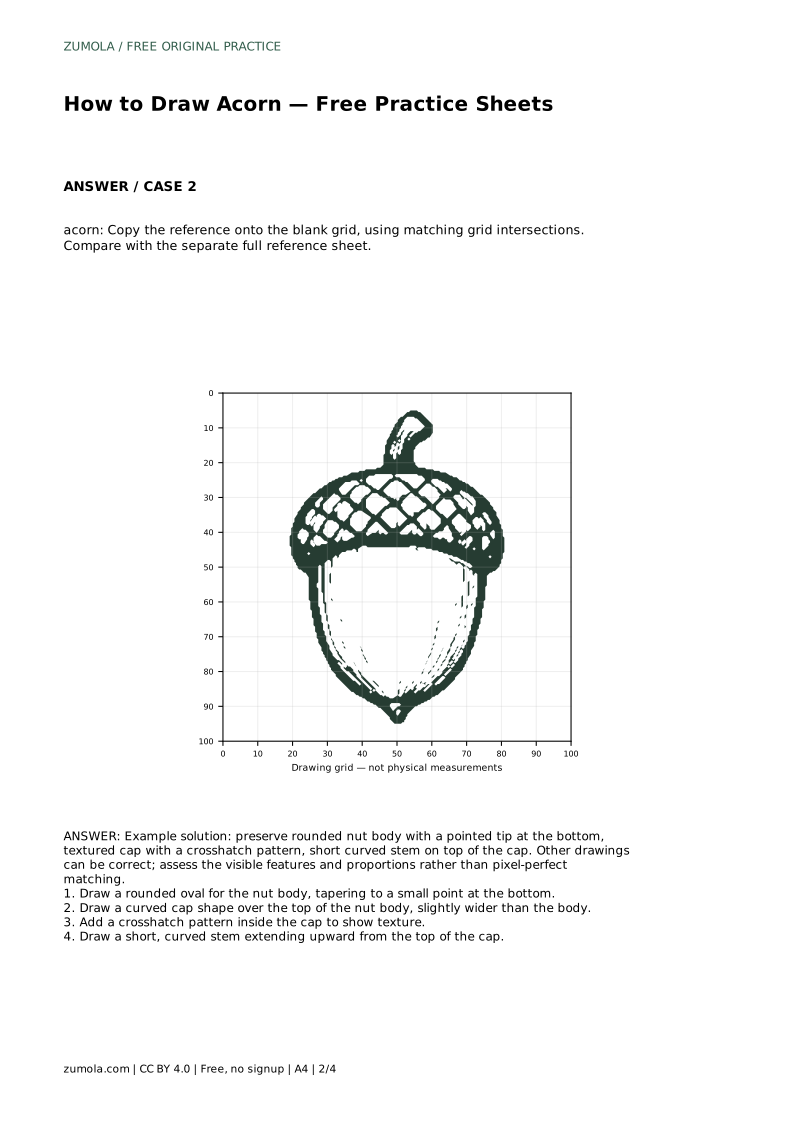
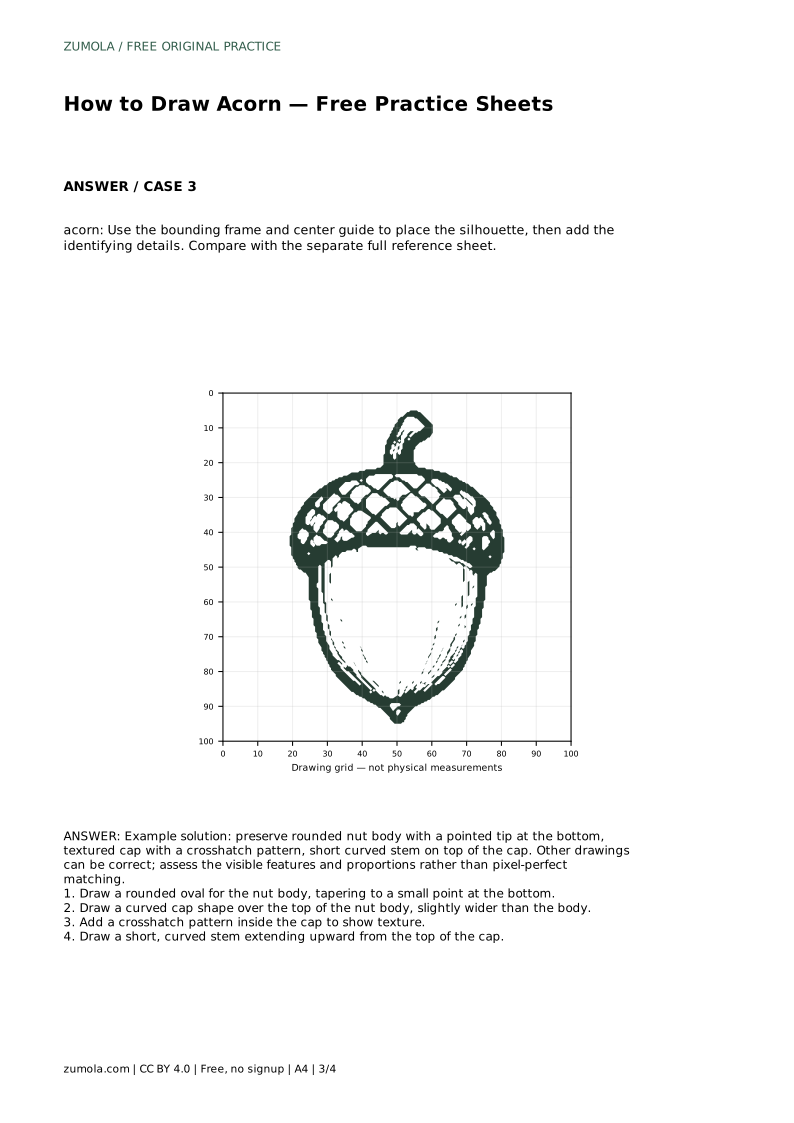
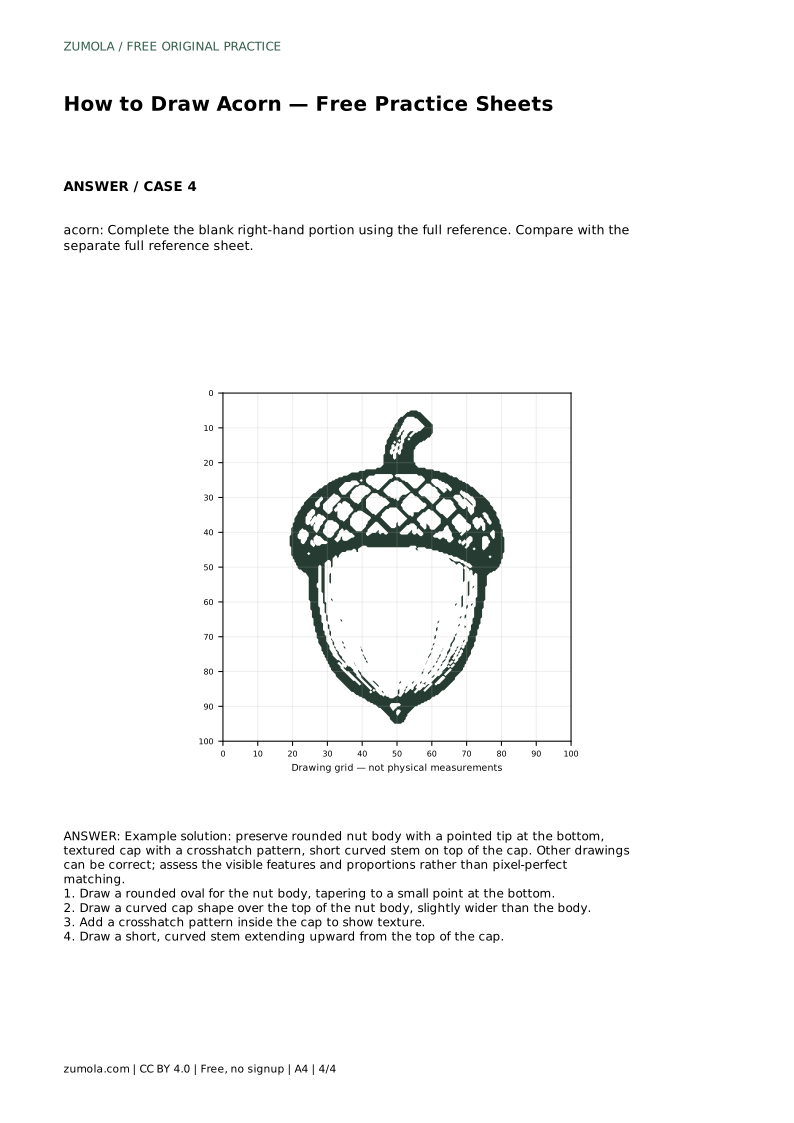
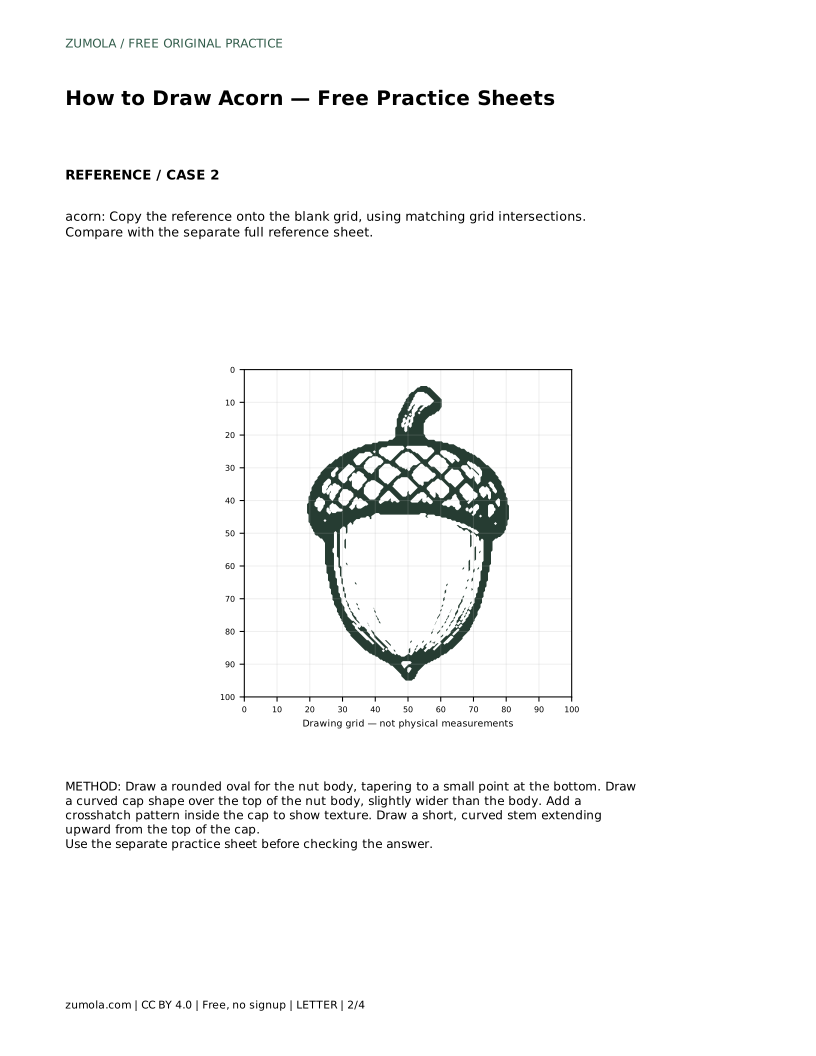
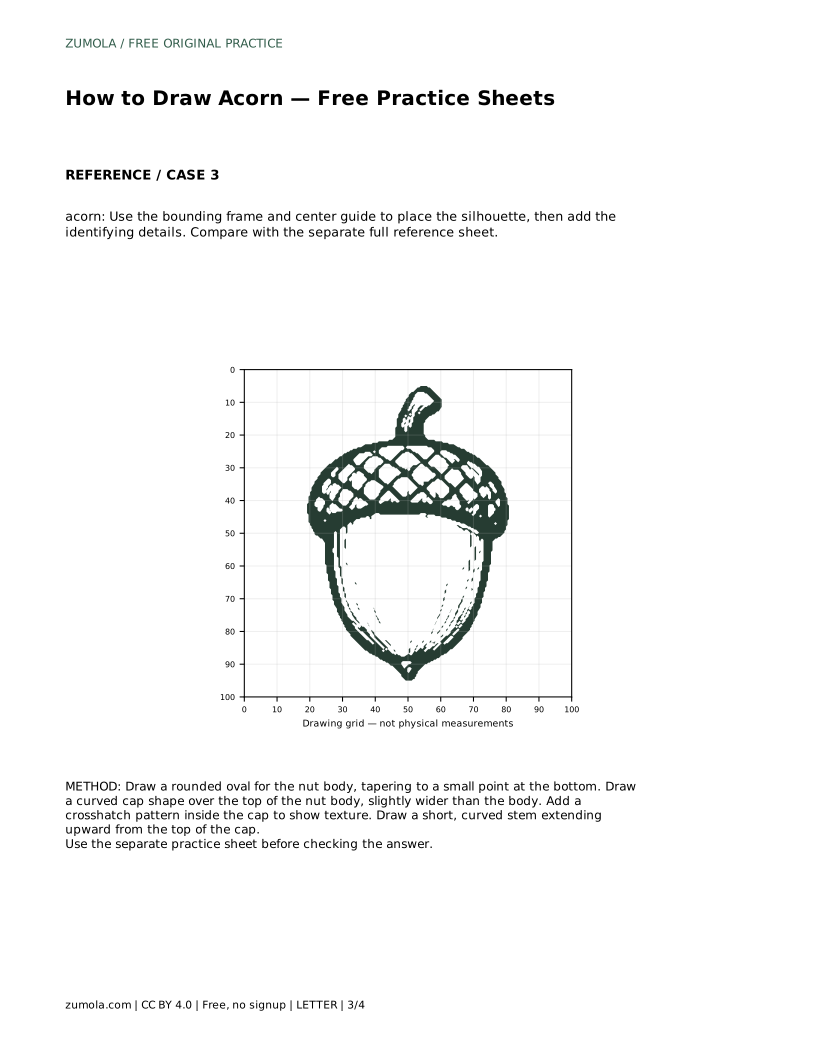
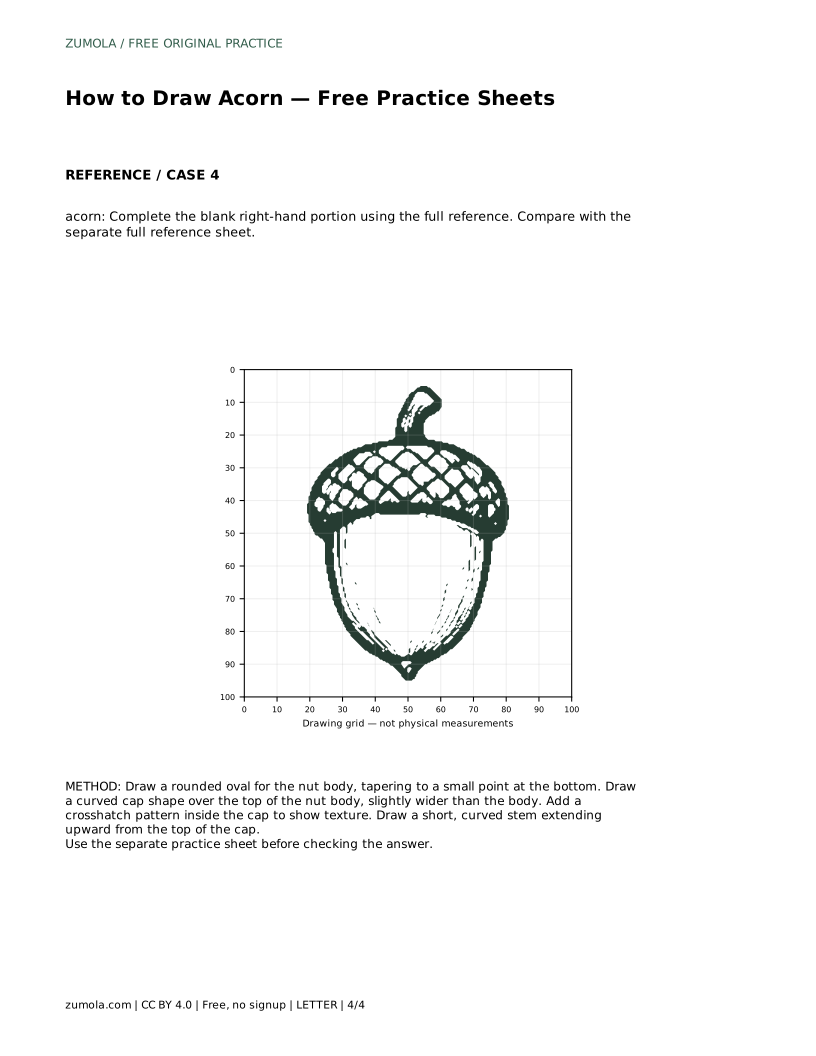
Drawing an acorn is a good way to practise a simple rounded form with one clear texture area. The nut body is a rounded oval that narrows to a small point at the bottom. The cap sits over the top, slightly wider than the body, and carries a crosshatch pattern. A short curved stem rises from the cap. These free practice sheets let you trace the outline, copy it onto a grid, place it with a bounding frame and centre guide, or complete a partly drawn version.
Begin with the largest shape: the nut body. Draw a rounded oval that tapers to a small point at the bottom. Keep the sides smooth and even; the point should be a gentle narrowing, not a sharp spike. Next, draw a curved cap shape over the top of the body. The cap should be slightly wider than the nut body so it reads as a separate layer sitting on top. Check that the cap covers the upper part of the oval without swallowing the whole shape.
Once the two main shapes are in place, the acorn's silhouette is complete. Everything after this is texture and detail, so take a moment to compare the body and cap proportions before adding more marks.
The crosshatch pattern is what makes the cap read as textured rather than plain. Draw one set of short parallel lines across the cap, then a second set crossing the first at an angle. Keep the lines inside the cap outline and let them follow its curve slightly so the texture sits on the surface rather than floating over it. Spacing can be uneven; the goal is a visible crossed pattern, not a perfect mesh.
Finish with a short, curved stem extending upward from the top of the cap. Keep it short relative to the body and give it a slight bend so it looks natural. The stem should start at the cap's top edge, not float above it.
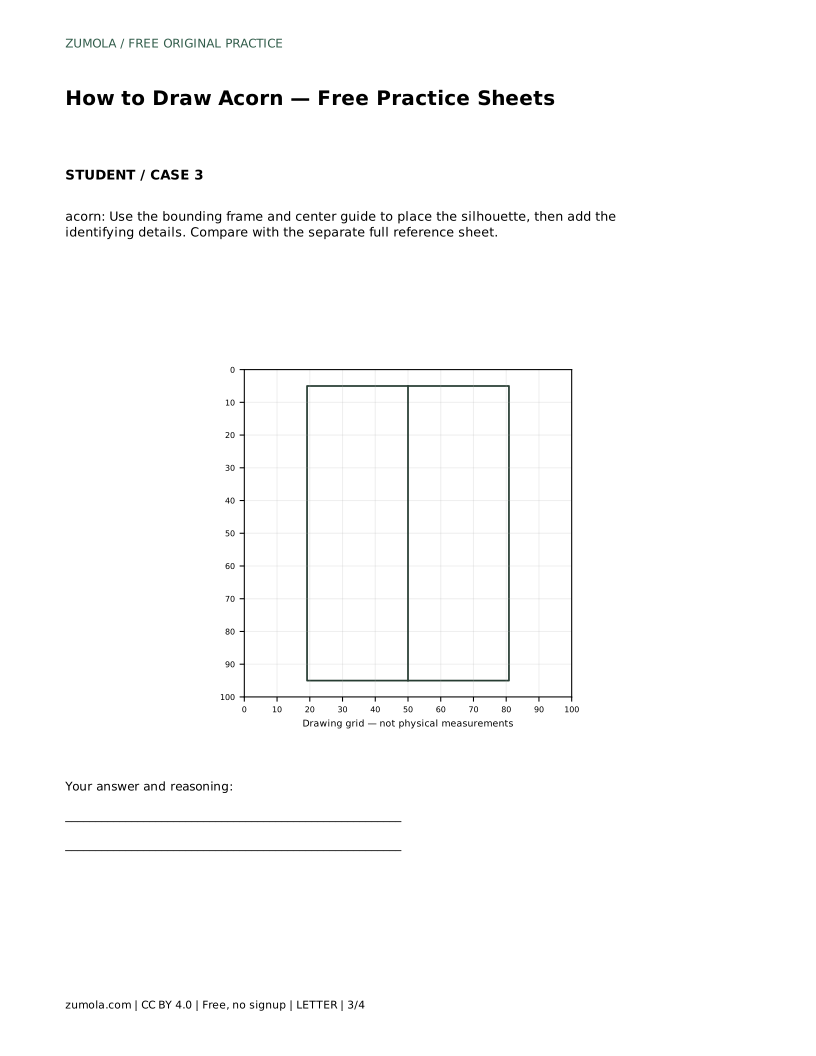
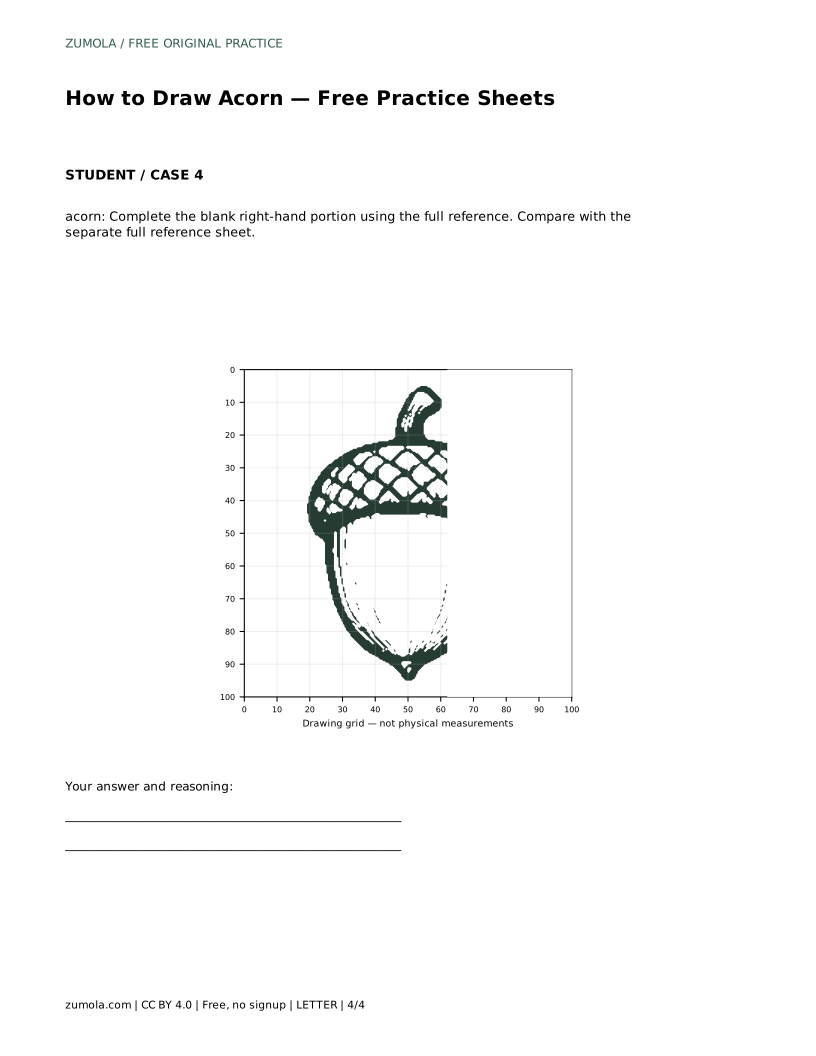
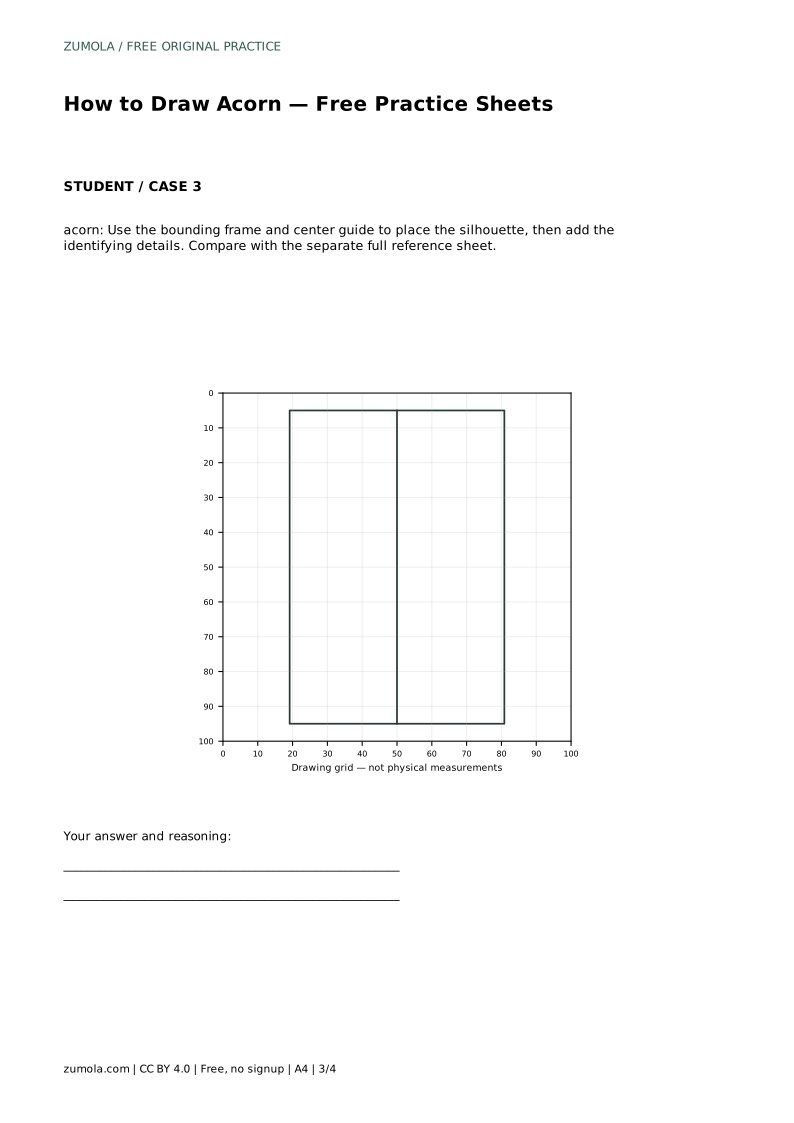
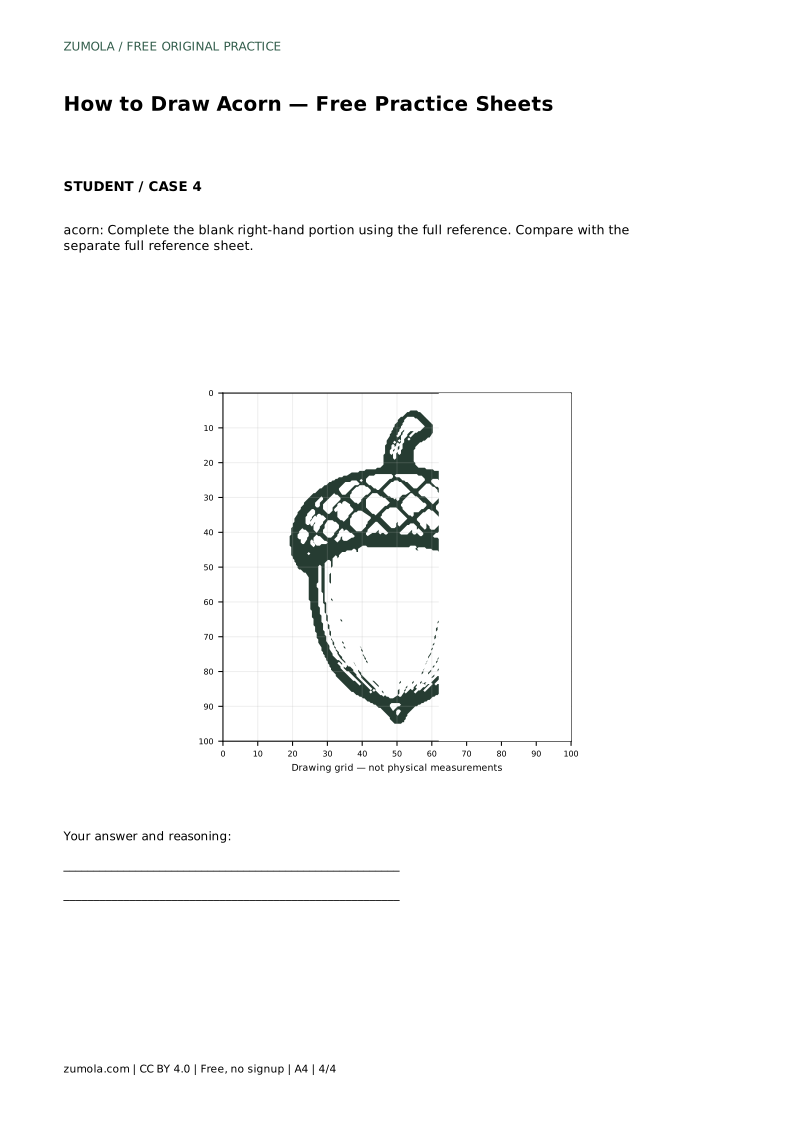
Each sheet format targets a different part of the skill. Tracing the reference outline builds familiarity with the contour before you draw it independently. Copying onto a blank grid asks you to match grid intersections, which trains placement and proportion. The bounding frame and centre guide help you position the silhouette before adding identifying details. The complete-the-drawing sheet gives you part of the acorn and asks you to finish the blank portion using the full reference.
After each attempt, compare your drawing with the separate full reference sheet. Look at the visible features and proportions rather than expecting a pixel-perfect match. Different line weights, texture spacing, and stem curves can all be correct.
A useful check is to name the four visible features: rounded nut body, pointed tip at the bottom, textured cap with crosshatch, and short curved stem on top. If any feature is missing or misplaced, adjust that part rather than redrawing everything. Proportion matters more than exact line placement: the cap should be slightly wider than the body, and the stem should stay short.
Because drawing has multiple valid outcomes, judge your work against the feature checklist and proportions, not against an exact answer.
acorn: Trace the reference outline, then practise the contour independently. Compare with the separate full reference sheet.
Example solution: preserve rounded nut body with a pointed tip at the bottom, textured cap with a crosshatch pattern, short curved stem on top of the cap. Other drawings can be correct; assess the visible features and proportions rather than pixel-perfect matching. Draw a rounded oval for the nut body, tapering to a small point at the bottom. Draw a curved cap shape over the top of the nut body, slightly wider than the body. Add a crosshatch pattern inside the cap to show texture. Draw a short, curved stem extending upward from the top of the cap.
No. Preserve the rounded body, pointed bottom tip, textured cap, and short curved stem, then assess visible features and proportions rather than pixel-perfect matching.
Start by tracing the reference outline, then move to the grid copy, the bounding frame version, and the complete-the-drawing sheet as your confidence grows.
Slightly wider than the nut body, so the cap reads as a separate layer sitting over the top of the oval.
All drawing practice · Free coordinate paper
Original resources · CC BY 4.0 · Free for personal and classroom use with attribution.