Reference diagrams
LETTER · Download PDF
A4 · Download PDF
Free original resources
Learn to draw an alligator gar by tracing its long toothy snout, torpedo body, and spotted fins, then compare your work with a full reference sheet.
Four original cases, with reference diagrams, practice sheets and worked answers. Everything is free; no signup required.
LETTER · Download PDF
A4 · Download PDF
LETTER · Download PDF
A4 · Download PDF
LETTER · Download PDF
A4 · Download PDF
Use A4 or US Letter to match your printer. Use the stated values and conditions to solve each exercise; diagrams are not physical measuring rulers.
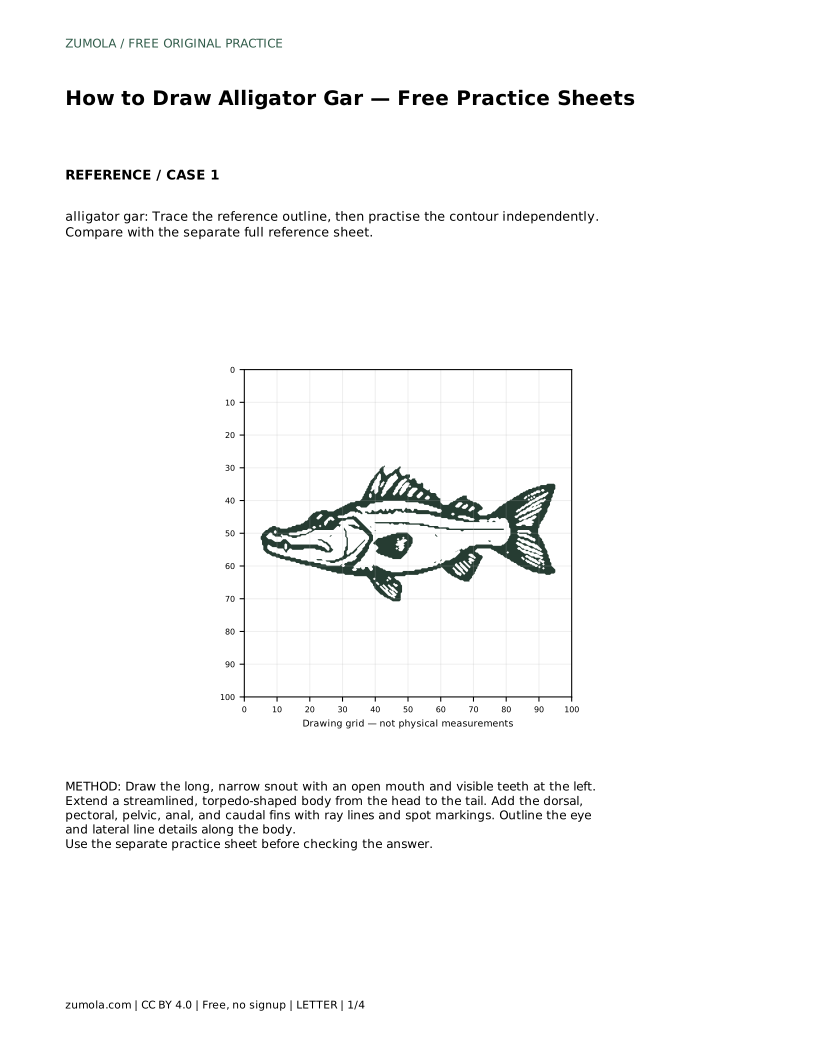
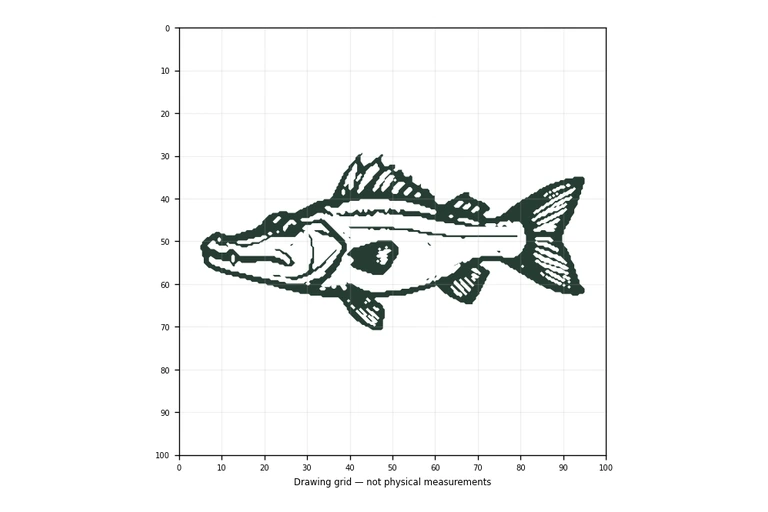
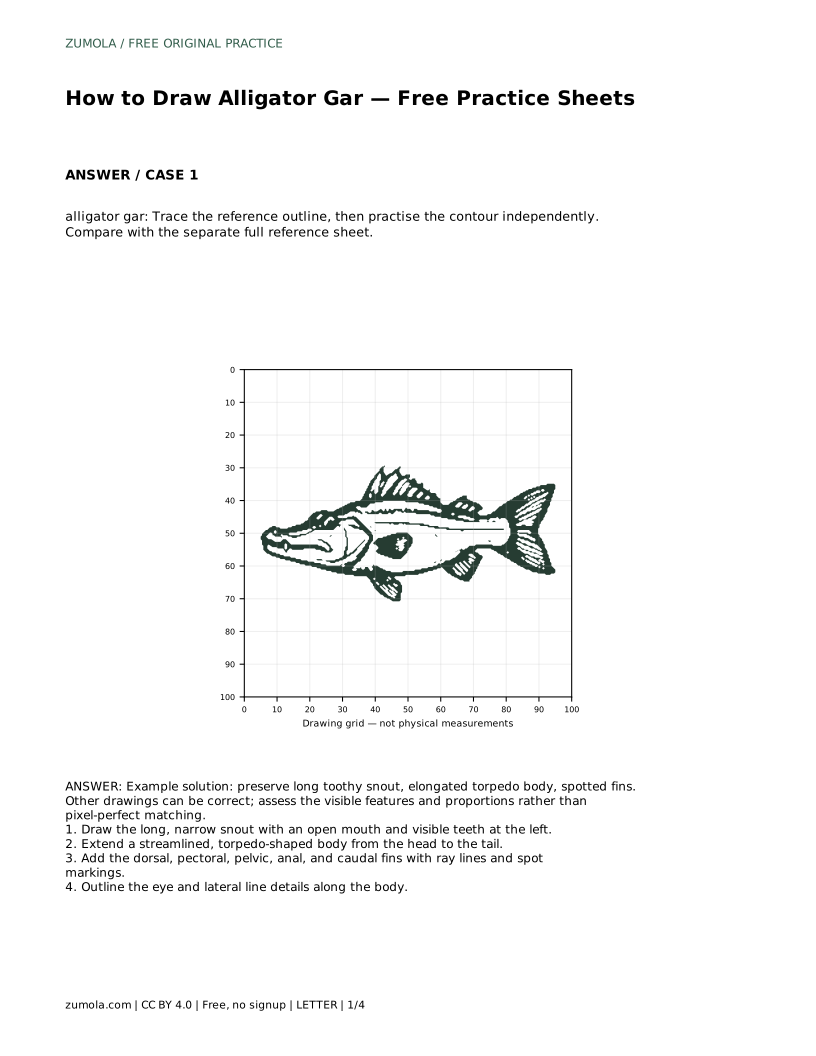
Drawing an alligator gar is a study in long, low proportions and distinctive features. This page guides you through tracing the reference outline, then practising the contour independently. You will focus on the elongated snout with visible teeth, the streamlined body, and the fins with ray lines and spot markings. Because art has multiple valid outcomes, you will assess your drawing against a rubric rather than aiming for a pixel-perfect match. The goal is to capture the visible features and proportions that make an alligator gar recognisable.
Begin at the left side of your paper. The alligator gar’s most identifying feature is its long, narrow snout, which is roughly as long as the rest of the head. Draw the snout as a tapered wedge, slightly open to show a row of small, sharp teeth along both jaws. Keep the mouth line straight and horizontal; avoid curving it upward like a smile.
From the back of the head, extend a streamlined, torpedo-shaped body. The body should be longest in the middle and taper gradually toward the tail. Use a light pencil line so you can adjust the proportions. The body depth is modest compared with the length—an alligator gar is elongated, not deep-bodied like a sunfish.
Alligator gars have several fins along the body: a dorsal fin set far back, pectoral fins behind the head, pelvic fins midway, an anal fin near the tail, and a rounded caudal (tail) fin. Draw each fin as a broad, rounded triangle or paddle shape, then add thin ray lines radiating from the base to the edge. These ray lines give the fins structure and help you avoid a flat, blob-like look.
Many alligator gars show dark spots on their fins and body. Add small, irregular spots across the fins and along the upper body. Keep the spots sparse and varied in size; they are markings, not a uniform pattern. The lateral line runs along the side of the body, so draw a faint line from behind the head to the tail base.
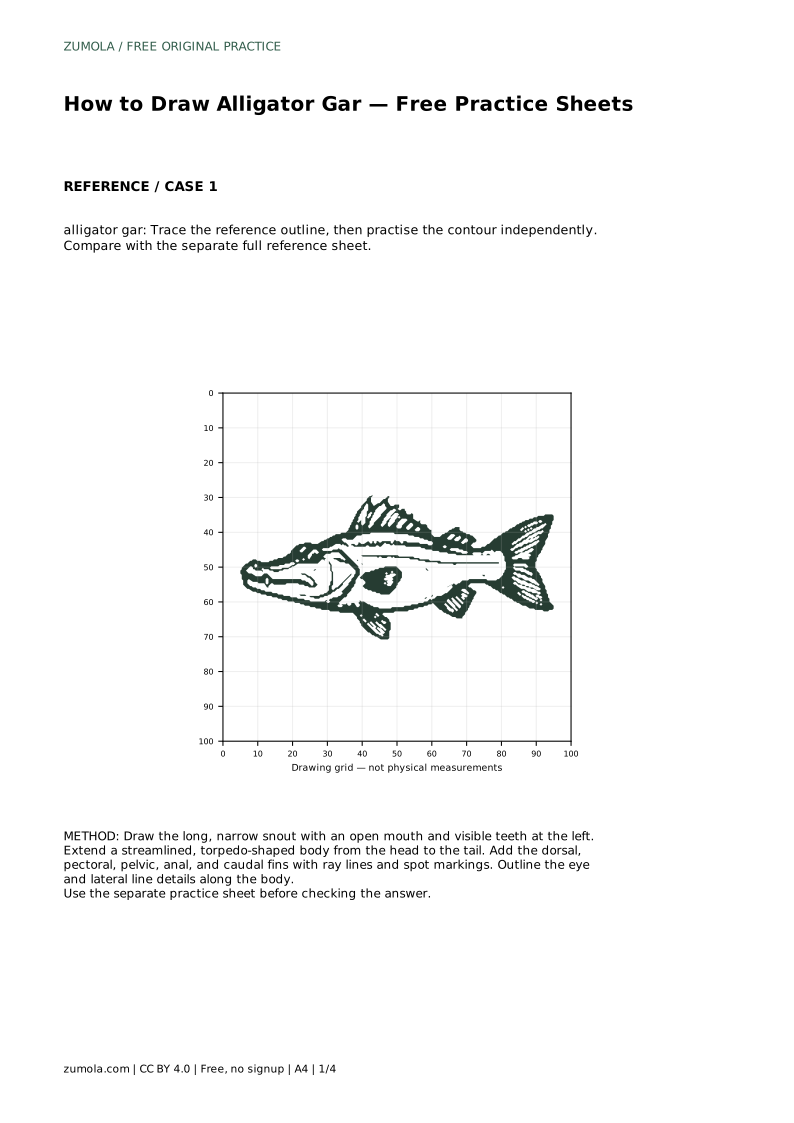
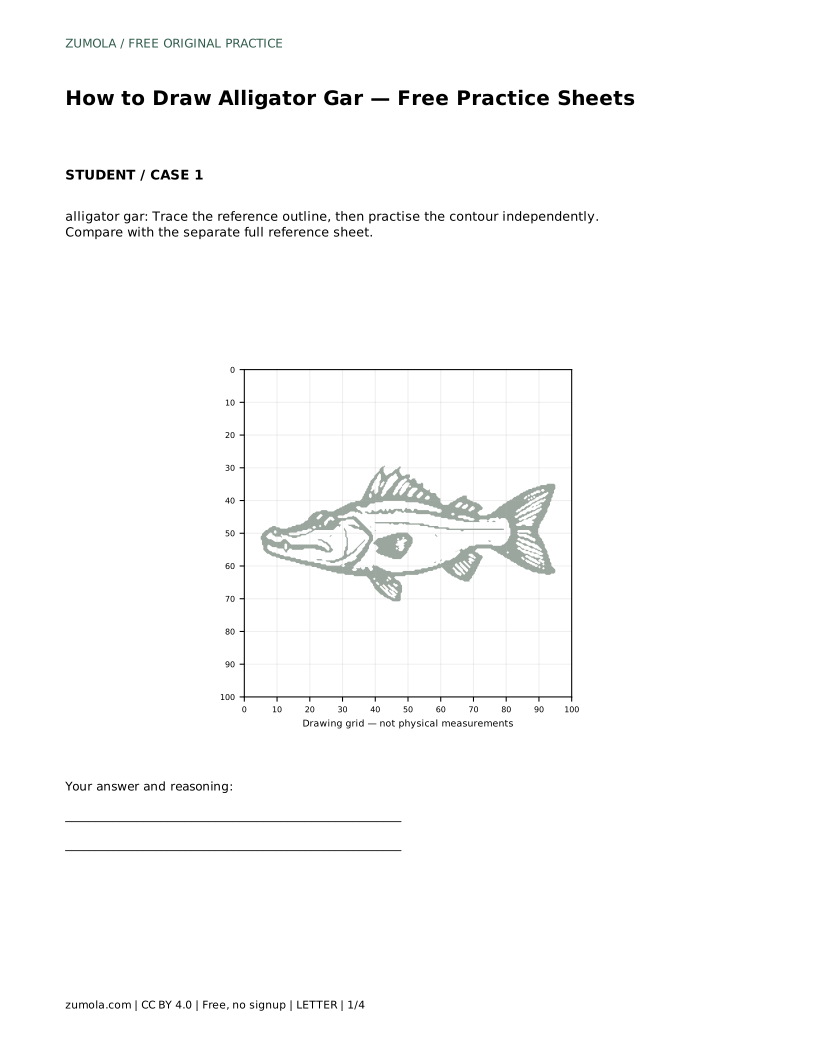
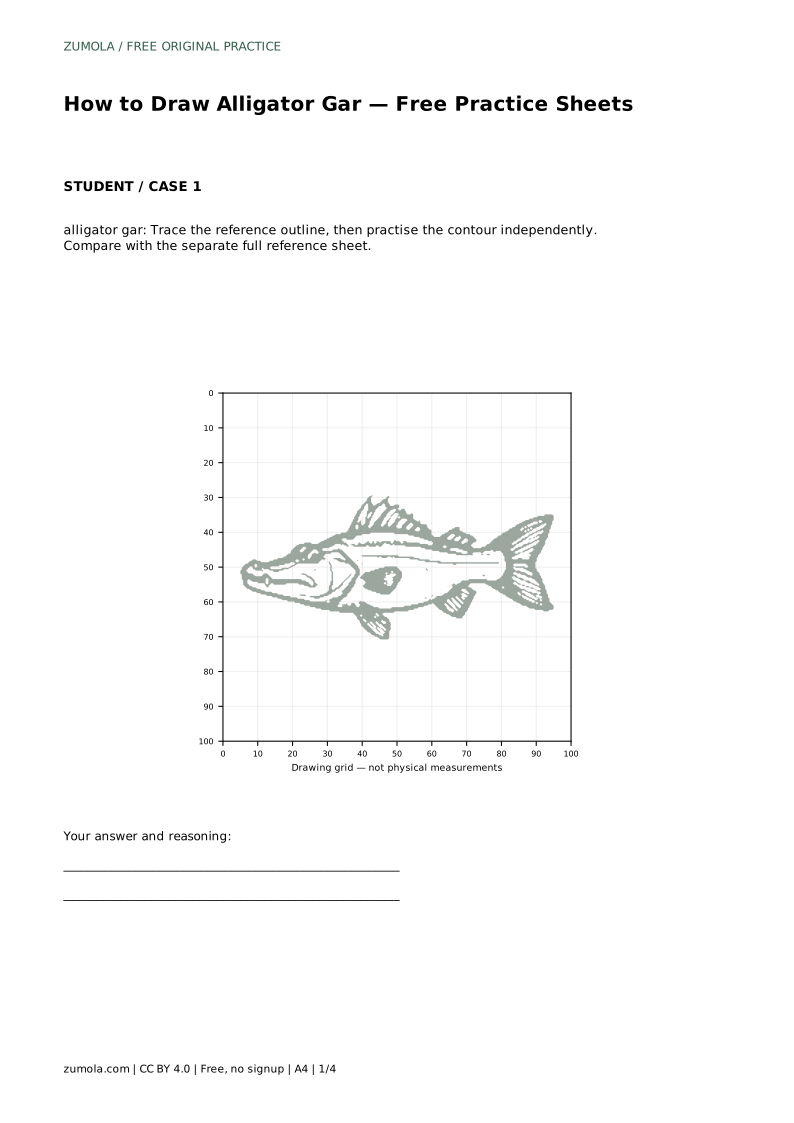
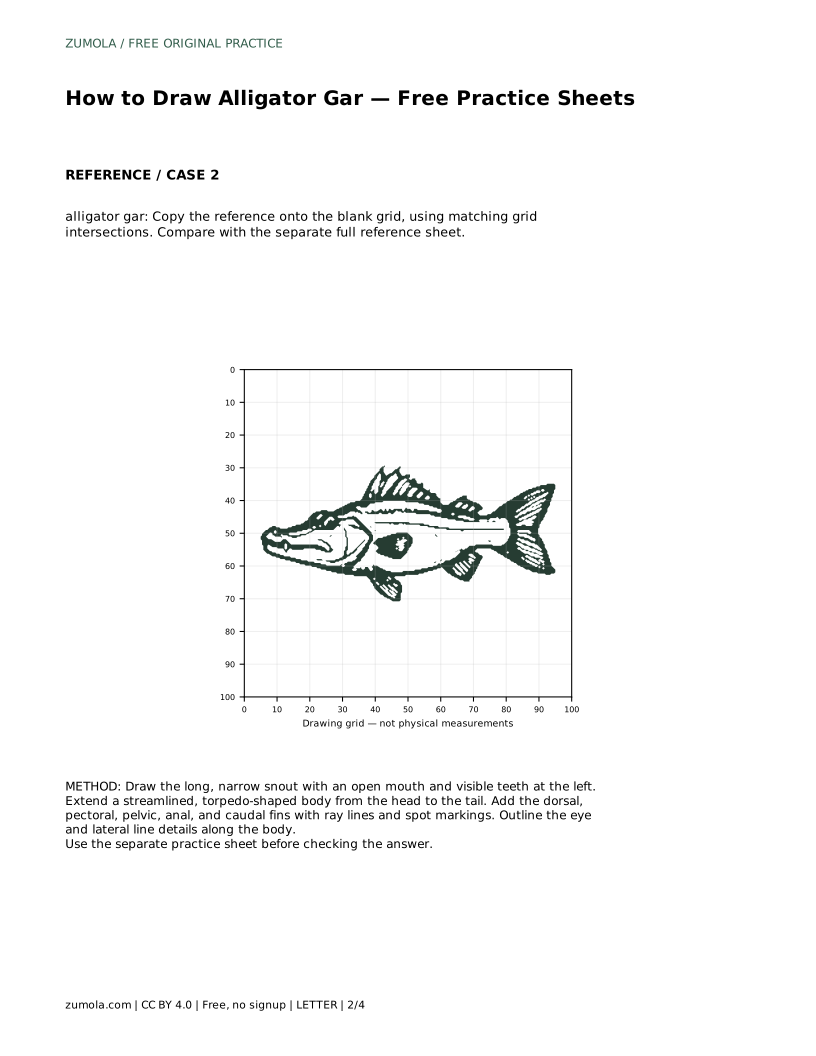
Use the traceable reference outline first. Place a sheet over the outline and follow the contour slowly, paying attention to where the snout meets the head and how the body tapers. Tracing builds muscle memory for the long, low shape.
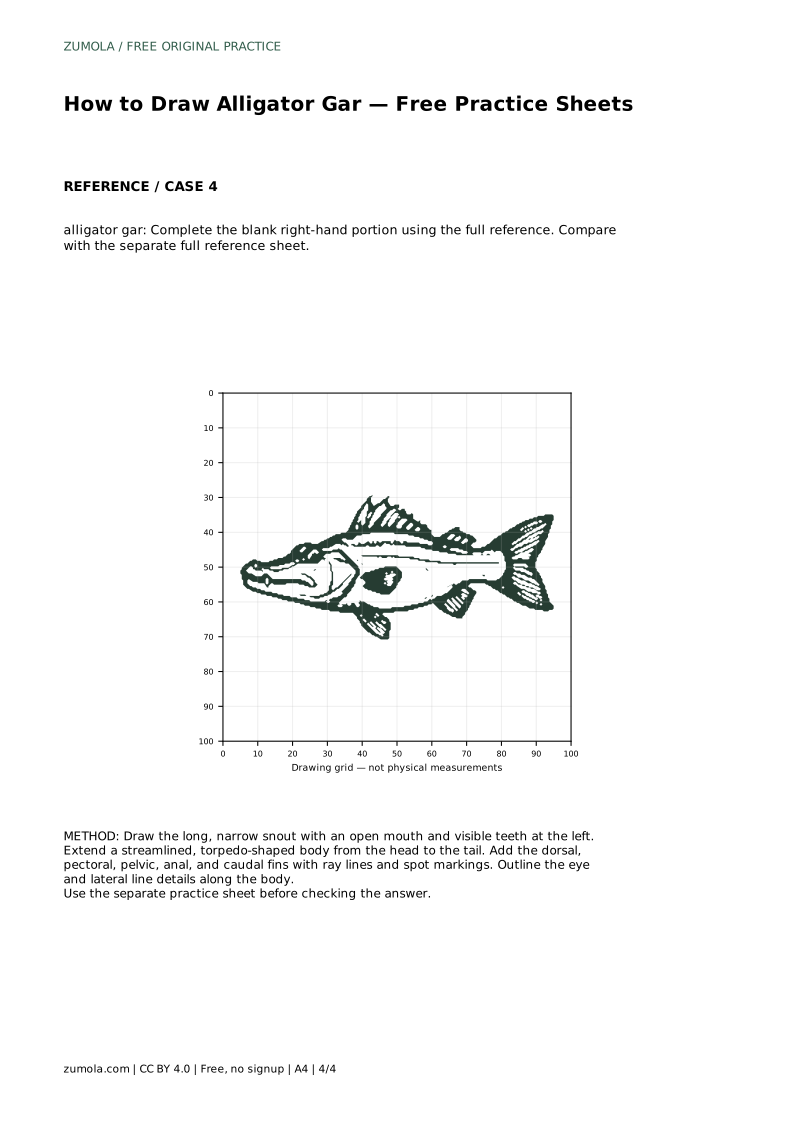
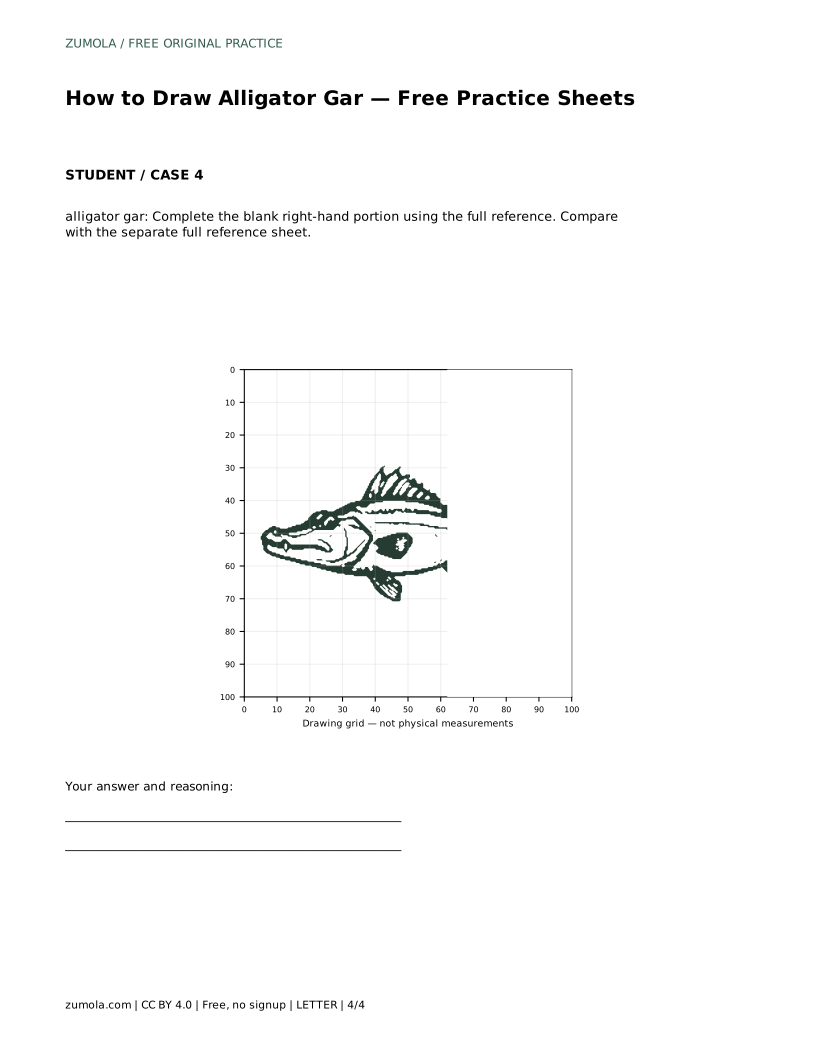
Next, move to a blank sheet and draw the same contour without tracing. Keep the reference nearby but try to work from observation rather than copying line by line. When you finish, compare your independent drawing with the separate full reference sheet. Check the snout length, body taper, fin placement, and spot distribution. Remember that other drawings can be correct; assess the visible features and proportions rather than pixel-perfect matching.
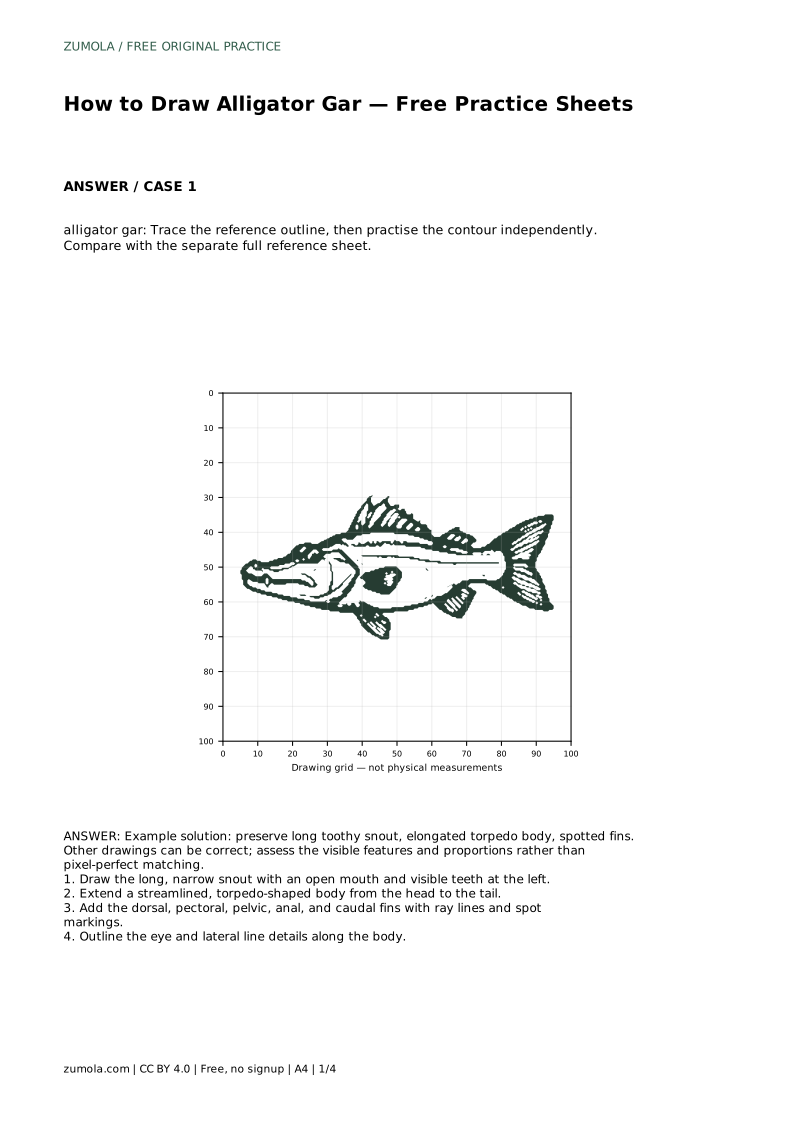
alligator gar: Trace the reference outline, then practise the contour independently. Compare with the separate full reference sheet.
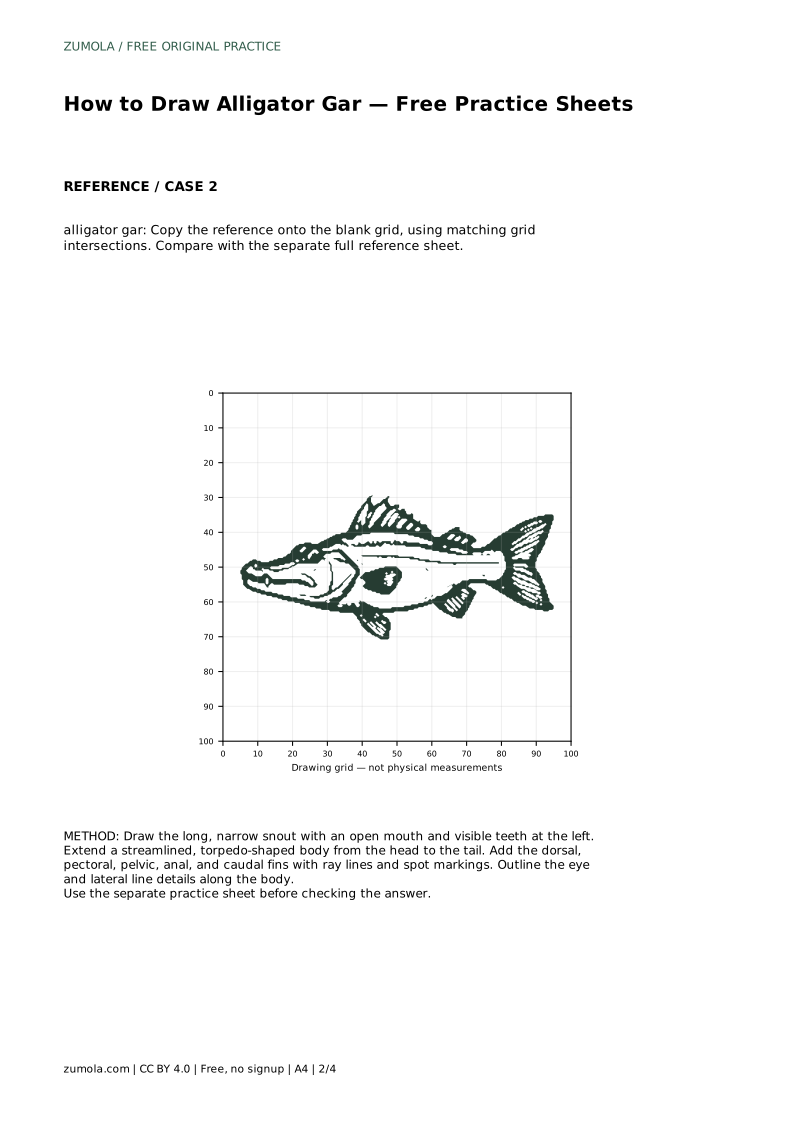
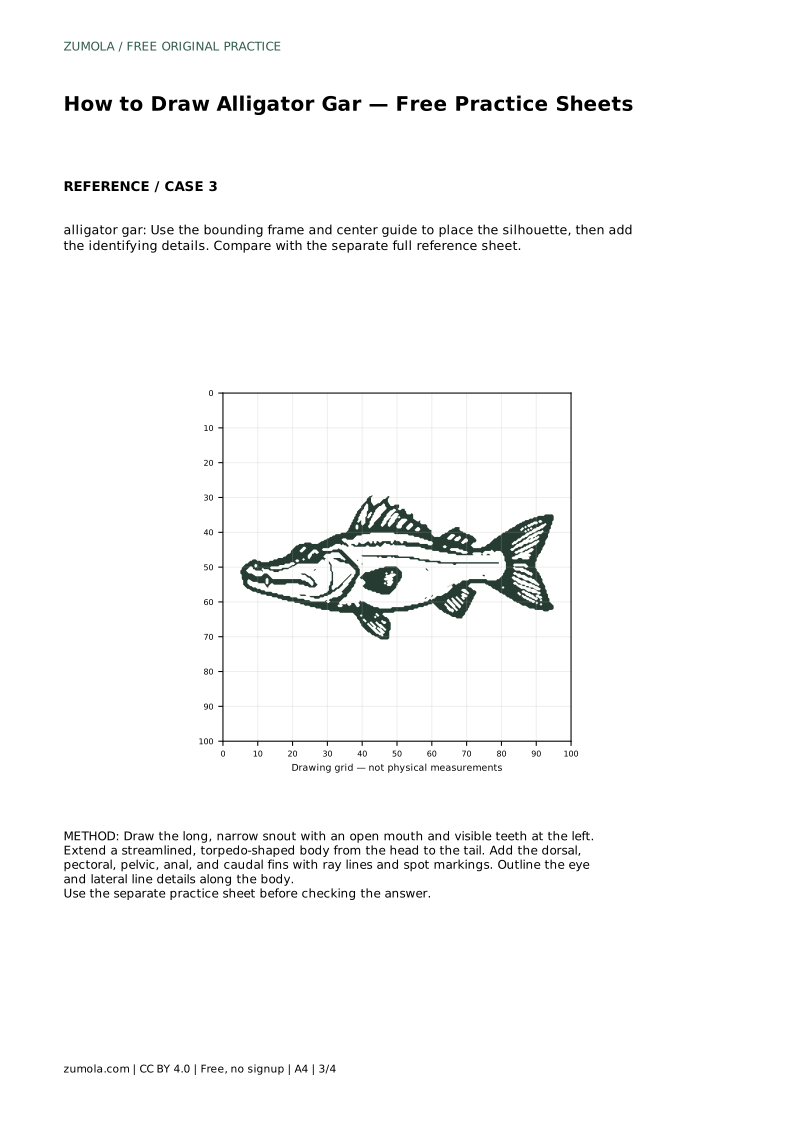
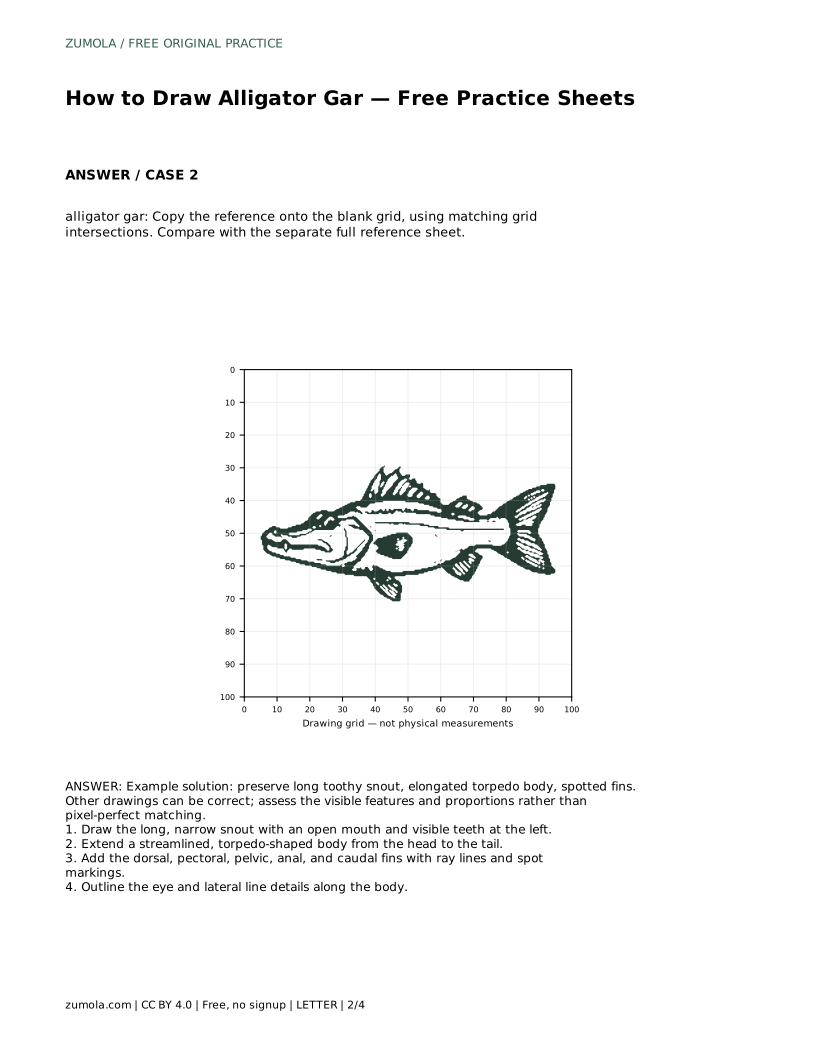
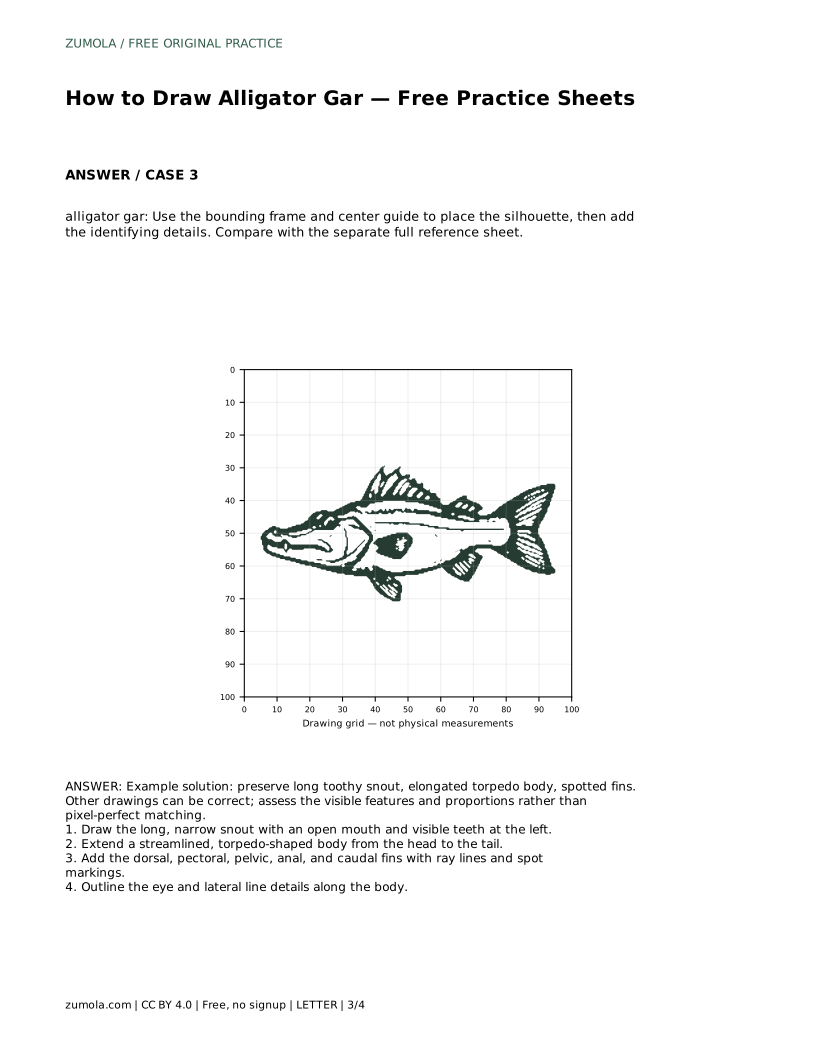
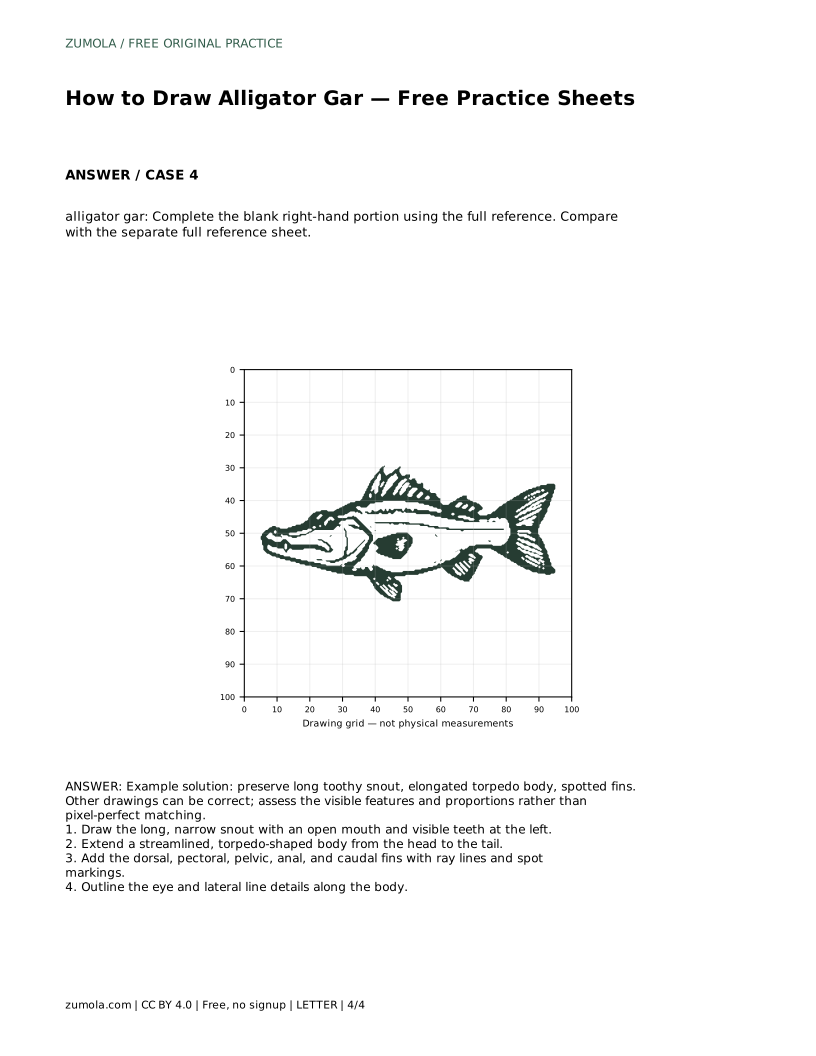
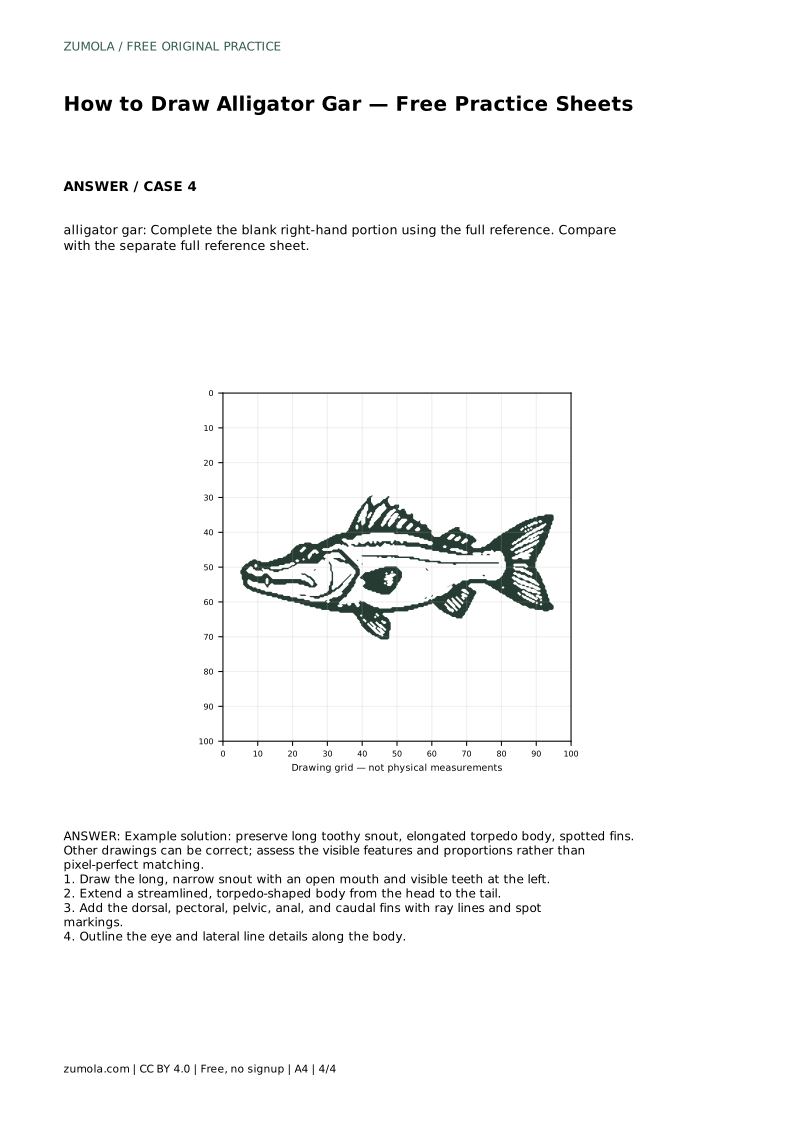
Example solution: preserve long toothy snout, elongated torpedo body, spotted fins. Other drawings can be correct; assess the visible features and proportions rather than pixel-perfect matching. Draw the long, narrow snout with an open mouth and visible teeth at the left. Extend a streamlined, torpedo-shaped body from the head to the tail. Add the dorsal, pectoral, pelvic, anal, and caudal fins with ray lines and spot markings. Outline the eye and lateral line details along the body.
No. Art has multiple valid outcomes. Use the rubric to check that you have preserved the long toothy snout, elongated torpedo body, and spotted fins with ray lines. Small differences in proportion or spot placement are acceptable.
Start with the snout length and the body taper. These two features define the alligator gar’s silhouette. Then check fin placement and the presence of ray lines and spots.
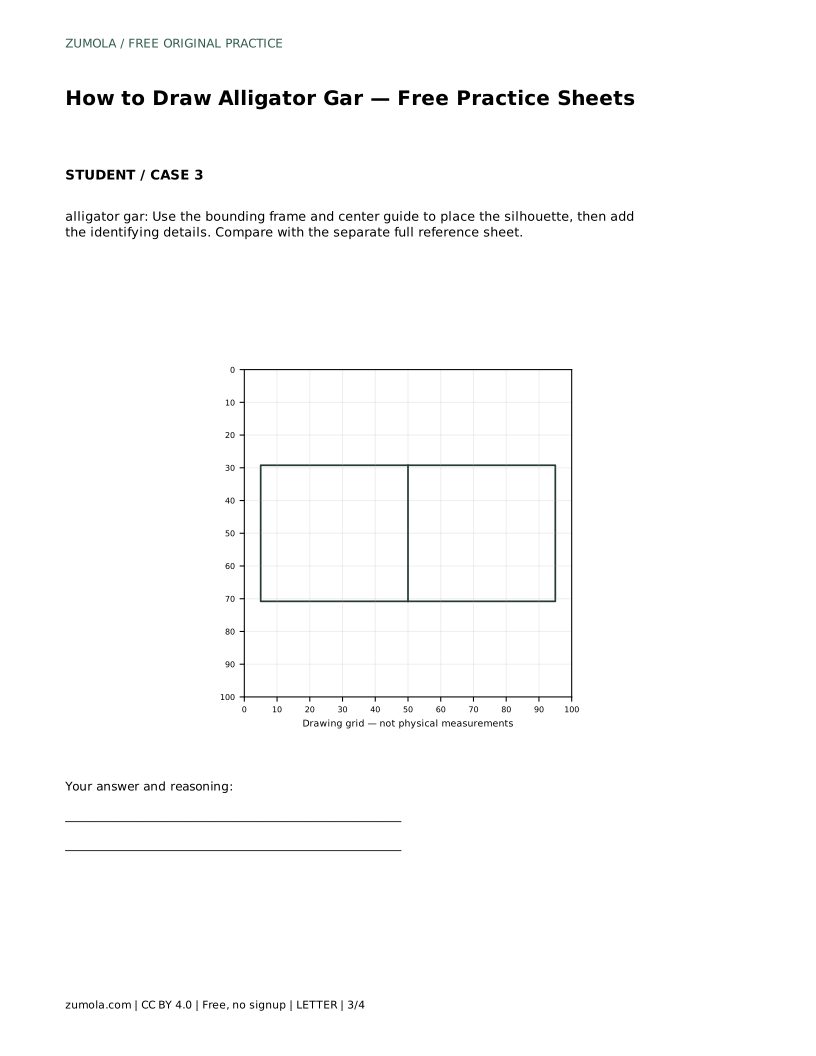
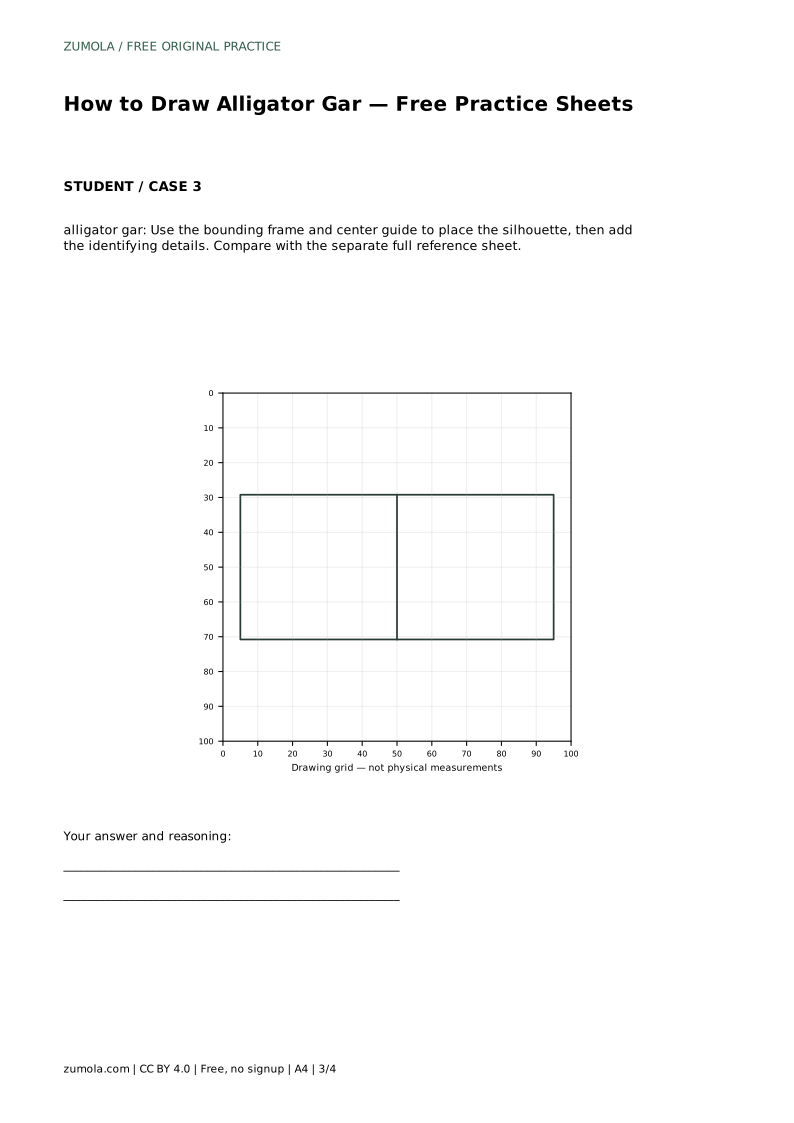
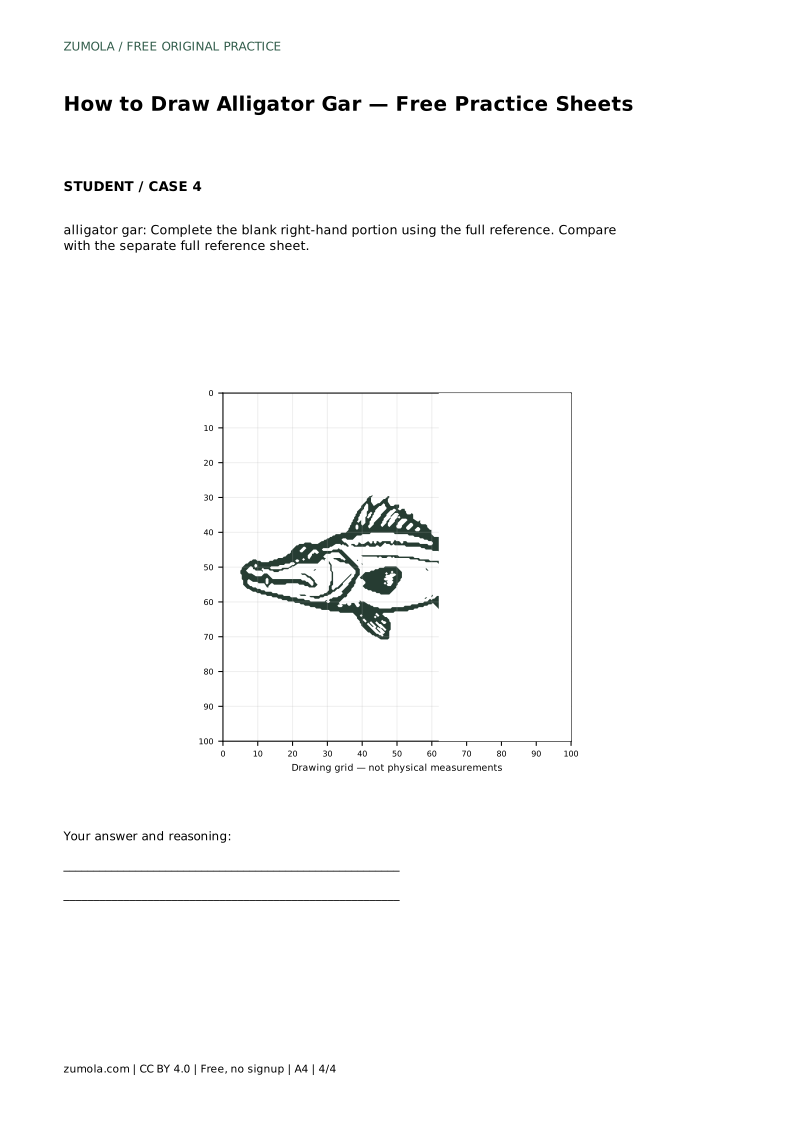
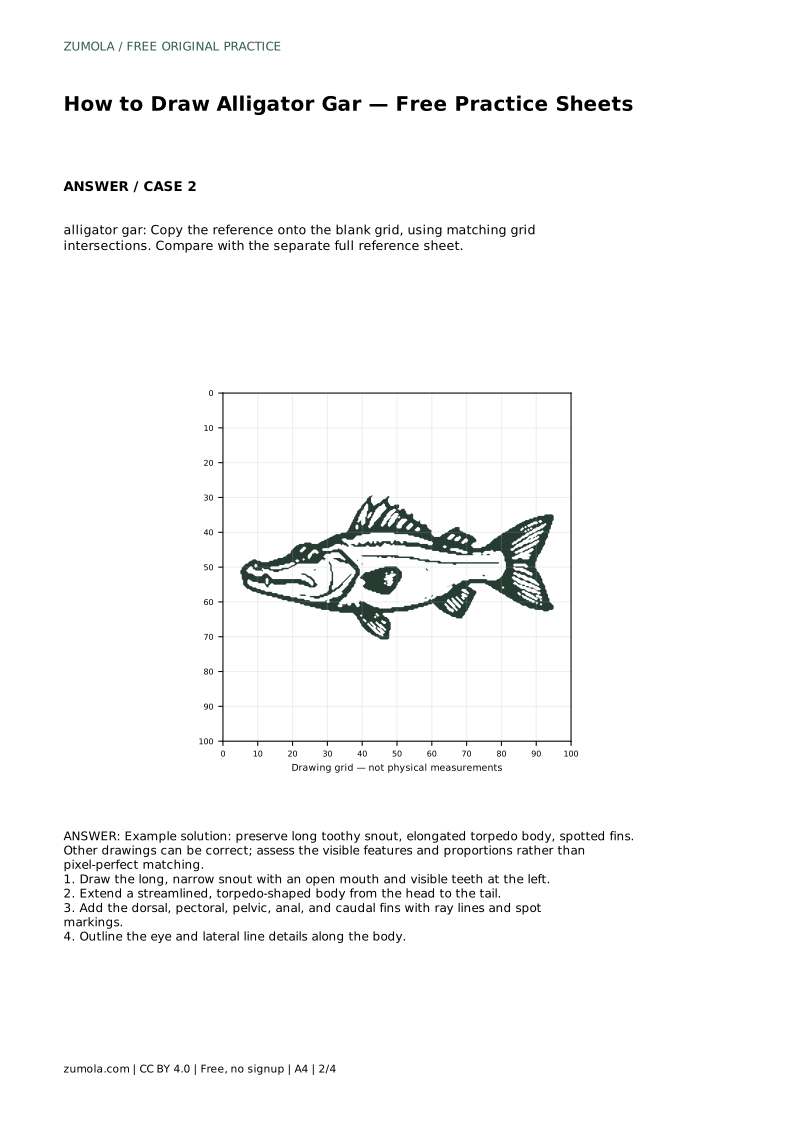
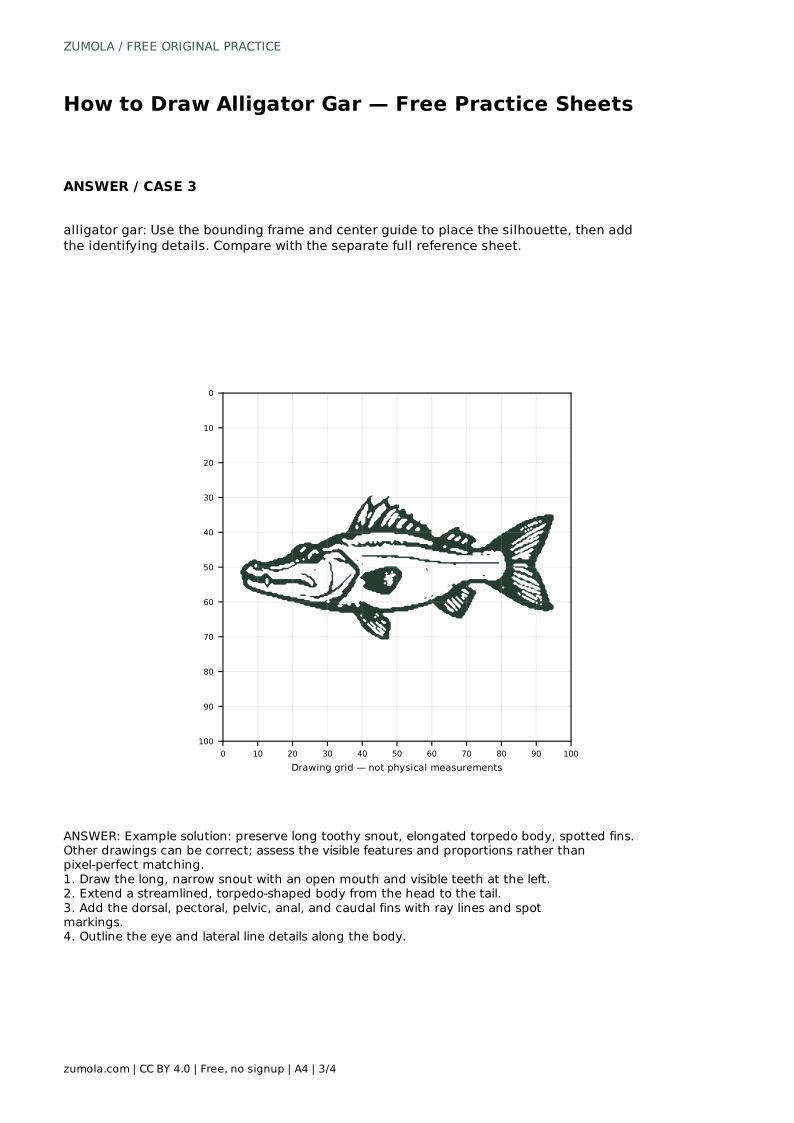
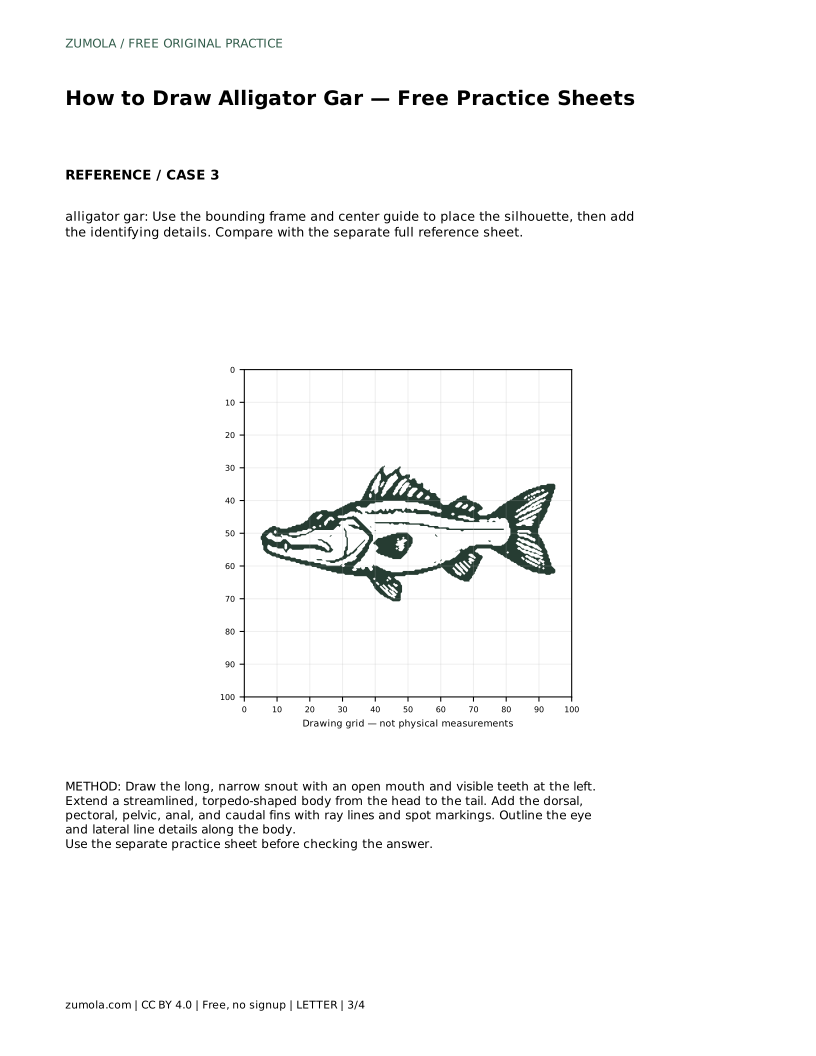
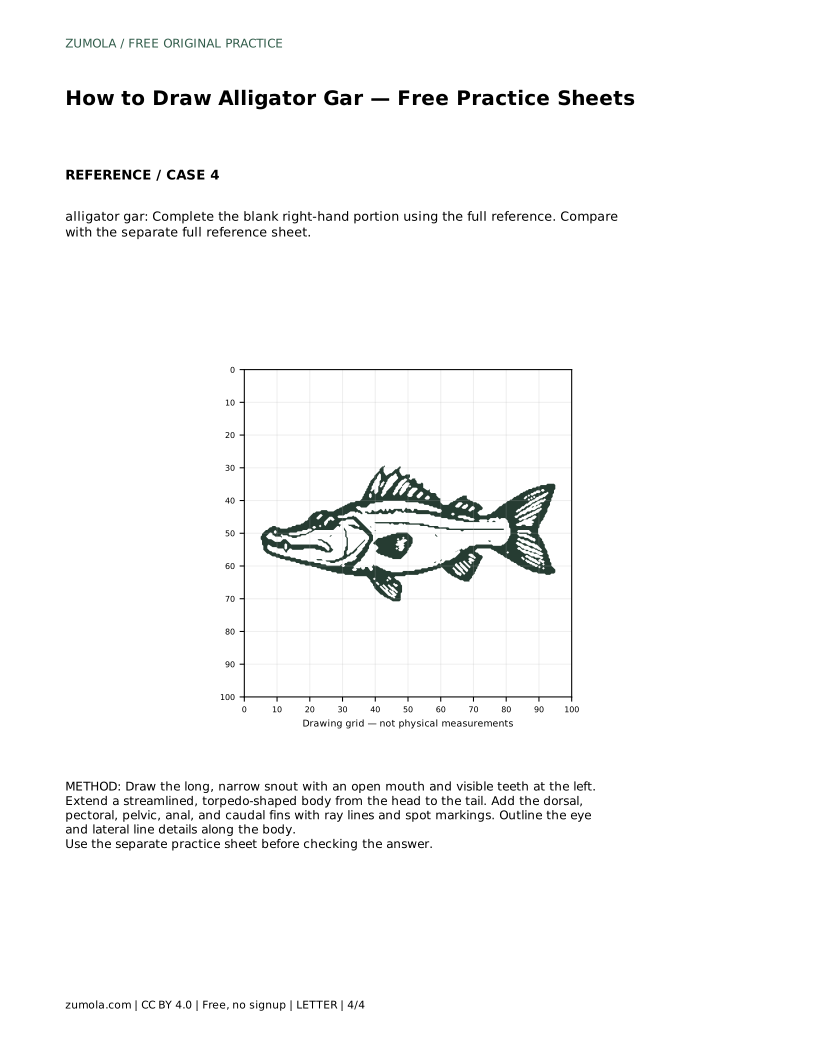
Yes. The grid method helps you copy the reference onto a blank grid using matching intersections. The bounding frame and center guide help you place the silhouette before adding details. Each method practices the same features, so choose the one that suits your practice sheet.
All drawing practice · Free coordinate paper
Original resources · CC BY 4.0 · Free for personal and classroom use with attribution.