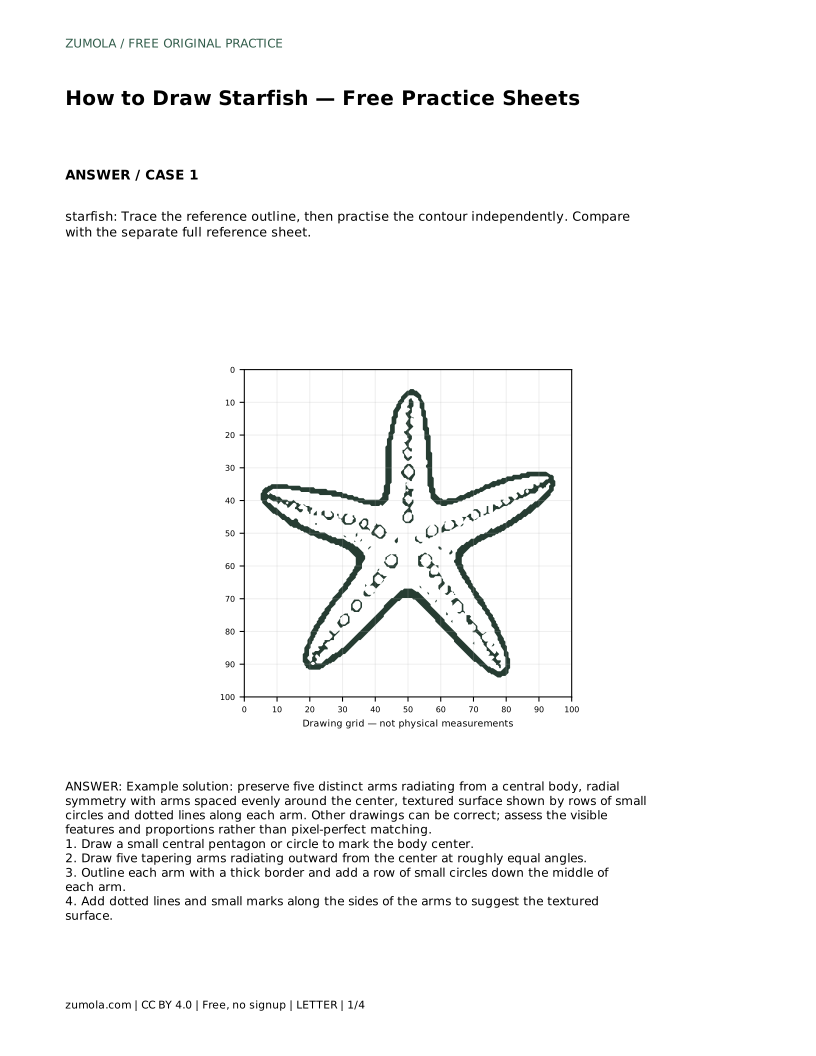
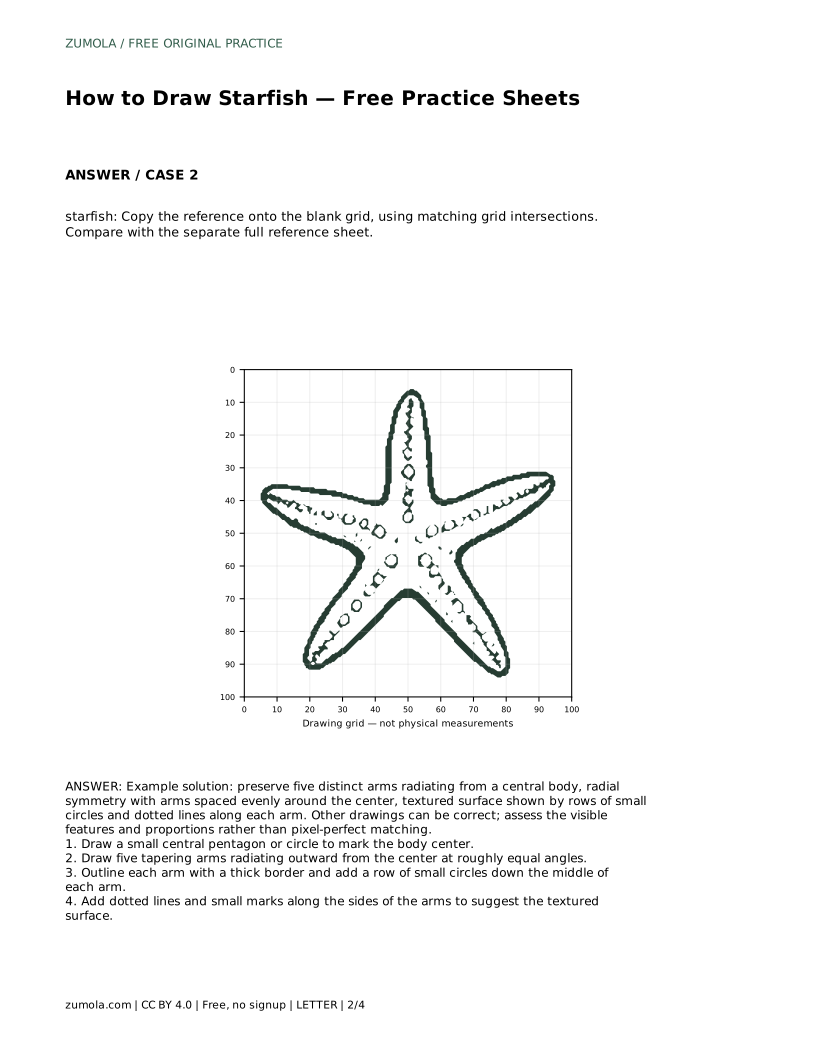
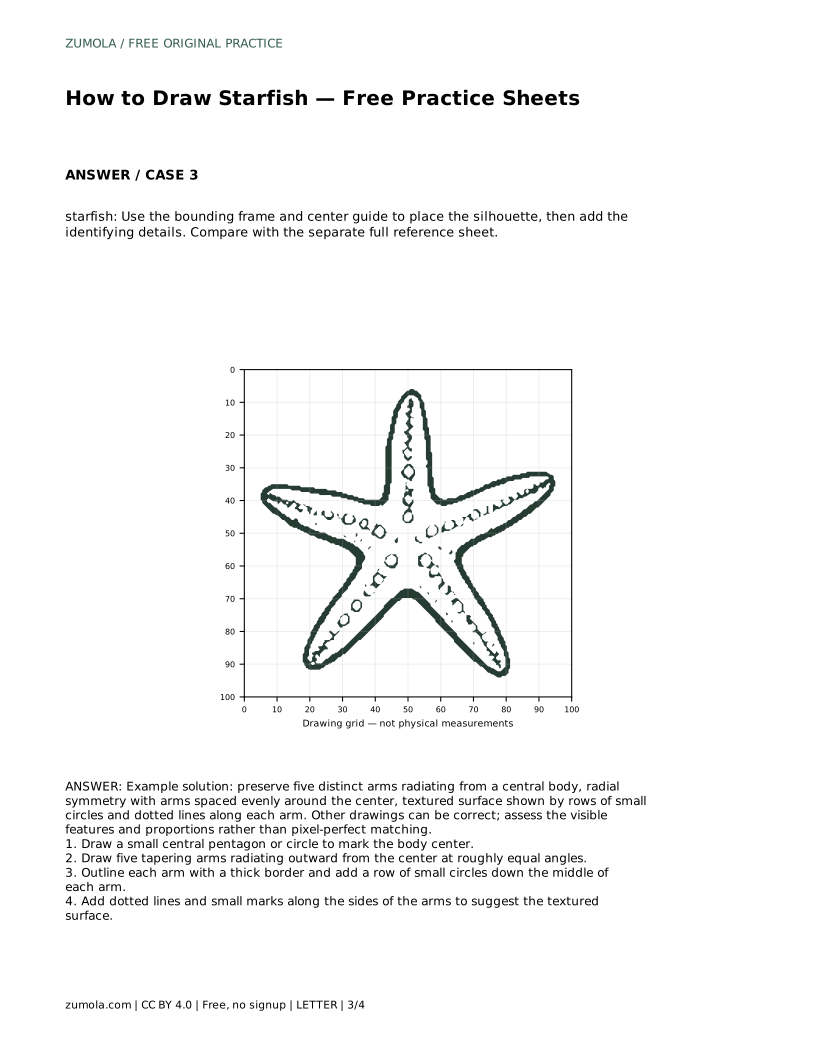
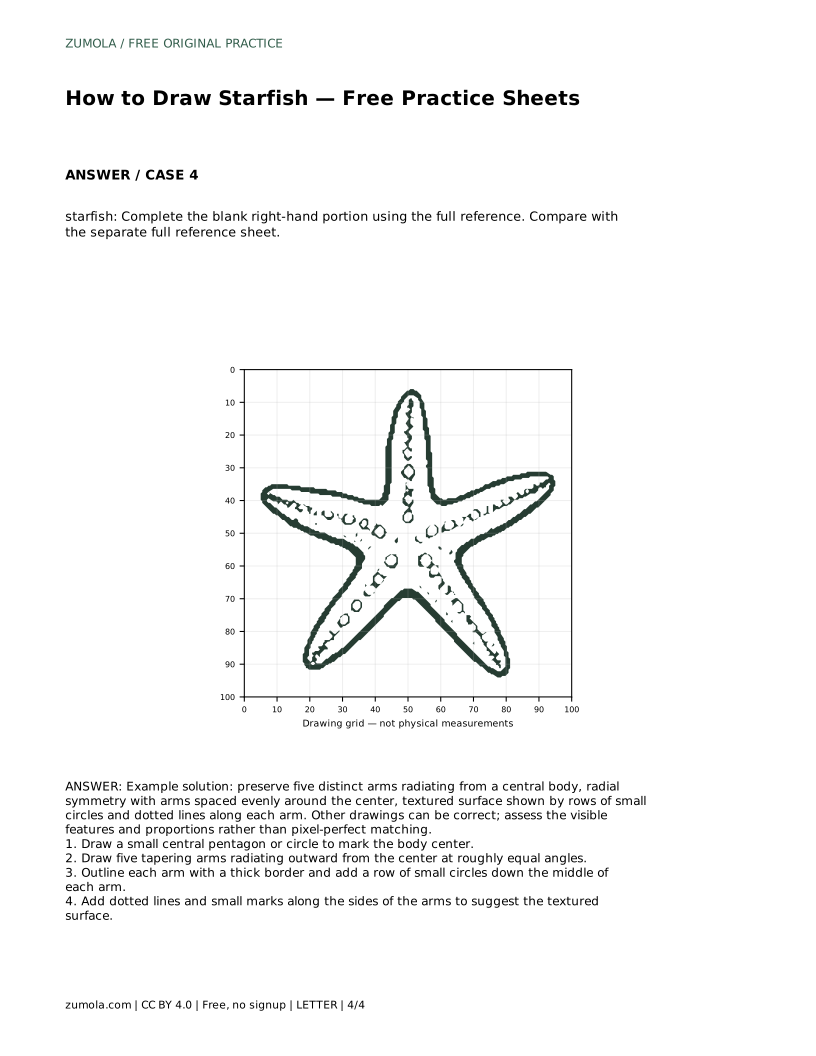
Reference diagrams
LETTER · Download PDF
A4 · Download PDF
Free original resources
Learn to draw a starfish with five evenly spaced tapering arms, a central body, and surface texture. Includes tracing, grid, and completion practice guidance.
Four original cases, with reference diagrams, practice sheets and worked answers. Everything is free; no signup required.
LETTER · Download PDF
A4 · Download PDF
LETTER · Download PDF
A4 · Download PDF
LETTER · Download PDF
A4 · Download PDF
Use A4 or US Letter to match your printer. Use the stated values and conditions to solve each exercise; diagrams are not physical measuring rulers.
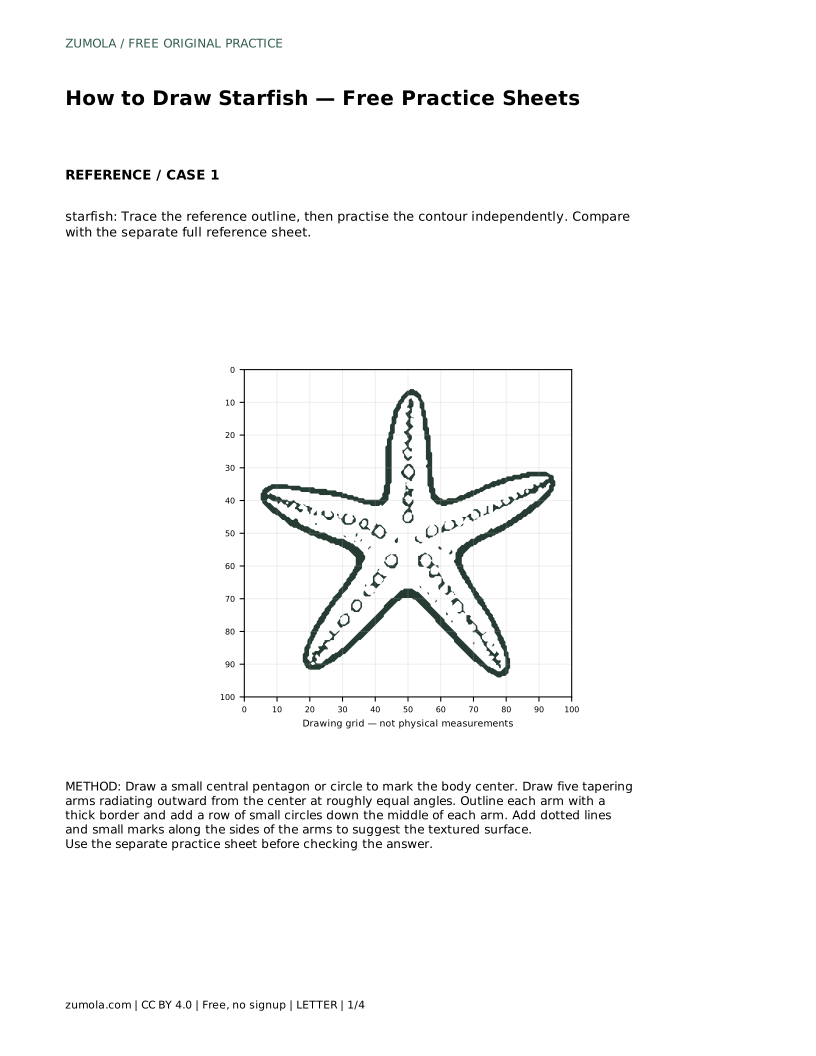
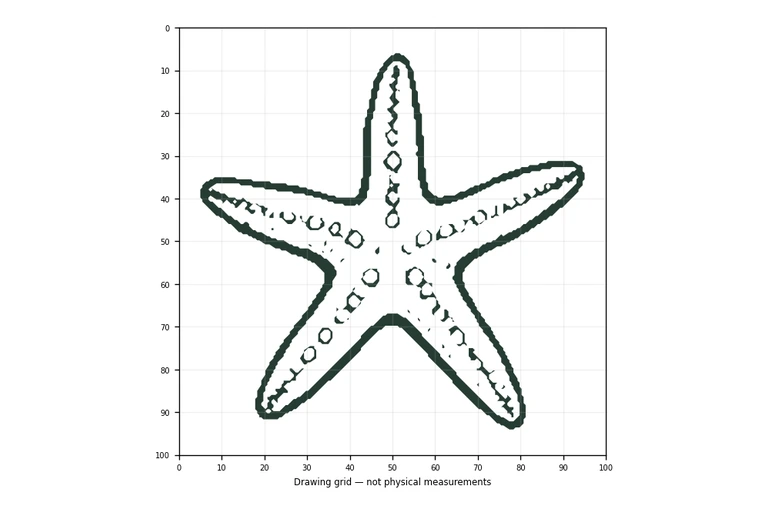
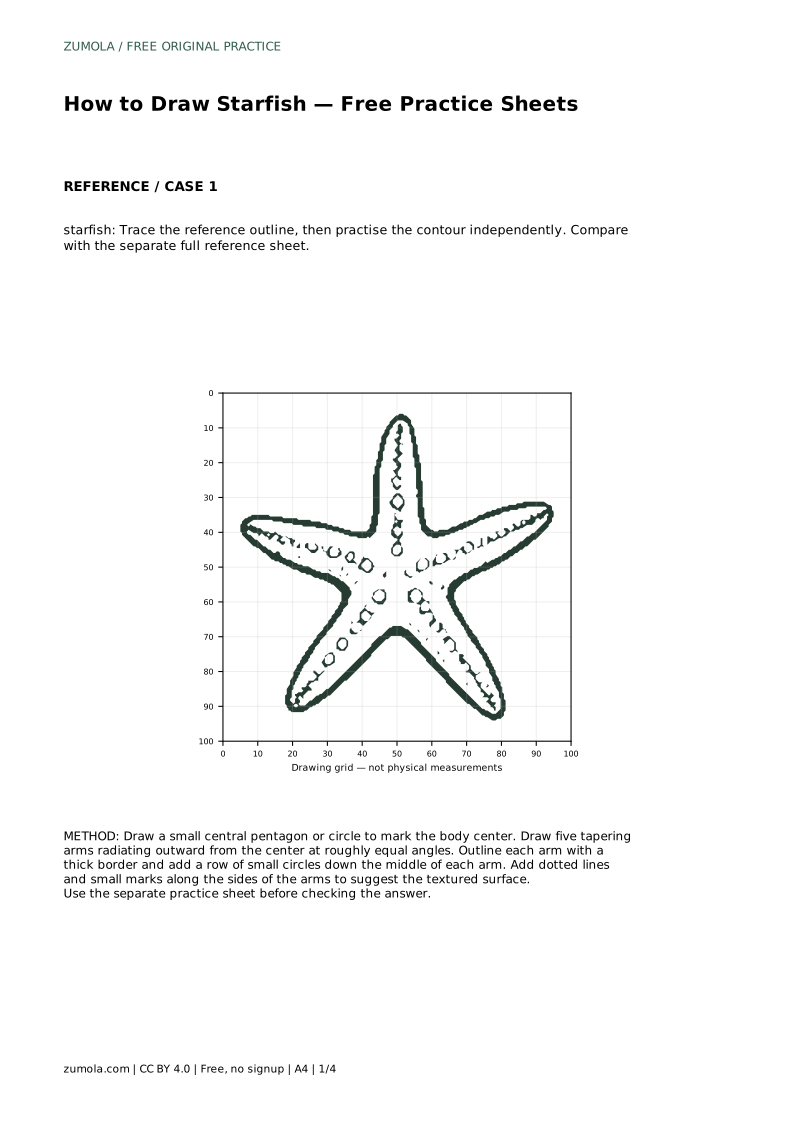
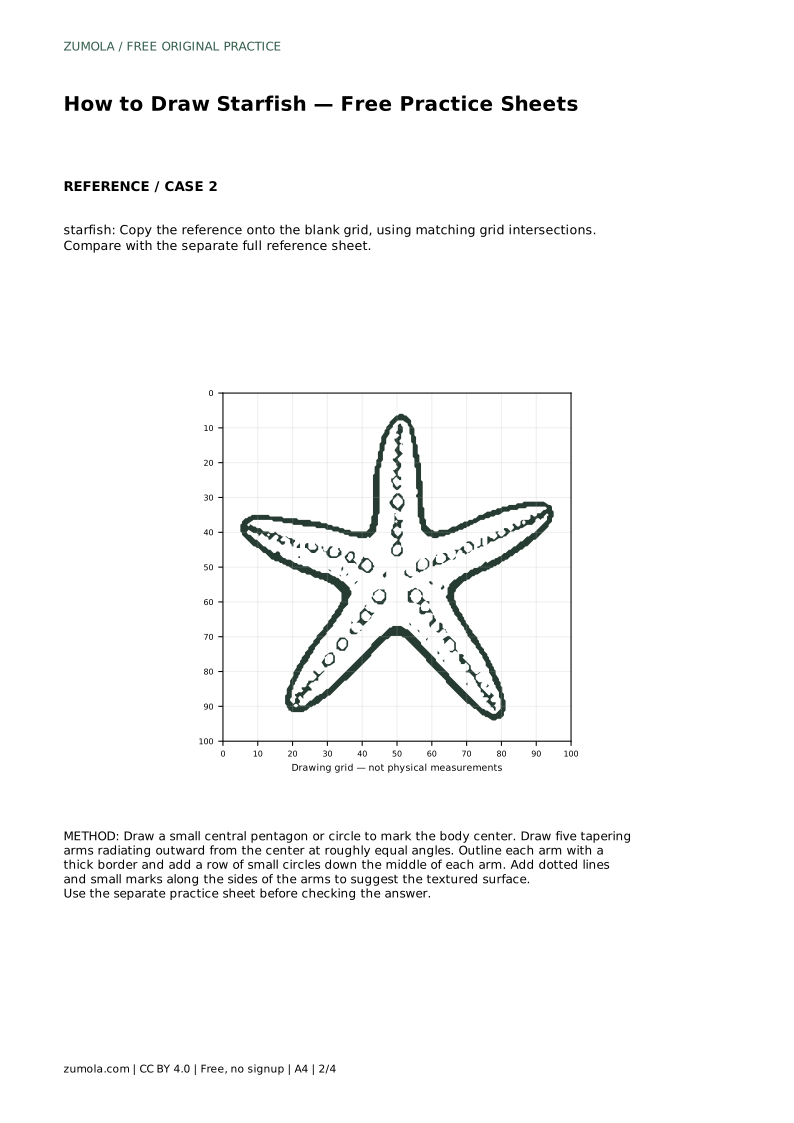
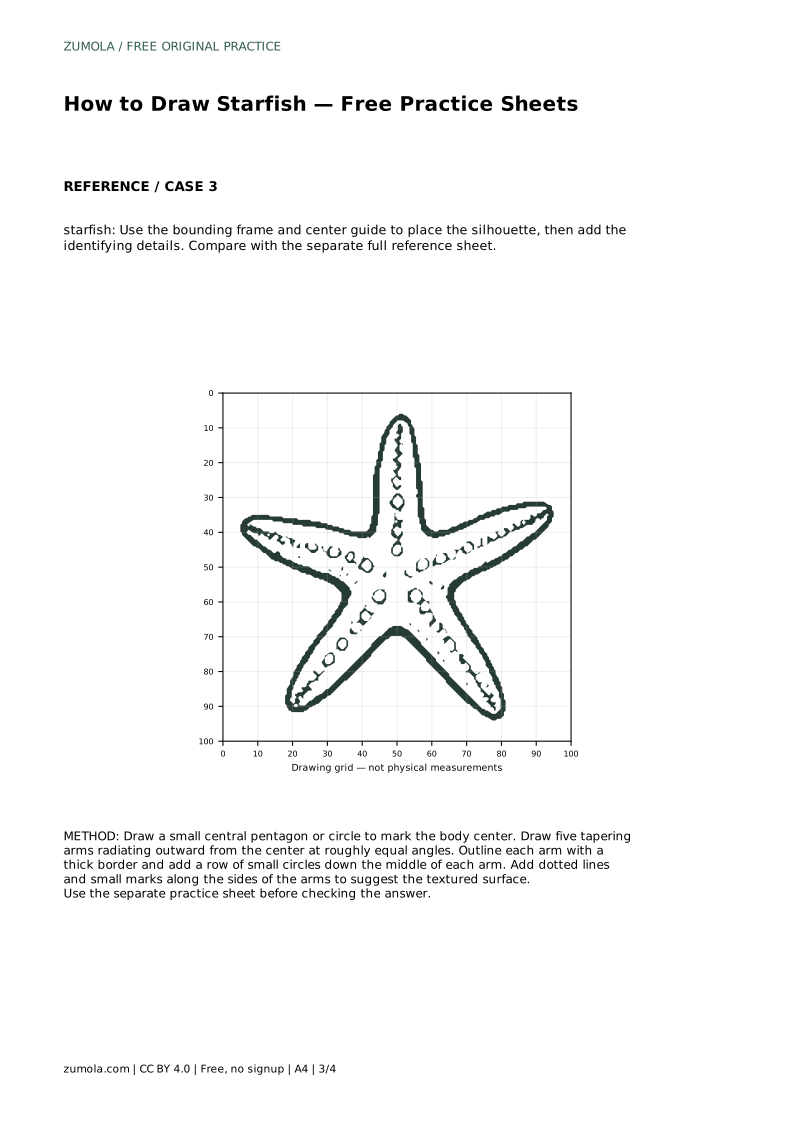
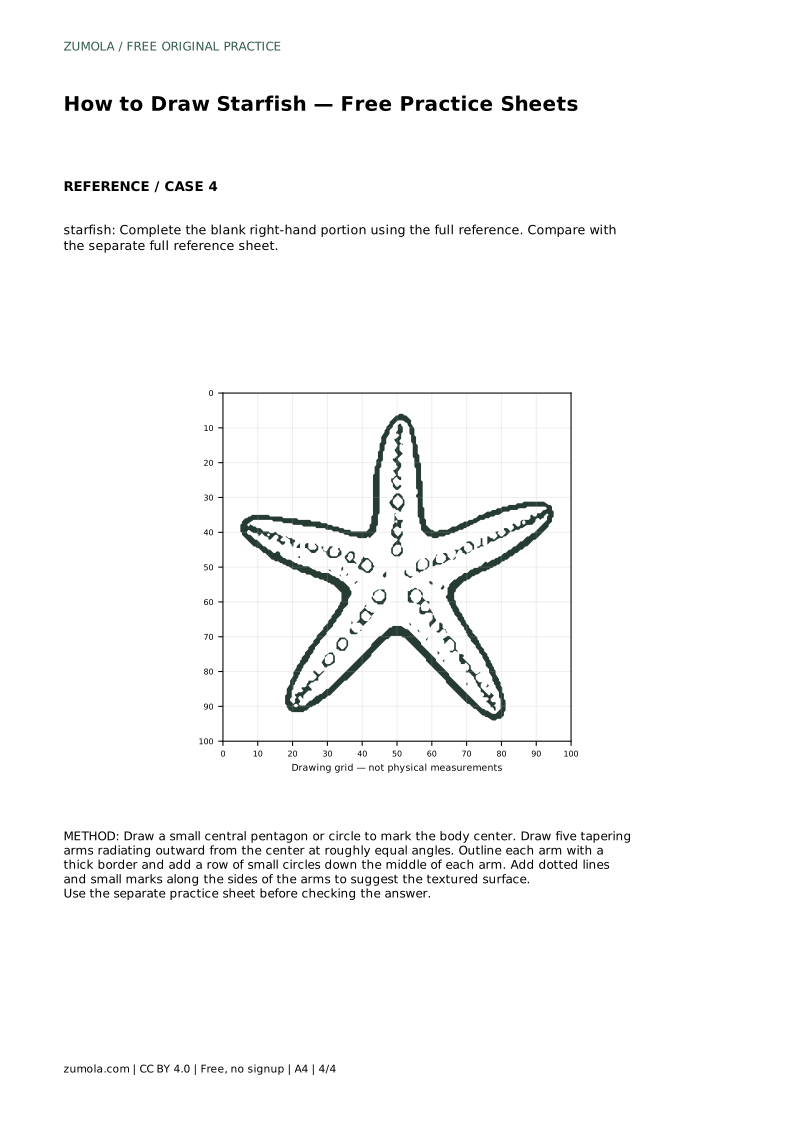
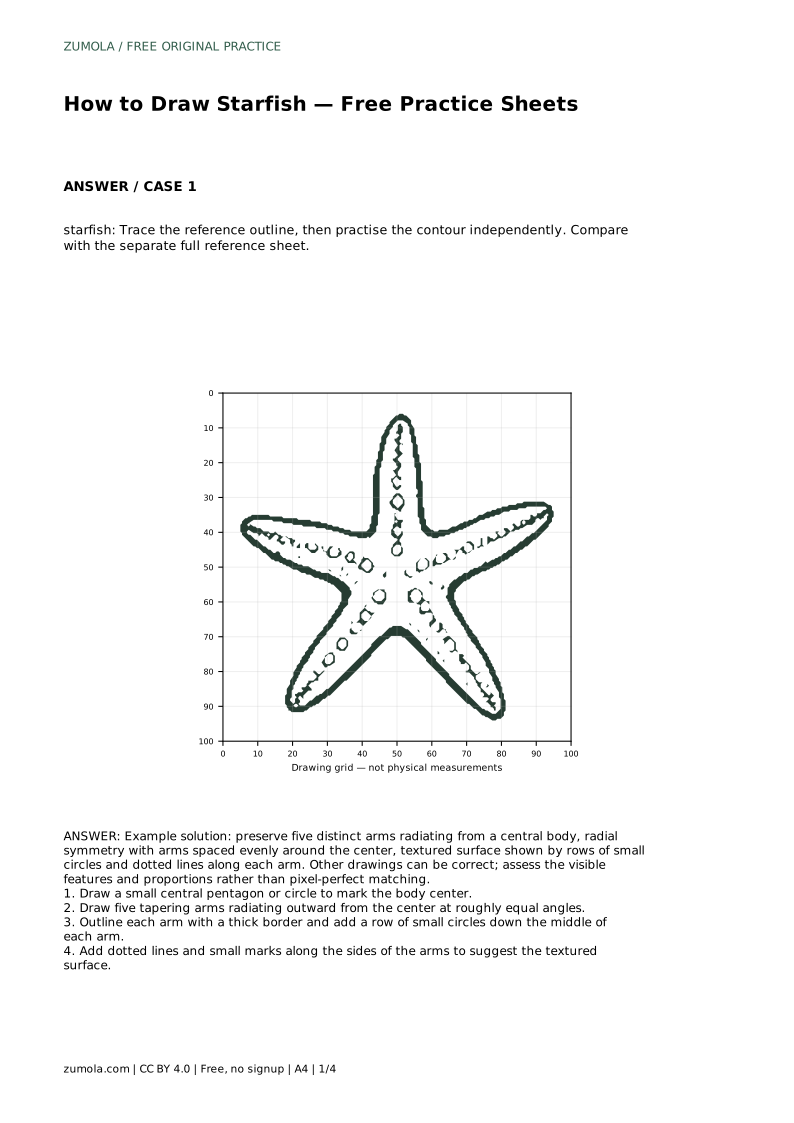
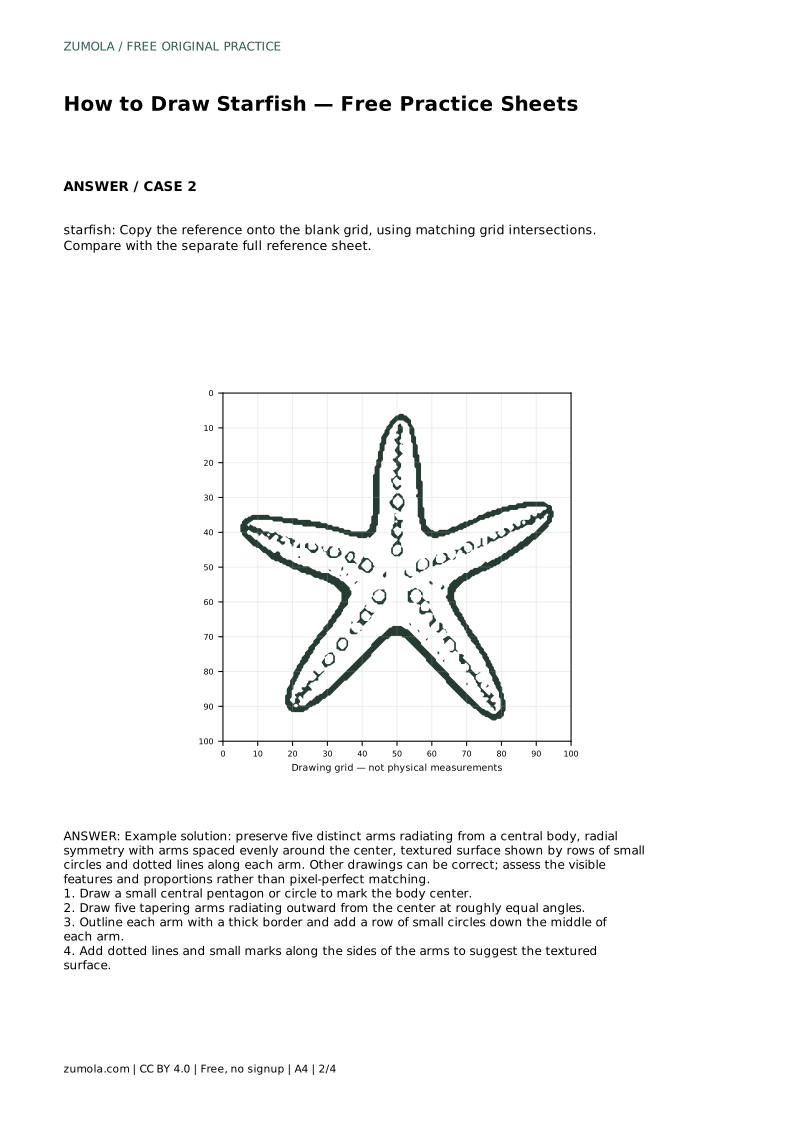
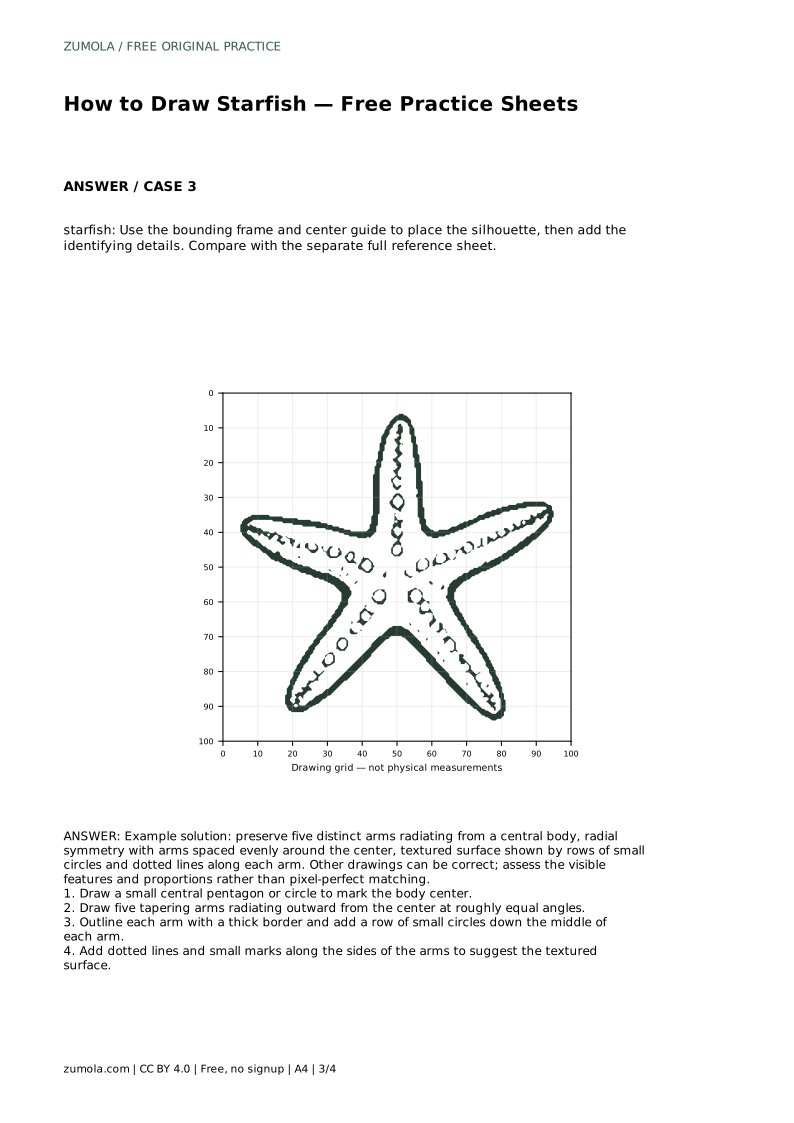
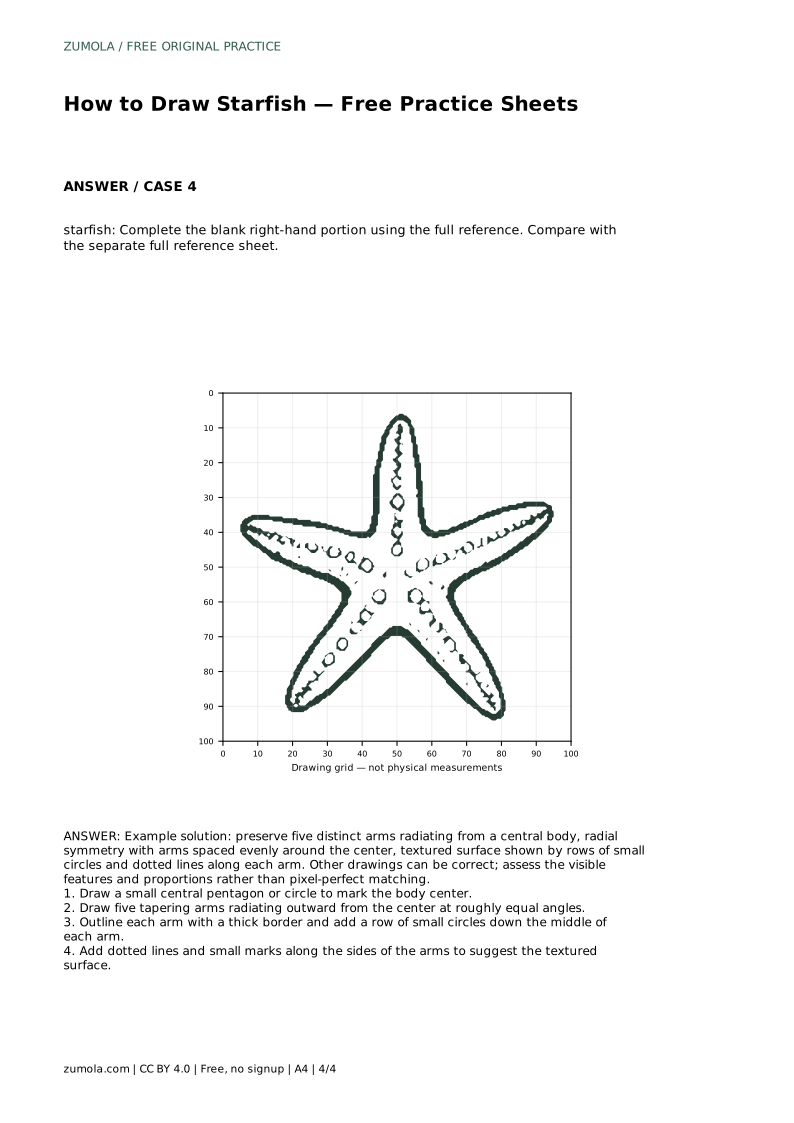
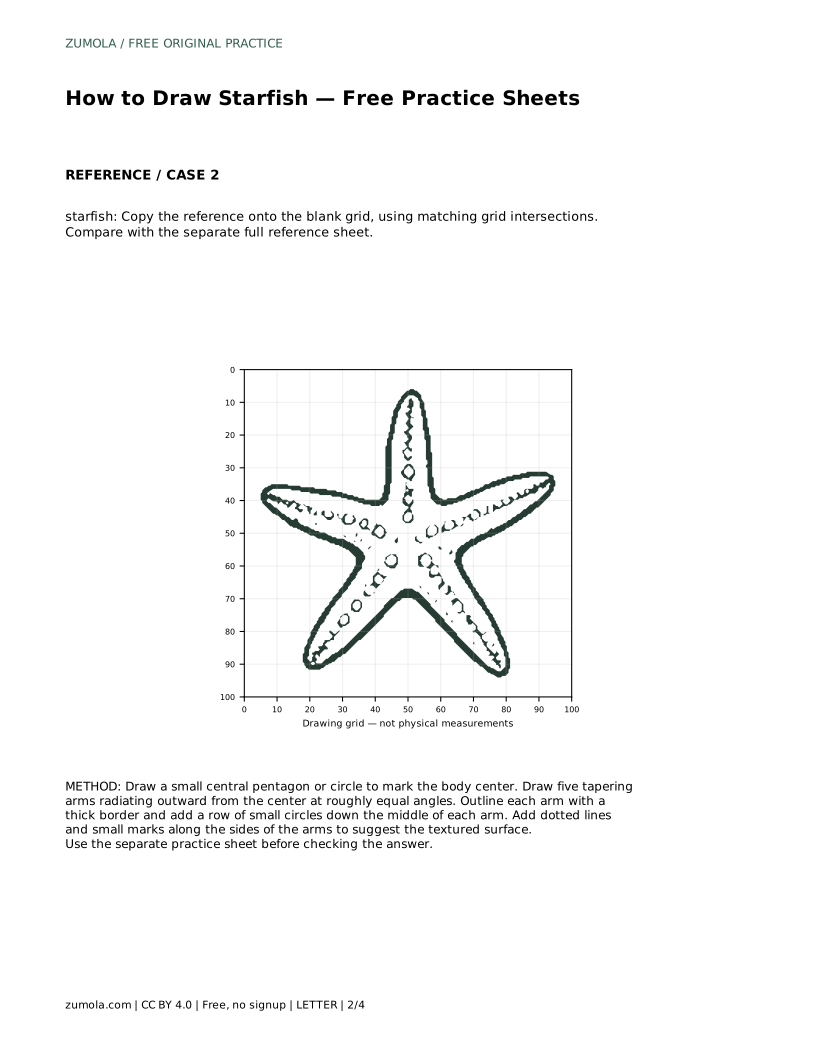
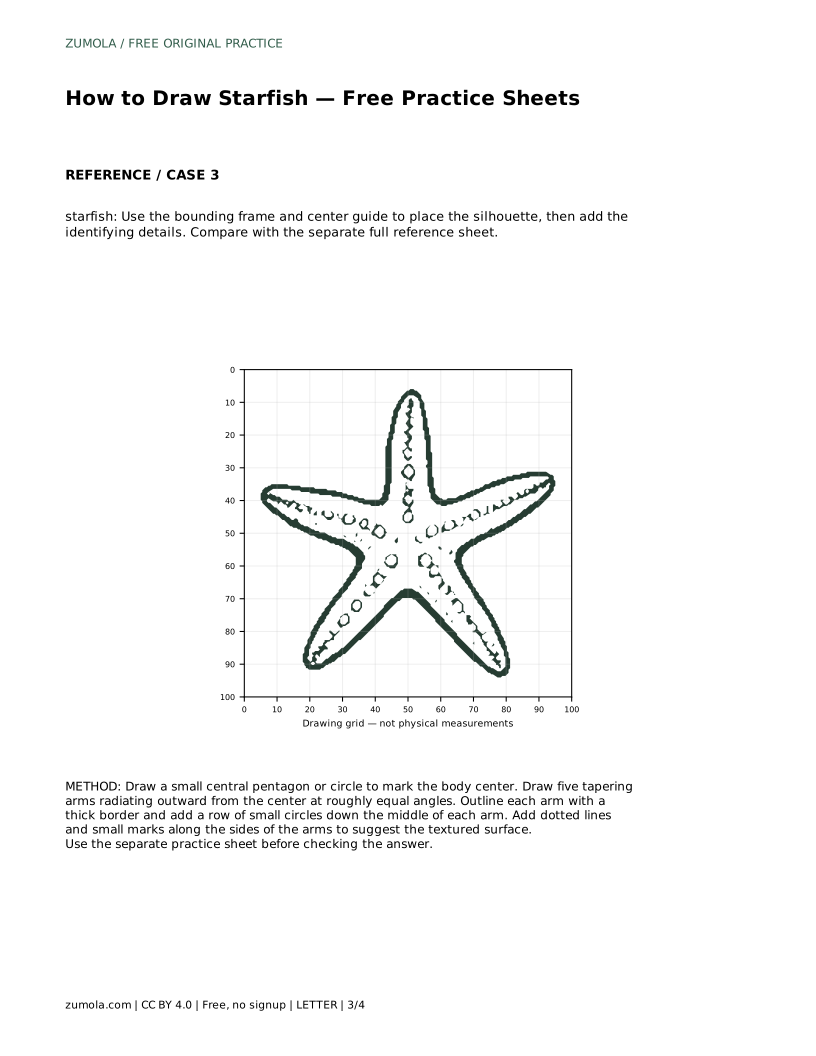
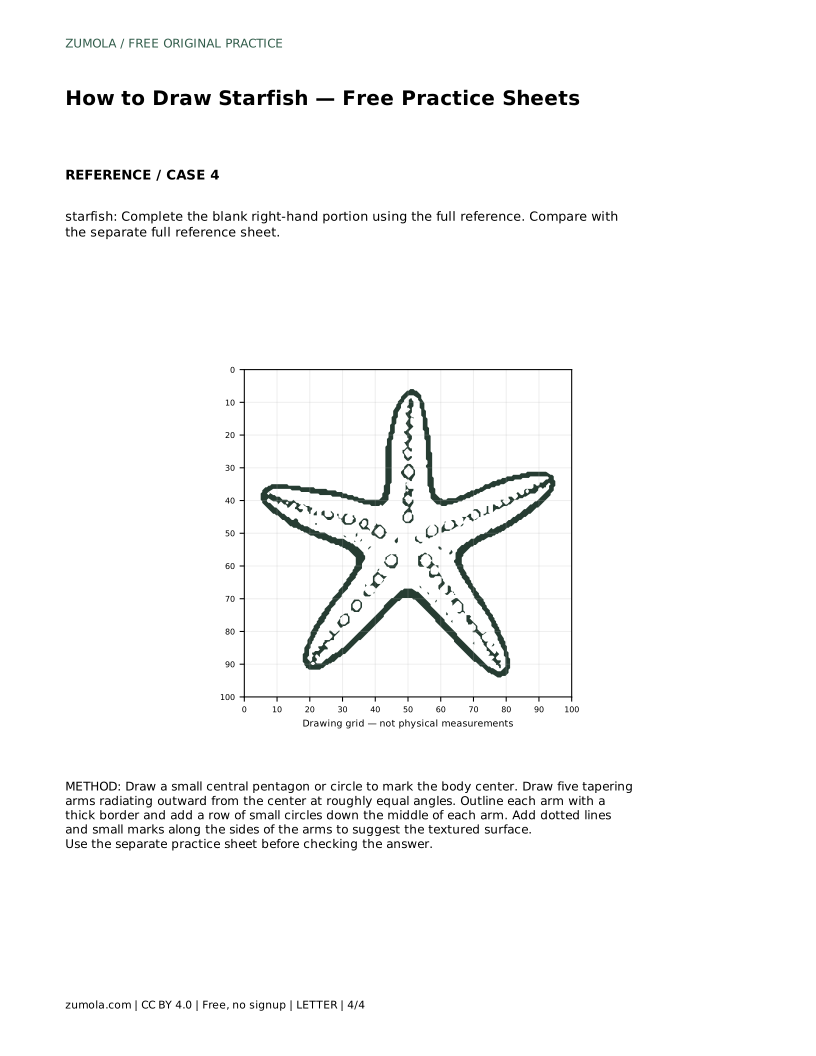
A starfish drawing is built from one clear idea: five arms radiating from a central body at roughly equal angles. This page explains how to place that center, space the arms, taper them outward, and add surface texture with rows of small circles and dotted lines. The practice sheets support tracing, grid copying, guide-based placement, and completing a partial drawing, but the drawing method below applies to all of them.
Every starfish drawing begins with a small central pentagon or circle. This mark is the body center, and it controls the whole layout. Before drawing any arm, decide where the five directions will point. Think of a clock face: five arms spaced evenly means about 72 degrees between neighboring arms. You do not need to measure angles precisely, but the gaps should look similar.
A common early error is drawing the first arm long and the rest short, which breaks the radial symmetry. Lightly mark all five directions first, then commit to outlines. The arms should taper: wider near the central body and narrower toward the tip.
Once the five arms are placed, outline each arm with a thick border. Keep the border consistent so the starfish reads as one shape rather than five separate spokes. The arms should look connected through the central body, not glued onto it.
Texture is what makes the drawing recognizable beyond the silhouette. Add a row of small circles down the middle of each arm, following the arm's direction. Then add dotted lines and small marks along the sides of the arms to suggest the textured surface. Keep the marks small and repeated; large irregular marks can make the surface look cluttered rather than patterned.
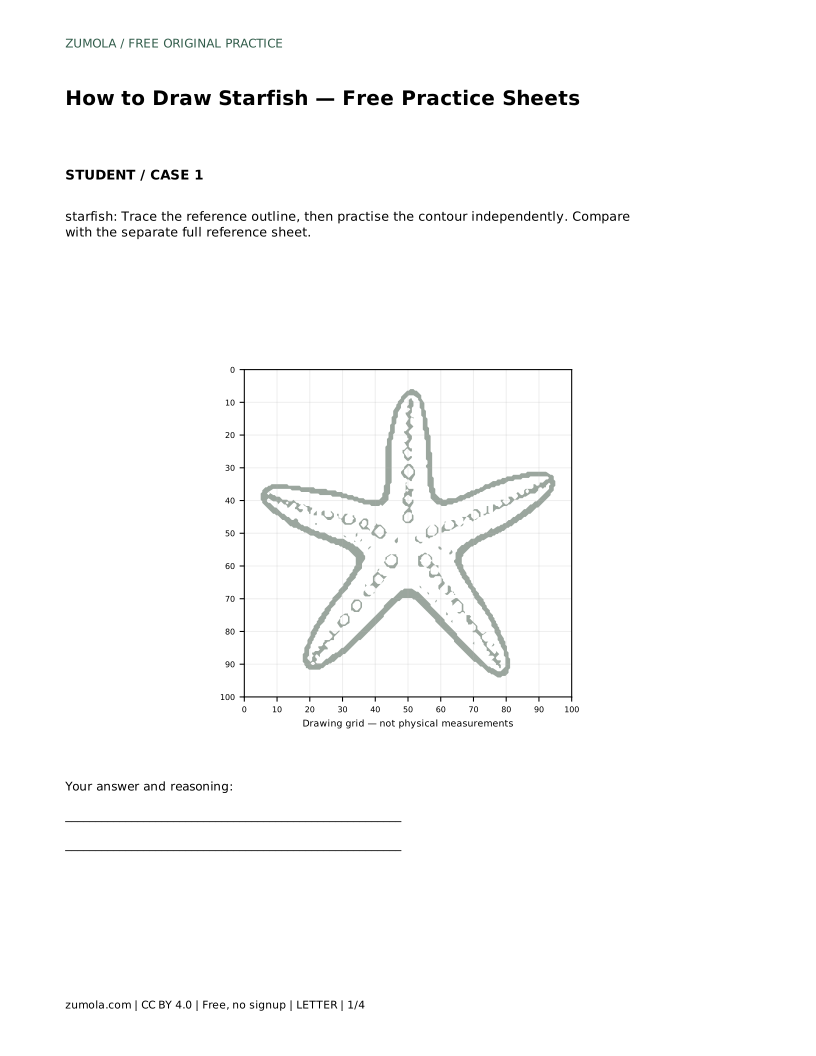
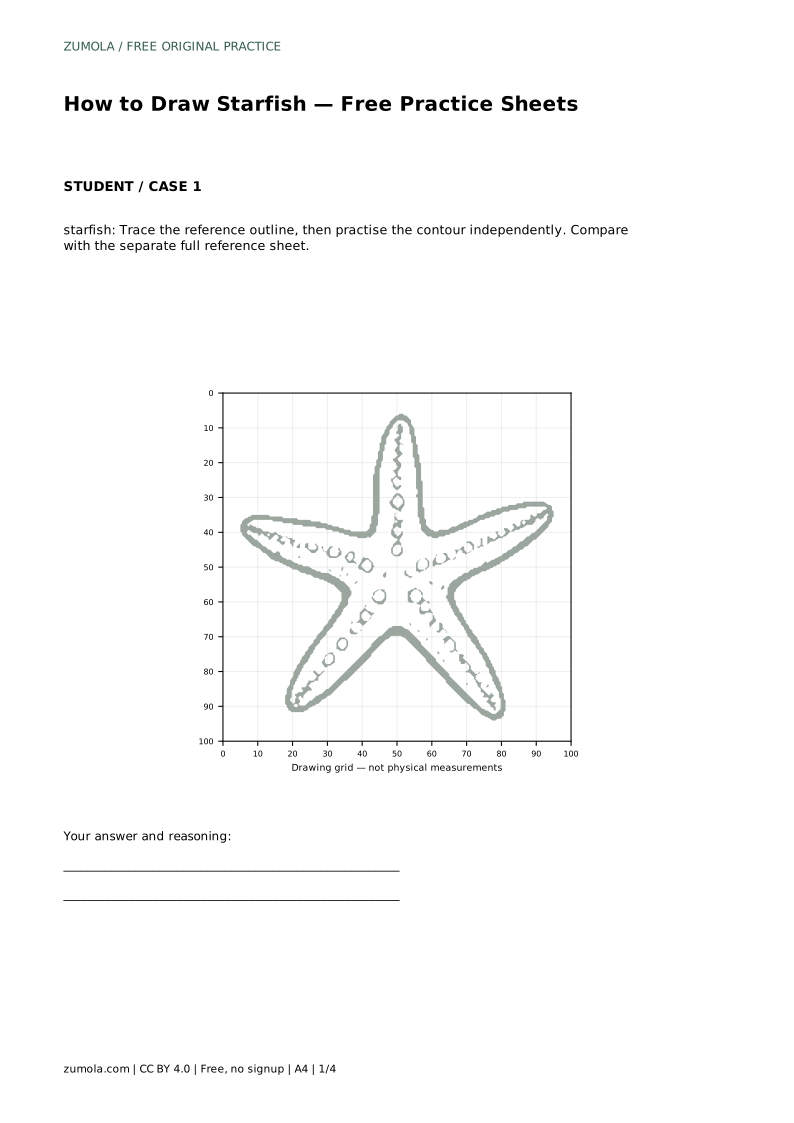
The tracing sheet asks you to follow the reference outline first, then practise the contour independently. Compare your result with the separate full reference sheet rather than expecting a pixel-perfect match.
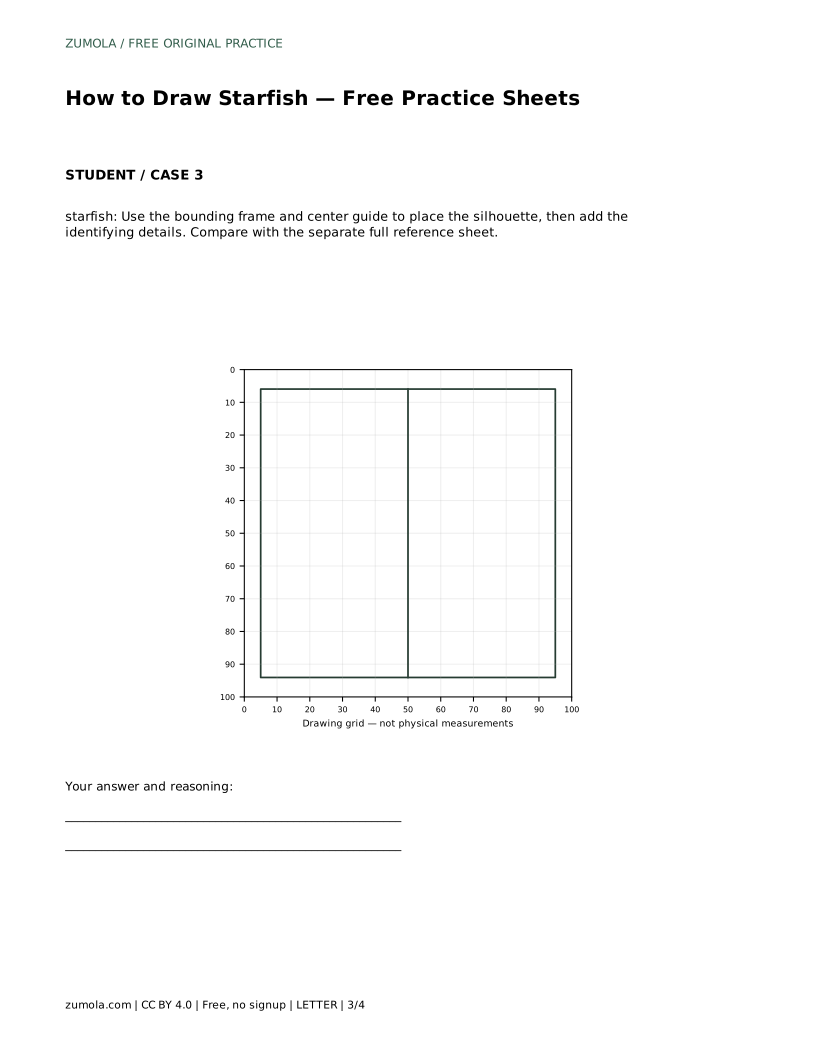
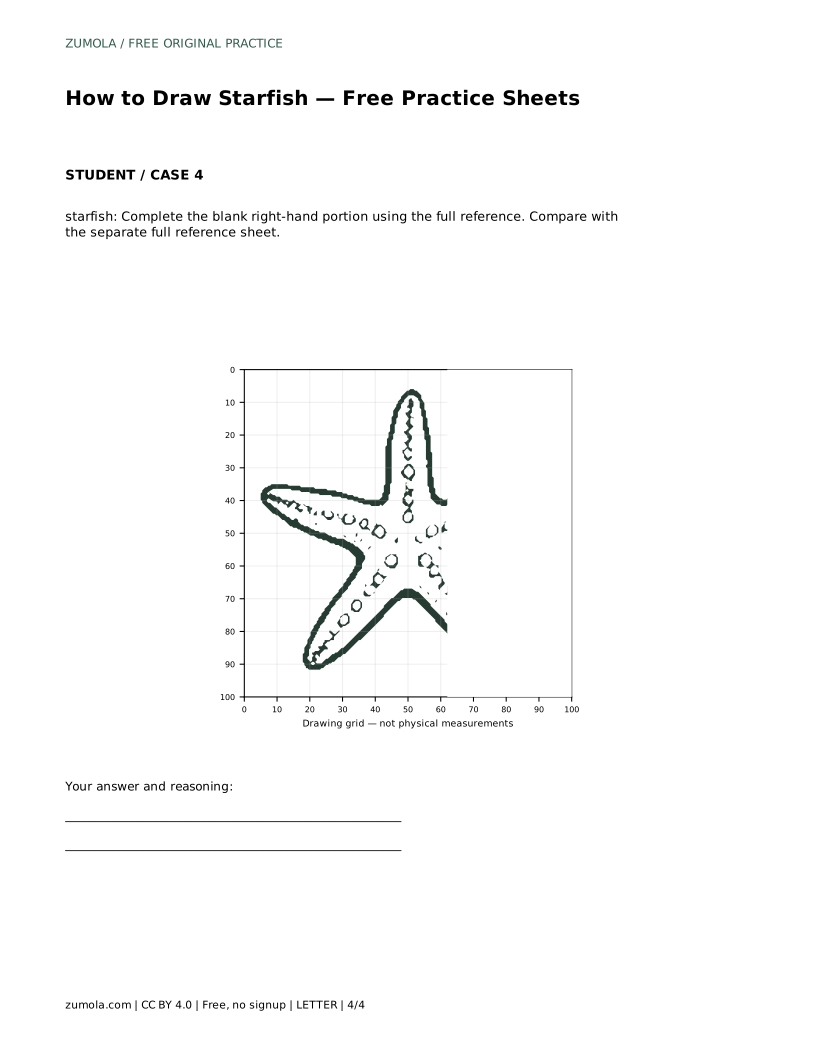
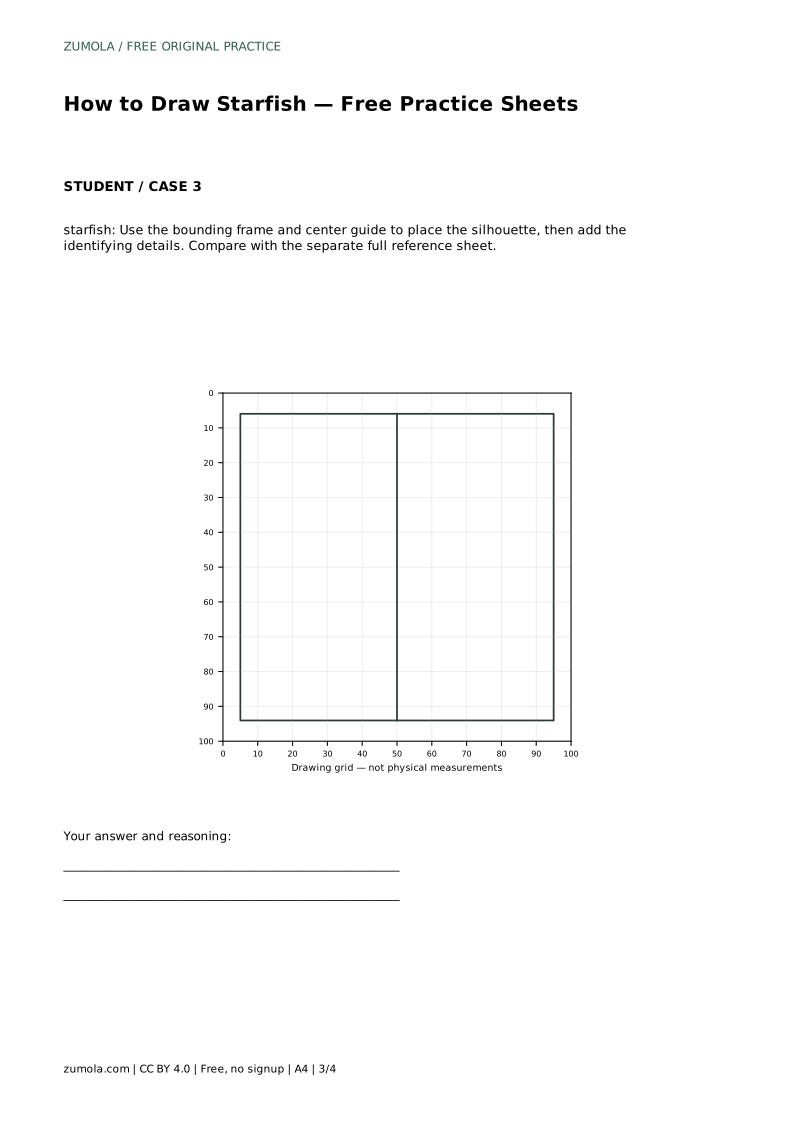
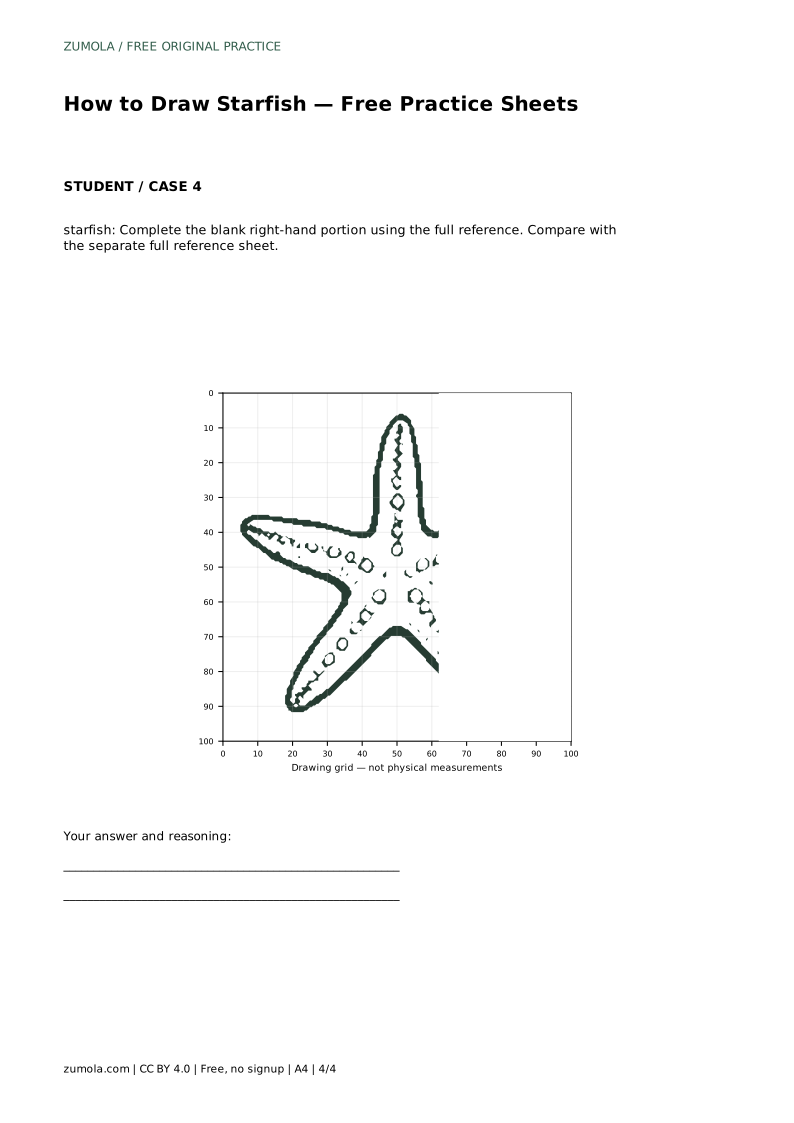
The grid sheet asks you to copy the reference onto the blank grid using matching grid intersections. Use the grid to judge where each arm tip falls relative to the center. The bounding-frame sheet gives you a frame and center guide to place the silhouette before adding details. The completion sheet gives you a full reference and a blank right-hand portion; use the visible left side to judge spacing and texture rhythm before finishing the missing part.
There is no single correct starfish drawing. Different arm lengths, curvatures, and texture densities can all be valid. Judge the visible features instead: five distinct arms, a central body, even spacing, tapering, and texture that follows the arms. A drawing with four arms or uneven gaps is not wrong artistically, but it no longer shows the five-arm radial pattern this exercise practises.
starfish: Trace the reference outline, then practise the contour independently. Compare with the separate full reference sheet.
Example solution: preserve five distinct arms radiating from a central body, radial symmetry with arms spaced evenly around the center, textured surface shown by rows of small circles and dotted lines along each arm. Other drawings can be correct; assess the visible features and proportions rather than pixel-perfect matching. Draw a small central pentagon or circle to mark the body center. Draw five tapering arms radiating outward from the center at roughly equal angles. Outline each arm with a thick border and add a row of small circles down the middle of each arm. Add dotted lines and small marks along the sides of the arms to suggest the textured surface.
This exercise uses five arms radiating from a central body at roughly equal angles. Five arms is the pattern being practised, not a rule for every starfish species.
No. Slight differences are fine. What matters is that the arms taper and the spacing around the center looks roughly even.
Check for five distinct arms, a central body, even spacing, tapering, and texture that follows each arm. Other drawings can be correct, so assess the visible features rather than matching the reference exactly.
All drawing practice · Free coordinate paper
Original resources · CC BY 4.0 · Free for personal and classroom use with attribution.