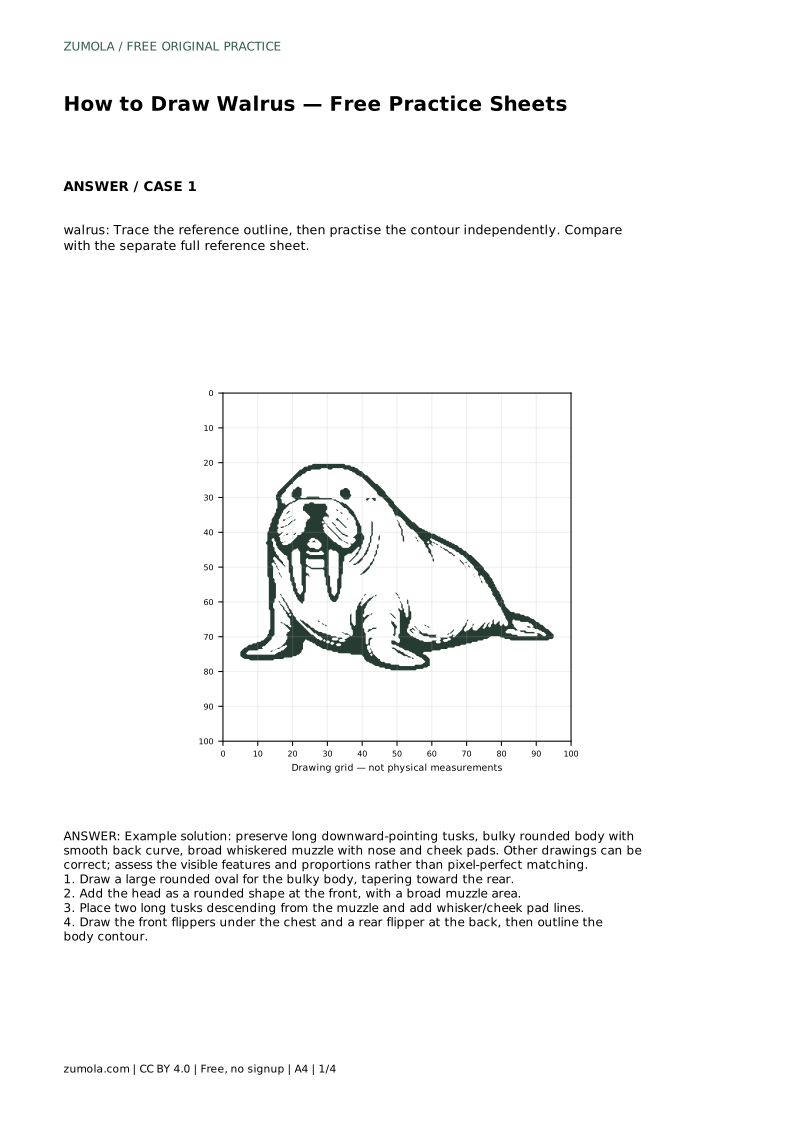
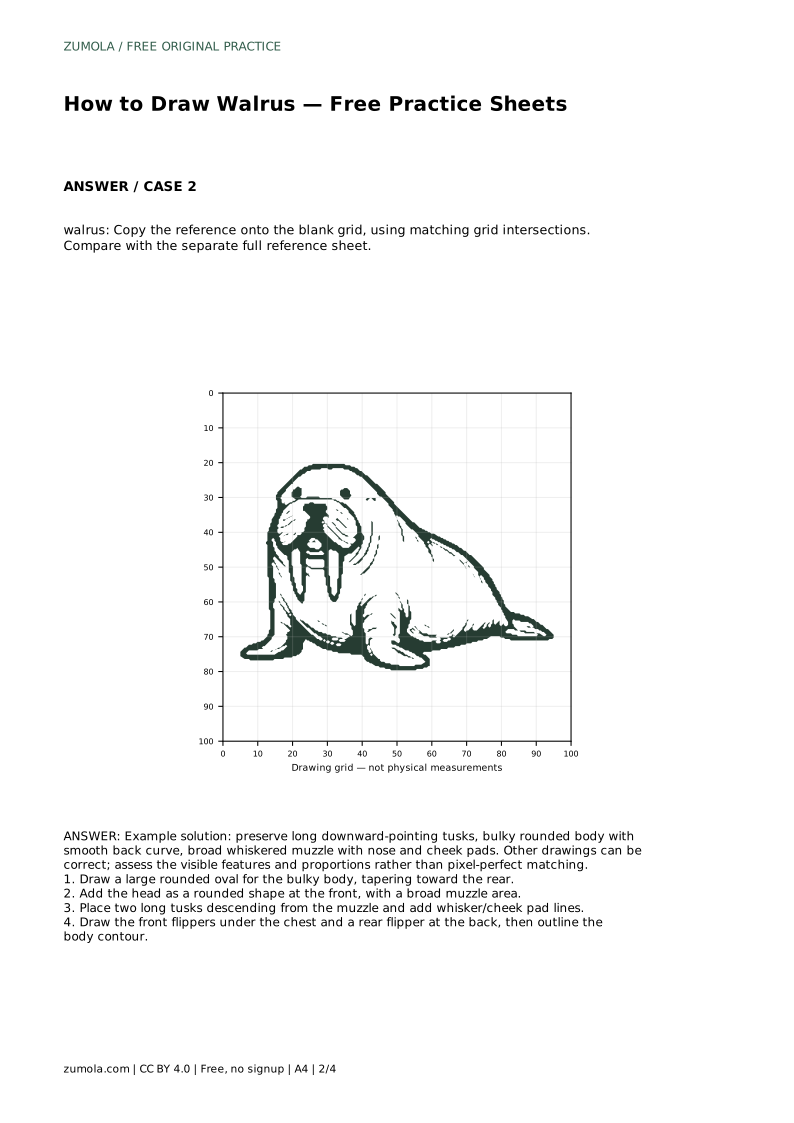
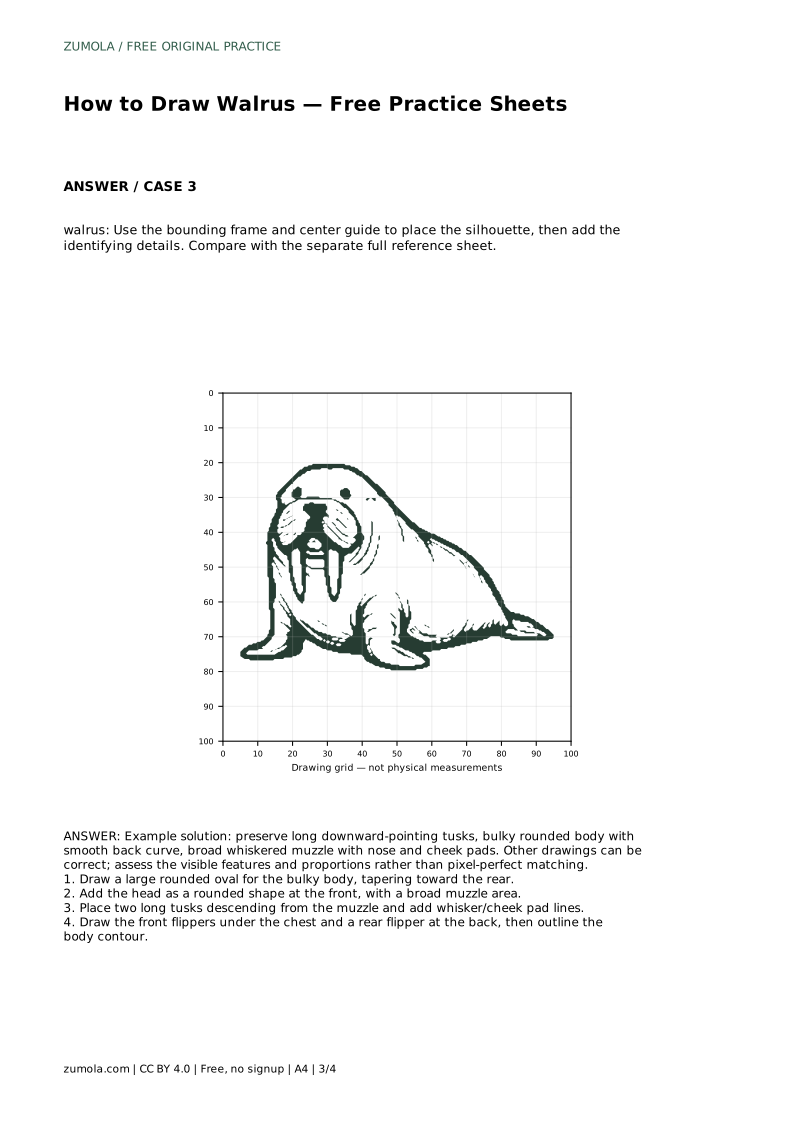
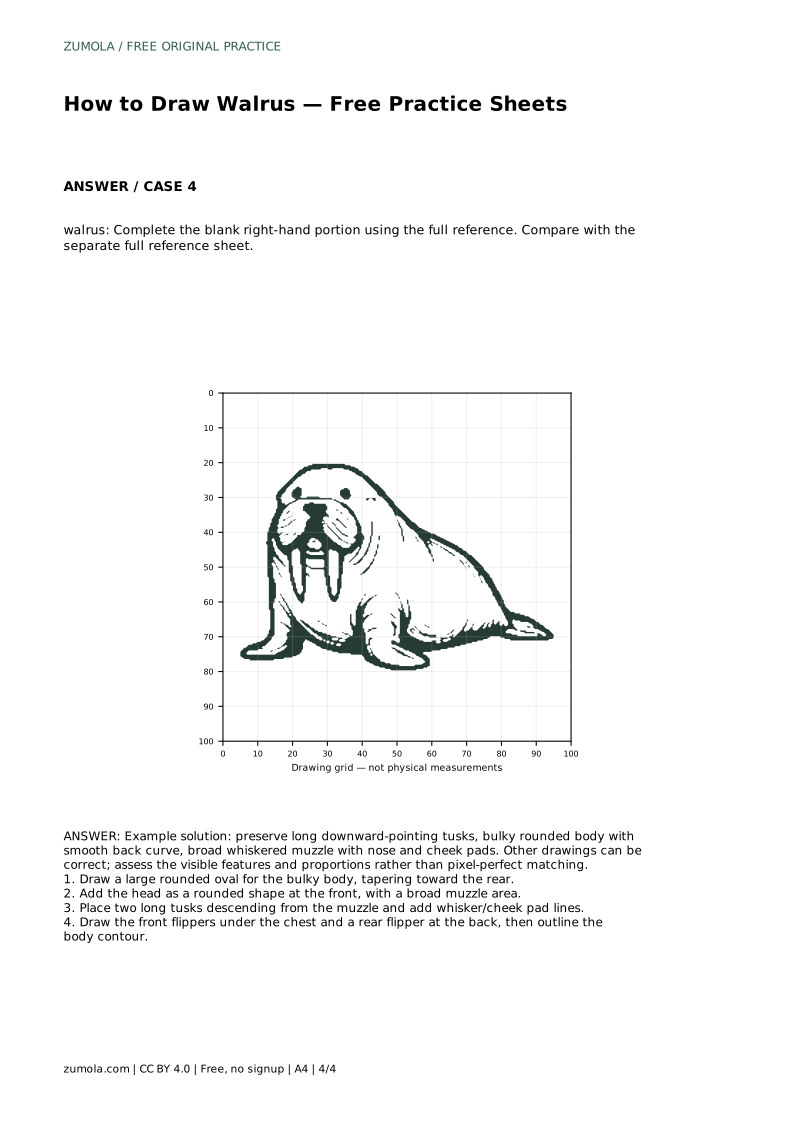
Reference diagrams
LETTER · Download PDF
A4 · Download PDF
Free original resources
Learn to draw a walrus by building a bulky body, broad muzzle, and long tusks. Trace, grid, or complete a half-sheet, then check features with a rubric.
Four original cases, with reference diagrams, practice sheets and worked answers. Everything is free; no signup required.
LETTER · Download PDF
A4 · Download PDF
LETTER · Download PDF
A4 · Download PDF
LETTER · Download PDF
A4 · Download PDF
Use A4 or US Letter to match your printer. Use the stated values and conditions to solve each exercise; diagrams are not physical measuring rulers.
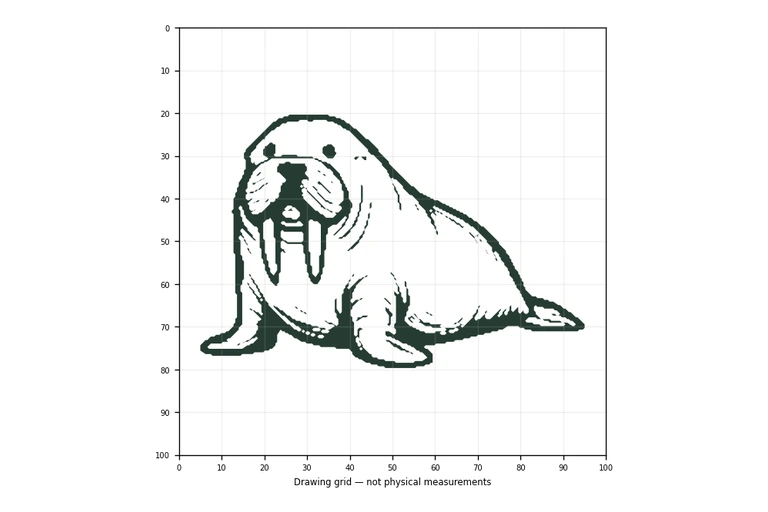
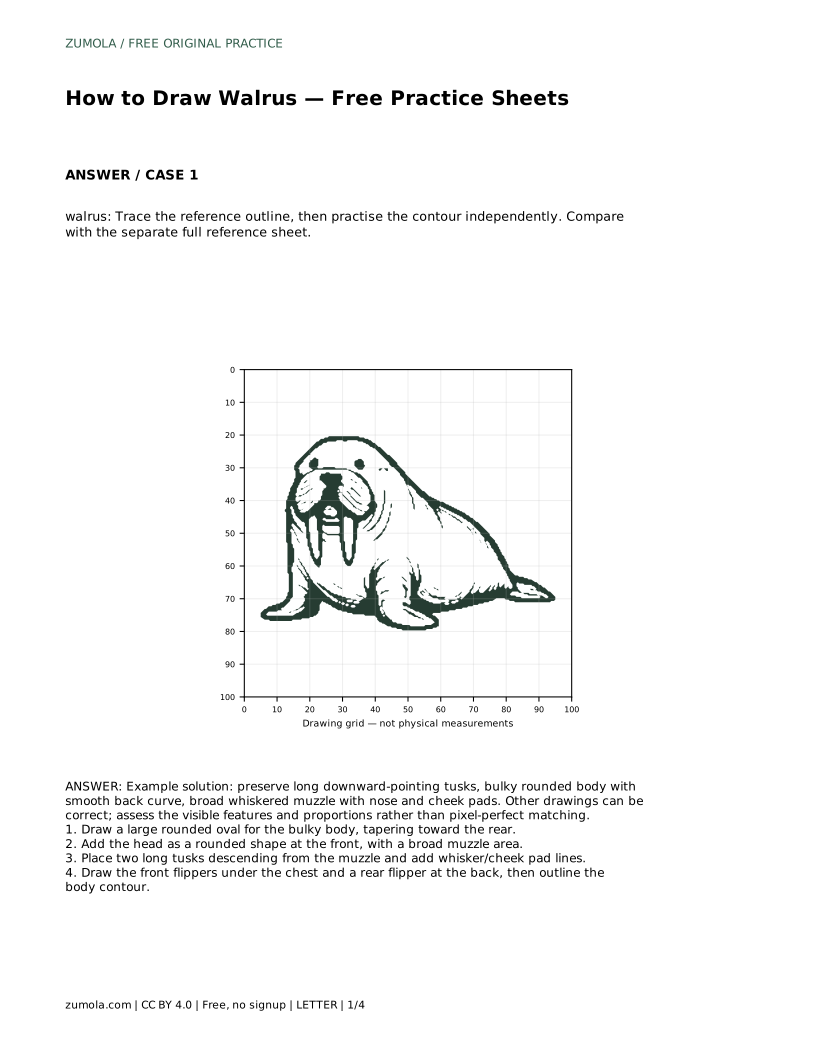
A walrus drawing depends on a few clear shapes: a heavy rounded body, a broad whiskered muzzle, and two long tusks pointing downward. This page explains how to build those parts in order, then how to use trace, grid, frame, and half-completion practice sheets to test the same skill in different ways. Because drawings can vary, you will judge your work by visible features and proportions rather than an exact match.
Start with the body, not the tusks. A walrus reads as bulky and rounded, so draw a large oval that tapers slightly toward the rear. Keep the back curve smooth and low; avoid a narrow waist or a pointed tail end. The head sits at the front as a rounded shape, joined to the body without a long neck.
Next, widen the muzzle area. The muzzle is broad and rounded, with space for a nose, cheek pads, and whisker lines. Place the two tusks so they descend from the muzzle and point downward. They should look long and clearly separated, not short spikes. Add the front flippers under the chest and a rear flipper at the back, then refine the outer contour so the body, head, and flippers connect smoothly.
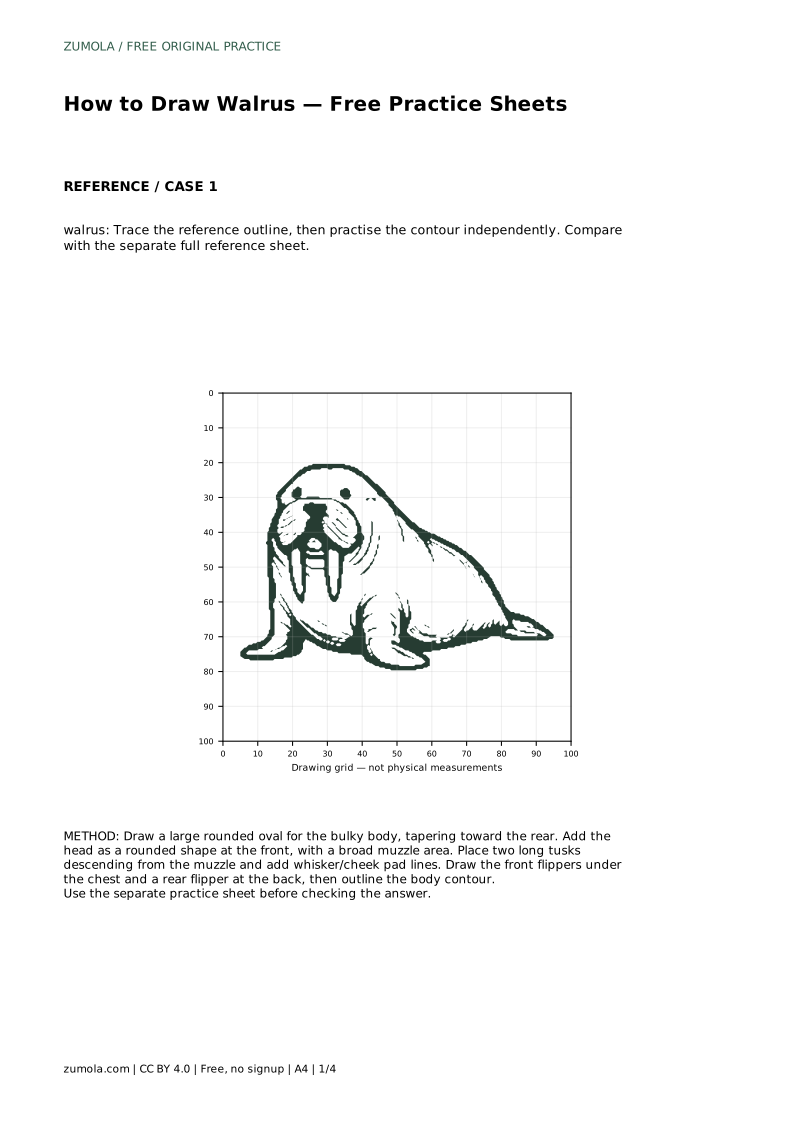
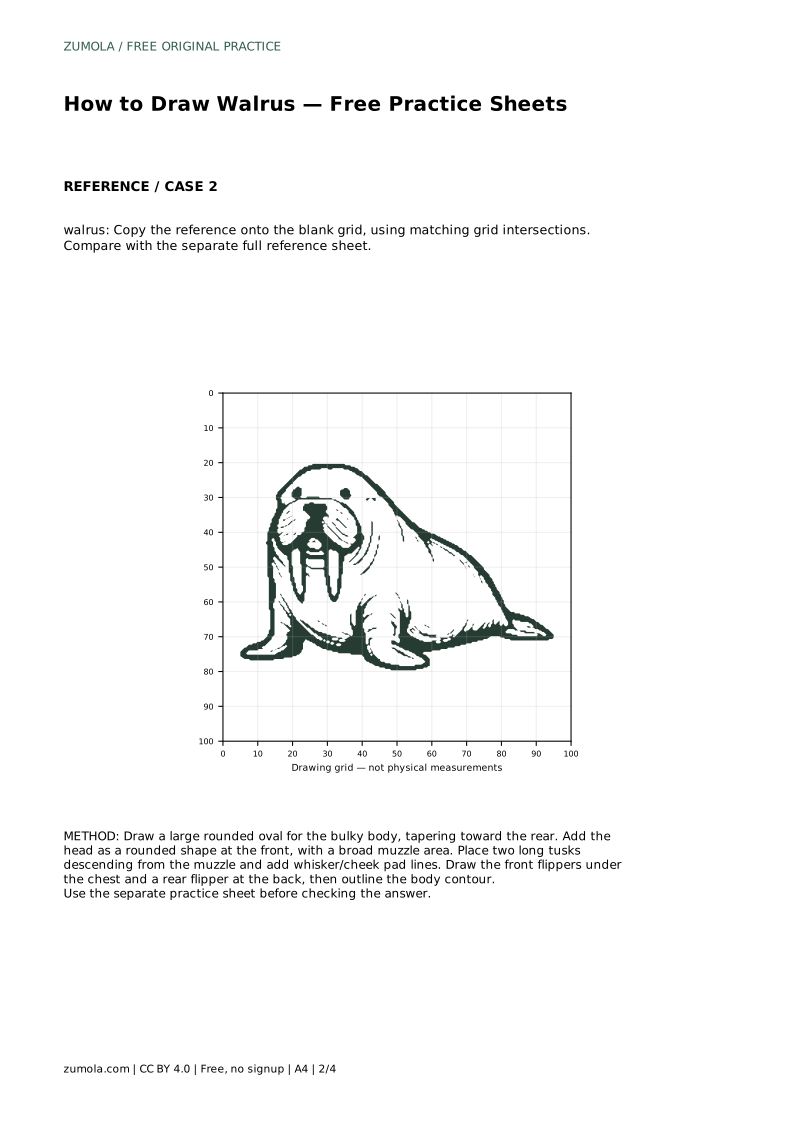
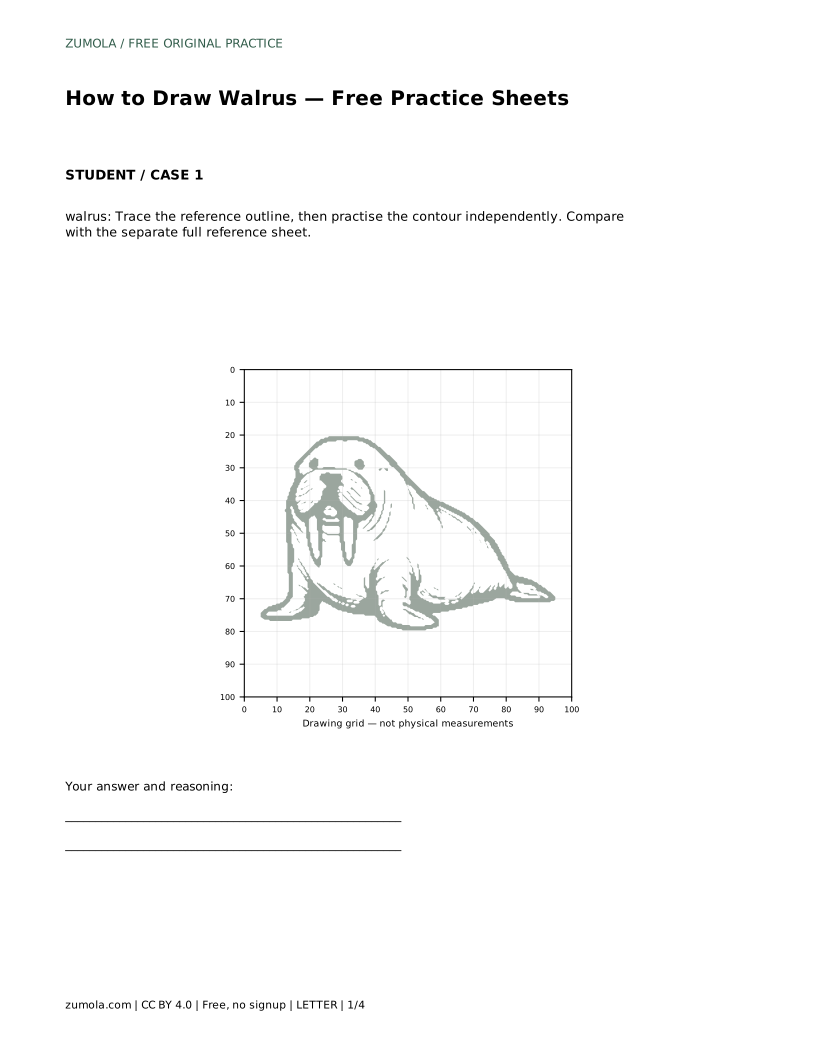
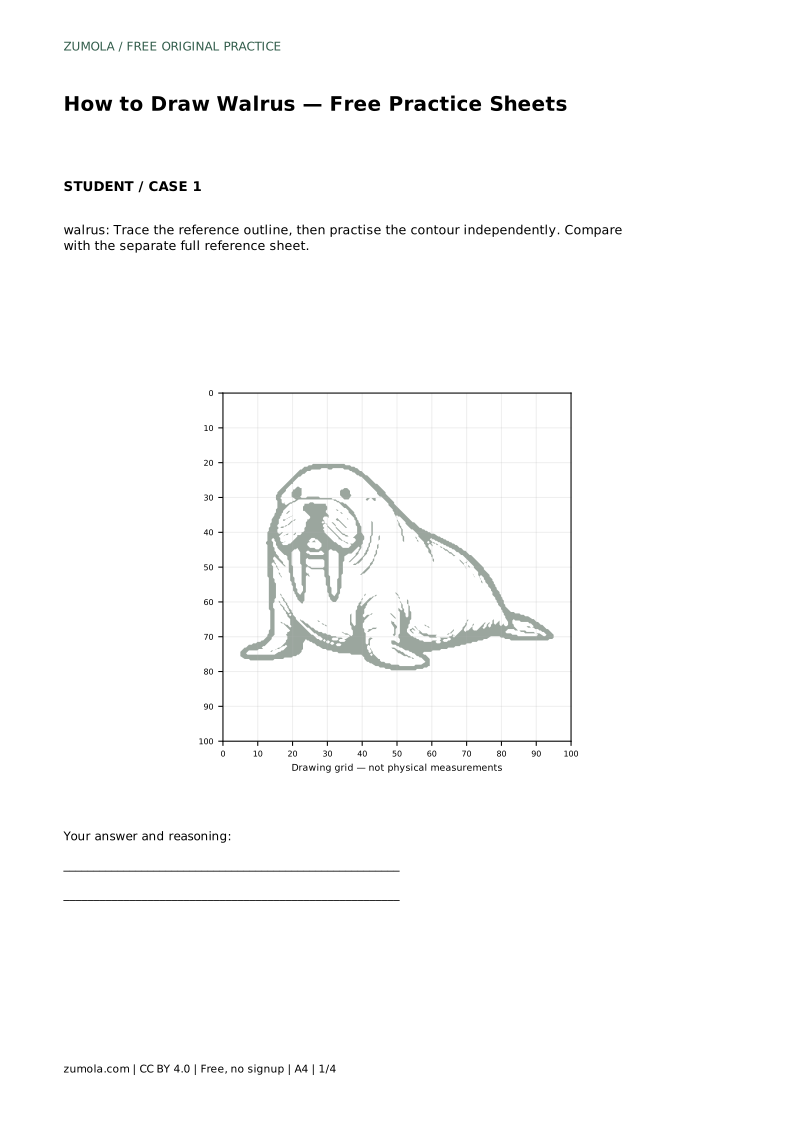
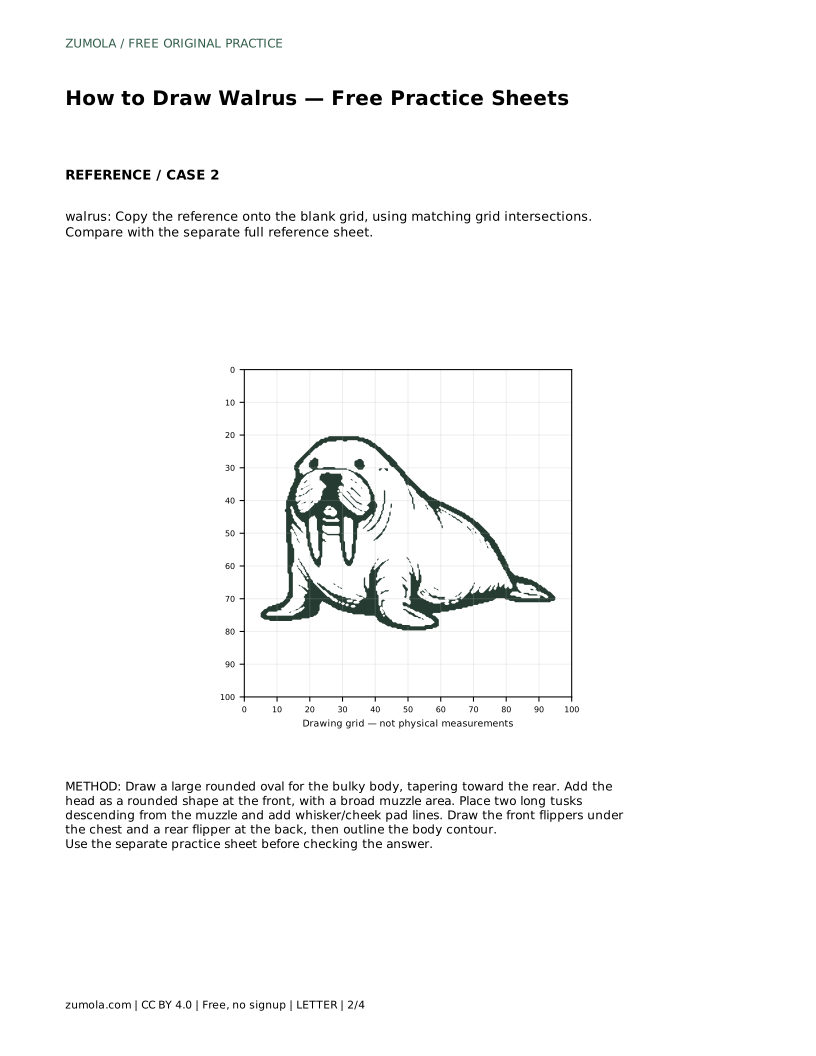
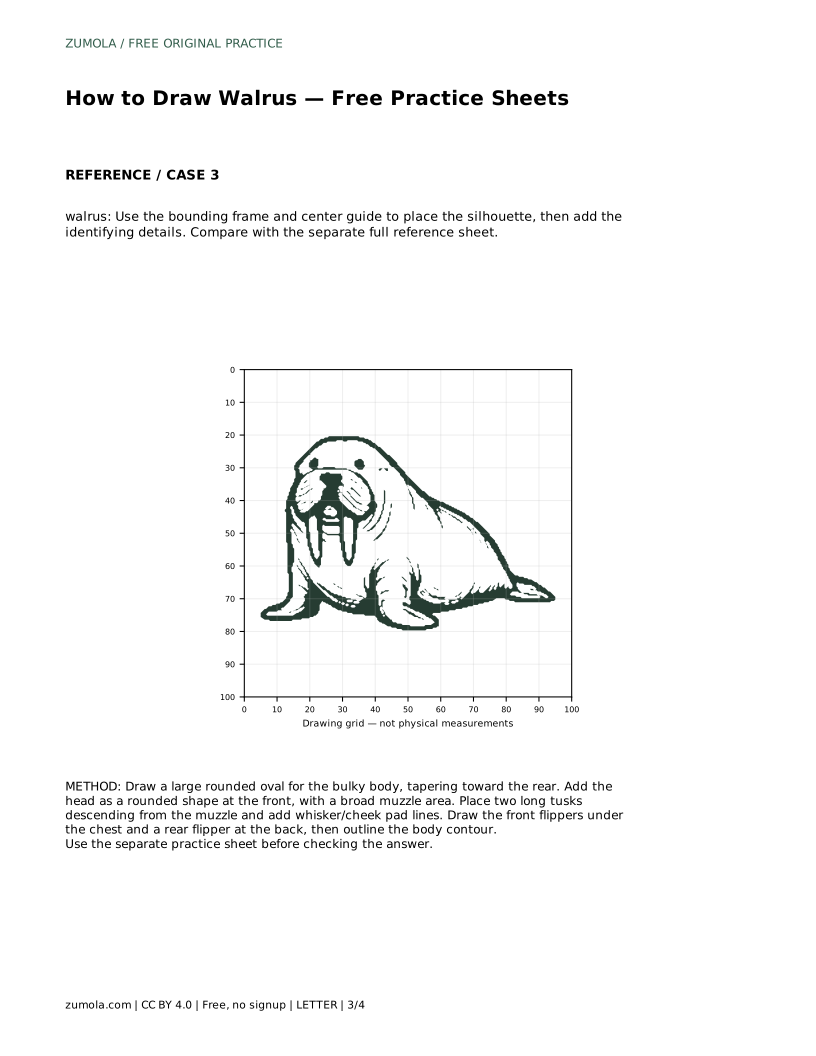
On a trace sheet, follow the reference outline first, then try the contour again on blank space. The goal is to notice how the back curve, muzzle width, and tusk length relate to one another. On a grid sheet, copy the drawing onto the blank grid by matching intersections. Use the grid to compare placement, not to force every line into a square.
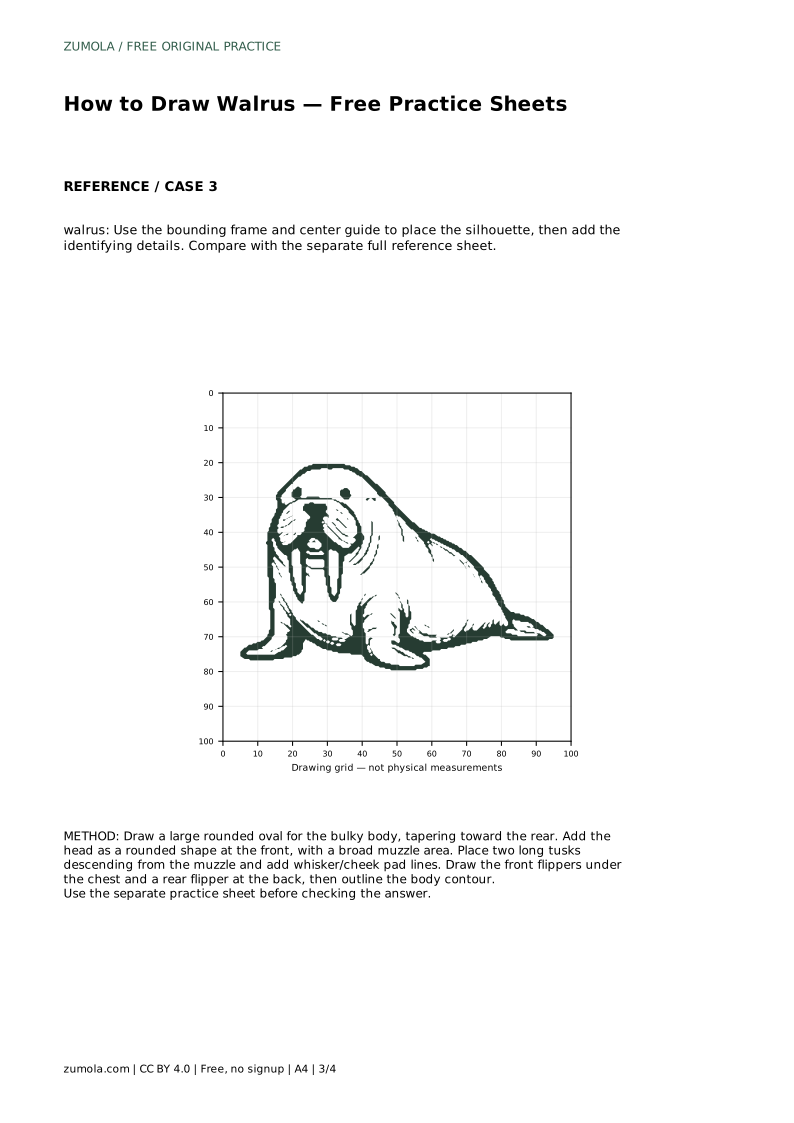
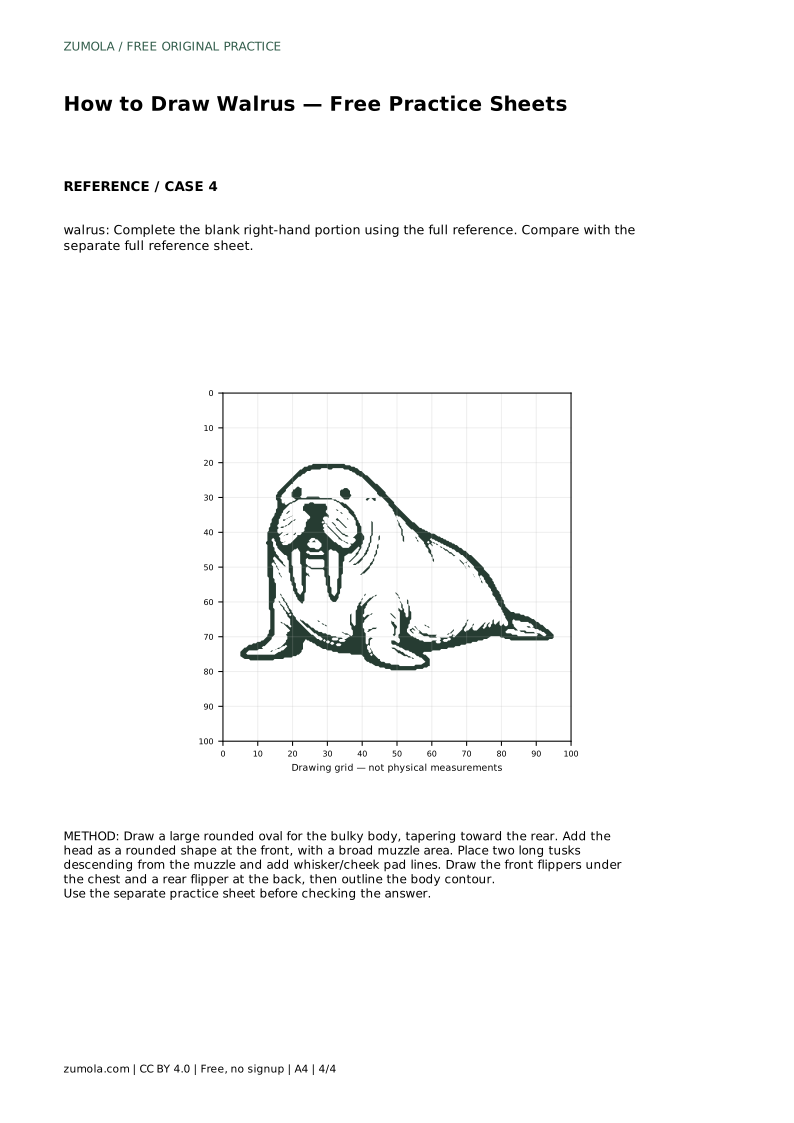
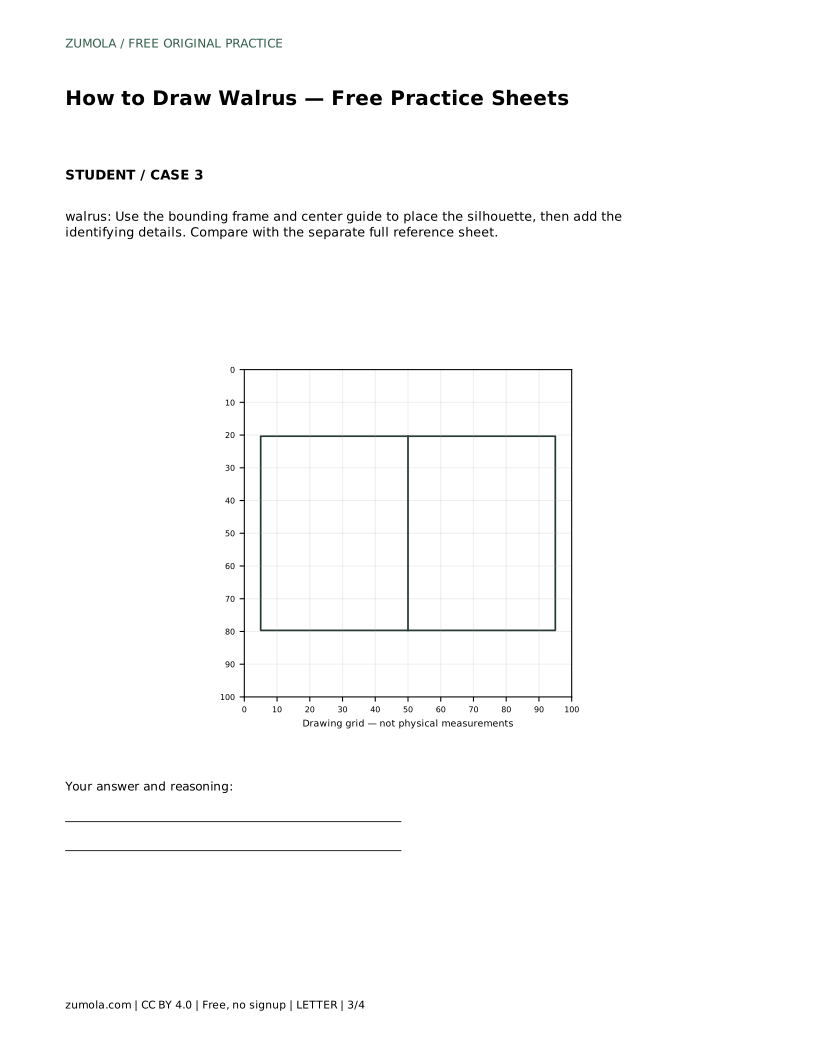
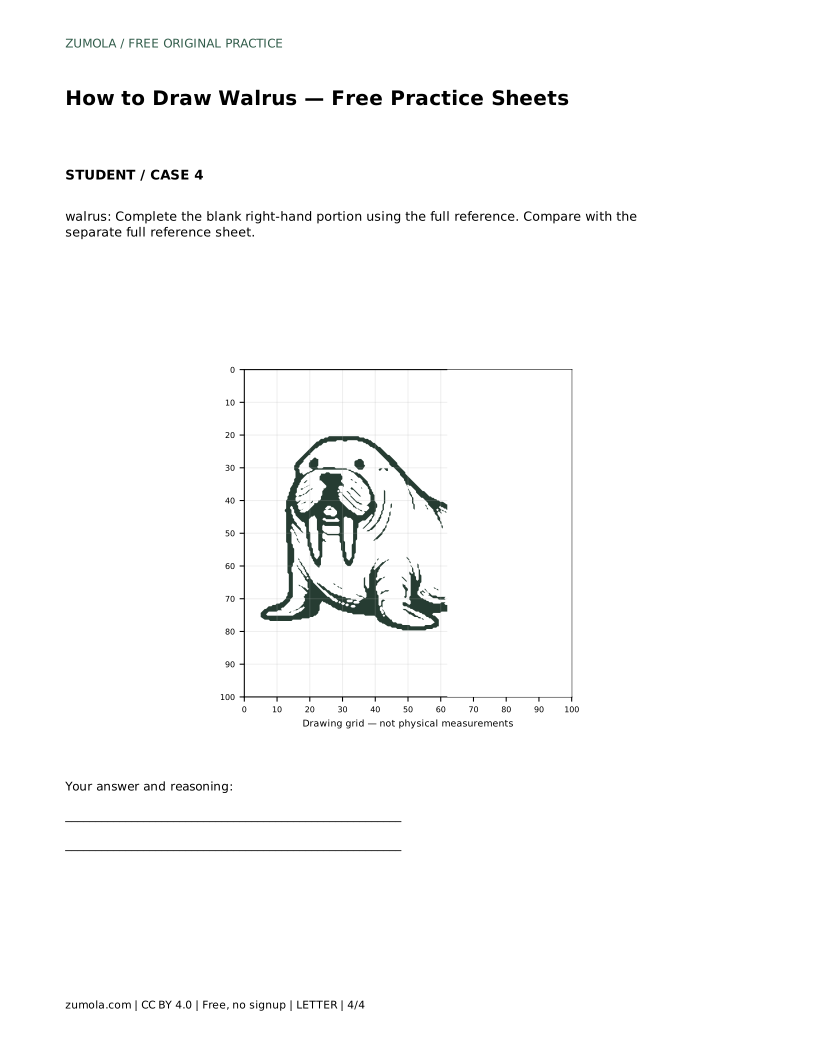
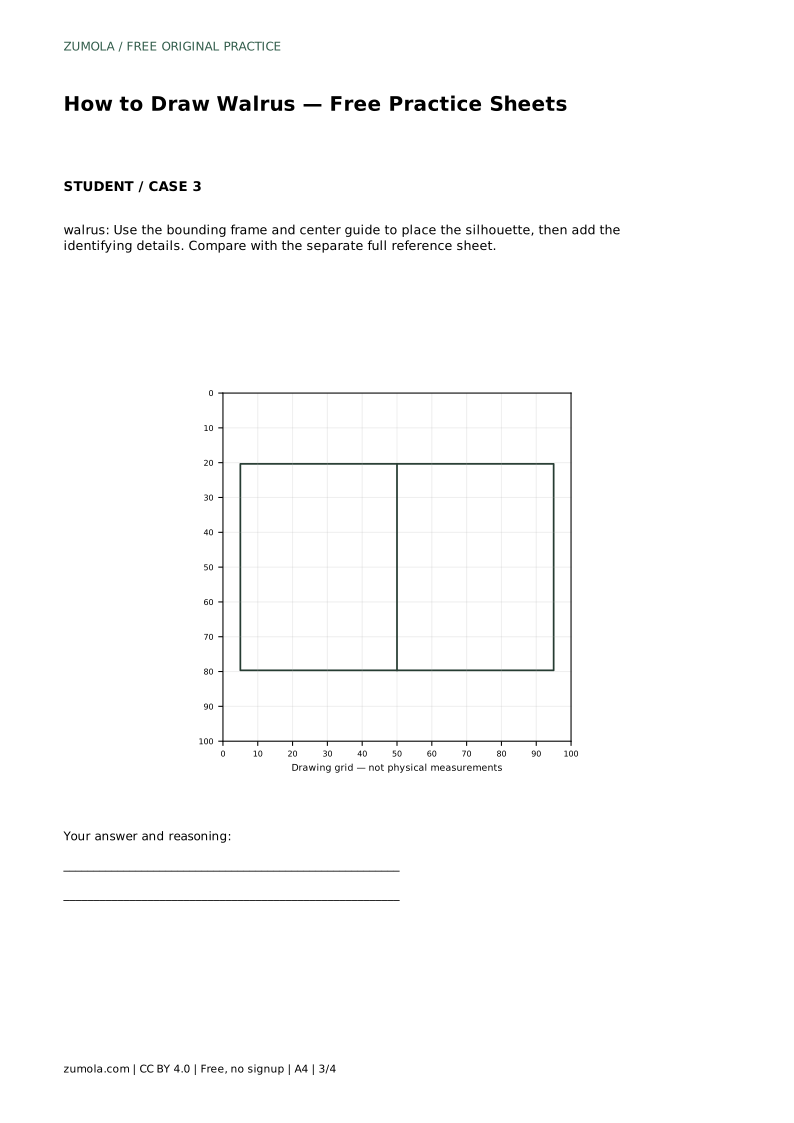
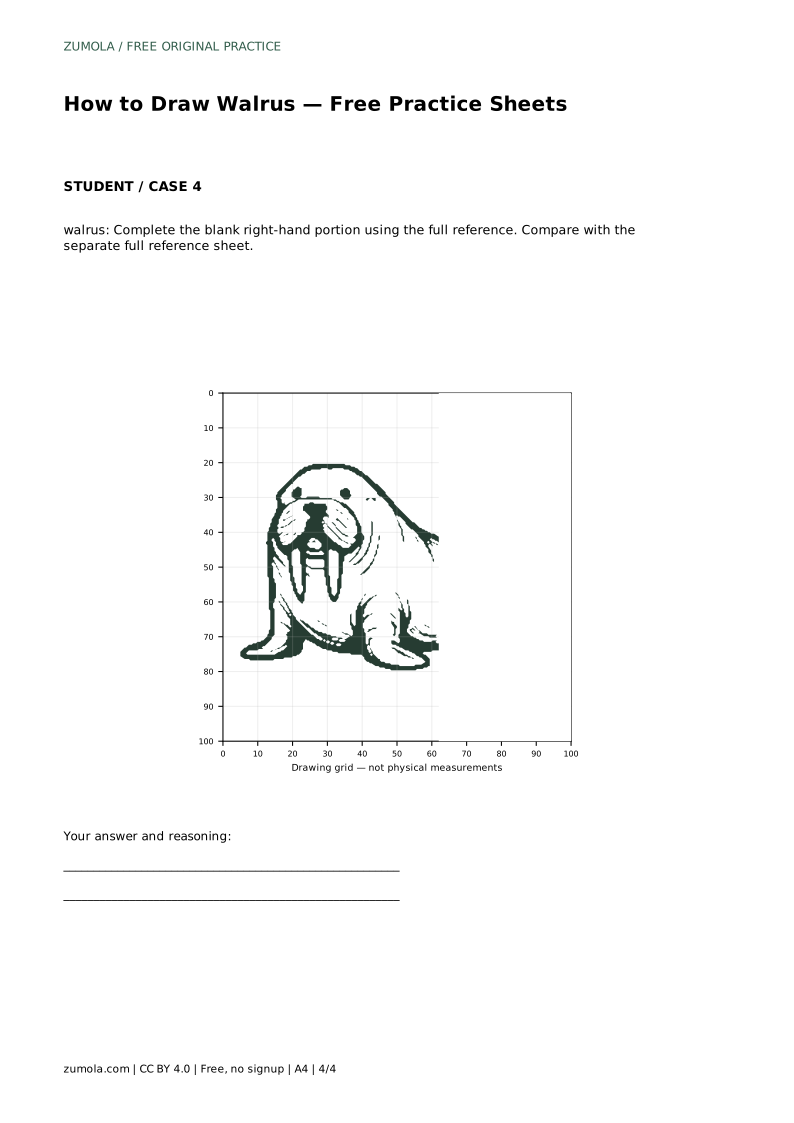
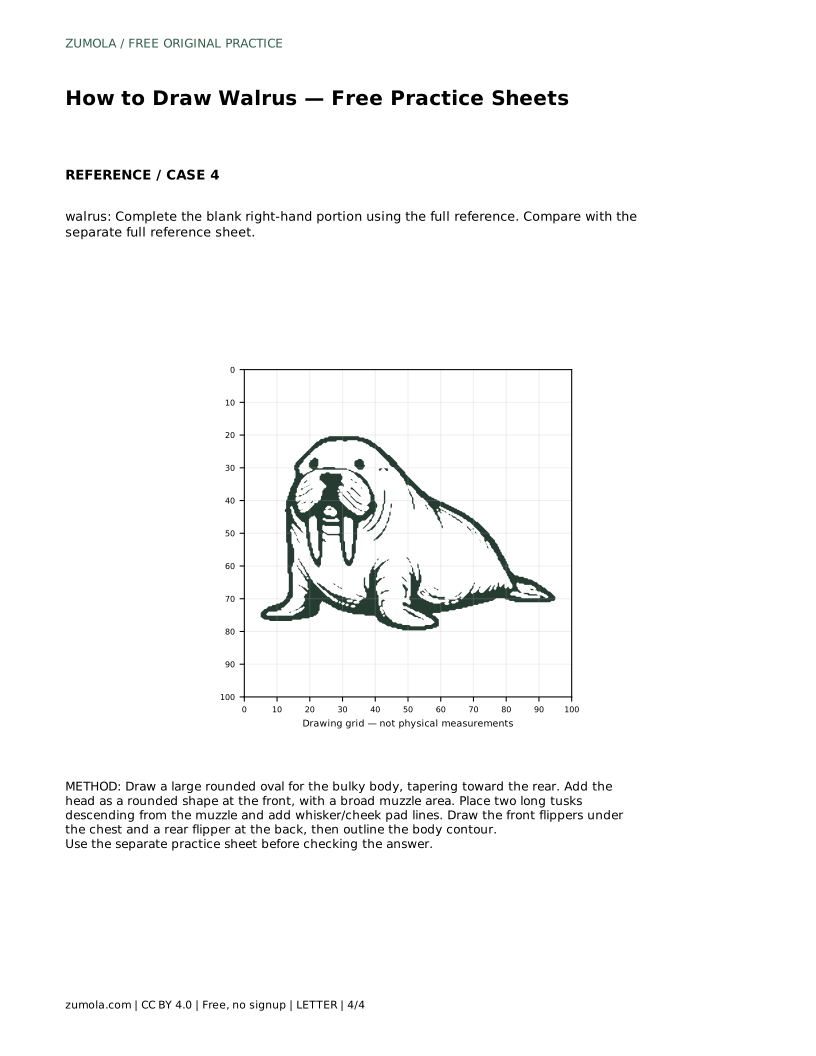
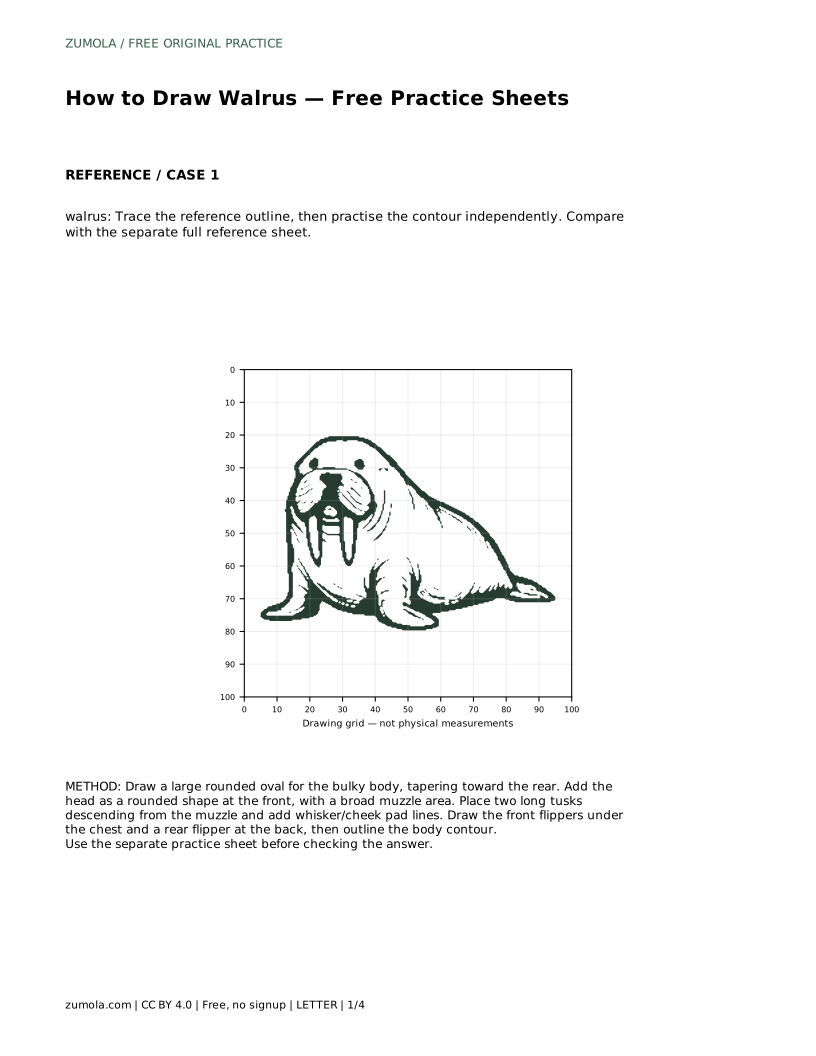
A bounding frame with a center guide helps you place the silhouette before adding details. Check that the body fills the frame in a balanced way and that the head is not too small. On a half-completed sheet, use the full reference to finish the blank side. Match the visible features and proportions, then compare your drawing with the separate full reference sheet.
A correct walrus drawing can take several forms. Check for a bulky rounded body with a smooth back curve, a broad whiskered muzzle with a nose and cheek pads, and two long downward-pointing tusks. Then check the flippers: front flippers under the chest and a rear flipper at the back. If one feature is missing or out of proportion, adjust that part rather than redrawing everything.
Keep the tusks clearly visible against the muzzle and avoid letting them merge with whisker lines. The body should not look like a seal with tusks added; the heavy rounded mass and broad face are what make the walrus recognisable. Use the rubric below to review your sheet after each attempt.
Suppose your task is to trace the reference outline, then practise the contour independently and compare with the separate full reference sheet. Begin with the body oval, add the rounded head and broad muzzle, place the two long downward tusks, add whisker and cheek pad lines, then draw the flippers and refine the contour. Your drawing does not need to match every pixel; it needs to show the same identifying features and sensible proportions.
walrus: Trace the reference outline, then practise the contour independently. Compare with the separate full reference sheet.
Example solution: preserve long downward-pointing tusks, bulky rounded body with smooth back curve, broad whiskered muzzle with nose and cheek pads. Other drawings can be correct; assess the visible features and proportions rather than pixel-perfect matching. Draw a large rounded oval for the bulky body, tapering toward the rear. Add the head as a rounded shape at the front, with a broad muzzle area. Place two long tusks descending from the muzzle and add whisker/cheek pad lines. Draw the front flippers under the chest and a rear flipper at the back, then outline the body contour.
No. Other walrus drawings can be correct. Assess the visible features and proportions, such as the long downward tusks, bulky body, smooth back curve, and broad whiskered muzzle, rather than pixel-perfect matching.
Start with the large rounded body oval, then add the head and broad muzzle. Place the tusks and whisker details after the main shapes, then add the flippers and refine the contour.
Use the feature checklist: bulky rounded body, smooth back curve, broad muzzle with nose and cheek pads, two long downward-pointing tusks, front flippers under the chest, and a rear flipper at the back.
All drawing practice · Free coordinate paper
Original resources · CC BY 4.0 · Free for personal and classroom use with attribution.