Reference diagrams
LETTER · Download PDF
A4 · Download PDF
Free original resources
Learn to draw a banana by building its curved crescent body, tapered stem, blunt tip, and longitudinal ridges. Free printable practice sheets support tracing, grids, and completion.
Four original cases, with reference diagrams, practice sheets and worked answers. Everything is free; no signup required.
LETTER · Download PDF
A4 · Download PDF
LETTER · Download PDF
A4 · Download PDF
LETTER · Download PDF
A4 · Download PDF
Use A4 or US Letter to match your printer. Use the stated values and conditions to solve each exercise; diagrams are not physical measuring rulers.
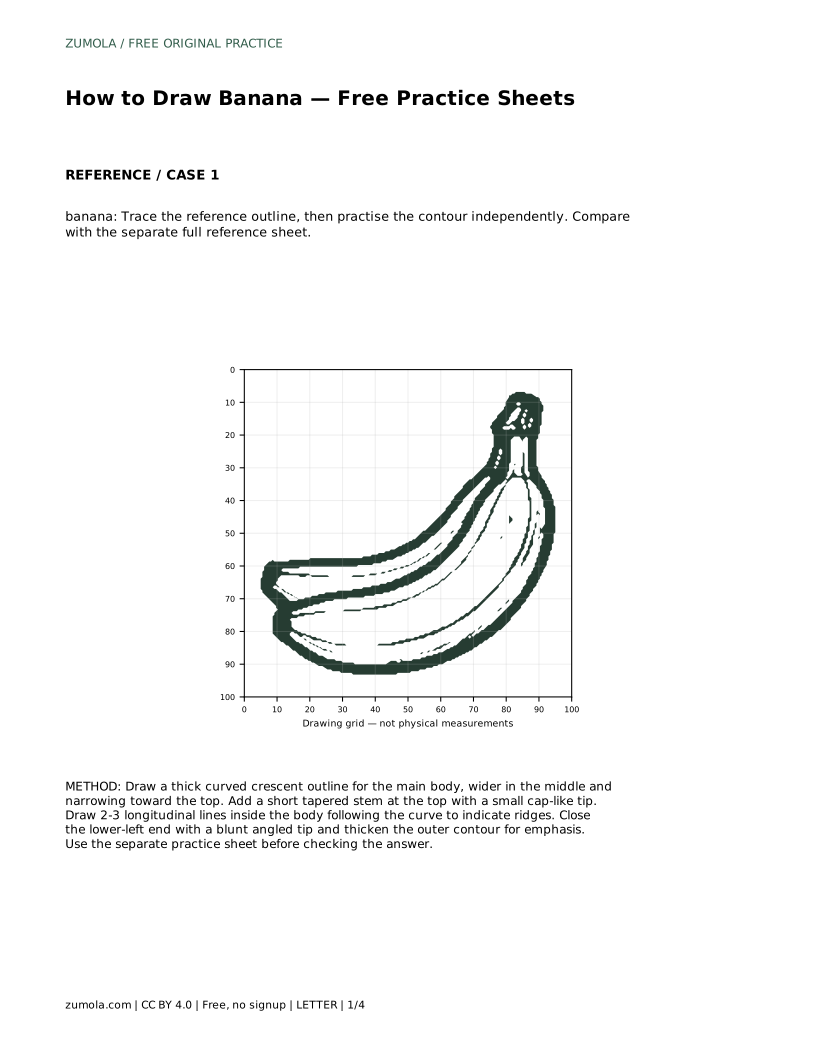
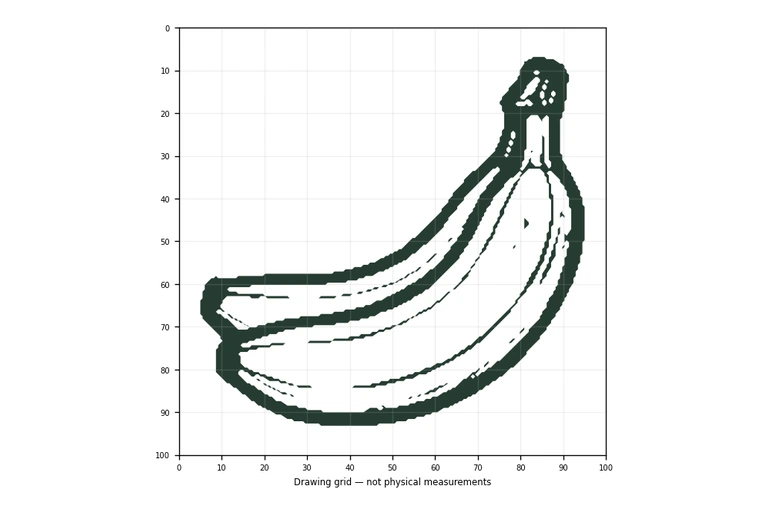
A banana is mostly one curved shape, so the drawing succeeds or fails on proportion and direction. This page shows how to build the body as a thick crescent, place the stem and blunt tip, and add a few ridge lines that follow the same curve. The printable sheets offer tracing, grid copying, guide placement, and partial completion, but each one asks you to preserve the same visible features rather than match every pixel.
Start with the largest shape, not the details. Picture the banana as a thick crescent: the middle is the widest part, and the body narrows gradually toward the stem at the top. Keep the two long edges roughly parallel in the middle so the fruit looks solid rather than pinched.
The lower-left end is blunt and angled, not pointed. The top end carries a short tapered stem with a small cap-like tip. Draw the stem after the body so you can judge how much it extends beyond the curve. A banana can curve gently or strongly, but the crescent should read clearly at a glance.
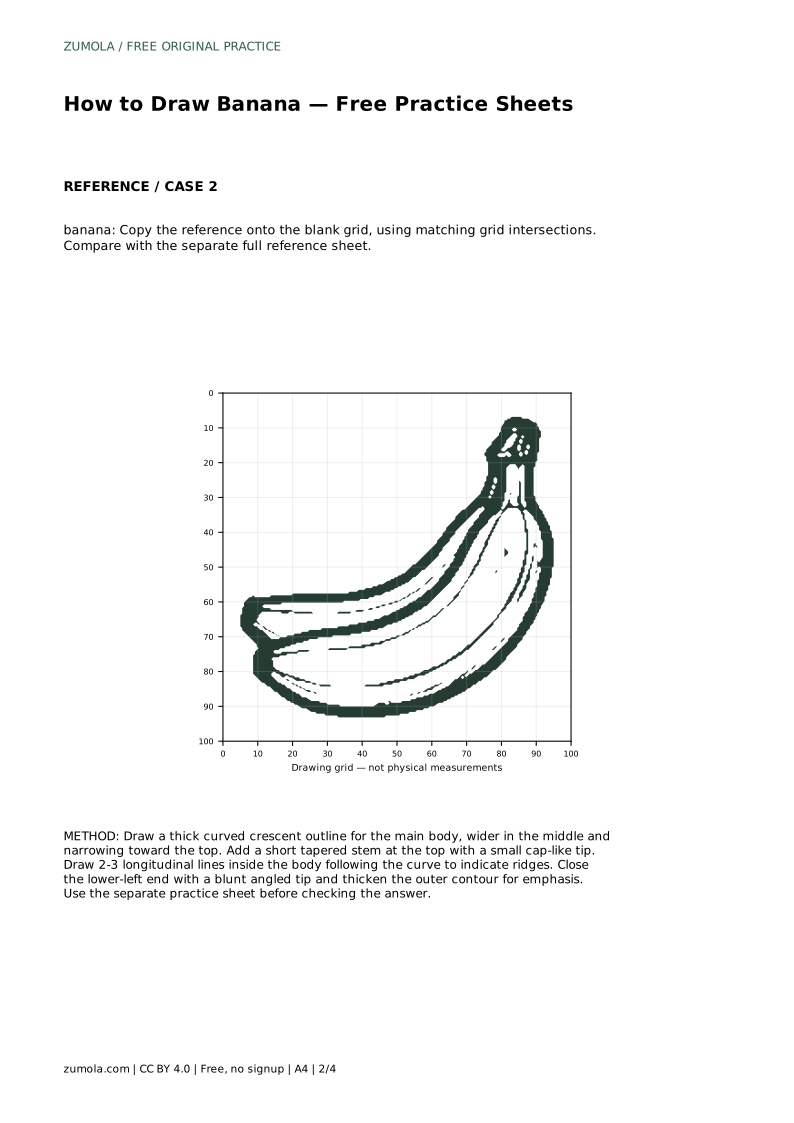
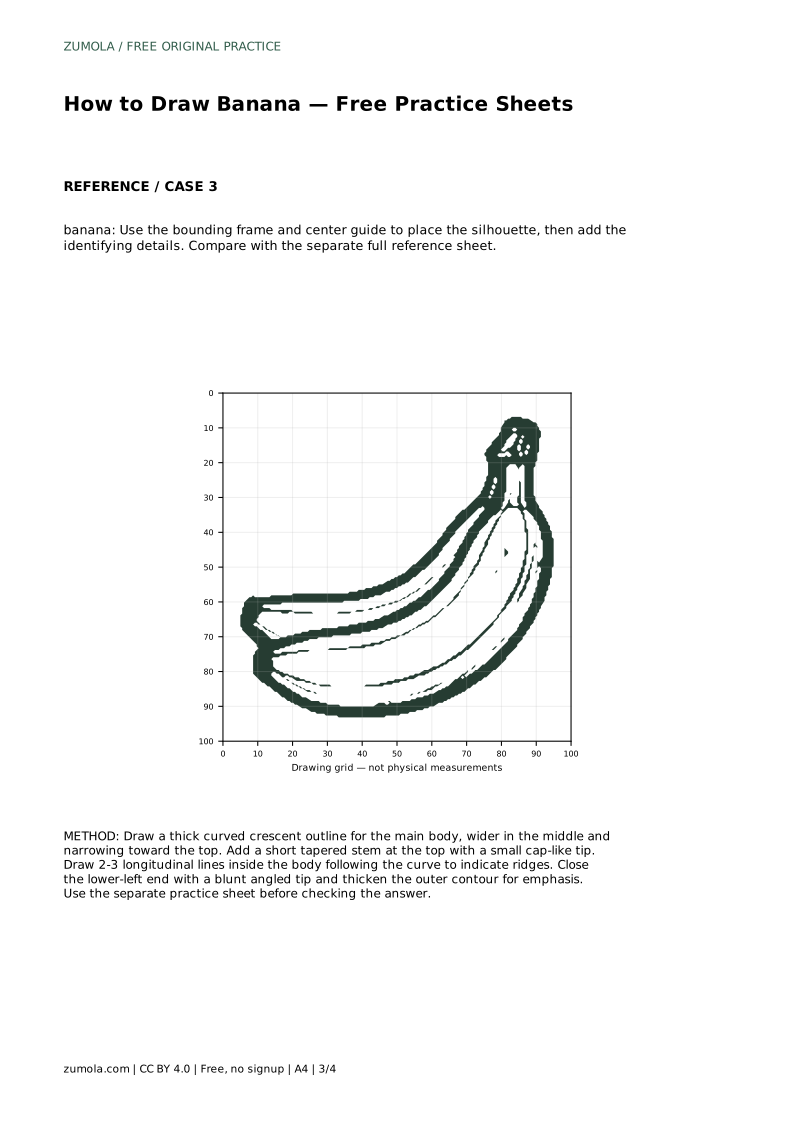
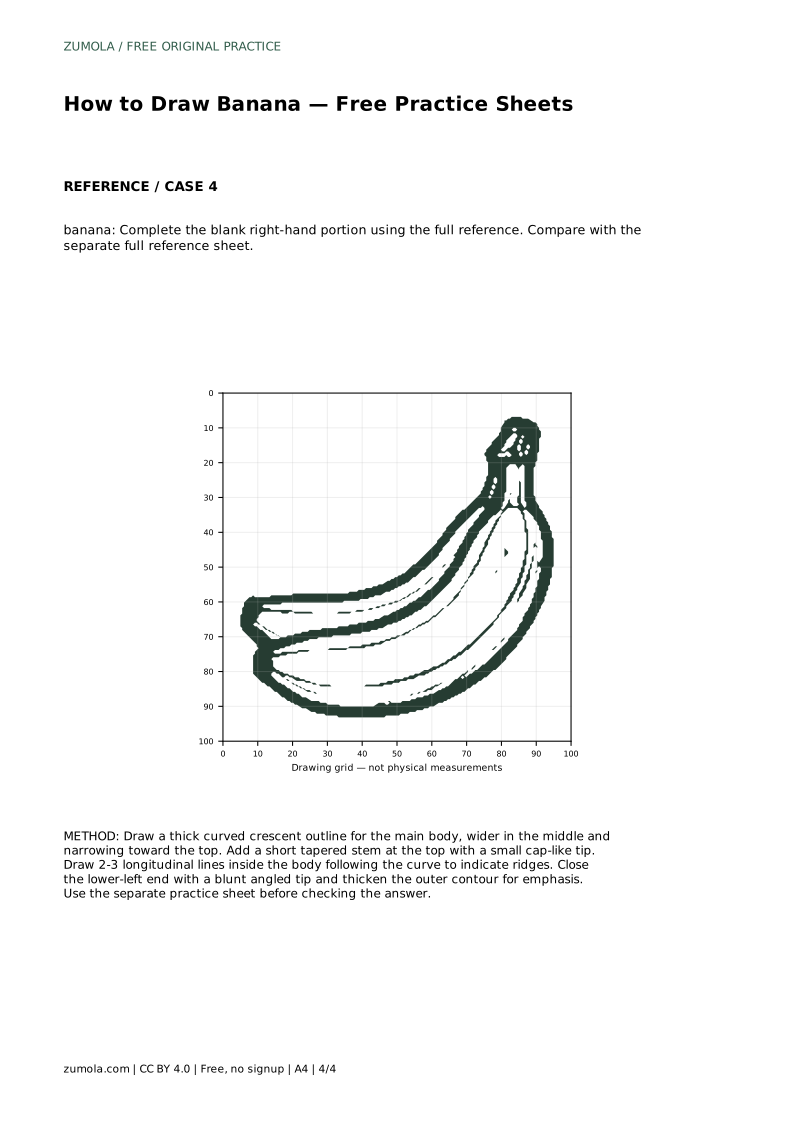
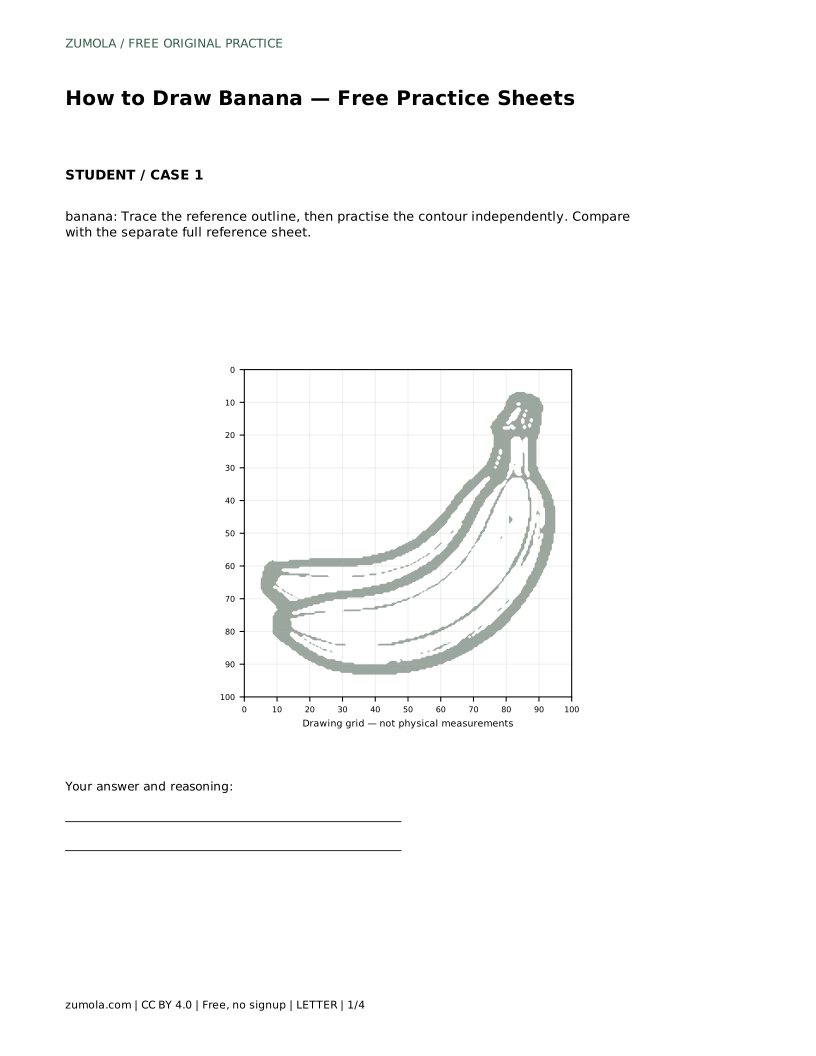
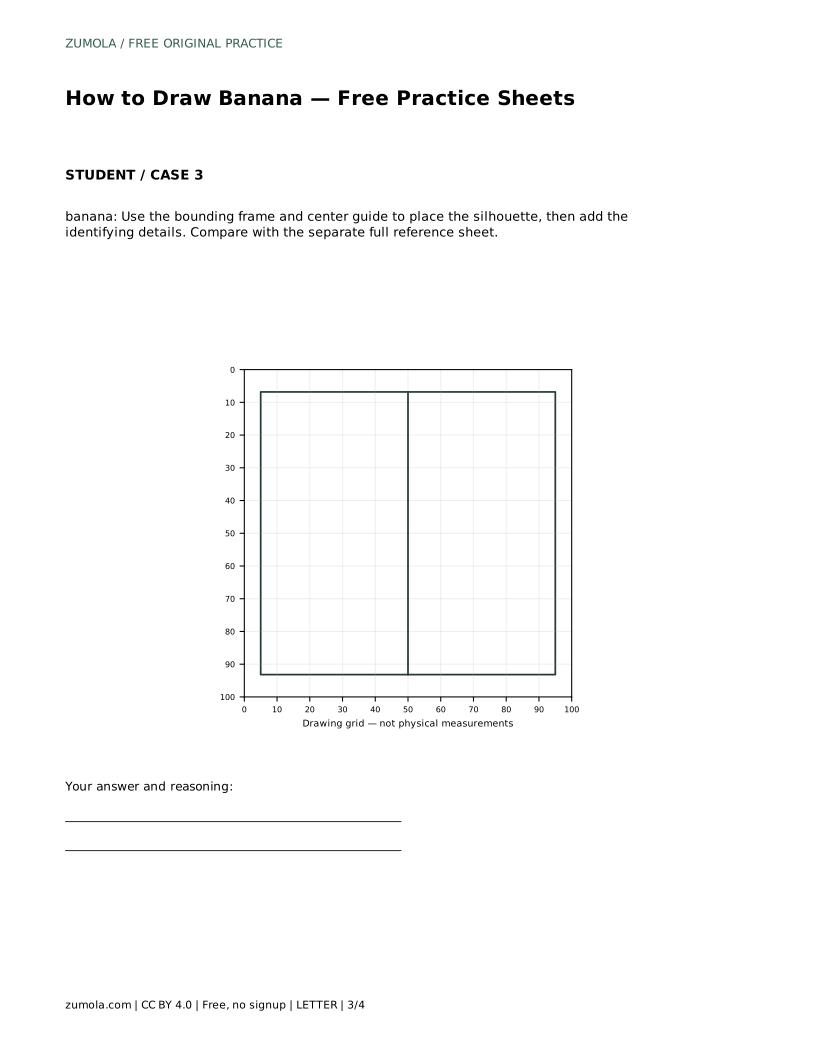
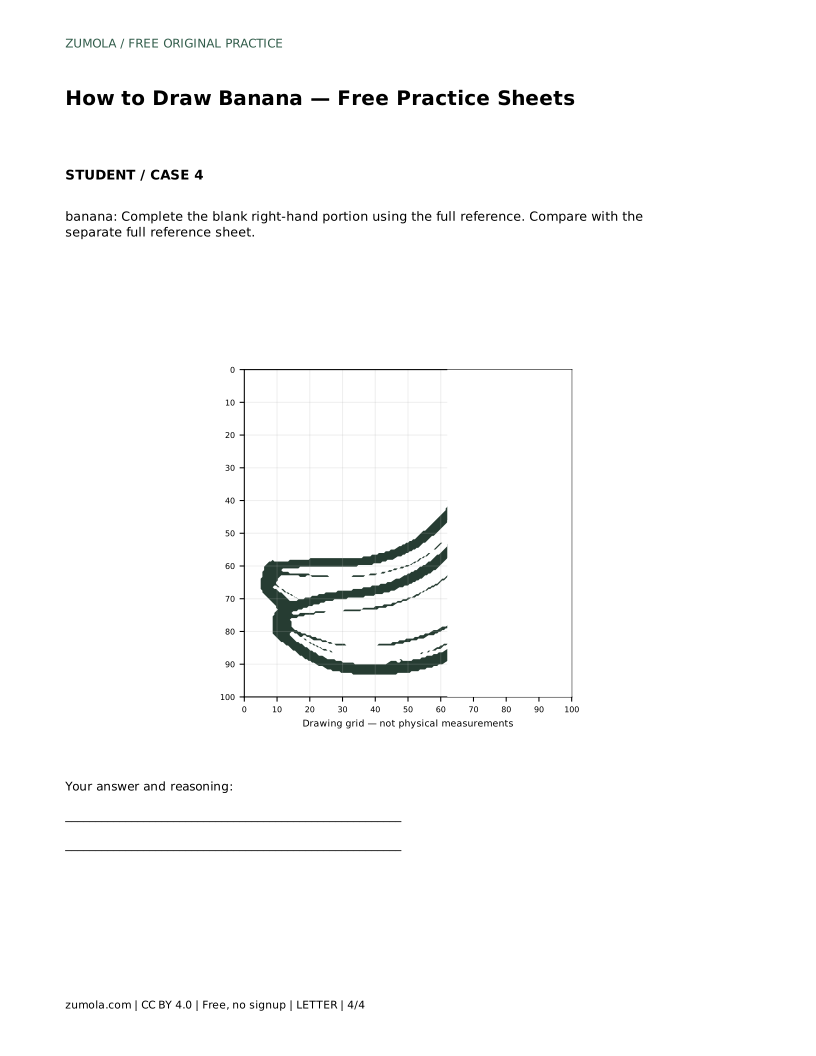
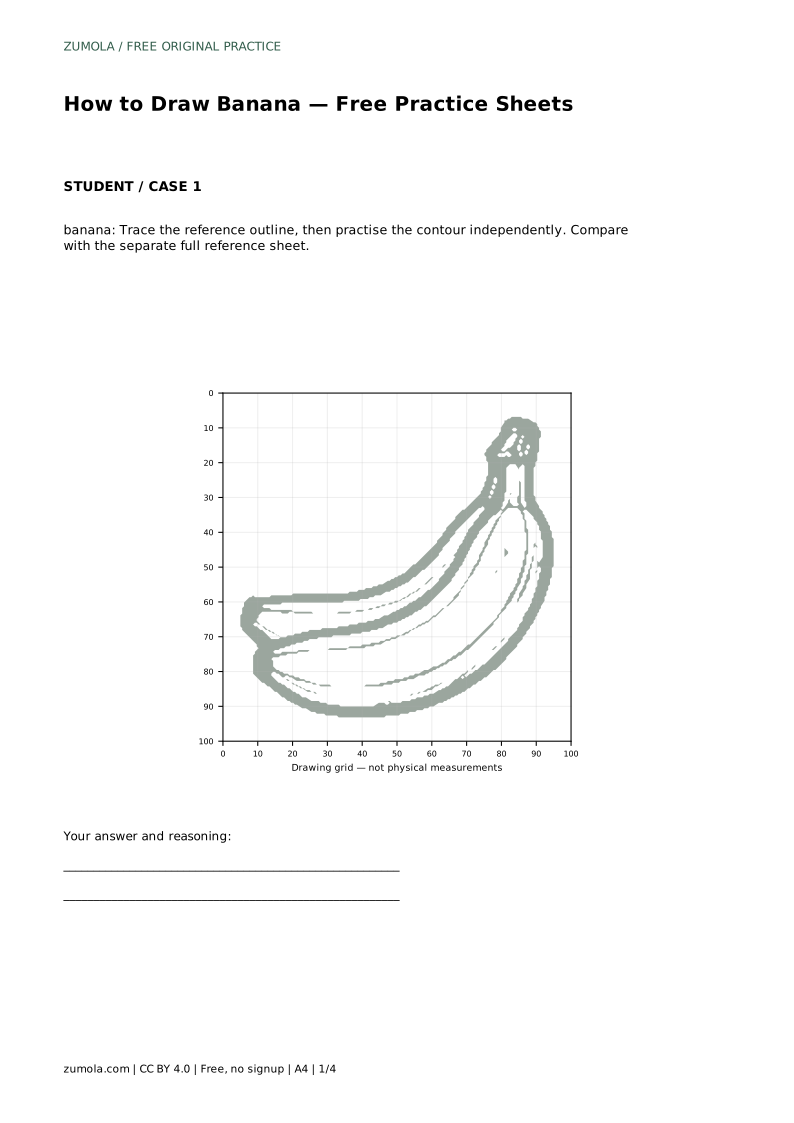
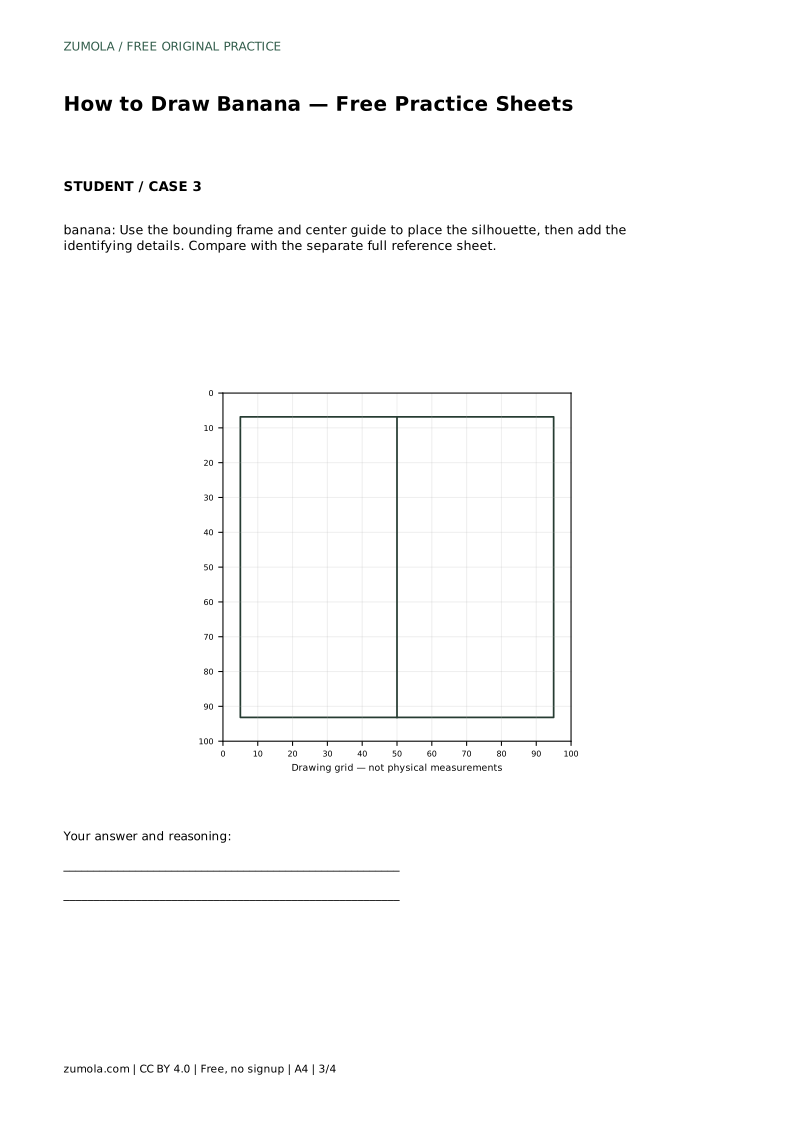
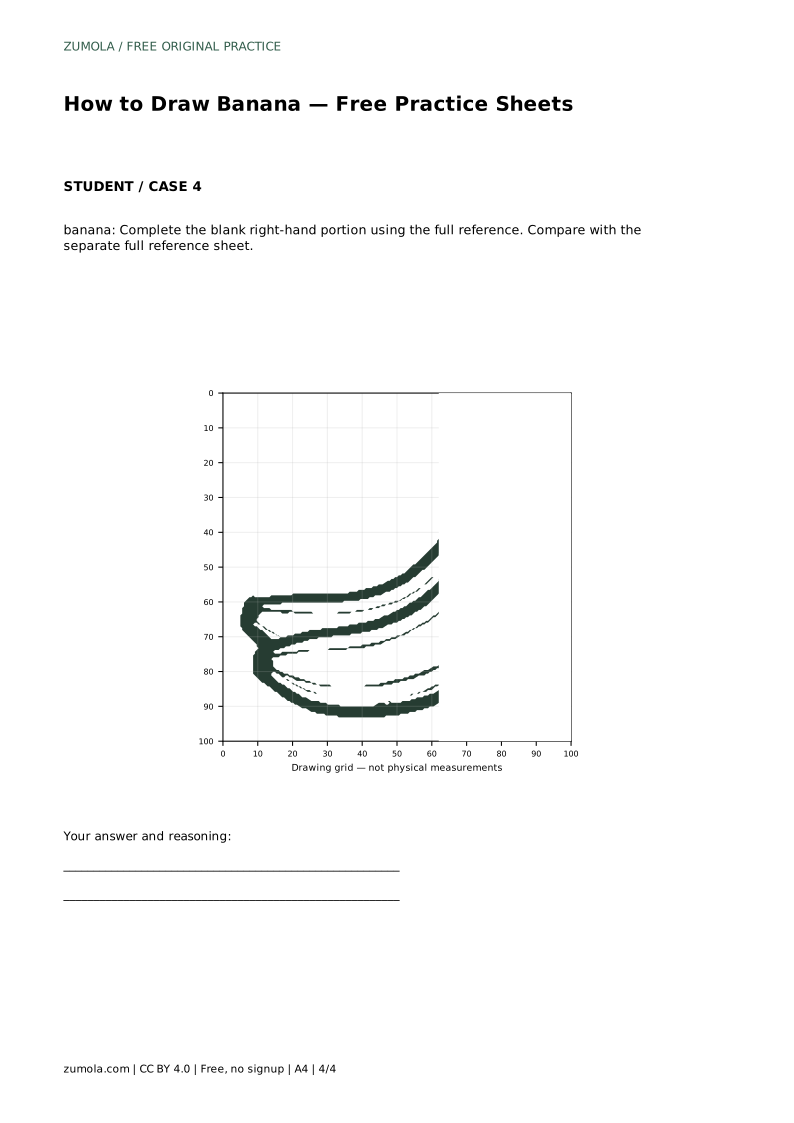
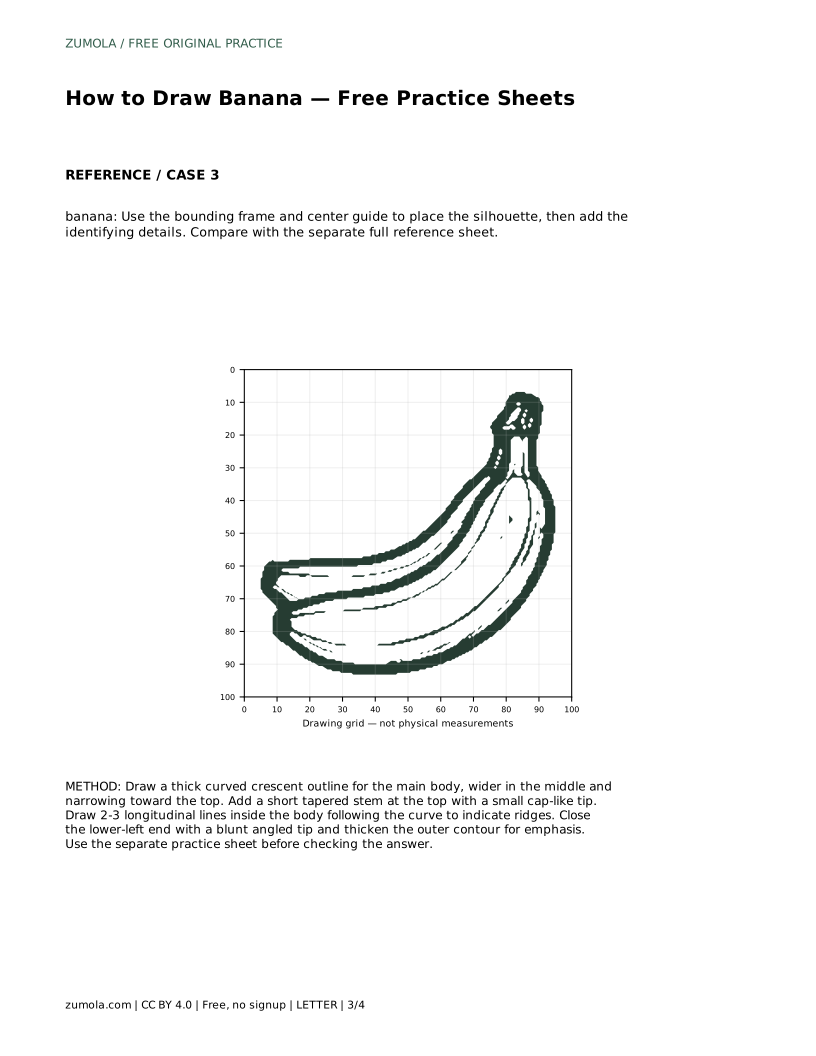
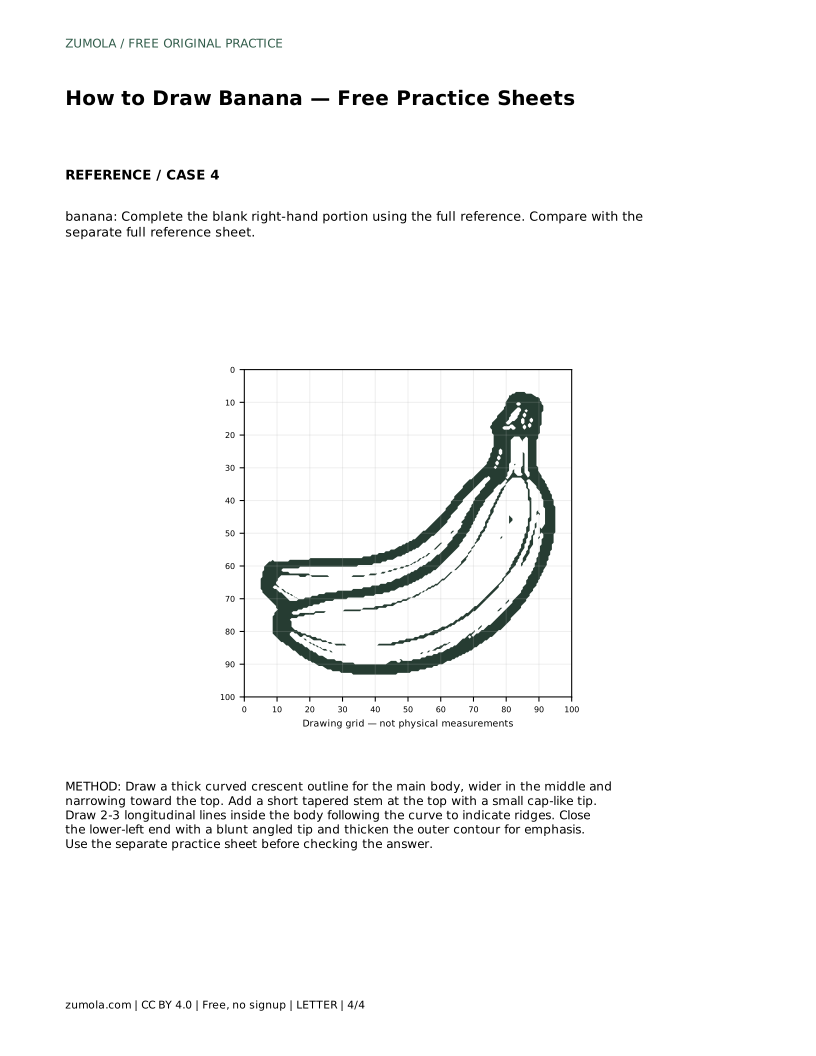
Tracing helps you feel the contour before drawing it independently. Grid copying asks you to match intersections so the curve and proportions stay consistent across the page. A bounding frame with a center guide helps you place the silhouette before adding identifying details. The partial-completion sheet gives you the left portion and asks you to finish the right side from the full reference.
On every sheet, compare your drawing with the separate full reference rather than with your own earlier lines. Check three things first: the overall crescent, the stem position, and the blunt lower end. Ridge lines come last because they depend on the body being in the right place.
Longitudinal ridges are shallow lines that run along the length of the body, not across it. Two or three are enough. Each line should follow the same curve as the outer edges, starting near the stem and fading before the blunt tip. Avoid straight lines, which flatten the fruit.
Thicken the outer contour slightly to separate the banana from the page. Keep the ridge lines lighter than the outline so the body still reads as one shape. Shading is optional; if you add it, keep it consistent with the curve rather than inventing a light source the reference does not show.
A correct banana drawing preserves the curved crescent shape, the tapered stem at the top, the longitudinal ridges along the body, and the blunt angled lower-left tip. Proportions can vary, and multiple drawings can be valid. Judge the visible features and their relationships rather than pixel-perfect matching.
If the body looks like a straight tube, increase the curve. If the stem looks like a second fruit, shorten it. If the ridges cross the body sideways, redraw them along the length. These checks are more useful than erasing repeatedly without a target.
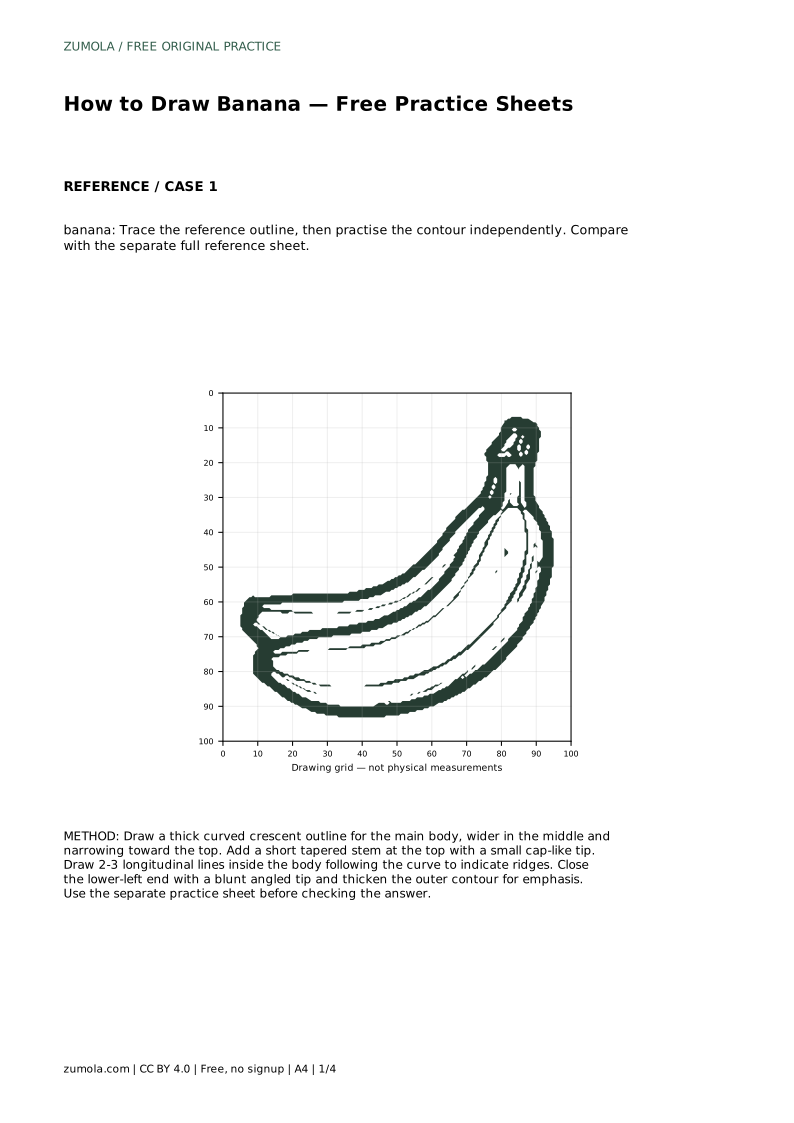
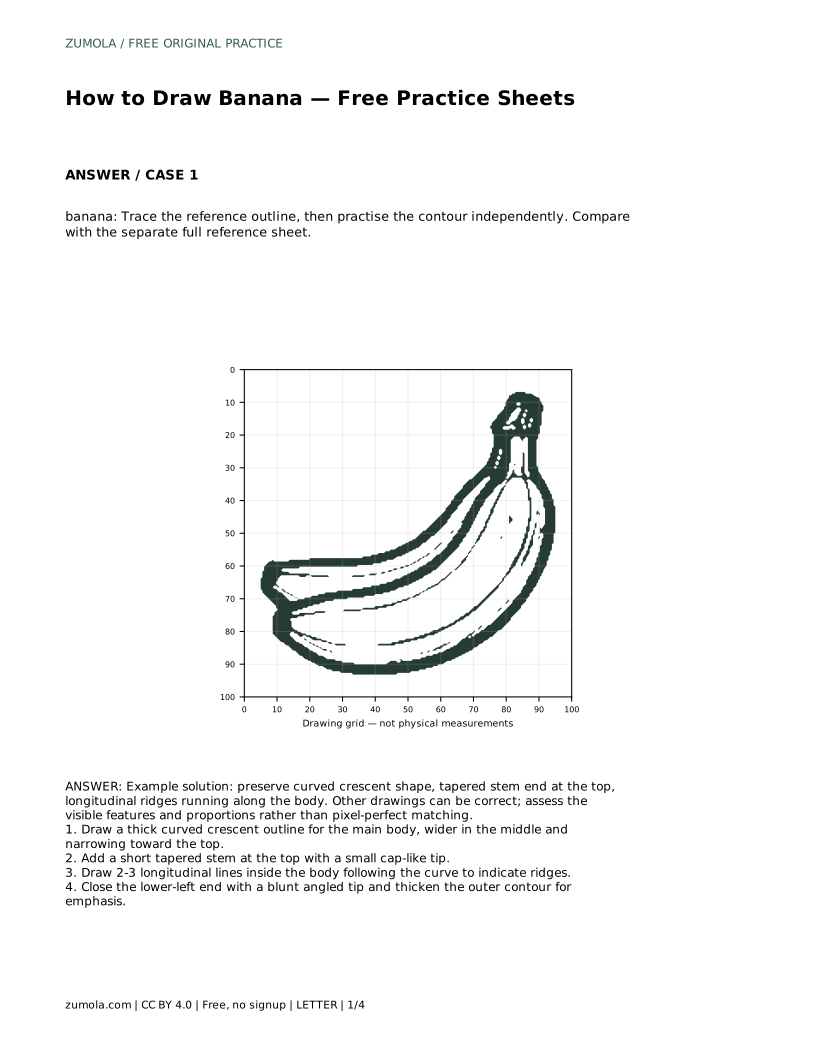
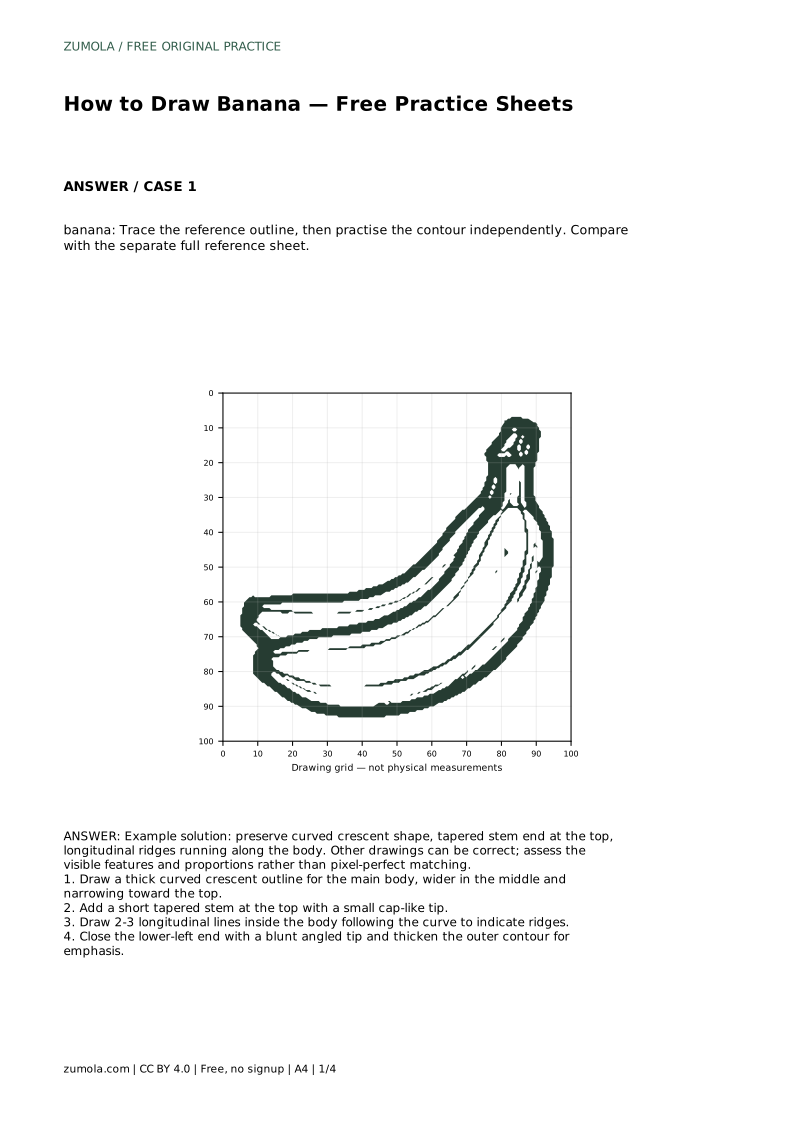
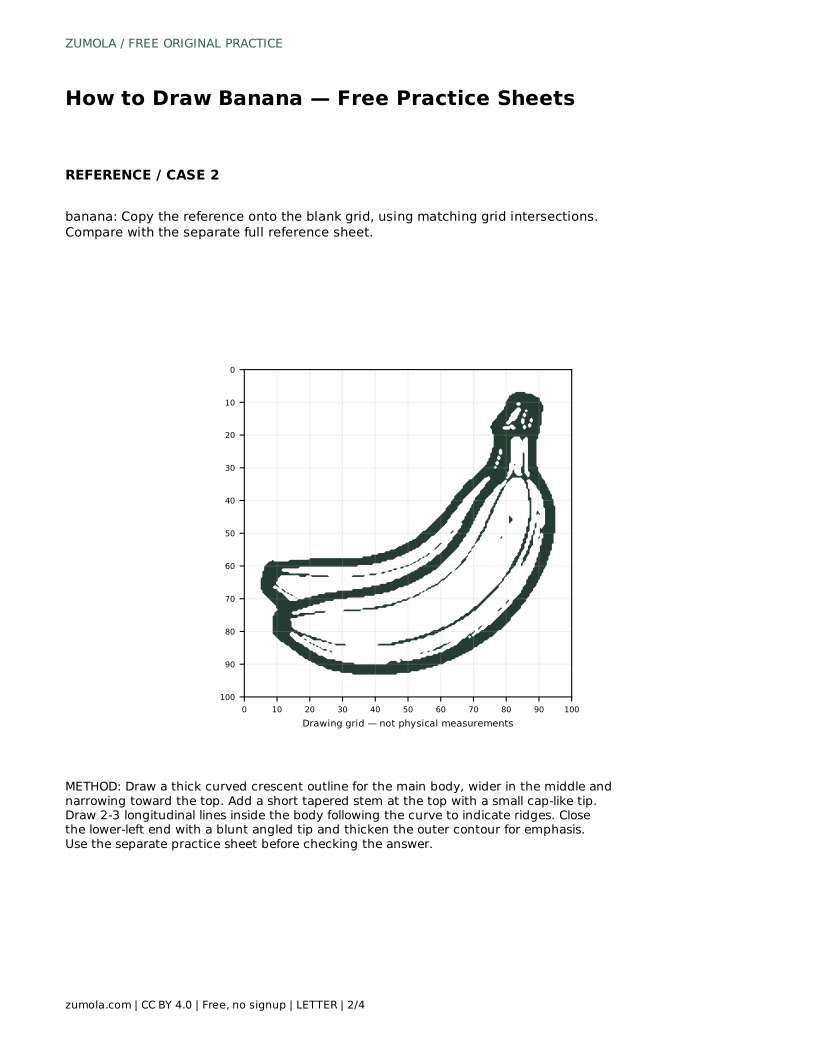
banana: Trace the reference outline, then practise the contour independently. Compare with the separate full reference sheet.
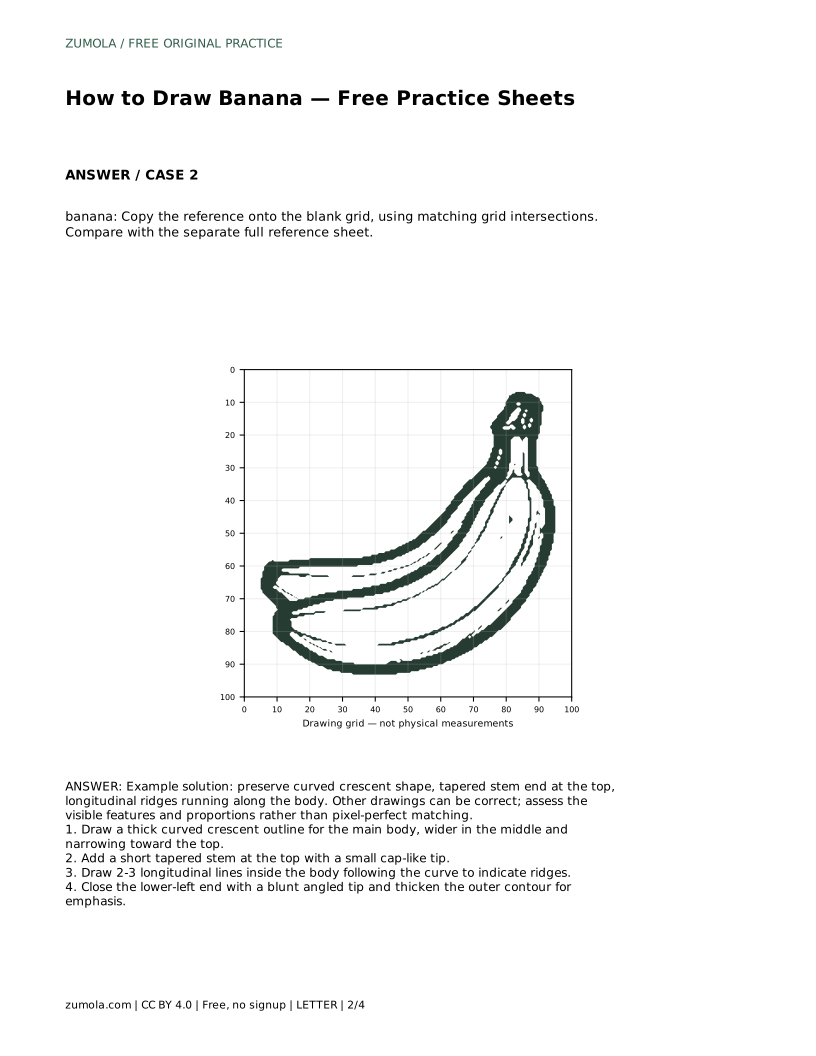
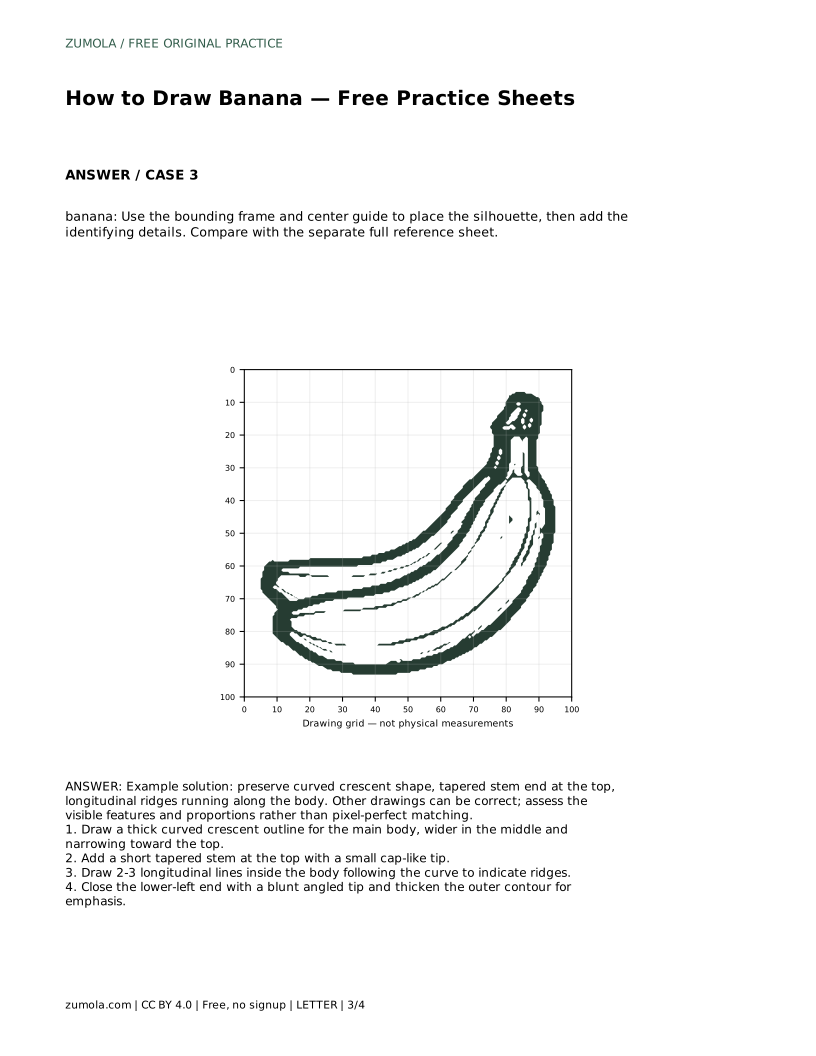
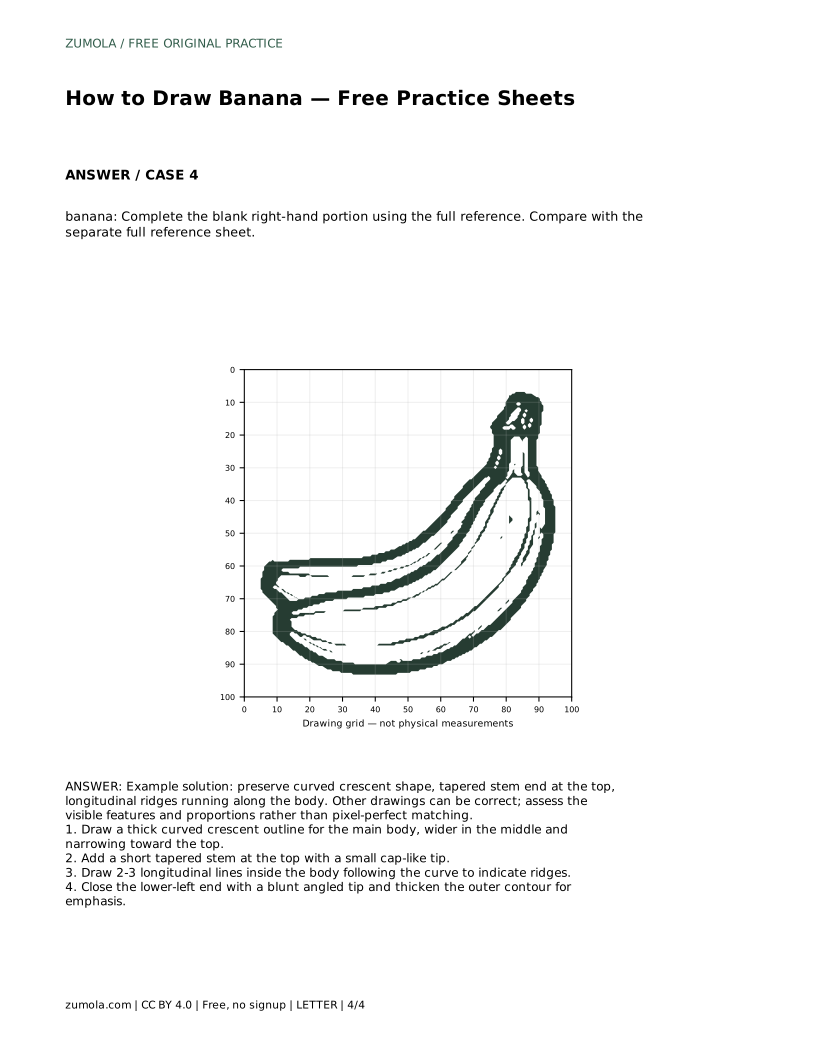
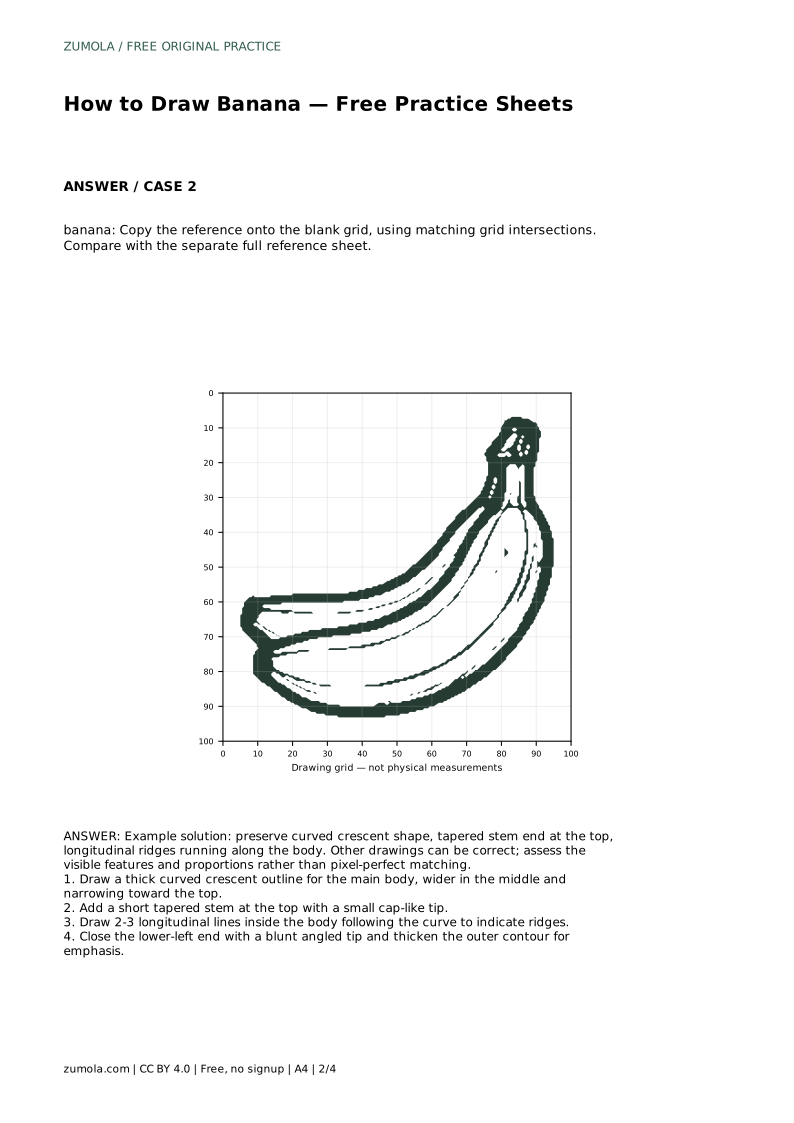
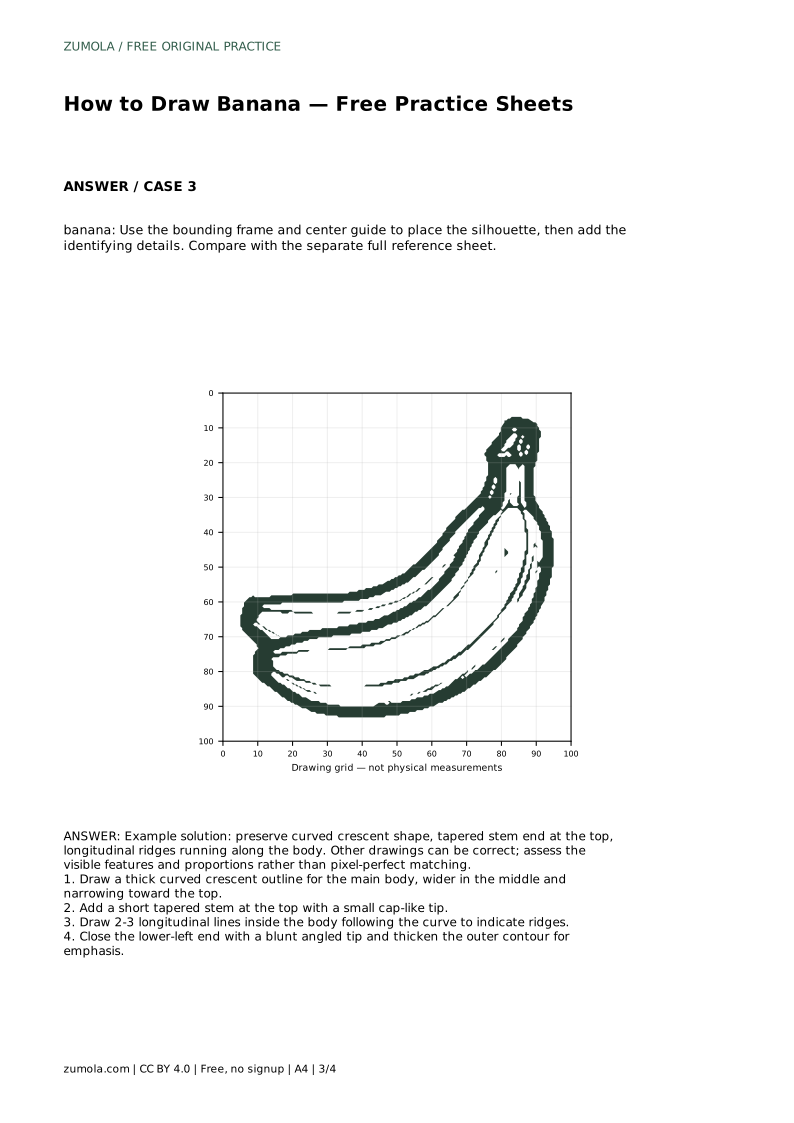
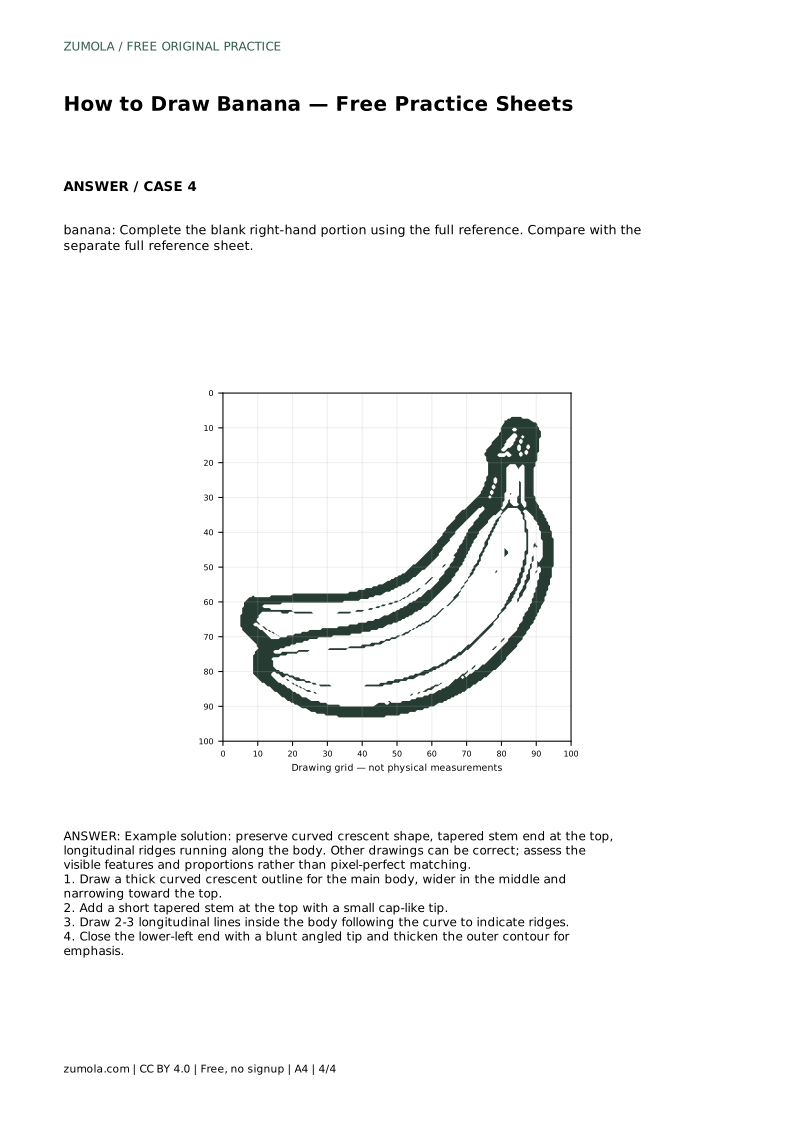
Example solution: preserve curved crescent shape, tapered stem end at the top, longitudinal ridges running along the body. Other drawings can be correct; assess the visible features and proportions rather than pixel-perfect matching. Draw a thick curved crescent outline for the main body, wider in the middle and narrowing toward the top. Add a short tapered stem at the top with a small cap-like tip. Draw 2-3 longitudinal lines inside the body following the curve to indicate ridges. Close the lower-left end with a blunt angled tip and thicken the outer contour for emphasis.
No. Preserve the curved crescent, tapered stem, longitudinal ridges, and blunt lower-left tip. Proportions can vary, so assess the visible features rather than pixel-perfect matching.
Two or three is enough. Keep them shallow and lengthwise, following the body curve, and make them lighter than the outer contour.
Start with tracing if you are learning the contour, then move to the blank grid or bounding frame for independent placement. Use the partial-completion sheet once the full shape feels familiar.
All drawing practice · Free coordinate paper
Original resources · CC BY 4.0 · Free for personal and classroom use with attribution.