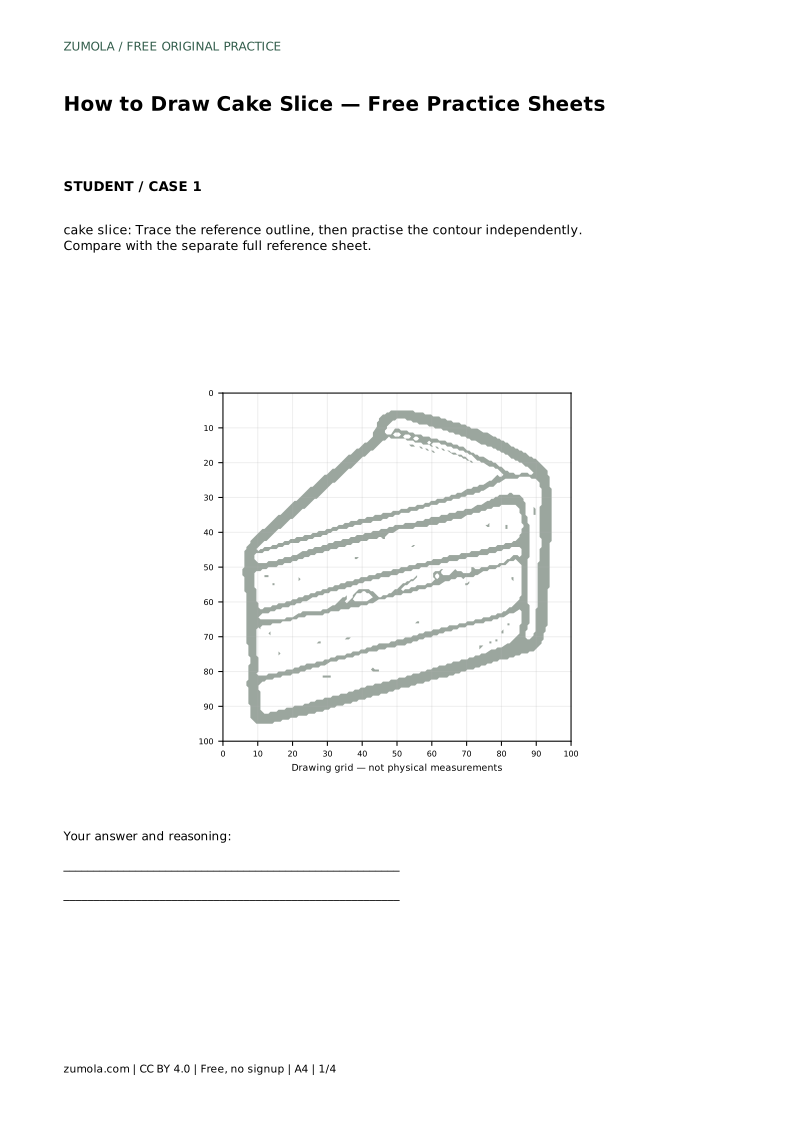
Reference diagrams
LETTER · Download PDF
A4 · Download PDF
Free original resources
Learn to draw a cake slice by building a triangular wedge, curved frosting, and horizontal layer lines. Free printable practice sheets support tracing, grids, and guided drawing.
Four original cases, with reference diagrams, practice sheets and worked answers. Everything is free; no signup required.
LETTER · Download PDF
A4 · Download PDF
LETTER · Download PDF
A4 · Download PDF
LETTER · Download PDF
A4 · Download PDF
Use A4 or US Letter to match your printer. Use the stated values and conditions to solve each exercise; diagrams are not physical measuring rulers.
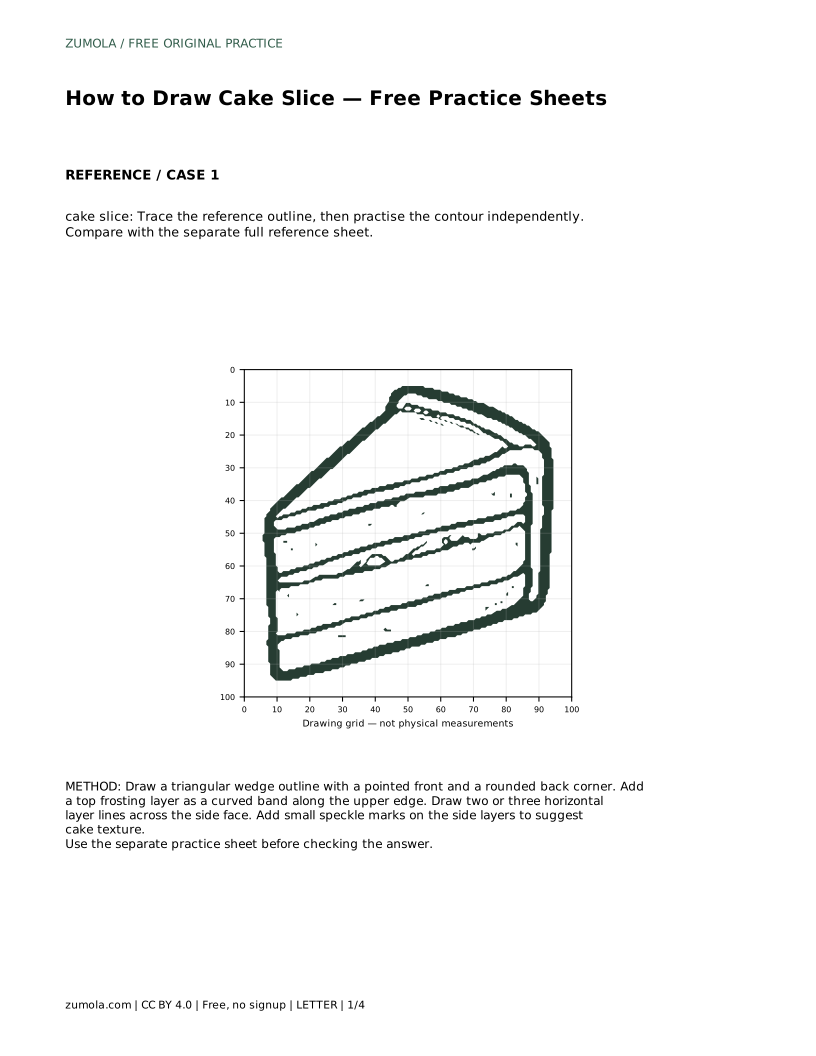
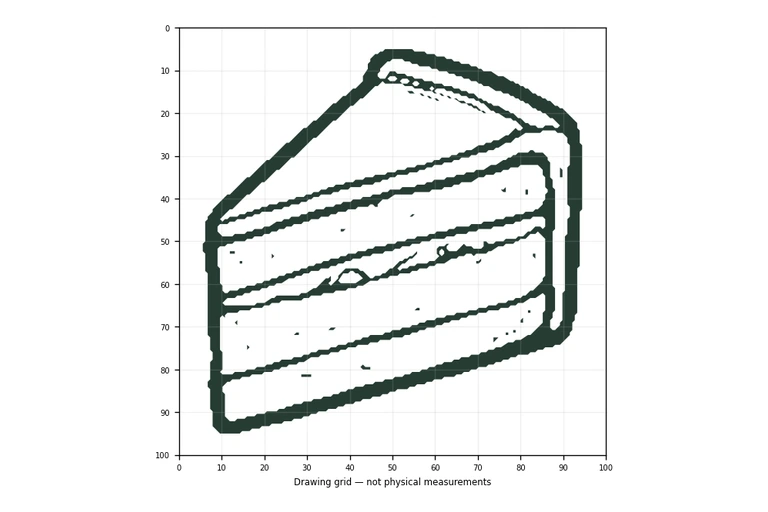
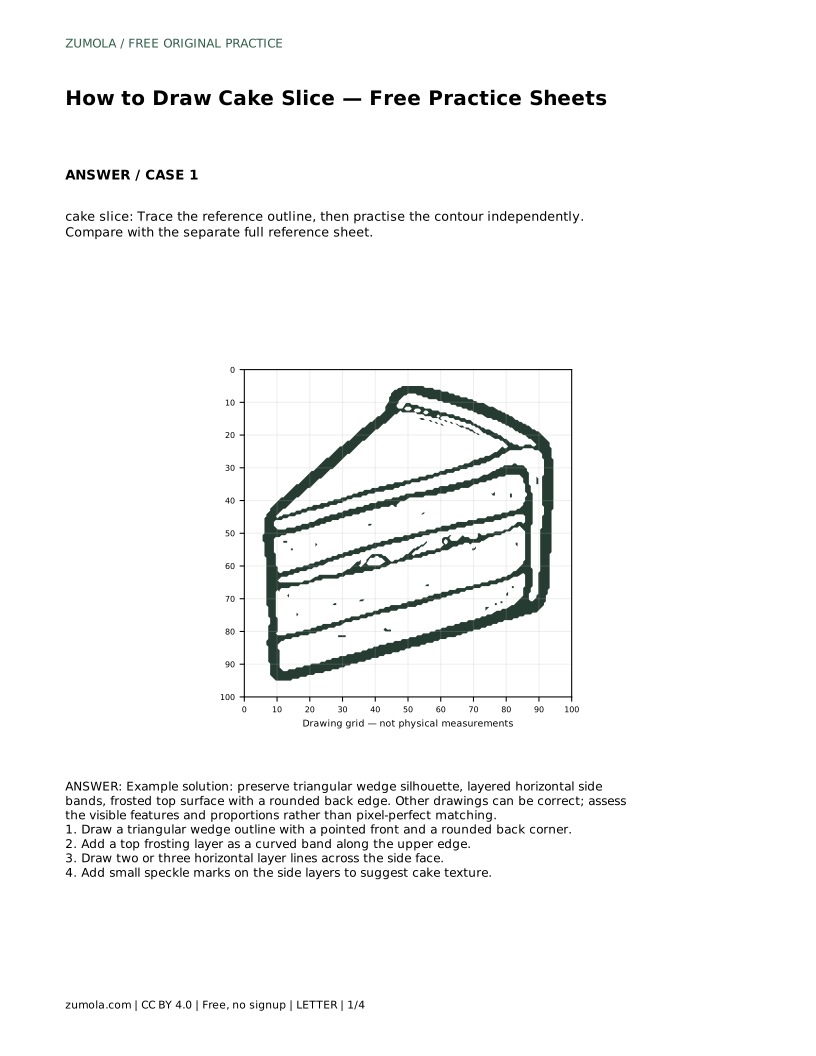
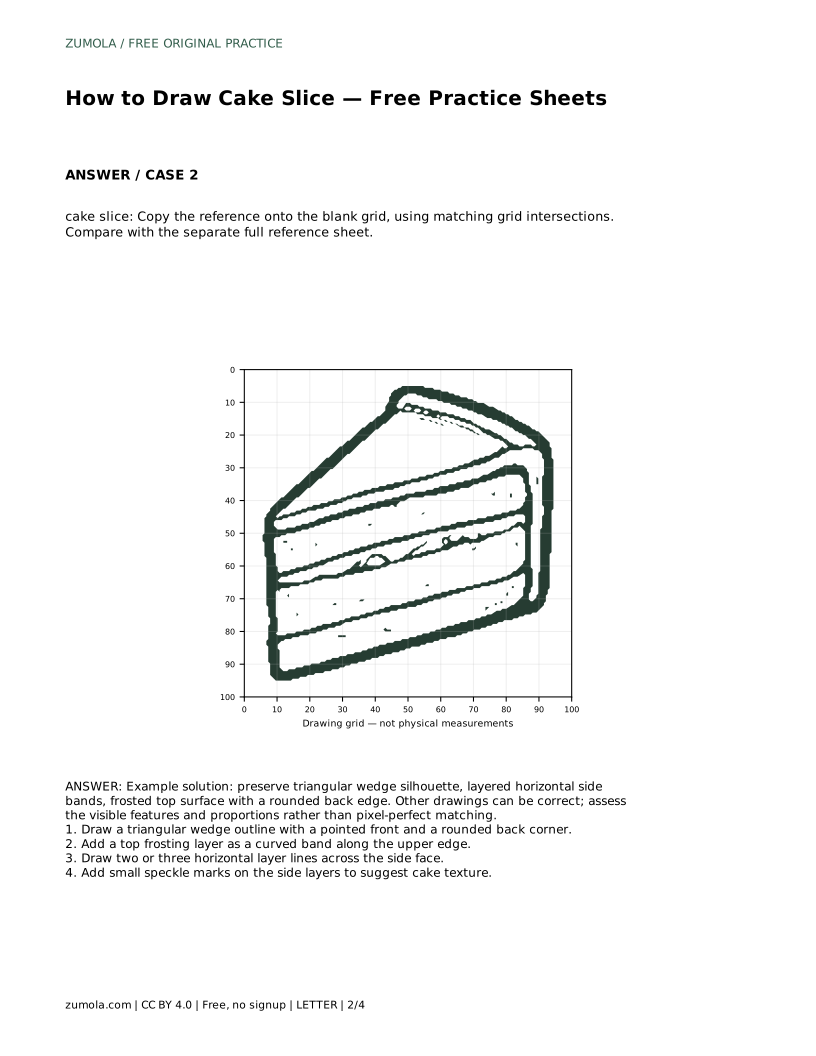
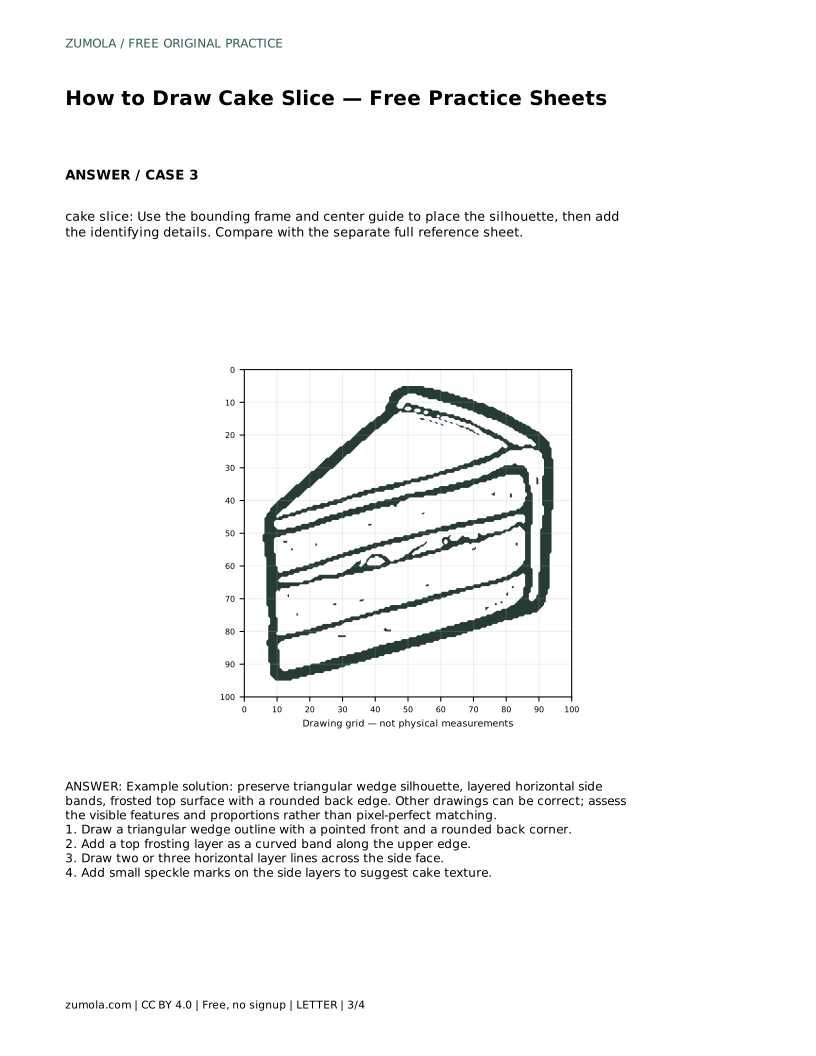
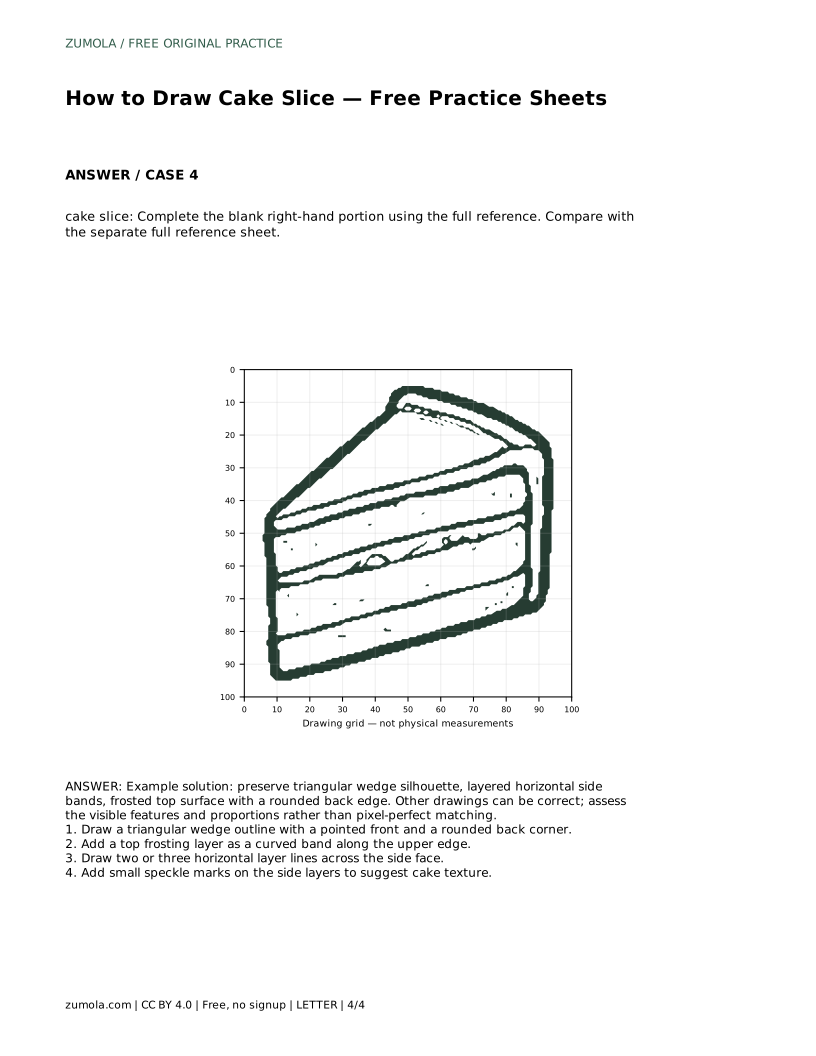
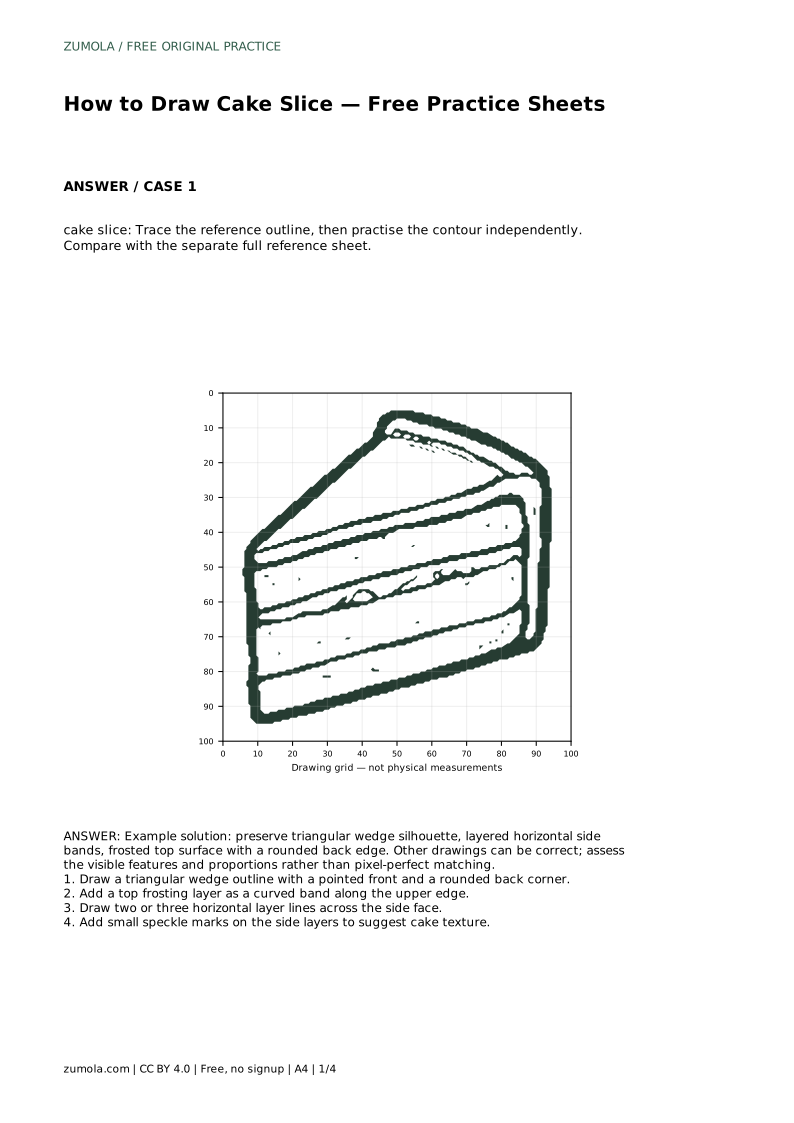
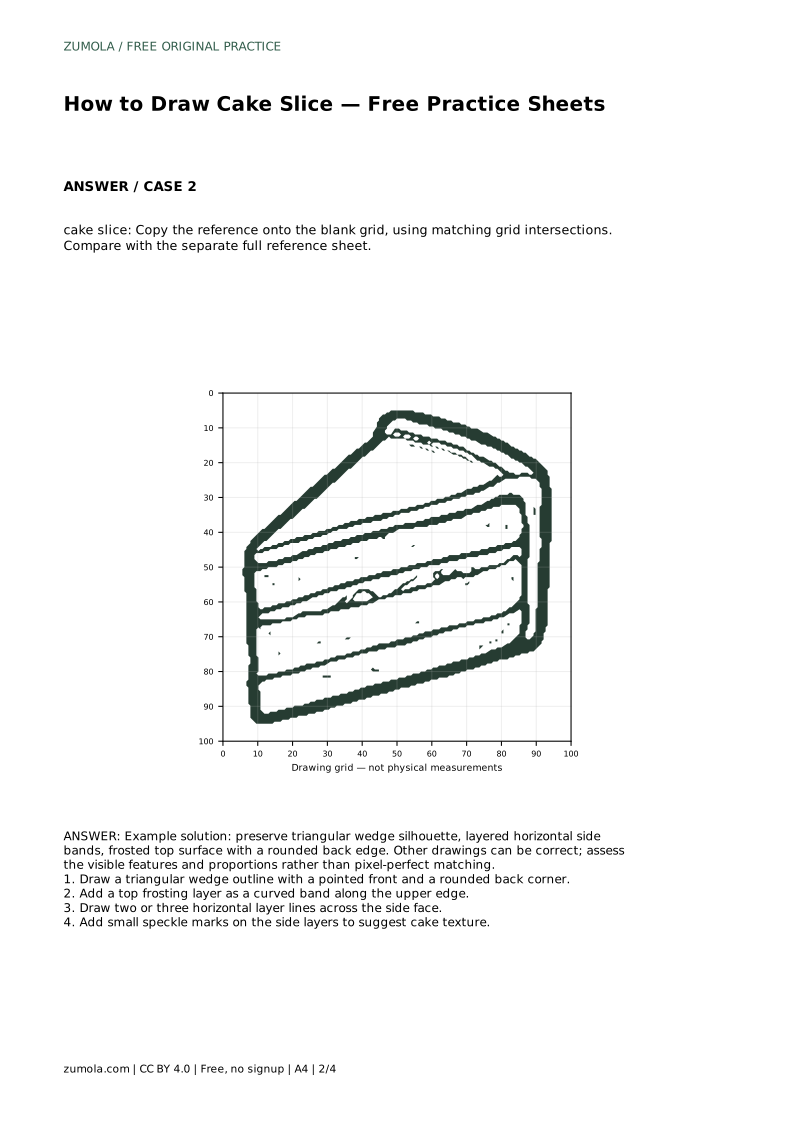
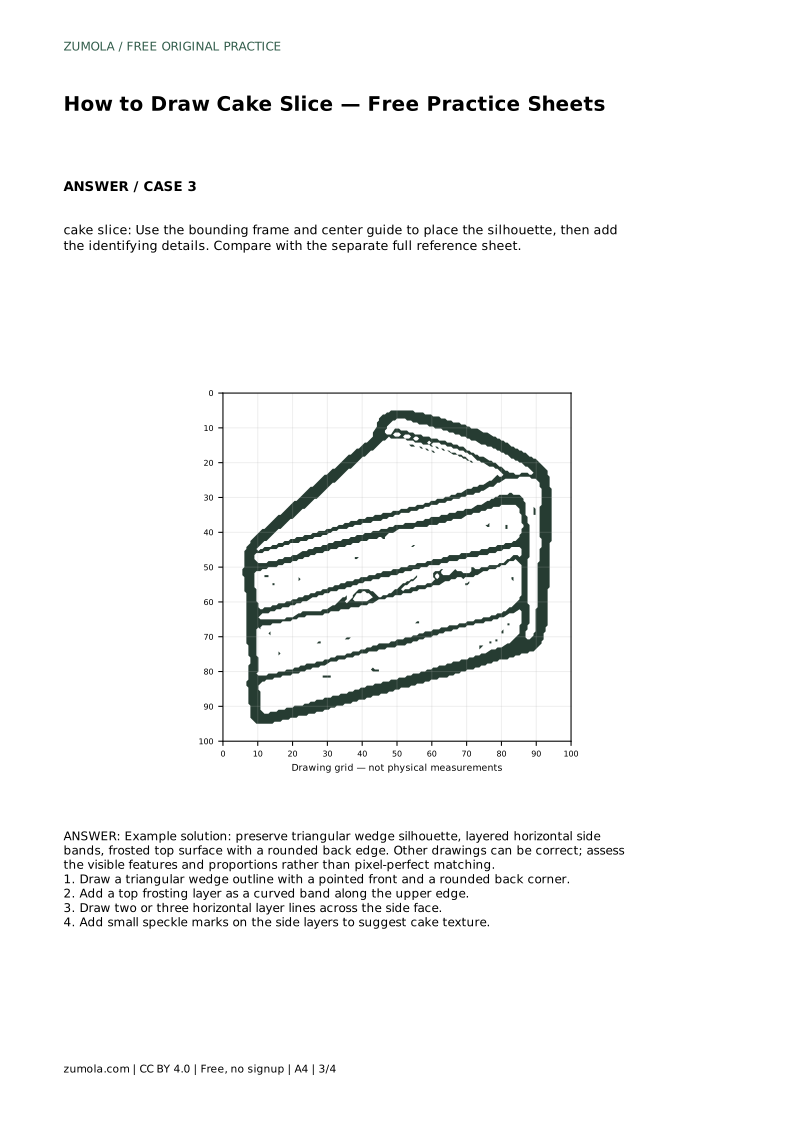
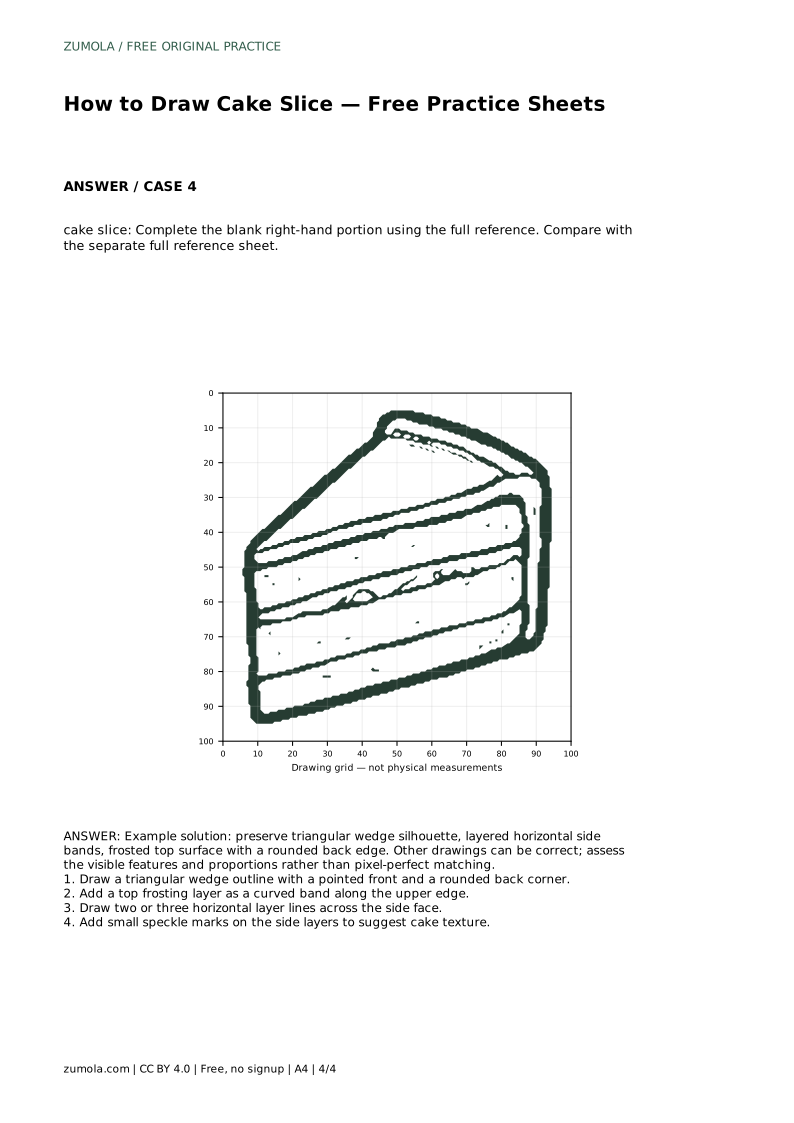
A drawing of a piece of cake depends on a few clear features: a triangular wedge silhouette, a frosted top surface with a rounded back edge, and horizontal layer bands across the side face. This page explains how to build those features in order, then how to use the free practice sheets to trace, copy, or complete the same drawing independently. The goal is a recognizable slice with sensible proportions, not a pixel-perfect copy.
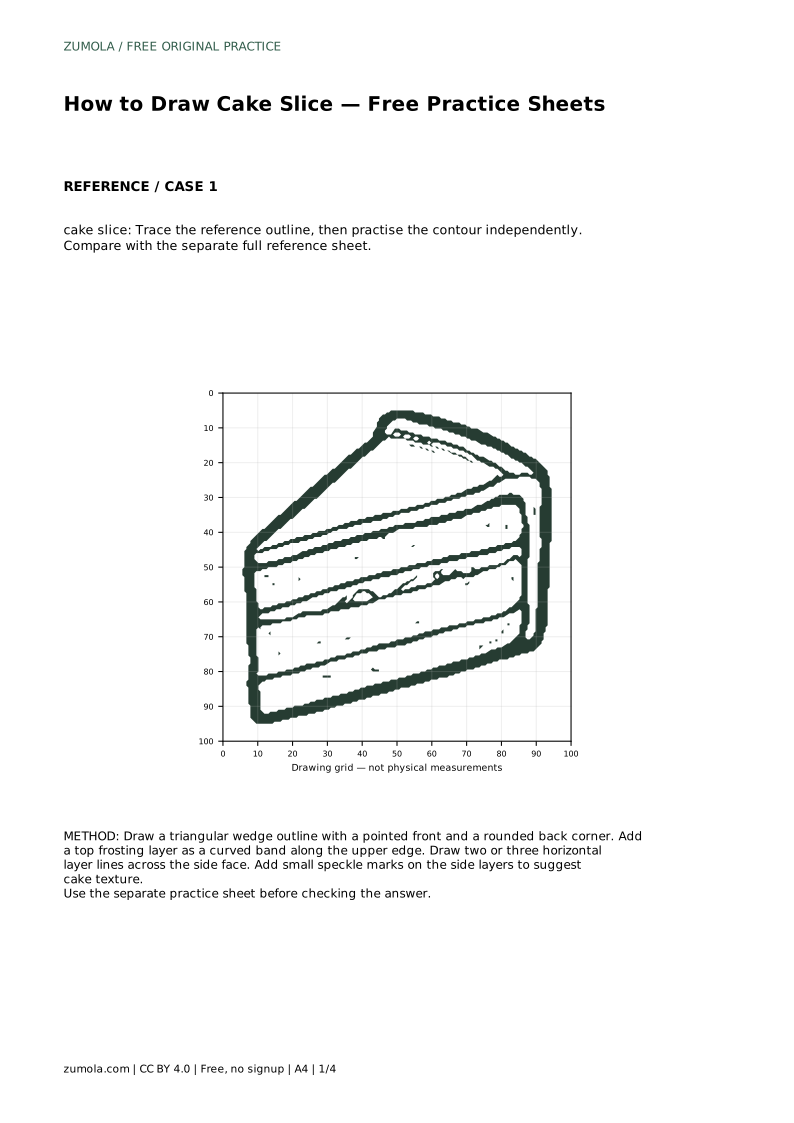
Begin with the overall shape before adding any detail. A cake slice is a wedge: a pointed front corner, two side edges that widen toward the back, and a rounded back corner where the slice meets the rest of the cake. Keep the point low and centered, and let the back edge curve rather than ending in a sharp angle.
Check the silhouette first. If the wedge looks too narrow, the slice will read as a triangle rather than cake. If the back corner is too square, the slice loses its cut-from-a-round-cake feel. Adjust the outline before moving on, because every later detail sits inside this shape.
The top frosting is a curved band along the upper edge of the wedge. It should follow the back curve and sit slightly above the cake body, giving the slice a visible top surface. Keep the band consistent in thickness so the frosting reads as a layer rather than a random outline.
Next, draw two or three horizontal layer lines across the side face. These lines should run roughly parallel to the bottom edge and stop at the side boundaries of the wedge. Spacing them evenly makes the layers look deliberate. Finally, add small speckle marks on the side layers to suggest cake texture. Keep speckles sparse and inside the layer bands.
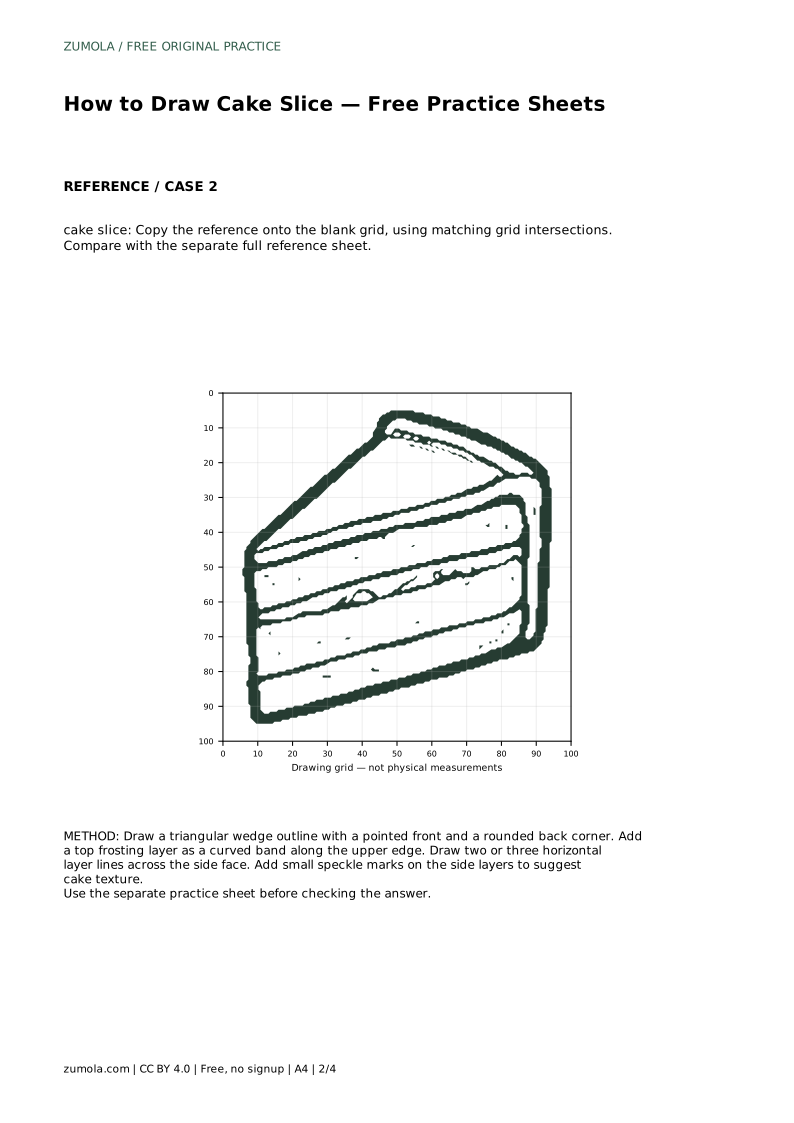
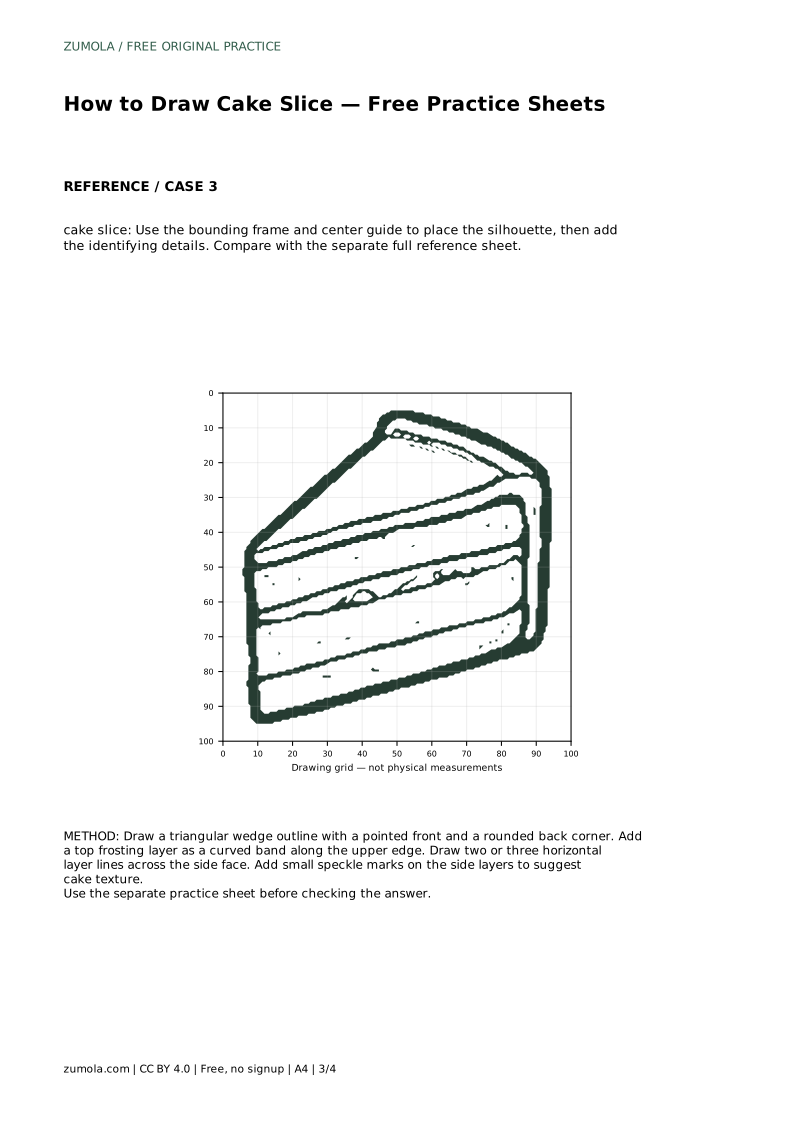
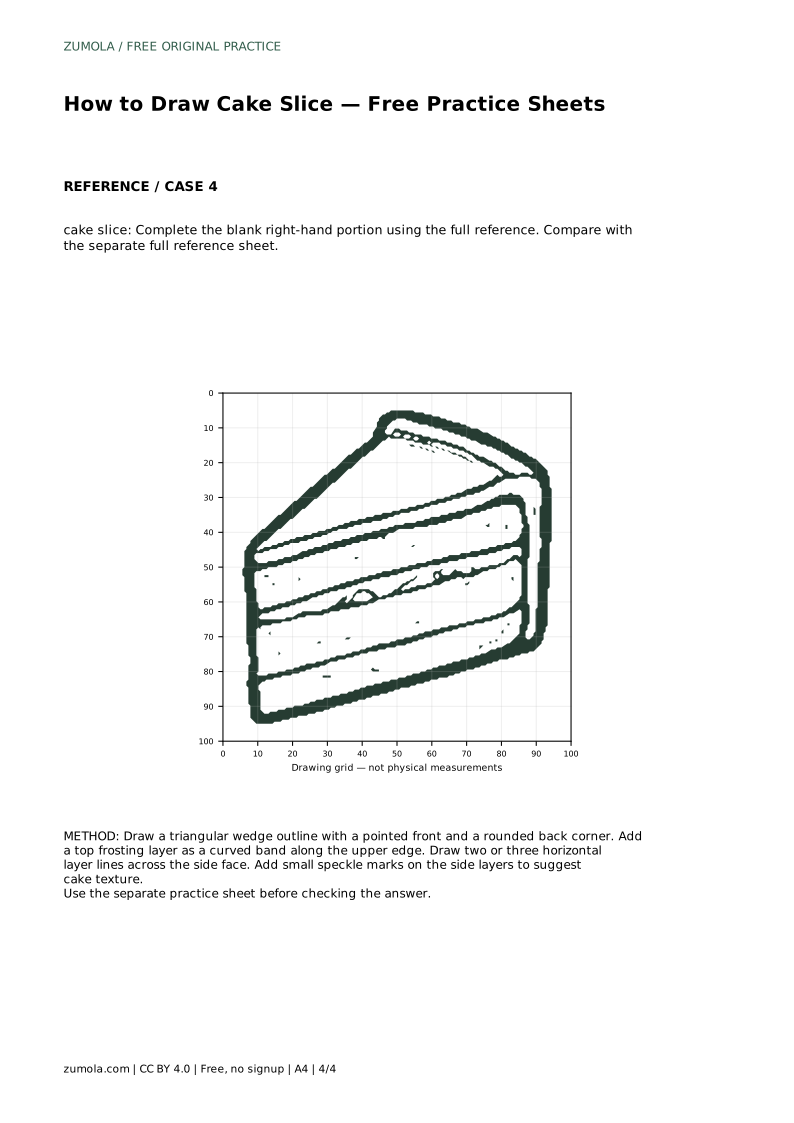
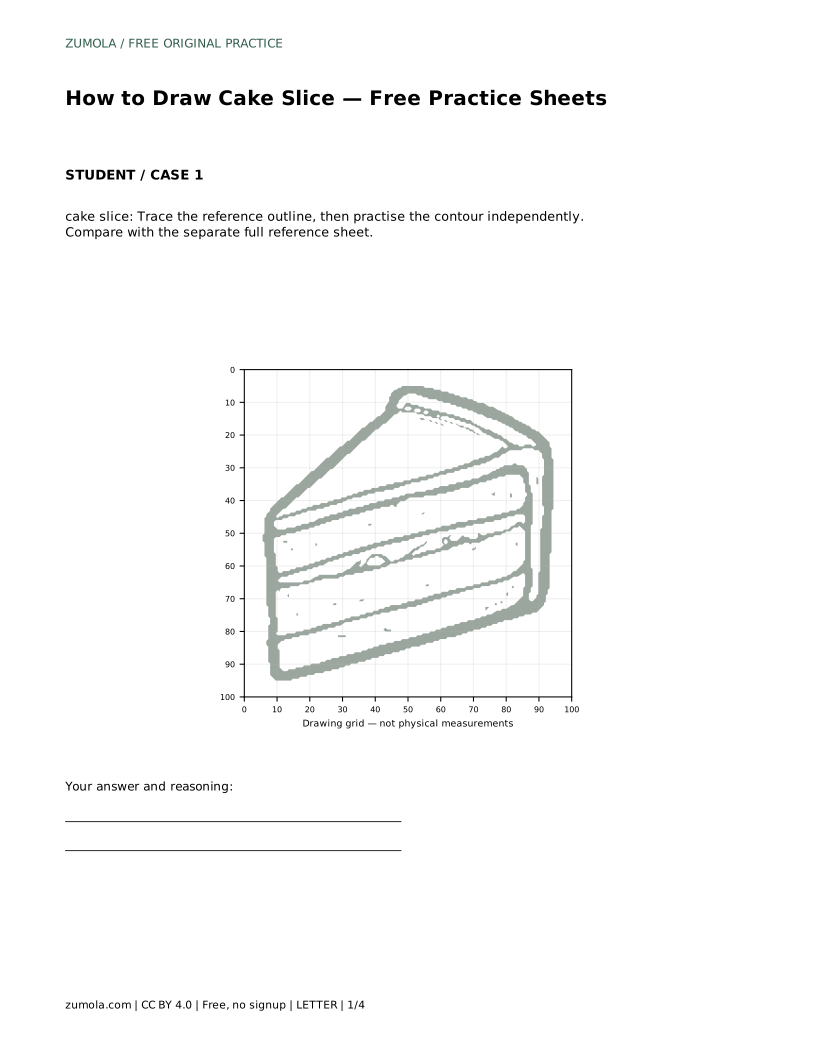
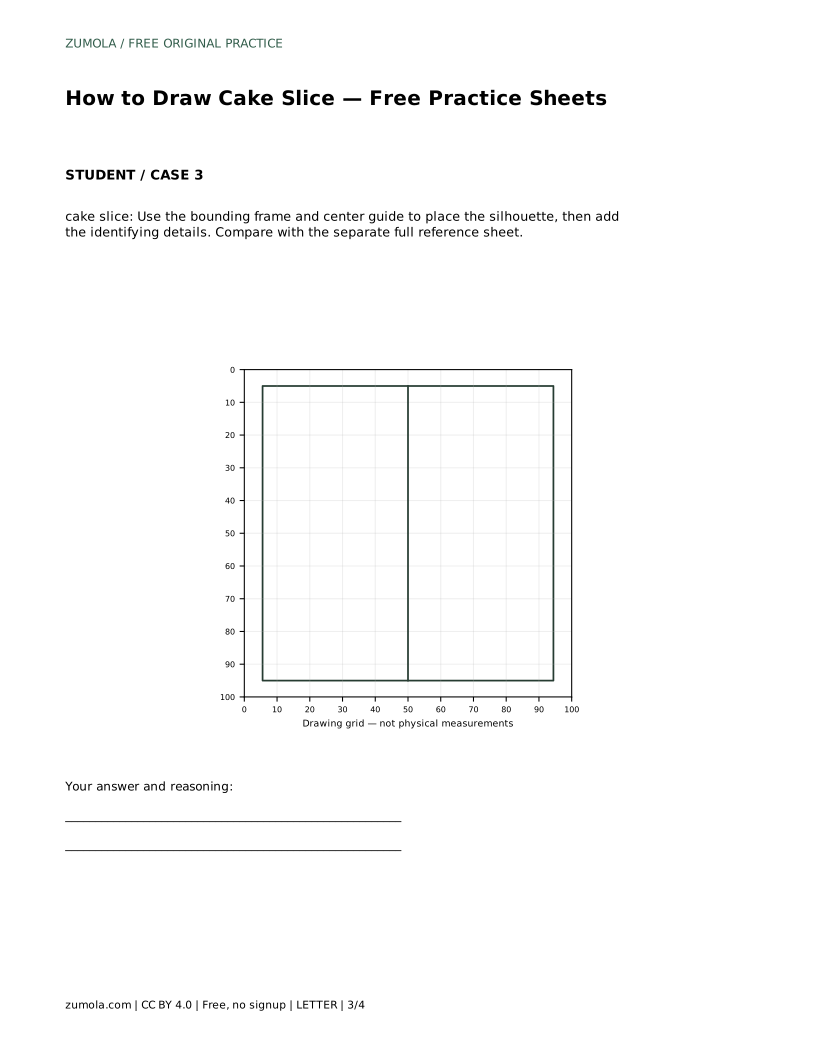
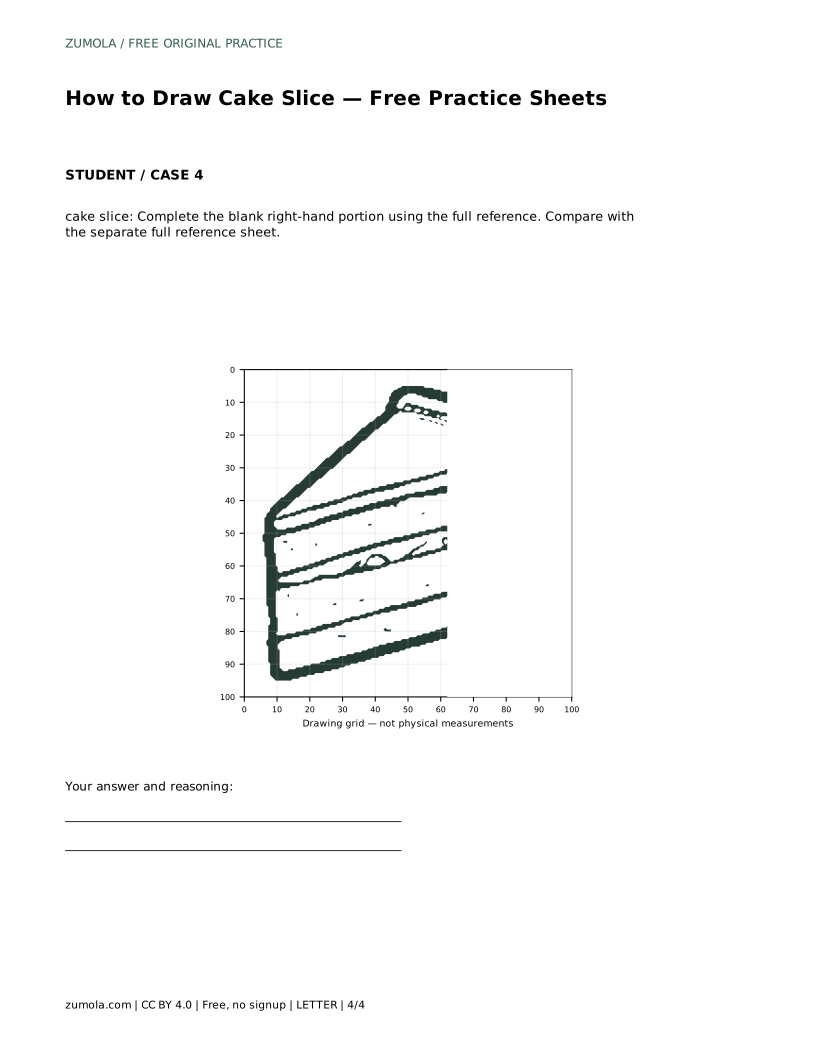
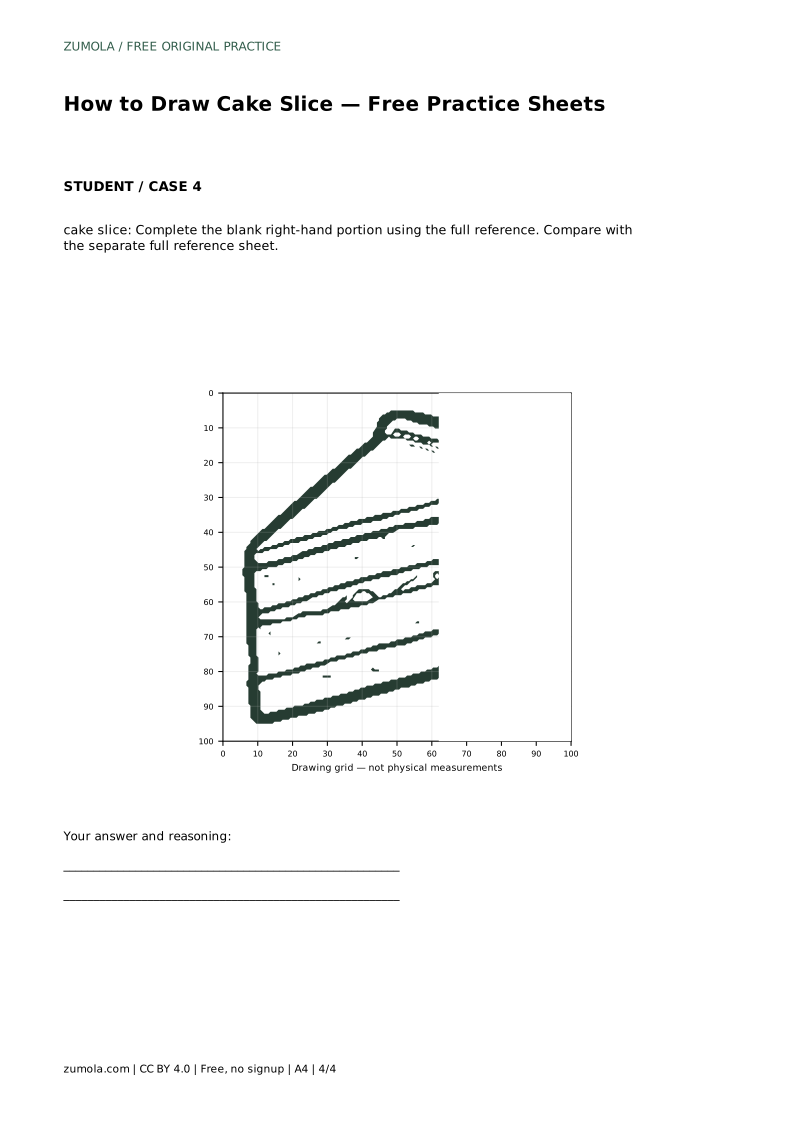
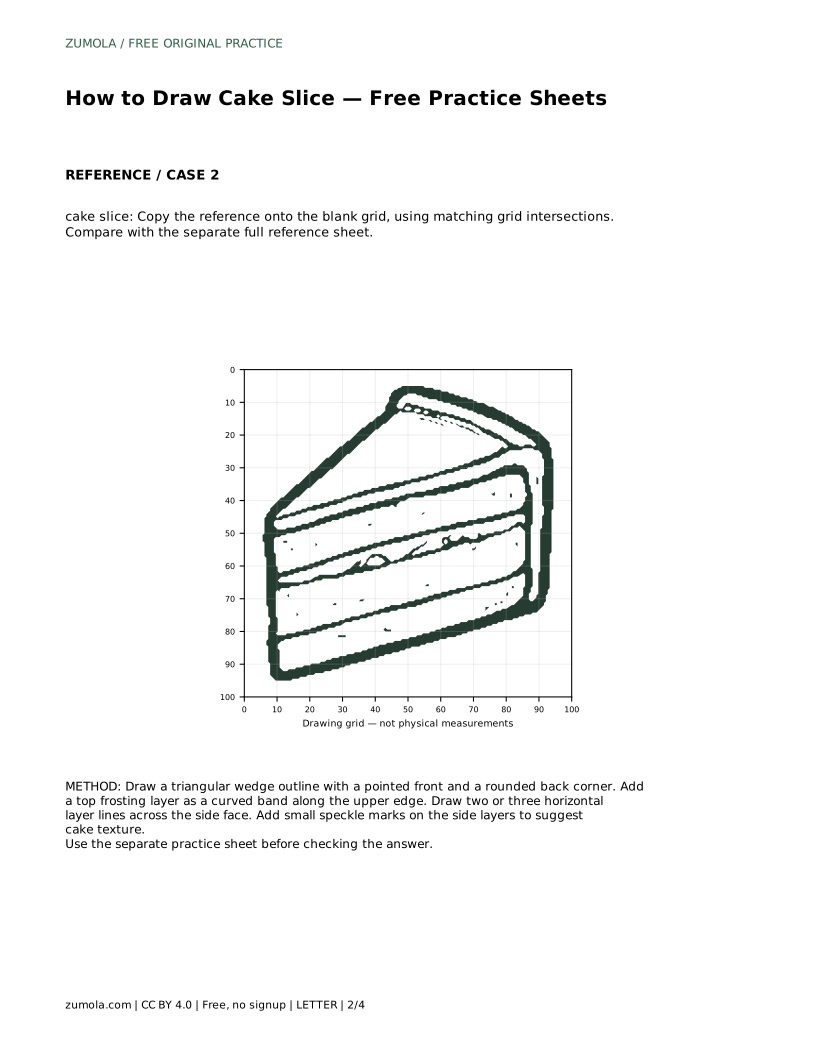
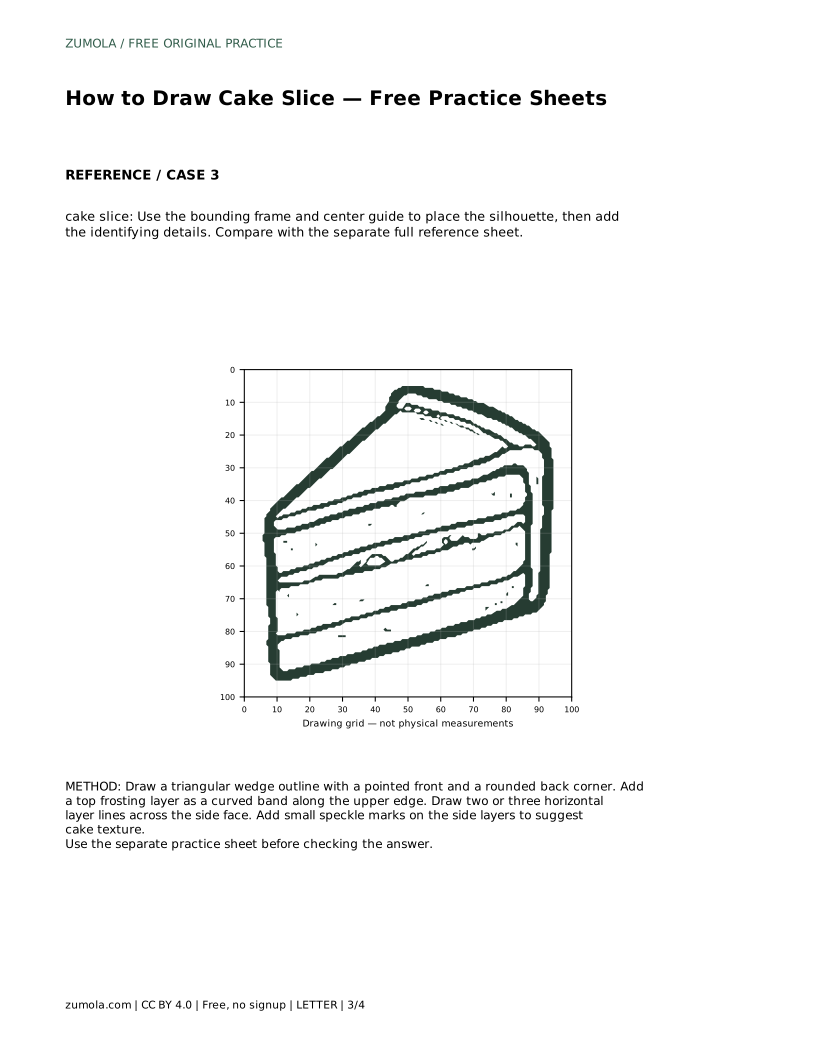
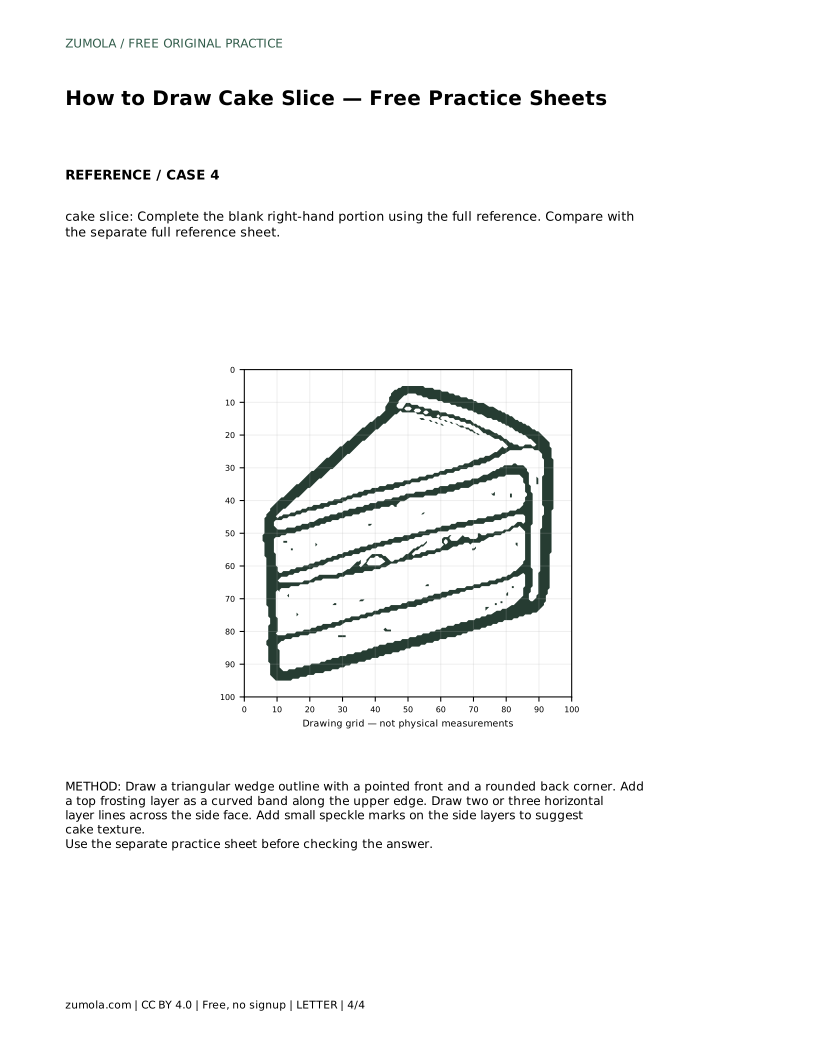
The sheets offer different levels of support. Tracing the reference outline helps you learn the contour before drawing it independently. Copying onto a blank grid uses matching grid intersections to place the wedge and details. A bounding frame with a center guide helps you position the silhouette before adding identifying details. The partial sheet asks you to complete the blank right-hand portion using the full reference.
Each format trains a different skill, so compare your result with the separate full reference sheet rather than expecting an exact match. Different drawings can be correct. Assess the visible features and proportions: wedge shape, frosting band, layer lines, and texture marks.
Compare your drawing against the reference sheet feature by feature. Ask whether the wedge is triangular, whether the back corner is rounded, whether the frosting band follows the top edge, and whether the layer lines are horizontal and evenly spaced. Small differences in angle or spacing are acceptable.
If one feature is weak, redraw only that part rather than starting over. A quick second attempt with a corrected back curve or a straighter layer line usually teaches more than a full redraw.
cake slice: Trace the reference outline, then practise the contour independently. Compare with the separate full reference sheet.
Example solution: preserve triangular wedge silhouette, layered horizontal side bands, frosted top surface with a rounded back edge. Other drawings can be correct; assess the visible features and proportions rather than pixel-perfect matching. Draw a triangular wedge outline with a pointed front and a rounded back corner. Add a top frosting layer as a curved band along the upper edge. Draw two or three horizontal layer lines across the side face. Add small speckle marks on the side layers to suggest cake texture.
No. Preserve the triangular wedge, layered side bands, frosted top, and rounded back edge. Other drawings can be correct, so assess visible features and proportions.
Draw the wedge outline first, then the frosting band, then the horizontal layer lines, and finally the speckle marks.
Choose the format that targets your weak point: tracing for contour, grid for placement, the frame for proportion, or the partial sheet for completing a drawing.
All drawing practice · Free coordinate paper
Original resources · CC BY 4.0 · Free for personal and classroom use with attribution.