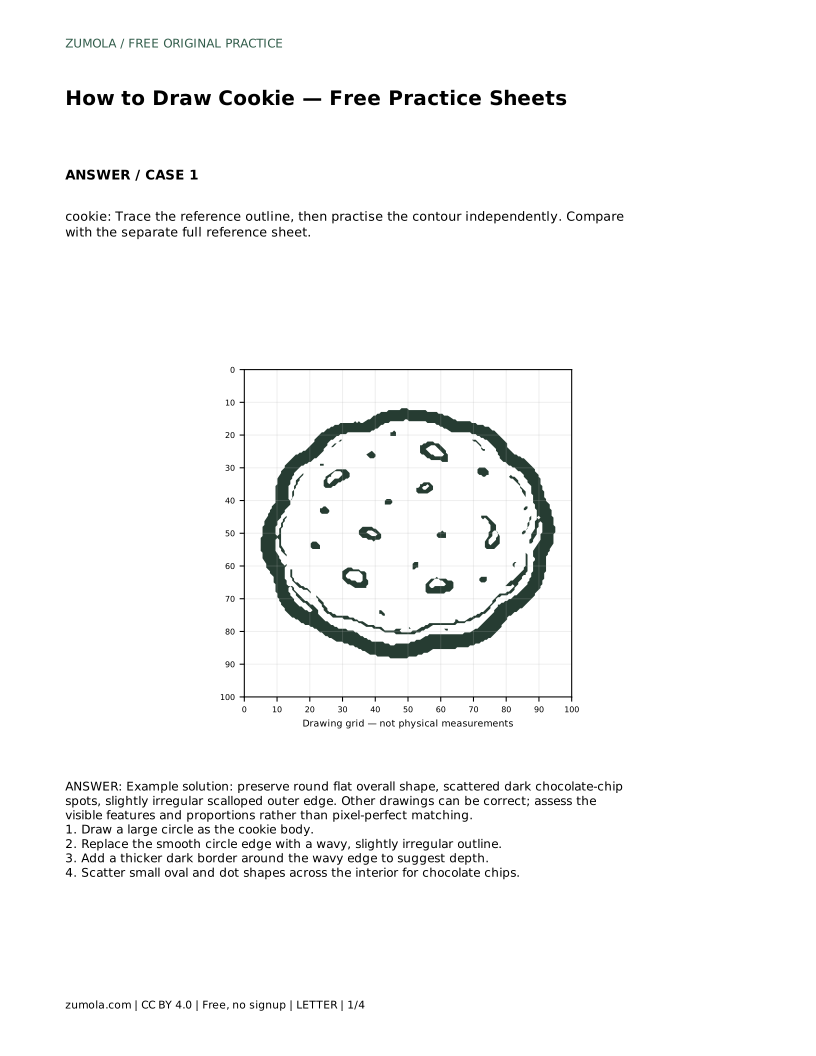
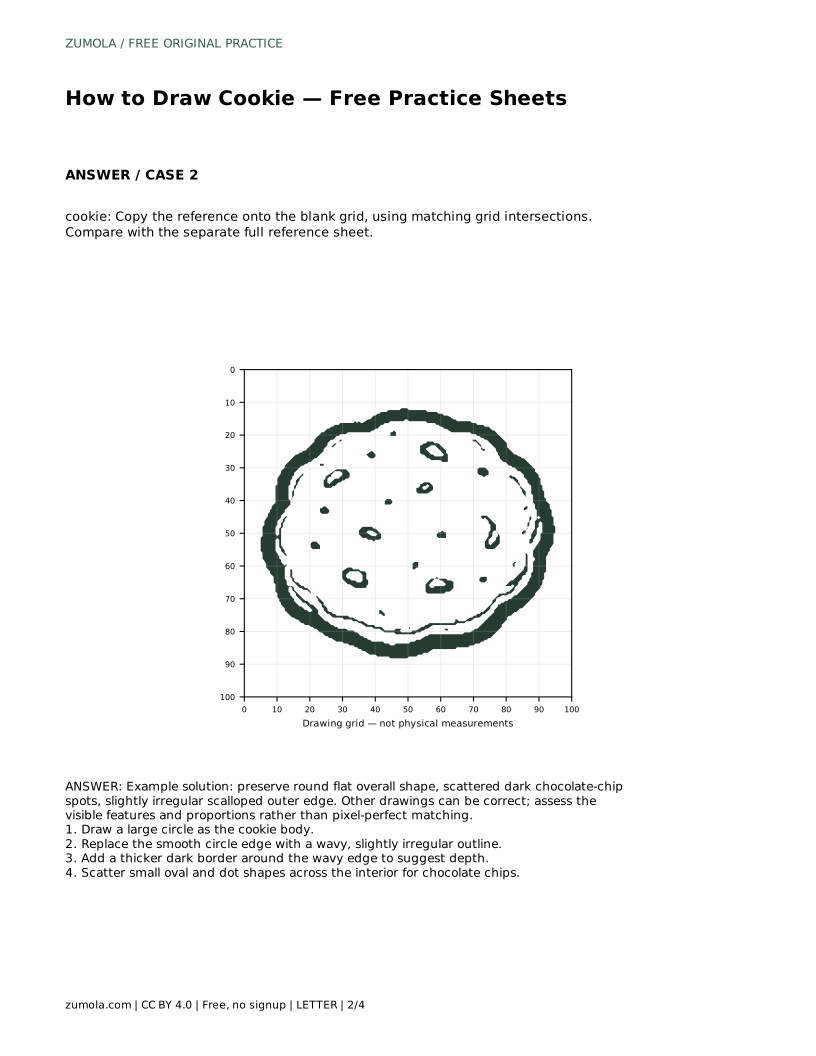
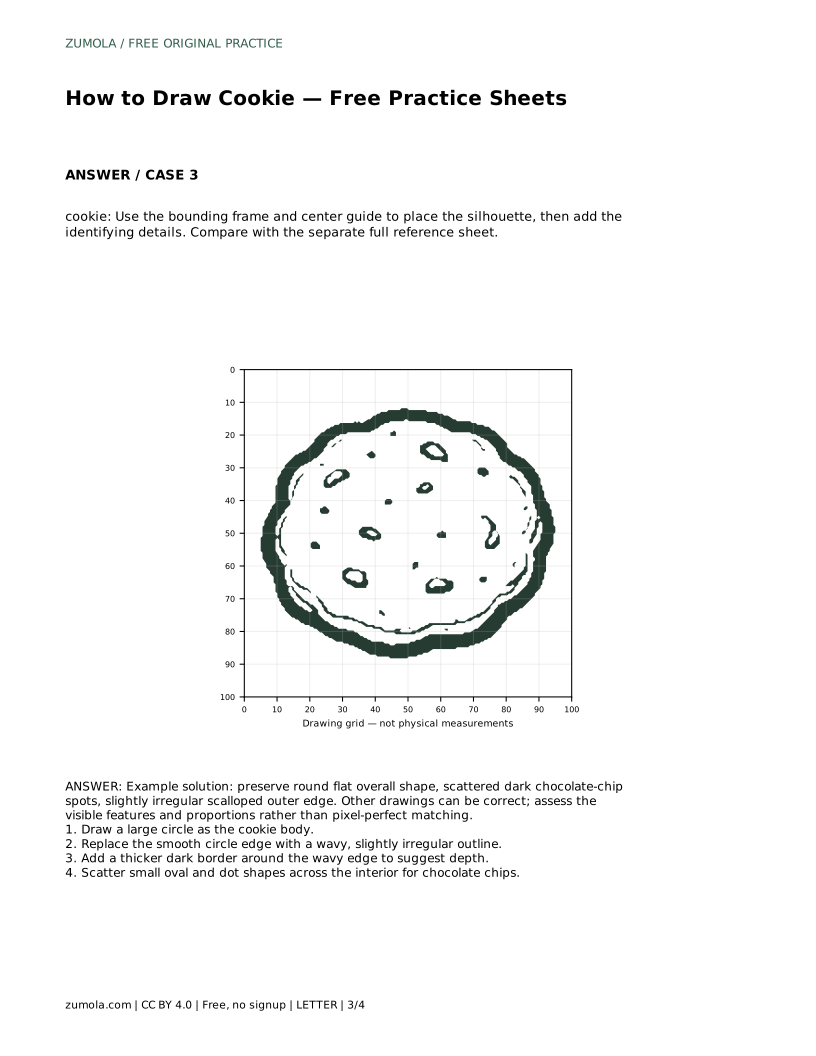
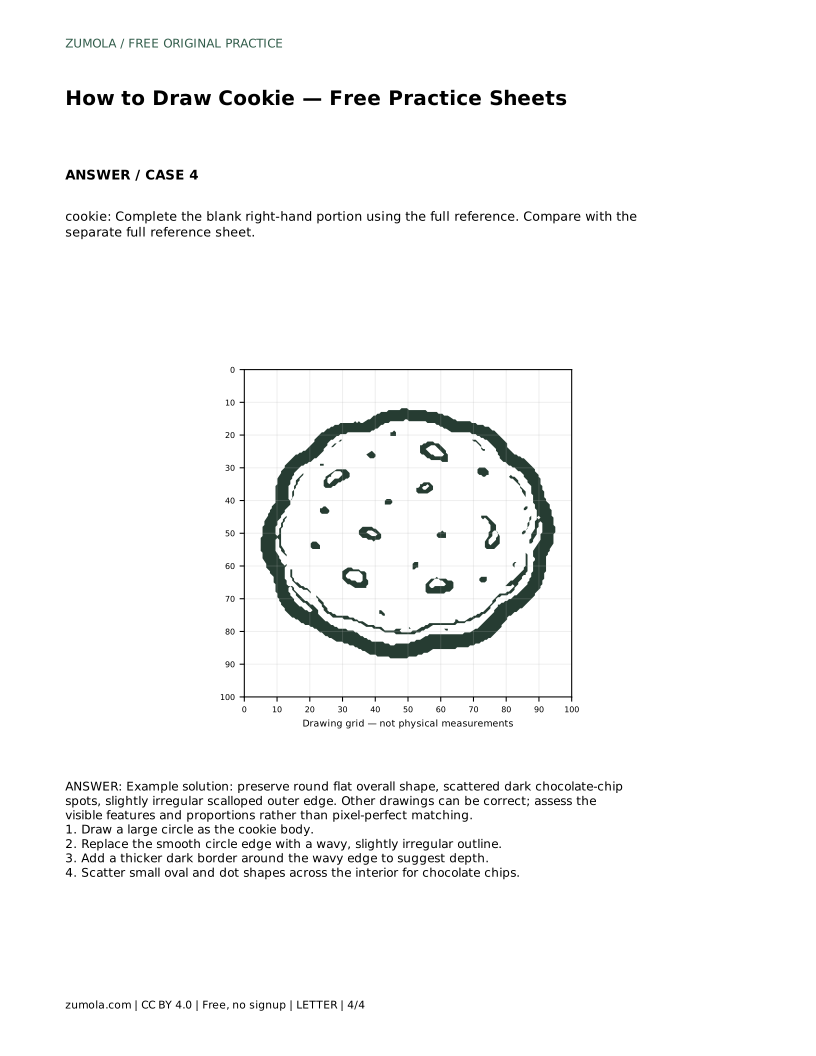
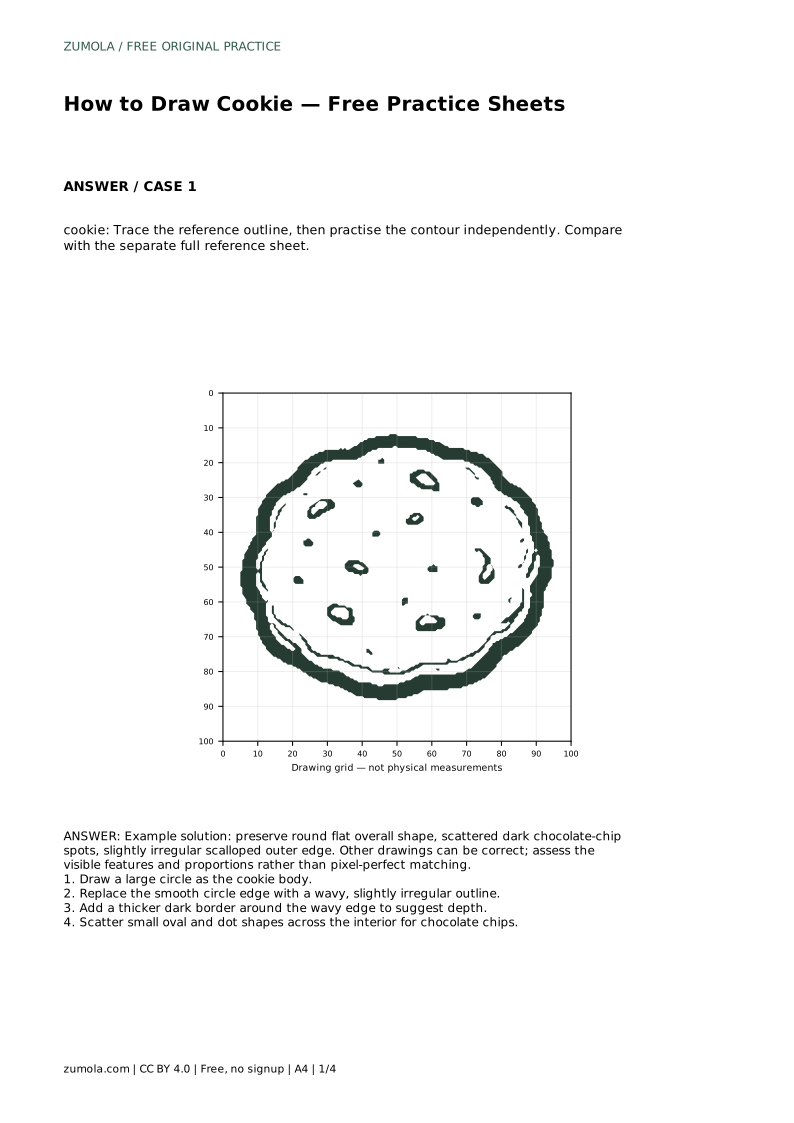
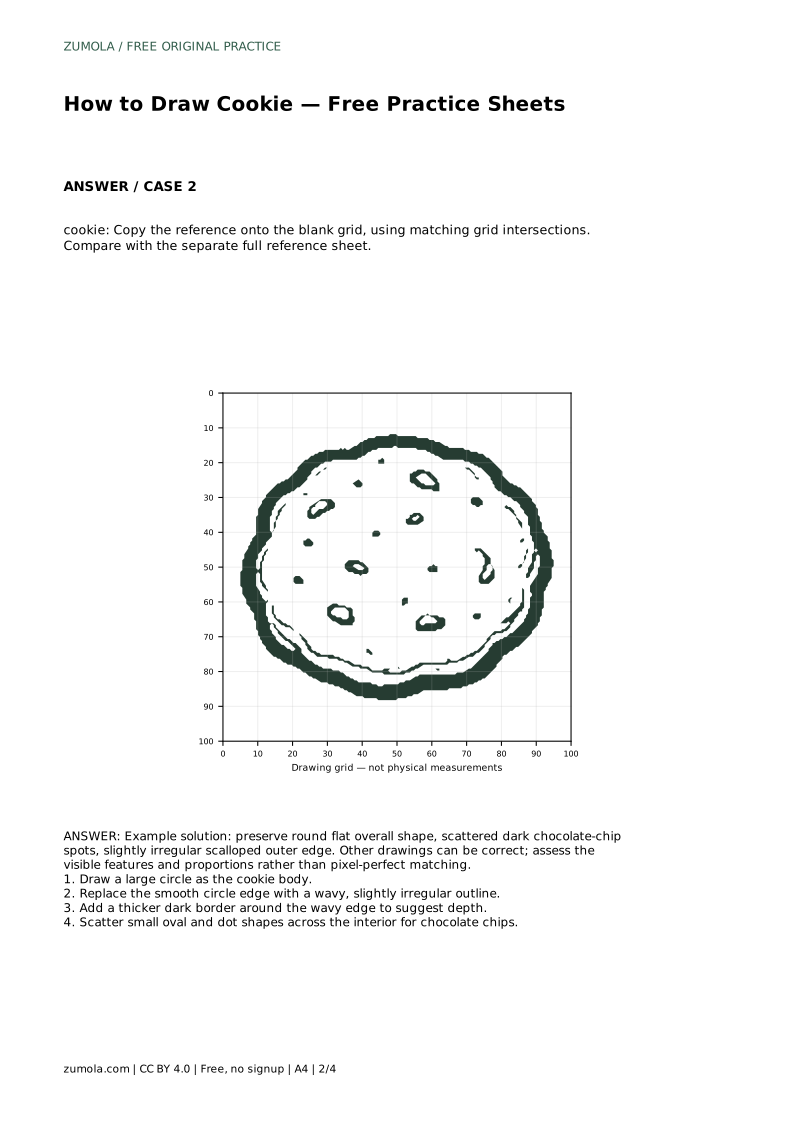
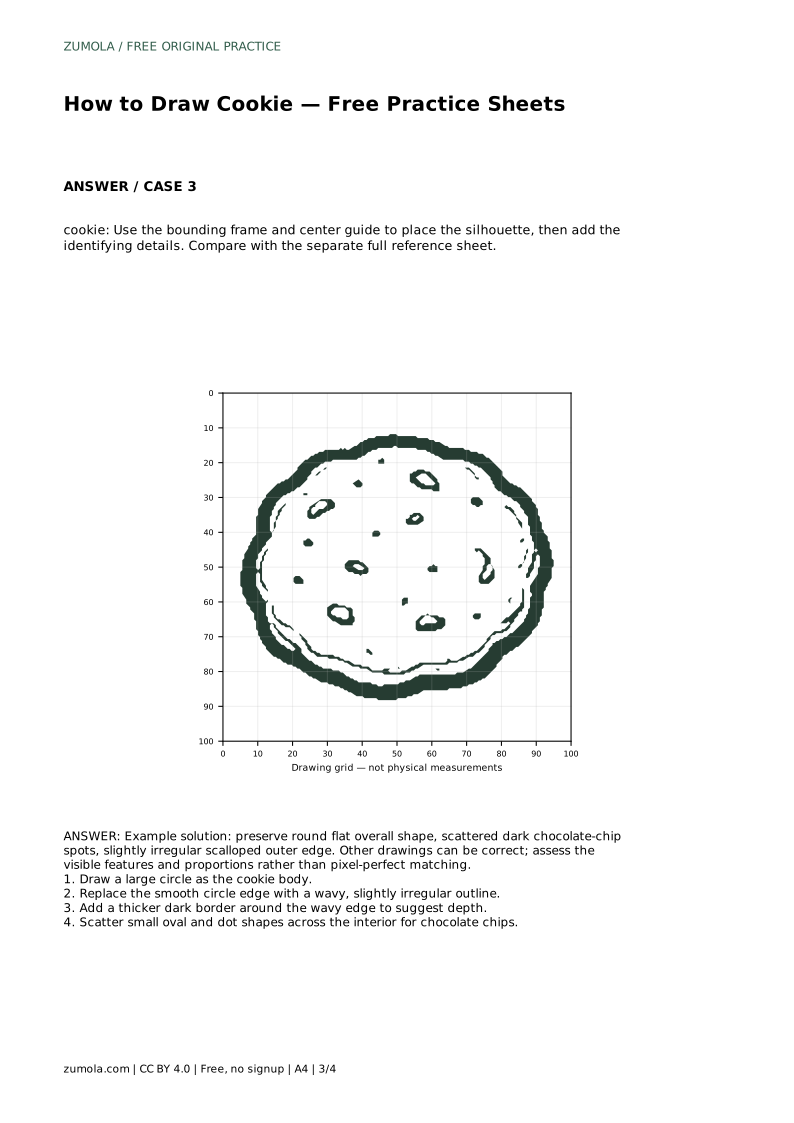
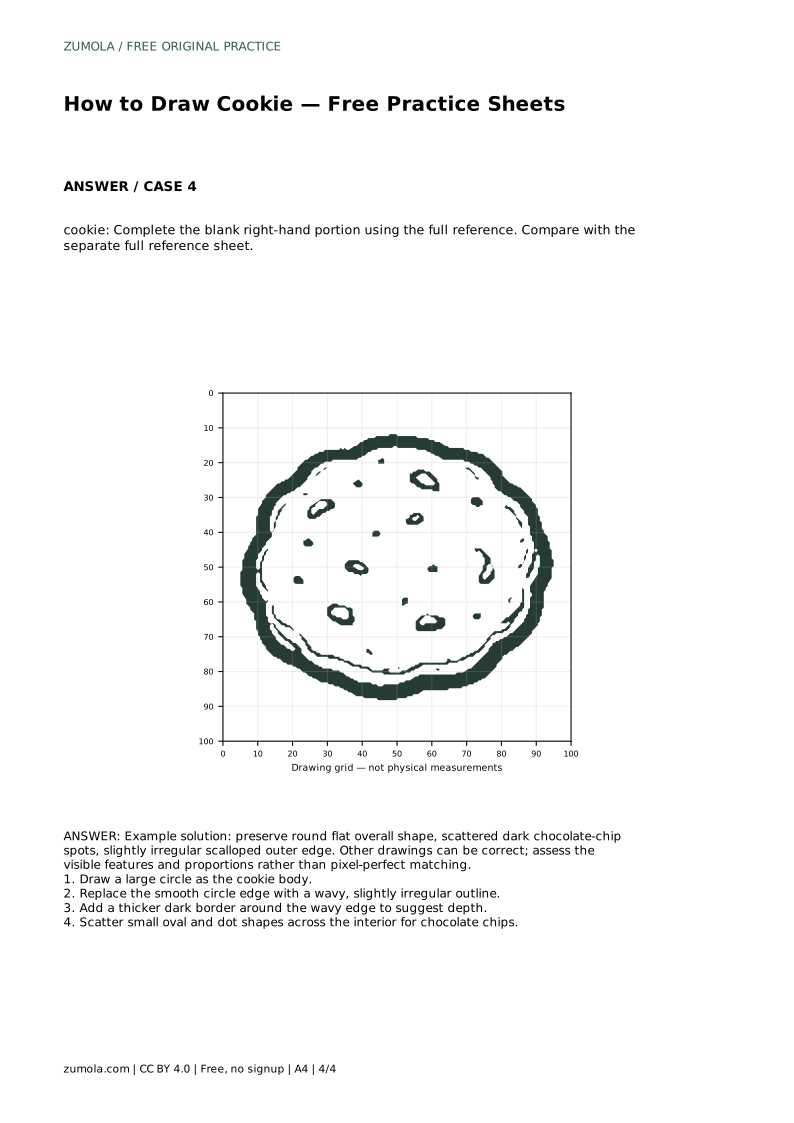
Reference diagrams
LETTER · Download PDF
A4 · Download PDF
Free original resources
Learn to draw a cute cookie with a wavy edge and scattered chocolate chips. Trace, grid, and complete-the-drawing practice sheets support independent work.
Four original cases, with reference diagrams, practice sheets and worked answers. Everything is free; no signup required.
LETTER · Download PDF
A4 · Download PDF
LETTER · Download PDF
A4 · Download PDF
LETTER · Download PDF
A4 · Download PDF
Use A4 or US Letter to match your printer. Use the stated values and conditions to solve each exercise; diagrams are not physical measuring rulers.
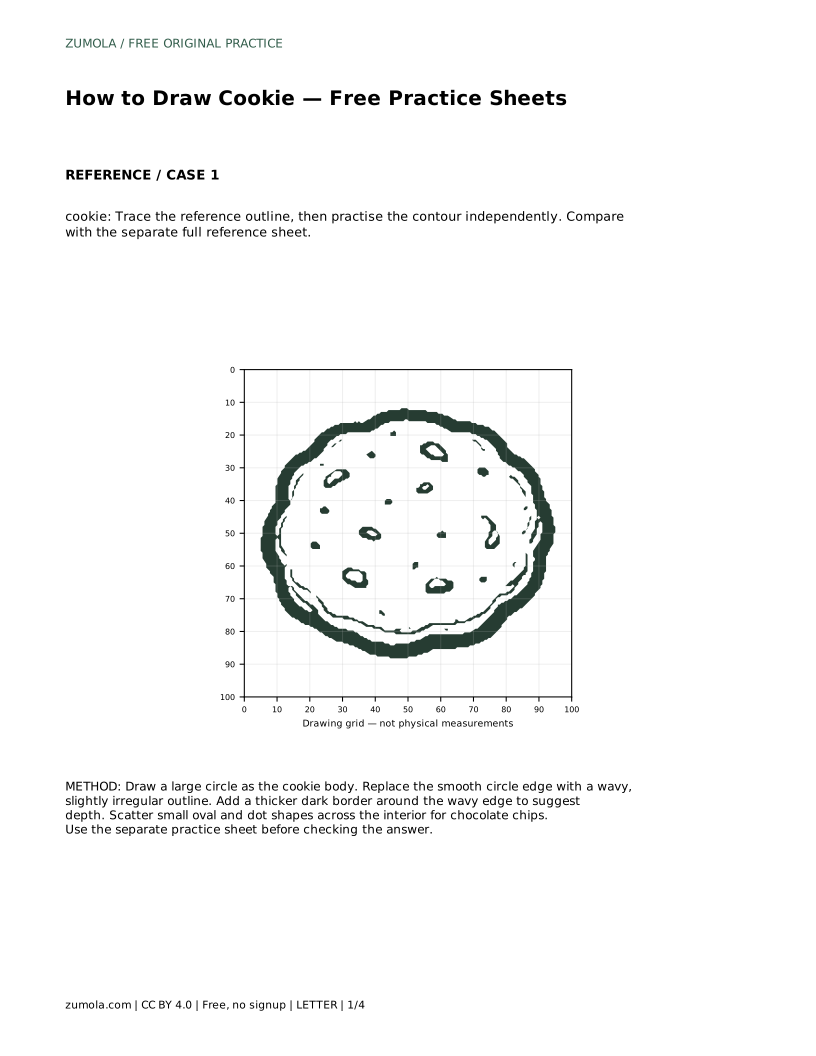
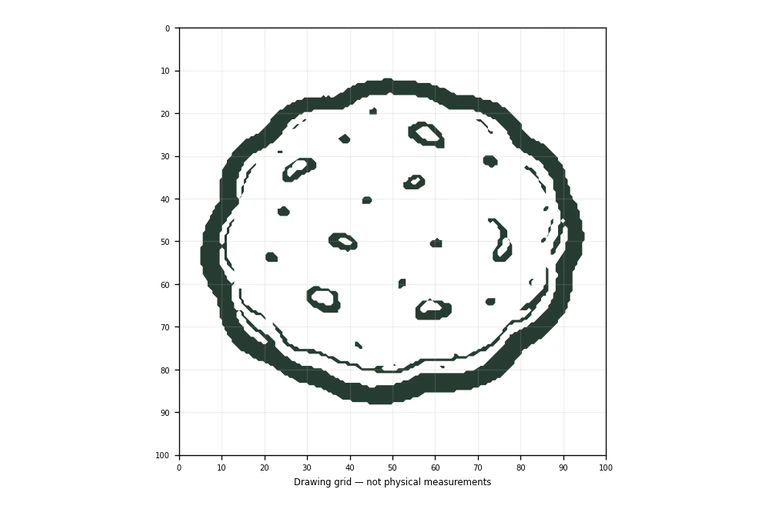
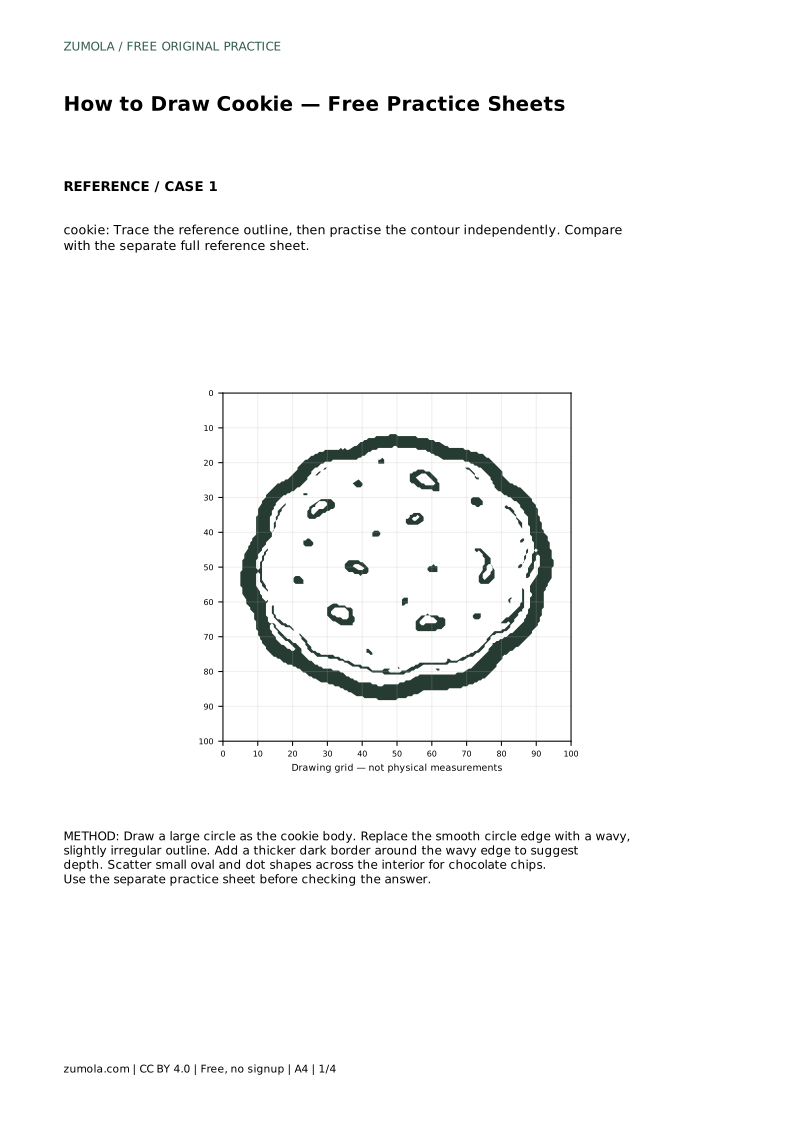
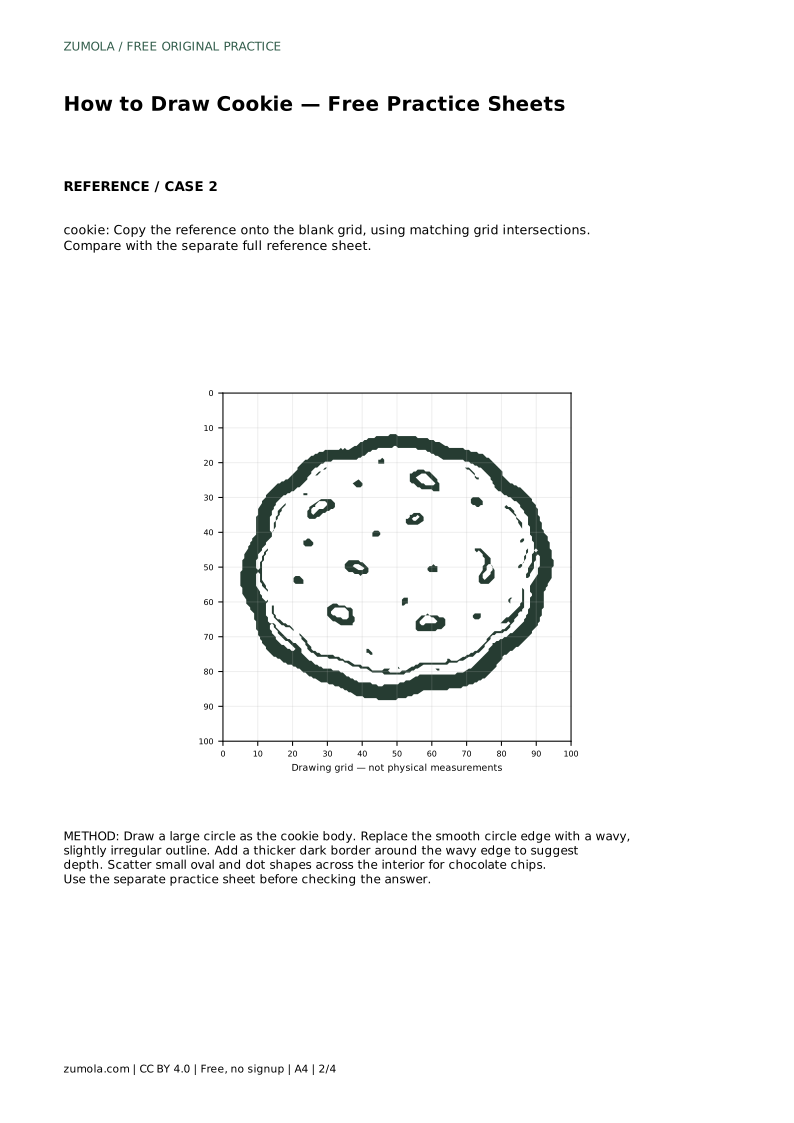
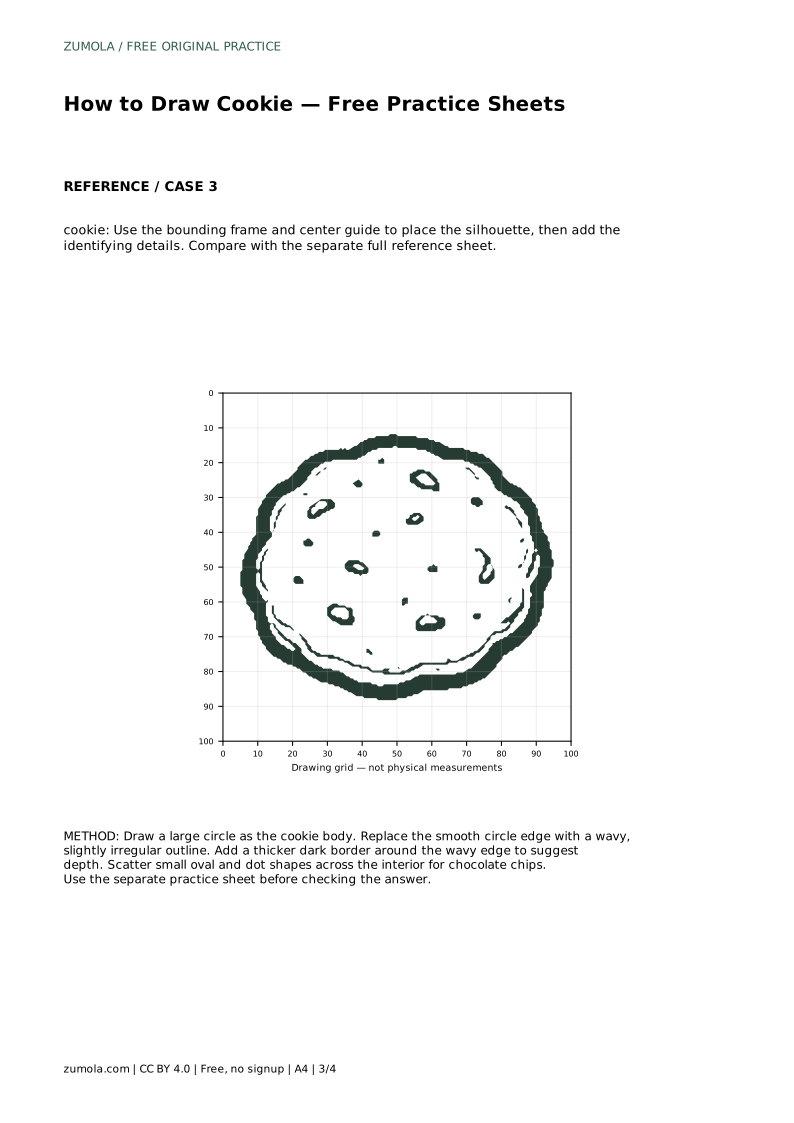
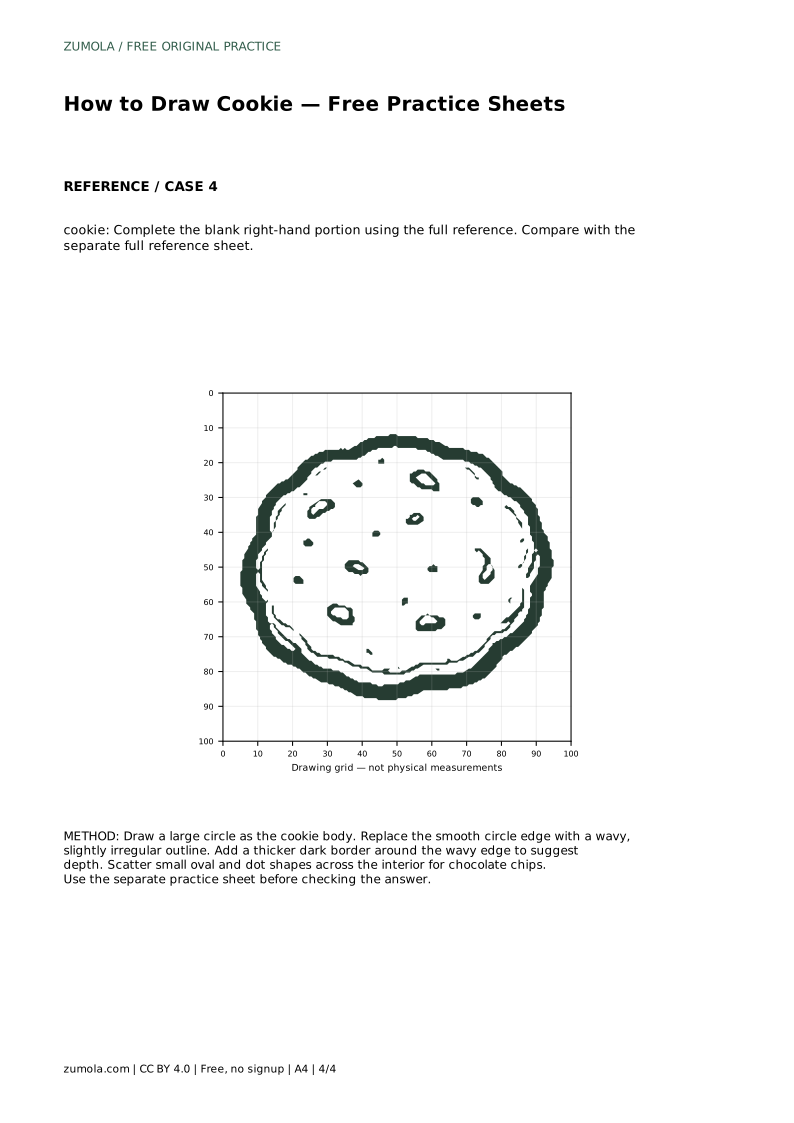
A cute cookie drawing depends on a few clear features: a round, flat body, a slightly irregular scalloped edge, a thicker border that suggests depth, and chocolate chips scattered across the surface. This page explains how to build those features in order, then how to use trace, grid, bounding-frame, and partial-reference practice sheets to strengthen the same skill. Art has many valid outcomes, so compare your drawing by visible features and proportions rather than exact matching.
Start with the overall silhouette before adding any detail. A cookie reads as a cookie first because of its round, flat body, so place a large circle and check that it fills the space you intend. Keep the circle generous rather than tiny; the chocolate chips need room to sit clearly inside the shape.
Next, soften the perfect circle into a wavy, slightly irregular outline. The waves should stay shallow and varied, not sharp or evenly repeated, because a machine-like scallop looks less like a baked cookie. After the outline is settled, add a thicker dark border around the wavy edge. This border is a drawing device that suggests depth and a raised rim; it is not a claim about the cookie's actual thickness.
Chocolate chips should look scattered, not arranged in a ring or a neat grid. Mix small ovals and round dots, vary their sizes slightly, and leave some open space between clusters. Keep every chip inside the cookie outline so the surface stays readable.
A useful check is to step back and ask whether the chips feel distributed across the whole interior. If one area is crowded and another is empty, move a few chips rather than adding more. The goal is a balanced, cute surface, not a dense pattern.
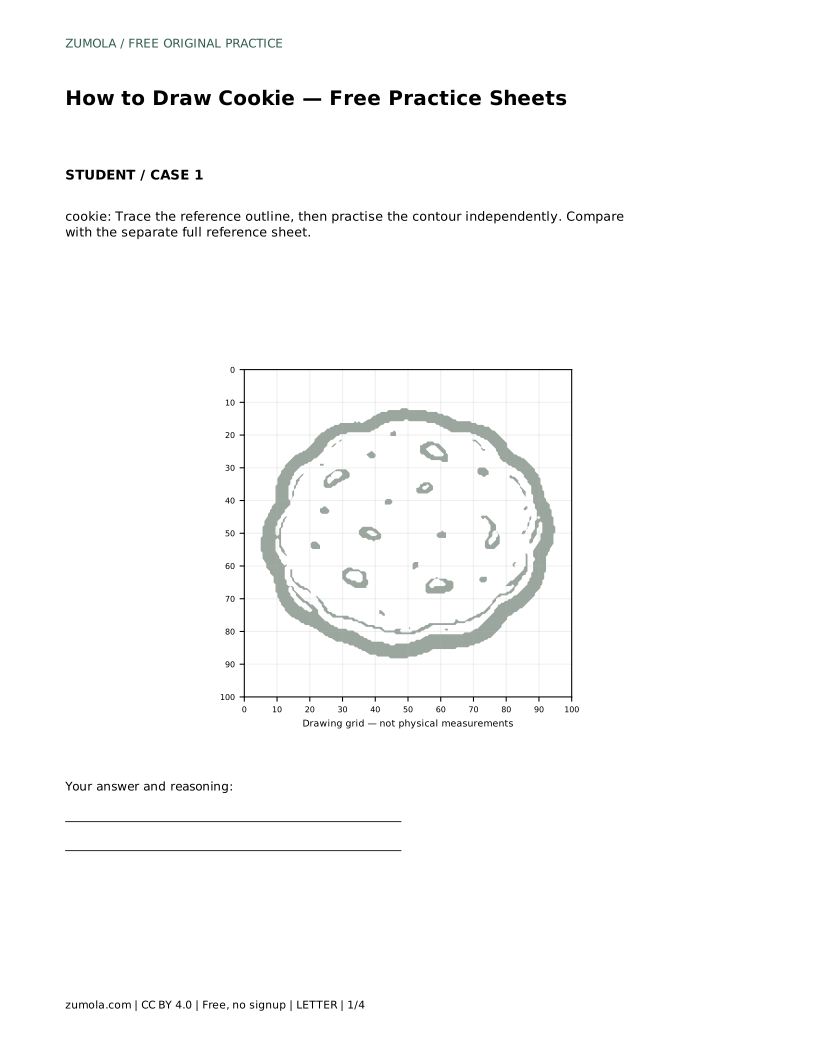
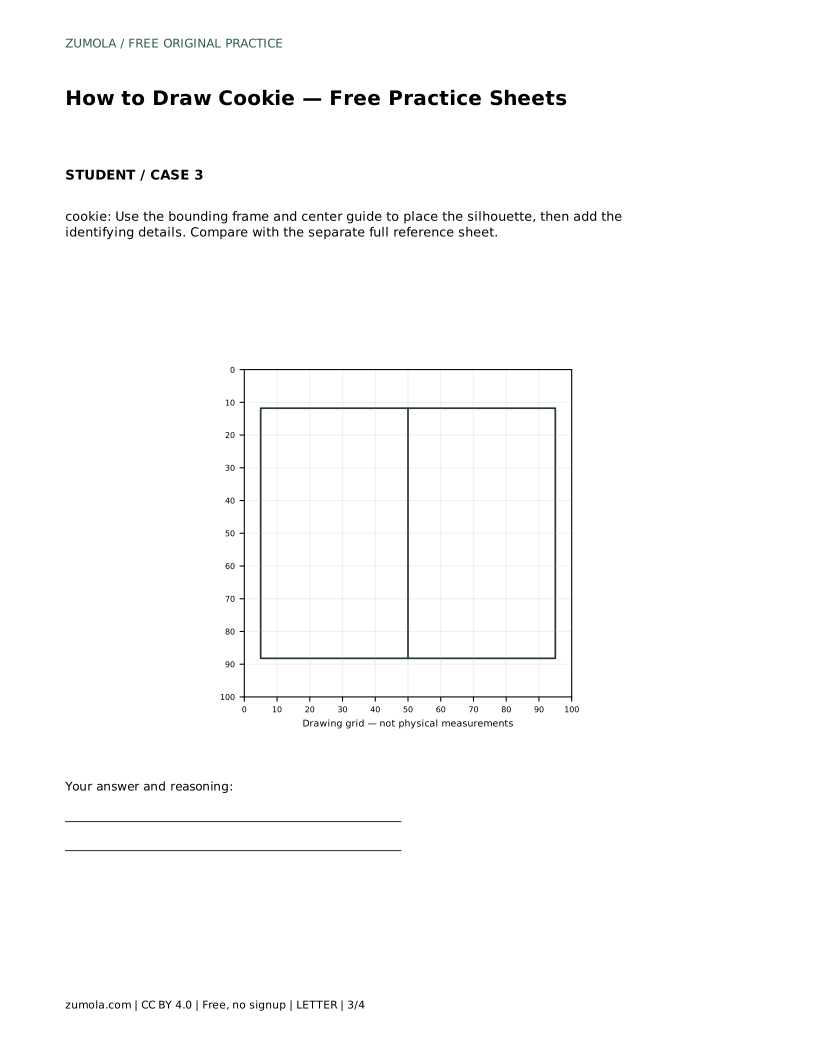
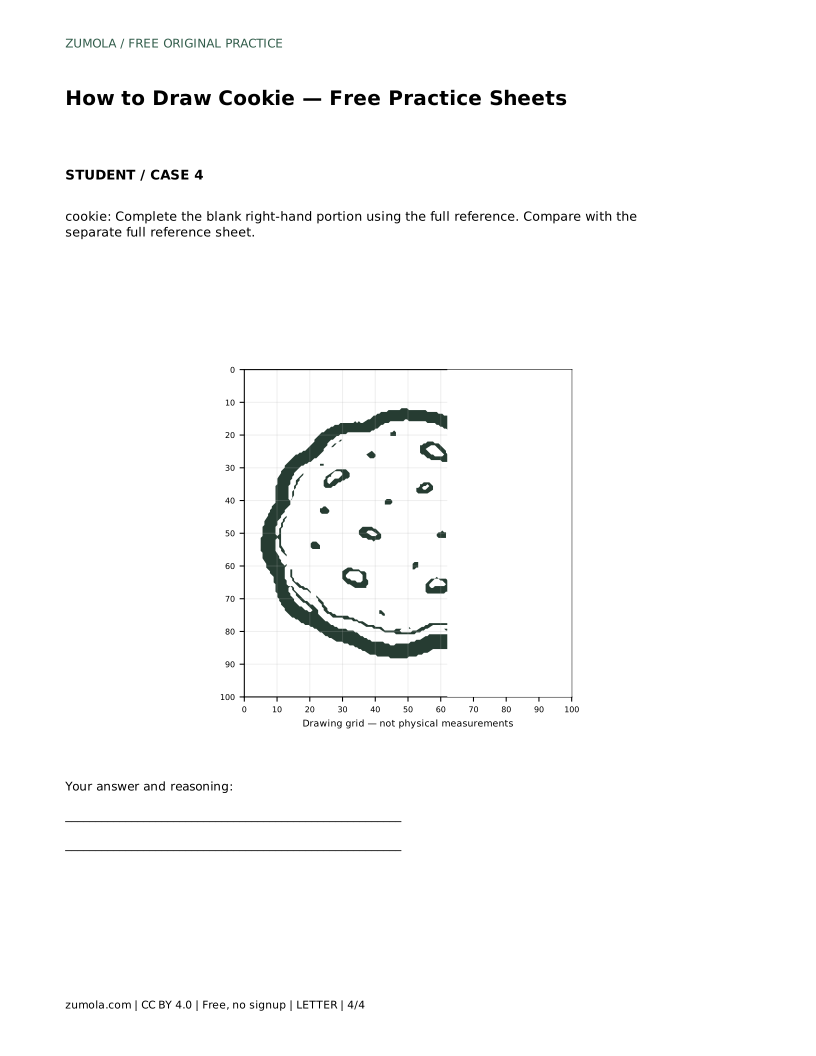
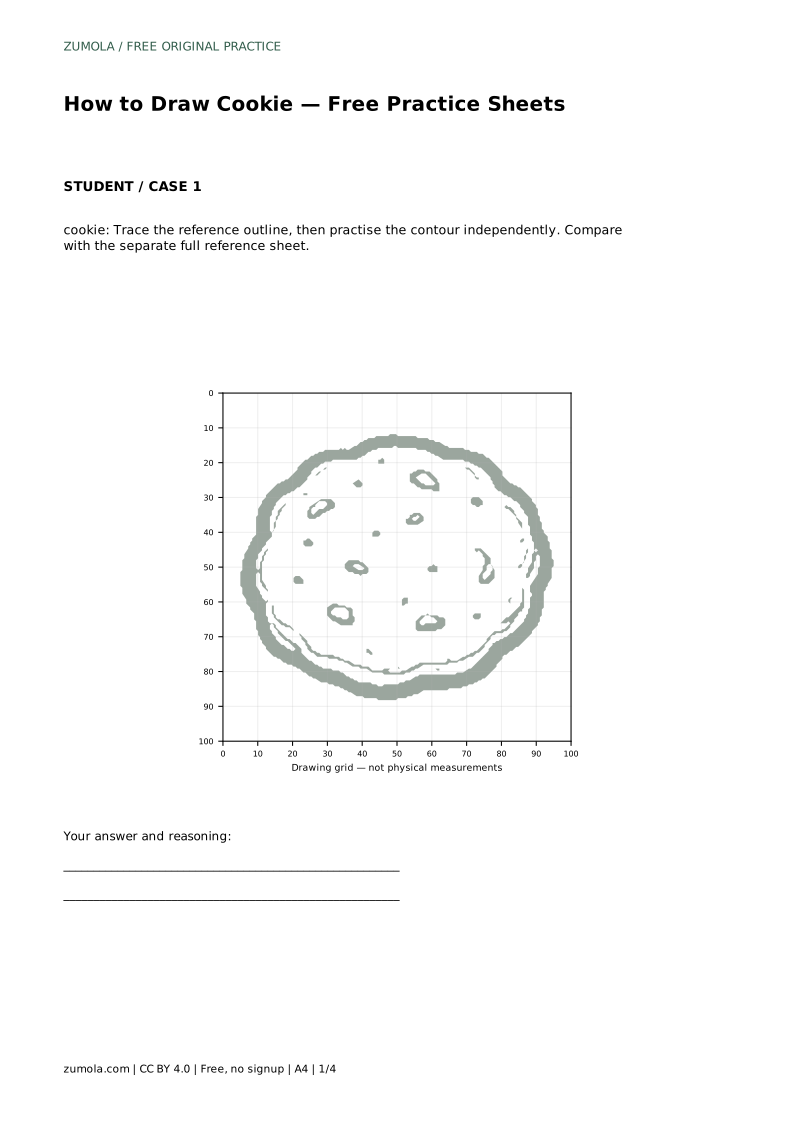
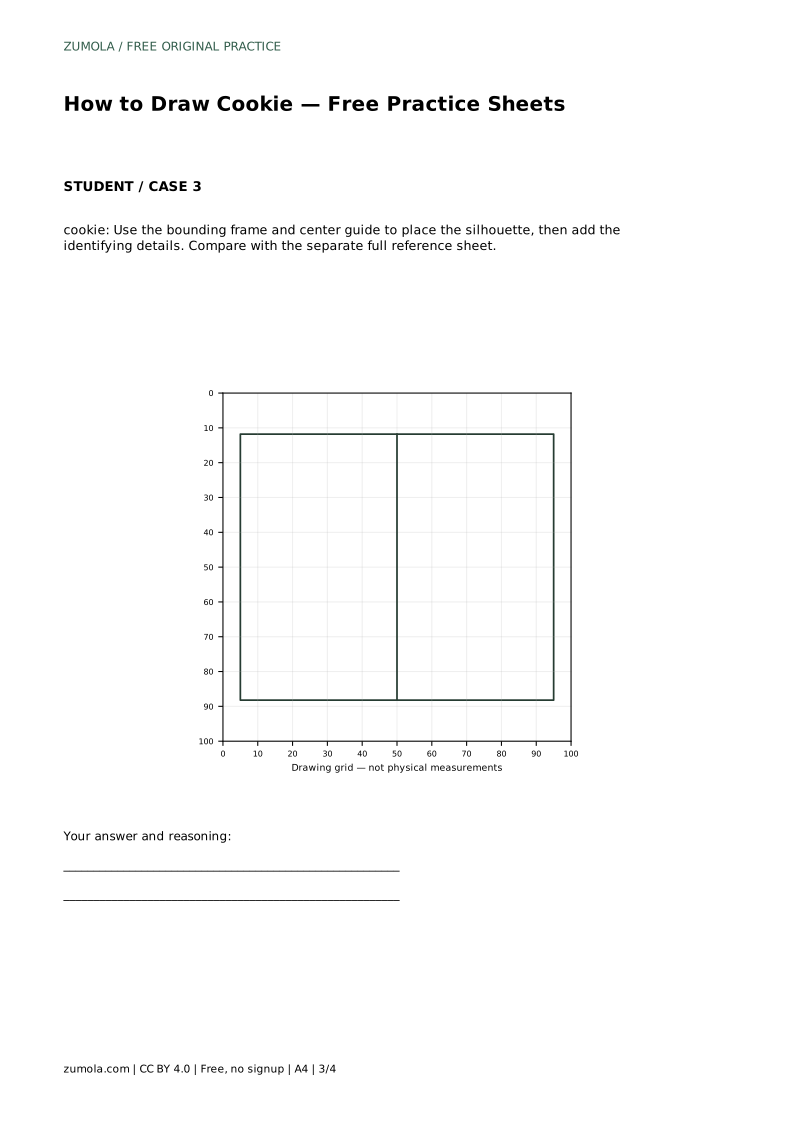
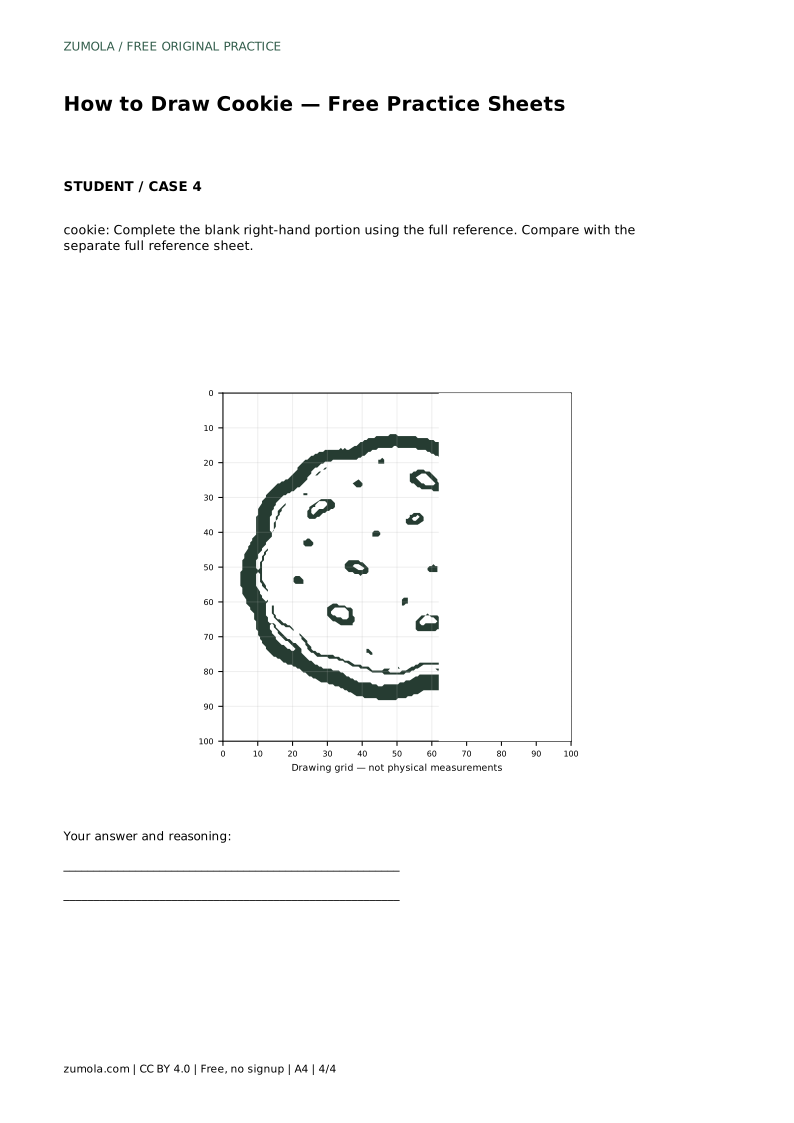
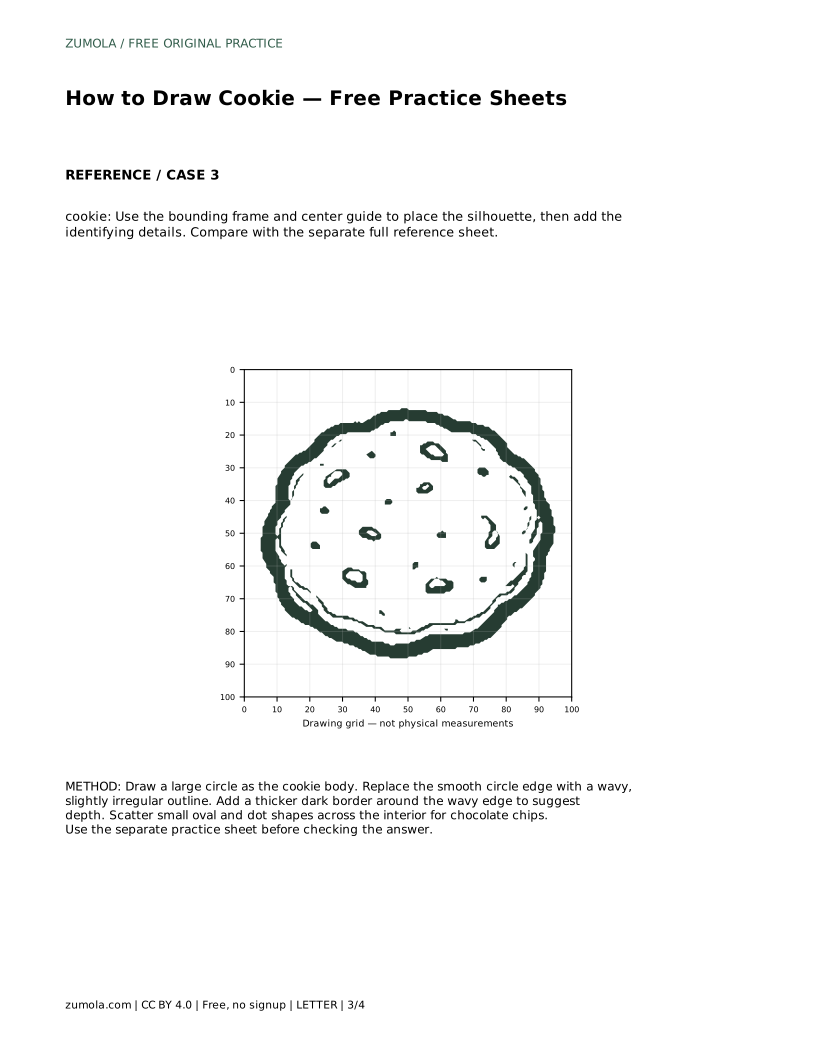
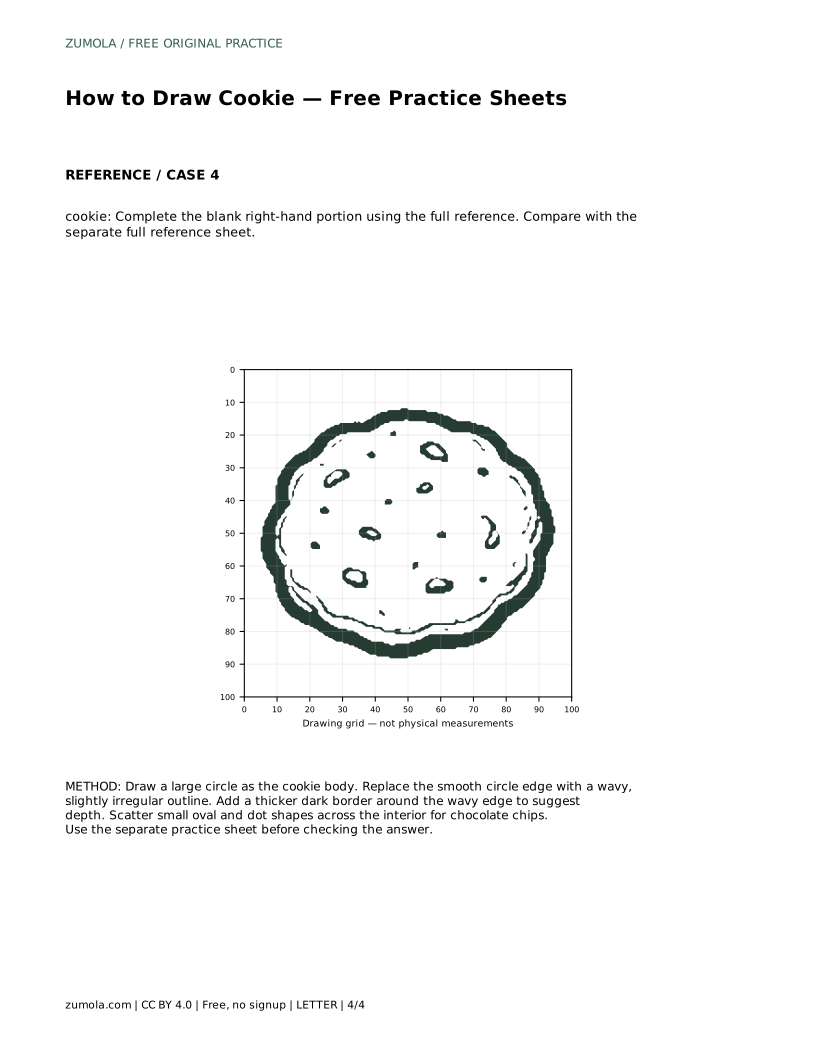
Each sheet format trains a different part of the same skill. Tracing the reference outline builds familiarity with the contour; then practise the contour independently and compare with the separate full reference sheet. Copying onto a blank grid asks you to match grid intersections, which supports proportion and placement. The bounding frame and center guide help you position the silhouette before adding identifying details. The partial sheet, where the right-hand portion is blank, asks you to complete the drawing from the full reference.
Treat the reference as a guide to features, not a target for pixel-perfect copying. Different chip placements and slightly different wavy edges can all be correct.
Compare the width and height of your cookie body; a cute cookie usually reads as wider than tall or close to equal, not stretched into an oval. Check that the wavy edge stays shallow and that the dark border follows the same path without drifting inward. Finally, confirm that chips sit inside the outline and that no single cluster dominates.
If something looks off, adjust the largest shape first. Fixing the body and edge is more effective than adding detail to compensate.
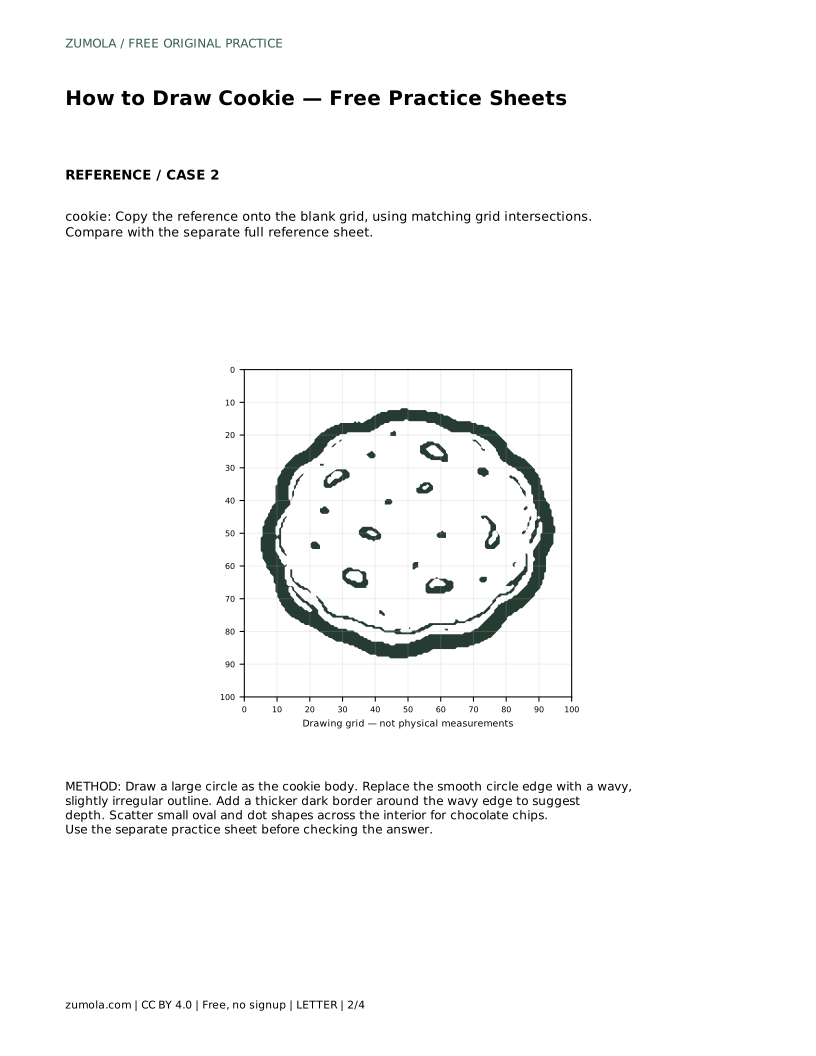
cookie: Trace the reference outline, then practise the contour independently. Compare with the separate full reference sheet.
Example solution: preserve round flat overall shape, scattered dark chocolate-chip spots, slightly irregular scalloped outer edge. Other drawings can be correct; assess the visible features and proportions rather than pixel-perfect matching. Draw a large circle as the cookie body. Replace the smooth circle edge with a wavy, slightly irregular outline. Add a thicker dark border around the wavy edge to suggest depth. Scatter small oval and dot shapes across the interior for chocolate chips.
No. Preserve the round flat shape, scattered chips, and slightly irregular scalloped edge; other drawings can be correct.
Draw the body, then the wavy edge, then the thicker border, then the chocolate chips.
Complete the blank right-hand portion using the full reference, then compare the visible features and proportions.
All drawing practice · Free coordinate paper
Original resources · CC BY 4.0 · Free for personal and classroom use with attribution.