Reference diagrams
LETTER · Download PDF
A4 · Download PDF
Free original resources
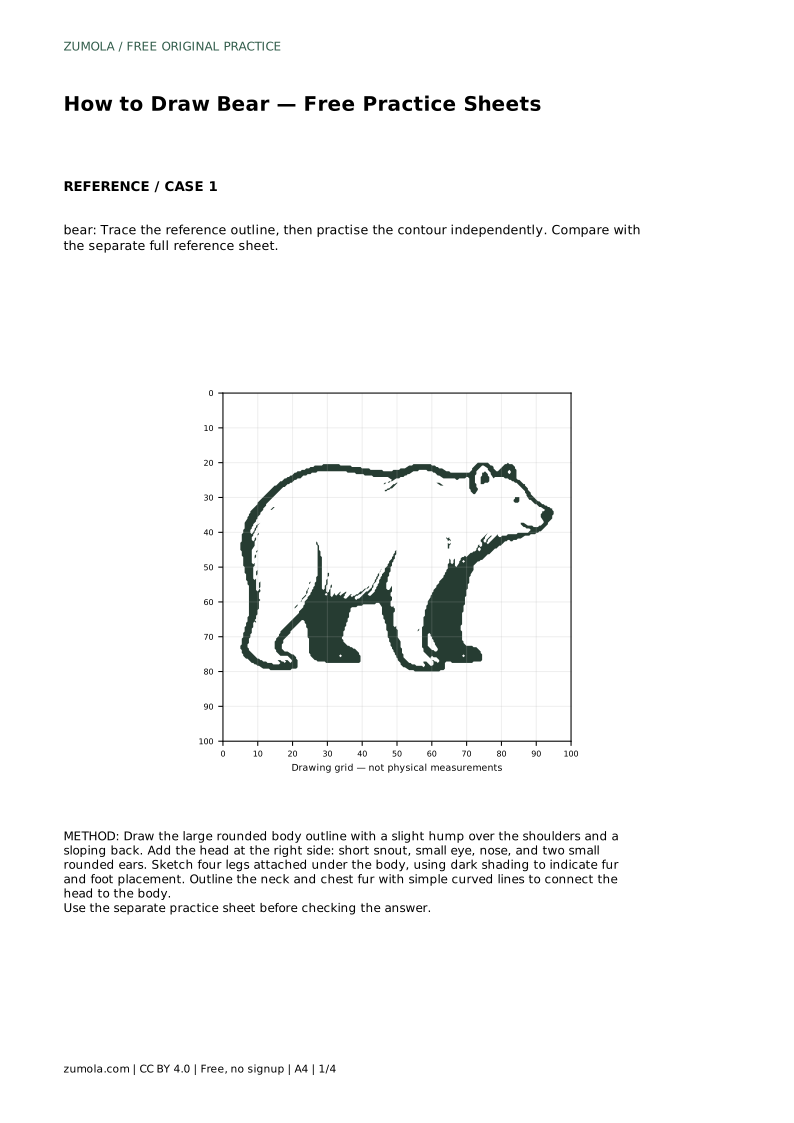
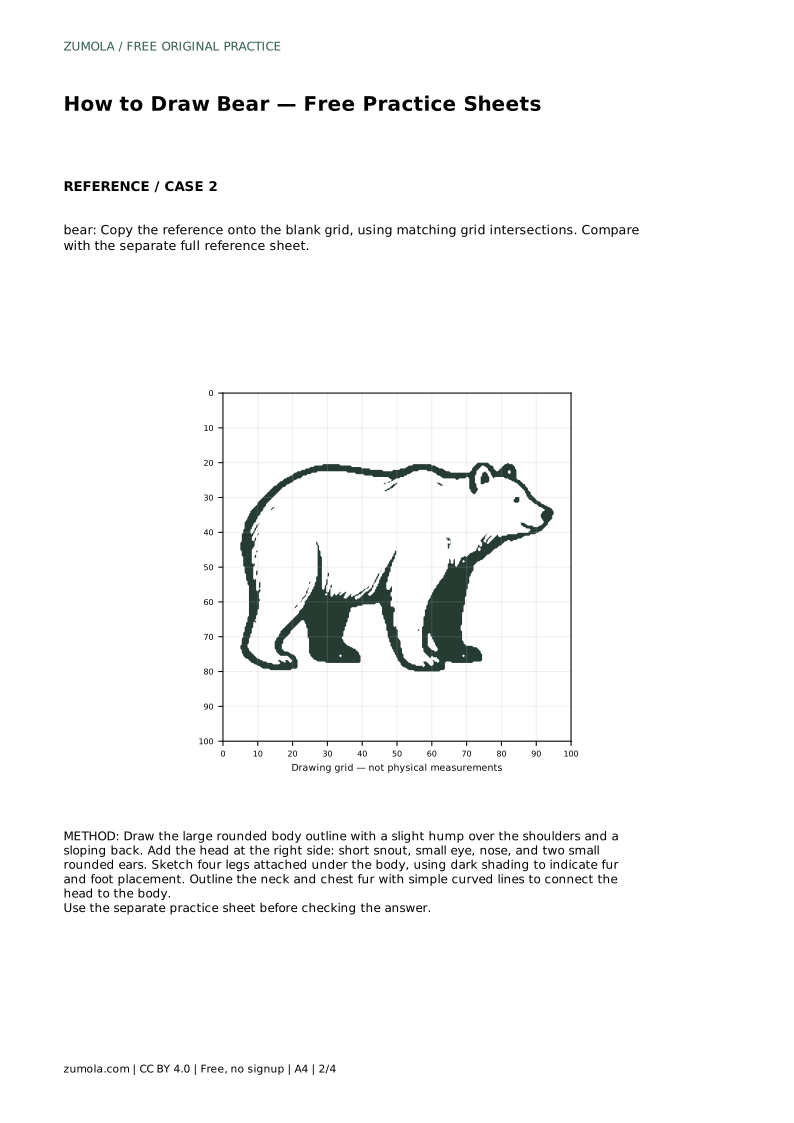
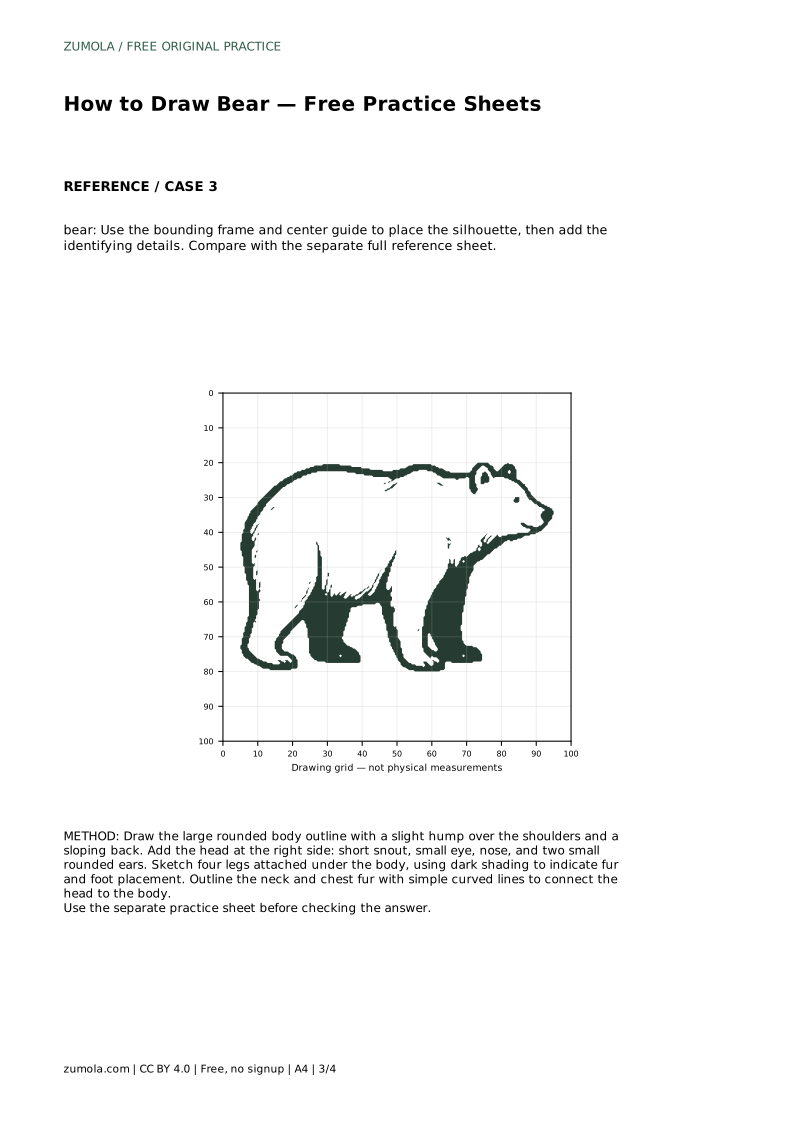
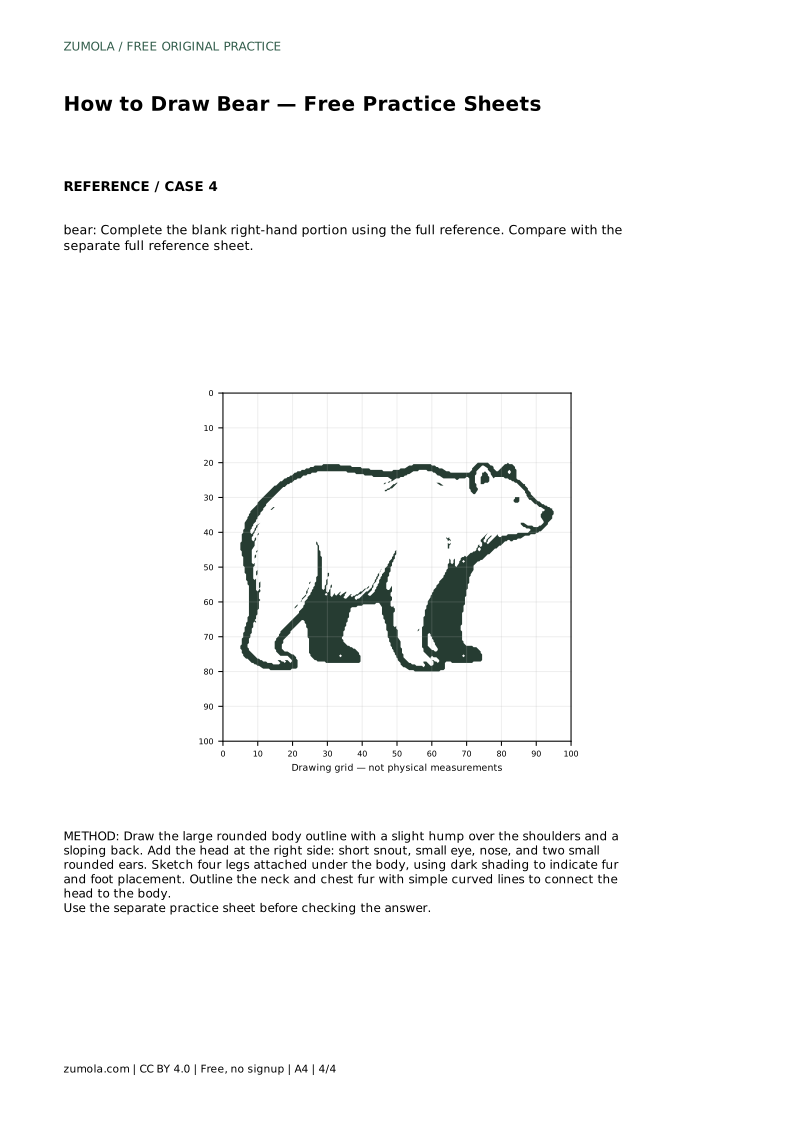
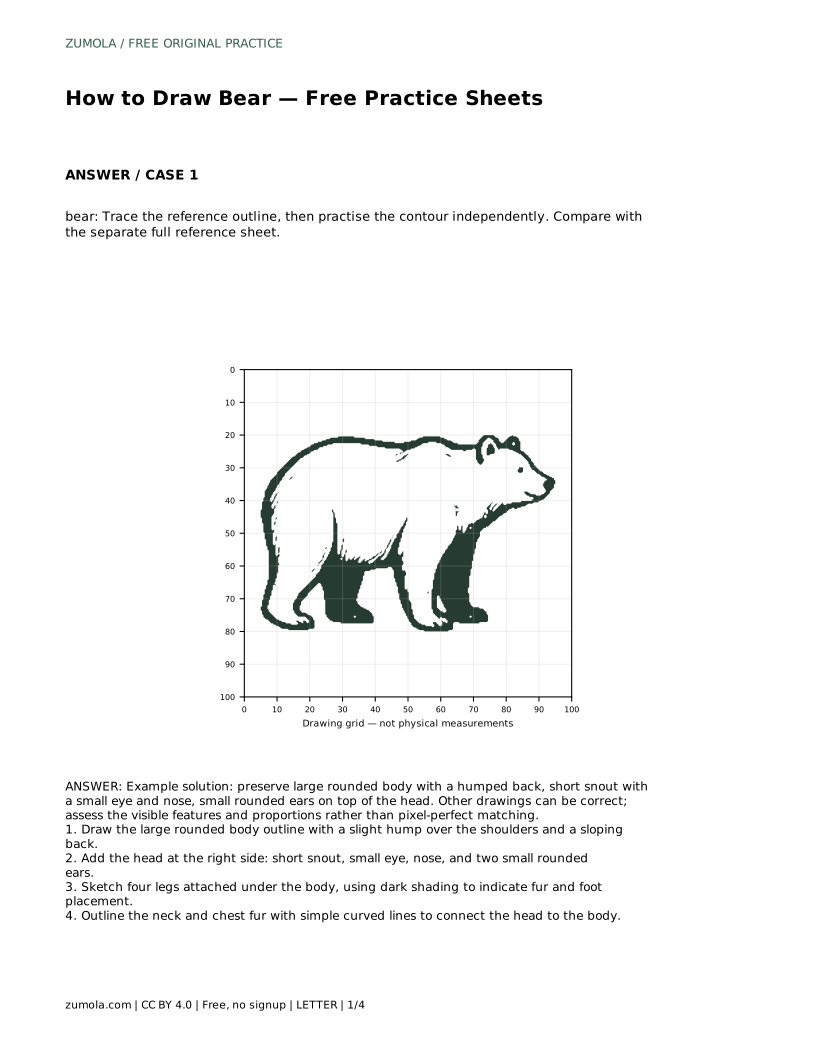
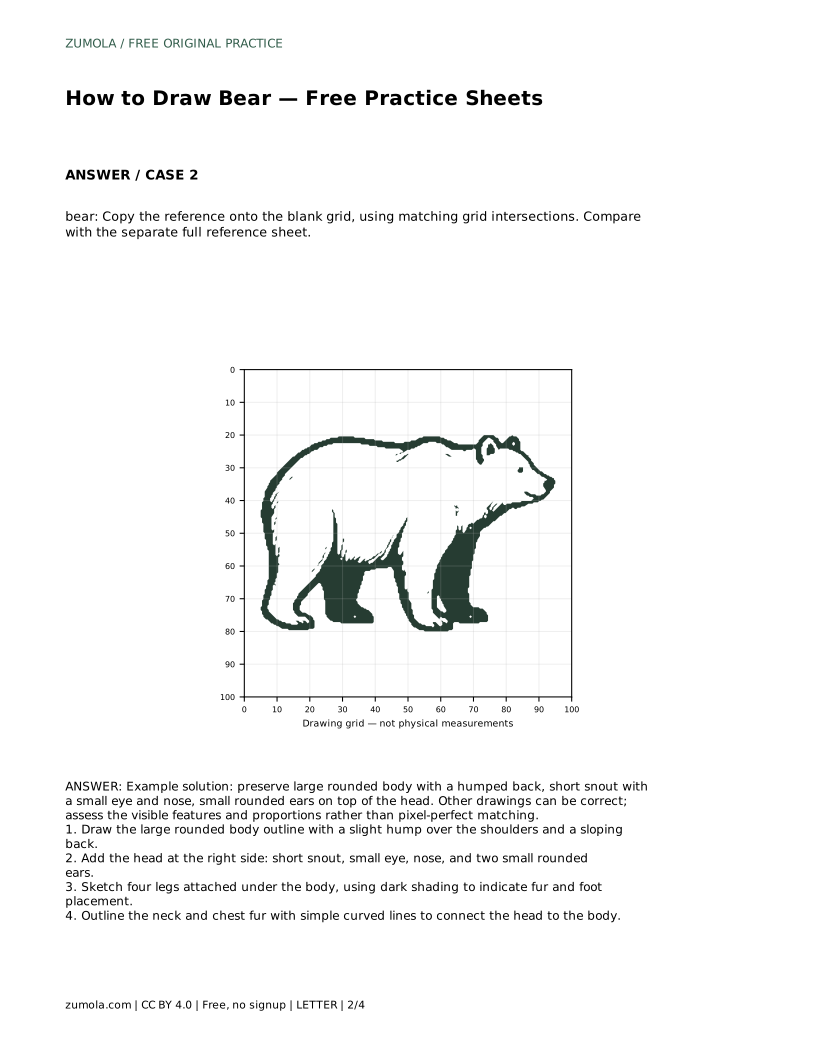
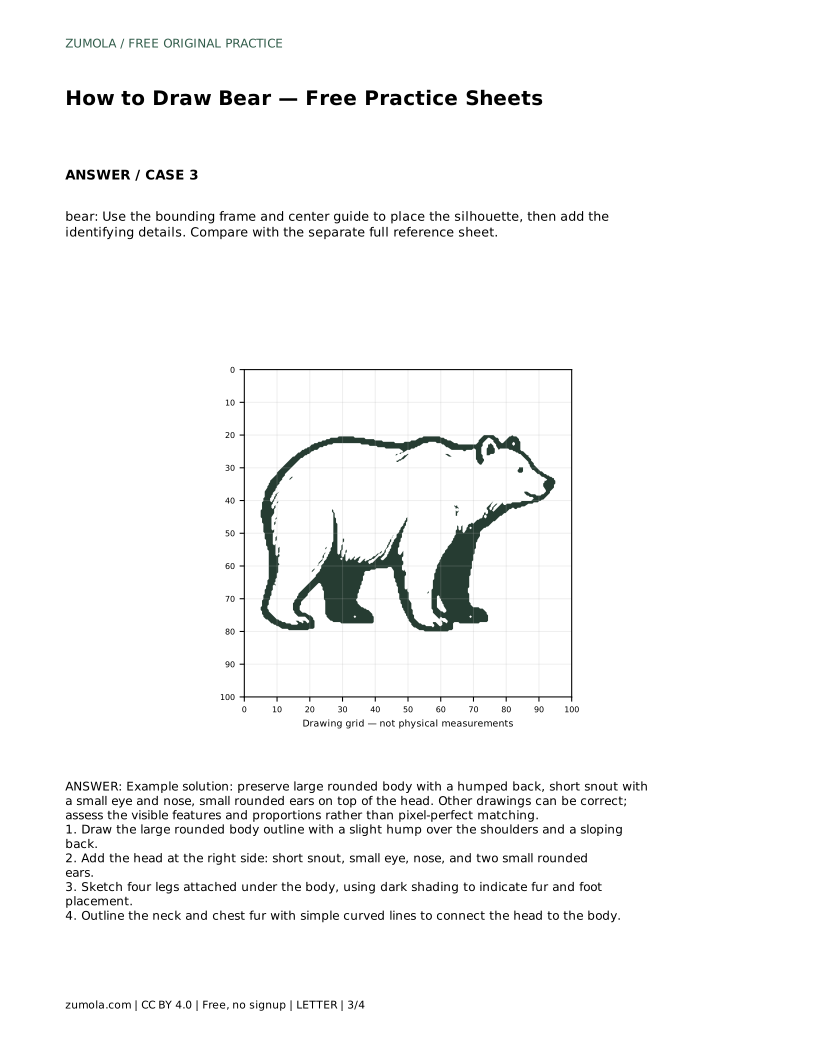
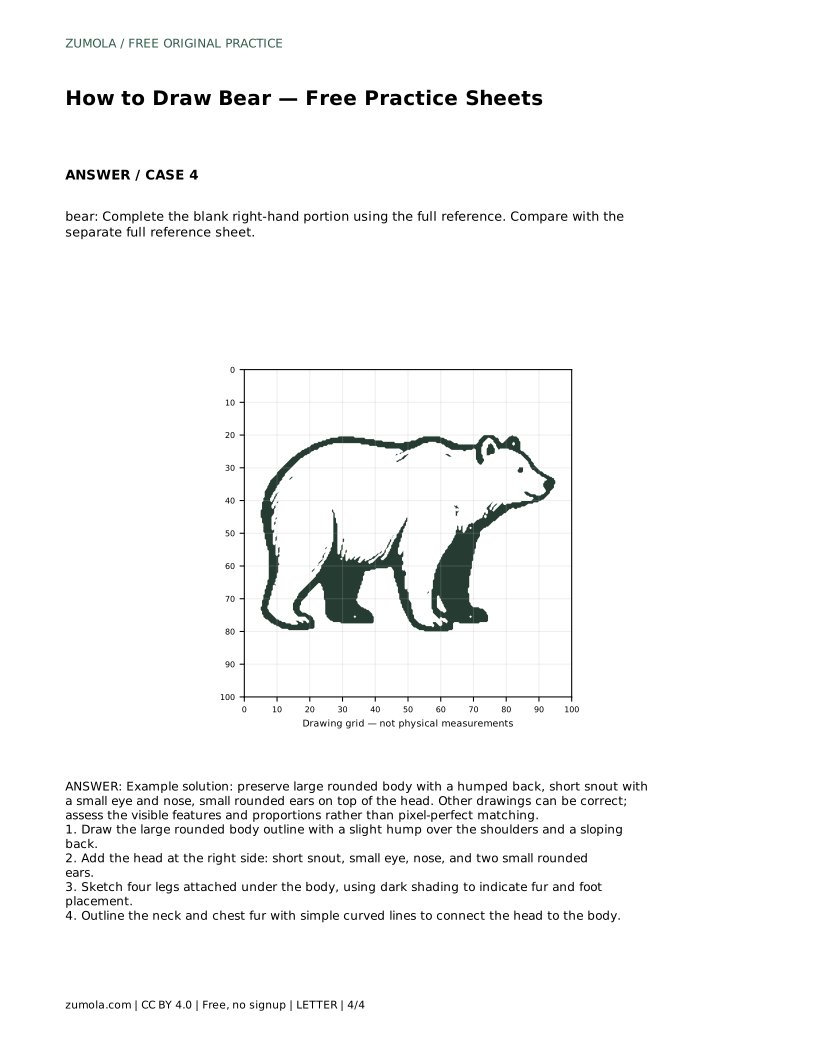
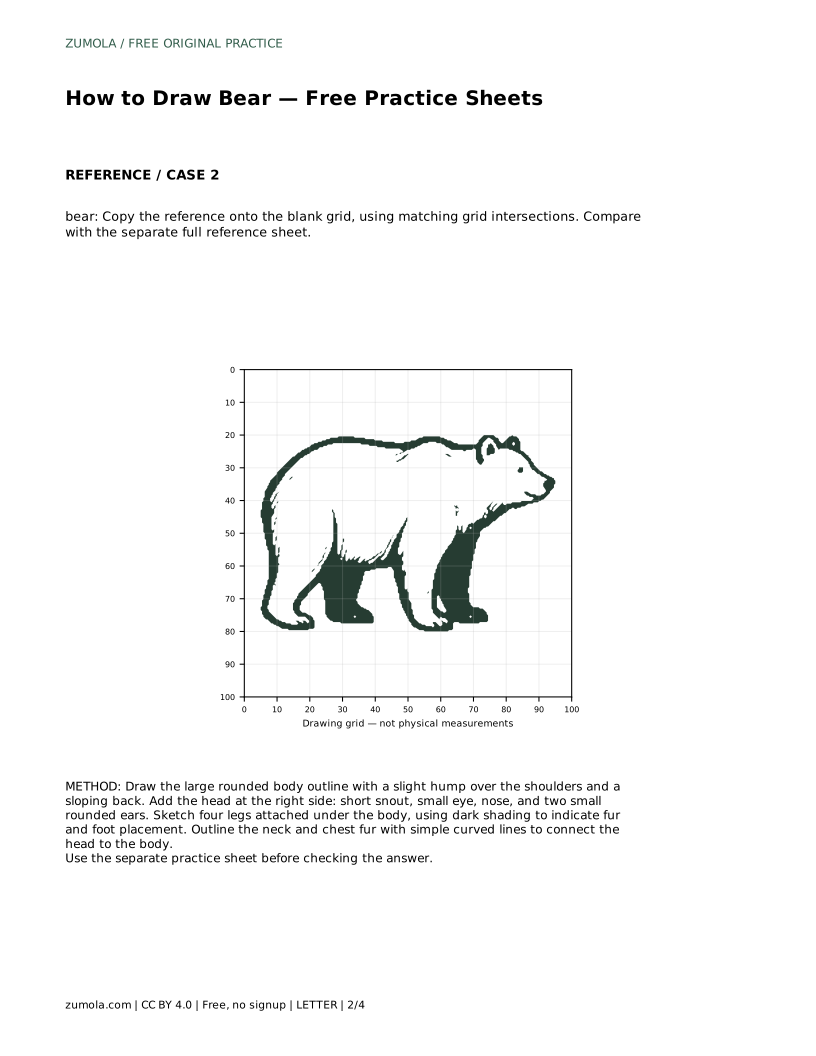
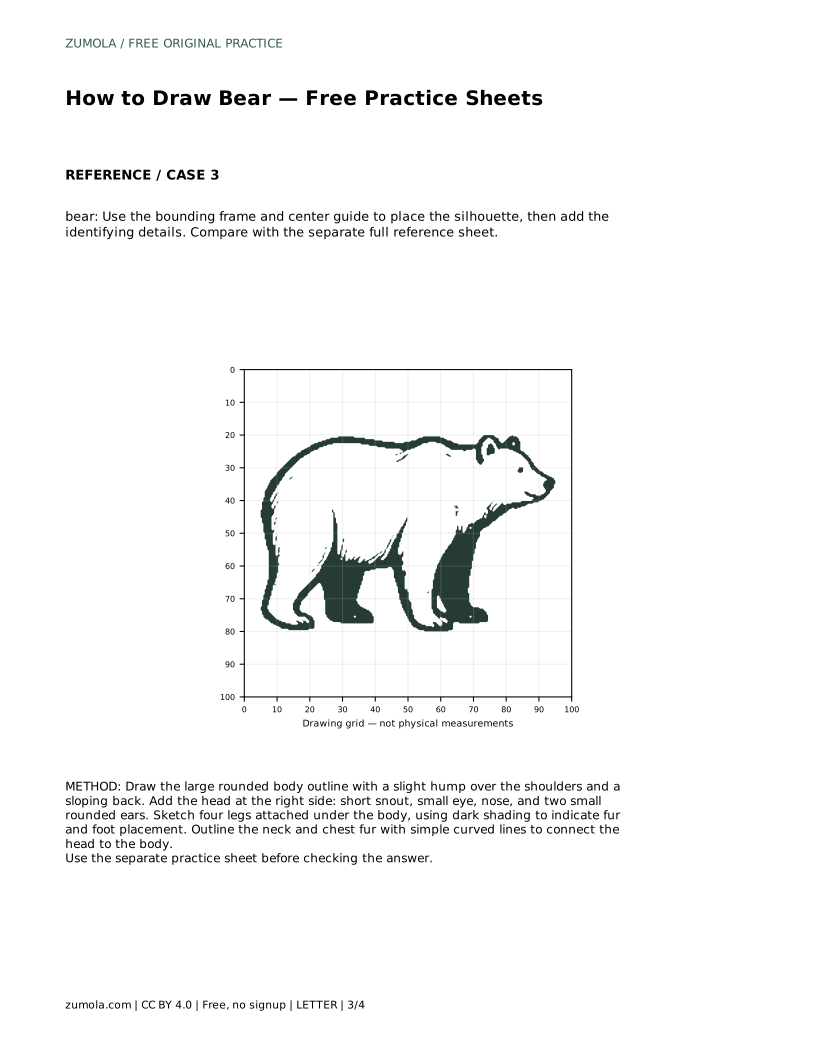
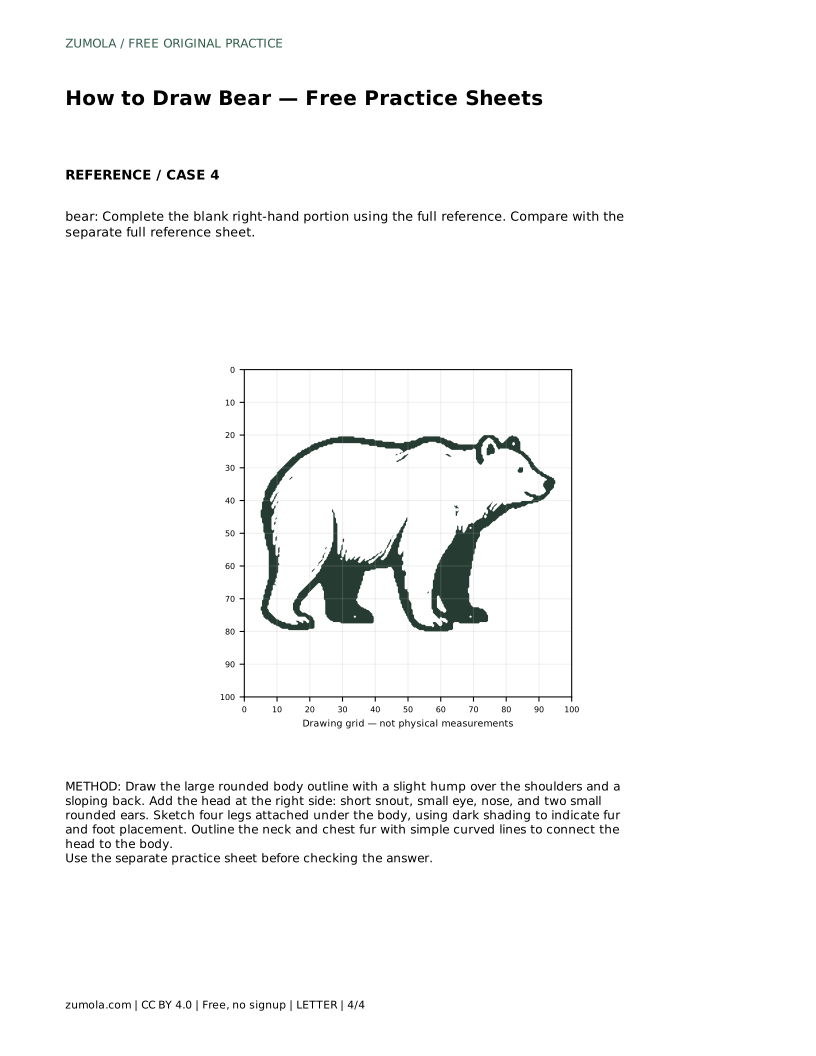
Learn to draw a realistic bear by tracing a reference outline, then repeating the contour on your own. Focus on the humped back, short snout, and four legs.
Four original cases, with reference diagrams, practice sheets and worked answers. Everything is free; no signup required.
LETTER · Download PDF
A4 · Download PDF
LETTER · Download PDF
A4 · Download PDF
LETTER · Download PDF
A4 · Download PDF
Use A4 or US Letter to match your printer. Use the stated values and conditions to solve each exercise; diagrams are not physical measuring rulers.
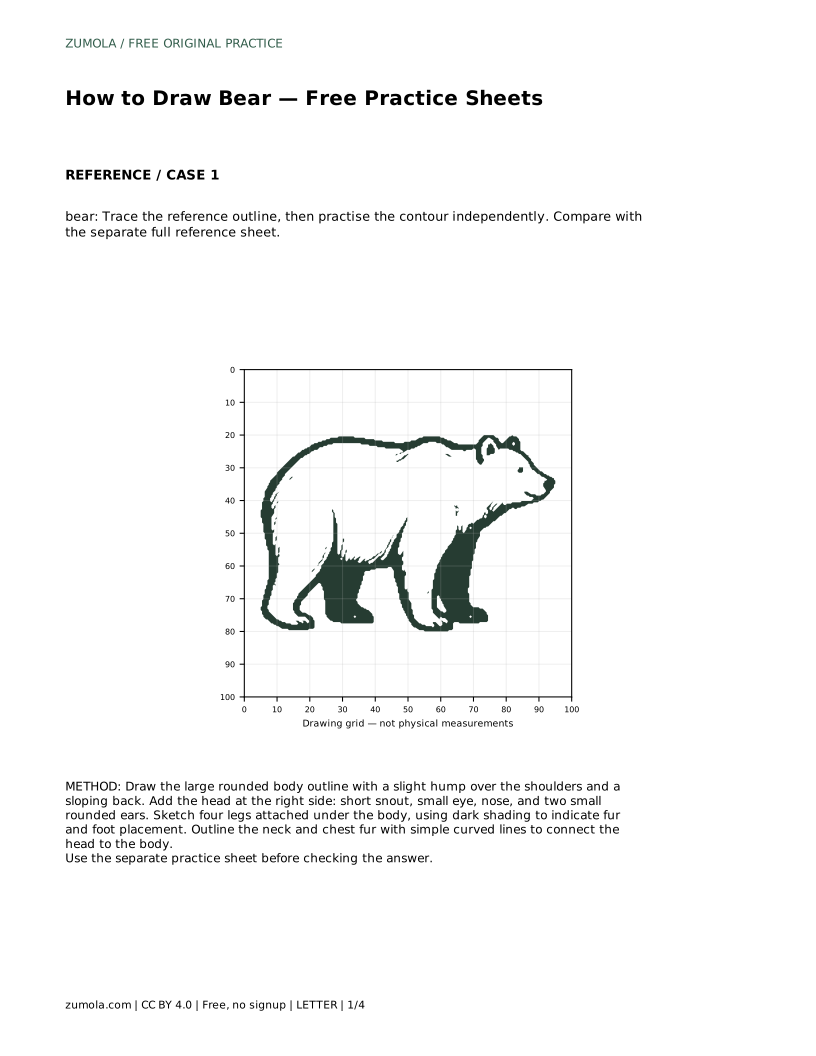
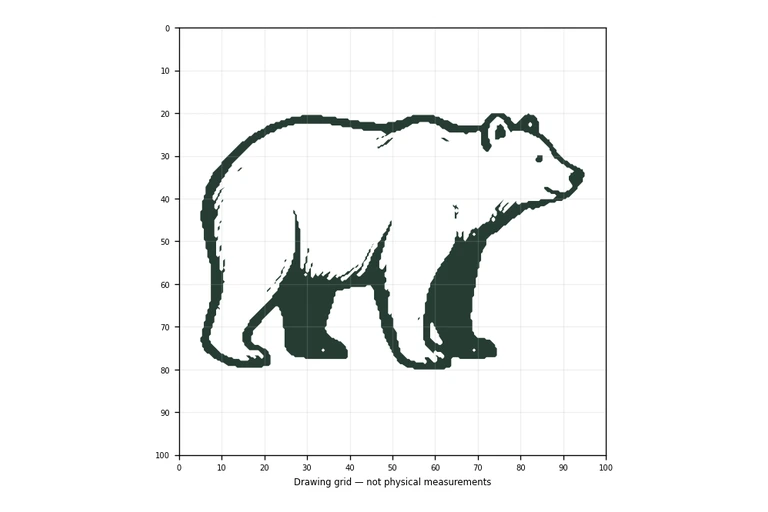
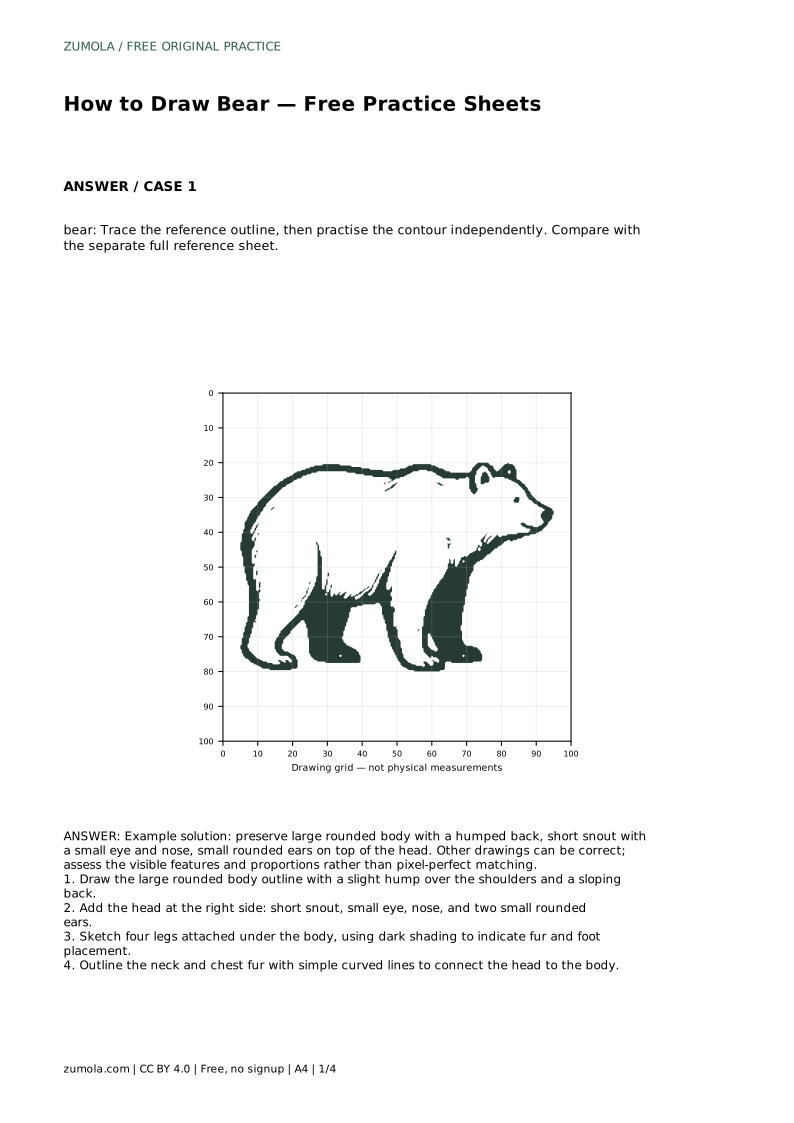
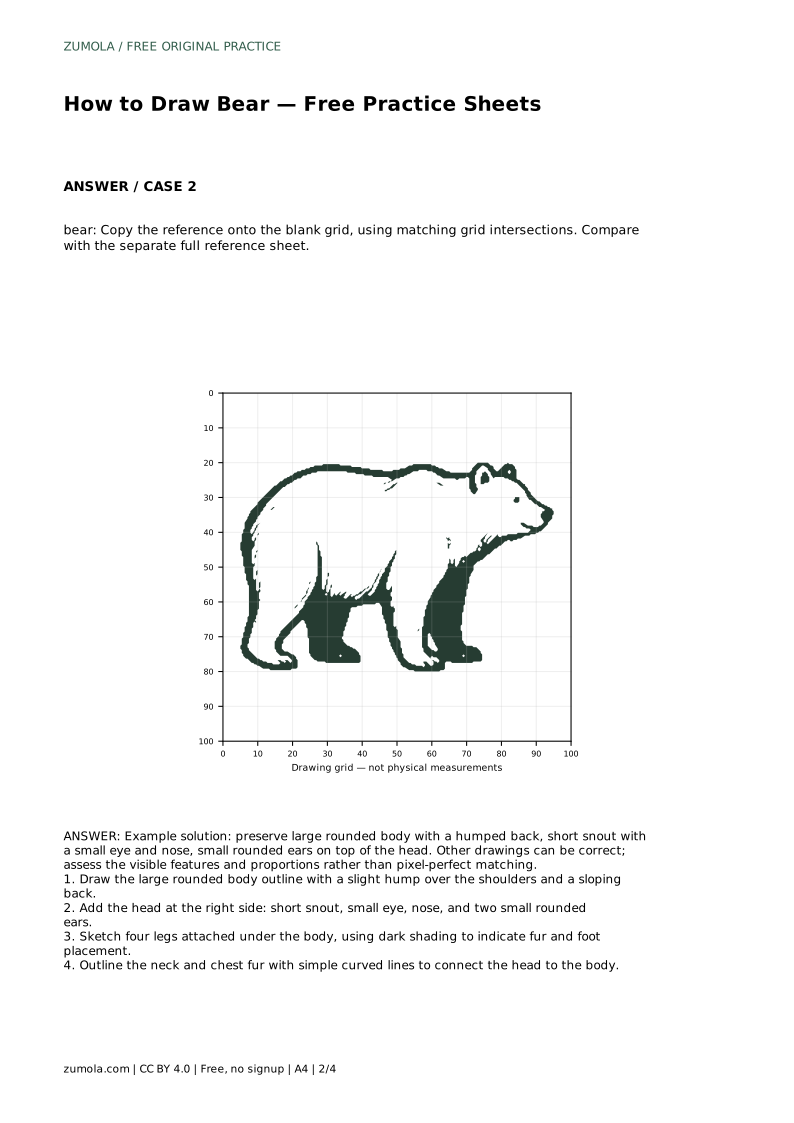
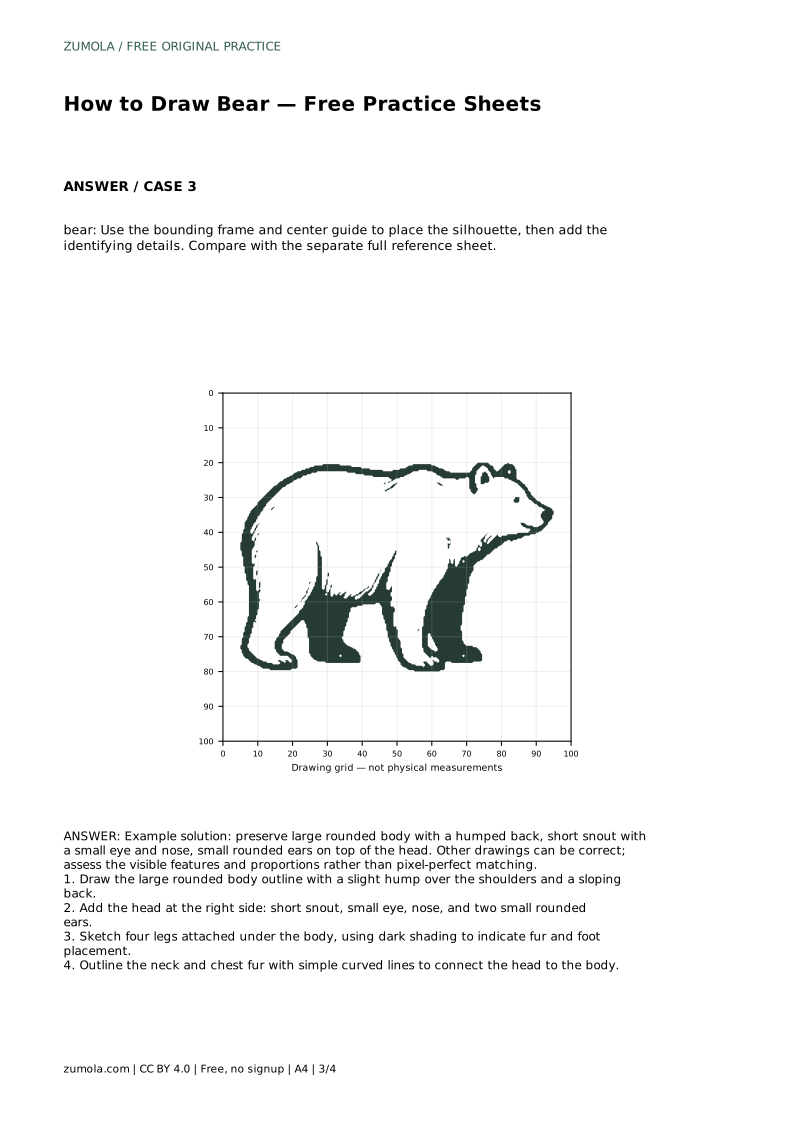
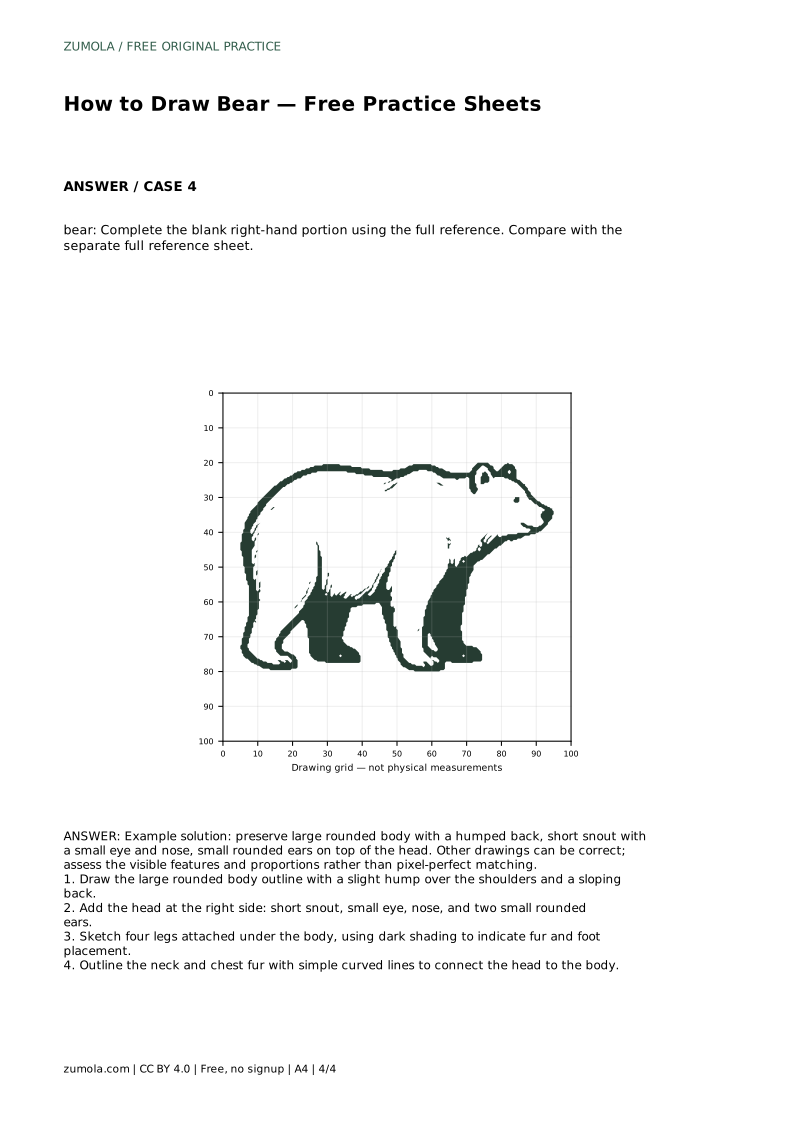
A realistic bear drawing depends on a few large shapes working together: a heavy rounded body with a slight hump over the shoulders, a sloping back, a short snout, and small rounded ears set on top of the head. This page shows how to study a reference outline first, then practise the same contour without tracing. The goal is not a pixel-perfect copy but a drawing that keeps the bear's visible features and proportions believable.
Most beginners begin with the face or with fur texture. That usually produces a small head floating above an uncertain body. Instead, treat the bear as a single large mass first. Draw the rounded body outline with a gentle hump over the shoulders and a back that slopes downward toward the rear. Keep the line light so you can adjust it.
The hump matters because it gives the bear its weight and silhouette. A perfectly smooth, level back tends to read as a generic animal rather than a bear. Once the body mass feels stable, the head and legs have somewhere to attach.
Position the head at the right side of the body for this reference. Build it around a short snout rather than a long one; a long snout pushes the drawing toward a dog or wolf. Add a small eye and a nose at the front of the snout. Place two small rounded ears on top of the head, not on the sides.
Keep the eye and nose small relative to the head. Oversized features make the bear look cartoonish, which is fine for other projects but not for a realistic study. Compare your head size with the body: the head should feel substantial but clearly smaller than the torso.
Sketch four legs attached underneath the body. Keep them thick and relatively short, and note where each foot meets the ground so the bear appears to stand rather than float. Dark shading along the legs can suggest fur and help separate the front and rear pairs.
Finally, outline the neck and chest fur with simple curved lines that connect the head to the body. These lines should bridge the two shapes rather than sit as decoration. Avoid drawing individual hairs at this stage; the contour does the structural work.
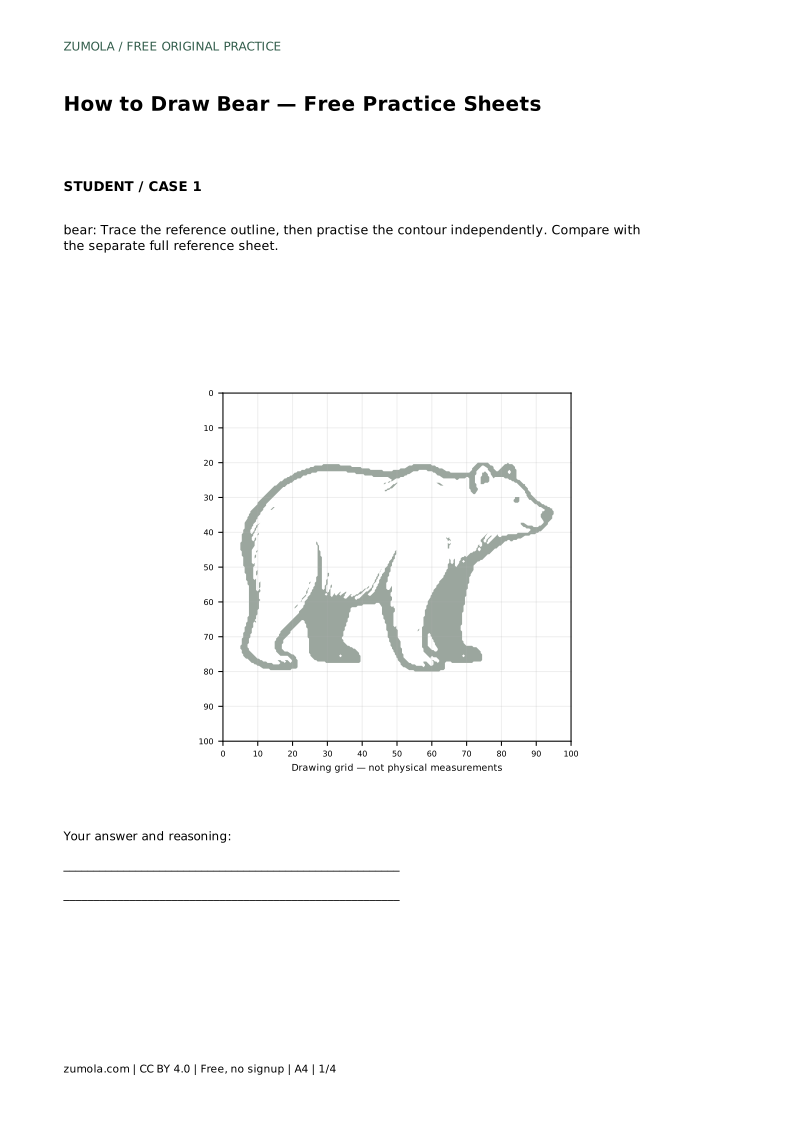
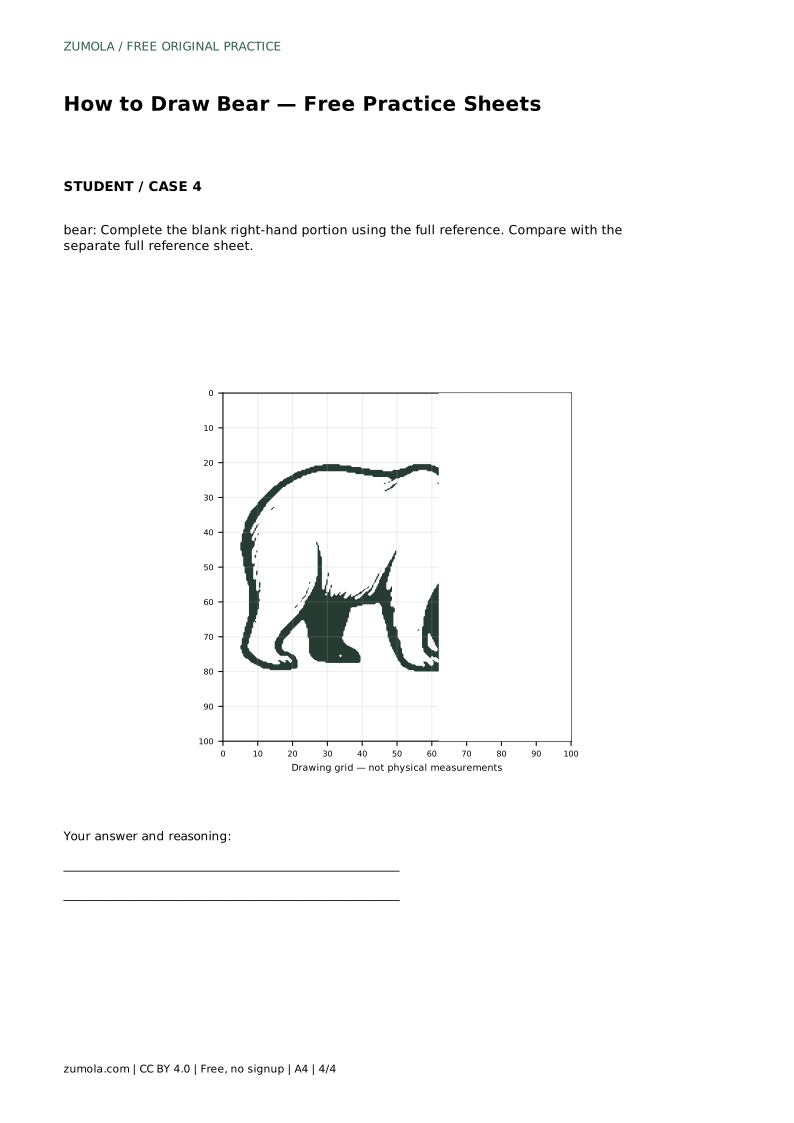
Tracing the reference outline is a study method, not the final goal. Trace once to feel where the hump, snout, and leg attachments sit. Then set the traced sheet aside and draw the same contour on a blank sheet. Compare your independent drawing with the separate full reference sheet and note which proportion drifted.
Because drawings can be correct in different ways, judge the result by visible features and proportions rather than exact line matching. A slightly different ear angle or fur curve is acceptable if the bear still reads clearly.
Use the rubric below to review your work. Each criterion describes something visible you can confirm or correct, which is more useful than asking whether the drawing looks right overall.
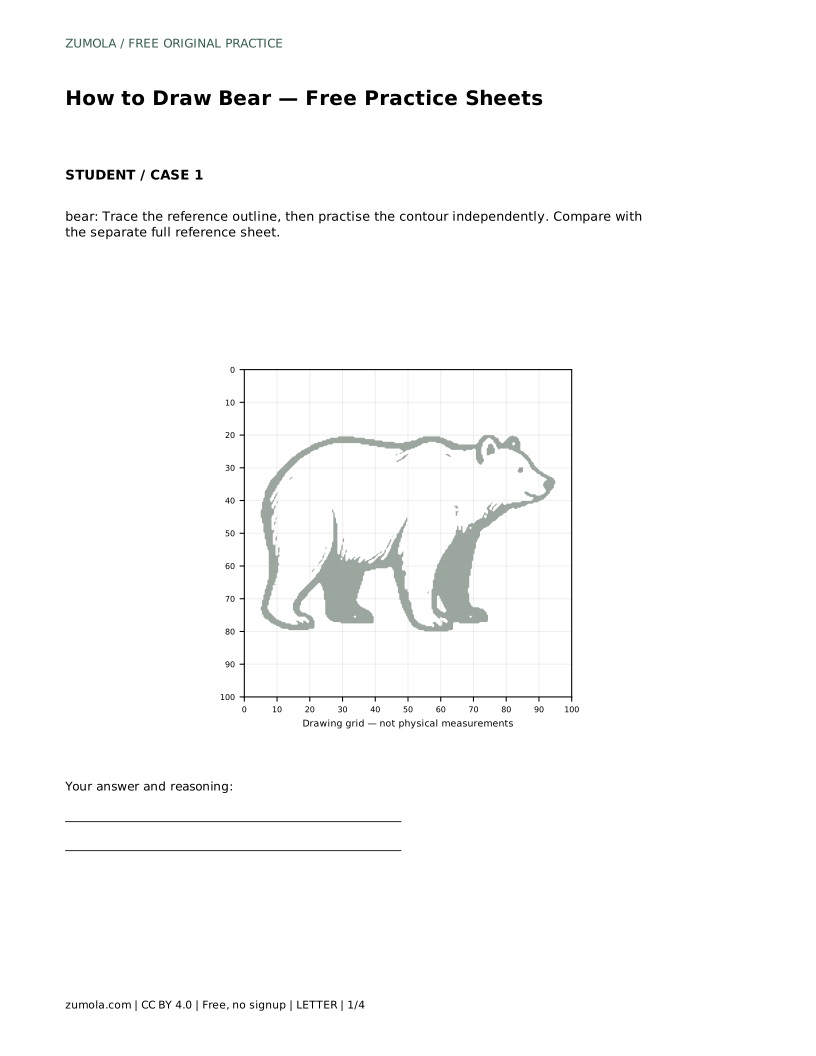
bear: Trace the reference outline, then practise the contour independently. Compare with the separate full reference sheet.
Example solution: preserve large rounded body with a humped back, short snout with a small eye and nose, small rounded ears on top of the head. Other drawings can be correct; assess the visible features and proportions rather than pixel-perfect matching. Draw the large rounded body outline with a slight hump over the shoulders and a sloping back. Add the head at the right side: short snout, small eye, nose, and two small rounded ears. Sketch four legs attached under the body, using dark shading to indicate fur and foot placement. Outline the neck and chest fur with simple curved lines to connect the head to the body.
No. Other drawings can be correct. Assess the visible features and proportions rather than pixel-perfect matching.
Tracing teaches where the large shapes and attachments sit. Redrawing without the trace tests whether you retained those proportions.
On top of the head, not on the sides. Small rounded ears on top help the head read as a bear.
All drawing practice · Free coordinate paper
Original resources · CC BY 4.0 · Free for personal and classroom use with attribution.