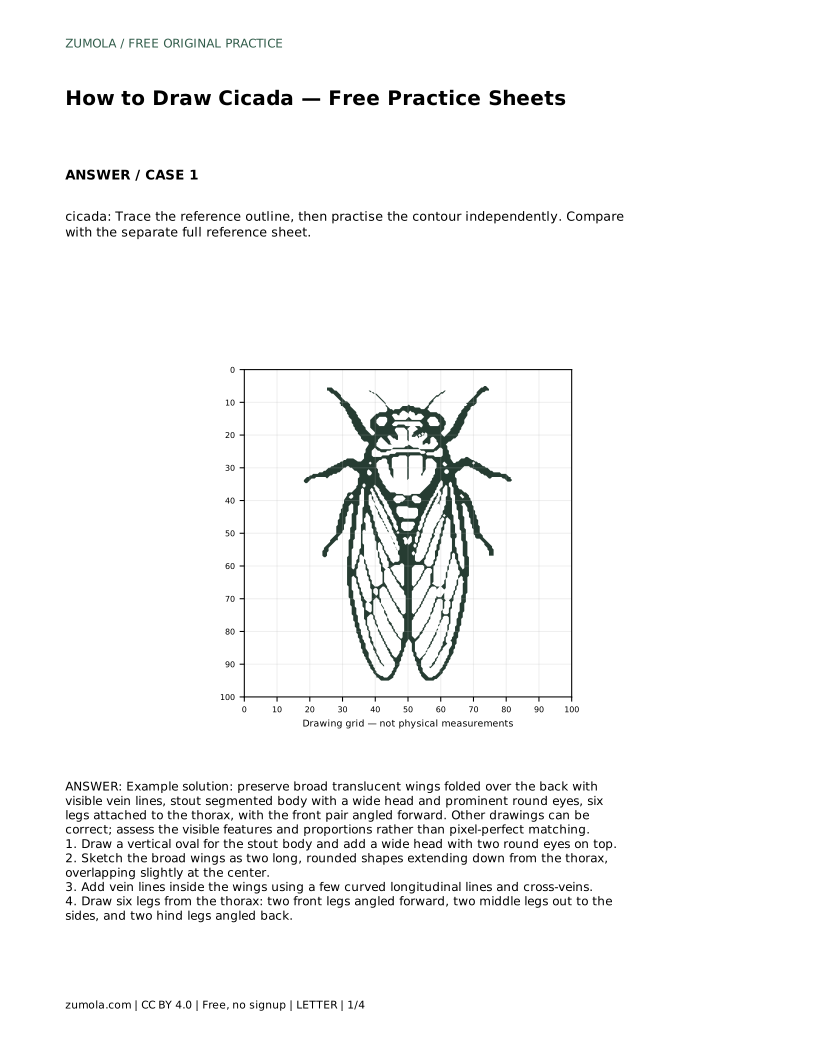
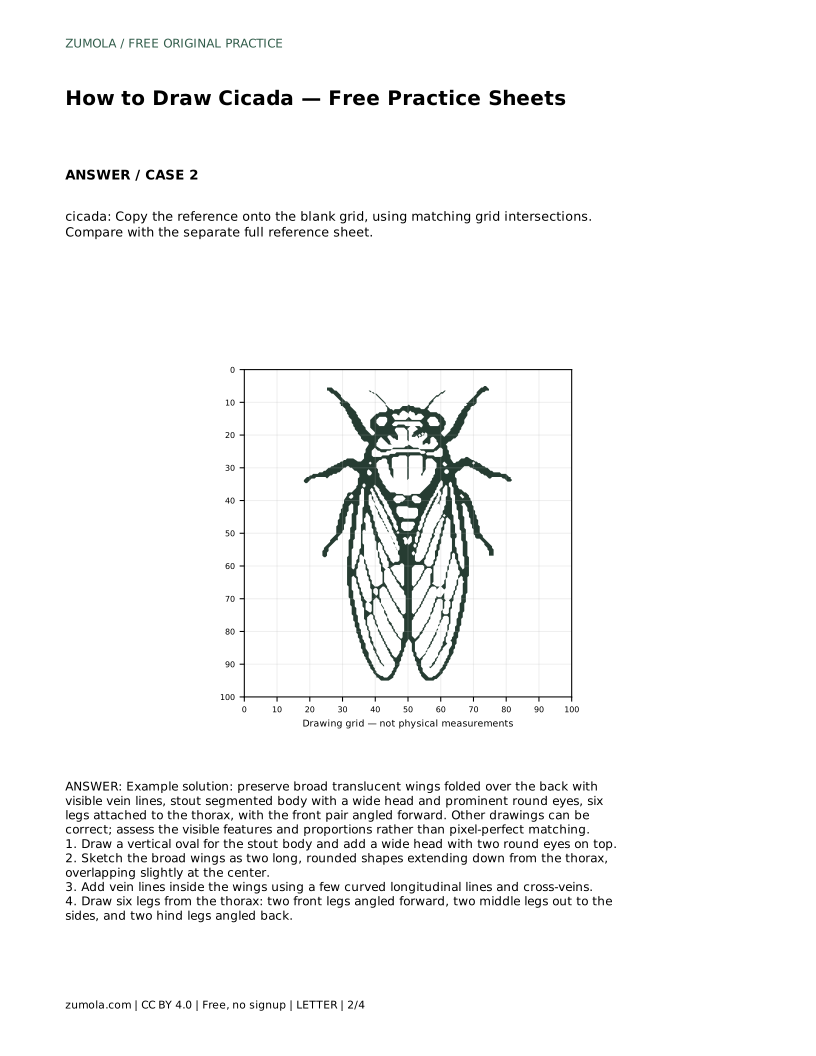
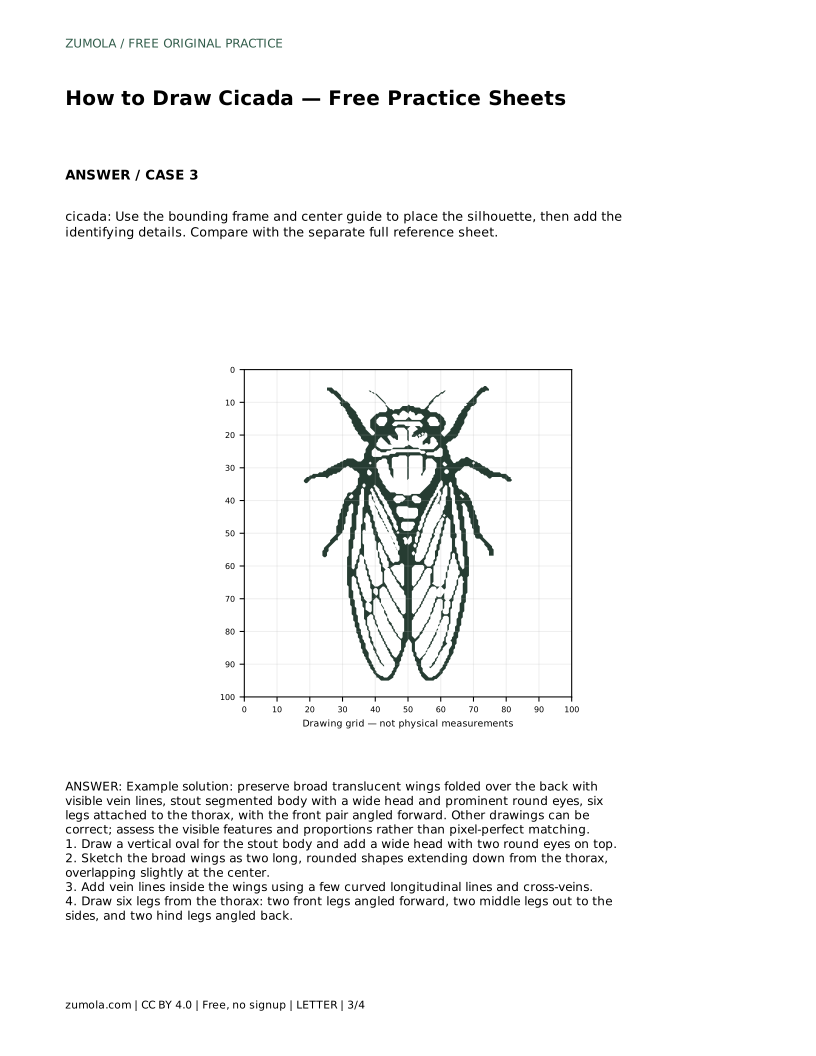
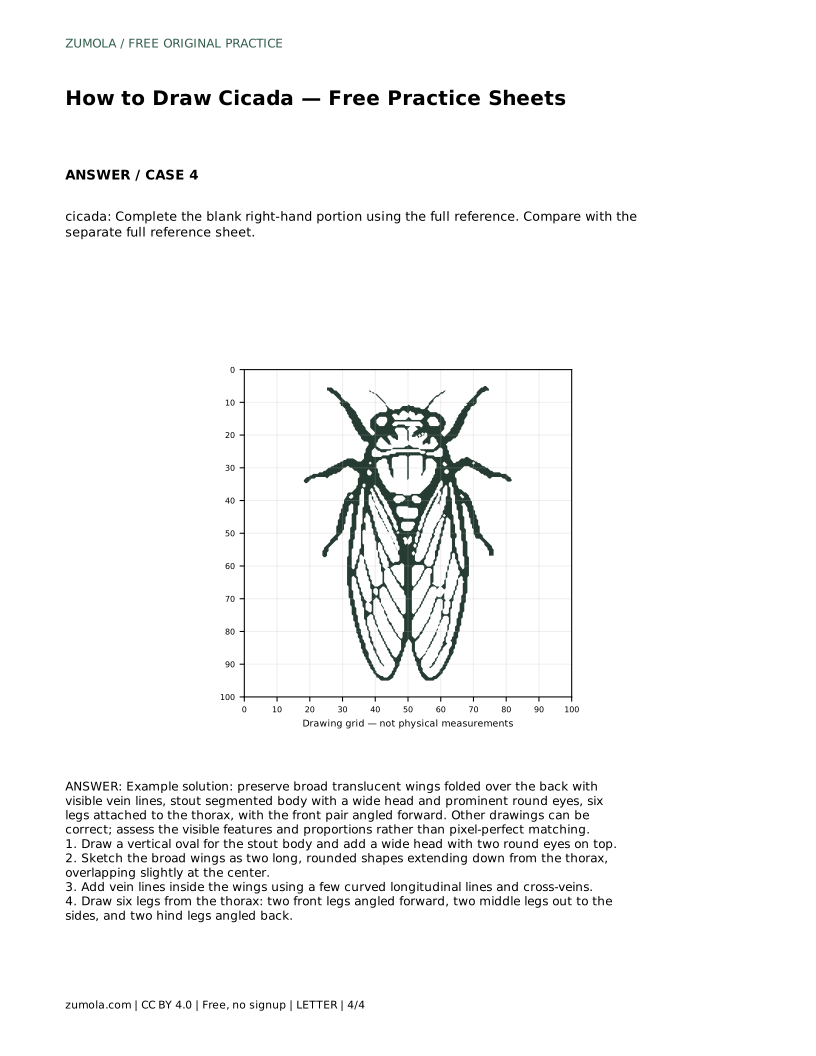
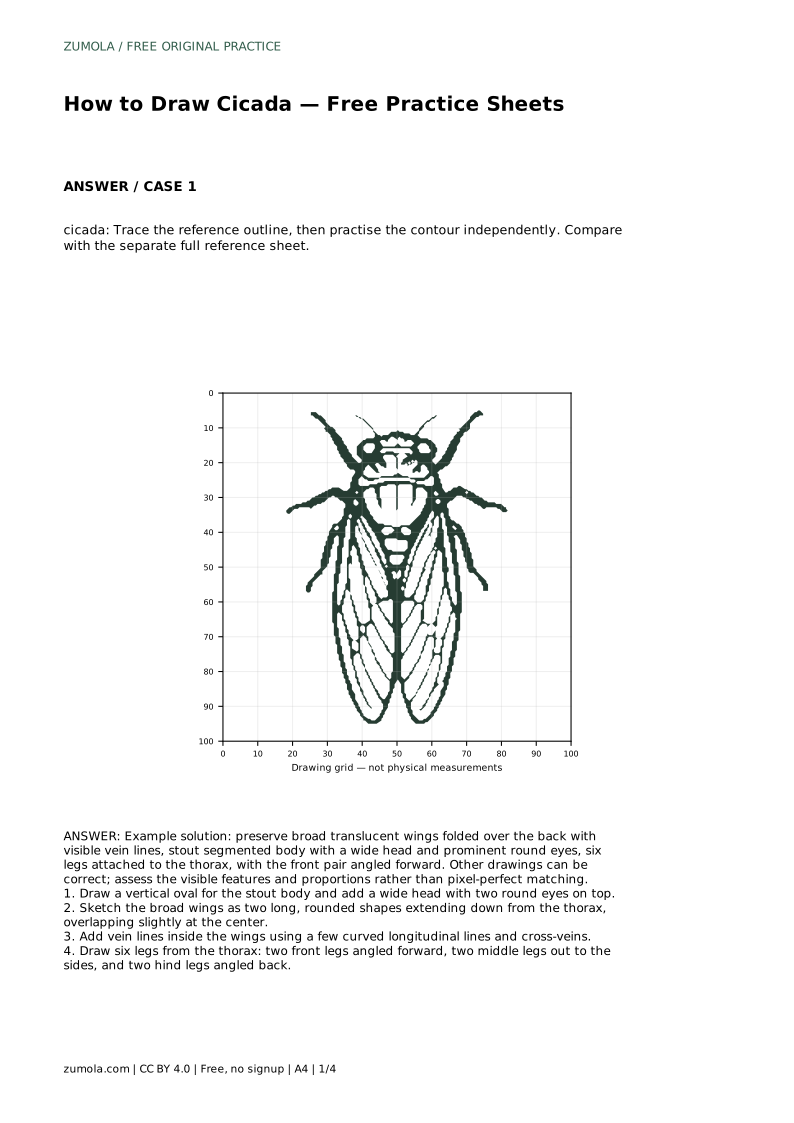
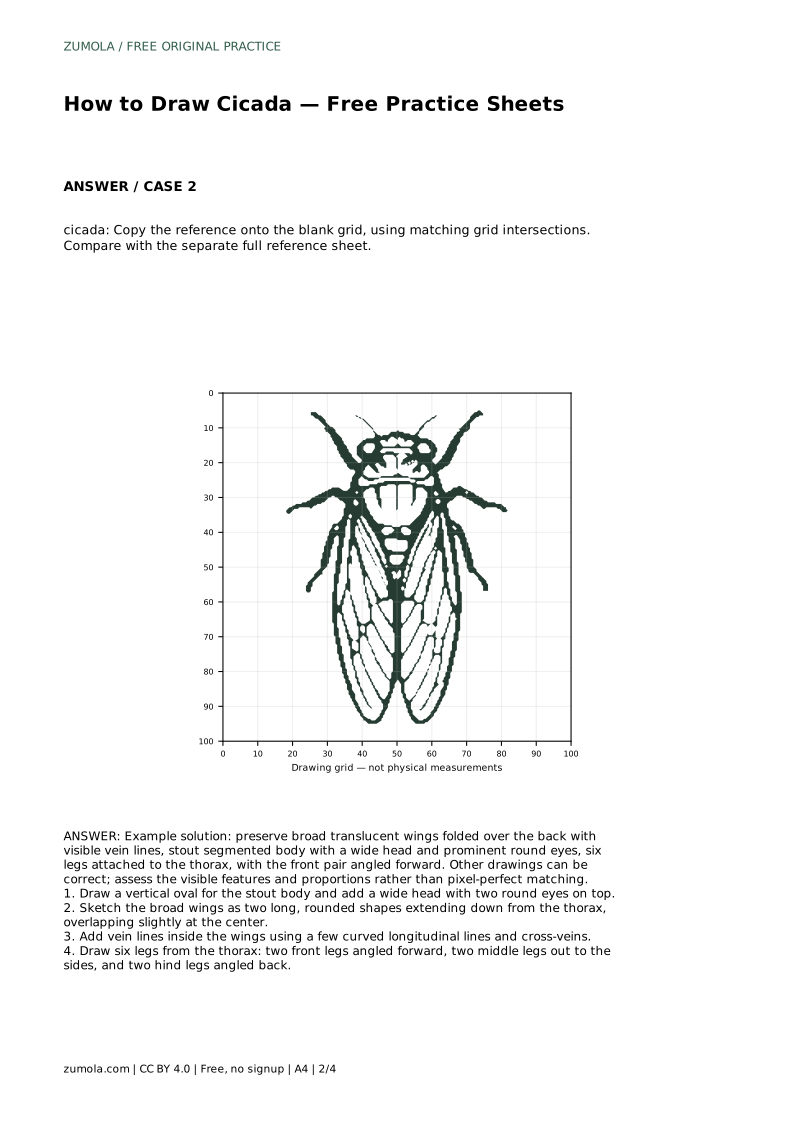
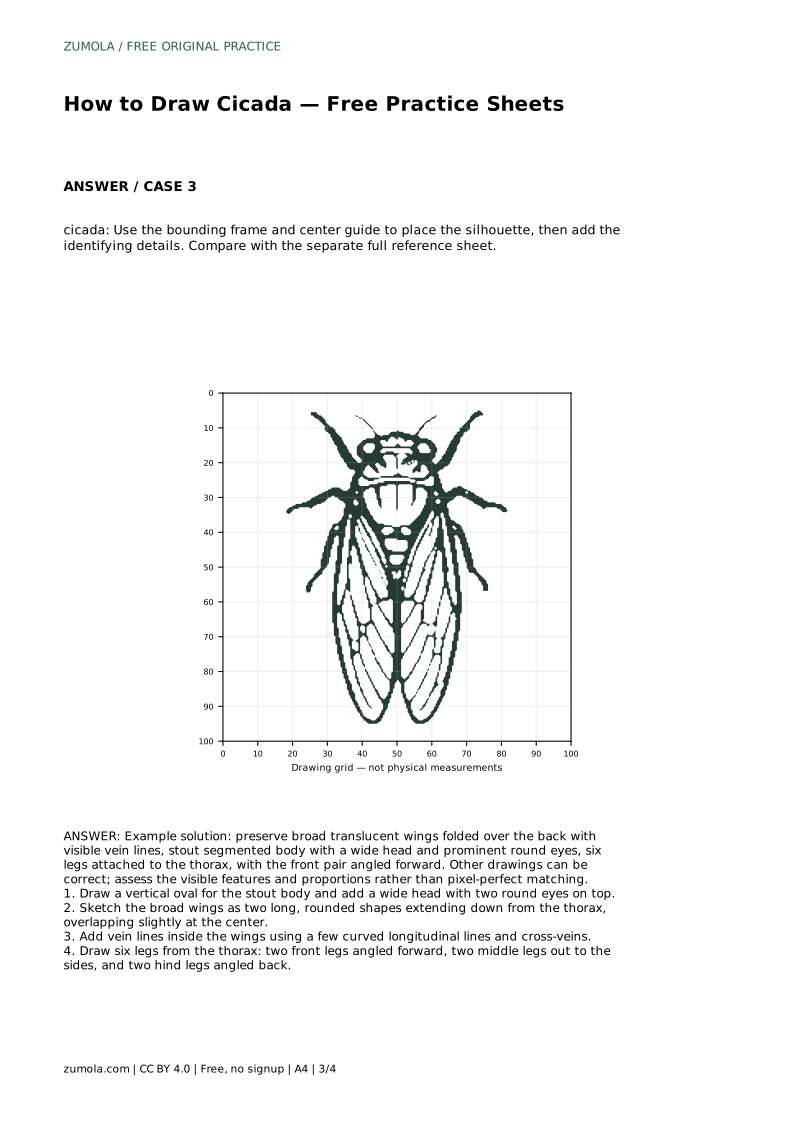
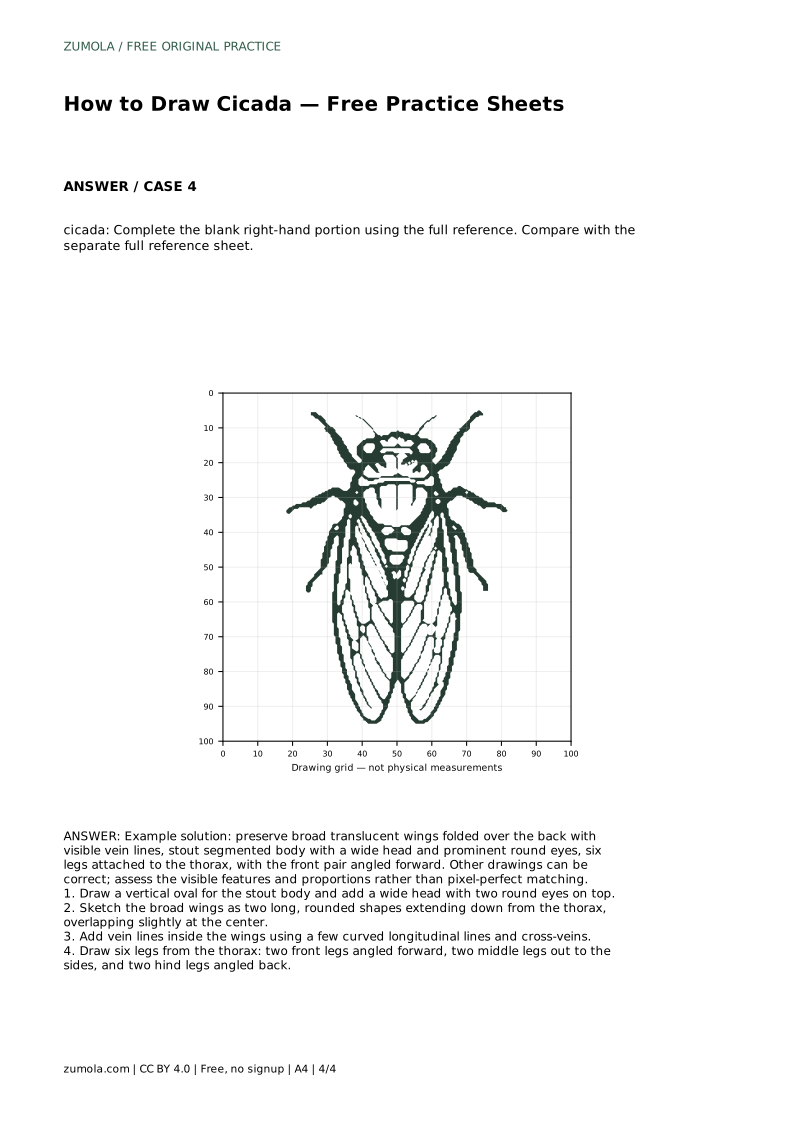
Reference diagrams
LETTER · Download PDF
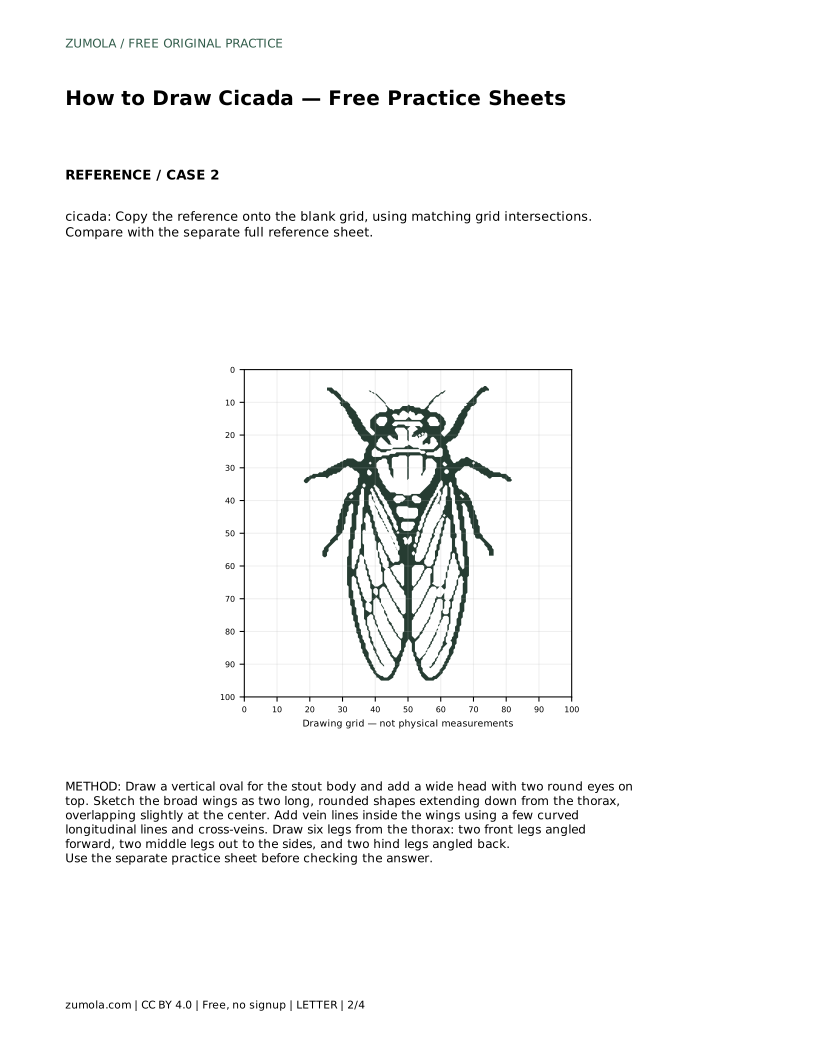
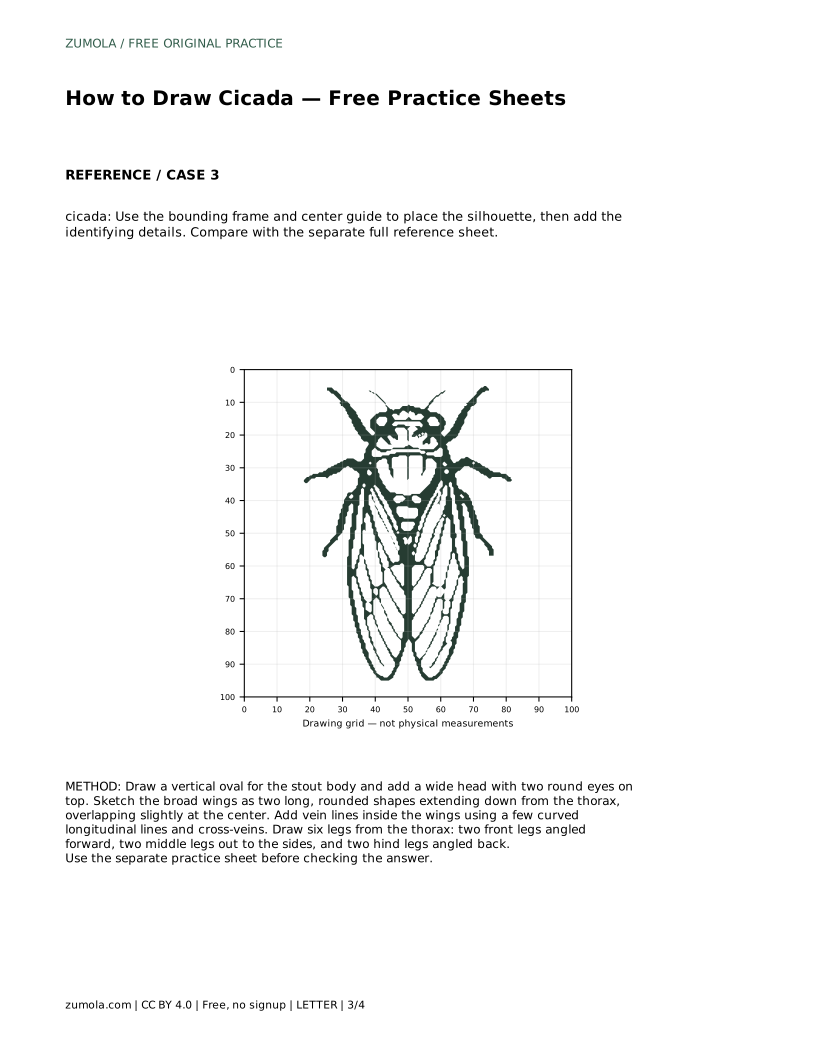
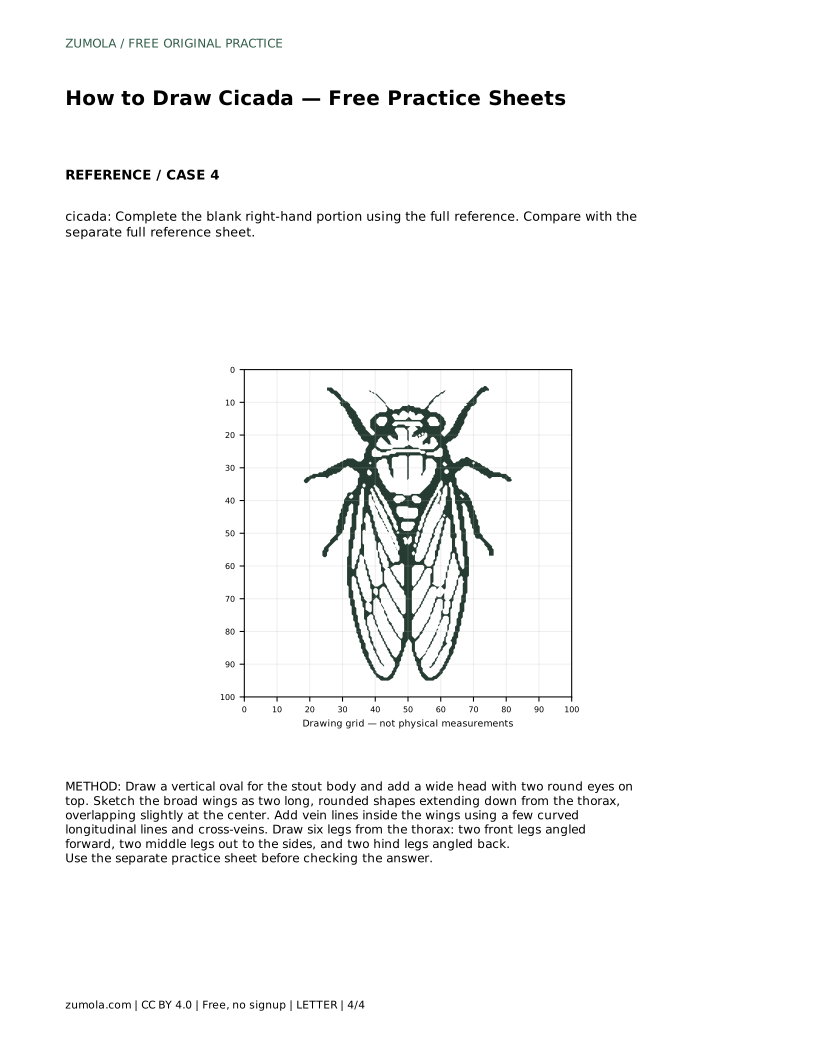
A4 · Download PDF
Free original resources
Learn to draw a cicada with a stout segmented body, broad translucent wings with veins, and six legs. Free practice sheets support tracing, grid, and frame methods.
Four original cases, with reference diagrams, practice sheets and worked answers. Everything is free; no signup required.
LETTER · Download PDF
A4 · Download PDF
LETTER · Download PDF
A4 · Download PDF
LETTER · Download PDF
A4 · Download PDF
Use A4 or US Letter to match your printer. Use the stated values and conditions to solve each exercise; diagrams are not physical measuring rulers.
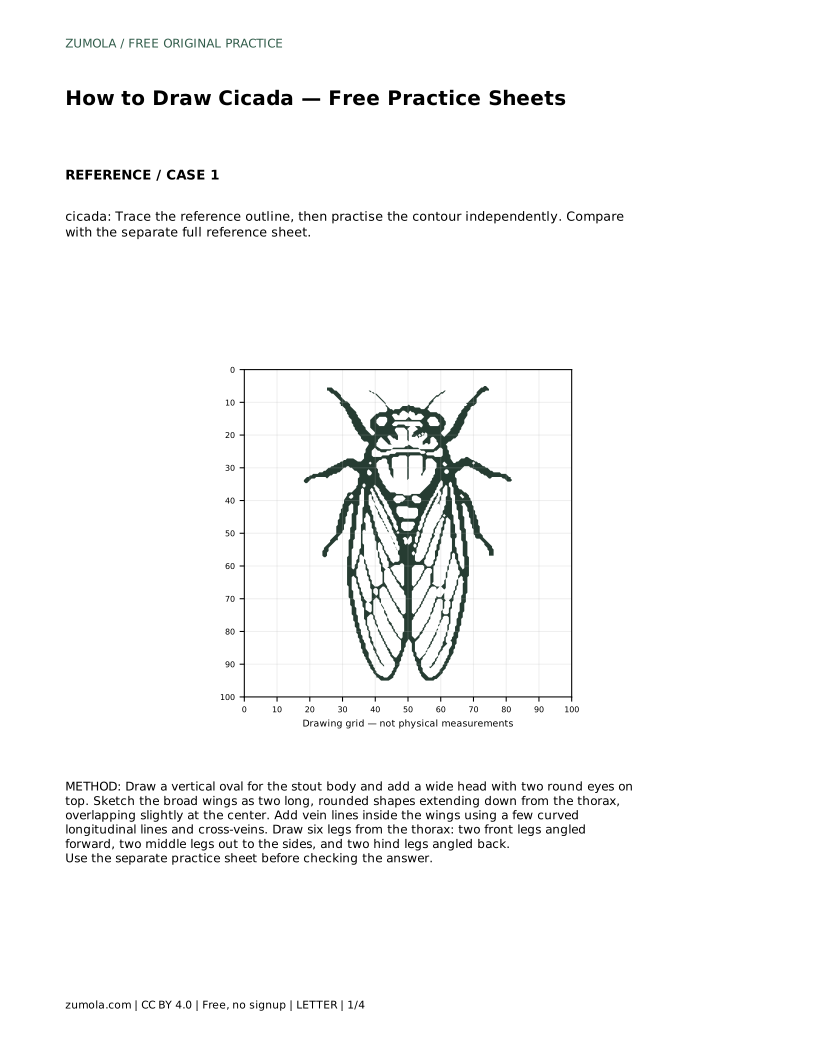
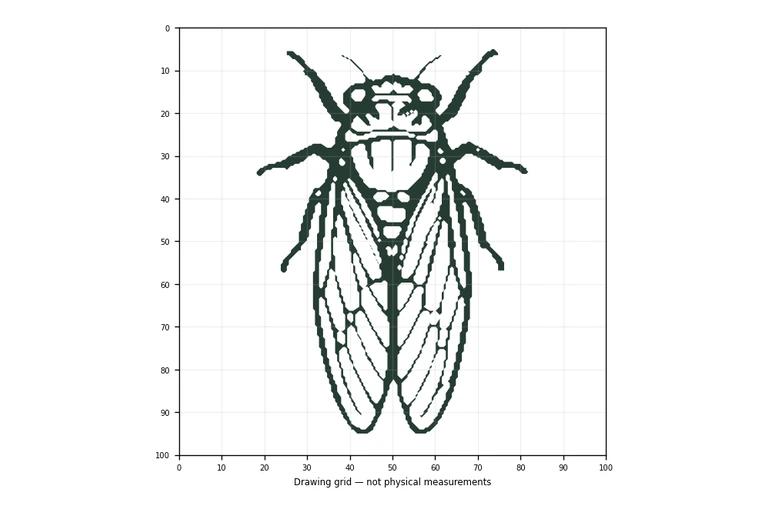
Drawing a cicada is a study in balancing a heavy, segmented body with large, delicate wings. This guide breaks the insect into clear shapes: a vertical oval body, a wide head with round eyes, two overlapping wings marked with veins, and six legs attached to the thorax. Use the free practice sheets to trace, copy on a grid, or complete a partial drawing. The goal is not a pixel-perfect copy but a recognizable cicada with correct proportions and visible features.
Begin with a vertical oval for the stout body. Cicadas have a thick abdomen that tapers slightly toward the rear. Add a wide head at the top, wider than the body, and place two prominent round eyes on top of the head. The head should sit directly above the thorax, the midsection where the legs and wings attach. Keep the body centered on your page so the wings have room to spread downward.
Use light pencil strokes first. The body is segmented, so you can add a few horizontal curved lines across the abdomen later. For now, focus on the overall silhouette: a rounded head, a narrower thorax, and a larger oval abdomen.
Cicada wings are long, rounded, and translucent, folded over the back when at rest. Sketch two large wing shapes extending down from the thorax, overlapping slightly at the center. Each wing should be broad and slightly curved, reaching past the abdomen. Keep the outlines light so the wings read as delicate.
Inside each wing, draw a few curved longitudinal lines running from the base to the tip. Then add sparse cross-veins connecting them. Do not fill every space; a few clear veins suggest the translucent membrane without making the wing look solid. The vein pattern is a key identifying feature, so make it visible but not crowded.
All six legs attach to the thorax, not the abdomen. Draw two front legs angled forward, two middle legs extending out to the sides, and two hind legs angled back. Each leg has a thin, jointed appearance. Keep the legs simple: a short upper segment, a bend, and a lower segment. The front pair is often the most prominent, so angle them forward as if gripping a branch.
Check that the legs are evenly spaced and that none emerge from the head or abdomen. The middle legs should point outward, while the hind legs trail backward. This arrangement gives the cicada a stable, insect-like stance.
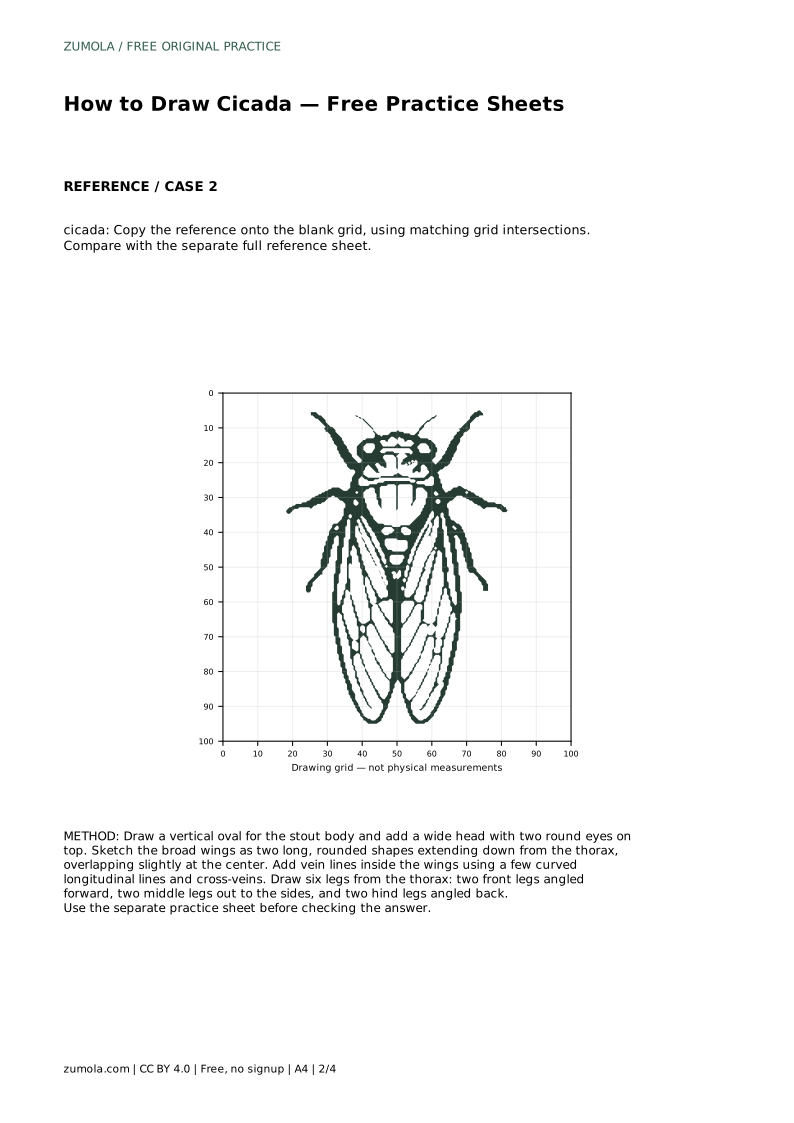
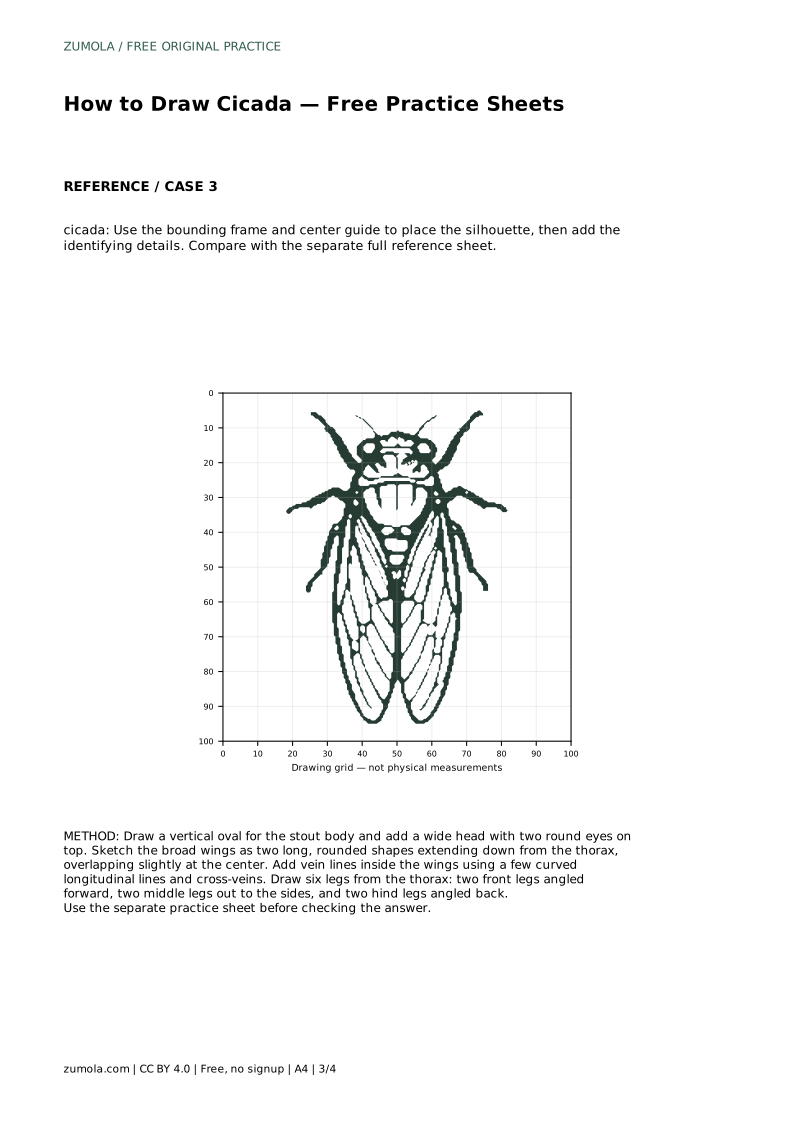
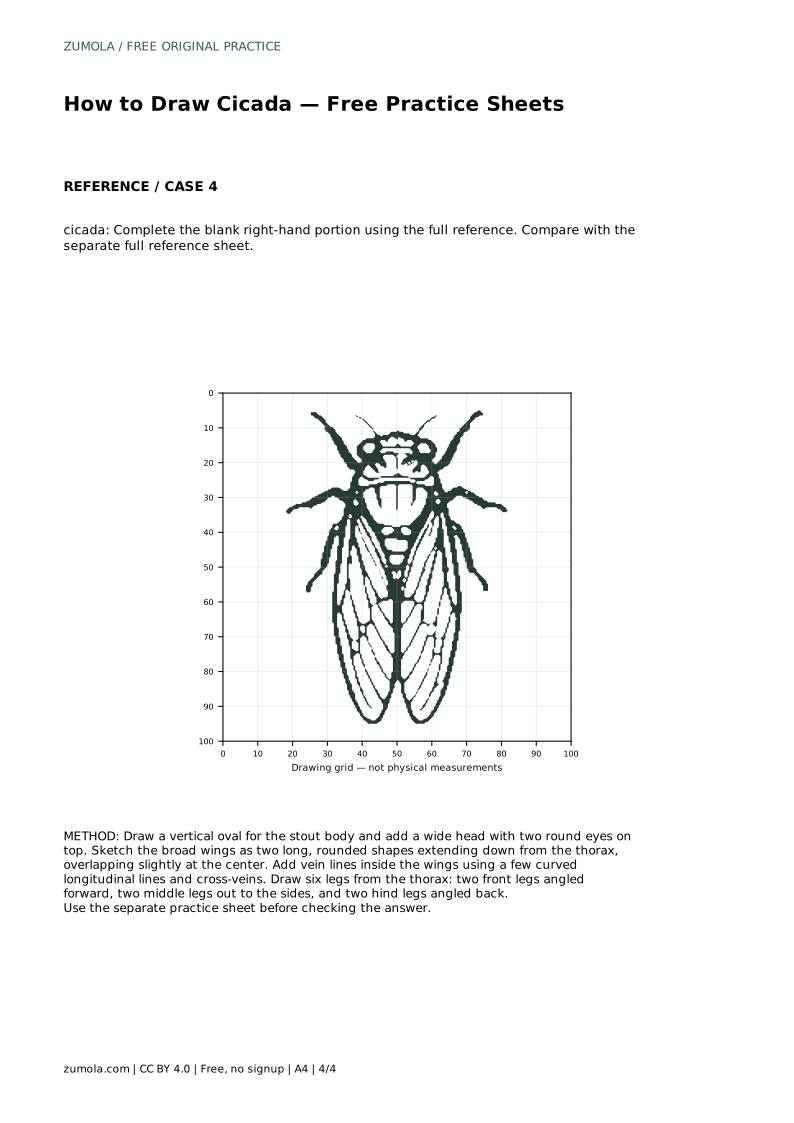
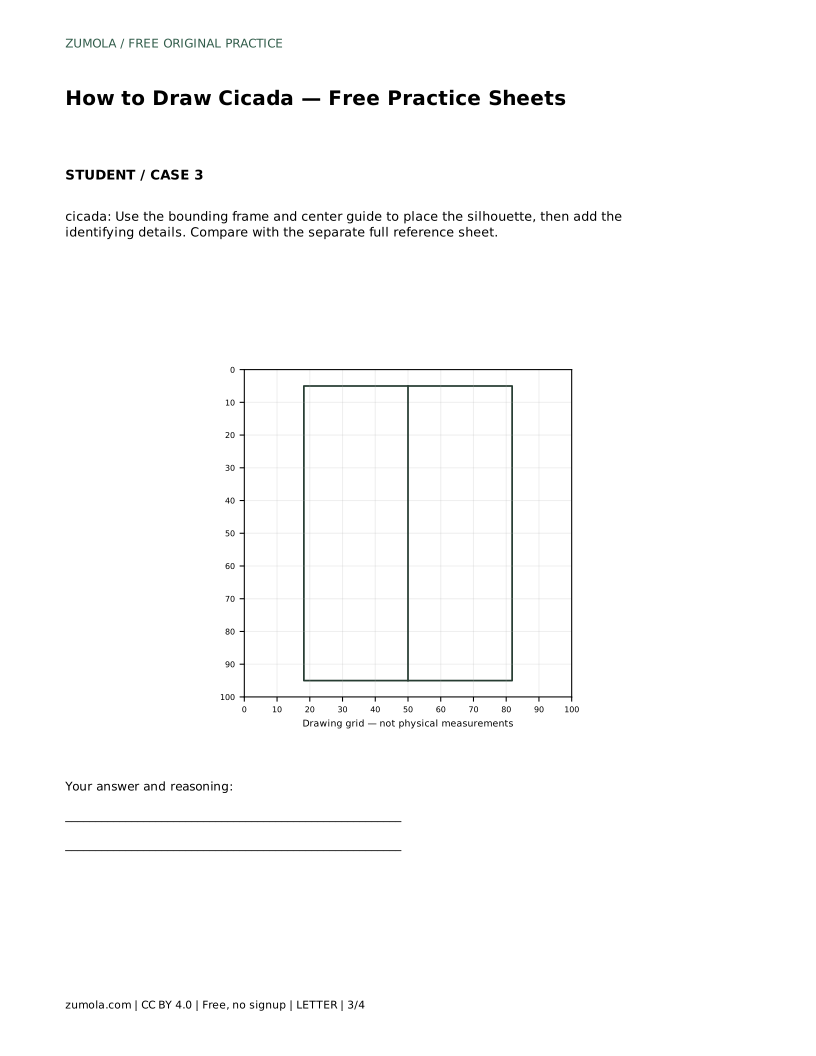
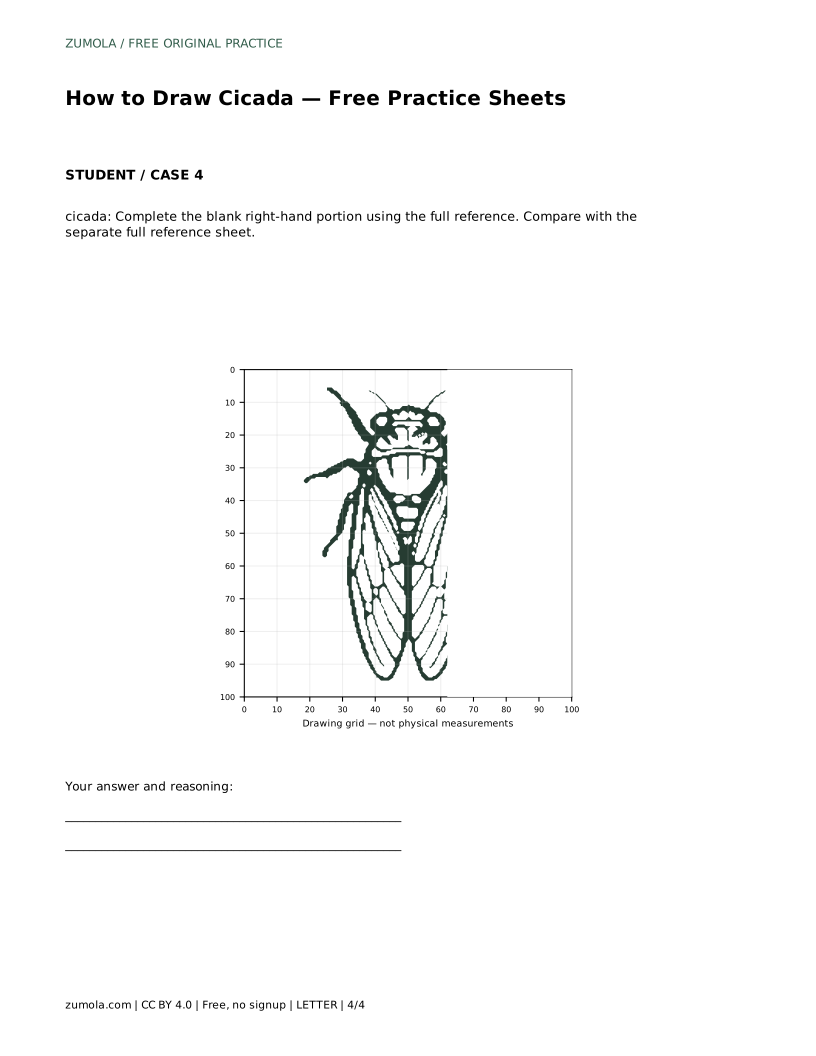
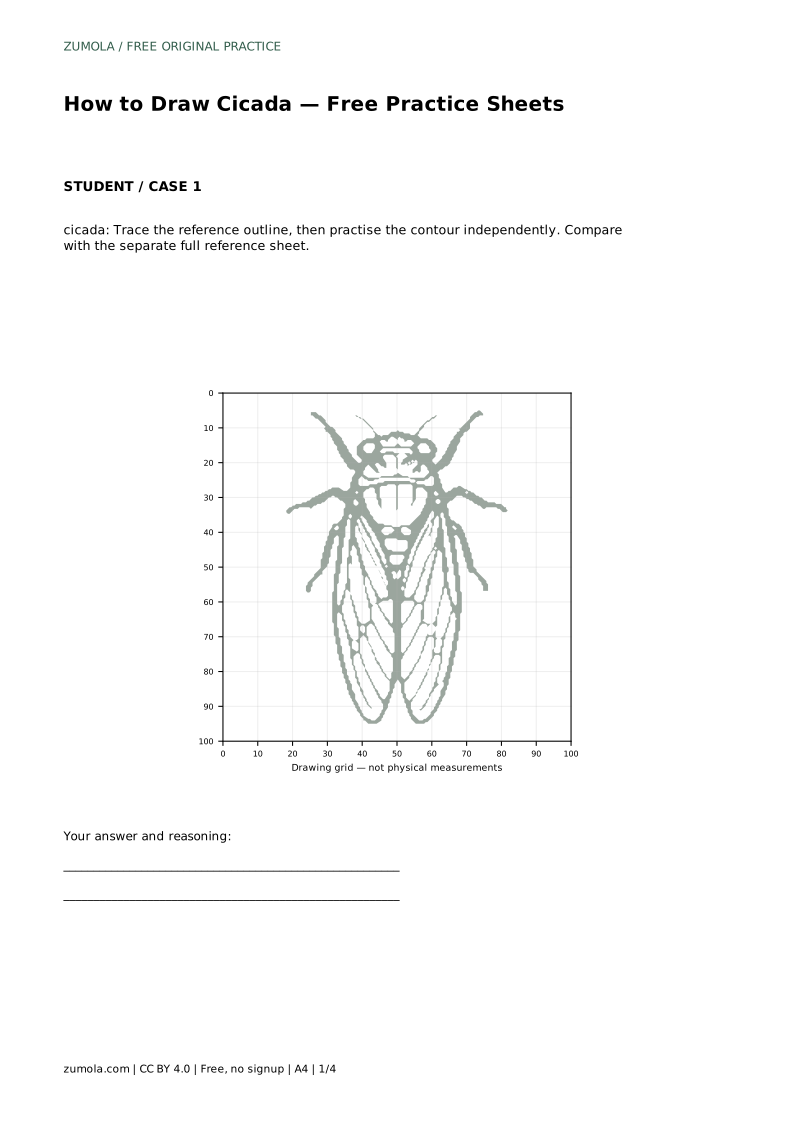
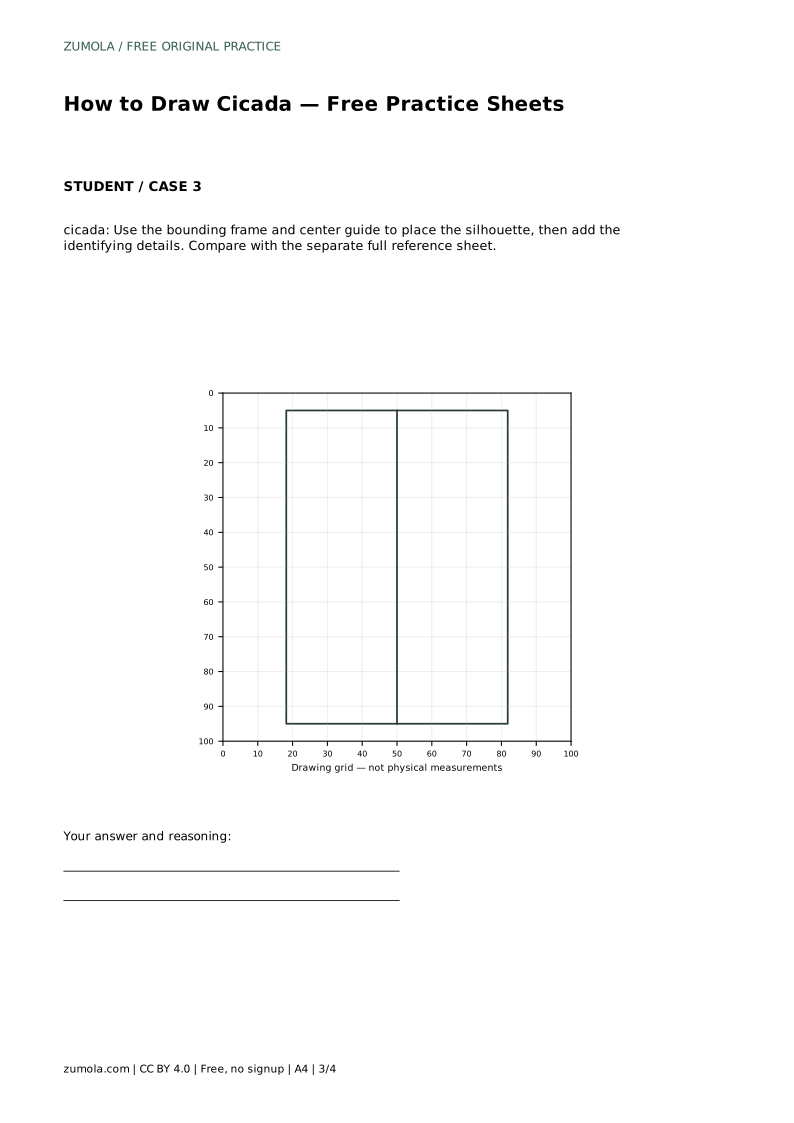
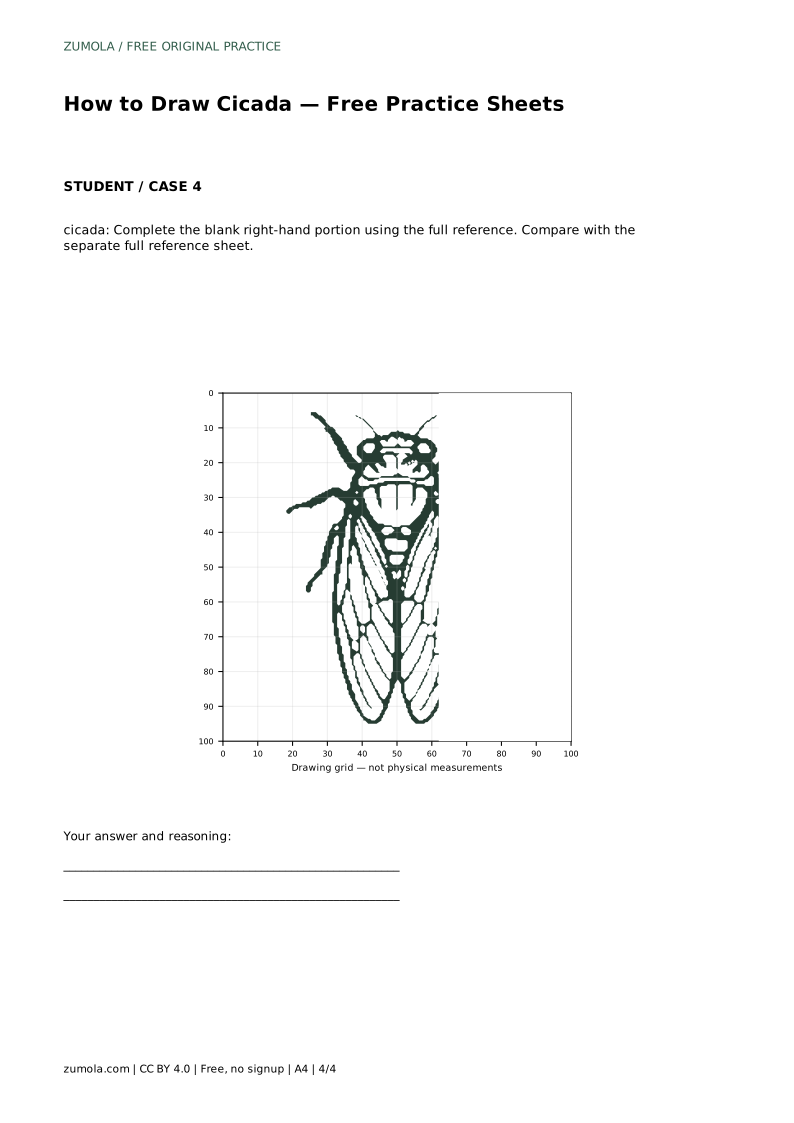
The free practice sheets offer different ways to build the same cicada. On the trace sheet, follow the reference outline, then try the contour independently and compare with the full reference. On the grid sheet, copy the reference onto the blank grid using matching intersections to keep proportions. The bounding-frame sheet helps you place the silhouette using a center guide before adding details. The partial sheet lets you complete the missing right-hand portion from the full reference.
Each method trains a different skill: tracing builds muscle memory, the grid teaches proportion, the frame supports placement, and the partial sheet tests recall. After each attempt, compare your drawing to the reference and check the body shape, wing overlap, vein lines, and leg positions. Remember that multiple valid outcomes exist; assess the visible features rather than exact matching.
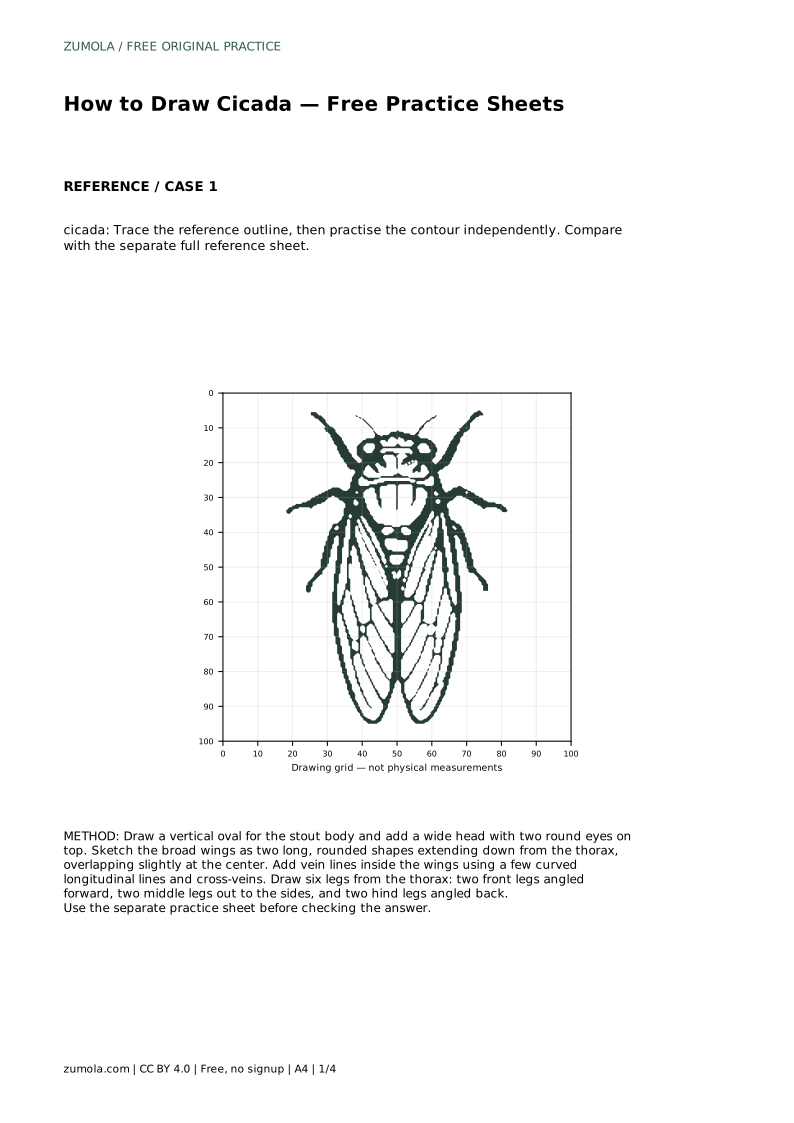
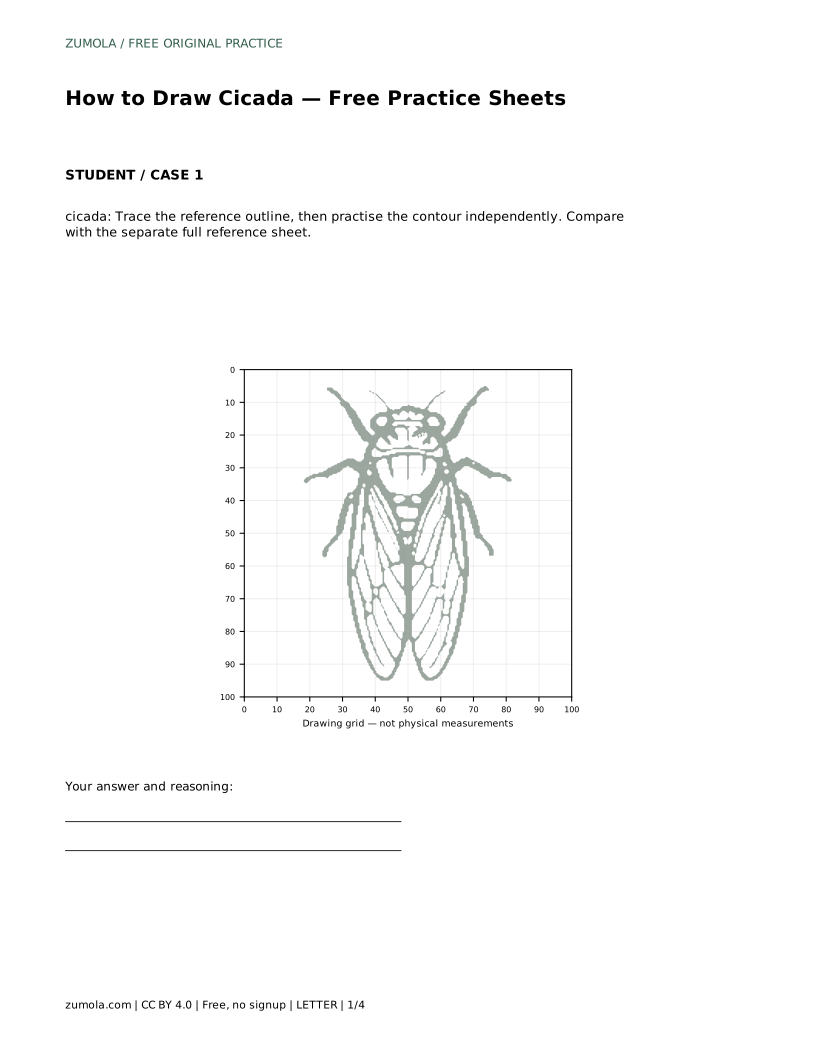
cicada: Trace the reference outline, then practise the contour independently. Compare with the separate full reference sheet.
Example solution: preserve broad translucent wings folded over the back with visible vein lines, stout segmented body with a wide head and prominent round eyes, six legs attached to the thorax, with the front pair angled forward. Other drawings can be correct; assess the visible features and proportions rather than pixel-perfect matching. Draw a vertical oval for the stout body and add a wide head with two round eyes on top. Sketch the broad wings as two long, rounded shapes extending down from the thorax, overlapping slightly at the center. Add vein lines inside the wings using a few curved longitudinal lines and cross-veins. Draw six legs from the thorax: two front legs angled forward, two middle legs out to the sides, and two hind legs angled back.
Six legs, all attached to the thorax: two front legs angled forward, two middle legs out to the sides, and two hind legs angled back.
No. A few curved longitudinal lines and some cross-veins are enough to suggest the translucent wing membrane without overcrowding.
Yes. Each practice sheet works independently. The grid sheet helps with proportion by matching intersections, while the trace sheet builds contour memory.
All drawing practice · Free coordinate paper
Original resources · CC BY 4.0 · Free for personal and classroom use with attribution.