Reference diagrams
LETTER · Download PDF
A4 · Download PDF
Free original resources
Learn to draw an open crayon box with a hinged lid, evenly spaced crayons, pointed tips, and labels. Trace, grid, or complete the drawing from a reference.
Four original cases, with reference diagrams, practice sheets and worked answers. Everything is free; no signup required.
LETTER · Download PDF
A4 · Download PDF
LETTER · Download PDF
A4 · Download PDF
LETTER · Download PDF
A4 · Download PDF
Use A4 or US Letter to match your printer. Use the stated values and conditions to solve each exercise; diagrams are not physical measuring rulers.
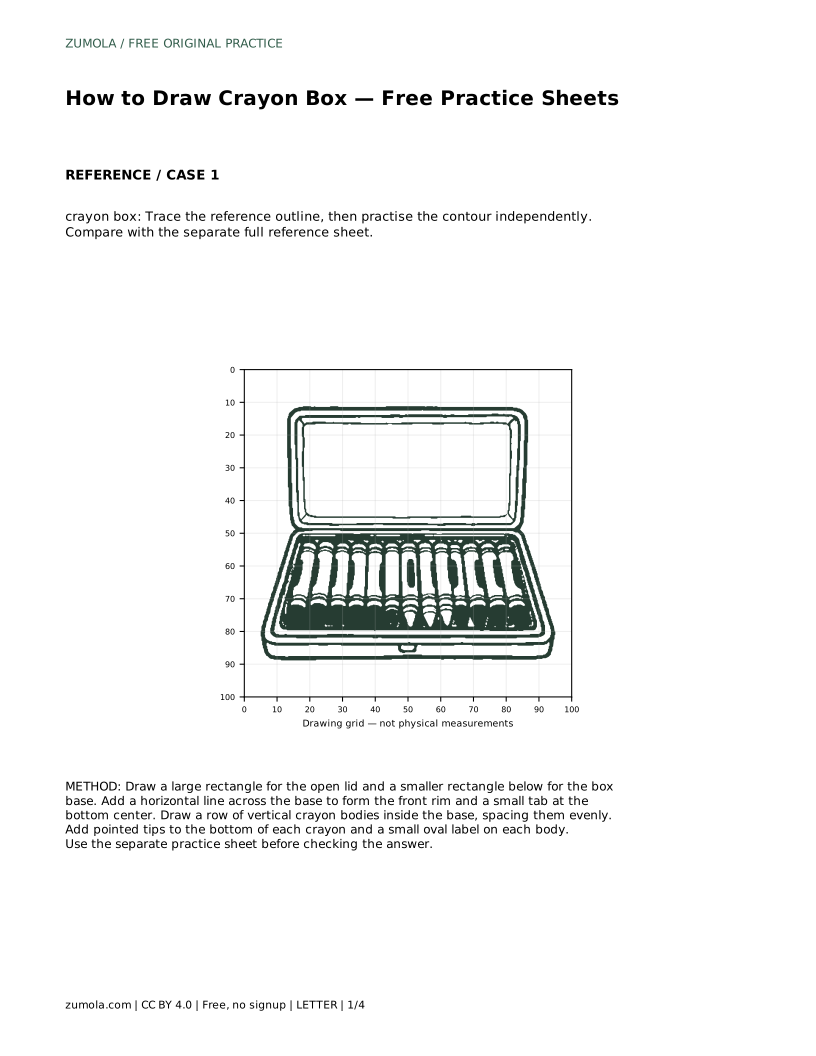
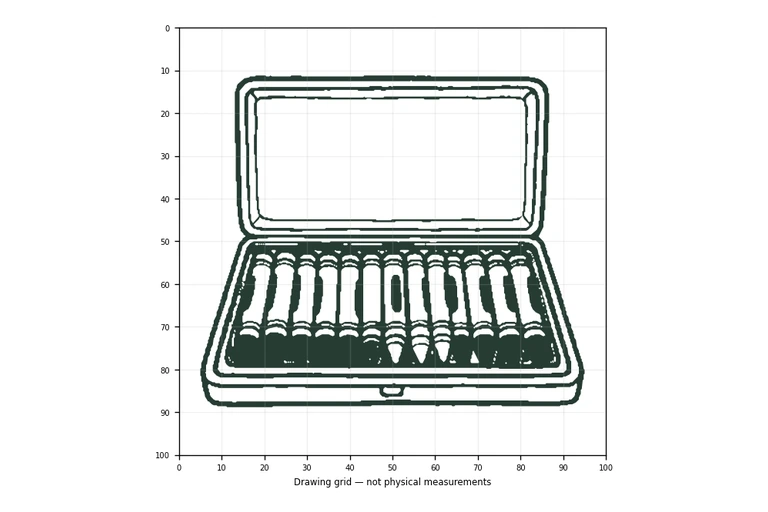
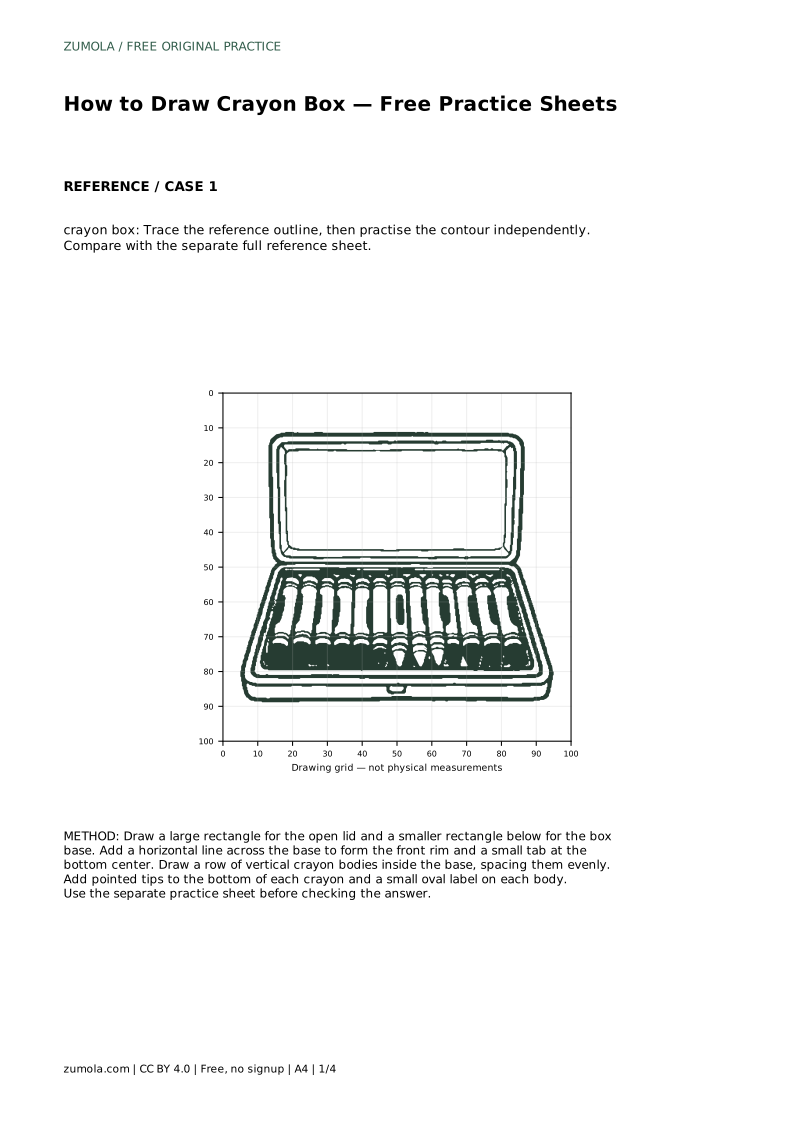
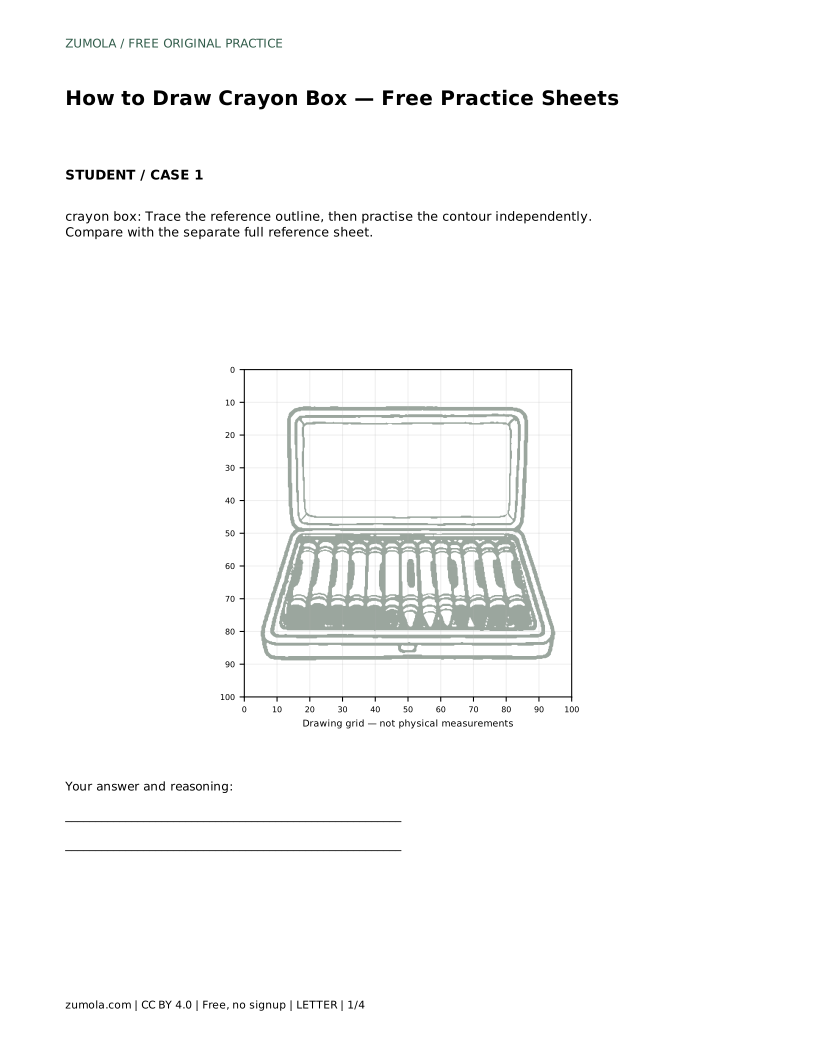
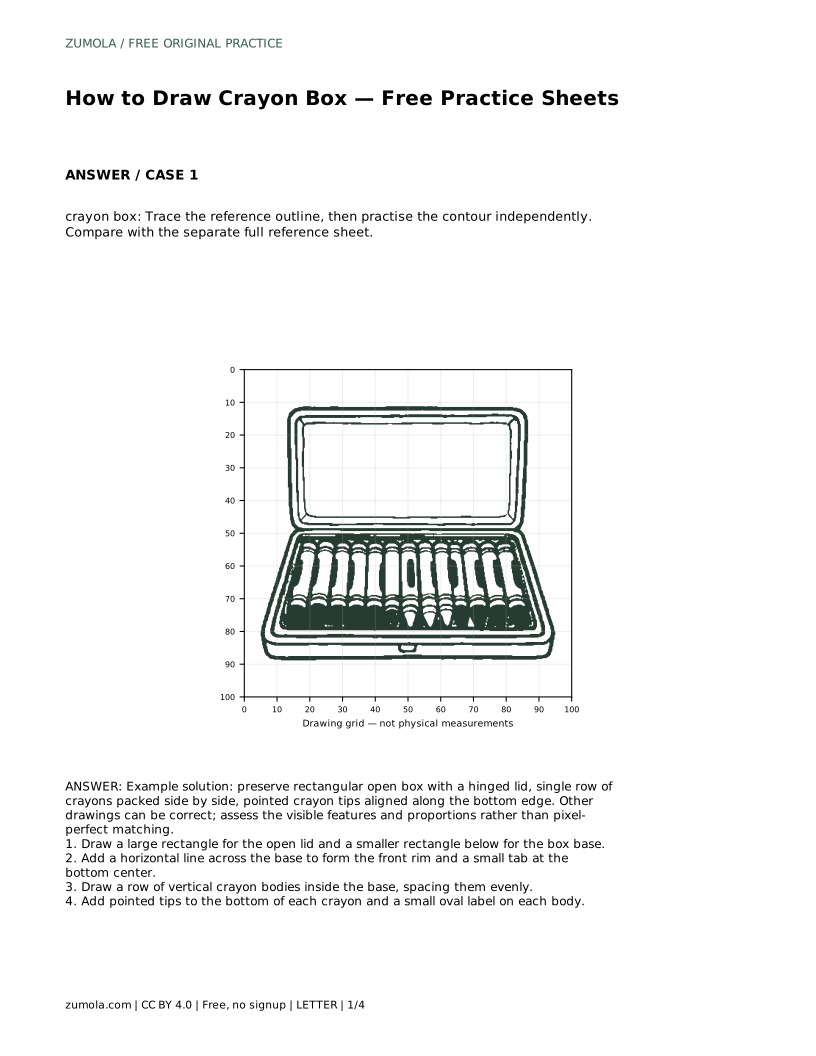
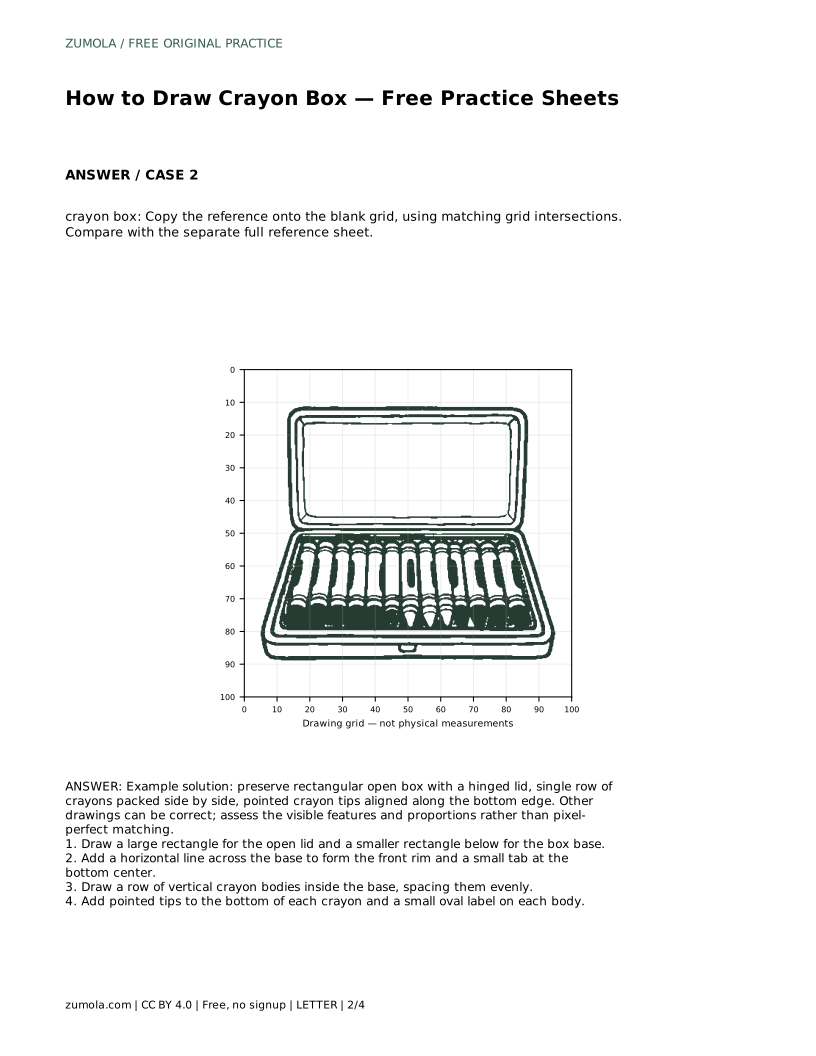
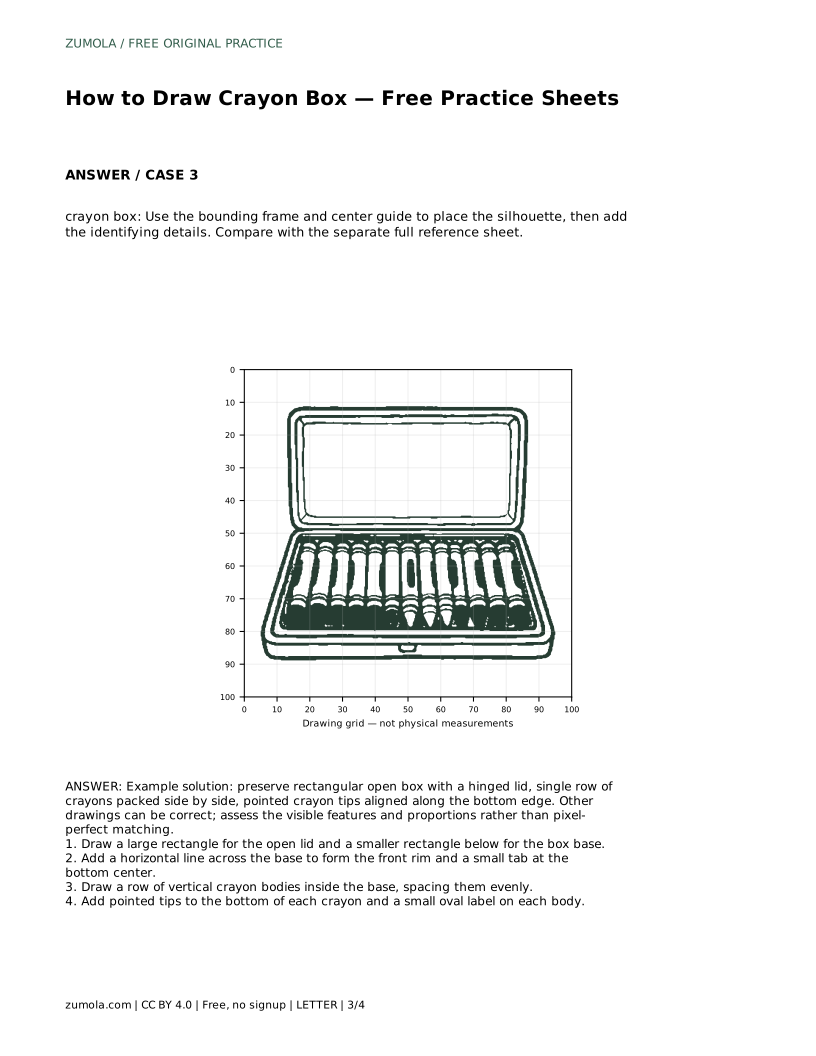
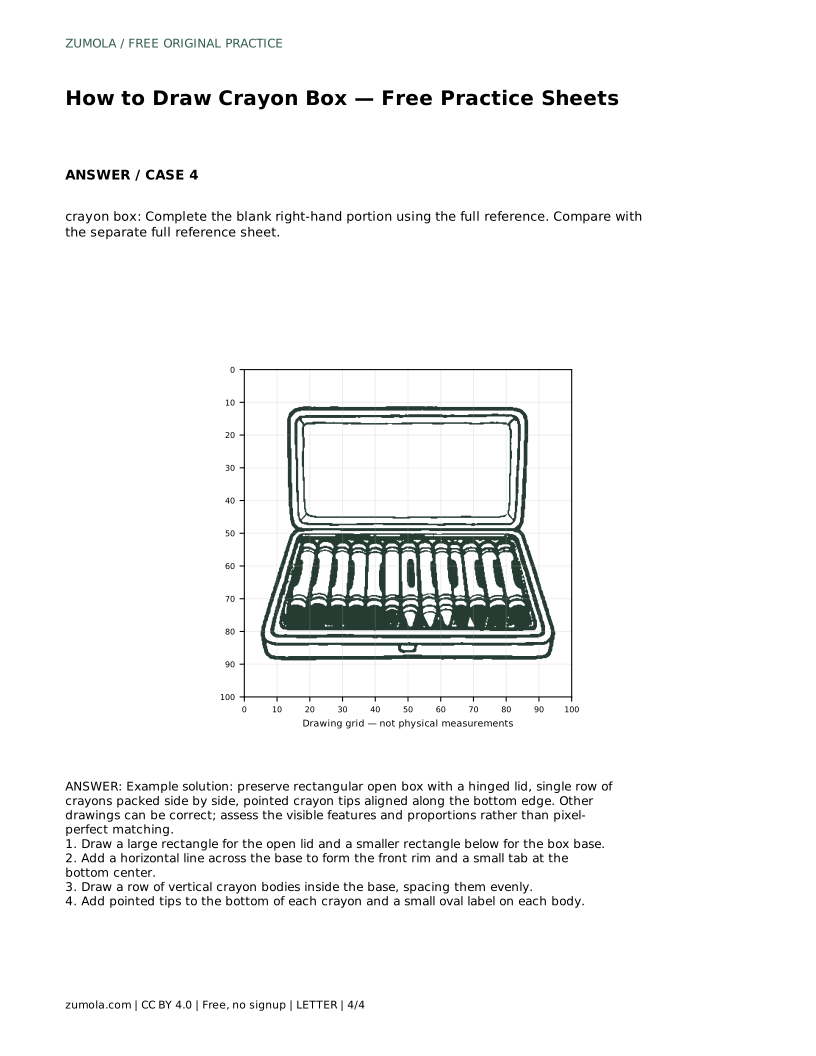
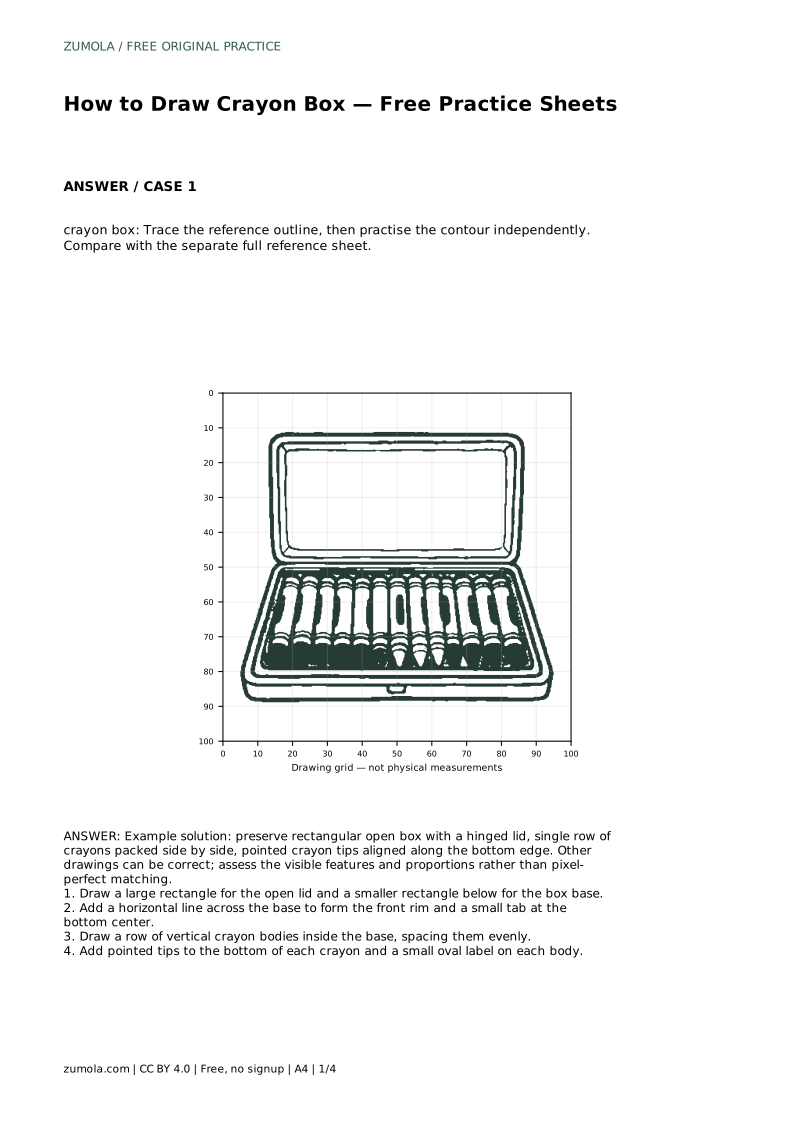
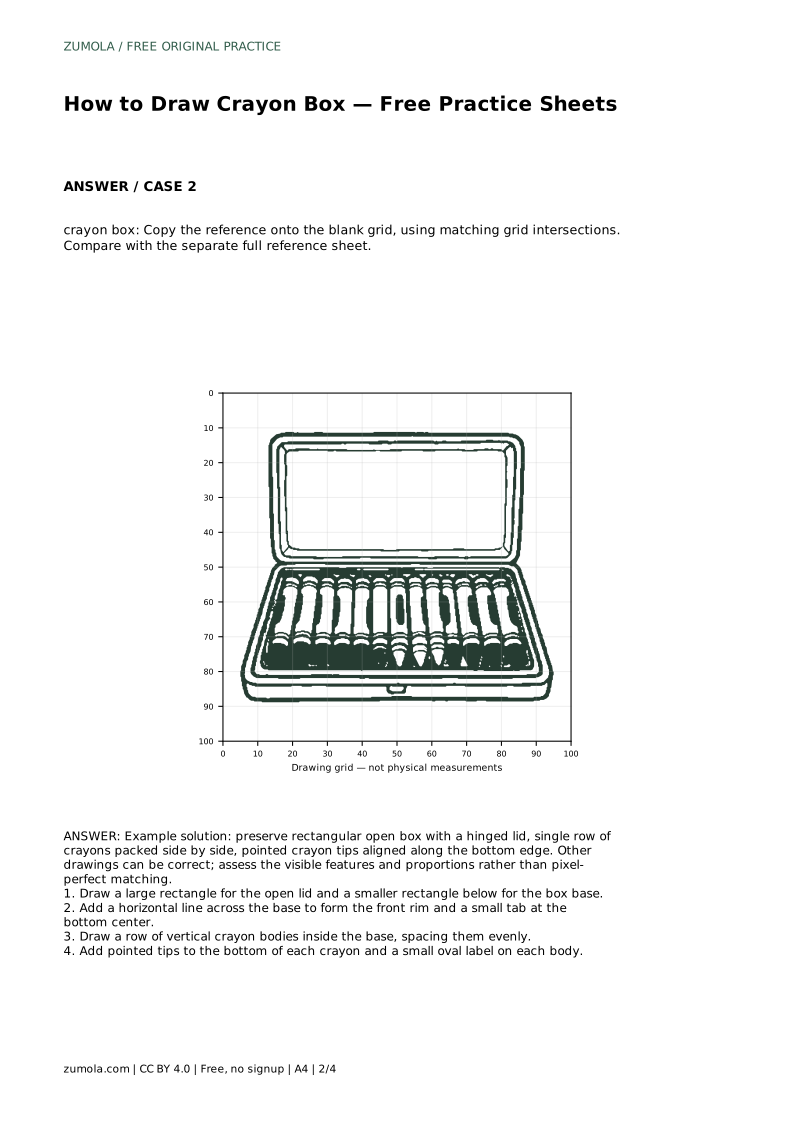
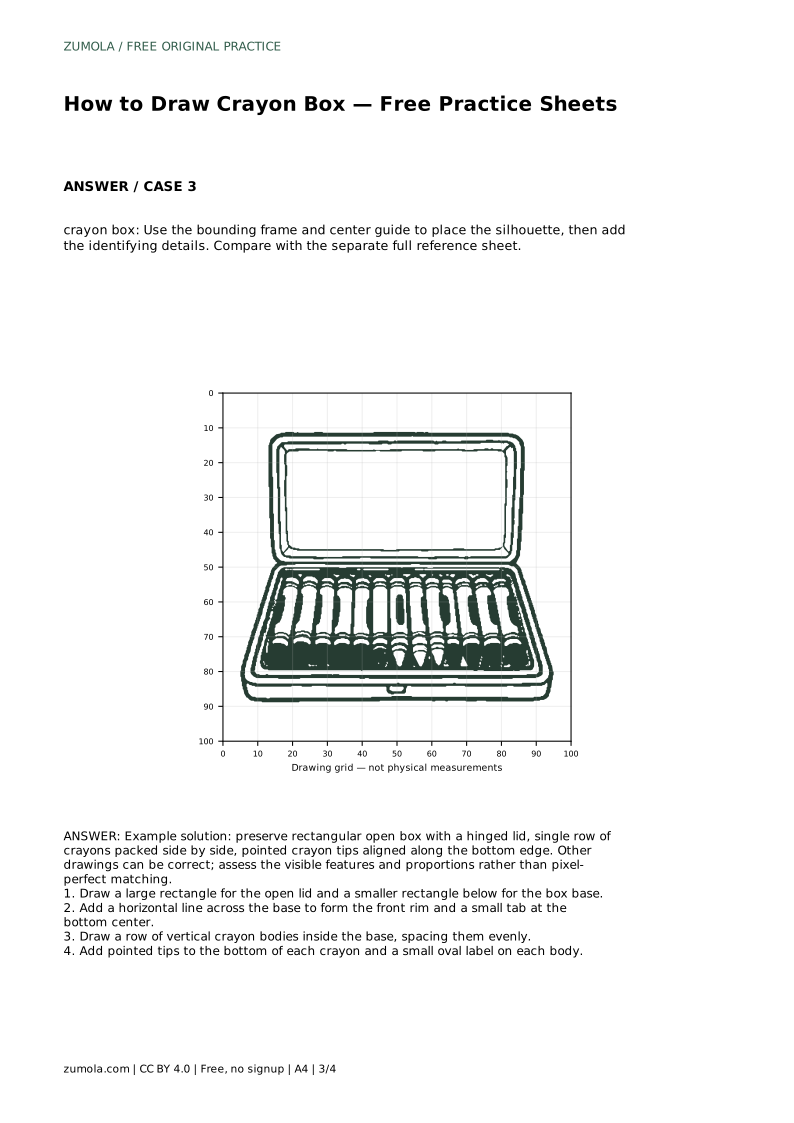
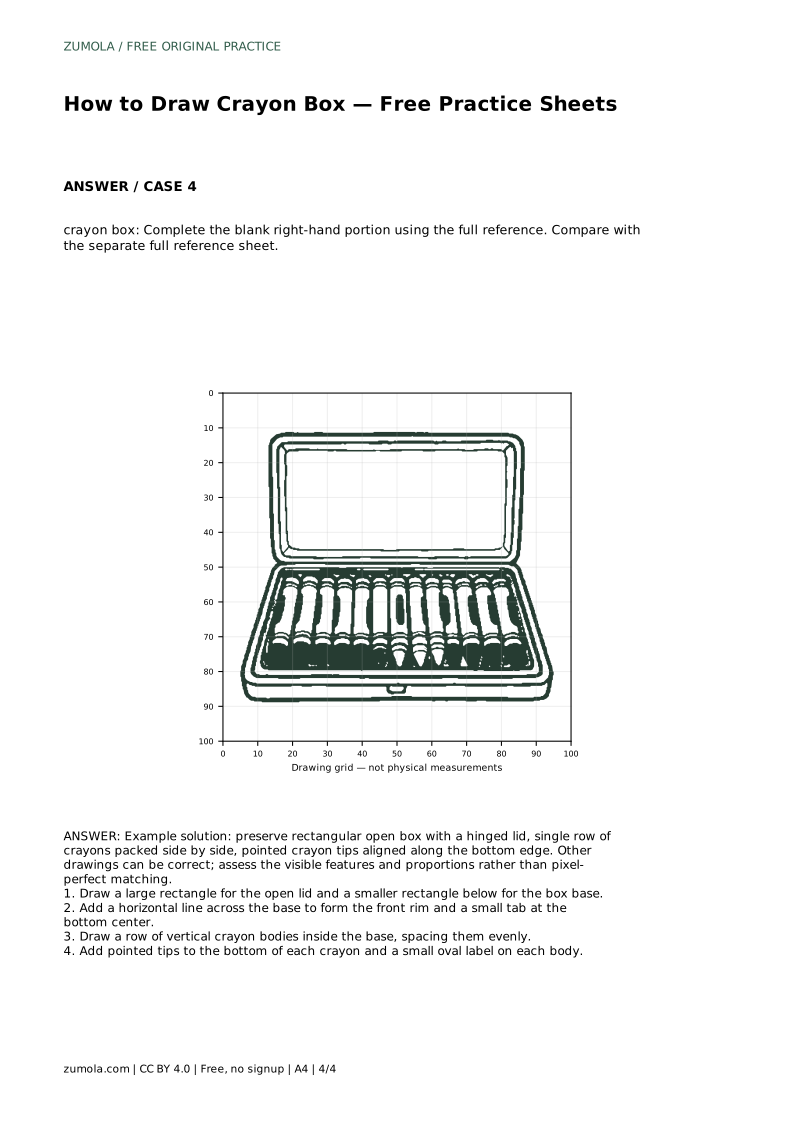
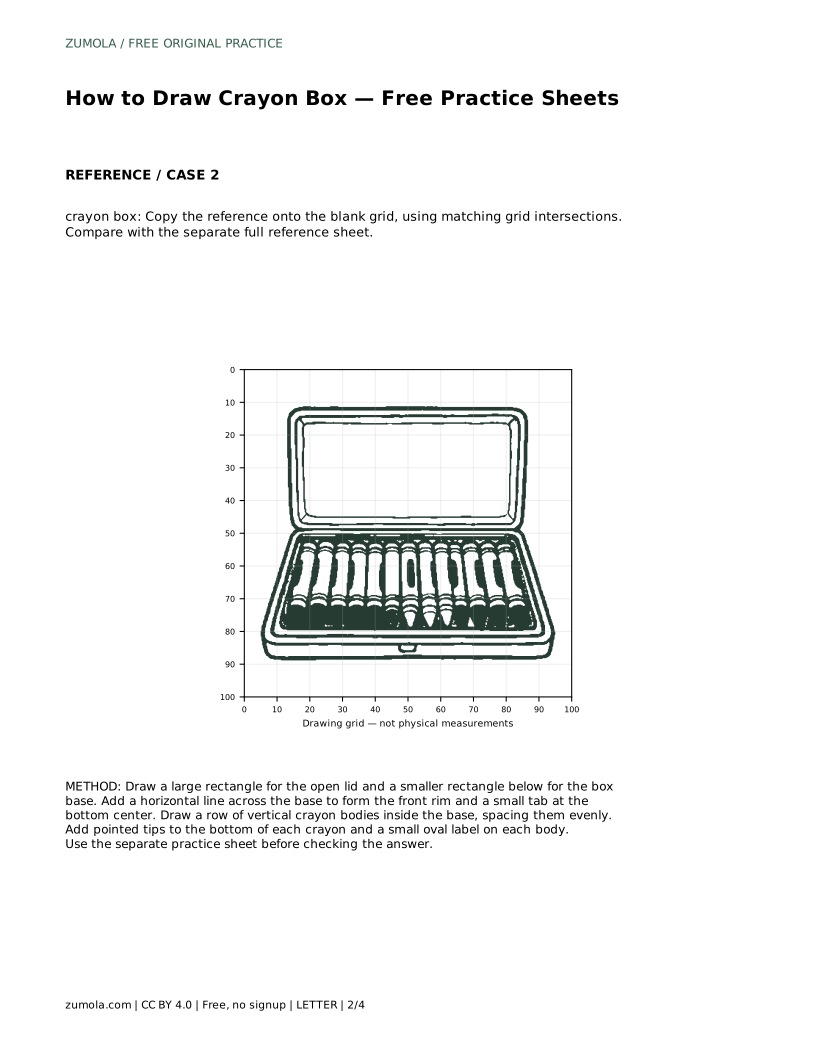
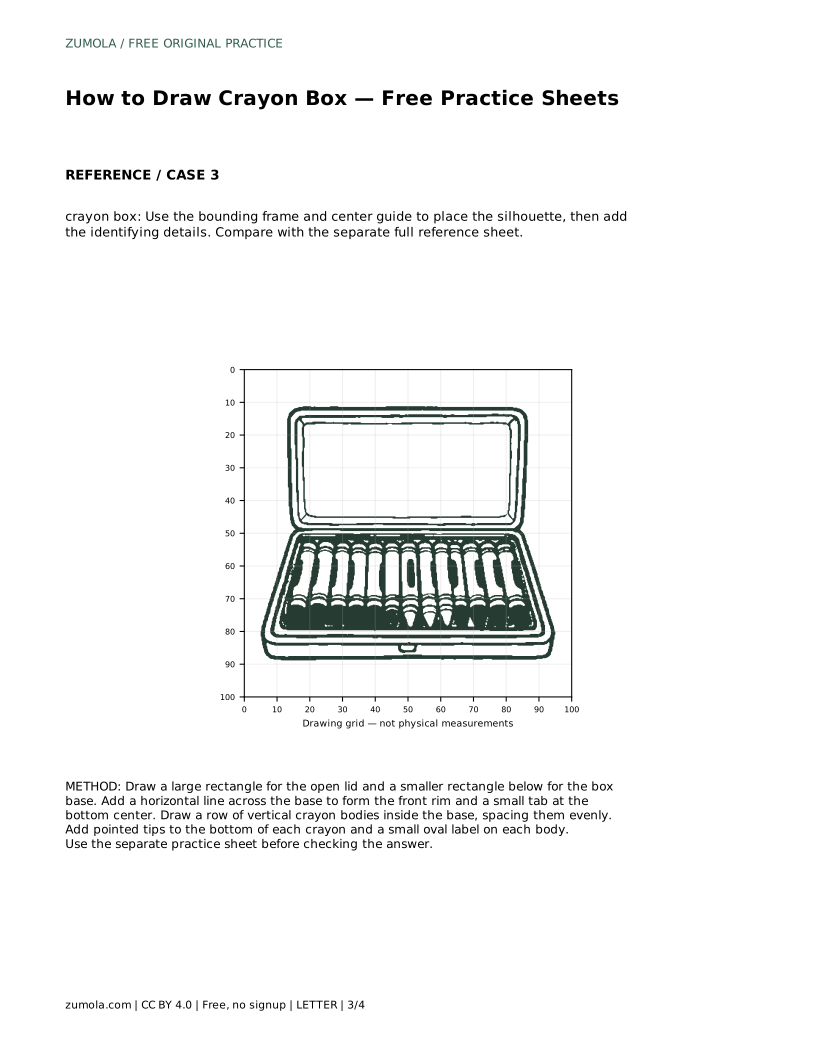
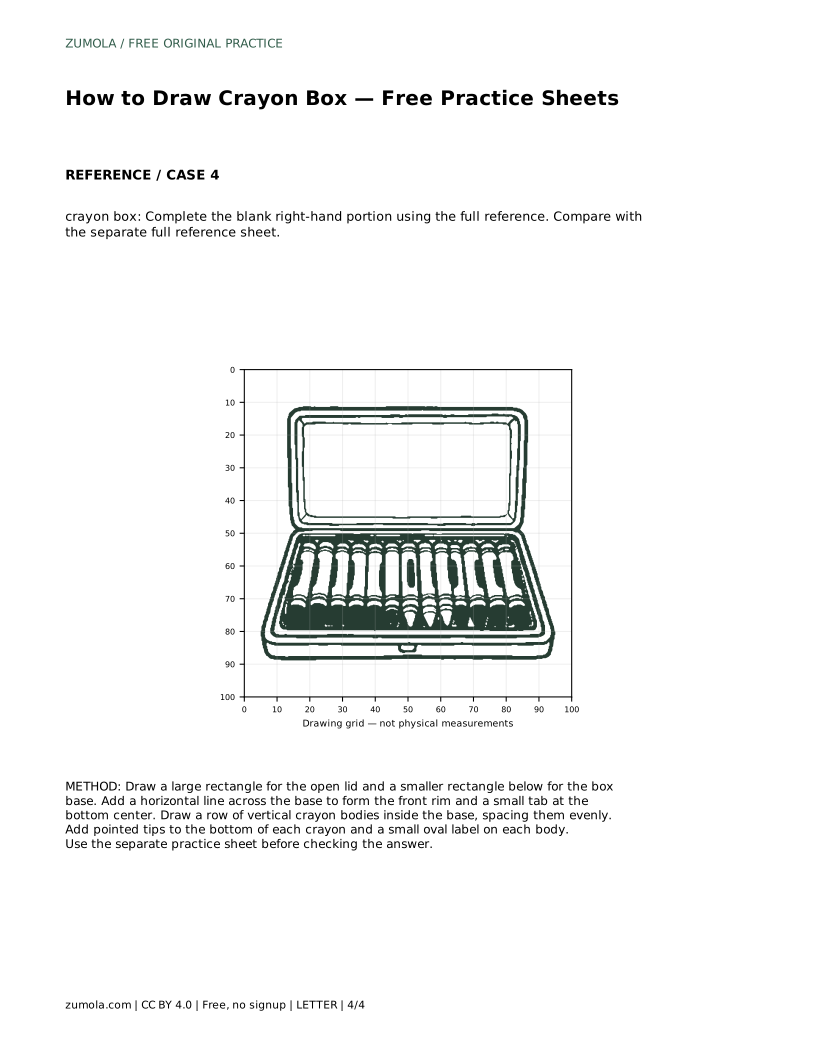
A crayon box drawing is mostly a lesson in rectangles and spacing. The box gives you a clear outer shape, the lid gives you a second rectangle, and the crayons give you a repeated pattern to place evenly. This page walks through the main features to preserve: an open box with a hinged lid, one row of crayons packed side by side, pointed tips aligned along the bottom edge, and small oval labels. Use the practice sheets to trace, copy, or complete the drawing, then compare with the full reference.
Begin with the largest shapes before any small details. Draw a large rectangle for the open lid and a smaller rectangle below it for the box base. Keep the two rectangles related: the lid sits above the base and shares a hinge edge, so the top of the base and the bottom of the lid should meet along one line rather than float apart.
Next, add a horizontal line across the base to form the front rim. This line separates the front face of the box from the opening where the crayons sit. Add a small tab at the bottom center of the base. The tab is a simple shape, but it helps the drawing read as a crayon box rather than a plain carton.
Inside the base, draw a row of vertical crayon bodies. Space them evenly so the row looks packed side by side rather than scattered. Decide how many crayons fit across your box before drawing them; a consistent count keeps the spacing believable. Each crayon body should be roughly the same width, and the tops should sit at a similar height inside the box opening.
Because the crayons are packed together, small gaps between them are fine, but avoid large irregular spaces. If one crayon is noticeably wider or shorter than the others, the row will look uneven. Check the row as a whole before moving on to the tips and labels.
Add pointed tips to the bottom of each crayon. Align the points along the bottom edge so the row reads as a single unit. The tips should point in the same direction and sit at a consistent level. A tip that is much longer or shorter than its neighbors will pull attention away from the rest of the drawing.
Finish with a small oval label on each crayon body. Keep the ovals similar in size and place them at a consistent height. The labels are a detail, so they should not overwhelm the crayon shapes. Once the labels are in place, step back and check the whole drawing: the box, the lid, the row of crayons, the aligned tips, and the labels should all be visible and in proportion.
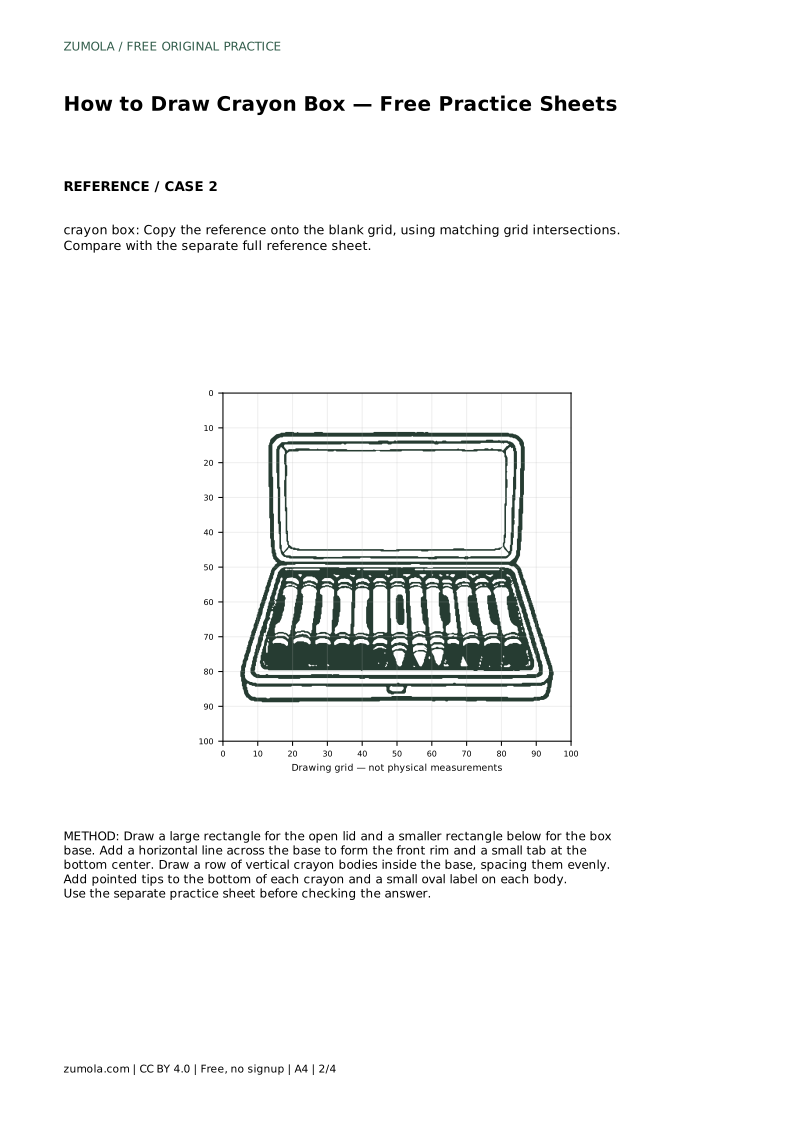
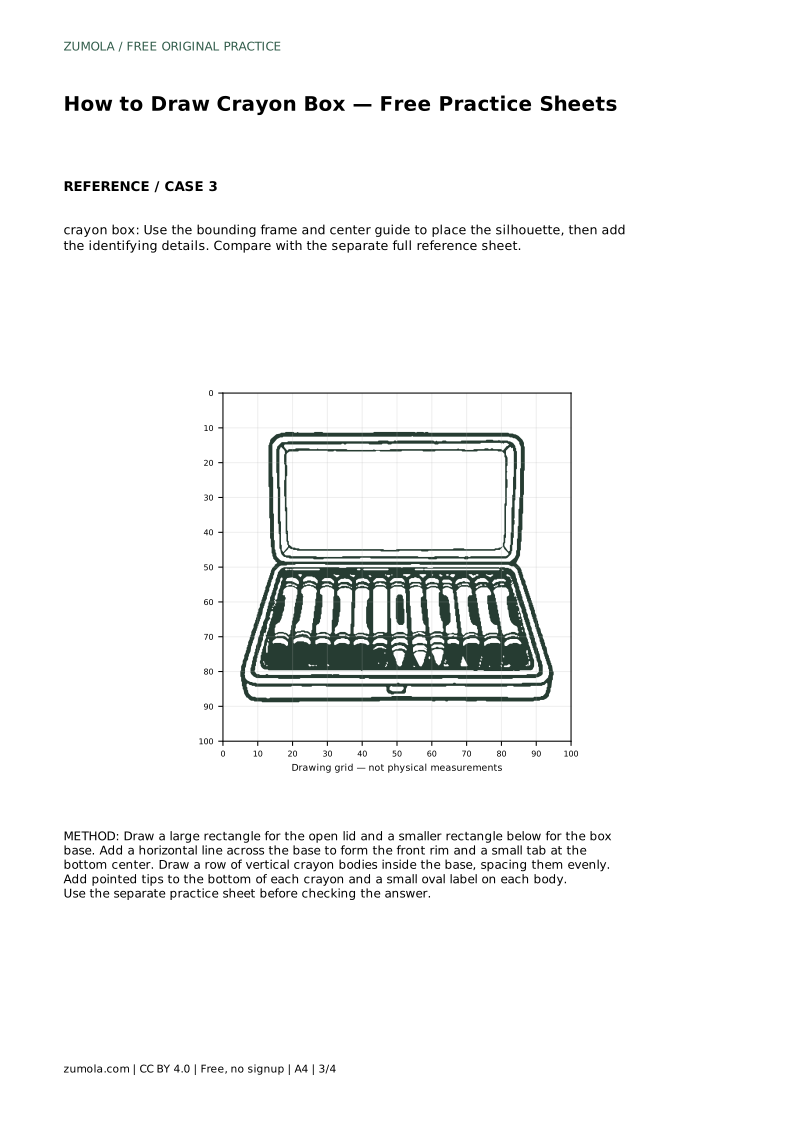
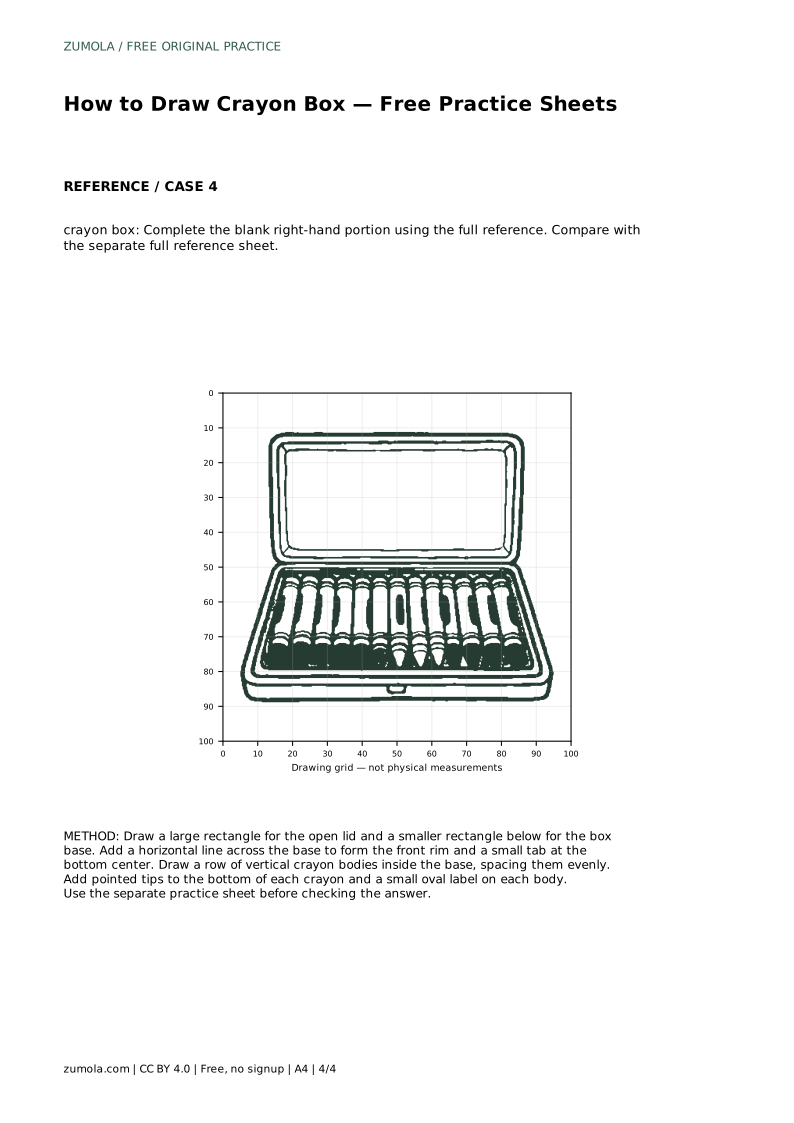
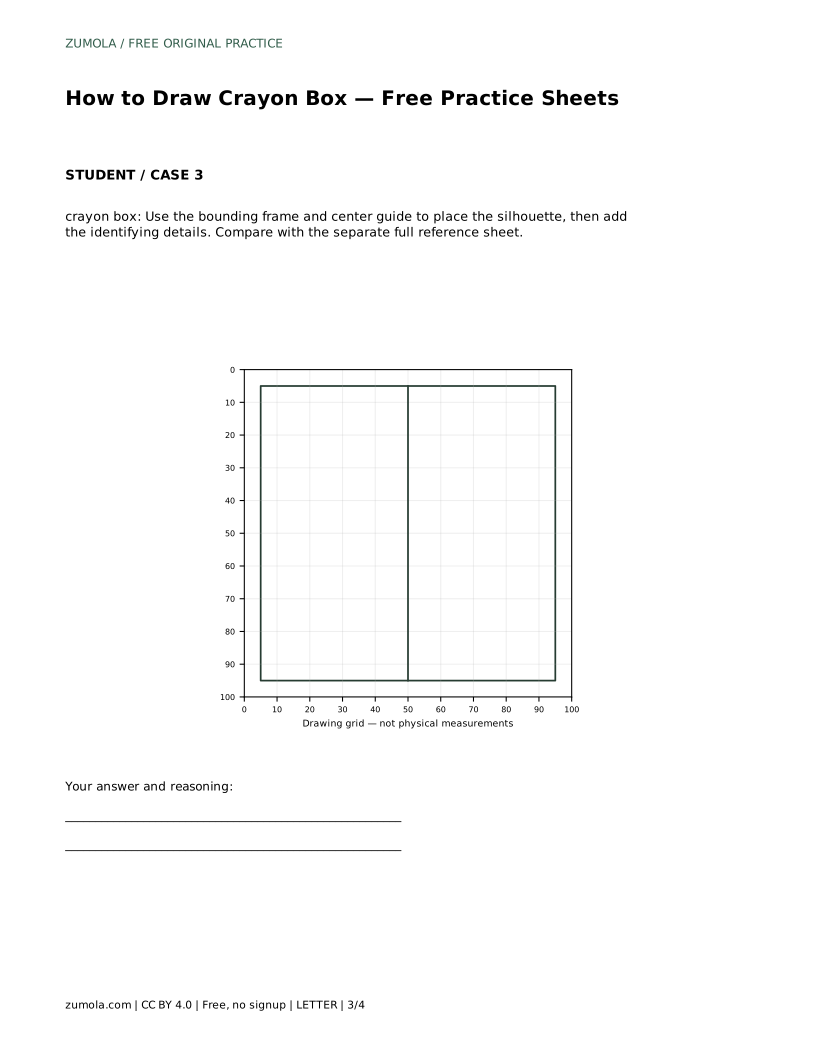
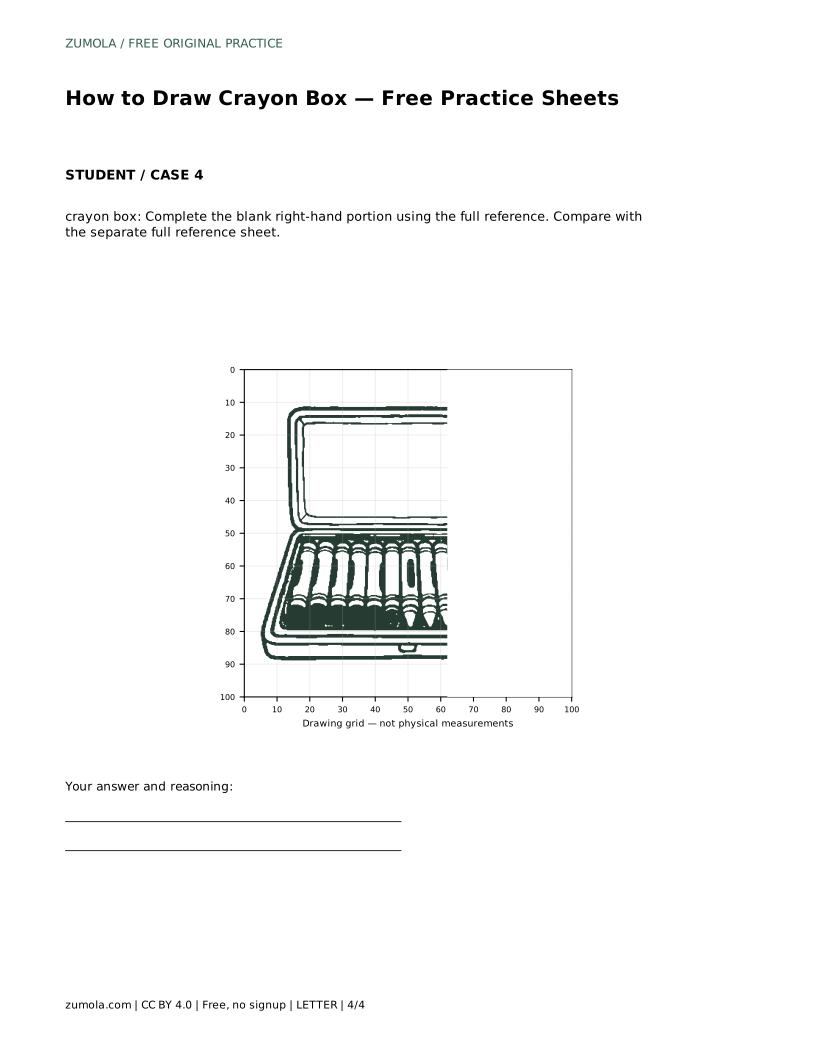
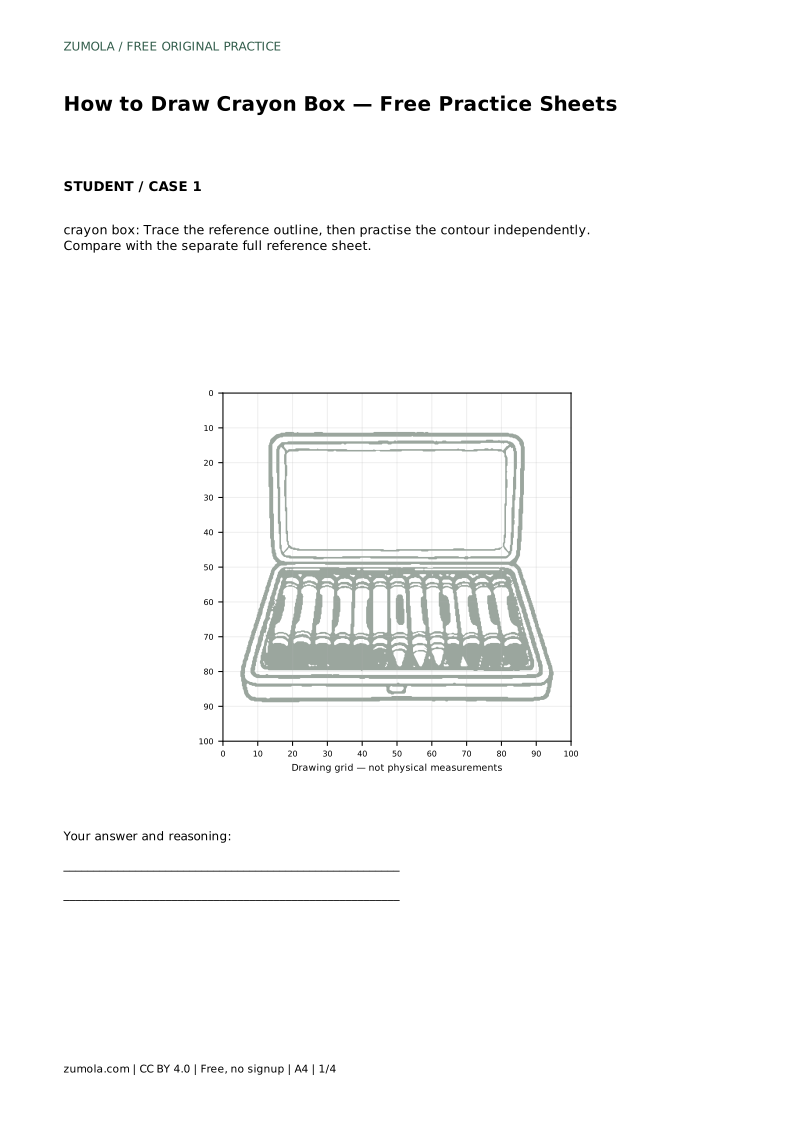
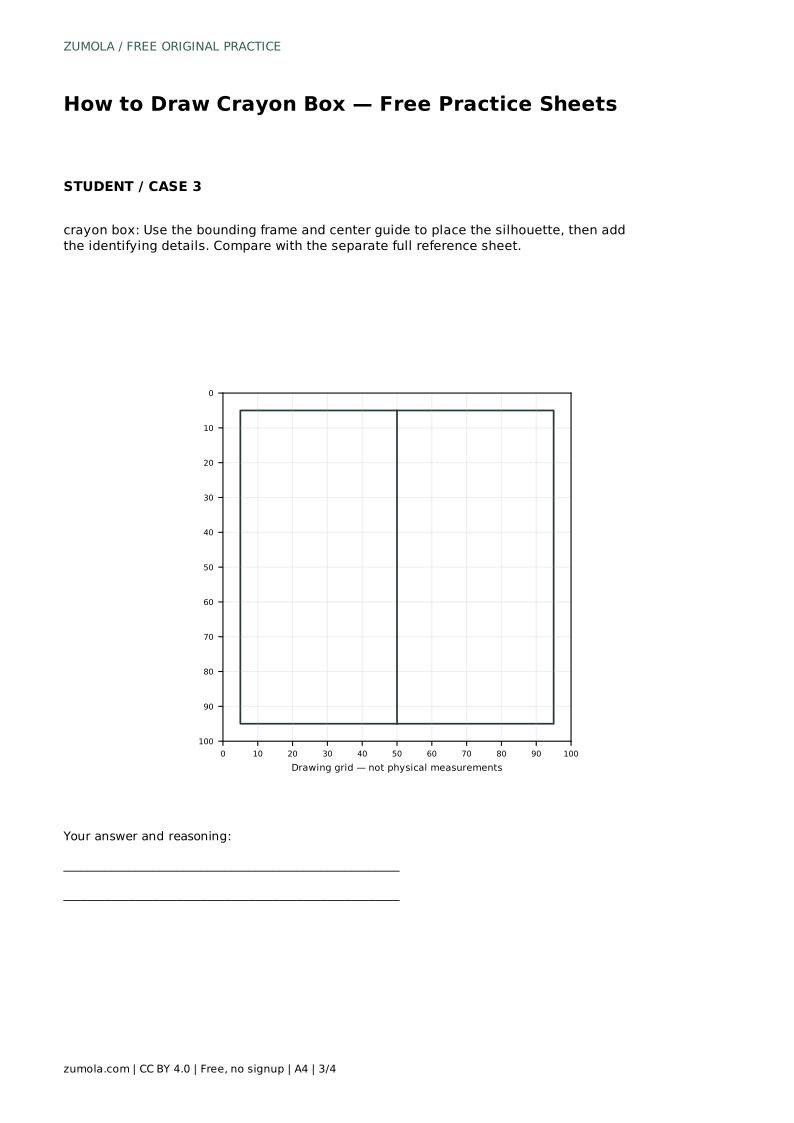
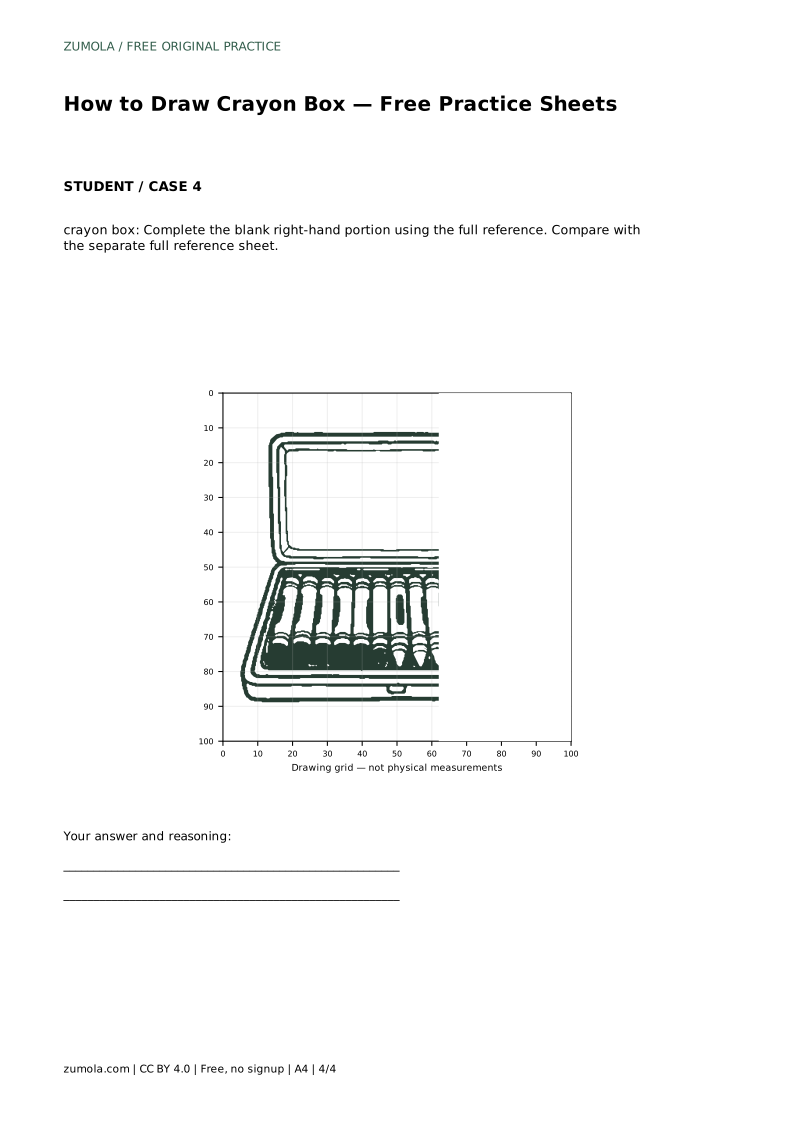
The practice sheets offer different ways to work on the same drawing. One sheet lets you trace the reference outline, then practise the contour independently. Another asks you to copy the reference onto a blank grid using matching grid intersections. A third uses a bounding frame and center guide to place the silhouette before adding details. A fourth gives you the left portion and asks you to complete the blank right-hand portion using the full reference.
Each sheet is a separate task, so the conditions differ. On the tracing sheet, follow the outline closely. On the grid sheet, match intersections rather than guessing. On the frame sheet, use the guide to position the silhouette first. On the completion sheet, study the full reference before drawing the missing side. After each attempt, compare with the separate full reference sheet and assess the visible features and proportions rather than expecting a pixel-perfect match.
crayon box: Trace the reference outline, then practise the contour independently. Compare with the separate full reference sheet.
Example solution: preserve rectangular open box with a hinged lid, single row of crayons packed side by side, pointed crayon tips aligned along the bottom edge. Other drawings can be correct; assess the visible features and proportions rather than pixel-perfect matching. Draw a large rectangle for the open lid and a smaller rectangle below for the box base. Add a horizontal line across the base to form the front rim and a small tab at the bottom center. Draw a row of vertical crayon bodies inside the base, spacing them evenly. Add pointed tips to the bottom of each crayon and a small oval label on each body.
In this drawing, the pointed tips are added to the bottom of each crayon and aligned along the bottom edge. Keep them pointing in the same direction.
Choose a count that fits evenly across your box base, then keep the bodies and gaps consistent. The exact number is your choice as long as the row looks packed side by side.
That can still be correct. Assess the visible features and proportions, such as the open box with a hinged lid, the single row of crayons, the aligned tips, and the labels, rather than pixel-perfect matching.
All drawing practice · Free coordinate paper
Original resources · CC BY 4.0 · Free for personal and classroom use with attribution.