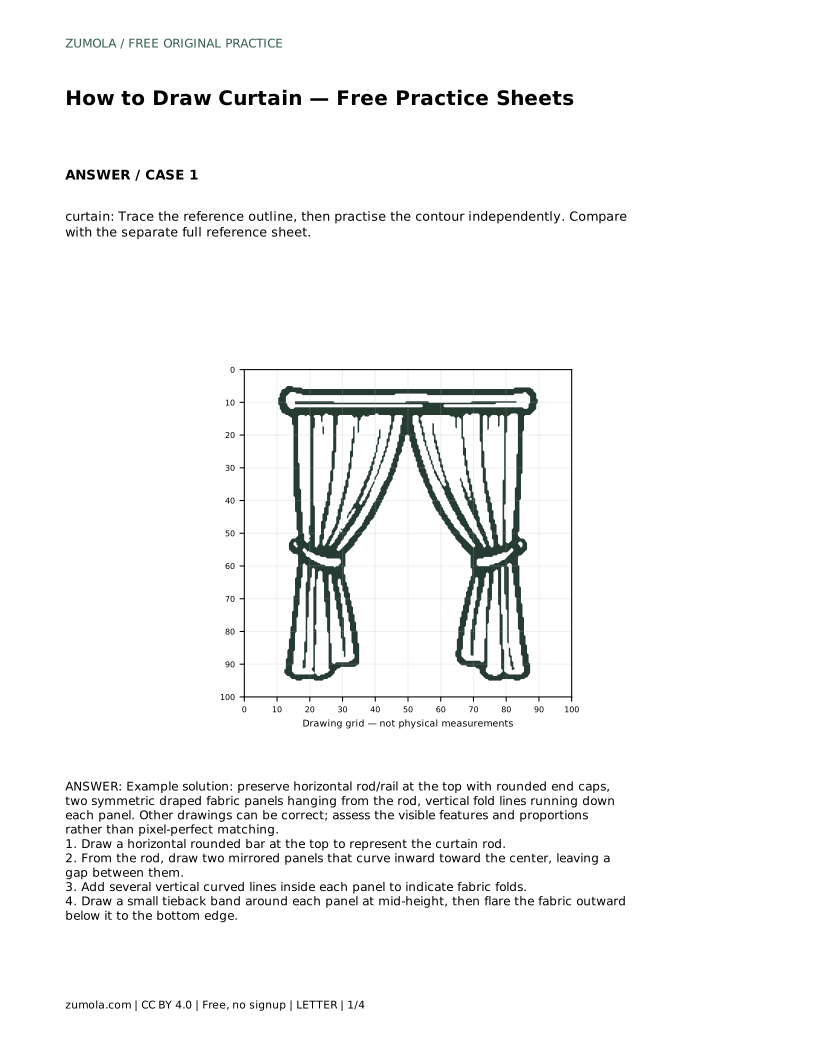
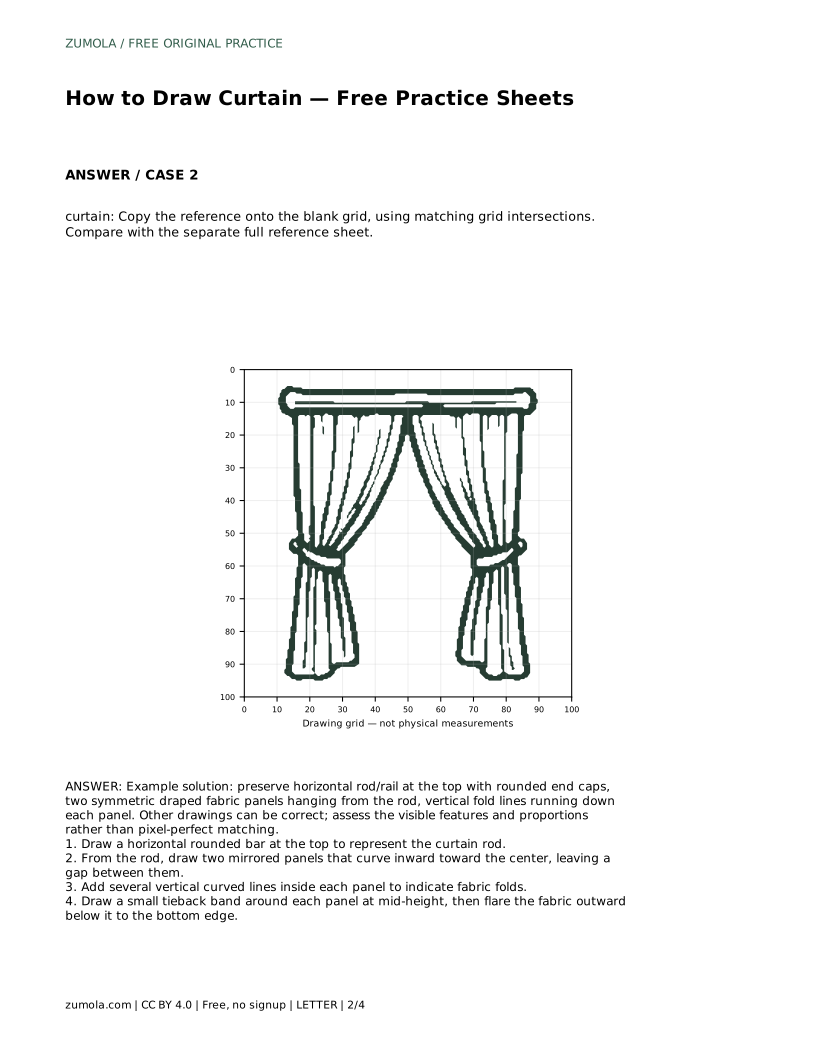
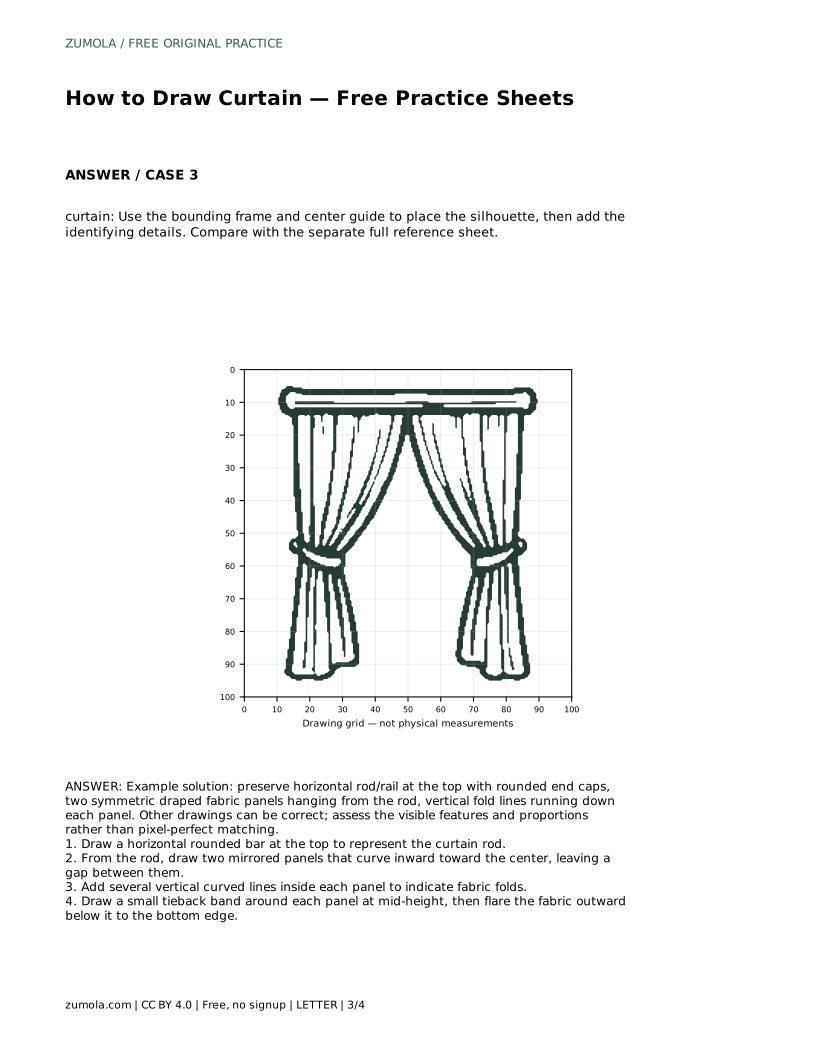
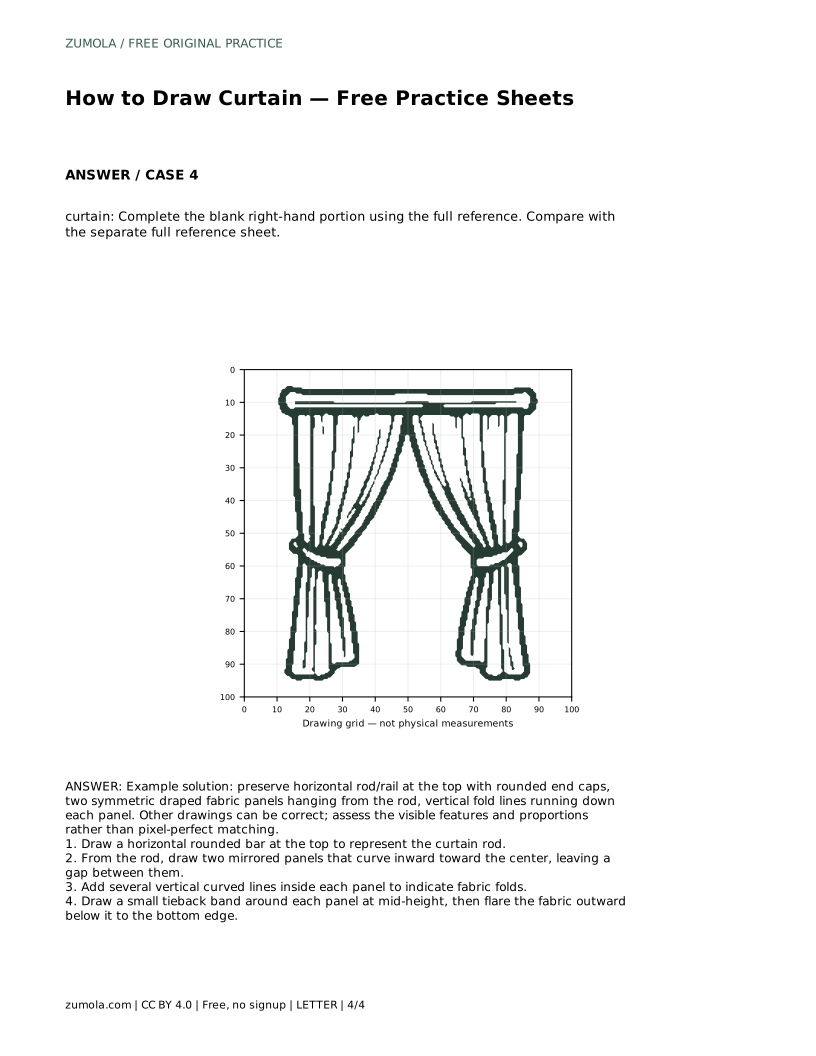
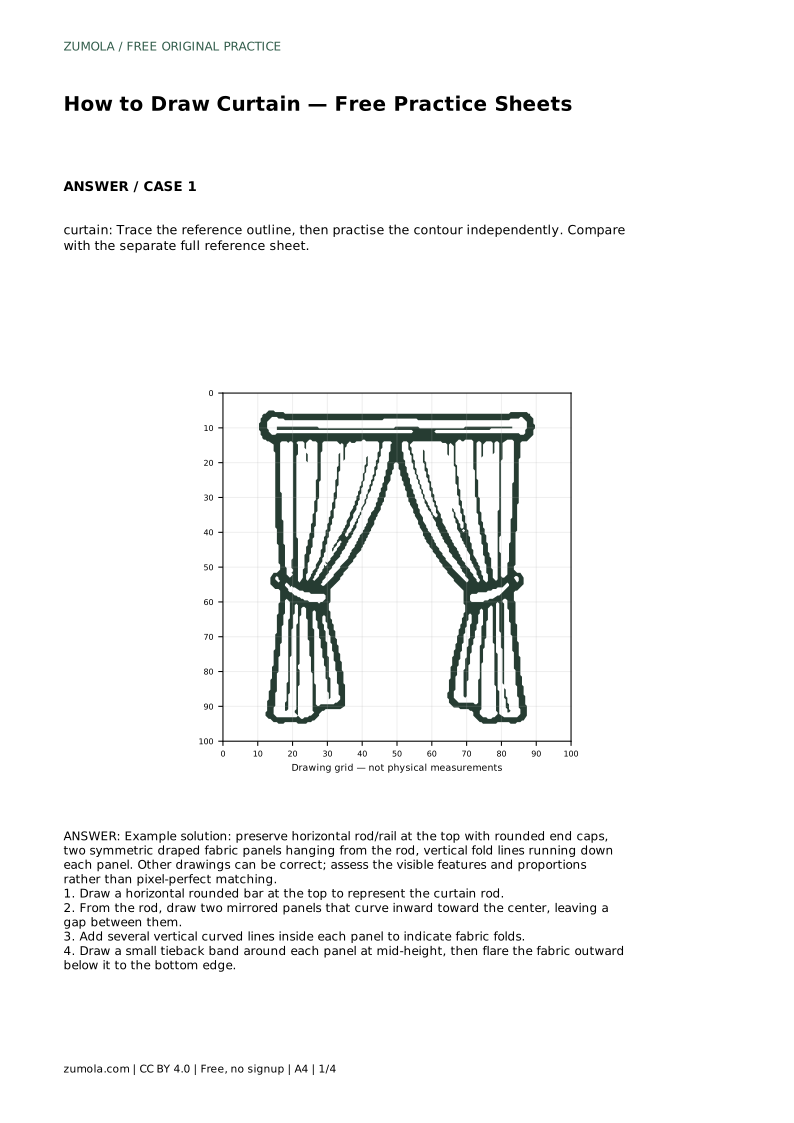
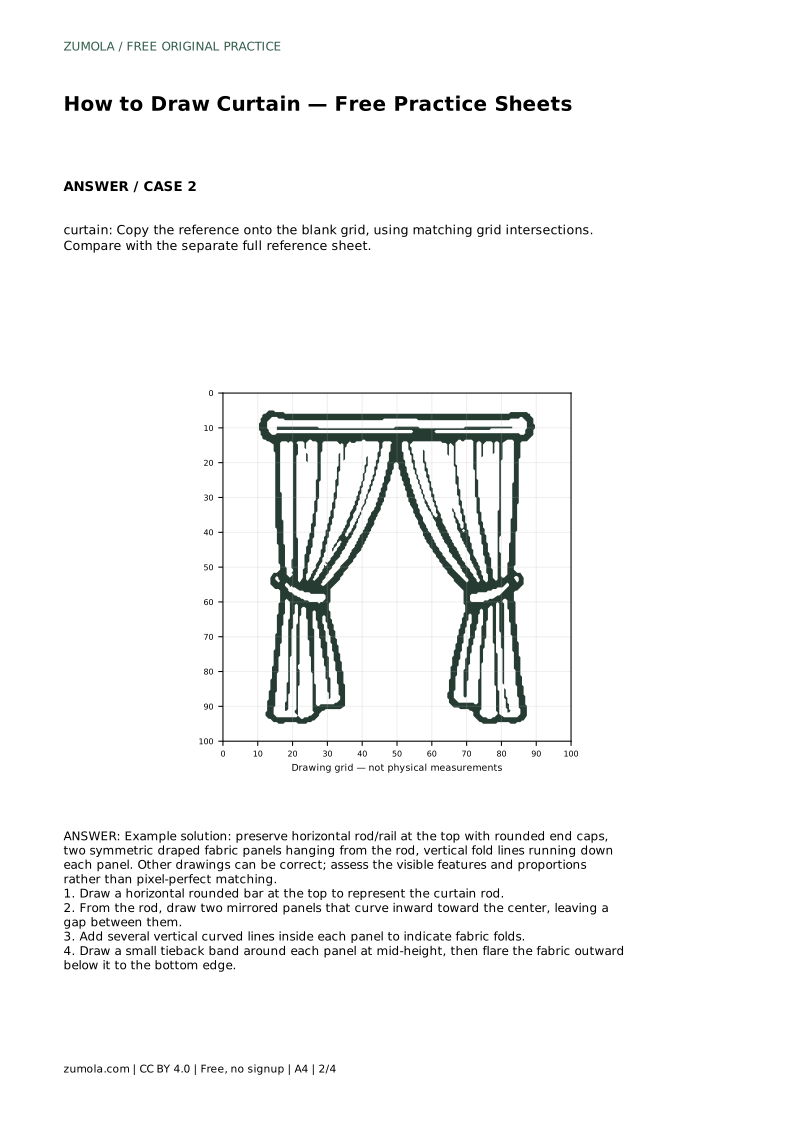
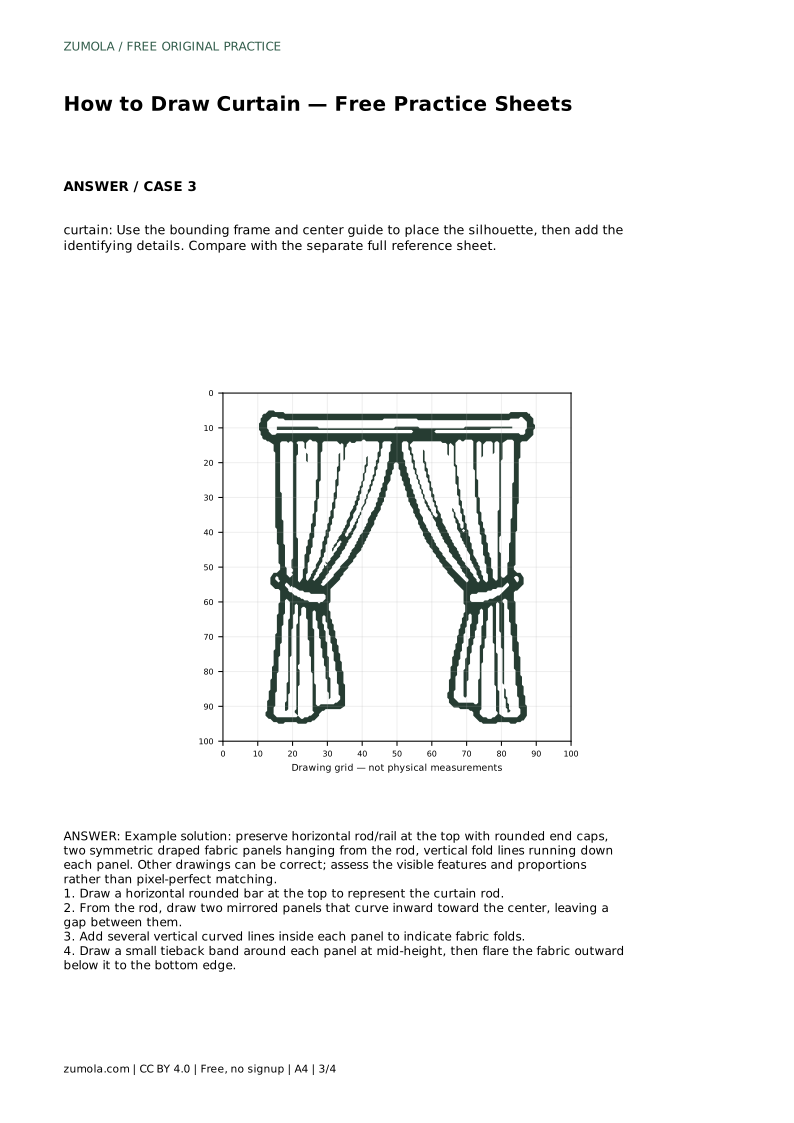
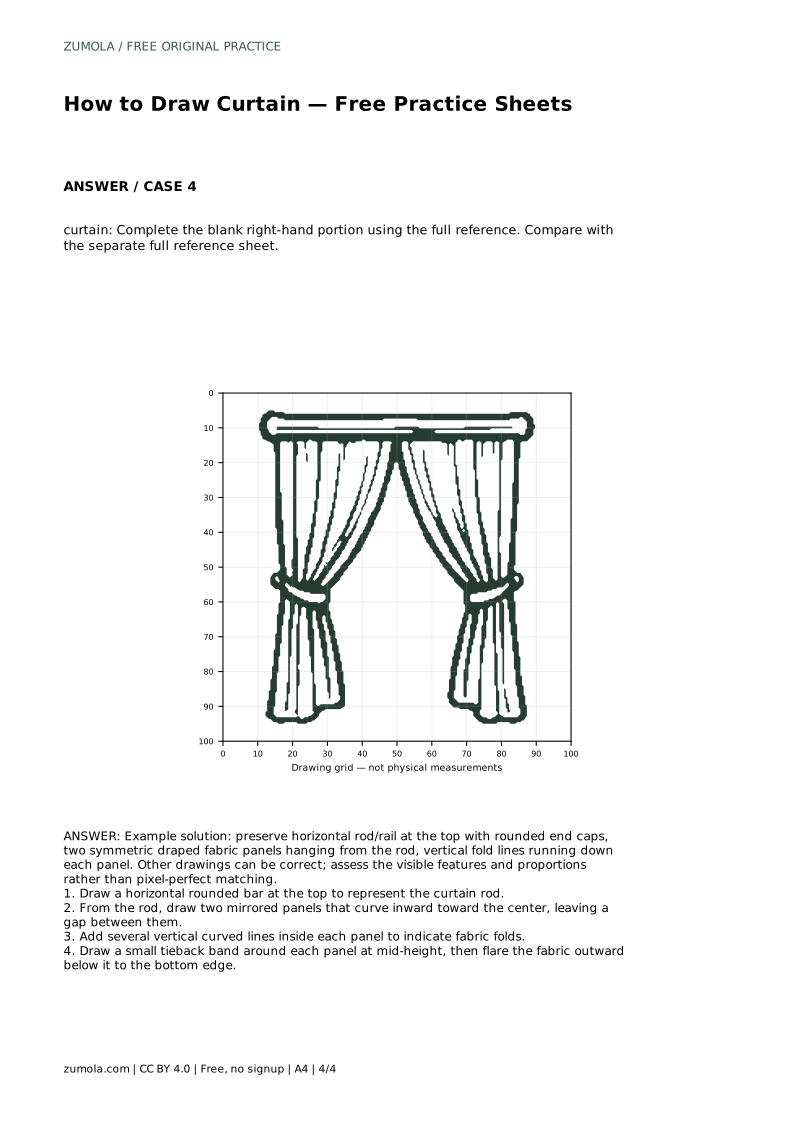
Reference diagrams
LETTER · Download PDF
A4 · Download PDF
Free original resources
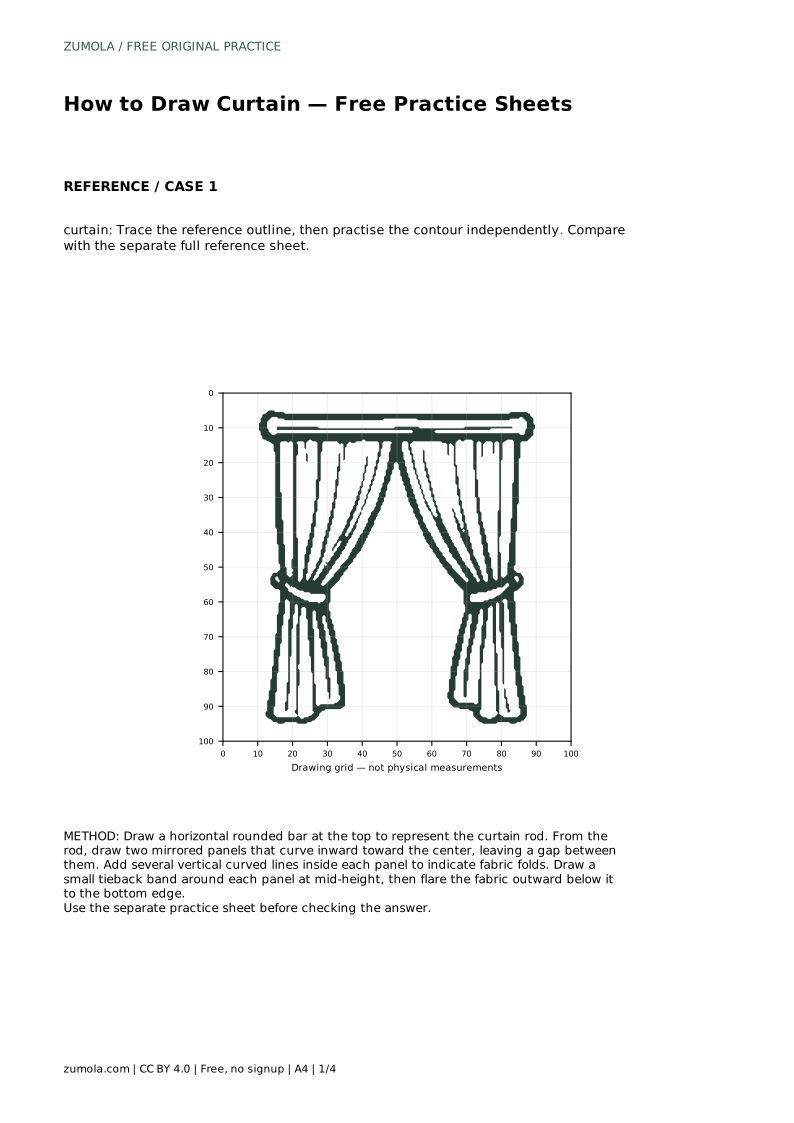
Learn to draw a curtain with a rod, two draped panels, fold lines, and tiebacks. Free printable practice sheets support tracing, grids, and guided outlines.
Four original cases, with reference diagrams, practice sheets and worked answers. Everything is free; no signup required.
LETTER · Download PDF
A4 · Download PDF
LETTER · Download PDF
A4 · Download PDF
LETTER · Download PDF
A4 · Download PDF
Use A4 or US Letter to match your printer. Use the stated values and conditions to solve each exercise; diagrams are not physical measuring rulers.
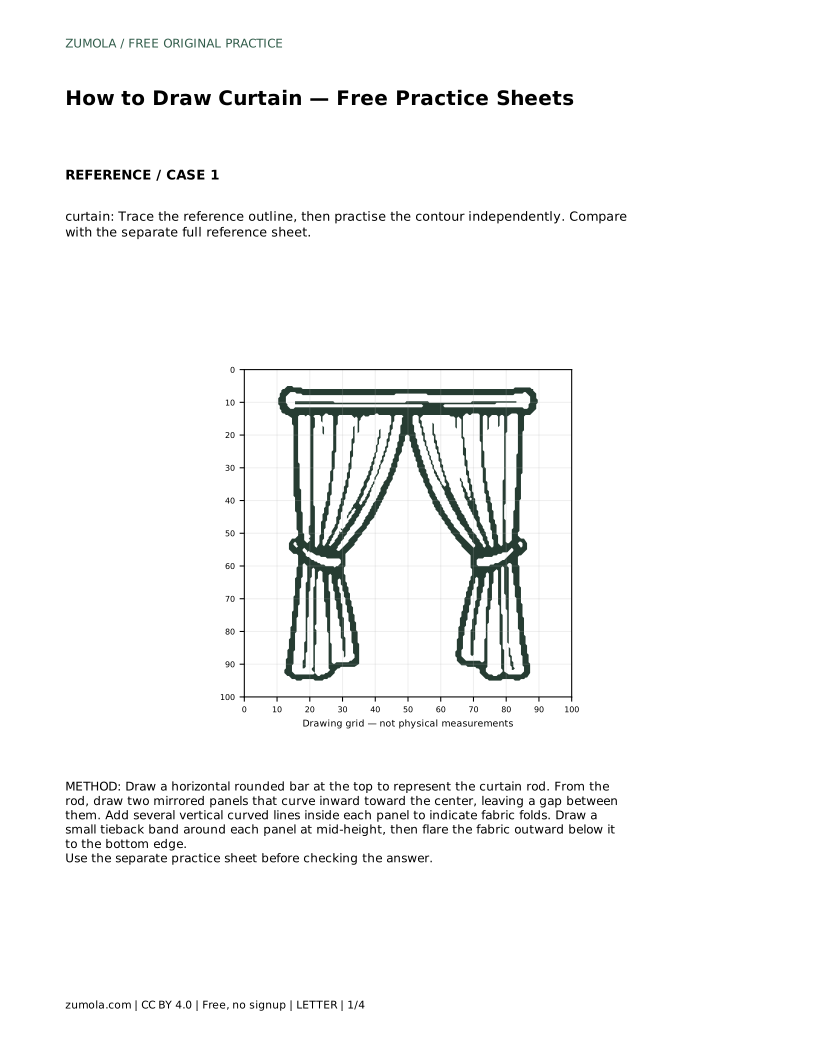
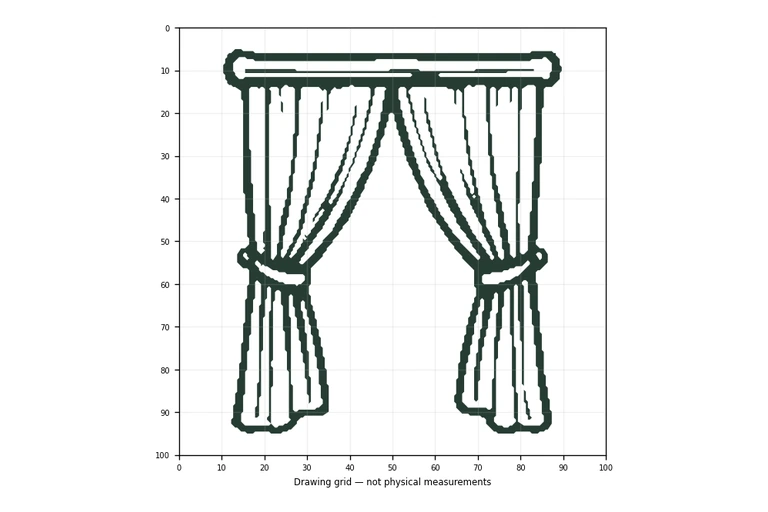
A curtain drawing is mostly a study in hanging fabric: a firm horizontal rod, two panels that fall from it, and folds that show where the cloth gathers and releases. This page explains the order to build those parts so the result reads clearly as a curtain rather than a flat rectangle. The free printable practice sheets let you trace a reference outline, copy it onto a grid, or complete a partial drawing, then compare your work with the full reference sheet.
Begin with the curtain rod because every fold and edge hangs from it. Draw one horizontal bar near the top of the page, then round both ends so the rod reads as a solid object rather than a line. Keep the bar level; a tilted rod makes the panels look like they are sliding sideways.
Next, sketch the two panels as mirrored shapes. Each panel starts at the rod and curves gently inward toward the center, leaving a visible gap between them. That gap is what tells the viewer these are two separate curtains. Keep the panels roughly the same width and height so the pair looks balanced.
Folds are the lines that make cloth look soft. Inside each panel, draw several vertical curved lines running from the rod down toward the bottom edge. Curve them slightly rather than making them perfectly straight, because fabric sags and gathers as it hangs. Space the folds unevenly; real drapery rarely folds at identical intervals.
Keep fold lines inside the panel edges. A fold that crosses outside the outline looks like a stray mark. Near the rod, folds can bunch closer together; lower down, they can spread apart as the fabric relaxes. This change in spacing gives the panel a sense of weight.
A tieback is a small band around each panel at about mid-height. Draw it as a short curved shape that pinches the fabric inward. Below the tieback, flare the panel outward toward the bottom edge so the fabric appears to release and fall. Above the tieback, the panel can stay narrower.
The flare should be gentle and roughly symmetrical on both panels. If one side flares much wider than the other, the drawing looks lopsided. Finish by checking the whole silhouette: rod on top, two panels, folds inside, tiebacks at mid-height, and a wider hem below.
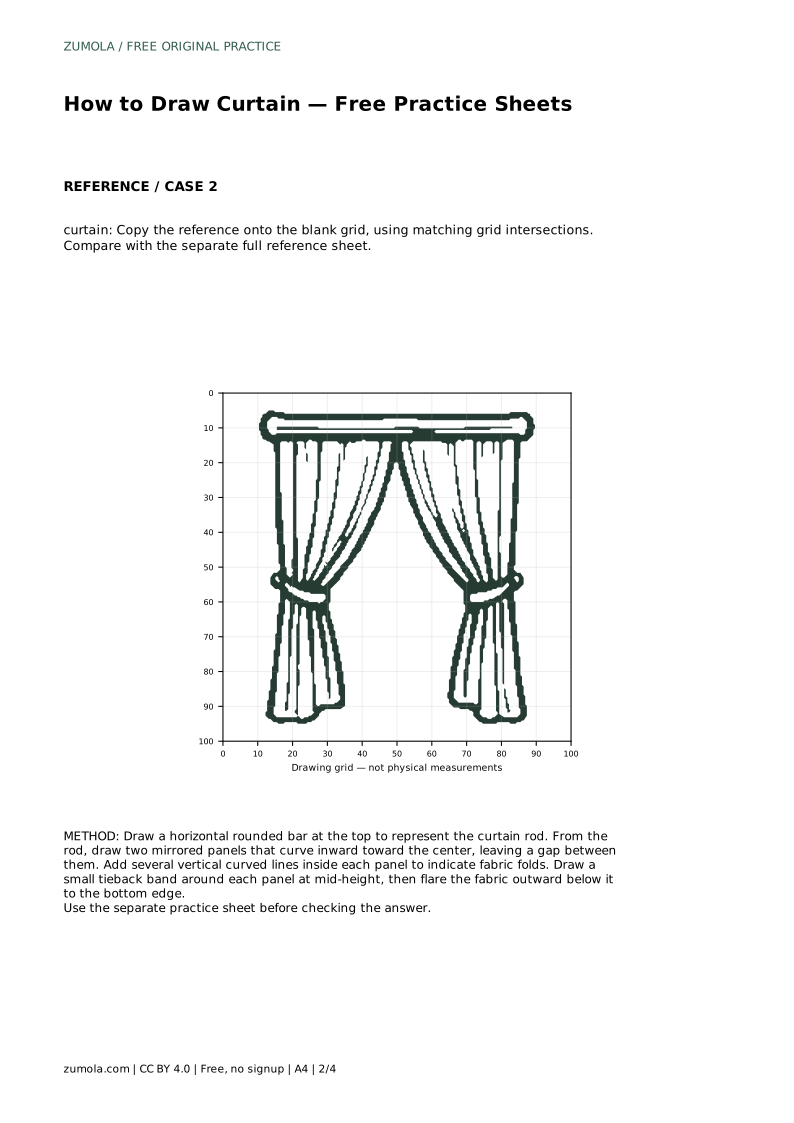
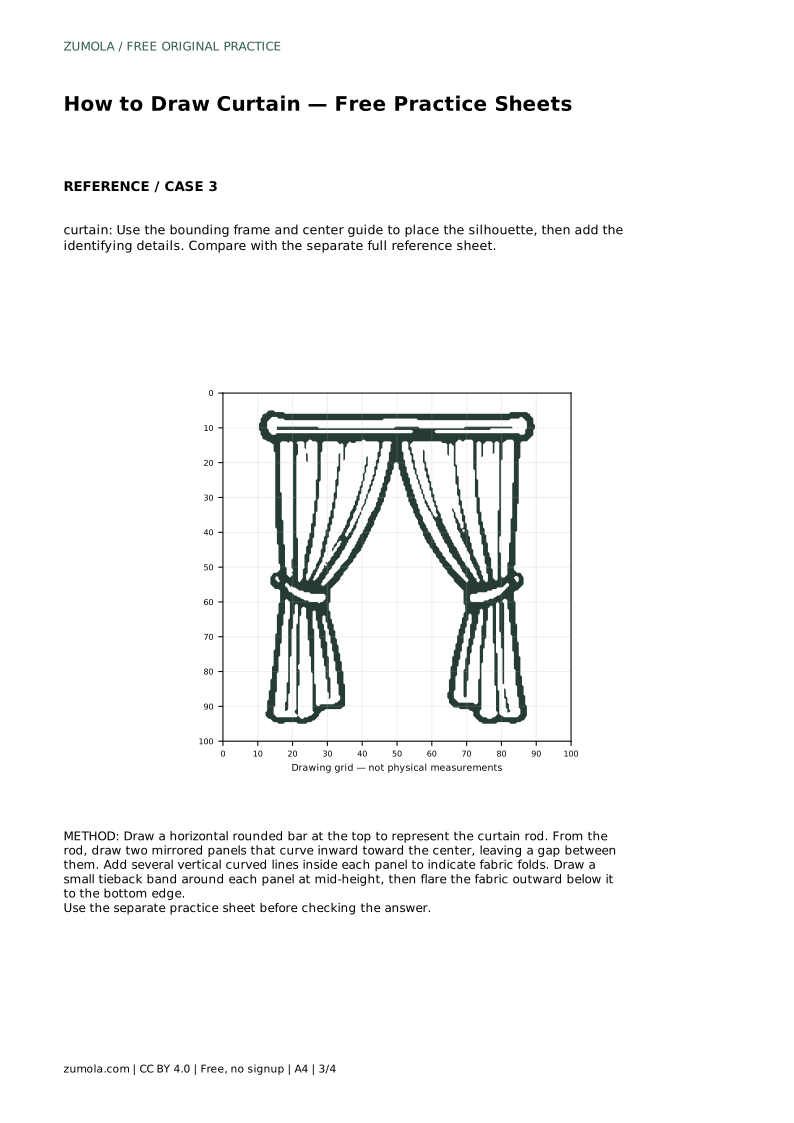
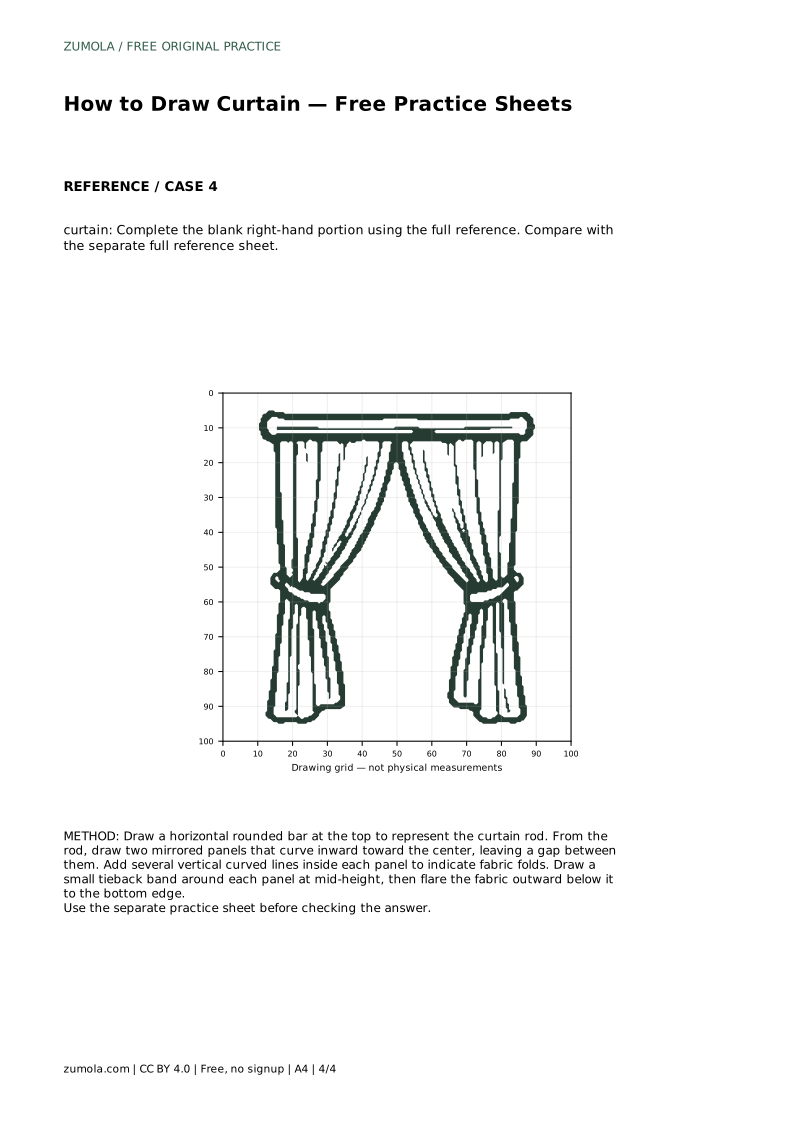
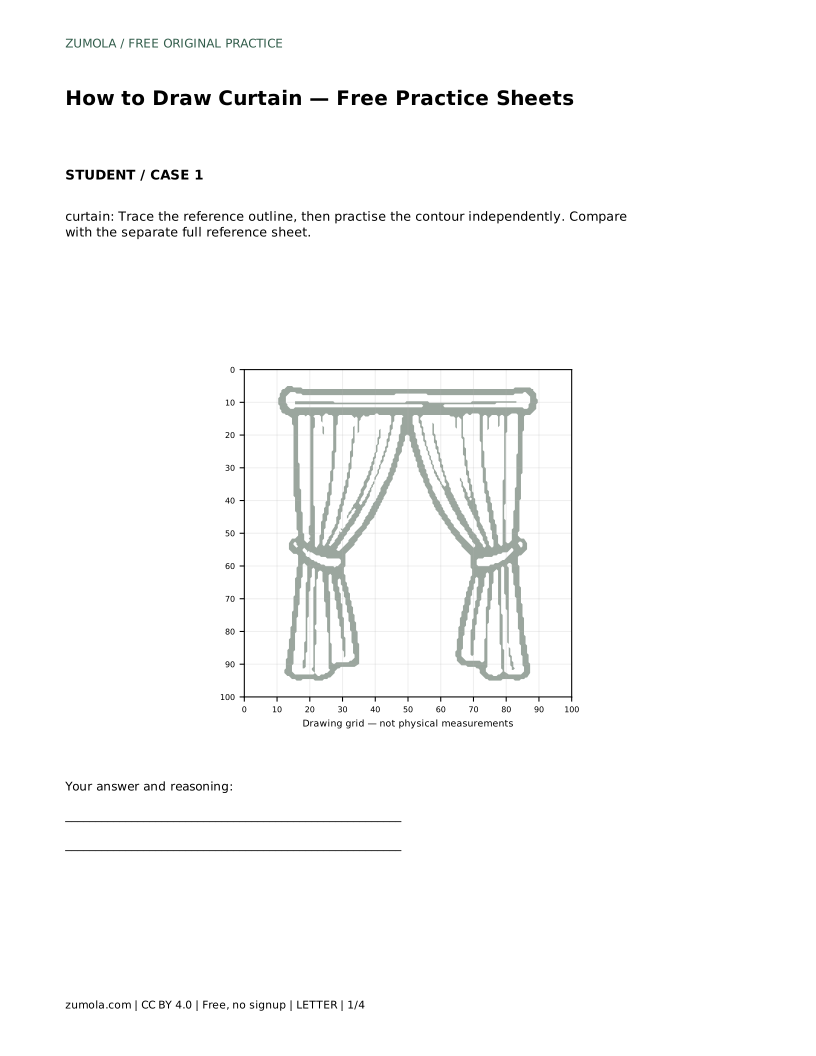
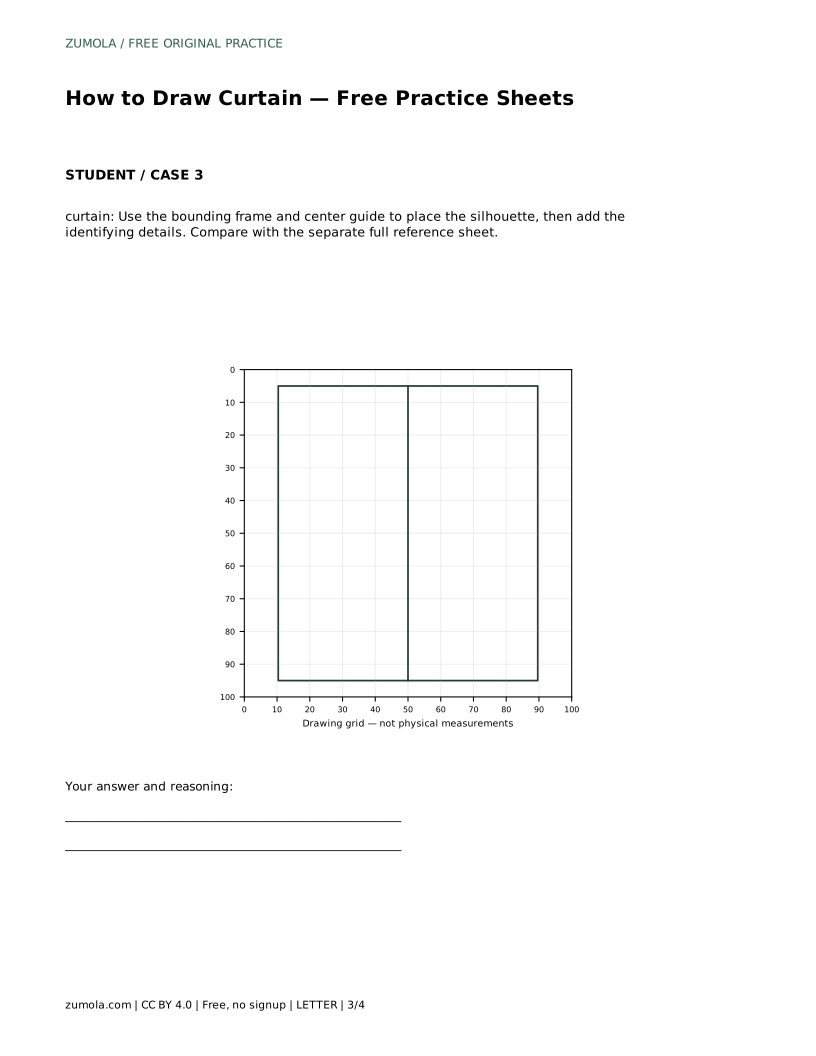
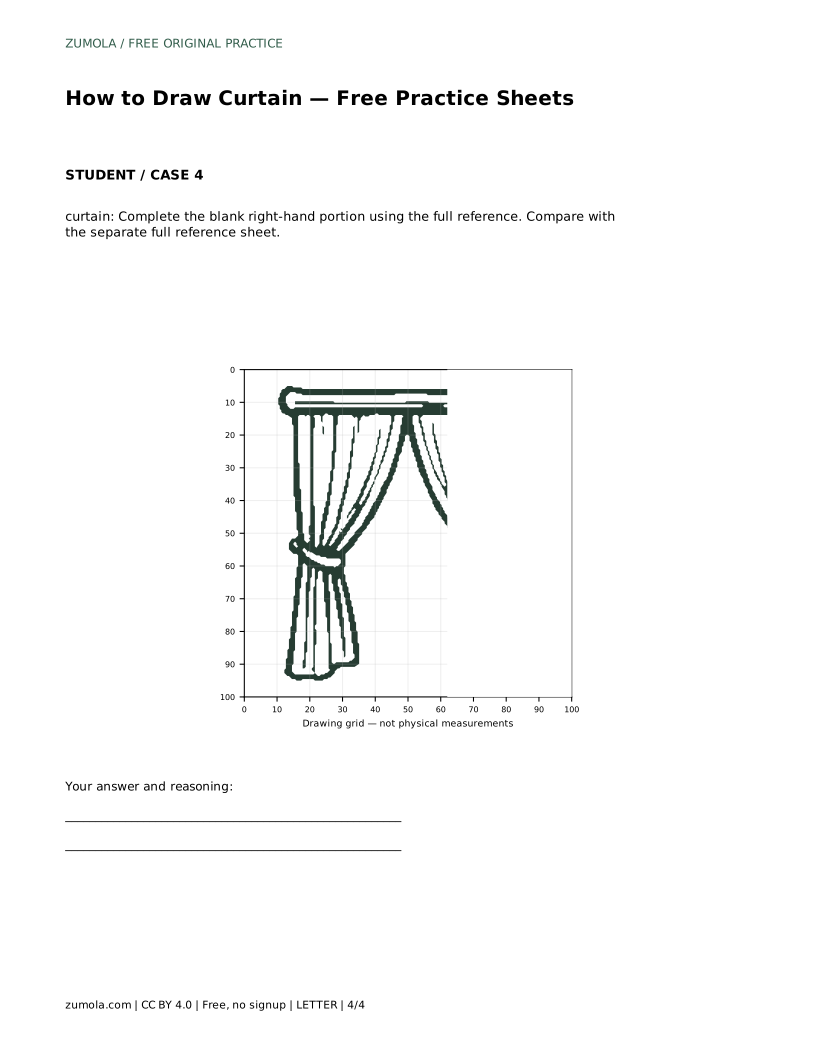
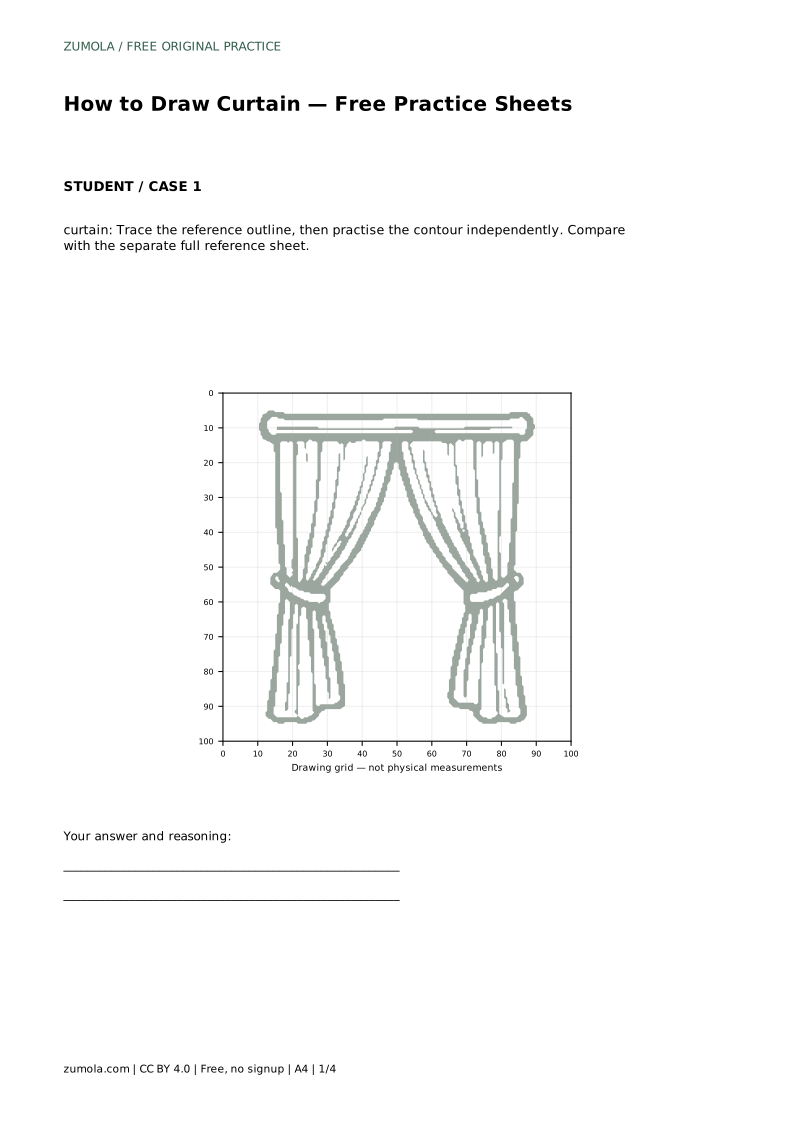
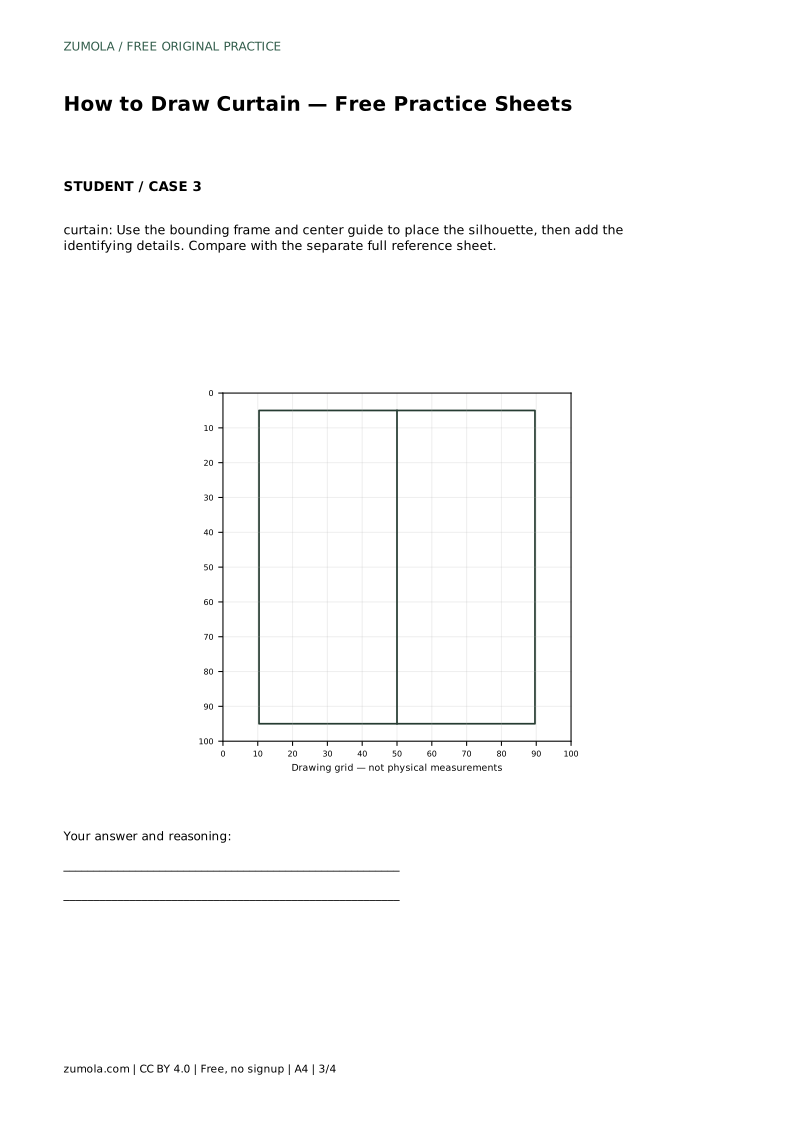
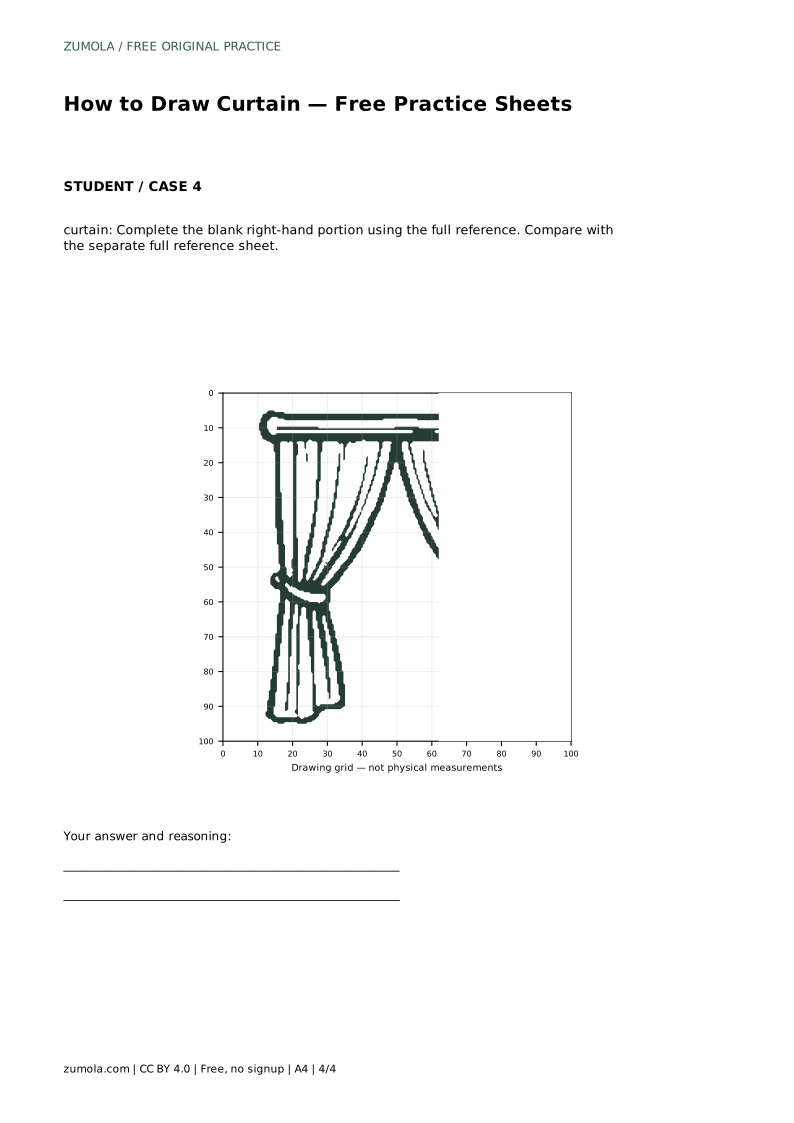
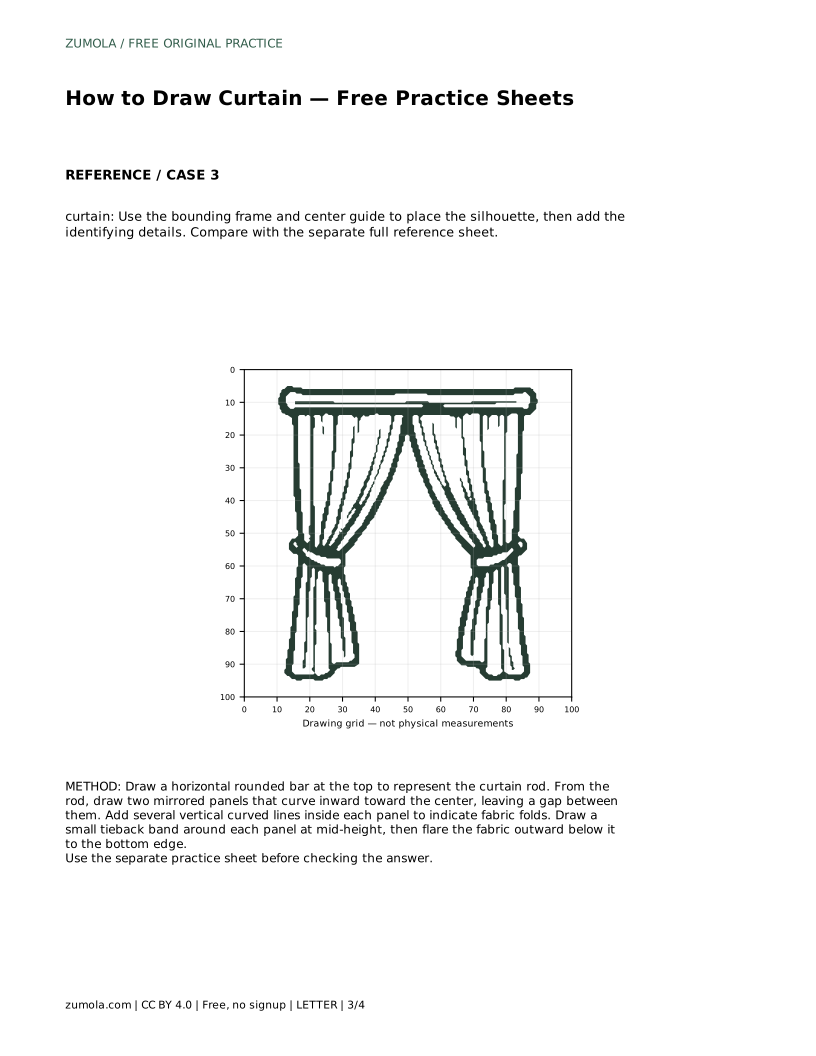
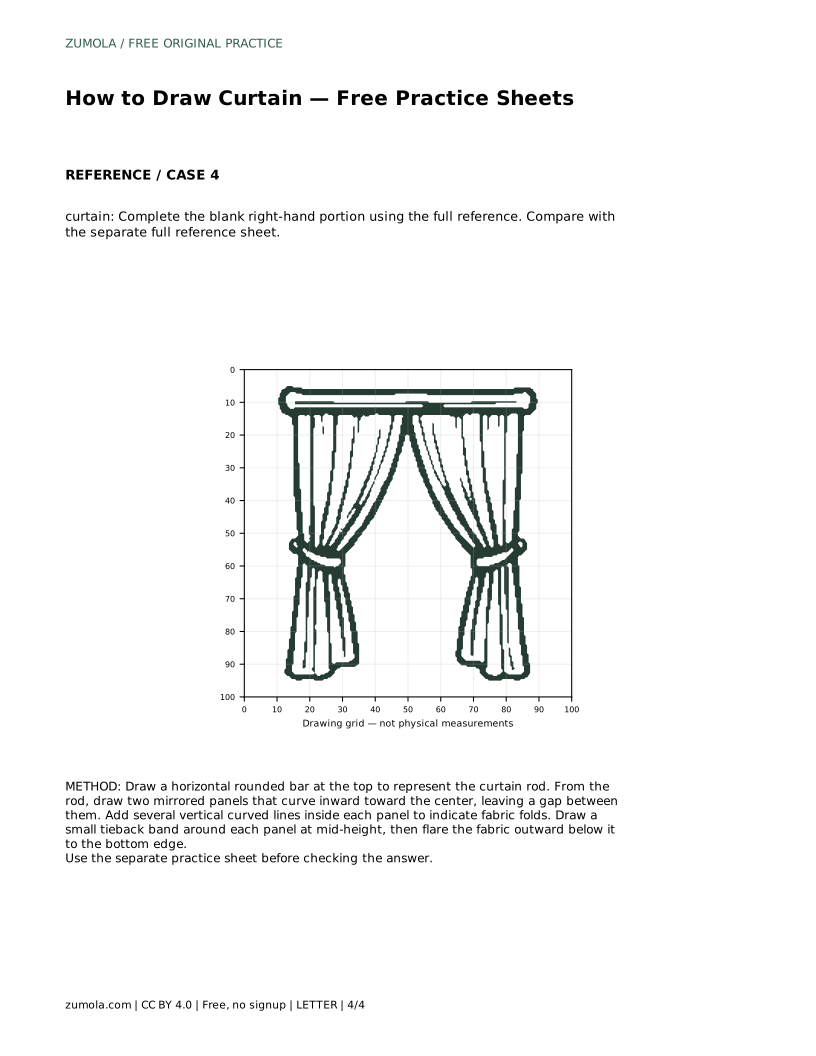
The tracing sheet asks you to follow the reference outline first, then draw the contour independently. The grid sheet asks you to copy the reference onto blank squares, matching where lines cross grid intersections. The bounding-frame sheet gives you a frame and center guide so you can place the silhouette before adding details. The partial sheet gives you the left portion and asks you to complete the right side from the full reference.
In every format, compare your finished drawing with the separate full reference sheet. Look for the rod, the two mirrored panels, the gap between them, the fold lines, and the tiebacks. Small differences in curve shape are fine; the goal is a clear, recognizable curtain.
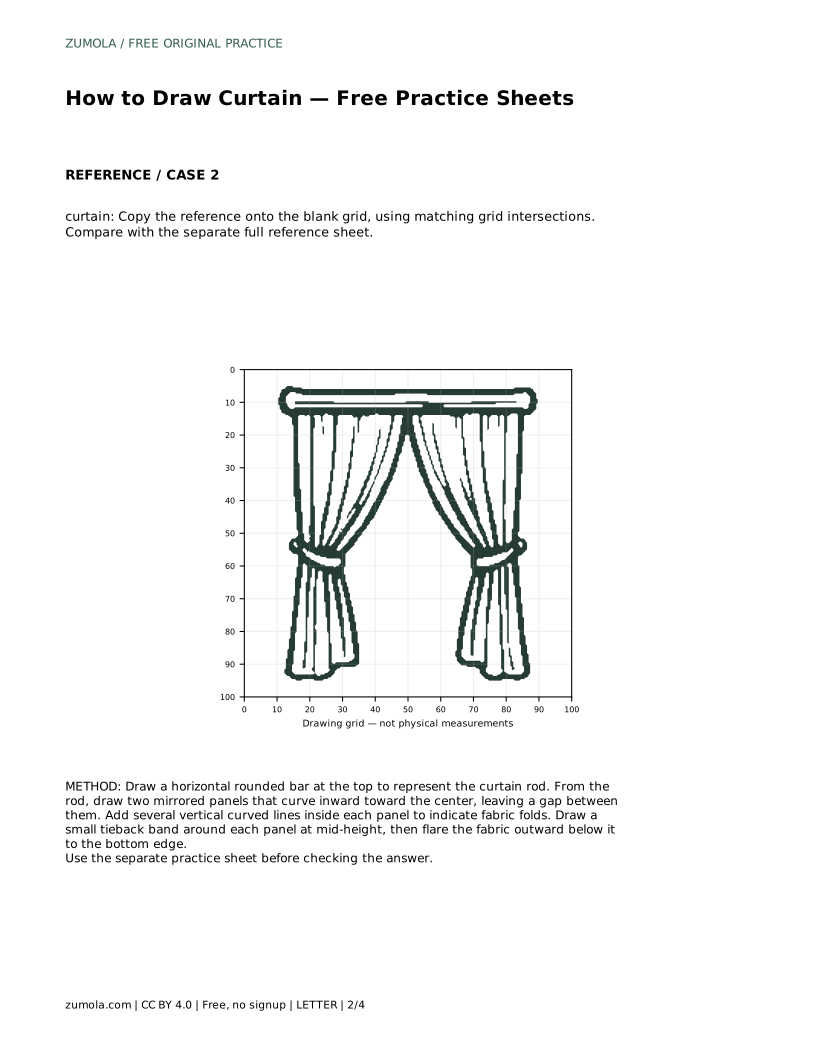
curtain: Trace the reference outline, then practise the contour independently. Compare with the separate full reference sheet.
Example solution: preserve horizontal rod/rail at the top with rounded end caps, two symmetric draped fabric panels hanging from the rod, vertical fold lines running down each panel. Other drawings can be correct; assess the visible features and proportions rather than pixel-perfect matching. Draw a horizontal rounded bar at the top to represent the curtain rod. From the rod, draw two mirrored panels that curve inward toward the center, leaving a gap between them. Add several vertical curved lines inside each panel to indicate fabric folds. Draw a small tieback band around each panel at mid-height, then flare the fabric outward below it to the bottom edge.
No. Slight differences are acceptable, but the panels should look balanced in width, height, and flare so the drawing reads as a matched pair.
There is no fixed number. A few clearly spaced curved lines are enough to suggest fabric; too many lines can make the panel look cluttered.
Check the rod, the two panel outlines, and the gap between them first. Folds and tiebacks are easier to judge once the overall silhouette is correct.
All drawing practice · Free coordinate paper
Original resources · CC BY 4.0 · Free for personal and classroom use with attribution.