Reference diagrams
LETTER · Download PDF
A4 · Download PDF
Free original resources
Learn to draw a standing oval mirror with a double-line frame, side pivot knobs, stem and rounded base. Trace, grid-copy and complete-the-drawing practice included.
Four original cases, with reference diagrams, practice sheets and worked answers. Everything is free; no signup required.
LETTER · Download PDF
A4 · Download PDF
LETTER · Download PDF
A4 · Download PDF
LETTER · Download PDF
A4 · Download PDF
Use A4 or US Letter to match your printer. Use the stated values and conditions to solve each exercise; diagrams are not physical measuring rulers.
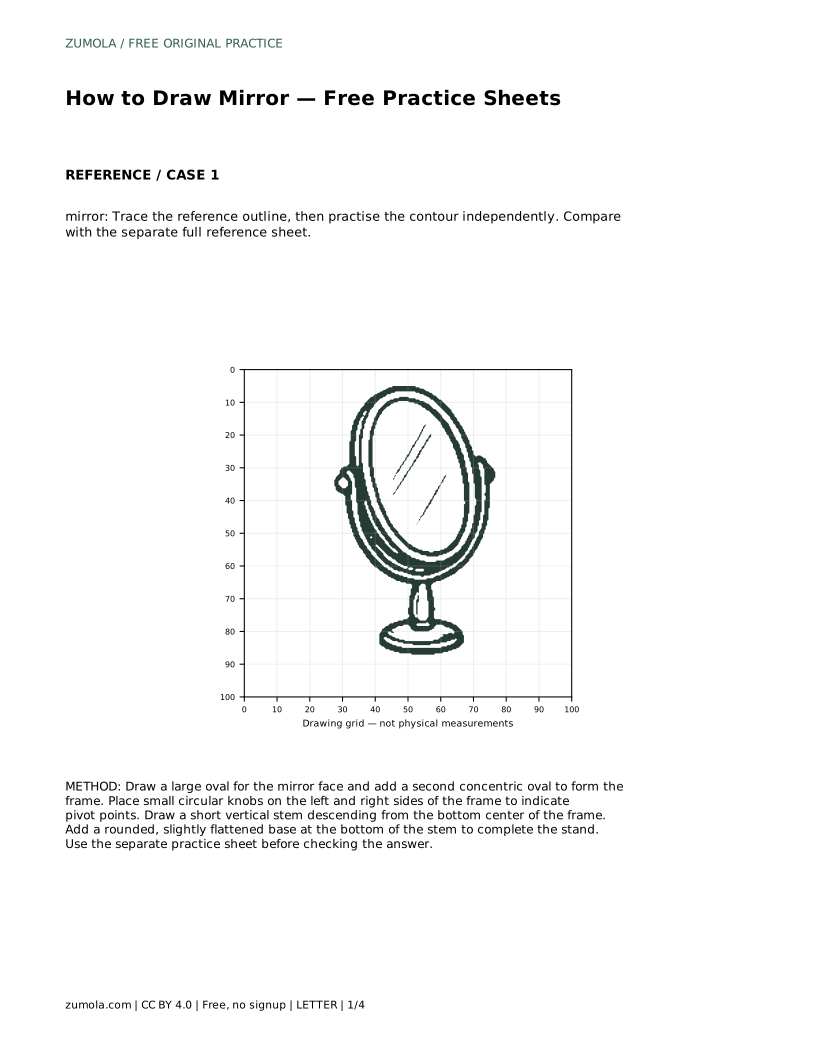
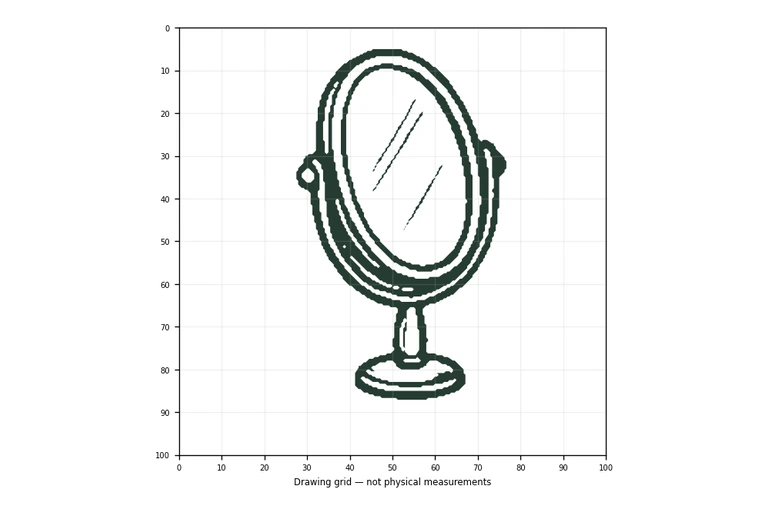
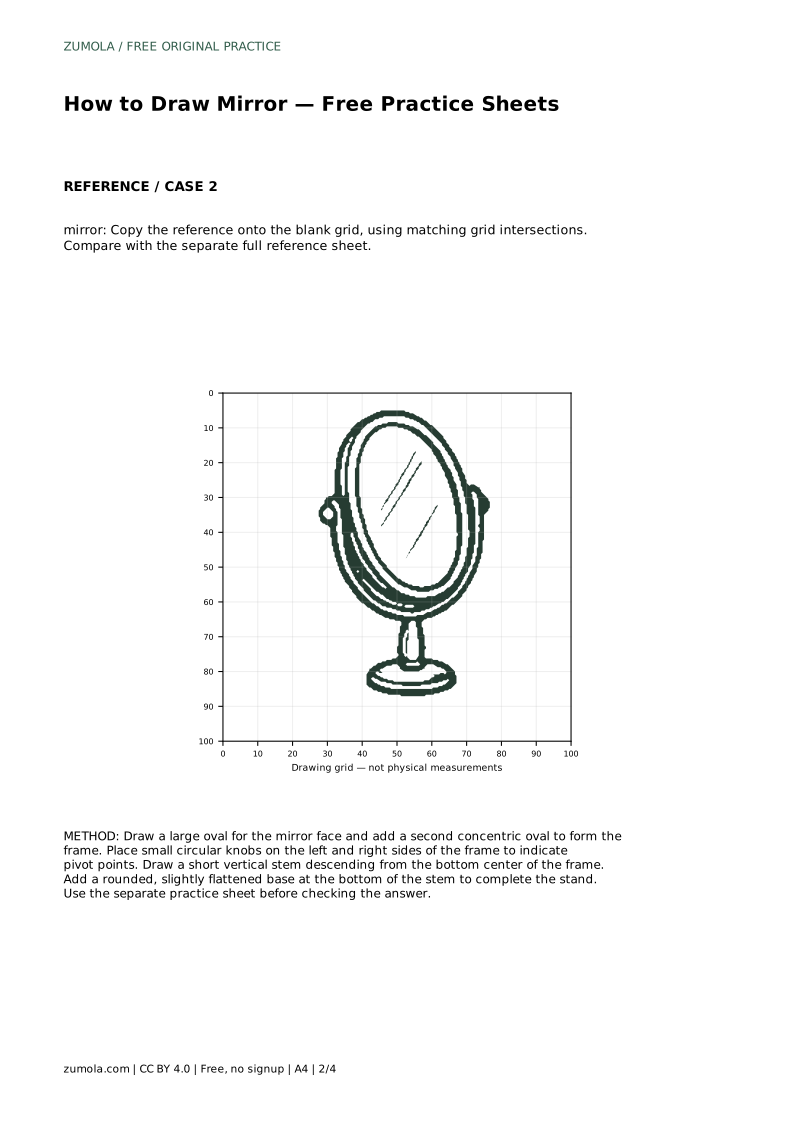
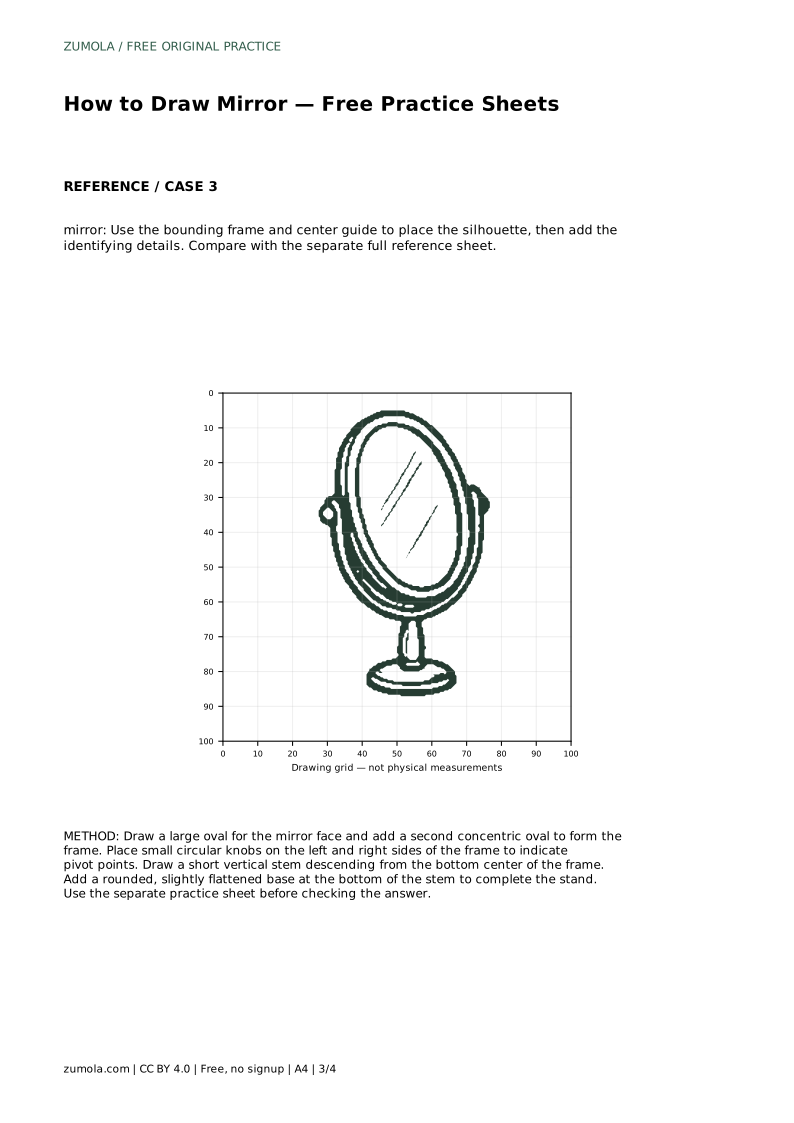
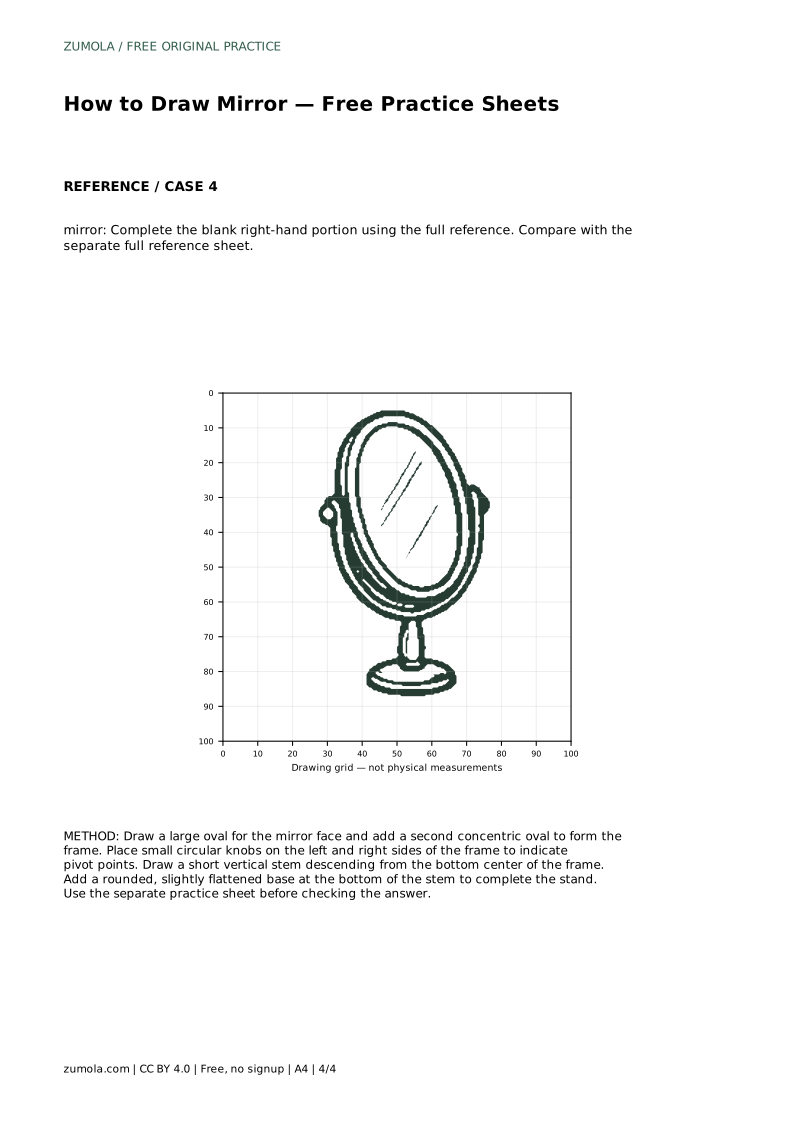
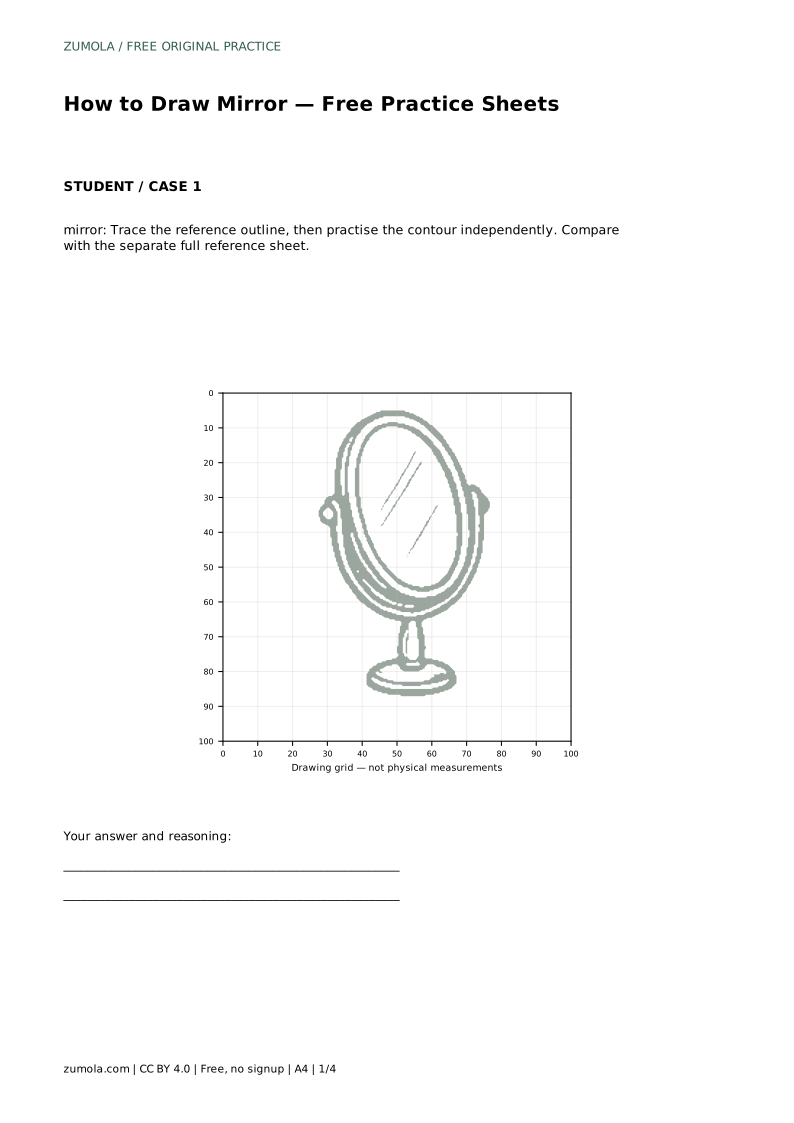
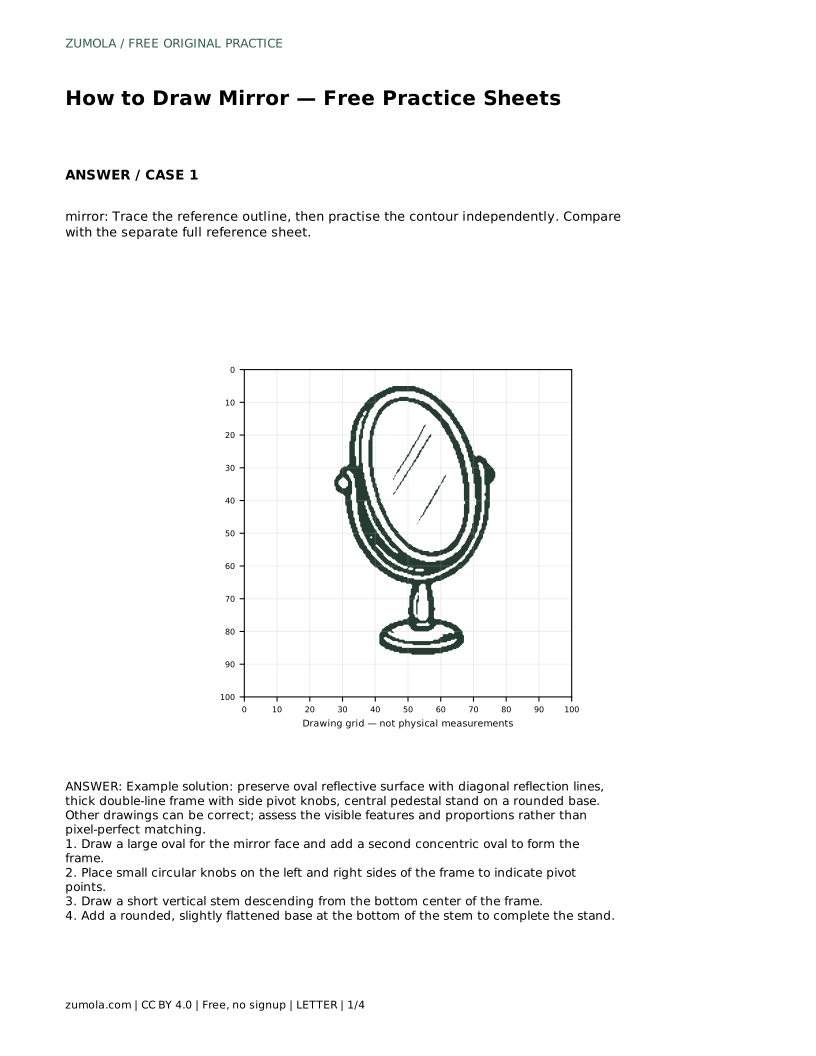
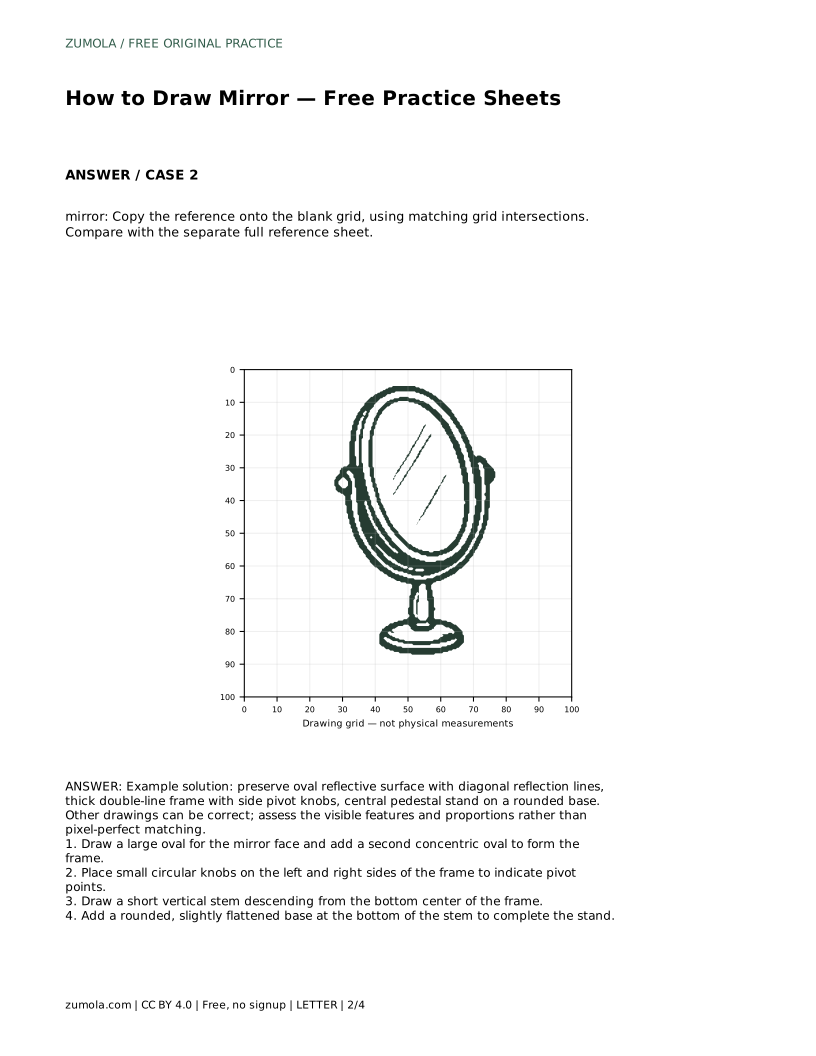
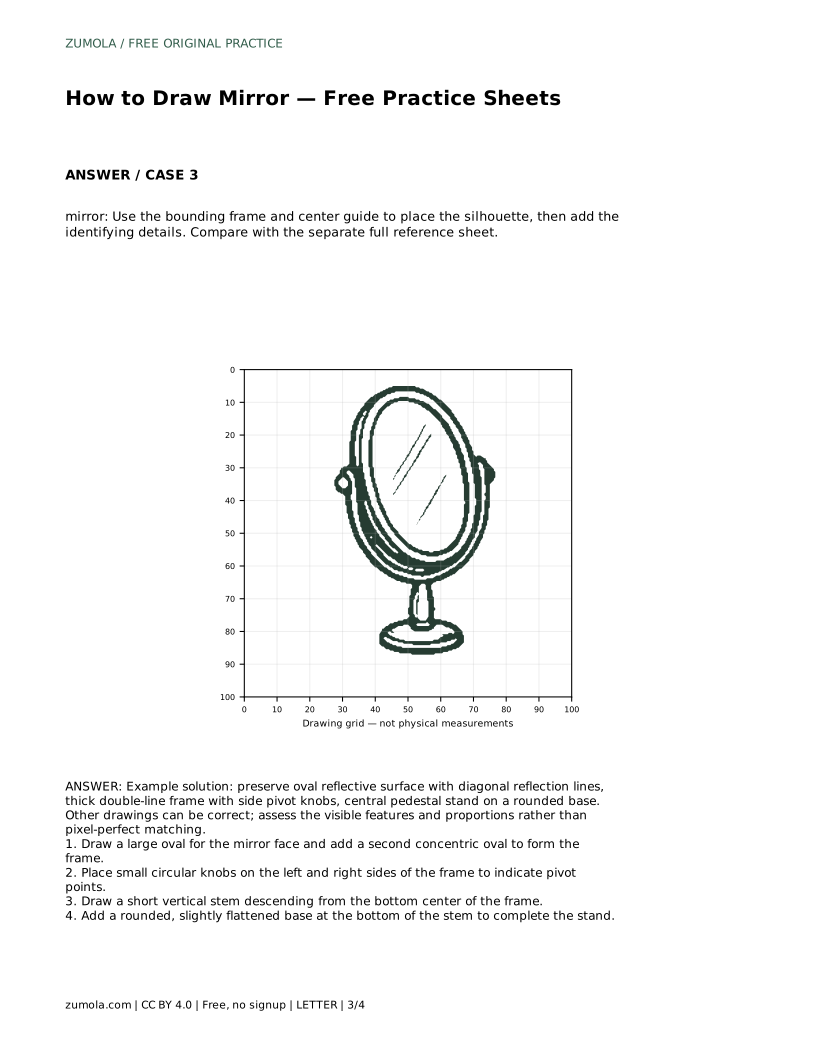
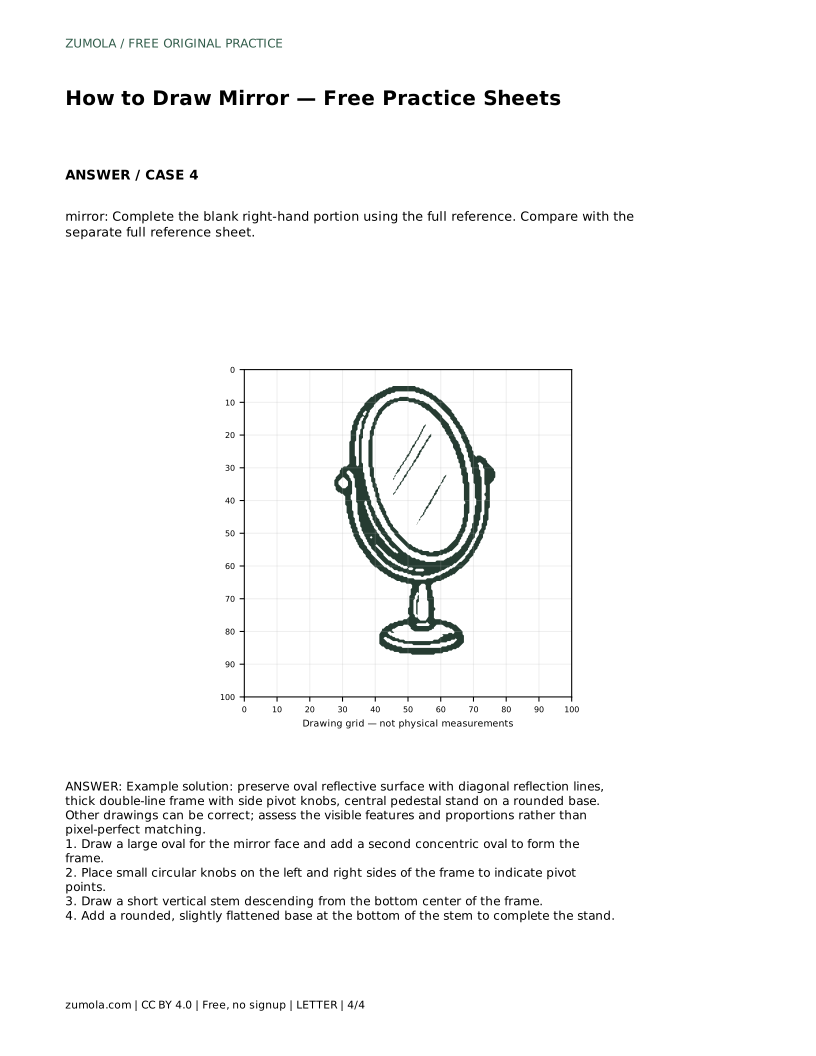
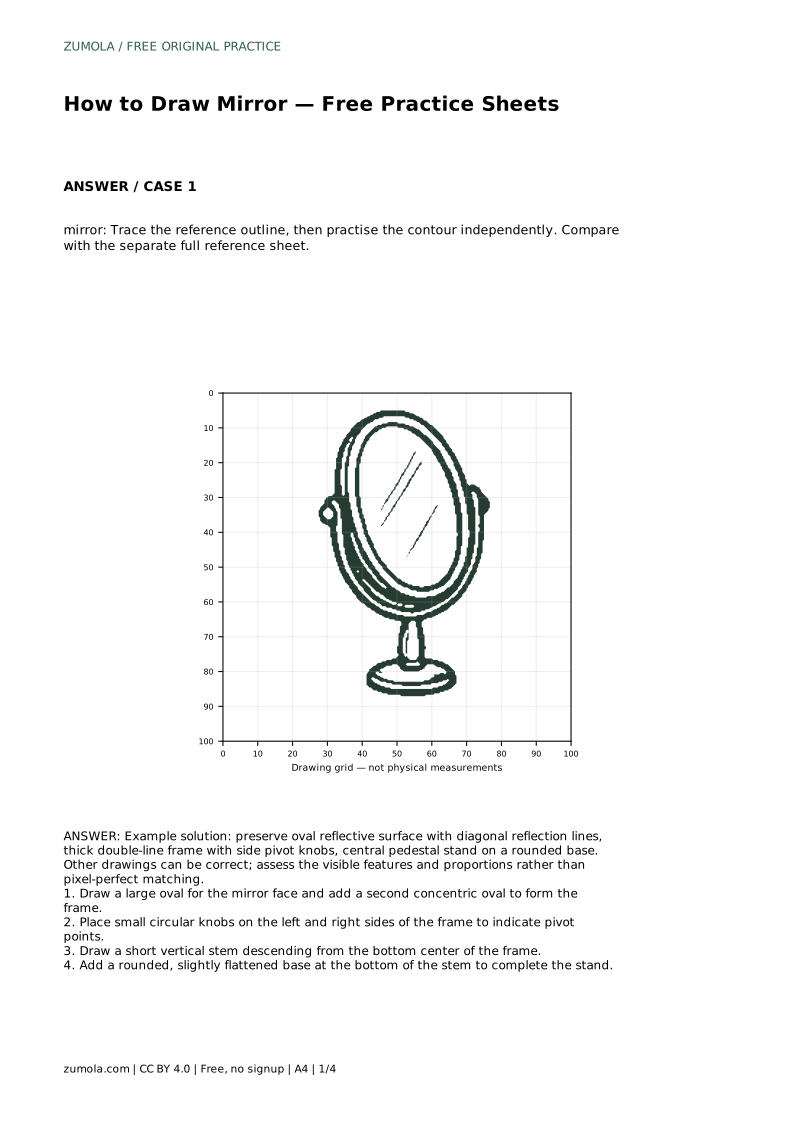
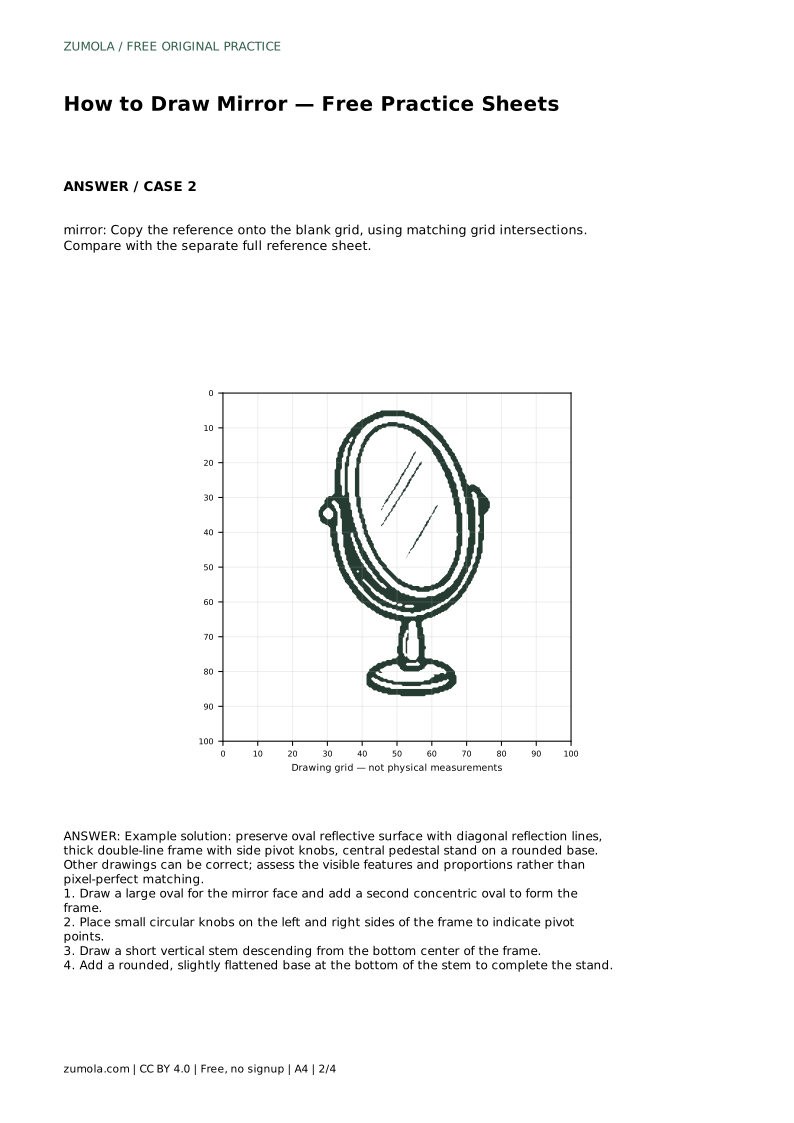
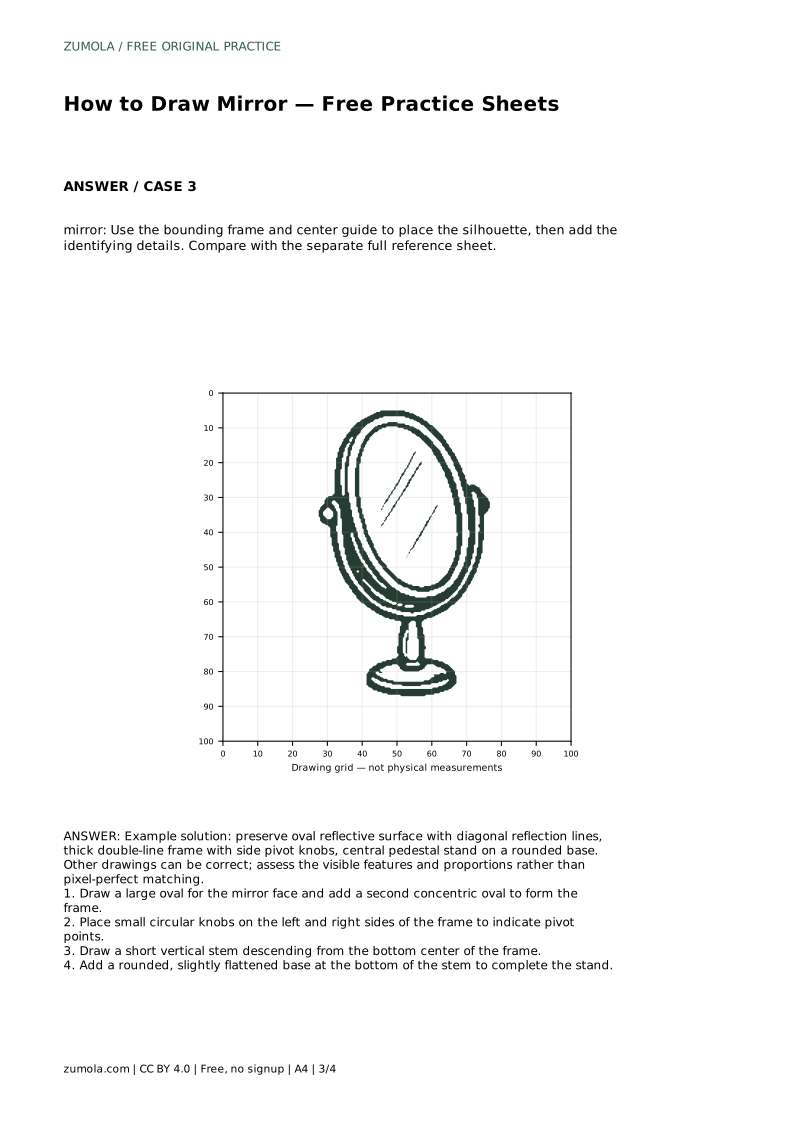
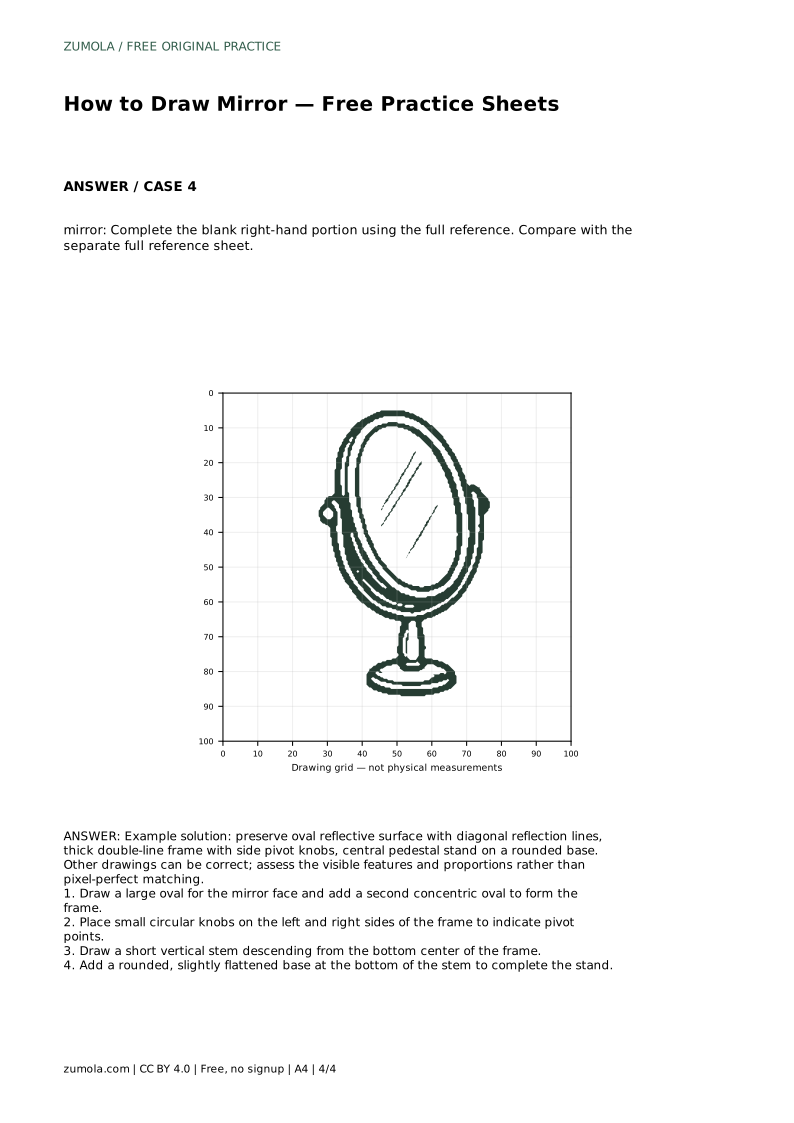
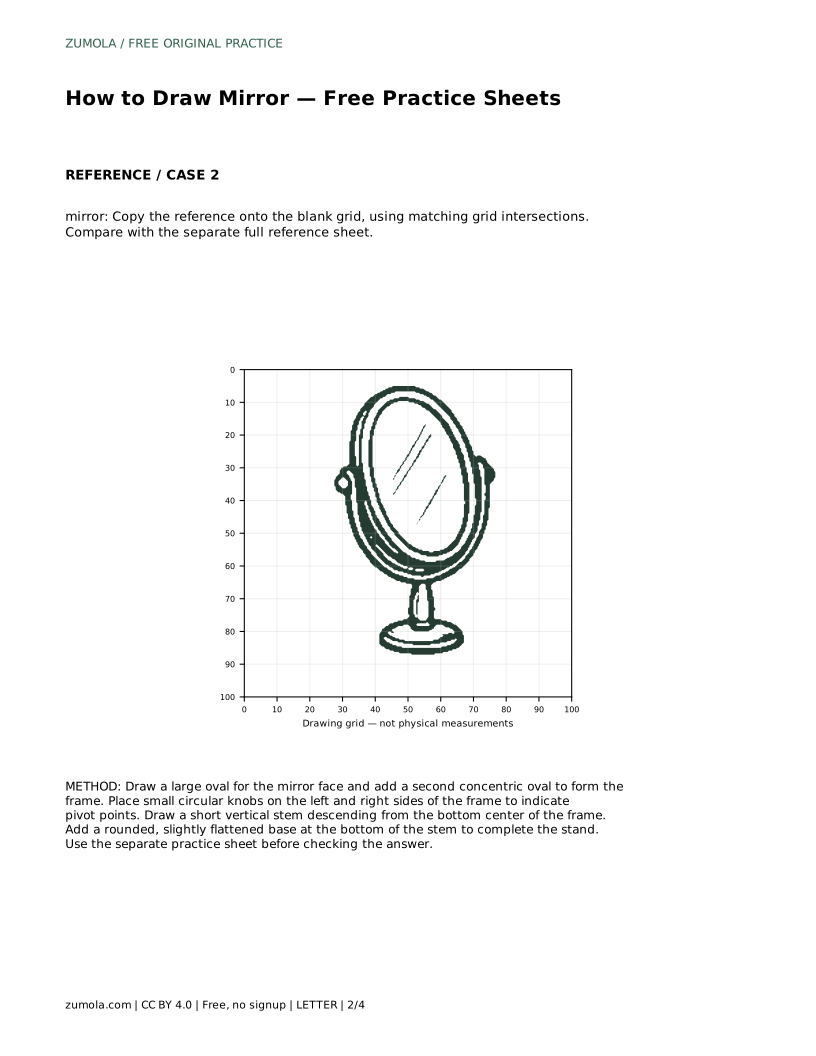
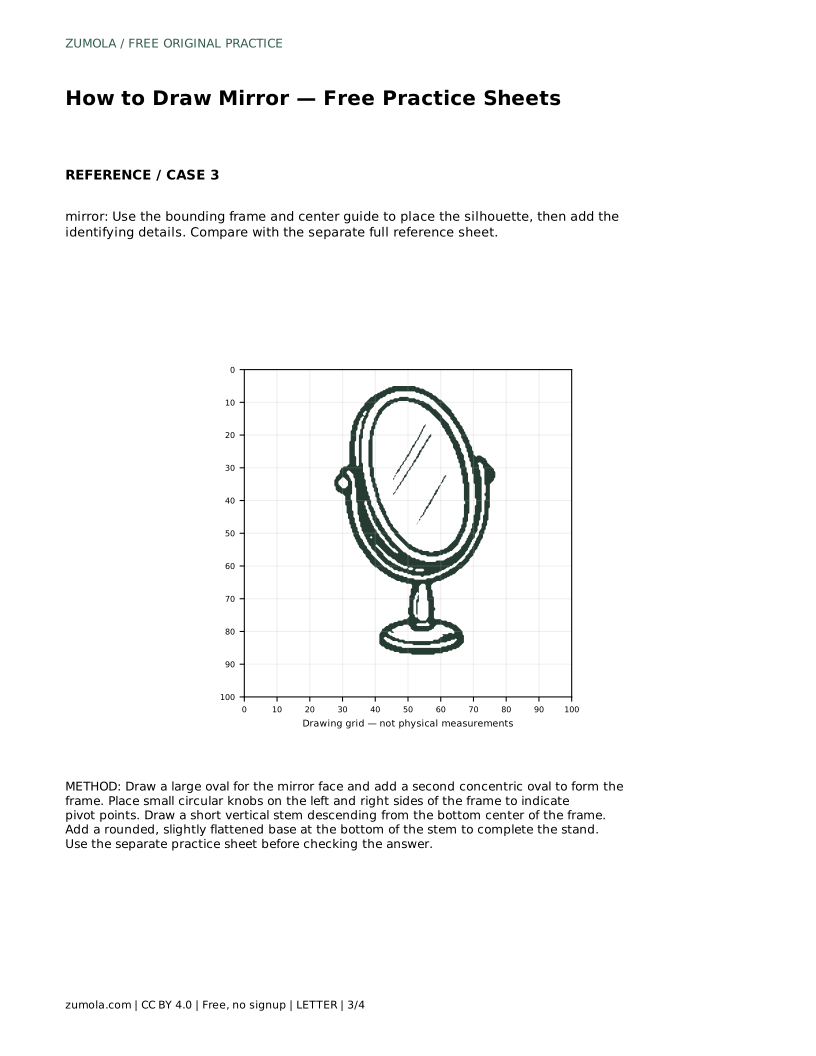
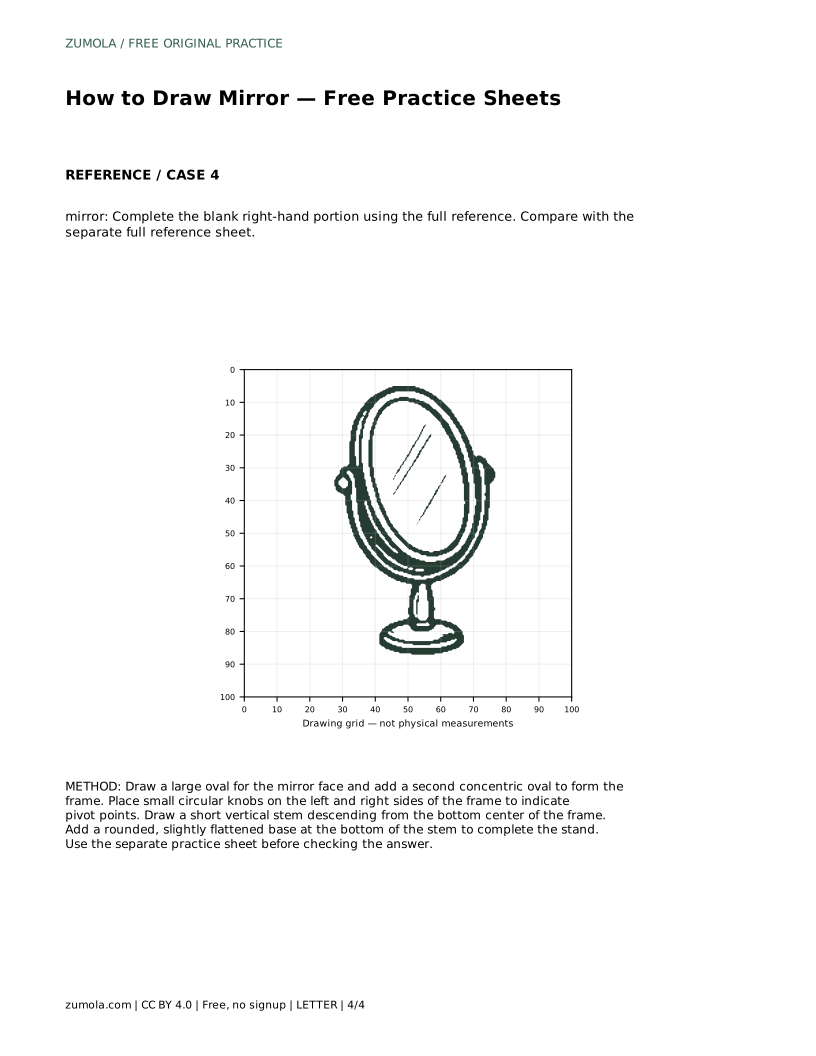
A mirror is a rewarding drawing subject because its shape is simple but its proportions matter. This page shows how to build a standing oval mirror from a large reflective face, a double-line frame, two side pivot knobs, a short central stem and a rounded base. You can practise by tracing the outline, copying onto a grid, placing the silhouette with a bounding frame and center guide, or completing a partially drawn version.
Start with the reflective face, not the frame. Draw one large oval and keep it slightly taller than it is wide unless your reference shows otherwise. Then draw a second oval around the first, sharing the same center, to create the frame. The gap between the two ovals is the frame thickness, so keep that gap even all the way around.
Next, add the small circular knobs at the left and right edges of the frame. Place them at matching heights so the mirror looks balanced. From the bottom center of the frame, draw a short vertical stem downward, then finish with a rounded, slightly flattened base. The stem should meet both the frame and the base cleanly rather than floating between them.
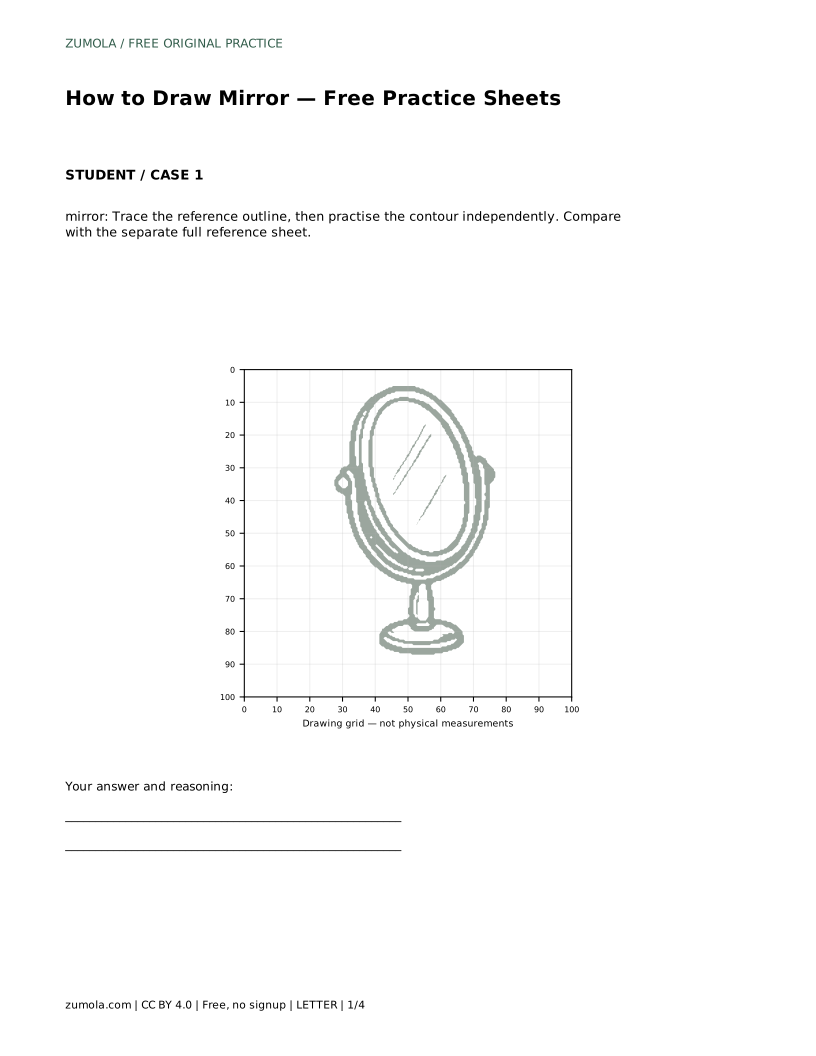
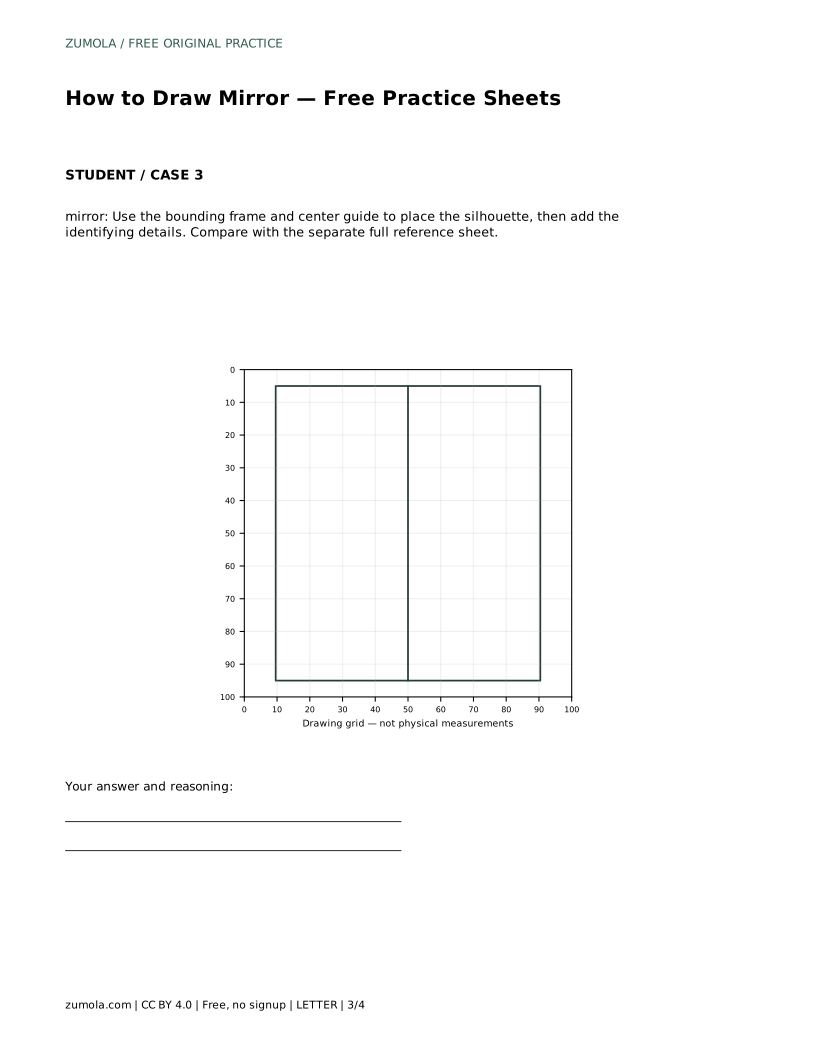
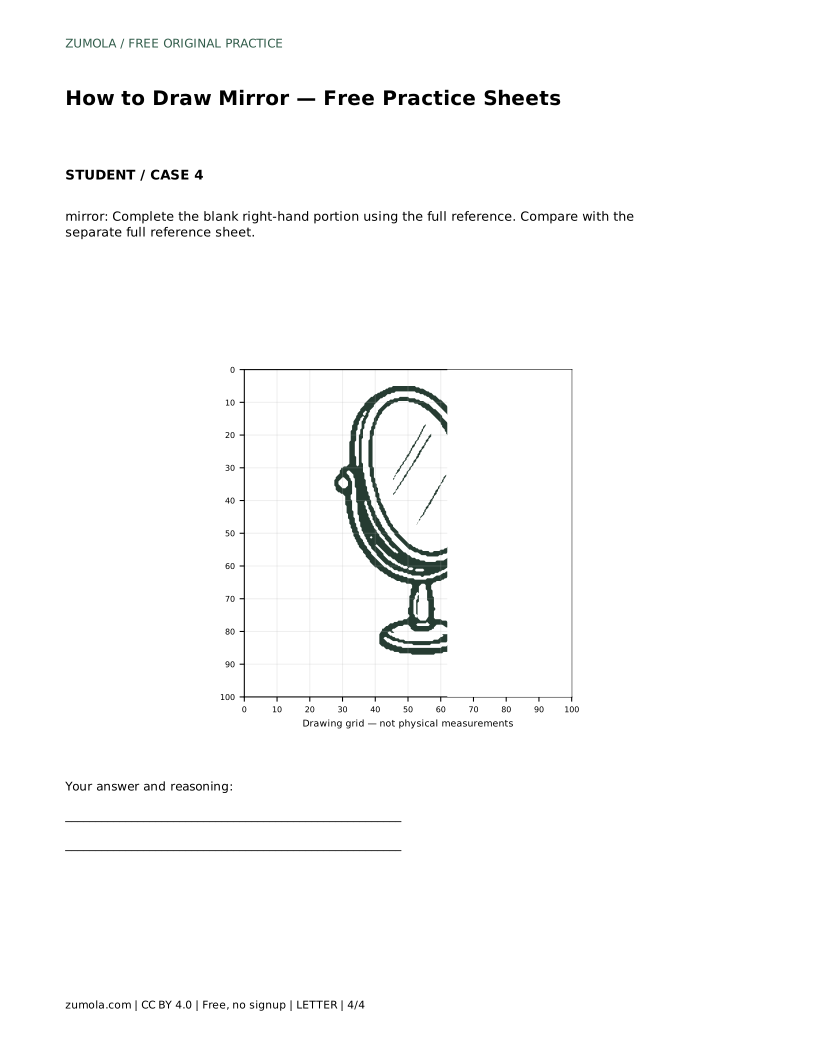
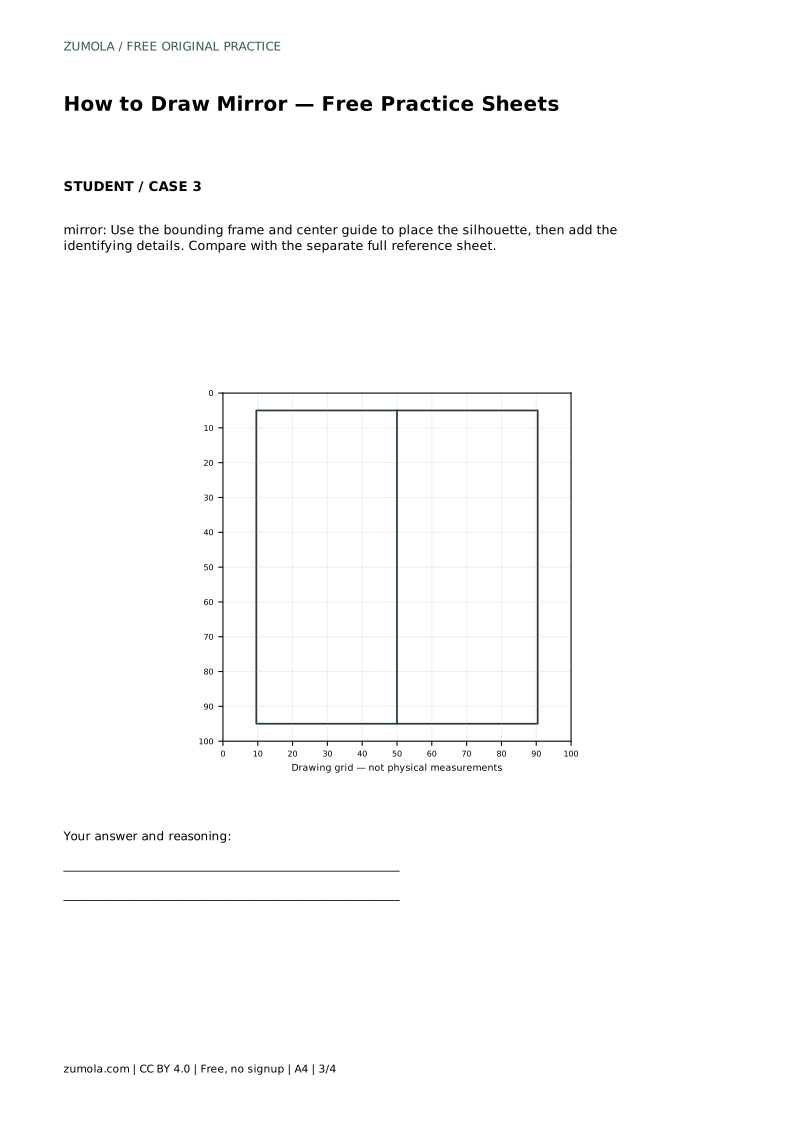
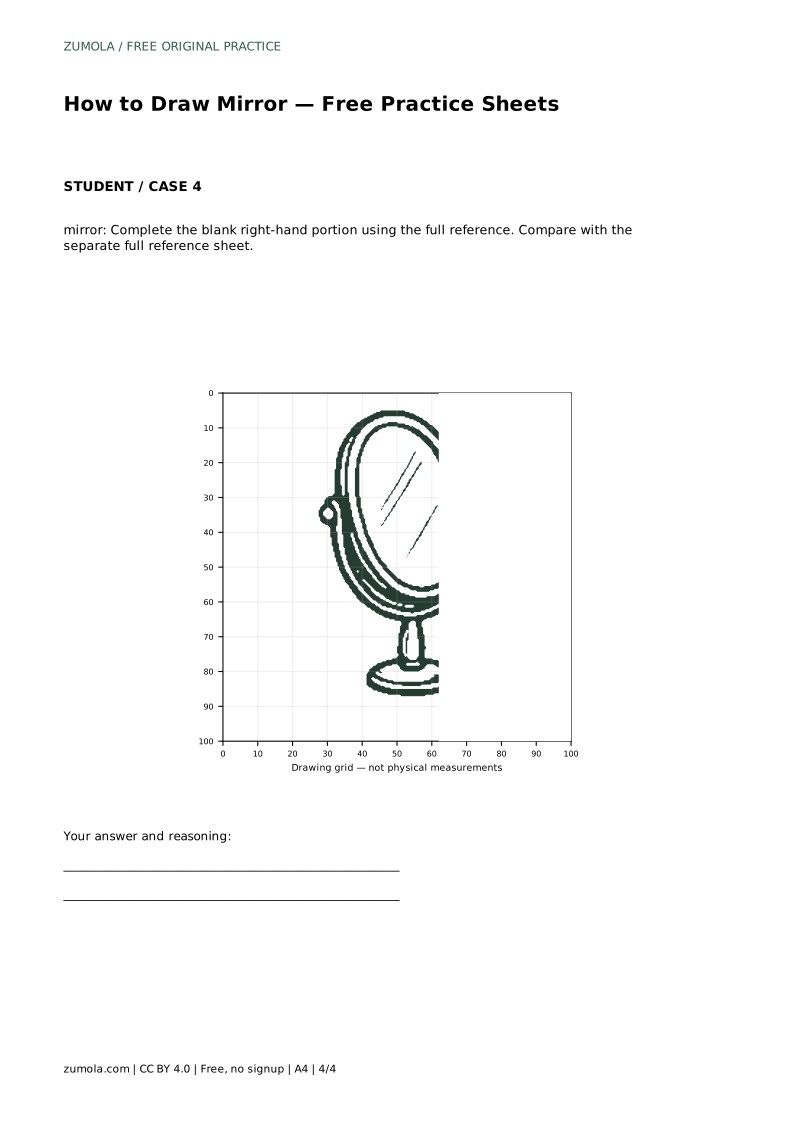
Tracing helps you feel the order of the shapes: oval, frame, knobs, stem, base. Grid copying asks you to match intersections rather than rely on memory, which trains proportion. The bounding-frame and center-guide version helps you place the silhouette before adding details. The complete-the-drawing version gives you part of the mirror and asks you to finish the missing portion using the full reference.
In every version, compare your drawing with the separate full reference sheet rather than with another learner's result. Check the oval's height-to-width relationship, the evenness of the frame gap, the matching height of the knobs and the centered position of the stem and base.
Diagonal reflection lines inside the oval suggest a reflective surface. Keep them light and evenly spaced, and let them stay within the inner oval. They are a visual cue, not a literal reflection of a room, so avoid drawing detailed objects inside the mirror unless your reference includes them.
Because drawings can be correct in more than one way, judge the visible features and proportions rather than pixel-perfect matching. A mirror with a slightly wider oval or a thicker frame can still be a successful drawing if the parts relate consistently.
Step back and look at the mirror as one object. The frame should surround the face evenly, the knobs should sit opposite each other, and the stand should support the frame at its bottom center. If one side looks heavier, compare the distance from the oval's edge to the frame on both sides.
Small corrections are easier than redrawing. Adjust the oval first, since it controls the frame and the stand position. Then correct the knobs and base.
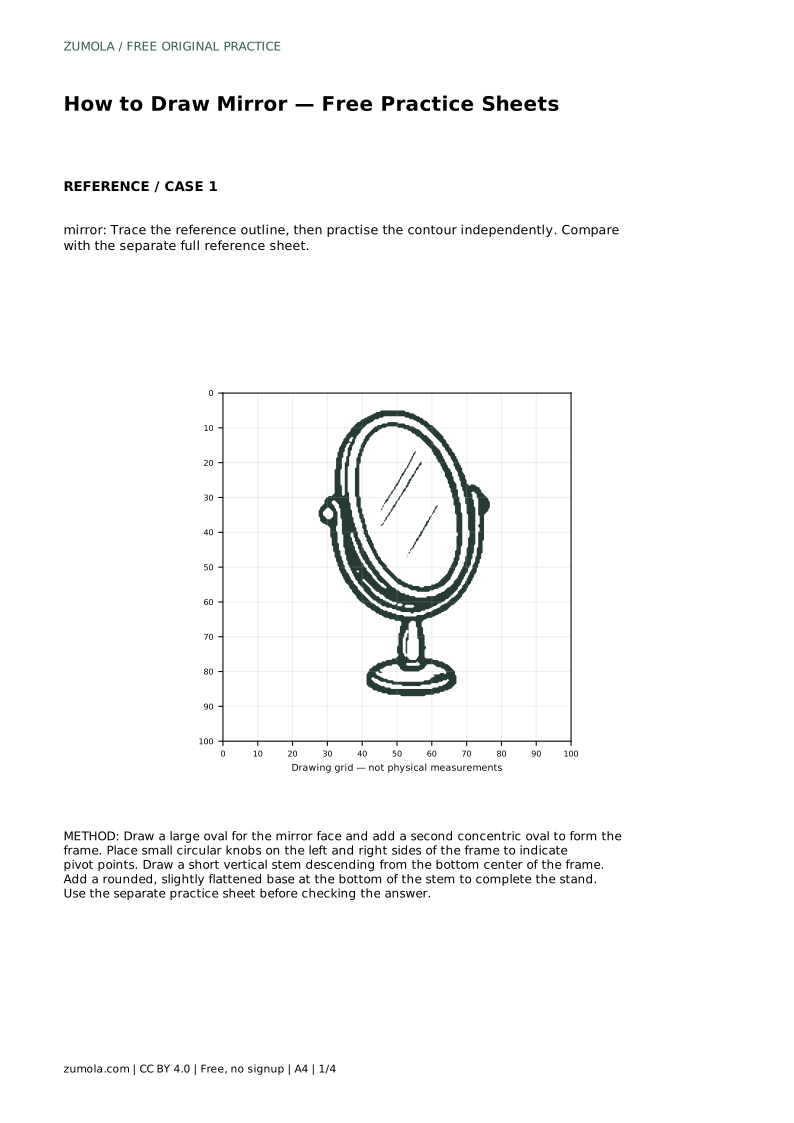
mirror: Trace the reference outline, then practise the contour independently. Compare with the separate full reference sheet.
Example solution: preserve oval reflective surface with diagonal reflection lines, thick double-line frame with side pivot knobs, central pedestal stand on a rounded base. Other drawings can be correct; assess the visible features and proportions rather than pixel-perfect matching. Draw a large oval for the mirror face and add a second concentric oval to form the frame. Place small circular knobs on the left and right sides of the frame to indicate pivot points. Draw a short vertical stem descending from the bottom center of the frame. Add a rounded, slightly flattened base at the bottom of the stem to complete the stand.
They are a useful cue for a reflective surface, but keep them light and inside the inner oval. If your reference omits them, the mirror can still be complete without them.
Yes. A wider or narrower oval can still be correct if the frame, knobs and stand stay balanced around it. Compare proportions with the reference rather than matching every pixel.
Check the oval and the even frame gap first, because they control the position of the knobs, stem and base.
All drawing practice · Free coordinate paper
Original resources · CC BY 4.0 · Free for personal and classroom use with attribution.