Reference diagrams
LETTER · Download PDF
A4 · Download PDF
Free original resources
Learn to draw a four-wheeler in side profile by building knobby tires, a compact body, seat panels, and raised handlebars, then checking proportions with a rubric.
Four original cases, with reference diagrams, practice sheets and worked answers. Everything is free; no signup required.
LETTER · Download PDF
A4 · Download PDF
LETTER · Download PDF
A4 · Download PDF
LETTER · Download PDF
A4 · Download PDF
Use A4 or US Letter to match your printer. Use the stated values and conditions to solve each exercise; diagrams are not physical measuring rulers.
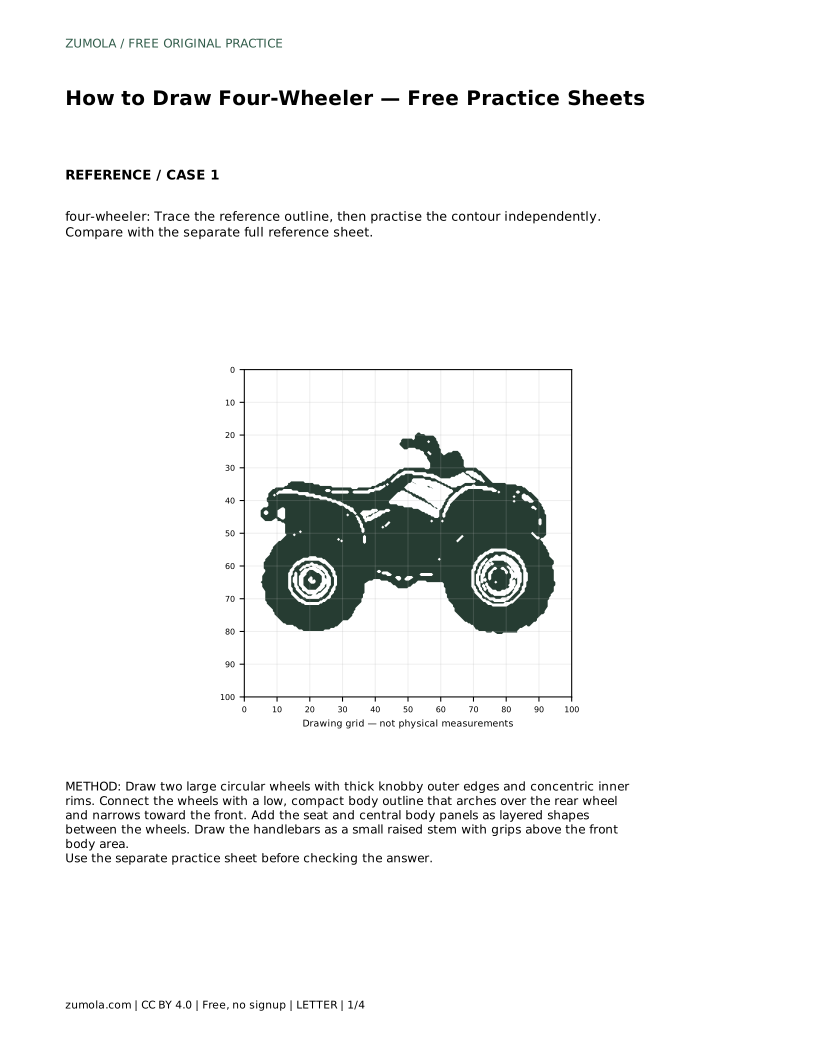
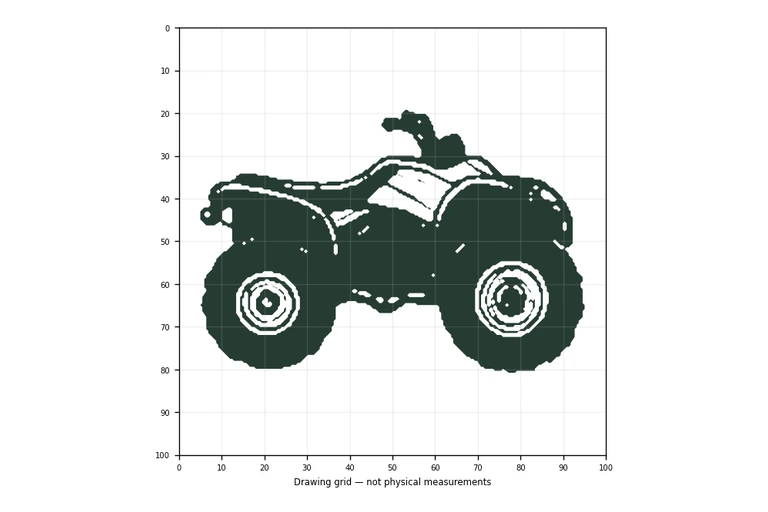
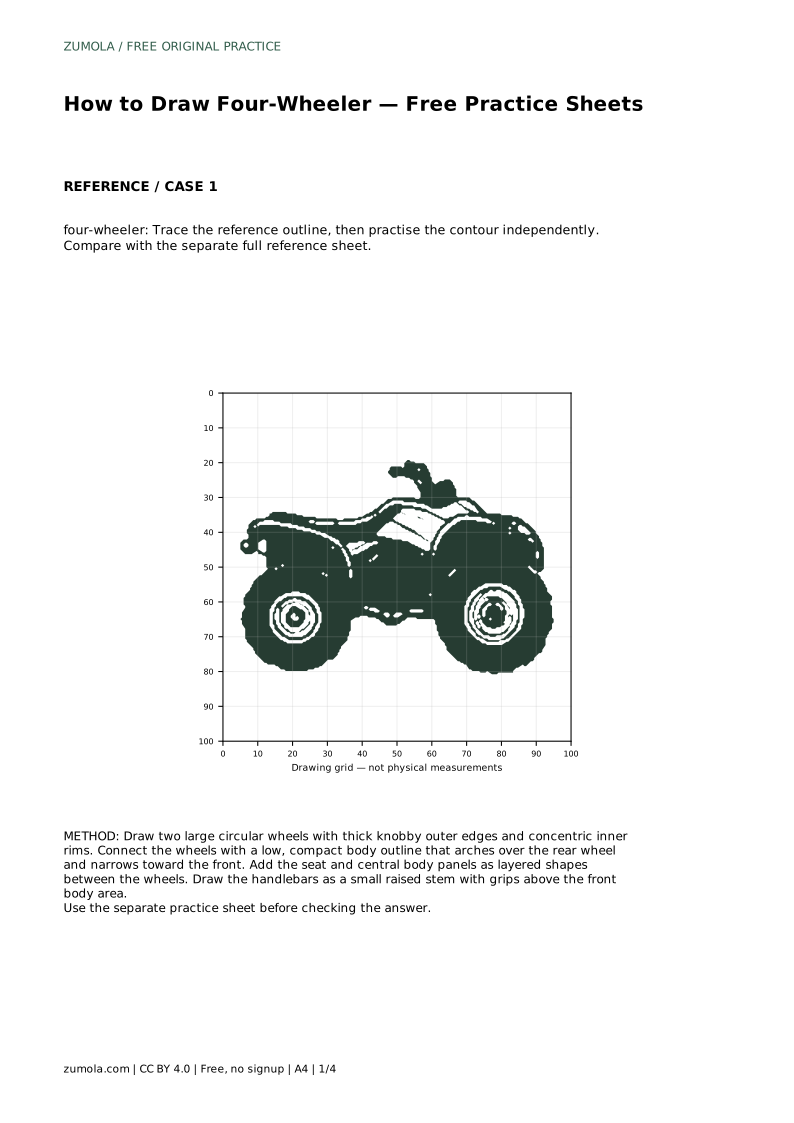
A four-wheeler is easiest to draw when you treat it as a small set of connected shapes rather than one complicated outline. In side profile, the drawing depends on two large knobby tires, a low compact body between them, a visible seat area, and handlebars rising above the front body. This guide explains how to place those parts in order, how to practise from a reference outline, and how to judge your own drawing fairly when several correct versions are possible.
The tires set the scale for everything else. In side profile you see two wheels, one toward the front and one toward the rear, and both should read as large and chunky. Draw each as a circle, then thicken the outer edge to suggest a knobby tread. Inside each tire, add a smaller concentric circle for the rim so the wheel does not look like a solid disc.
Keep the two wheels close to the same size unless your reference clearly shows otherwise. A common early error is making the front wheel noticeably smaller, which makes the vehicle look like a bicycle rather than a four-wheeler. Check the gap between the wheels before adding anything else; that gap is where the body and seat will sit.
The body is low and compact. Connect the wheels with an outline that arches over the rear wheel and narrows toward the front. Think of it as a rounded frame that hugs the wheels rather than a long car body. The lower edge should stay close to the ground line, and the upper edge should rise just enough to hold the seat.
Once the outer body outline is in place, add the seat and central body panels as layered shapes between the wheels. These layers give the drawing depth without changing the silhouette. Keep the panels simple: a seat shape above the rear area and a few flat shapes across the middle are enough to make the body read correctly.
Handlebars rise from the center of the body as a small raised stem with grips above the front body area. Draw the stem first, then add the grips as short horizontal shapes at the top. The handlebars should sit above the body, not float away from it, and they should not be so tall that they dominate the drawing.
When the parts are in place, step back and compare your drawing with the reference sheet. Check that both tires are visible, the body is compact and rounded, the seat area is clear, and the handlebars rise from the center of the body. Different drawings can be correct, so assess the visible features and proportions rather than aiming for a pixel-perfect match.
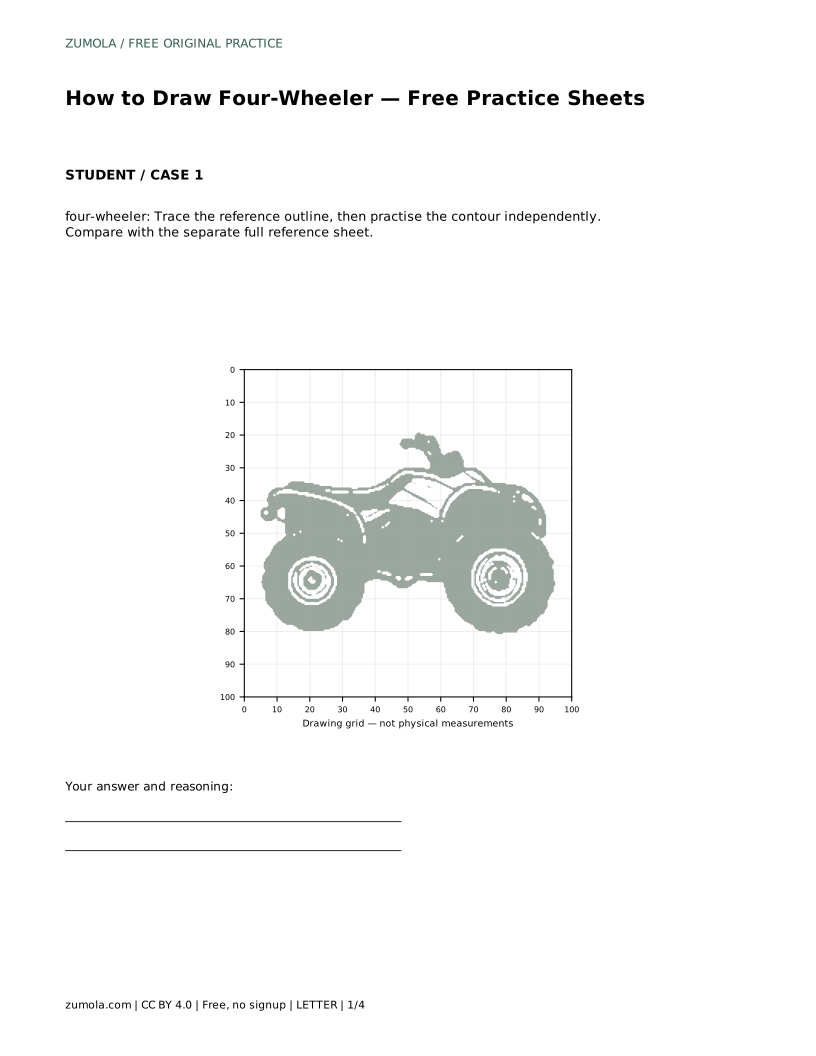
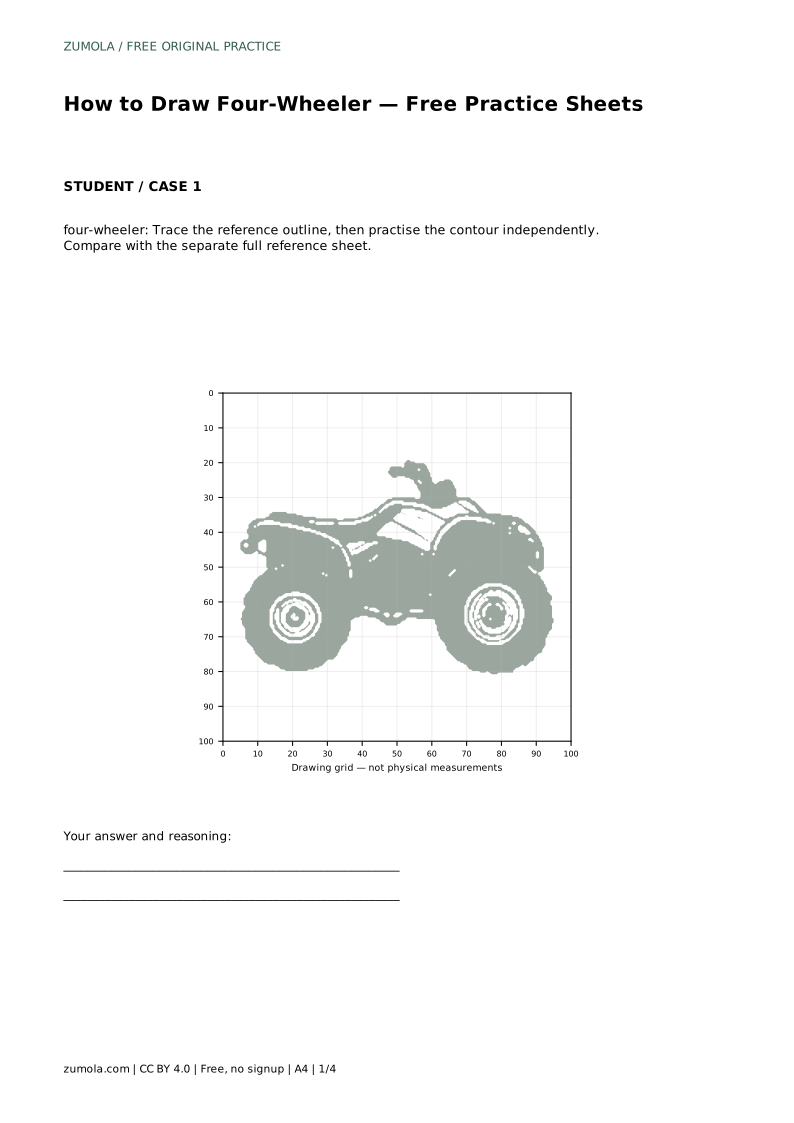
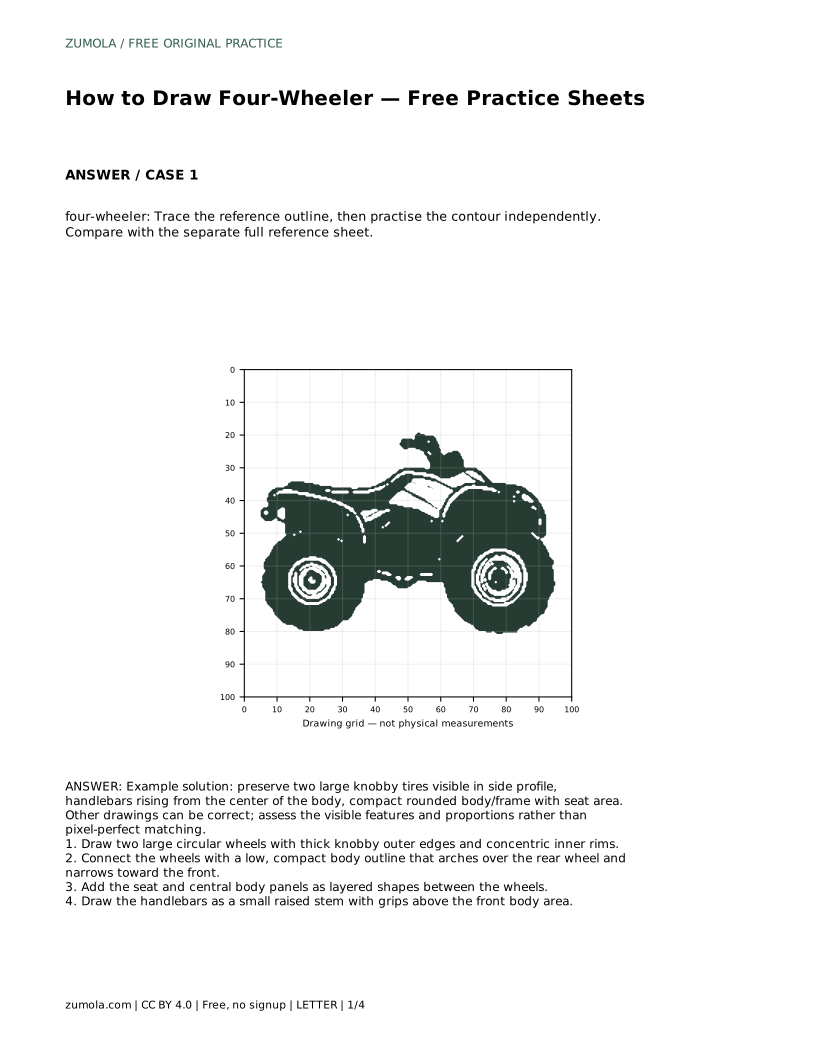
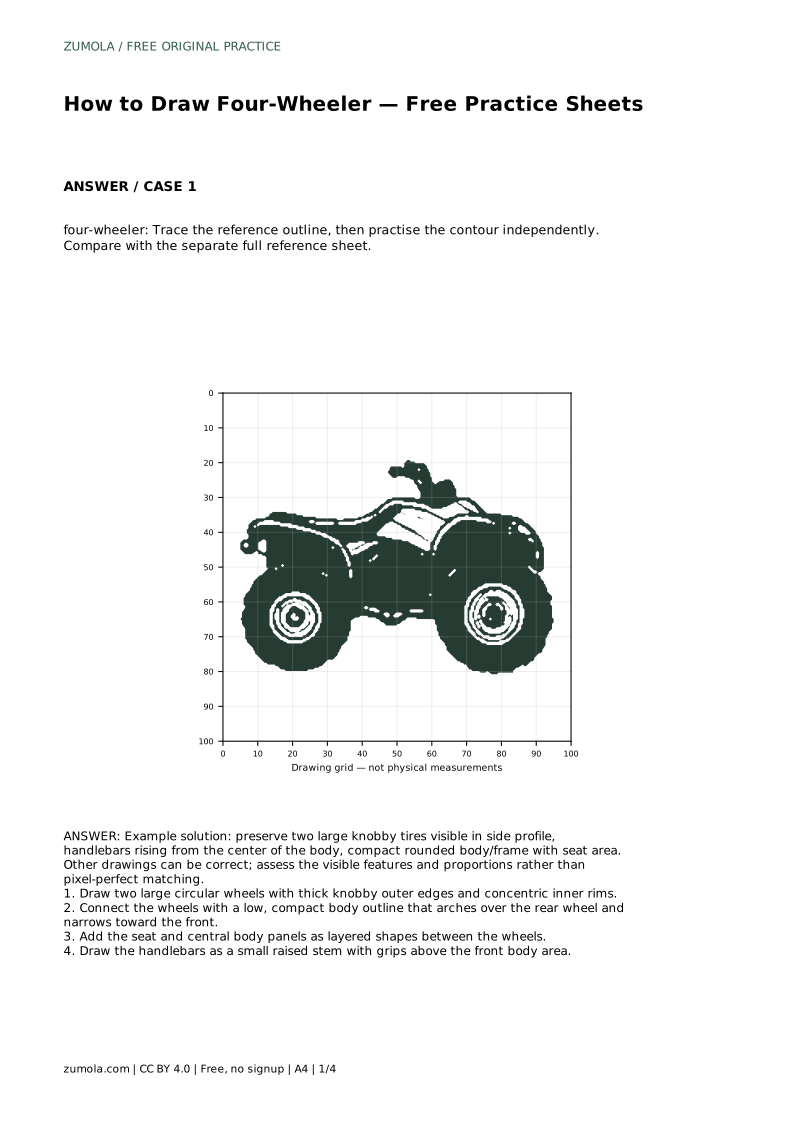
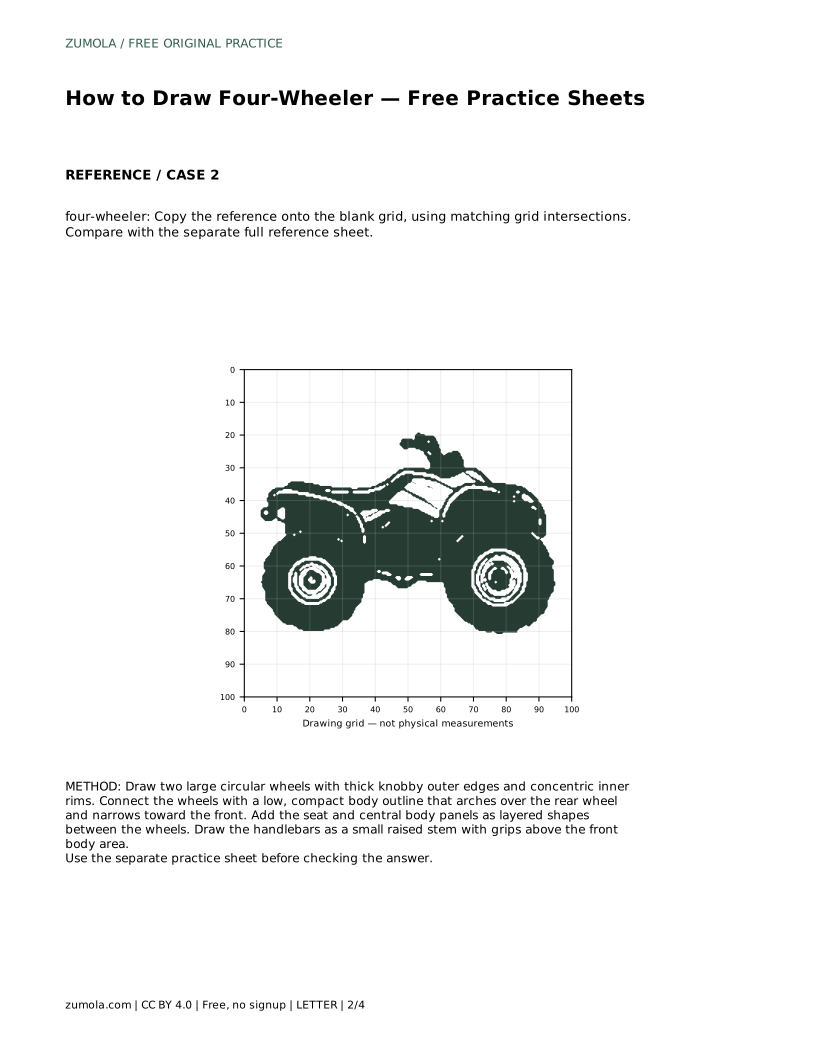
four-wheeler: Trace the reference outline, then practise the contour independently. Compare with the separate full reference sheet.
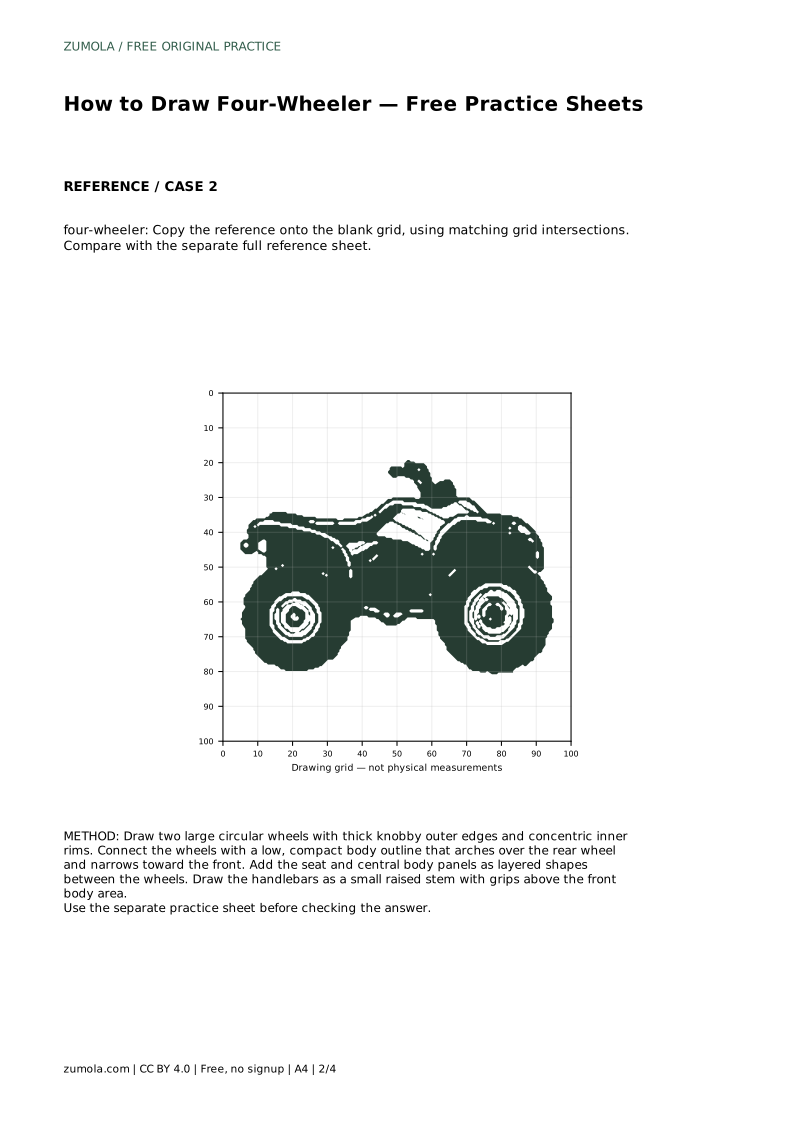
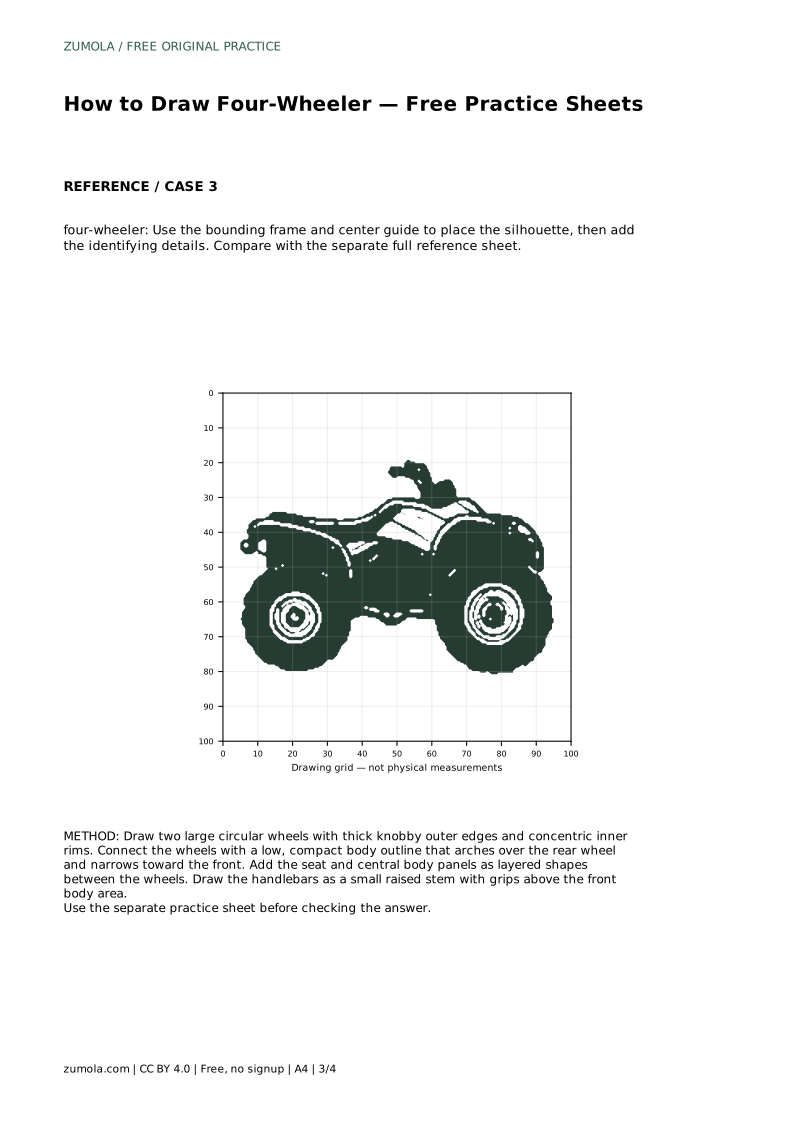
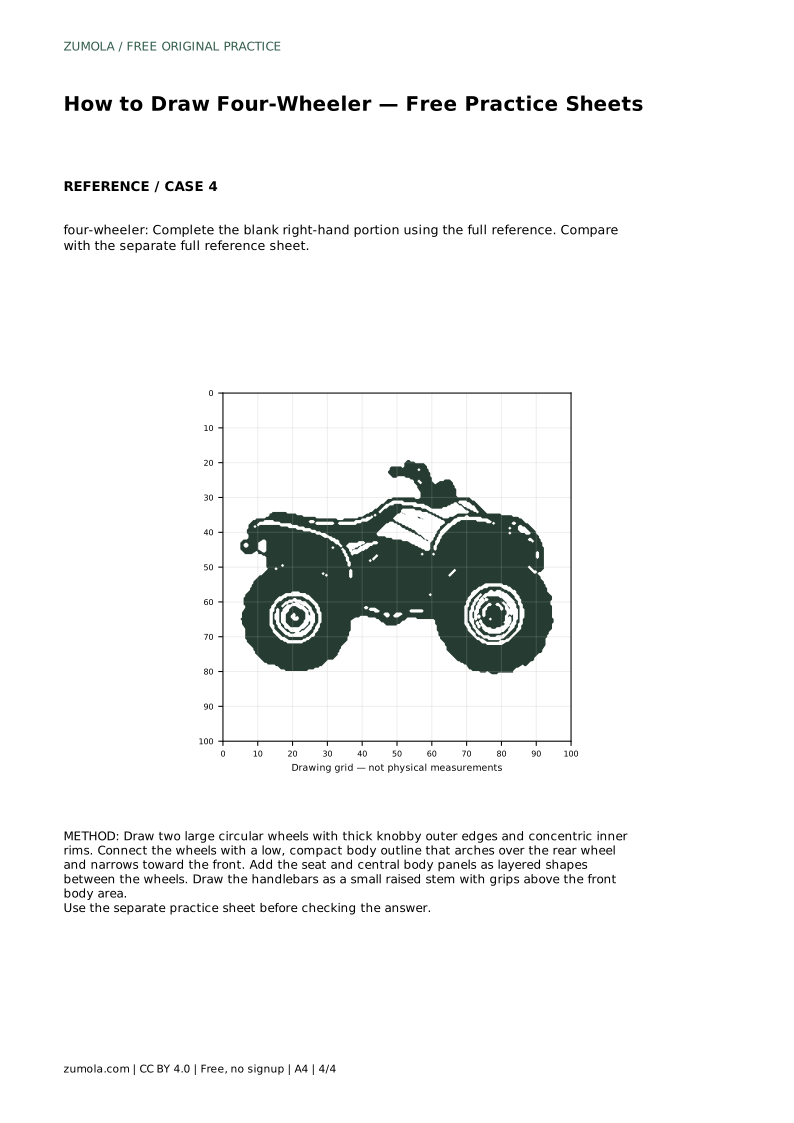
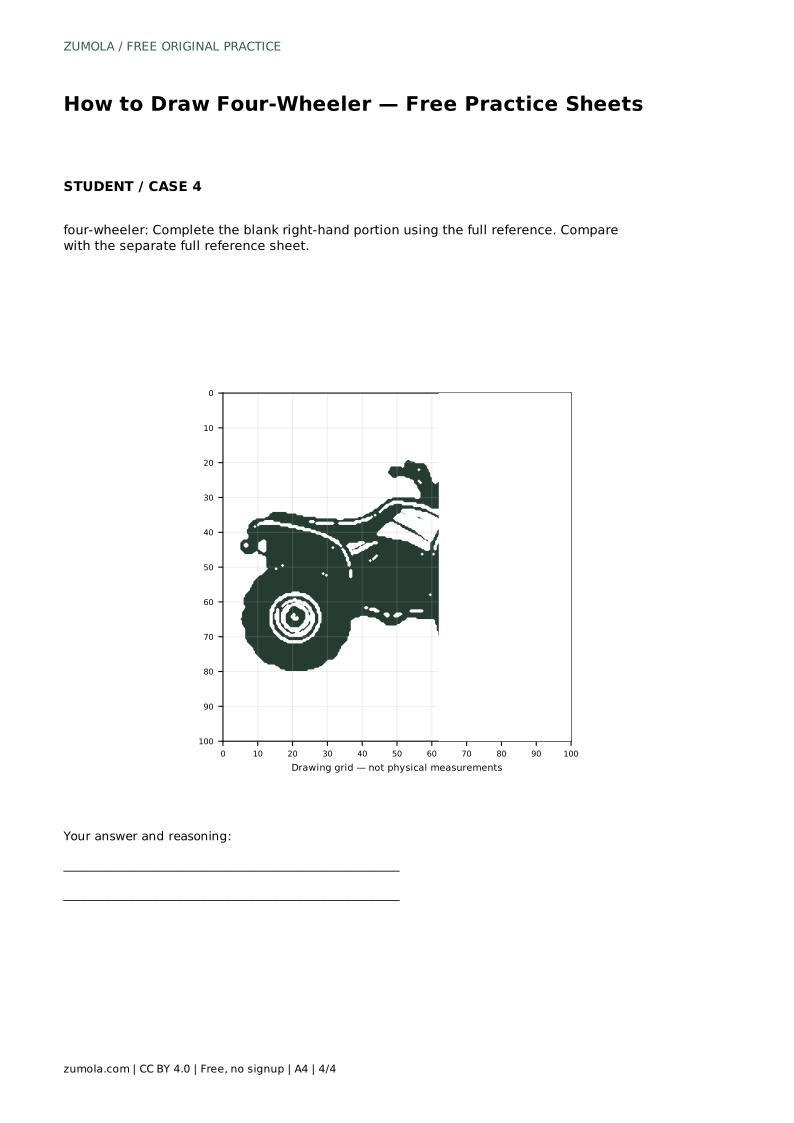
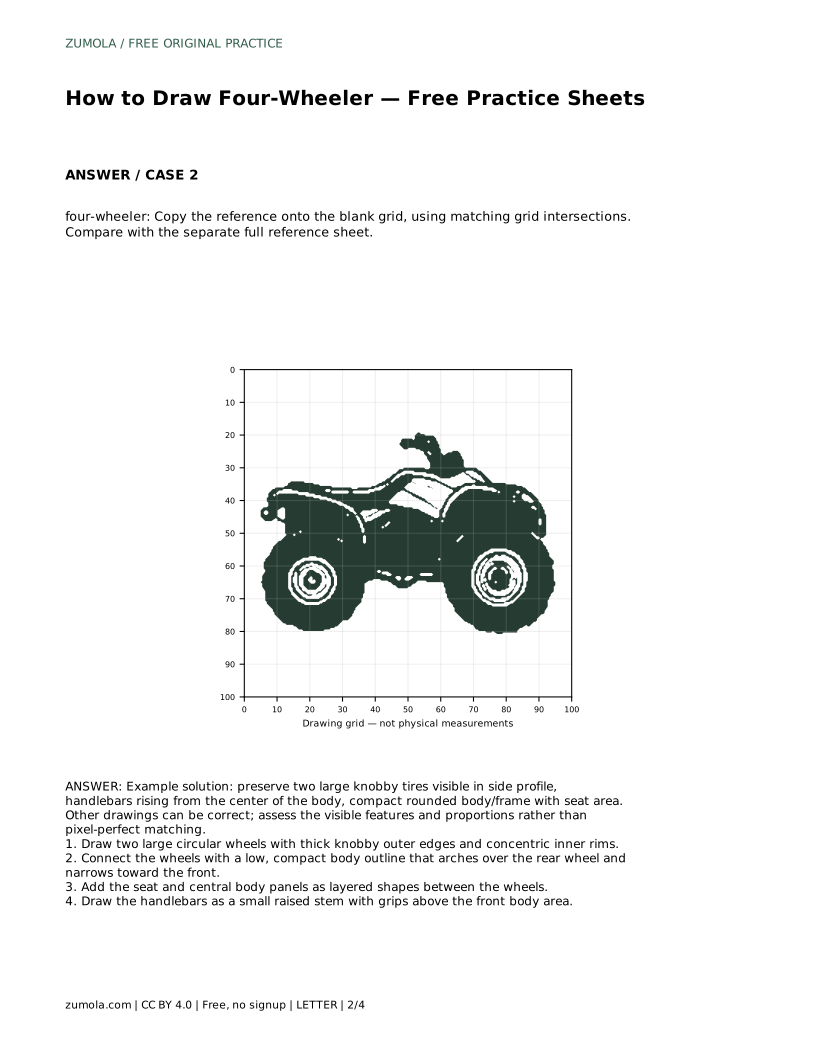
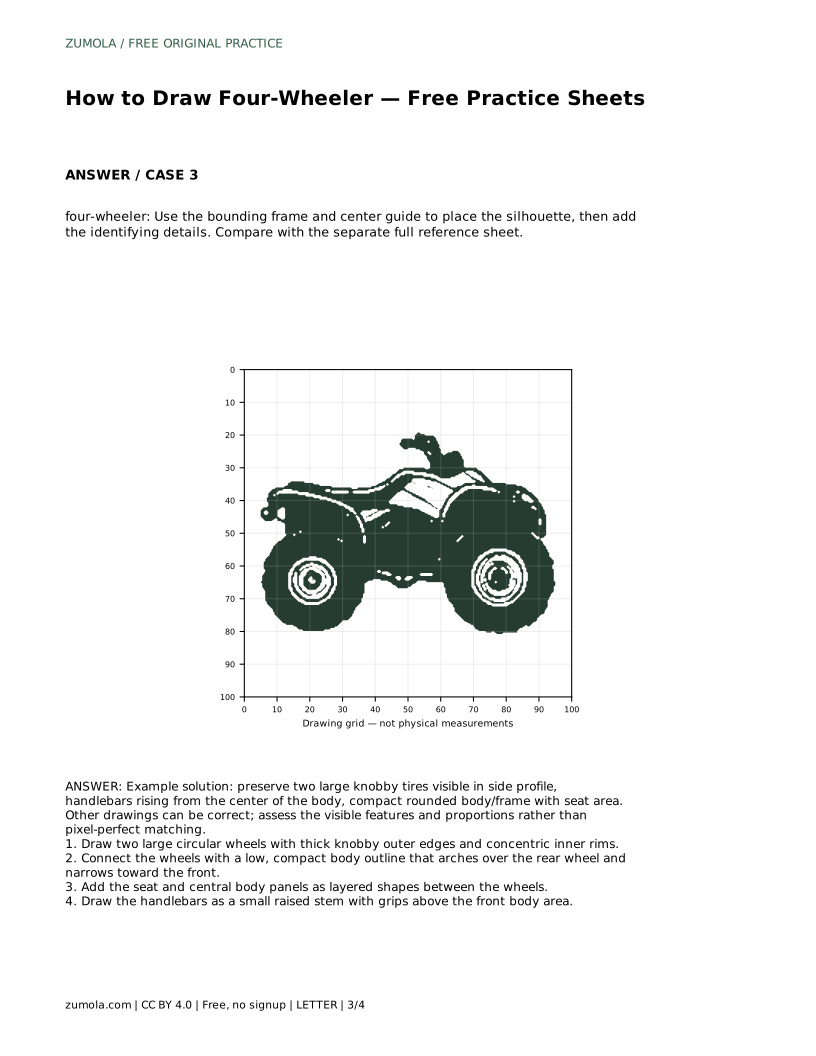
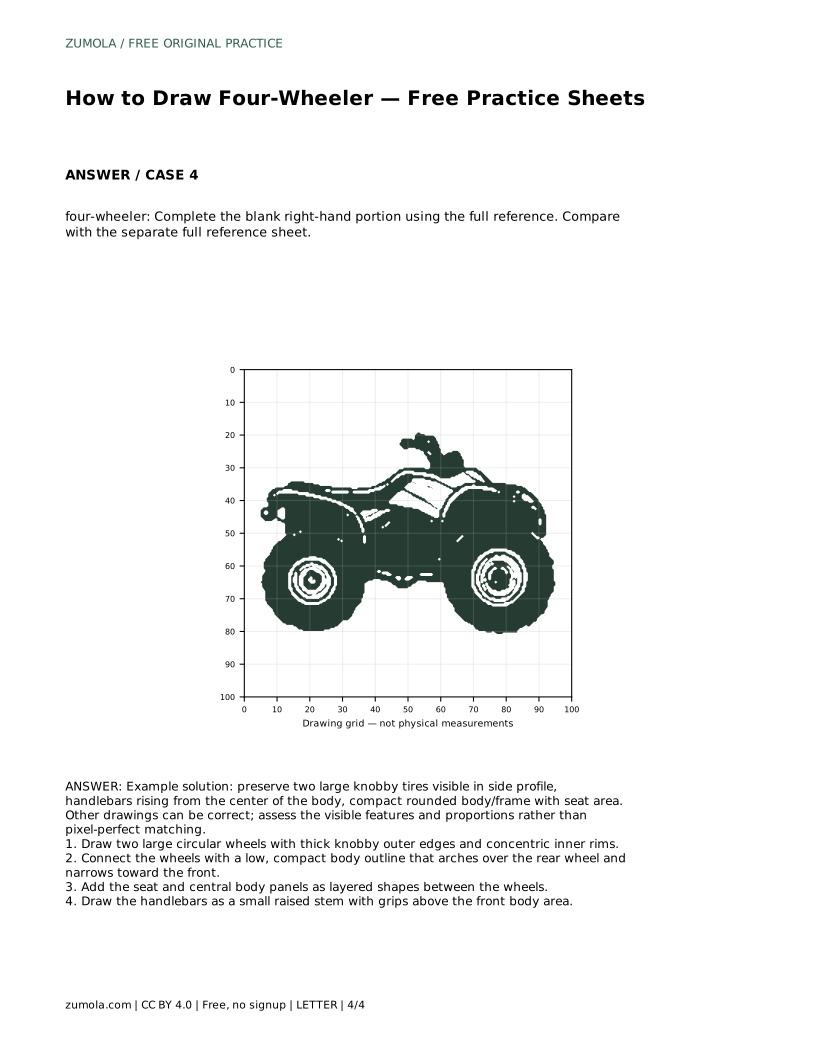
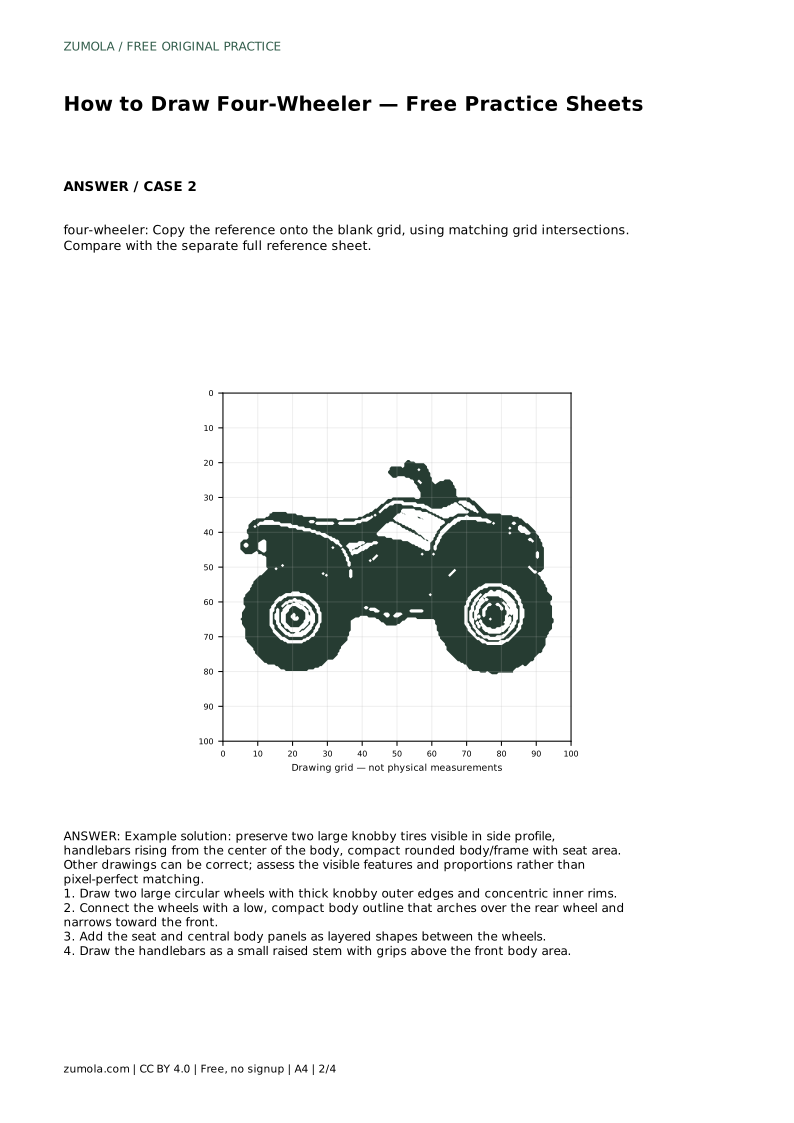
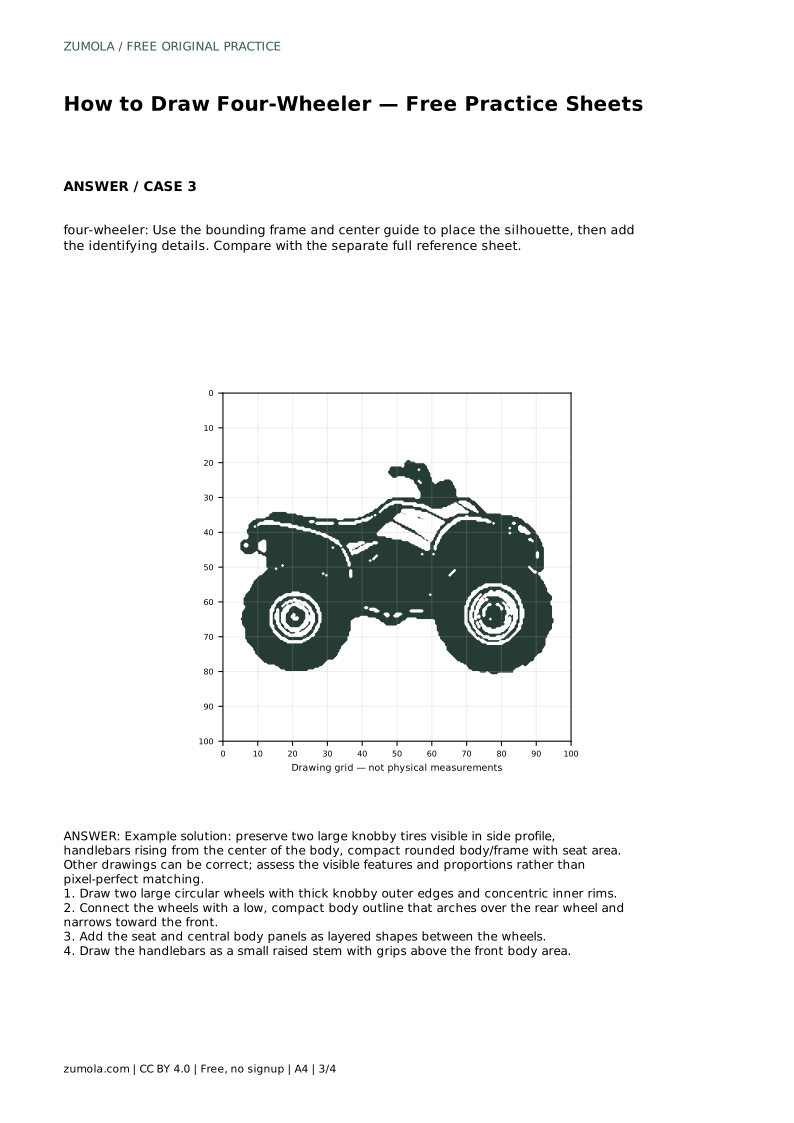
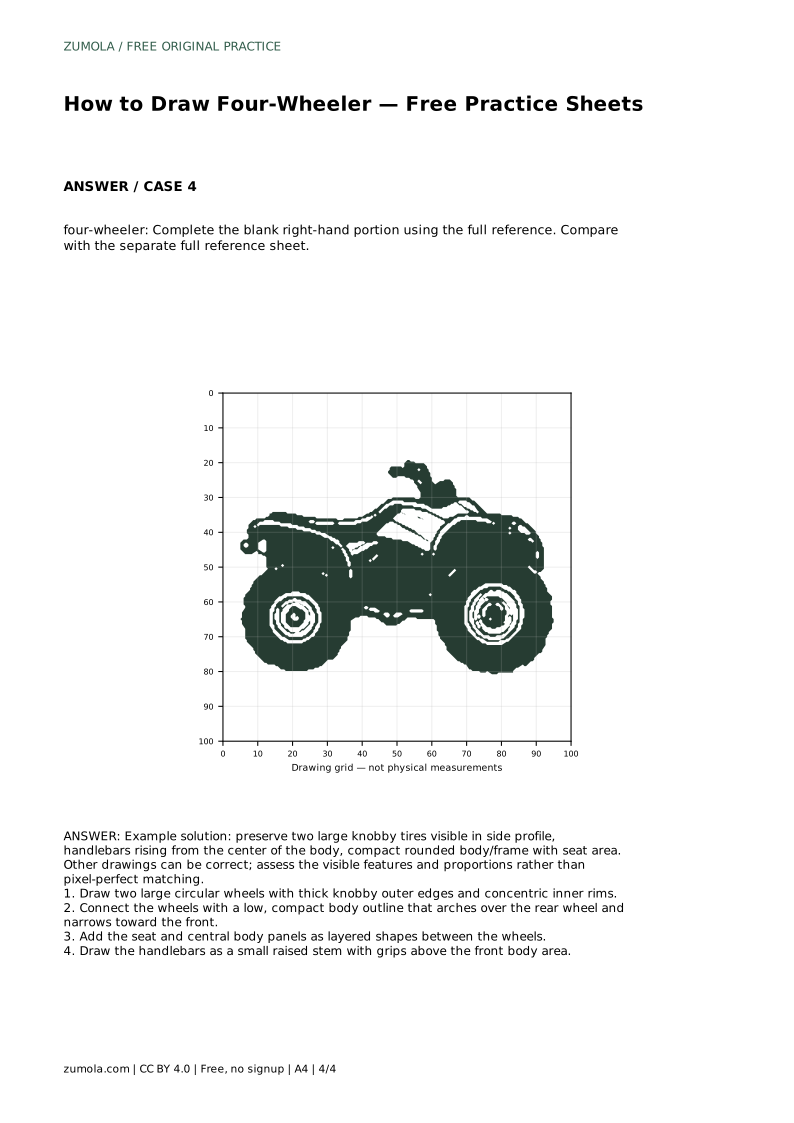
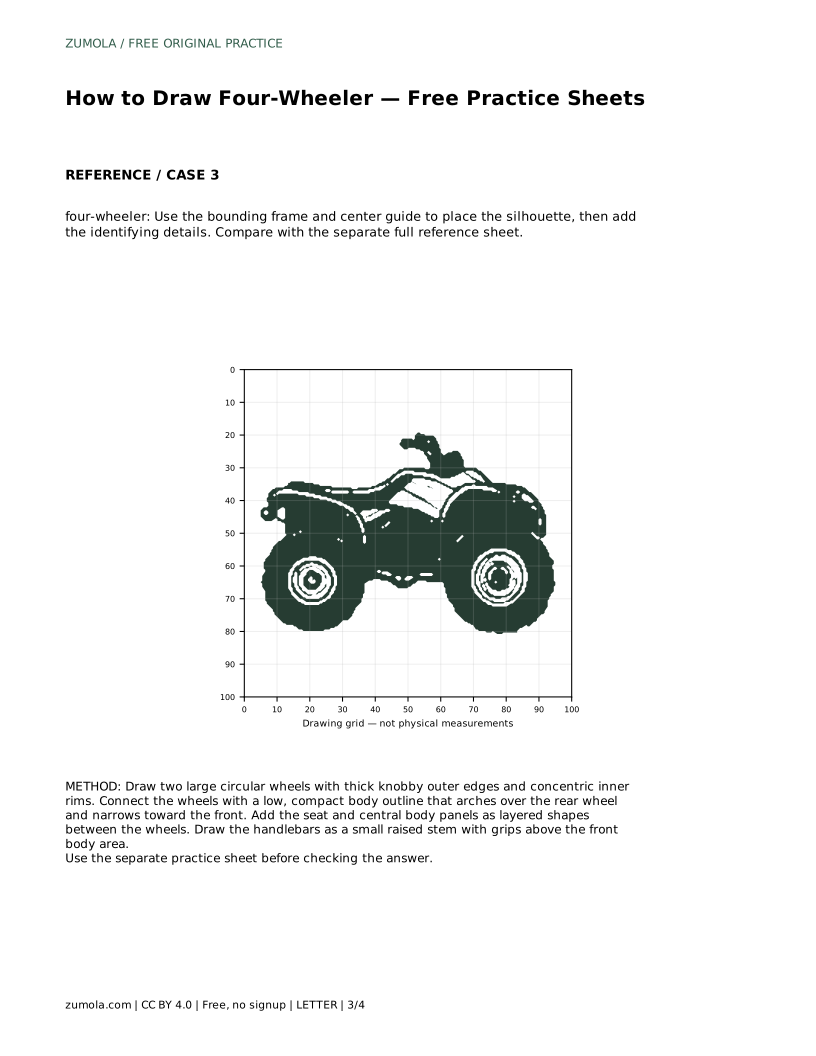
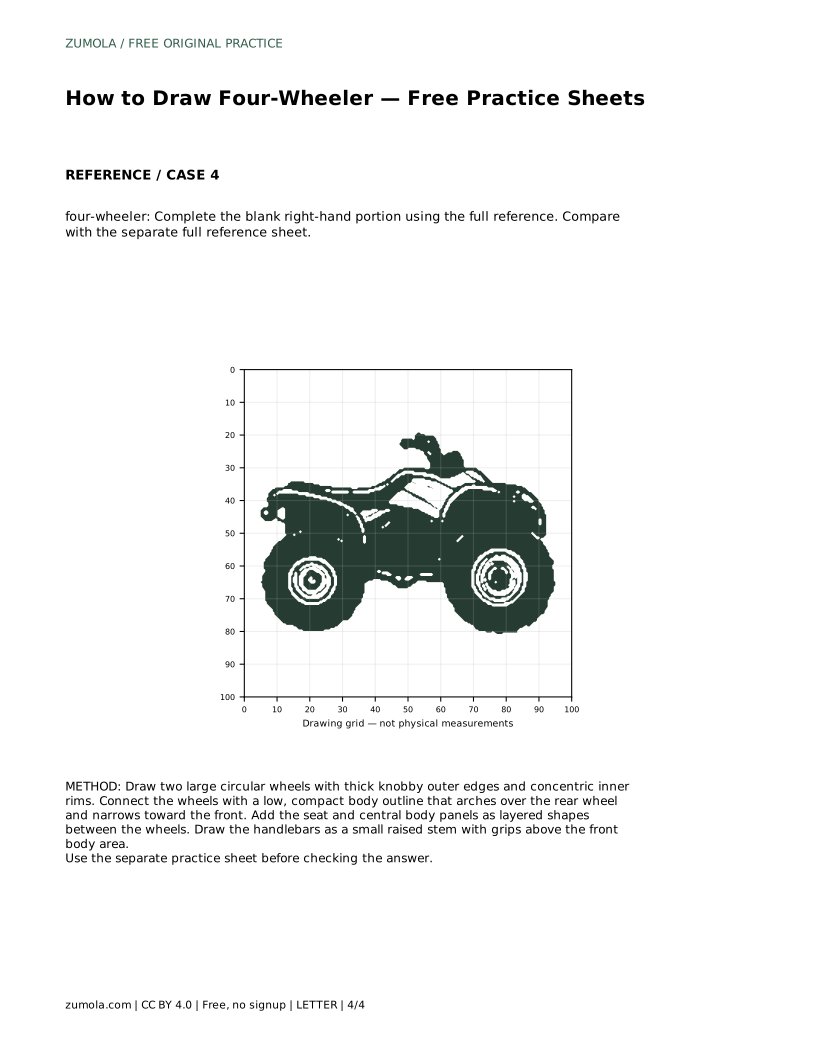
Example solution: preserve two large knobby tires visible in side profile, handlebars rising from the center of the body, compact rounded body/frame with seat area. Other drawings can be correct; assess the visible features and proportions rather than pixel-perfect matching. Draw two large circular wheels with thick knobby outer edges and concentric inner rims. Connect the wheels with a low, compact body outline that arches over the rear wheel and narrows toward the front. Add the seat and central body panels as layered shapes between the wheels. Draw the handlebars as a small raised stem with grips above the front body area.
They should be close in size in side profile. Small differences are fine, but a much smaller front wheel changes the vehicle into something that reads like a bicycle.
Check the visible features: two large knobby tires, a compact rounded body, a clear seat area, and handlebars rising from the center of the body. Several drawings can meet these points.
Yes, once the main shapes are placed. Add small details last so they do not pull the body or wheels out of proportion.
All drawing practice · Free coordinate paper
Original resources · CC BY 4.0 · Free for personal and classroom use with attribution.