Reference diagrams
LETTER · Download PDF
A4 · Download PDF
Free original resources
Learn to draw a space shuttle by tracing its outline, then working independently. Practise the pointed nose, delta wings and rear engine nozzles with free sheets.
Four original cases, with reference diagrams, practice sheets and worked answers. Everything is free; no signup required.
LETTER · Download PDF
A4 · Download PDF
LETTER · Download PDF
A4 · Download PDF
LETTER · Download PDF
A4 · Download PDF
Use A4 or US Letter to match your printer. Use the stated values and conditions to solve each exercise; diagrams are not physical measuring rulers.
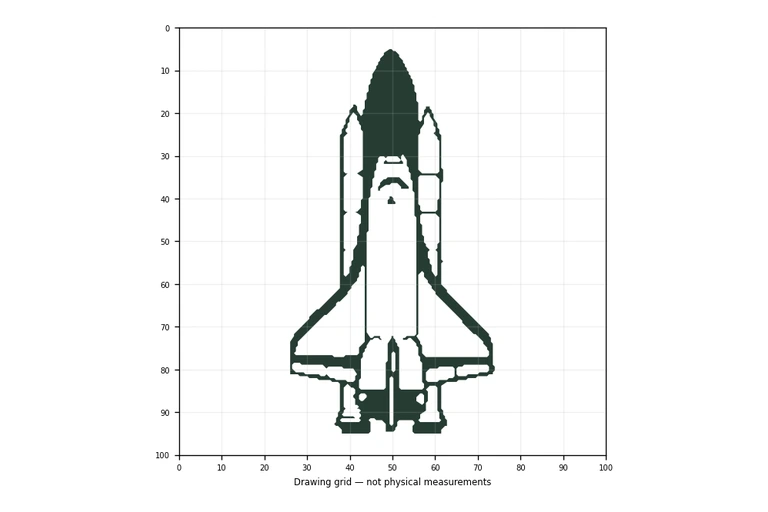
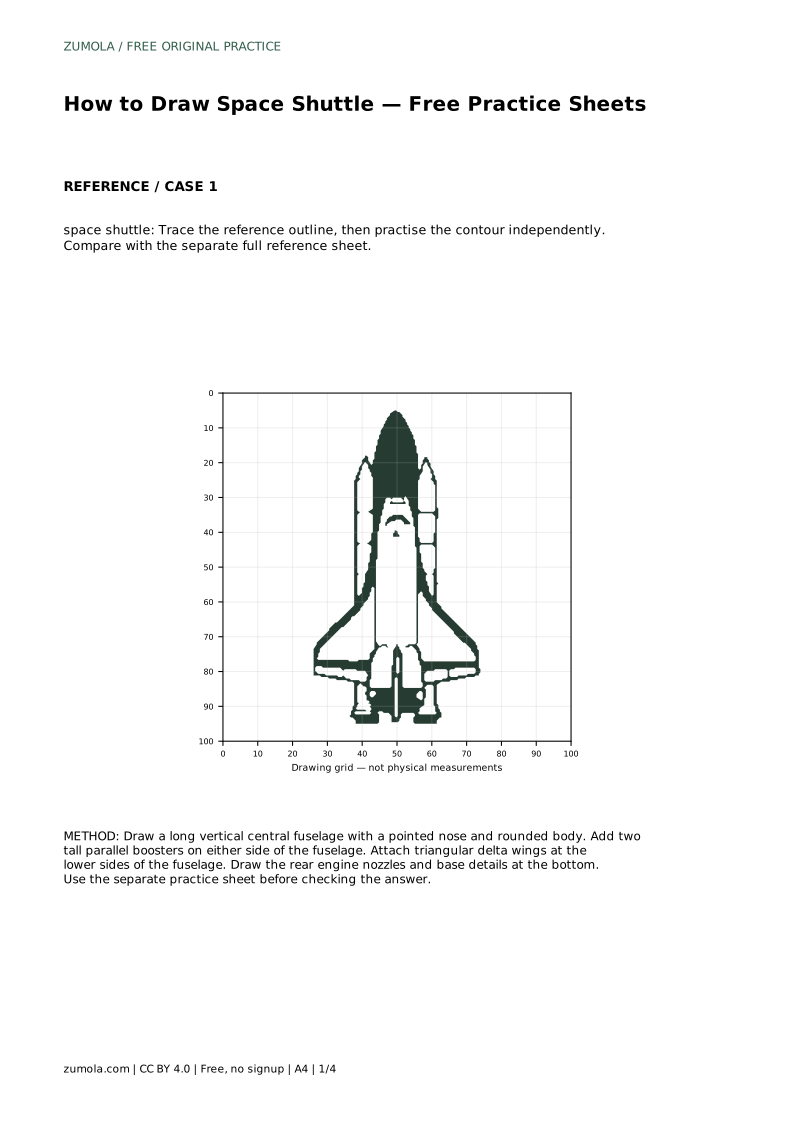
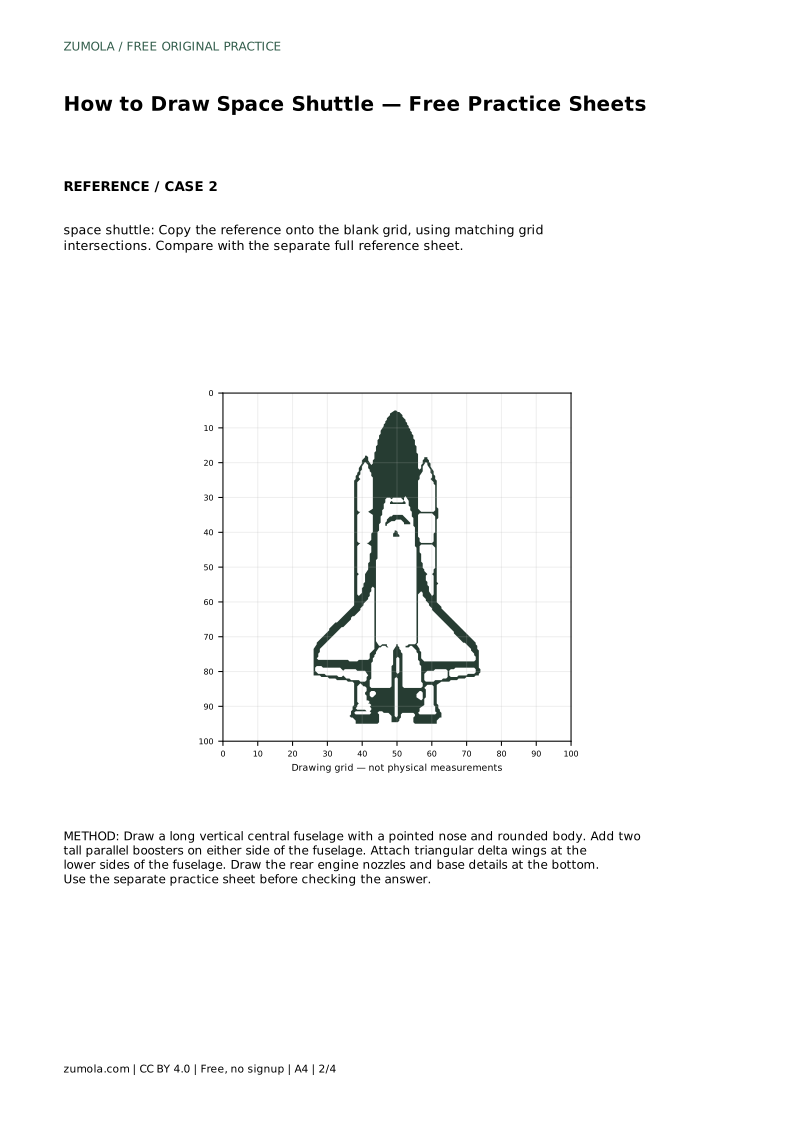
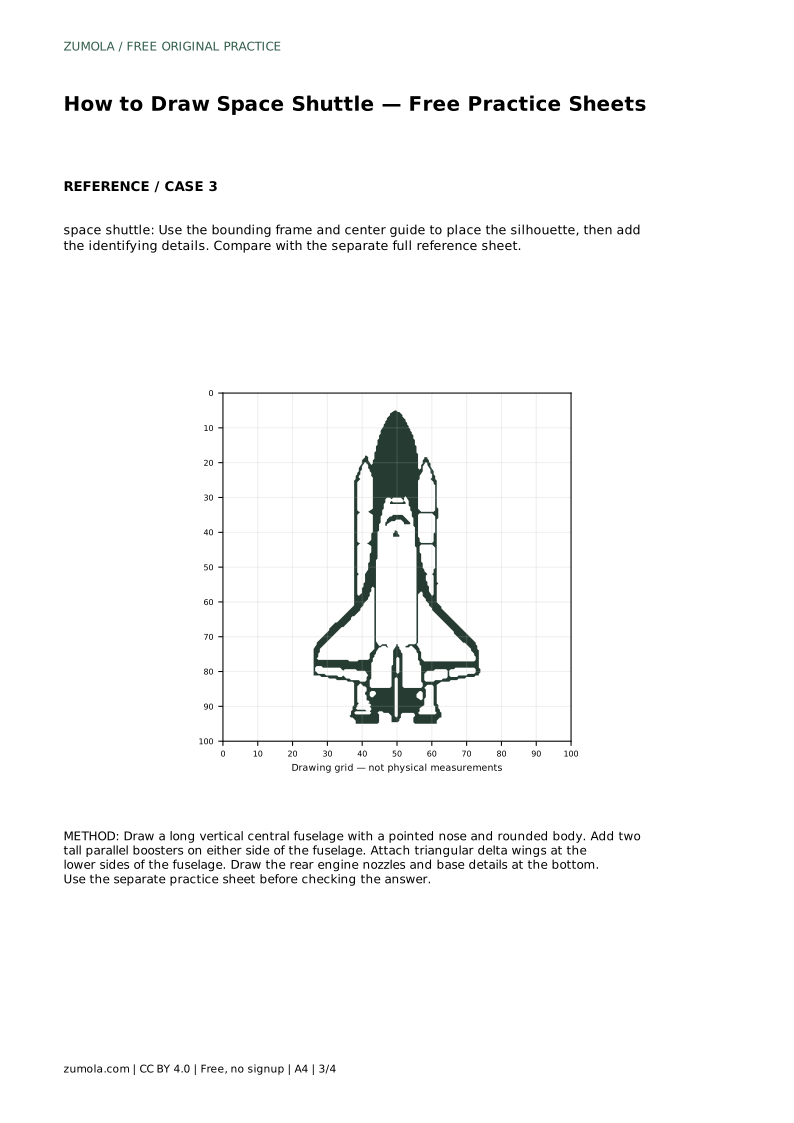
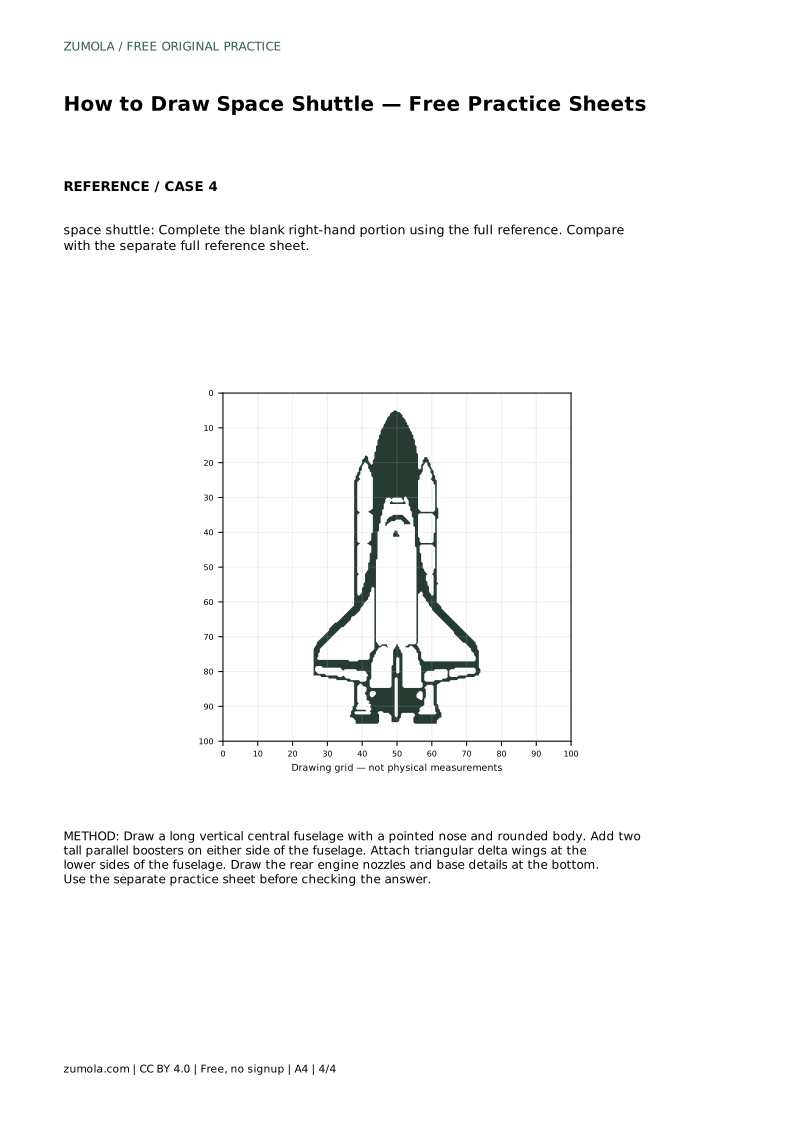
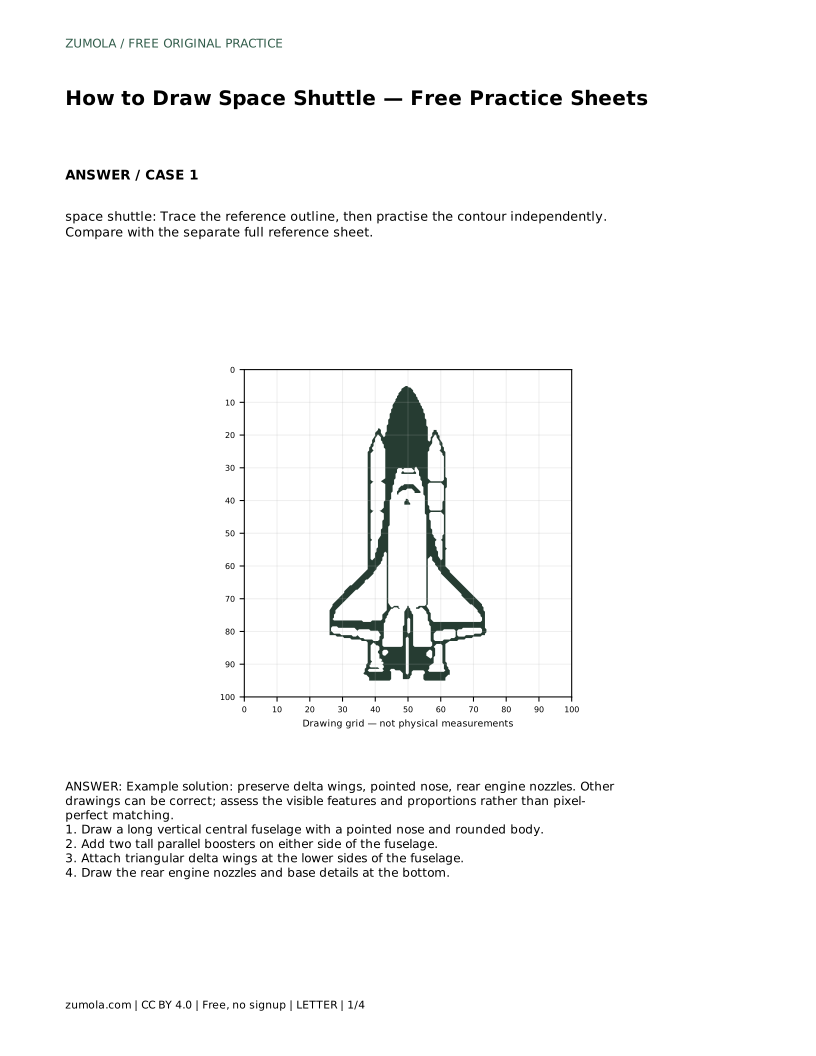
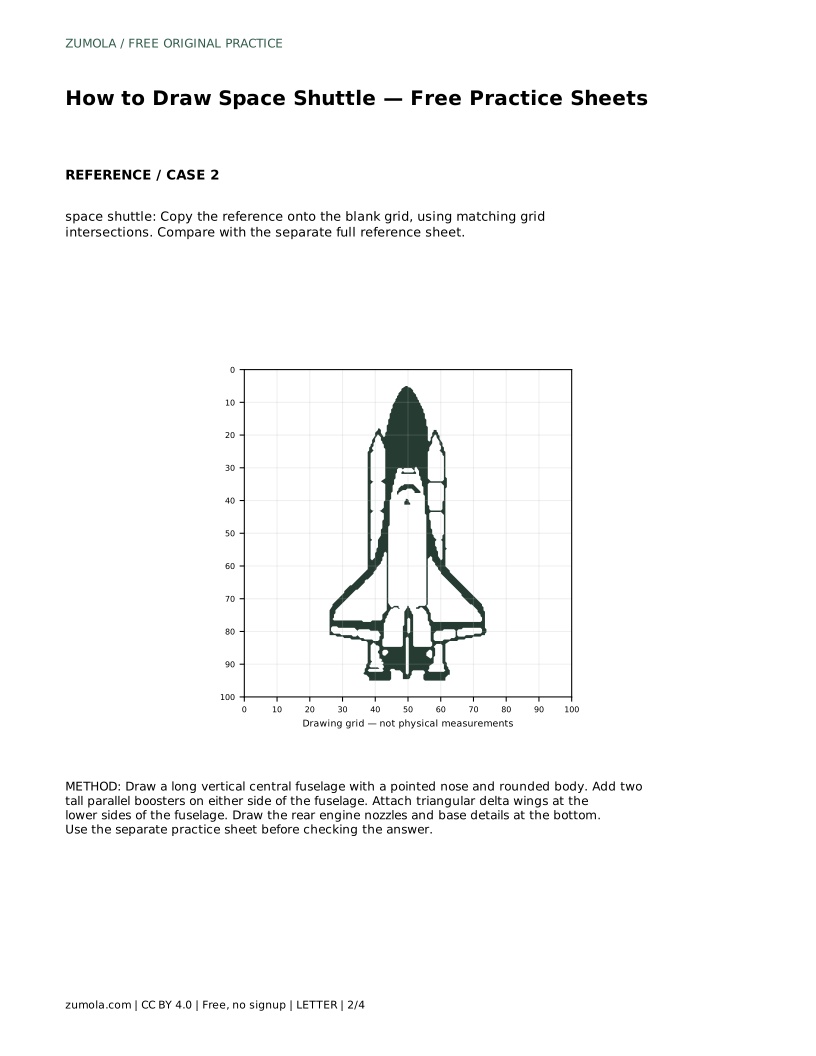
Drawing a space shuttle is mostly a matter of arranging a few strong shapes in the right order. The long central fuselage, the pointed nose, the triangular delta wings and the cluster of rear engine nozzles give the shuttle its unmistakable silhouette. This page explains a reliable sequence for building that silhouette, then shows how to use tracing, grid and partial-outline practice sheets to strengthen your control. The aim is not a pixel-perfect copy but a drawing that clearly reads as a shuttle.
Begin with the largest shape, because everything else is positioned relative to it. Draw a long central fuselage as a narrow vertical form. Keep the sides gently rounded rather than perfectly straight, and taper the top into a pointed nose. The nose should sit on the centre line of the fuselage so the body looks balanced.
Work lightly at this stage. A faint outline is easier to adjust than a heavy one, and you will want to refine the taper once the wings and boosters are in place. Check that the fuselage is clearly longer than it is wide; a stubby body will not read as a shuttle.
Add two tall parallel boosters on either side of the fuselage. Keep them similar in height to each other and roughly symmetrical about the centre line. Their tops should sit near the upper part of the fuselage, and their sides should stay parallel rather than flaring outward.
Next, attach triangular delta wings at the lower sides of the fuselage. Each wing is a broad triangle whose wide edge faces the rear and whose point meets the body. Keep the two wings matched in size and angle. The triangular shape is the key identifying feature, so avoid rounding it into a curved fin.
Draw the rear engine nozzles and base details at the bottom. The nozzles sit in a cluster at the base of the fuselage, below the wings. Draw them as small rounded openings of similar size, spaced evenly across the base. A short line or two around the base can suggest the mounting structure without turning into clutter.
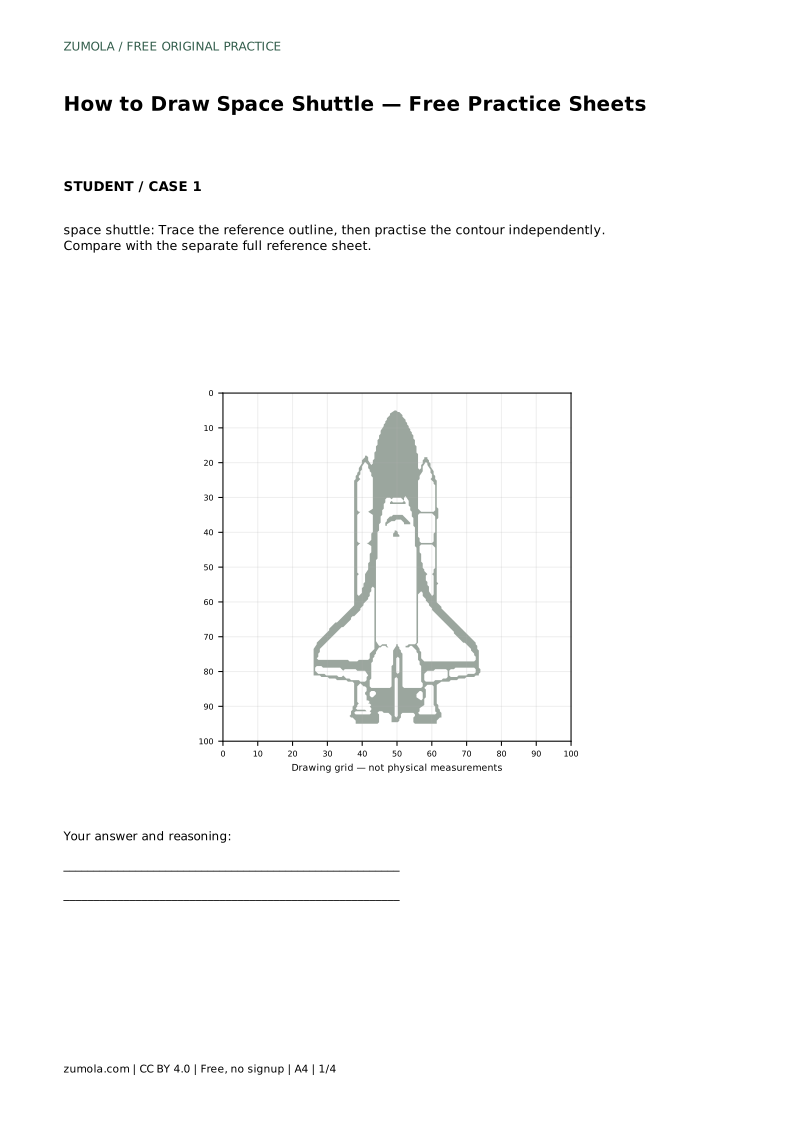
Once the main features are placed, step back and compare your drawing with the separate full reference sheet. Look for the pointed nose, the delta wings and the rear engine nozzles. If one of these is unclear, adjust that area rather than redrawing everything.
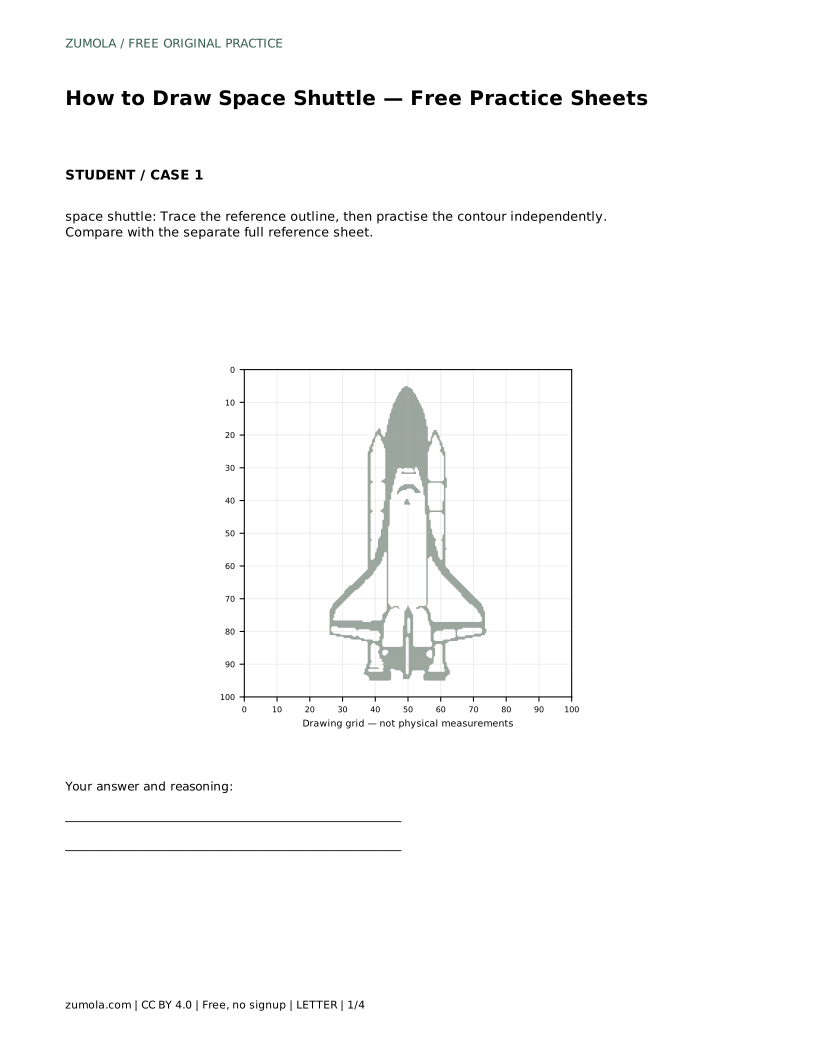
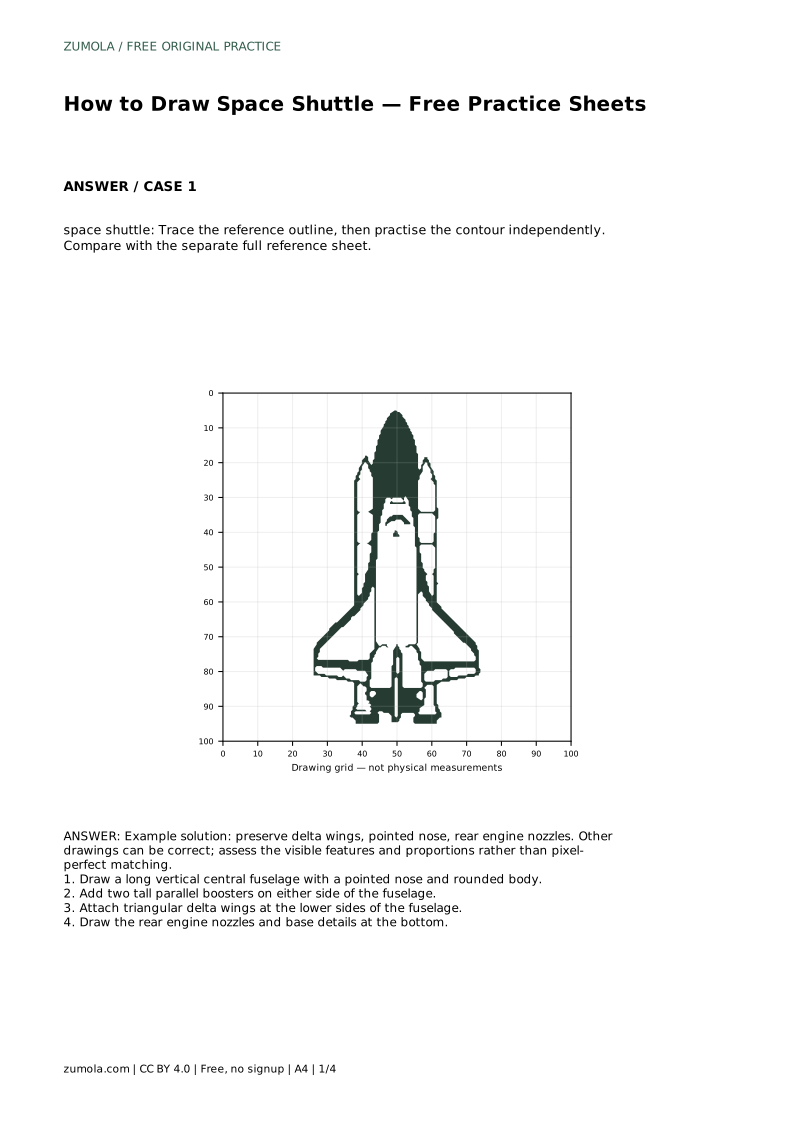
The tracing sheet asks you to follow the reference outline first, then practise the contour independently. Tracing builds familiarity with the sequence; the independent pass is where the learning happens, so give it your full attention rather than glancing back constantly.
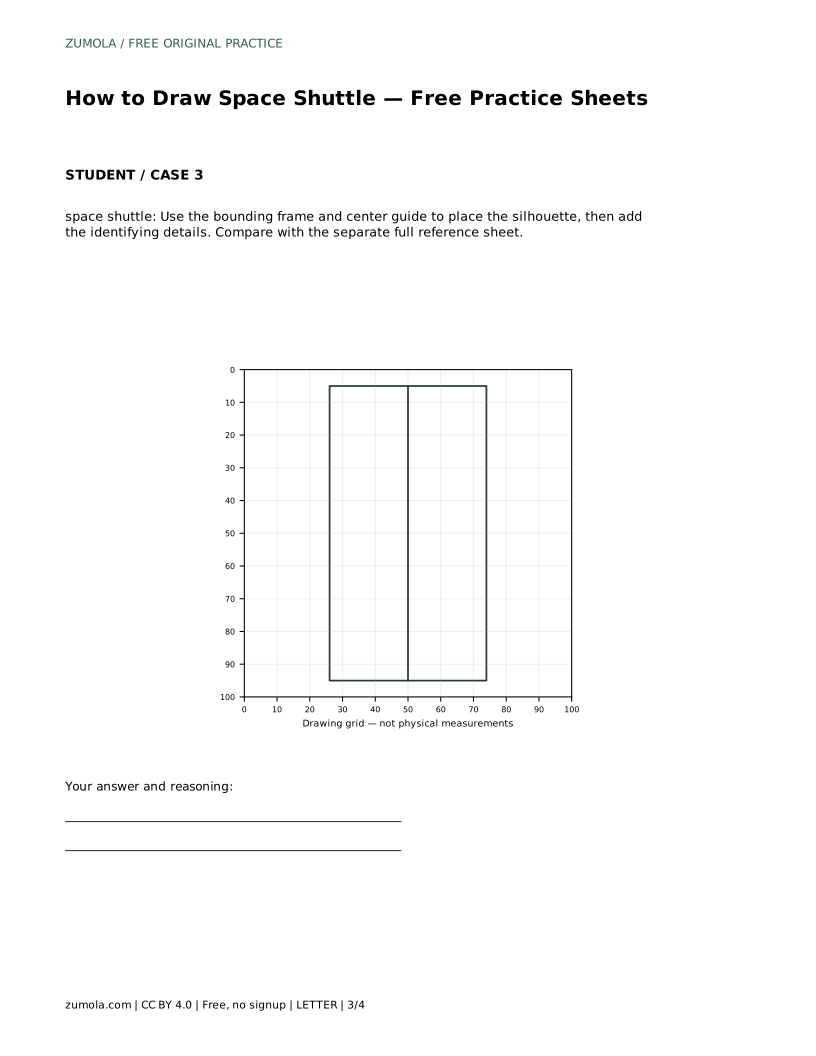
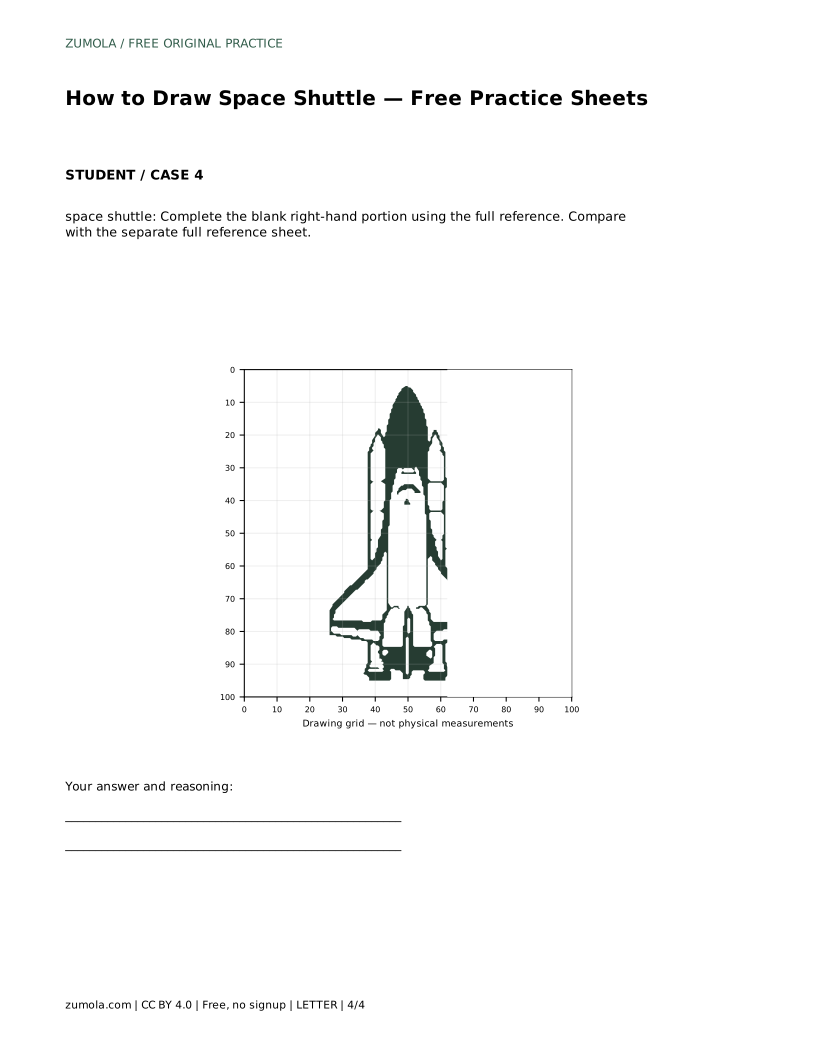
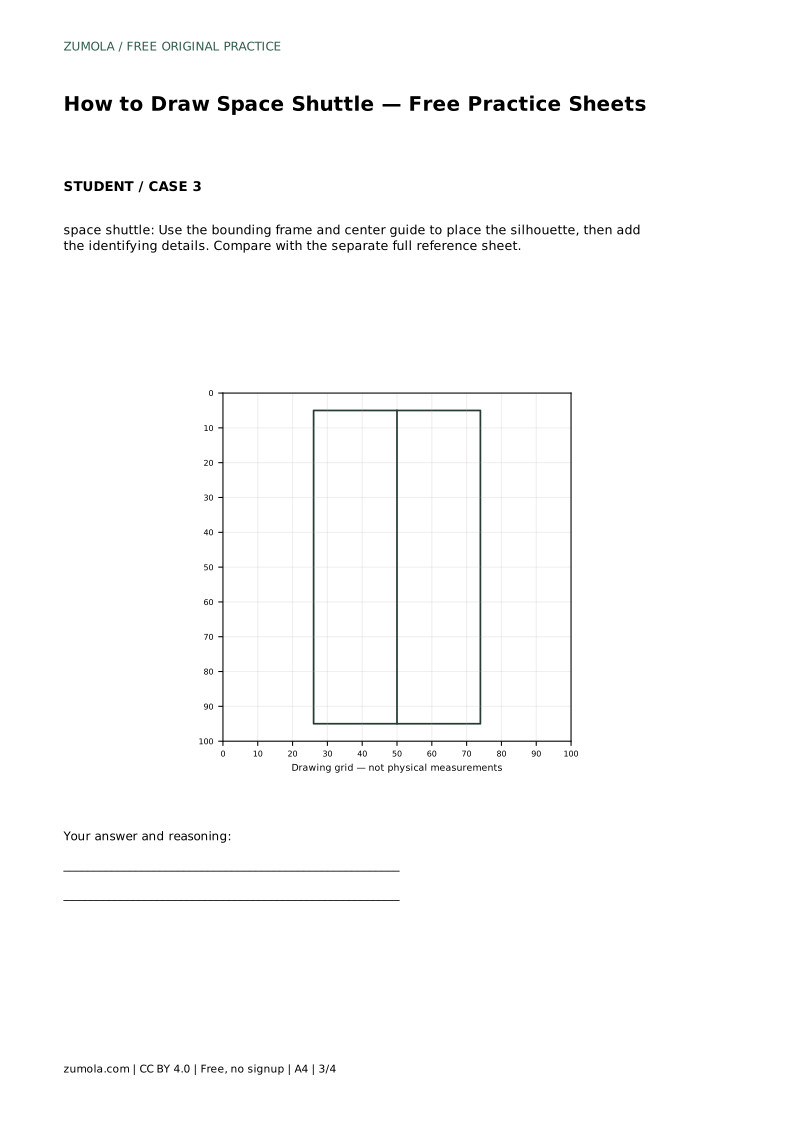
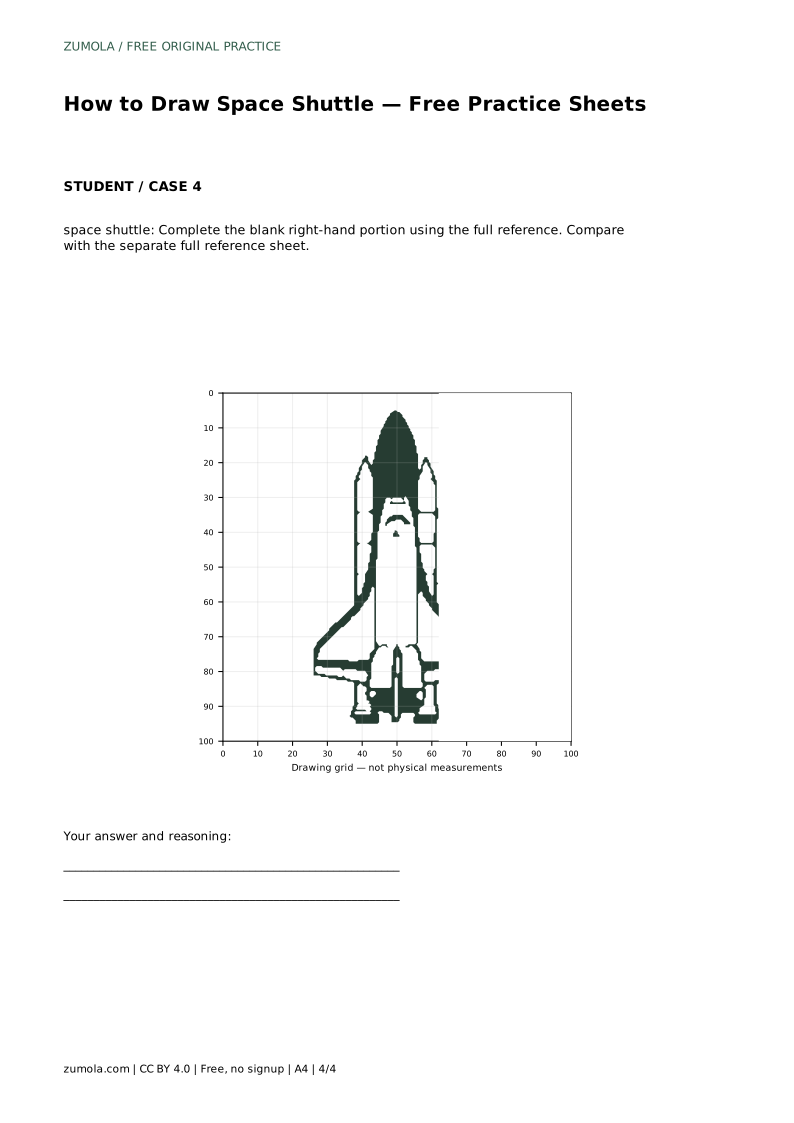
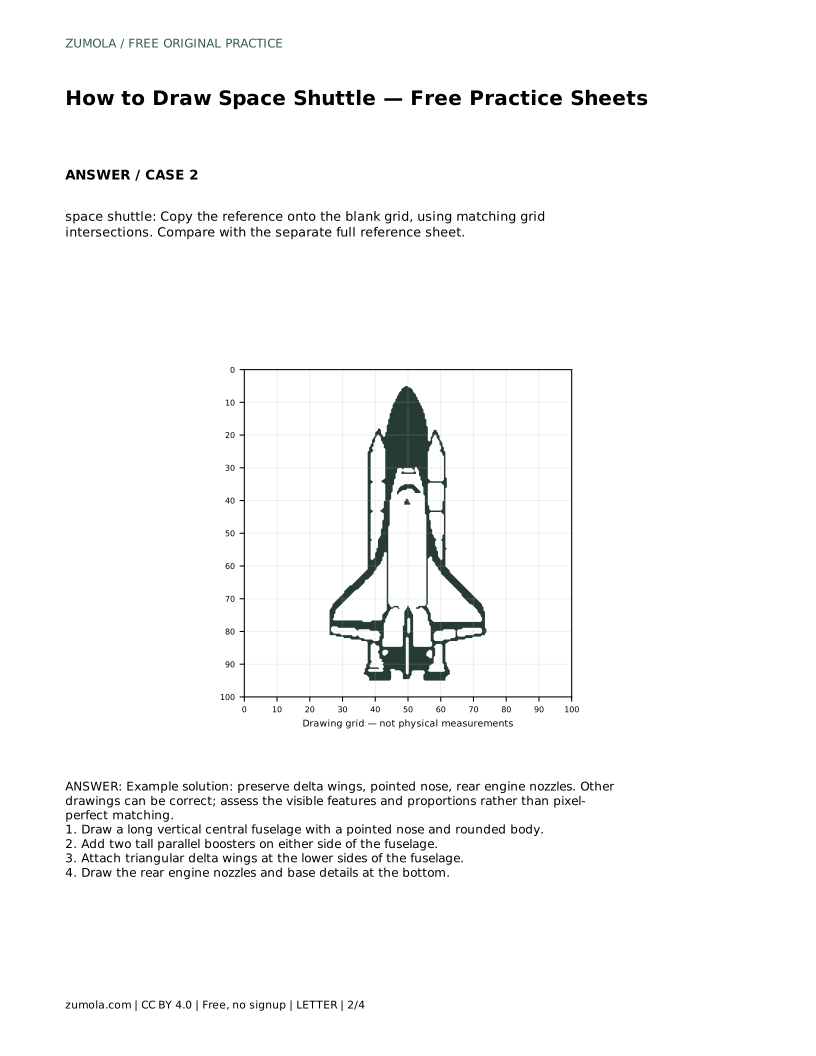
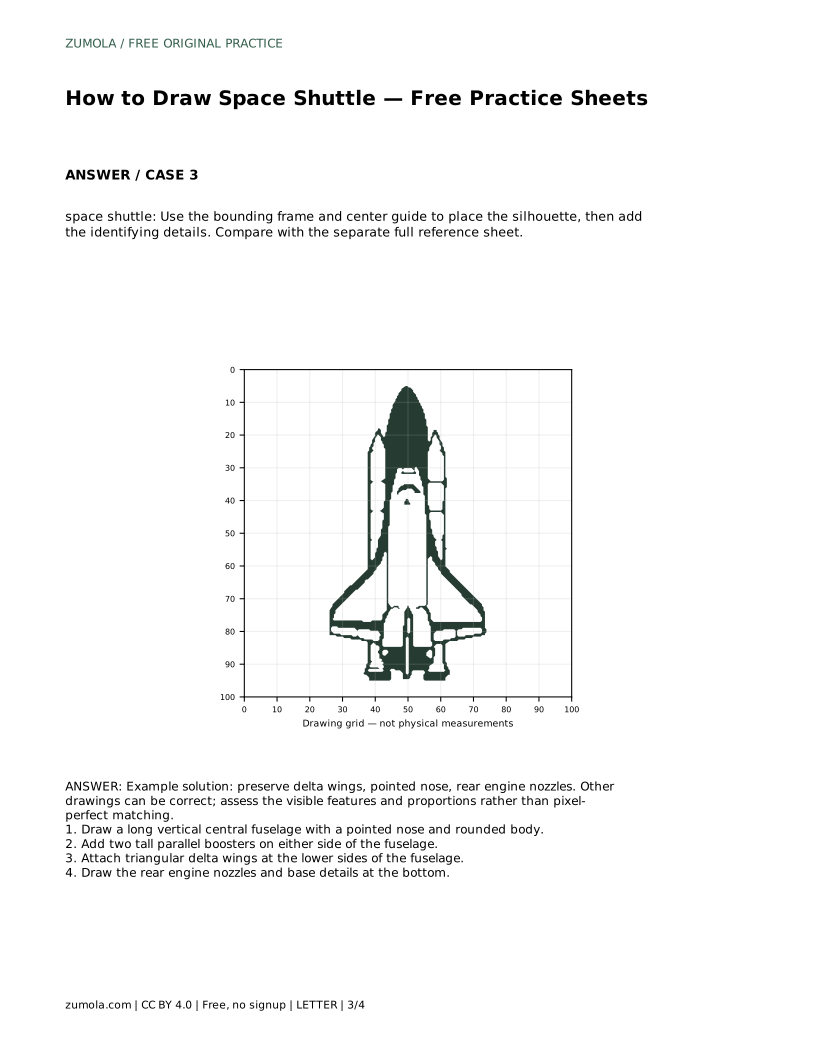
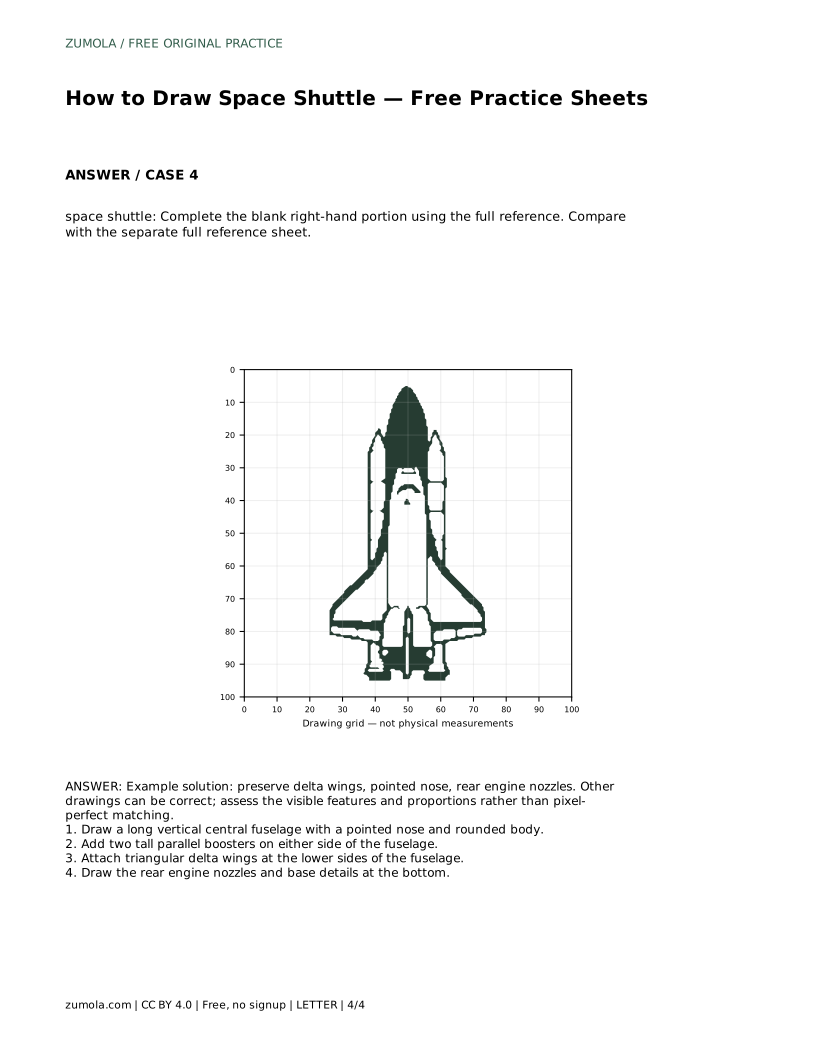
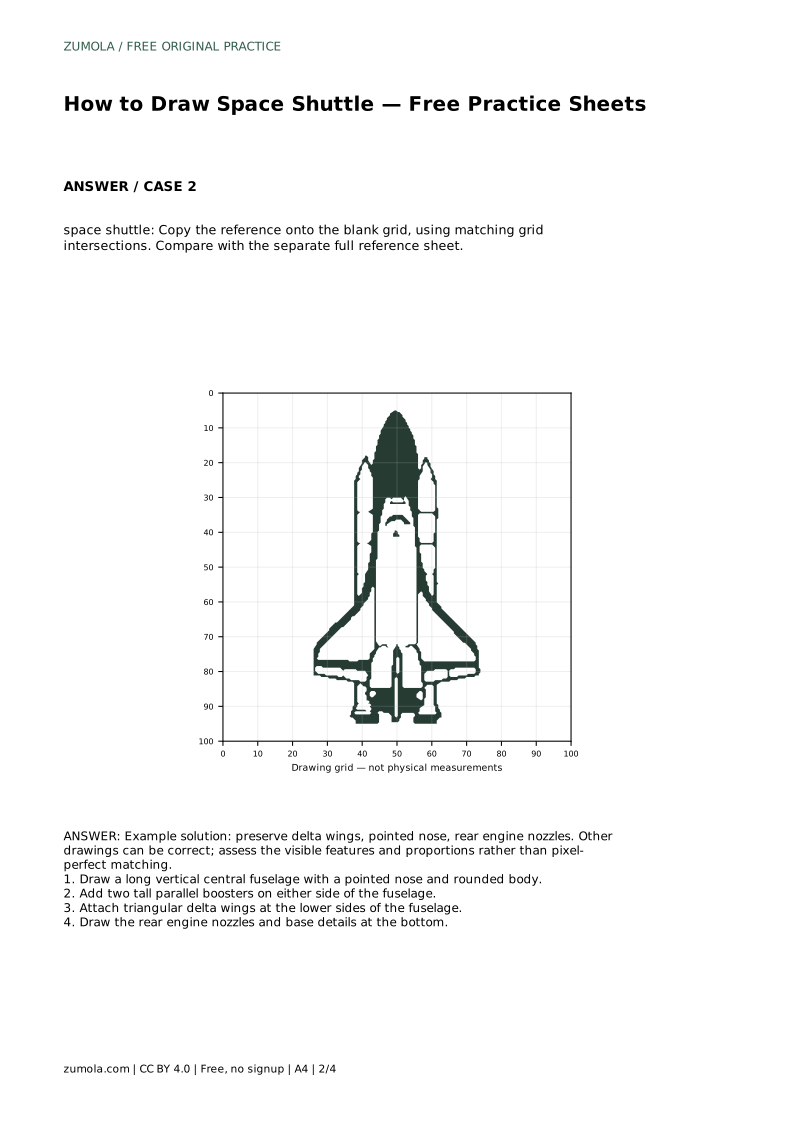
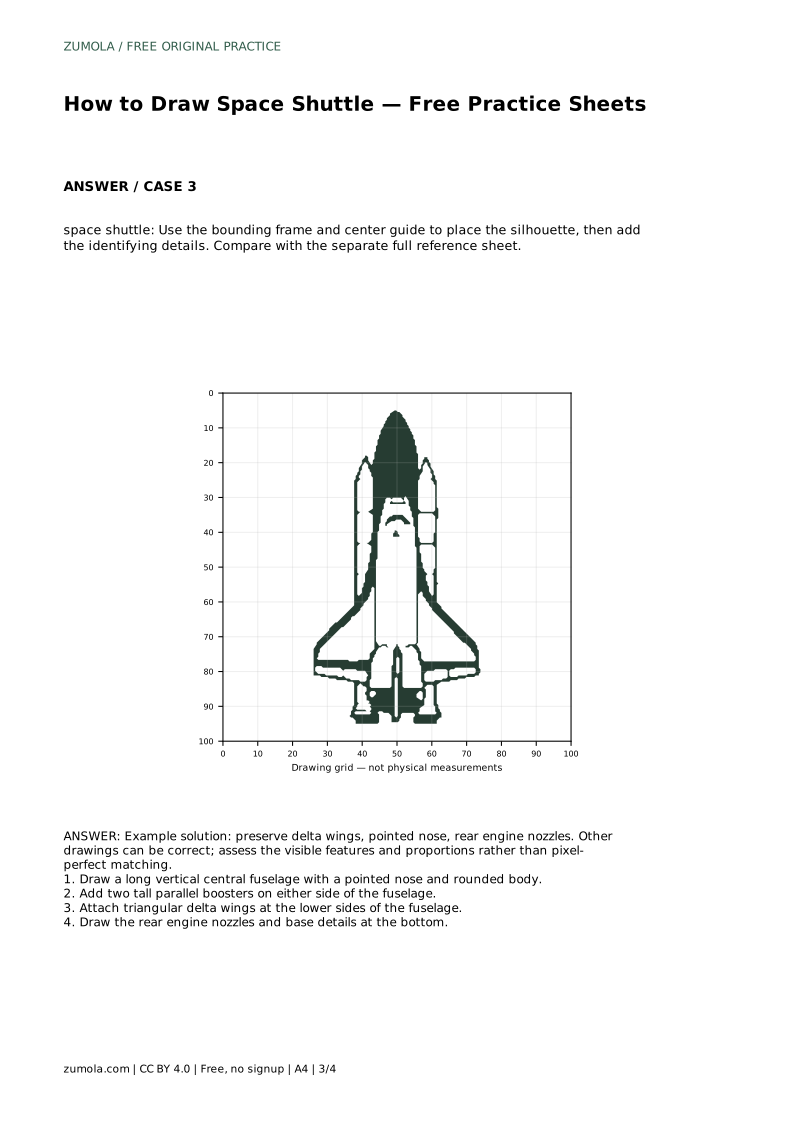
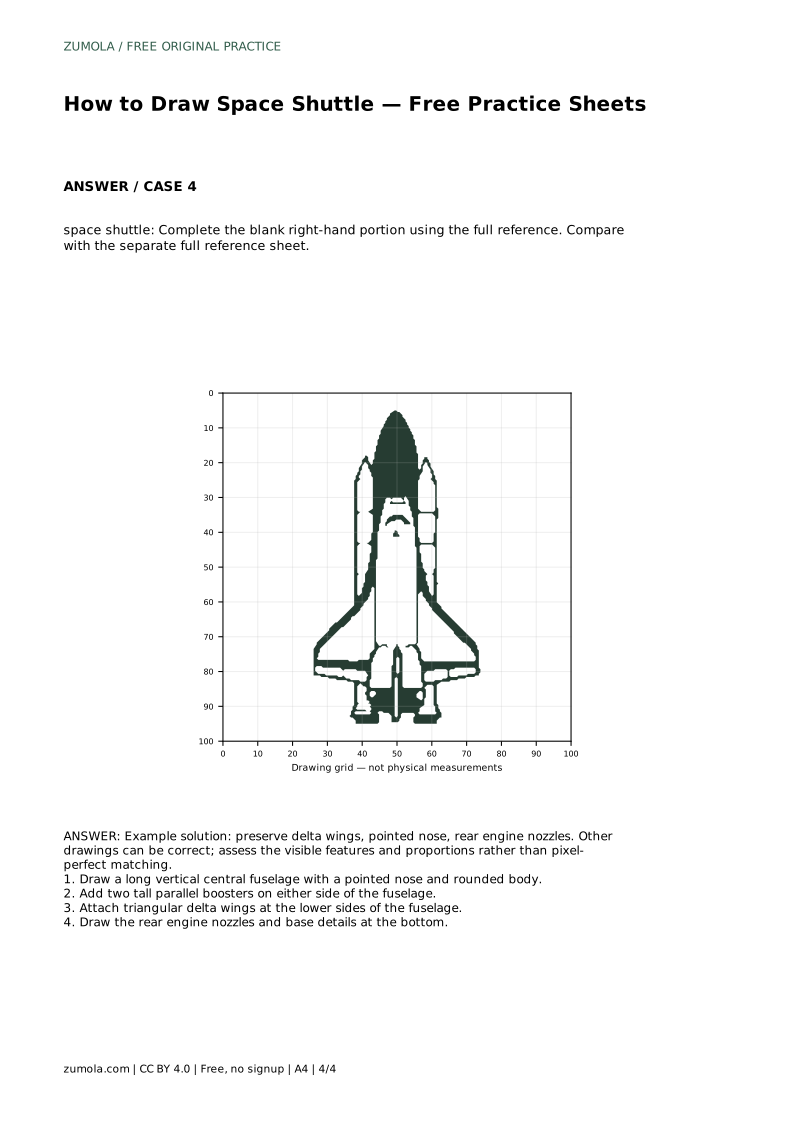
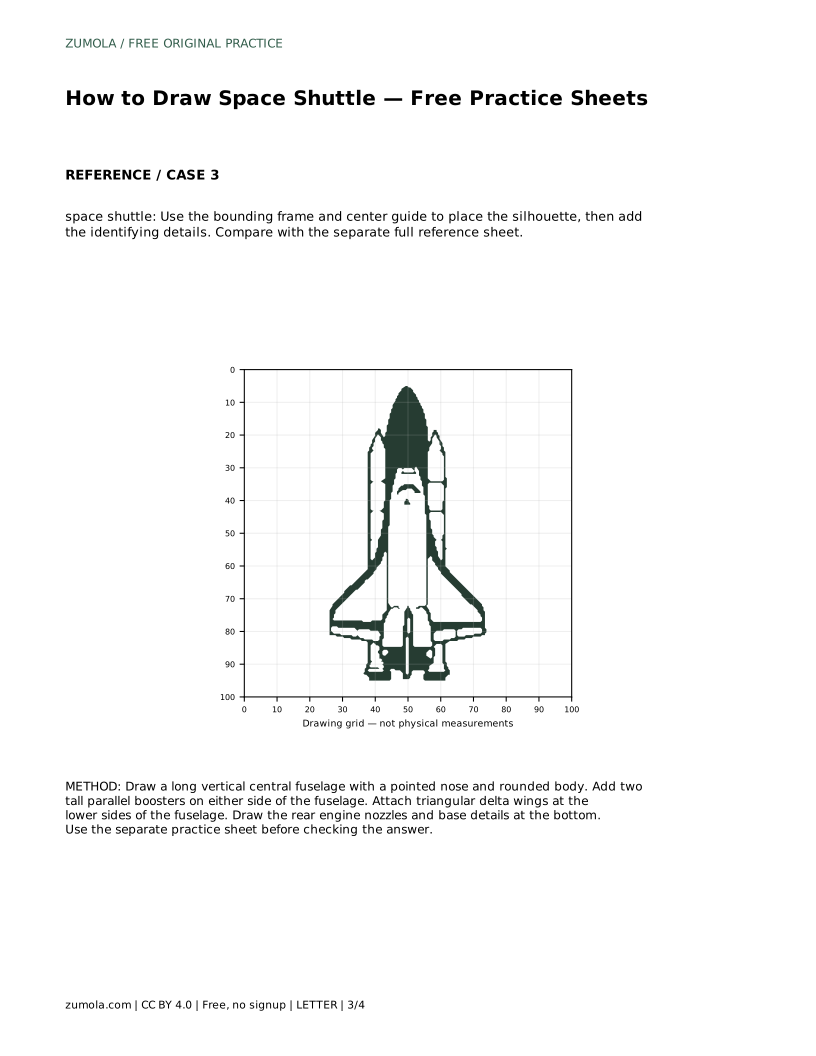
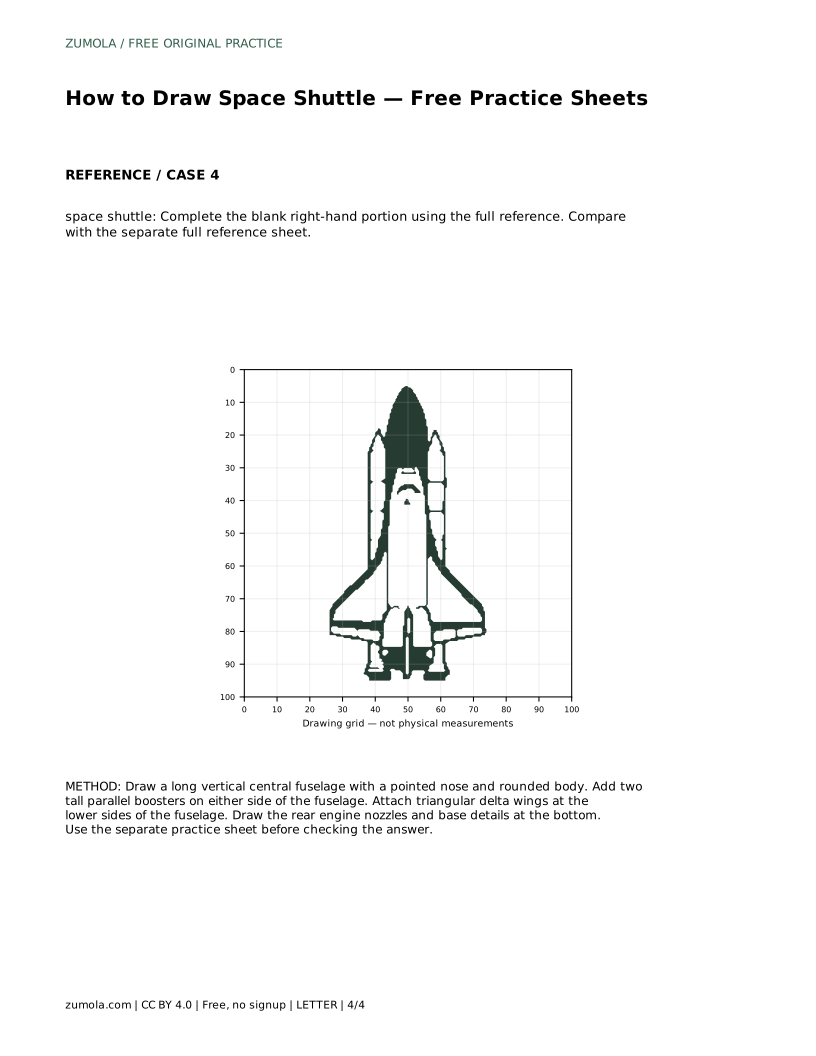
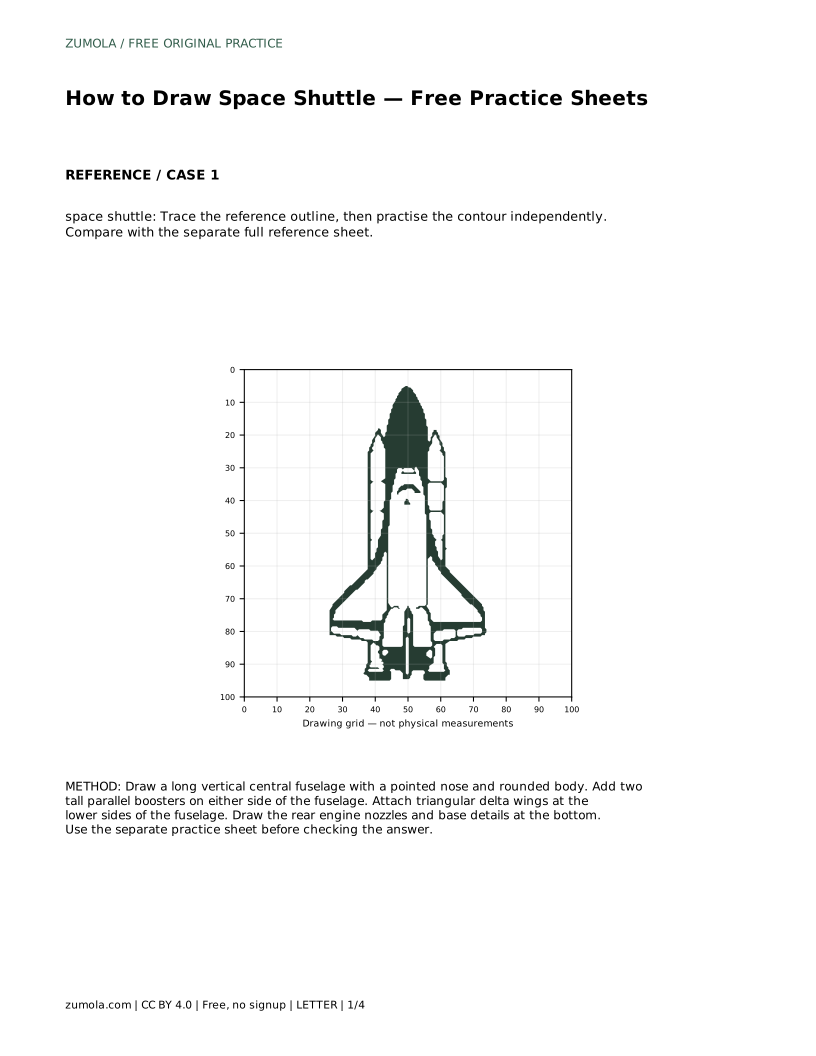
The grid sheet asks you to copy the reference onto the blank grid using matching grid intersections. This trains you to judge position and proportion by relating one part to another. The bounding-frame sheet gives you a centre guide for placing the silhouette before adding identifying details. The partial-outline sheet leaves the right-hand portion blank, so you complete it from the full reference. In every case, compare your result with the separate full reference sheet and assess the visible features and proportions.
Because drawings of the same subject can differ and still be correct, judge your work by visible features rather than exact matching. Ask whether the nose is pointed, whether the wings are triangular, whether the boosters are parallel and whether the rear nozzles are present and evenly placed. Proportion matters too: the fuselage should dominate, with the wings spreading at the lower half.
A useful habit is to check symmetry last. Fold-free visual comparison, by looking from the base upward, often reveals a booster that leans or a wing that sits too high.
space shuttle: Trace the reference outline, then practise the contour independently. Compare with the separate full reference sheet.
Example solution: preserve delta wings, pointed nose, rear engine nozzles. Other drawings can be correct; assess the visible features and proportions rather than pixel-perfect matching. Draw a long vertical central fuselage with a pointed nose and rounded body. Add two tall parallel boosters on either side of the fuselage. Attach triangular delta wings at the lower sides of the fuselage. Draw the rear engine nozzles and base details at the bottom.
Tracing first is useful for learning the order of the shapes, but the independent pass is the main practice. Do both if the sheet provides for it.
No. Other drawings can be correct. Assess the visible features and proportions rather than pixel-perfect matching.
The pointed nose, the long fuselage, the triangular delta wings and the rear engine nozzles together make the silhouette recognisable.
All drawing practice · Free coordinate paper
Original resources · CC BY 4.0 · Free for personal and classroom use with attribution.