Reference diagrams
LETTER · Download PDF
A4 · Download PDF
Free original resources
Learn to draw a leash by building the handle loop, long strap body, lower loop and small hanging knot. Practise with tracing, grid, frame and partial-reference sheets.
Four original cases, with reference diagrams, practice sheets and worked answers. Everything is free; no signup required.
LETTER · Download PDF
A4 · Download PDF
LETTER · Download PDF
A4 · Download PDF
LETTER · Download PDF
A4 · Download PDF
Use A4 or US Letter to match your printer. Use the stated values and conditions to solve each exercise; diagrams are not physical measuring rulers.
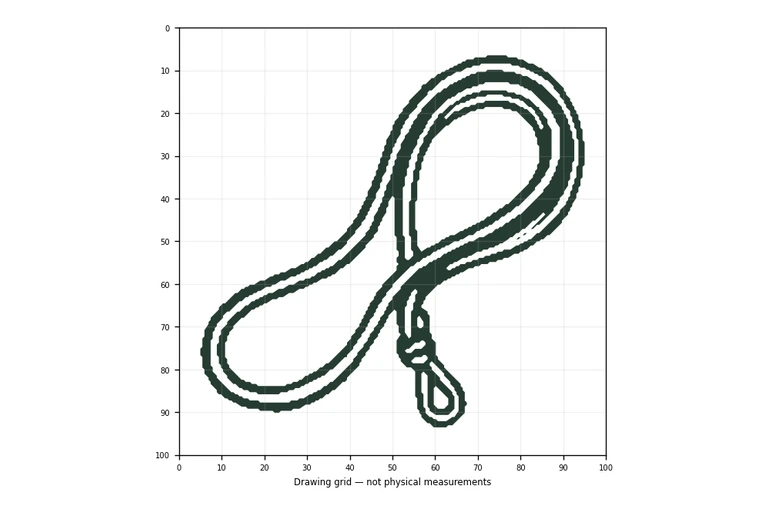
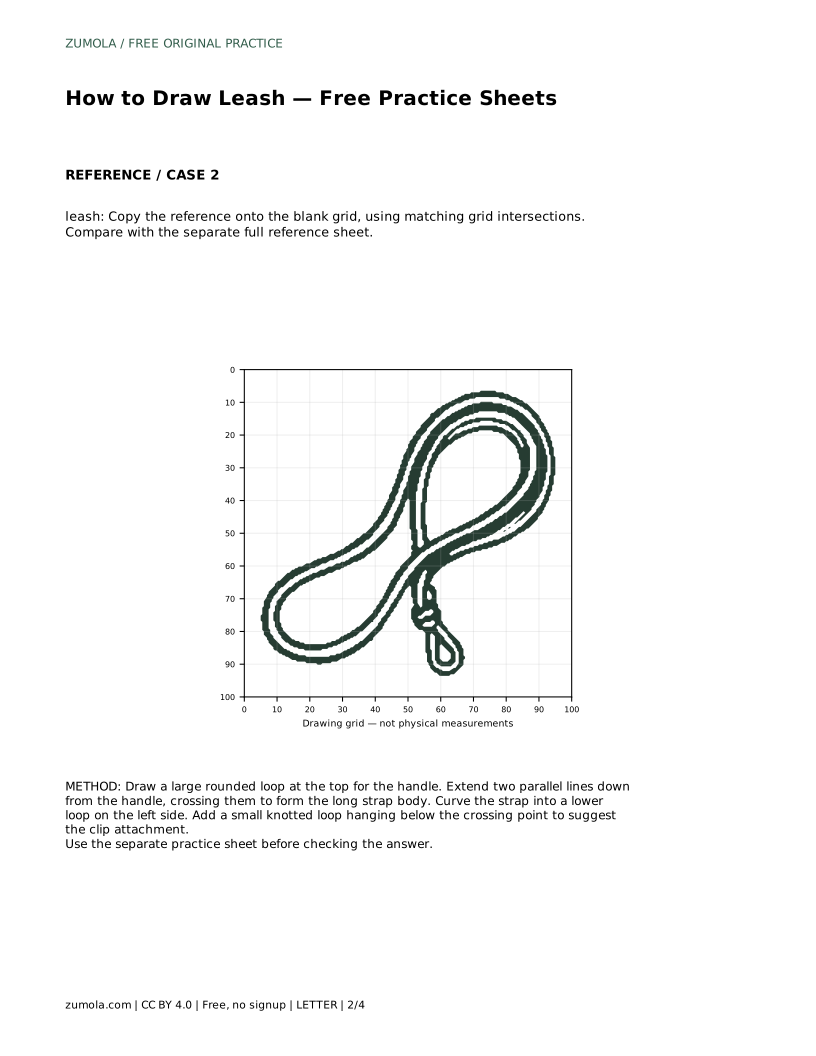
A leash drawing is mostly a study in loops, parallel edges and crossings. The shape reads clearly when the handle sits at the top, the strap body runs downward with two consistent edges, and the lower loop and small hanging knot are placed deliberately. This page explains a reliable order for constructing that shape, then shows how to use tracing, grid, frame and partial-reference practice sheets to improve accuracy without expecting every drawing to match pixel for pixel.
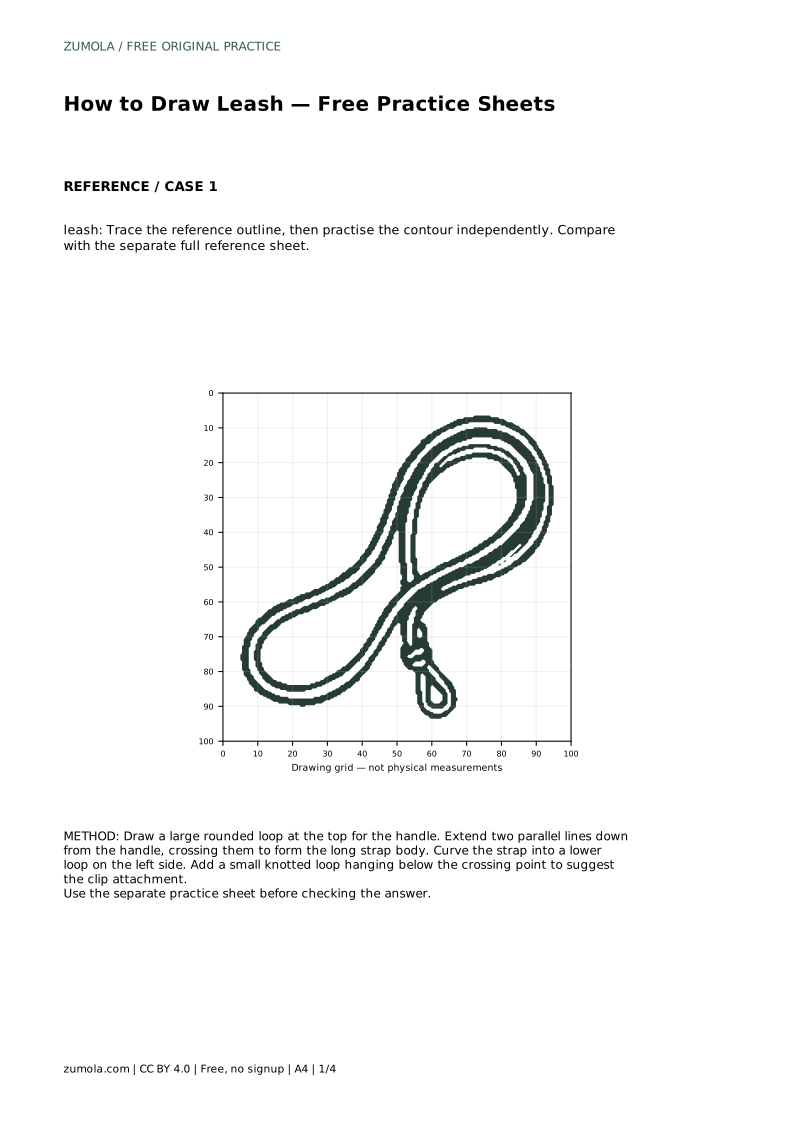
Start with the part that controls the whole composition: the handle. Draw a large rounded loop near the top of your page, leaving enough room below for the strap body and lower loop. Keep the loop open rather than flattening it into an oval, because the opening is what makes it read as a handle.
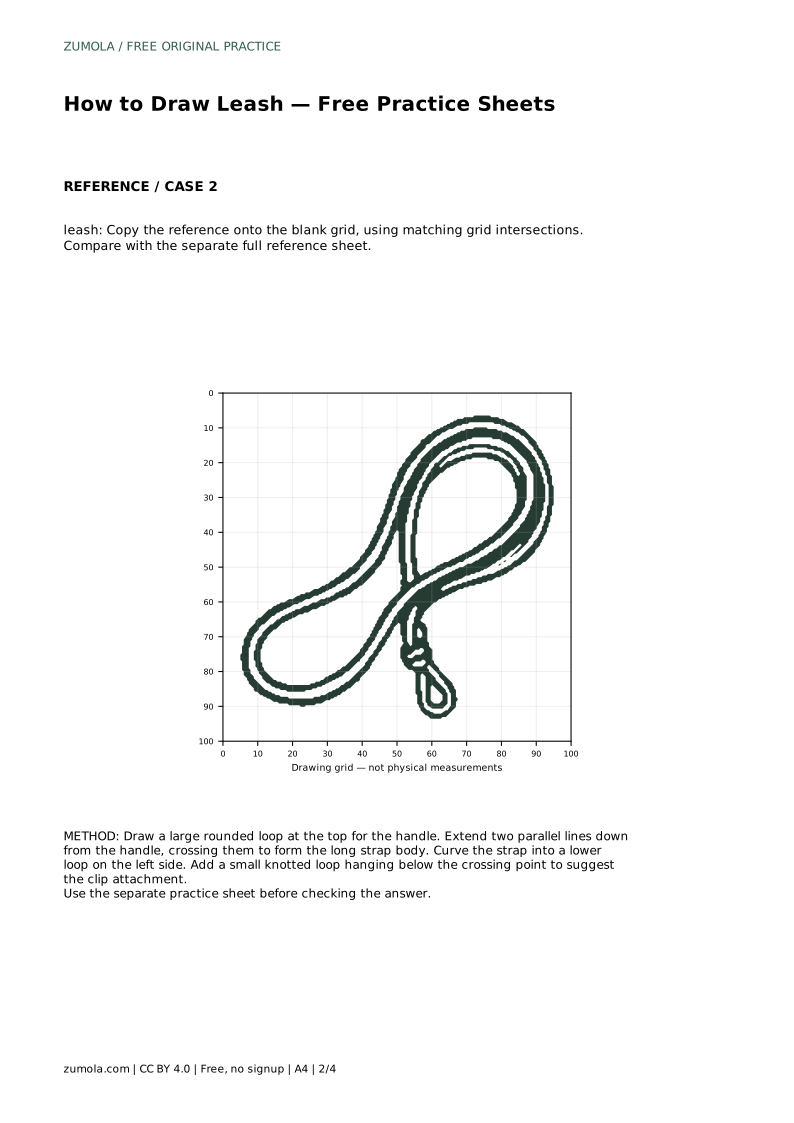
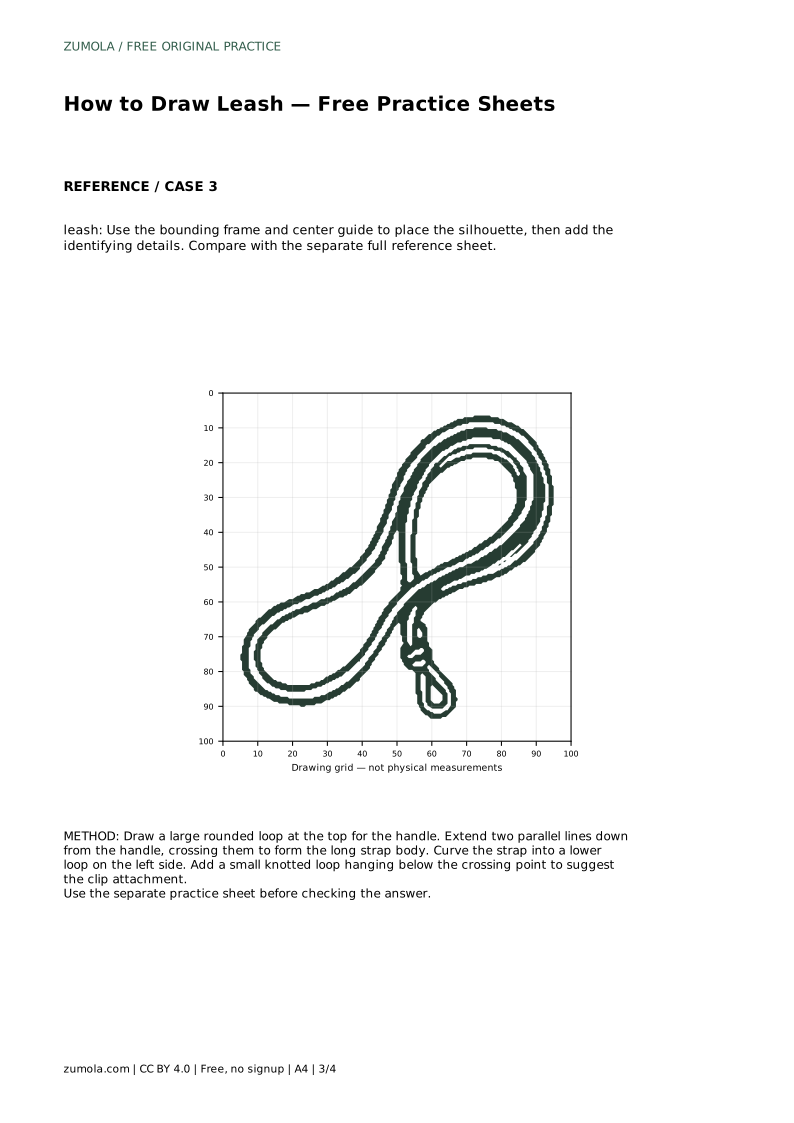
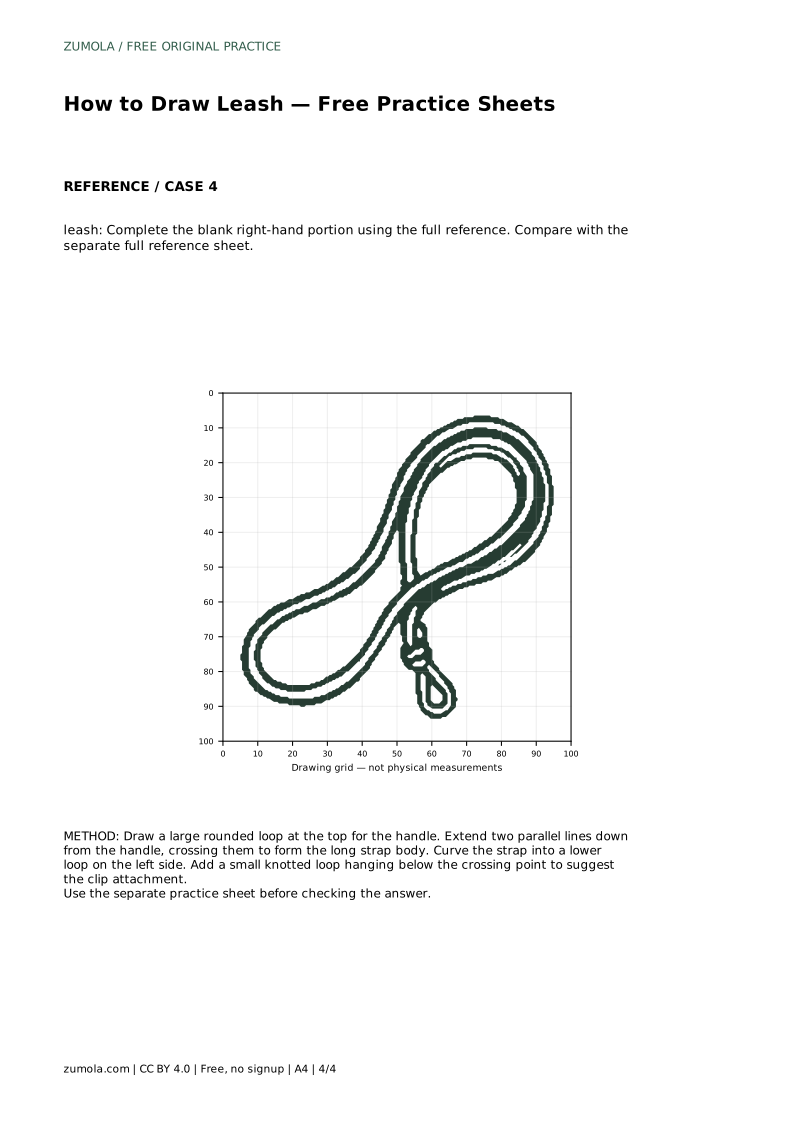
Next, extend two roughly parallel lines downward from the handle. These lines form the long strap body. Let them cross where the strap changes direction, then curve the strap into a lower loop on the left side. Finish by adding a small knotted loop below the crossing point to suggest the clip attachment. Check the spacing between the two strap edges as you go; uneven spacing is more noticeable than a slightly different overall curve.
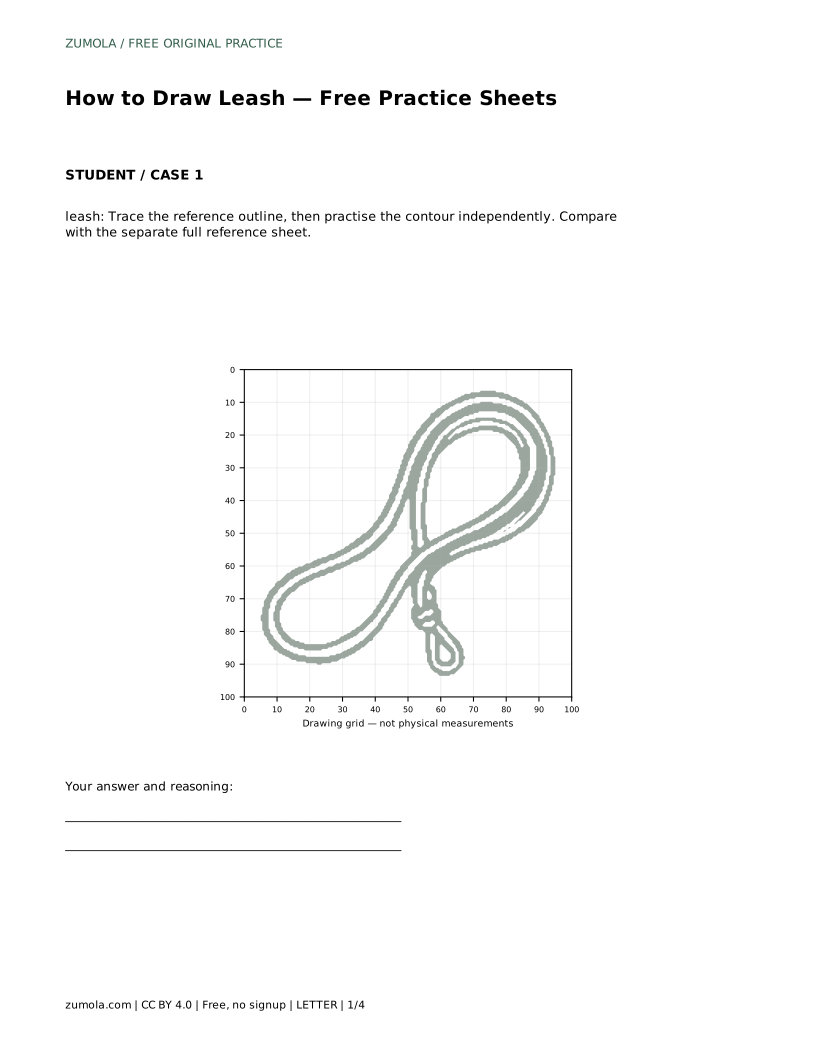
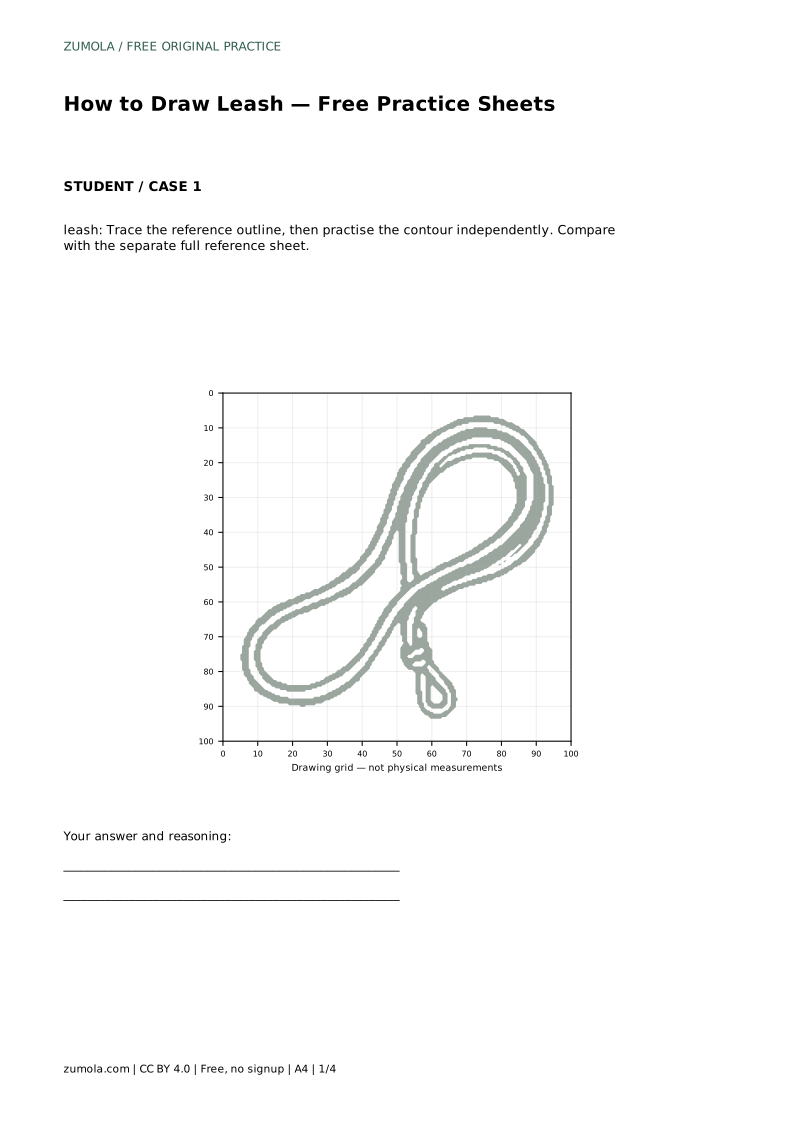
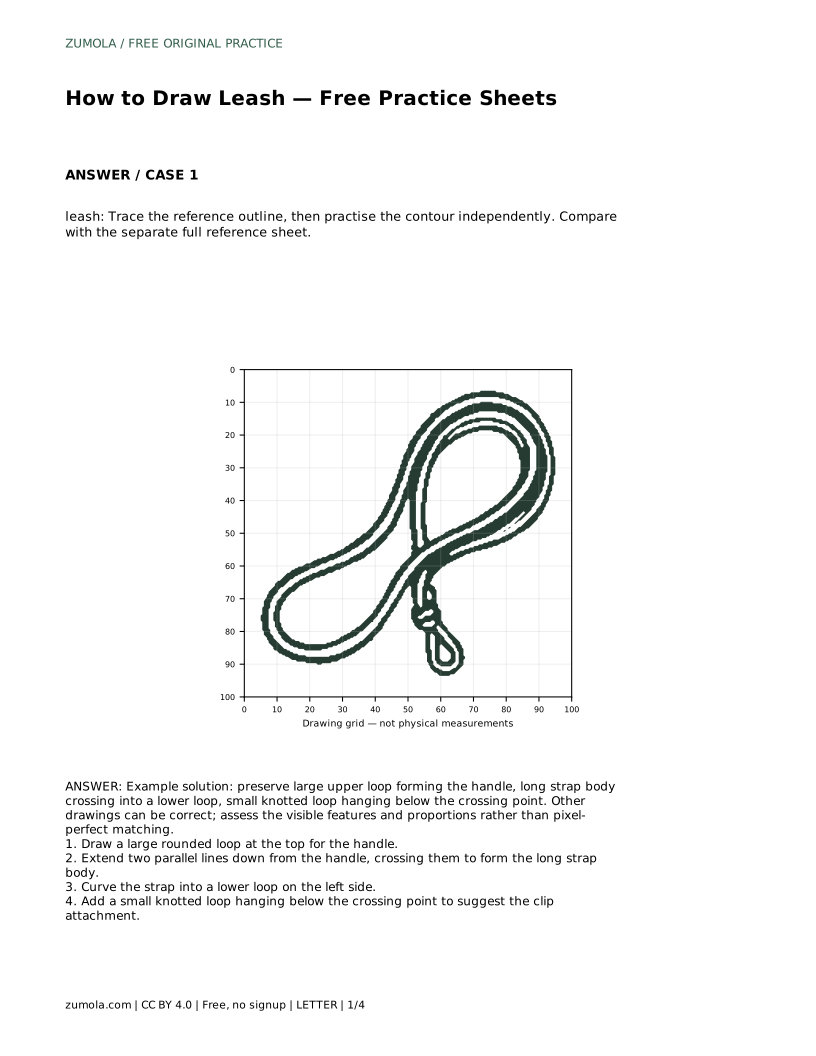
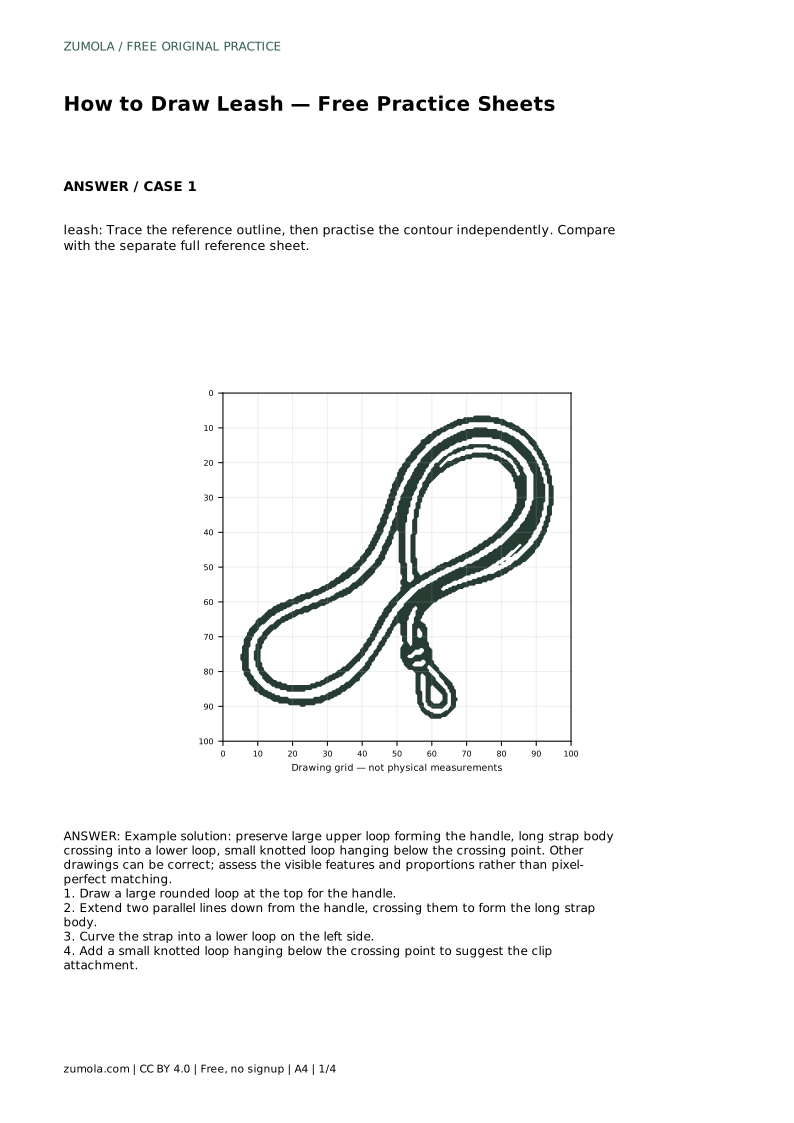
On the tracing sheet, follow the reference outline first, then move to a blank area and redraw the contour independently. Tracing builds familiarity with the sequence of loops; independent redrawing tests whether you can reproduce that sequence from memory.
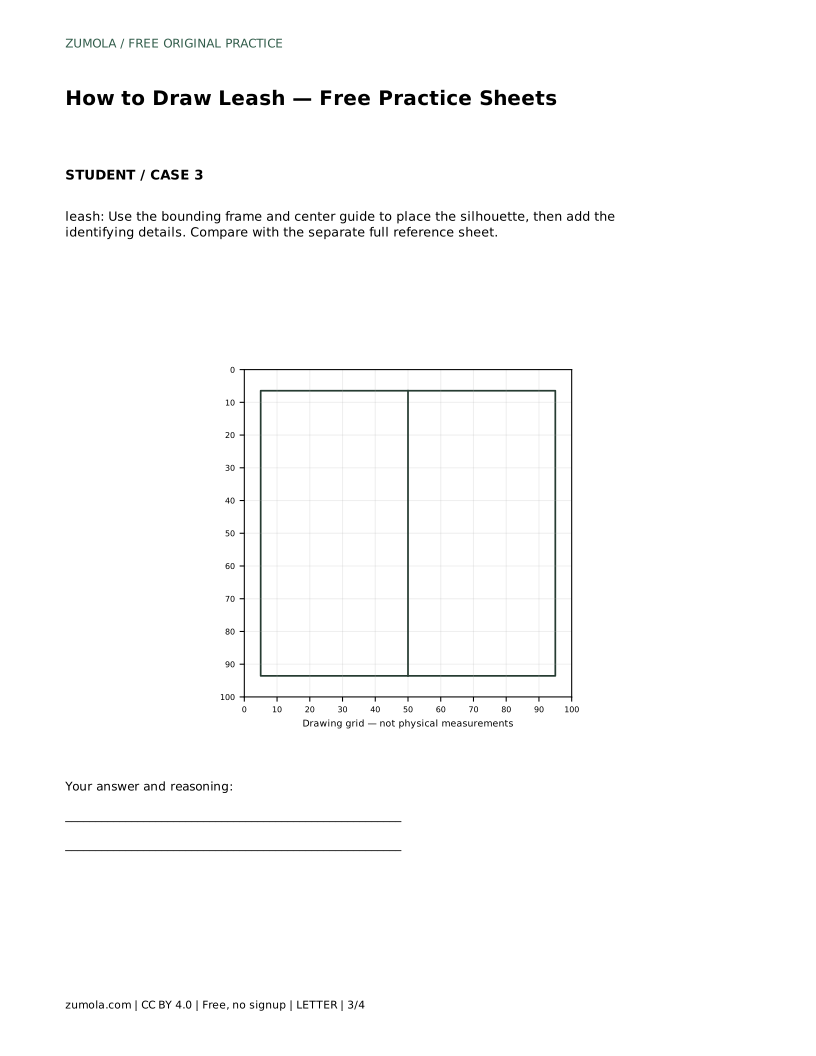
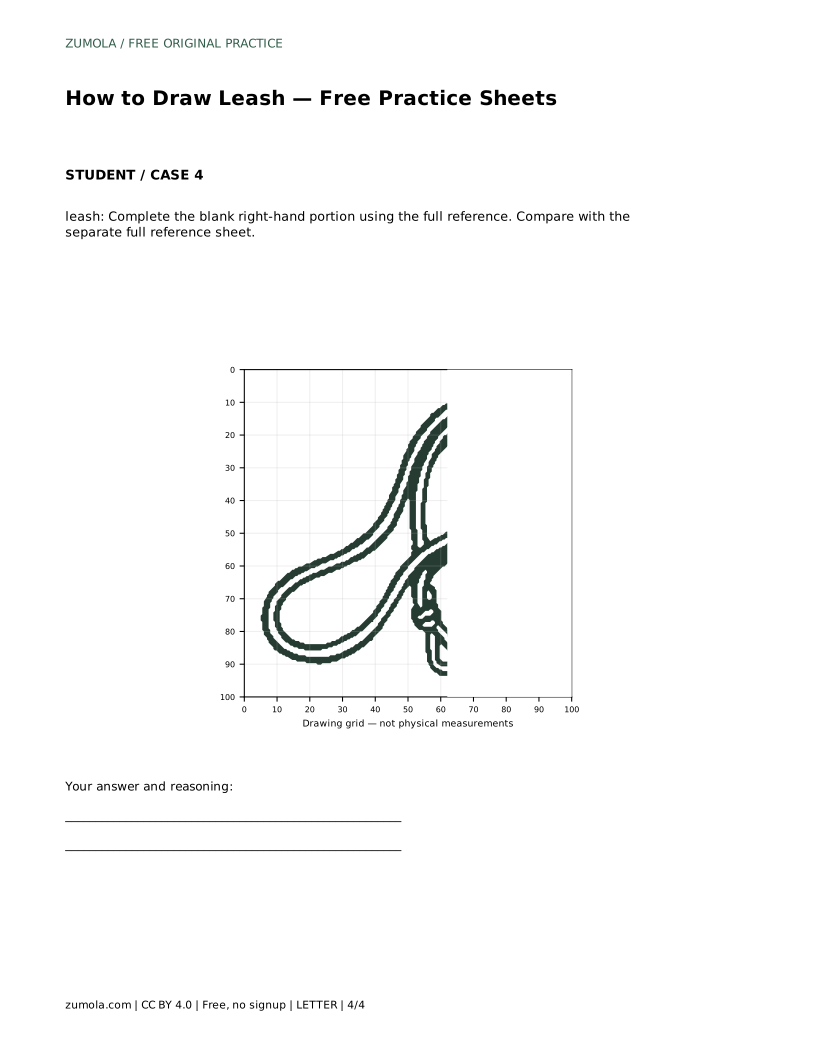
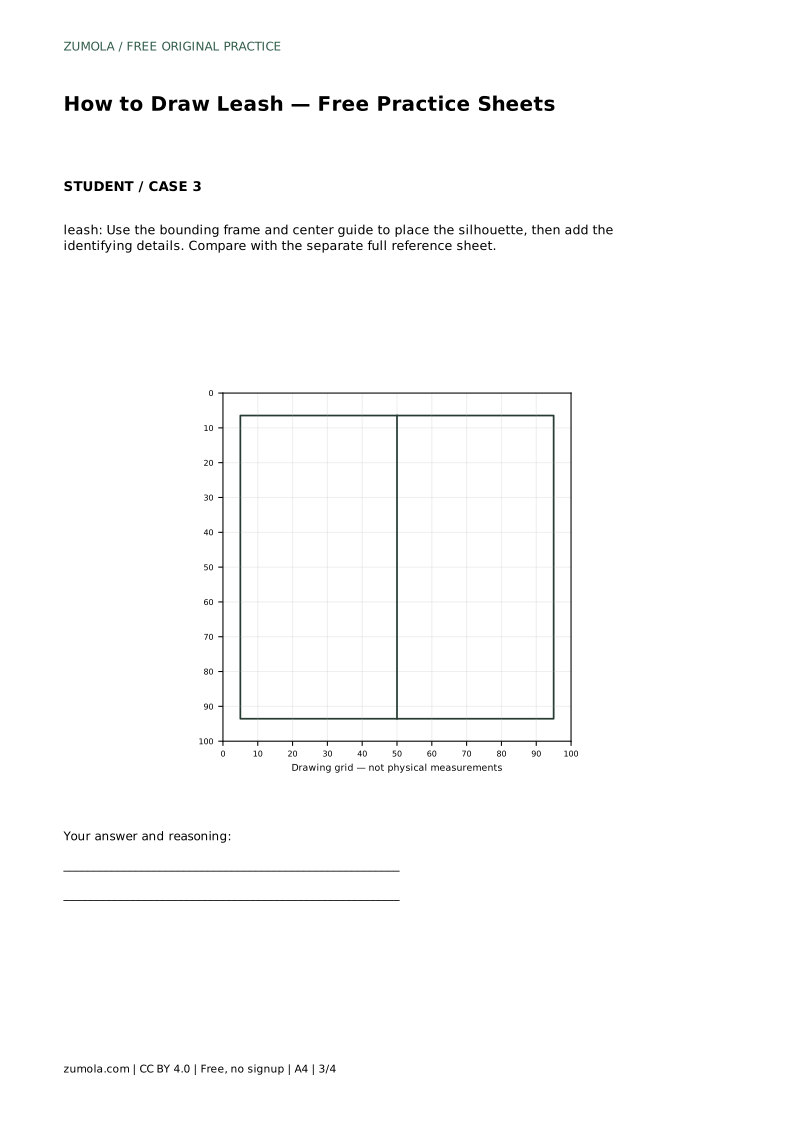
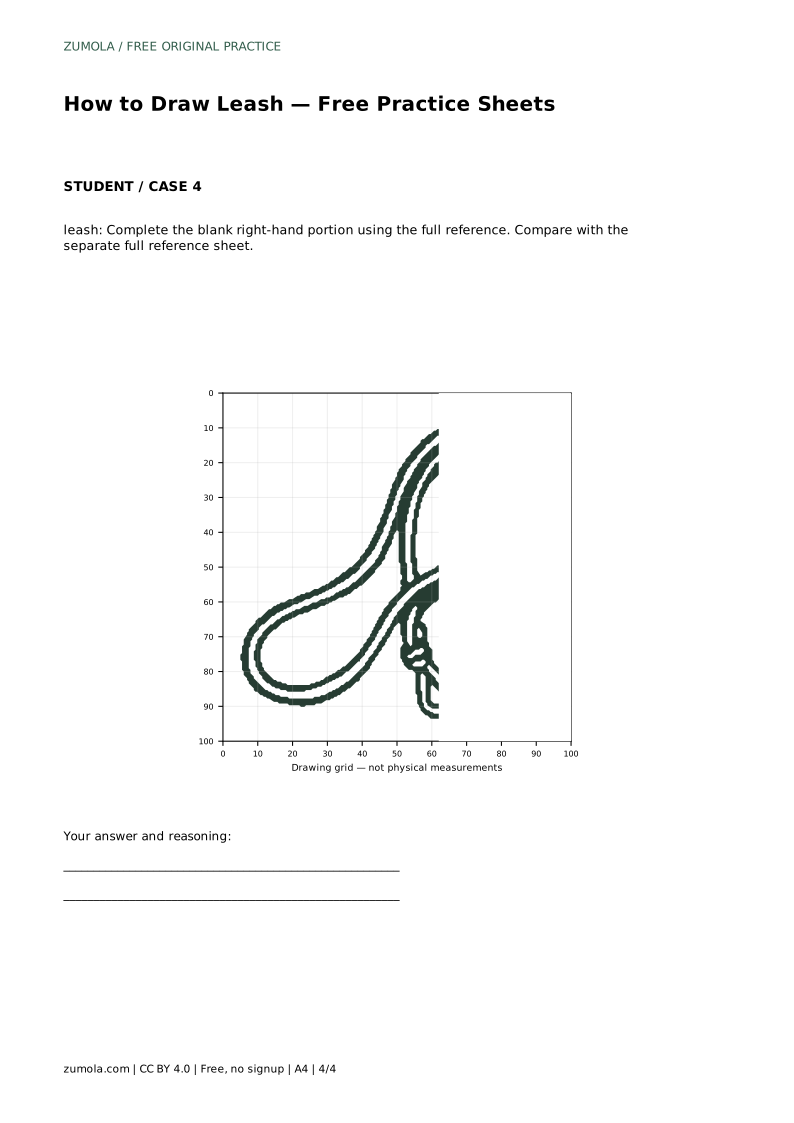
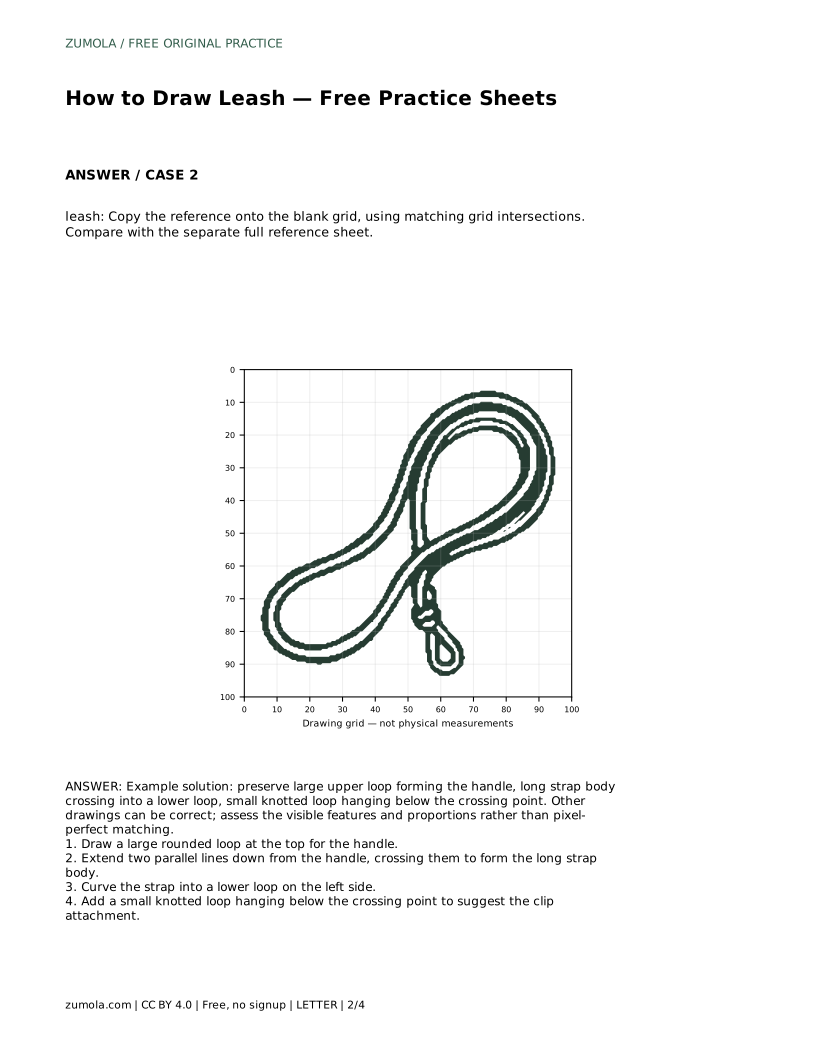
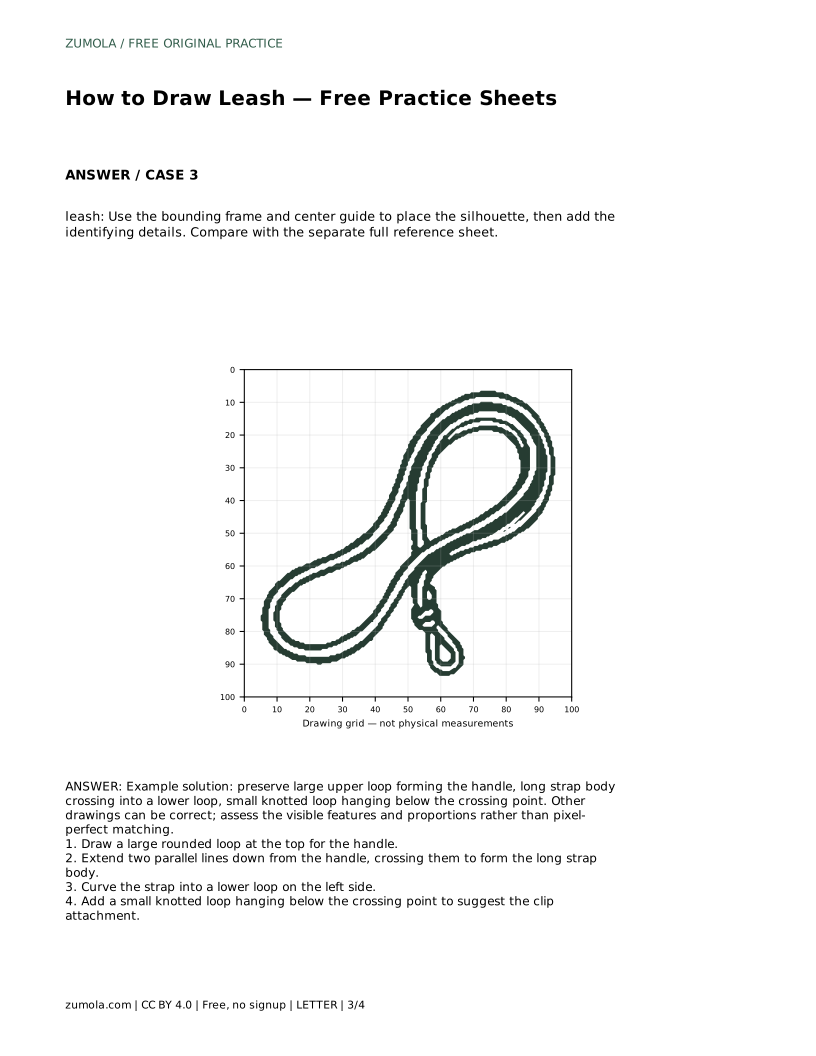
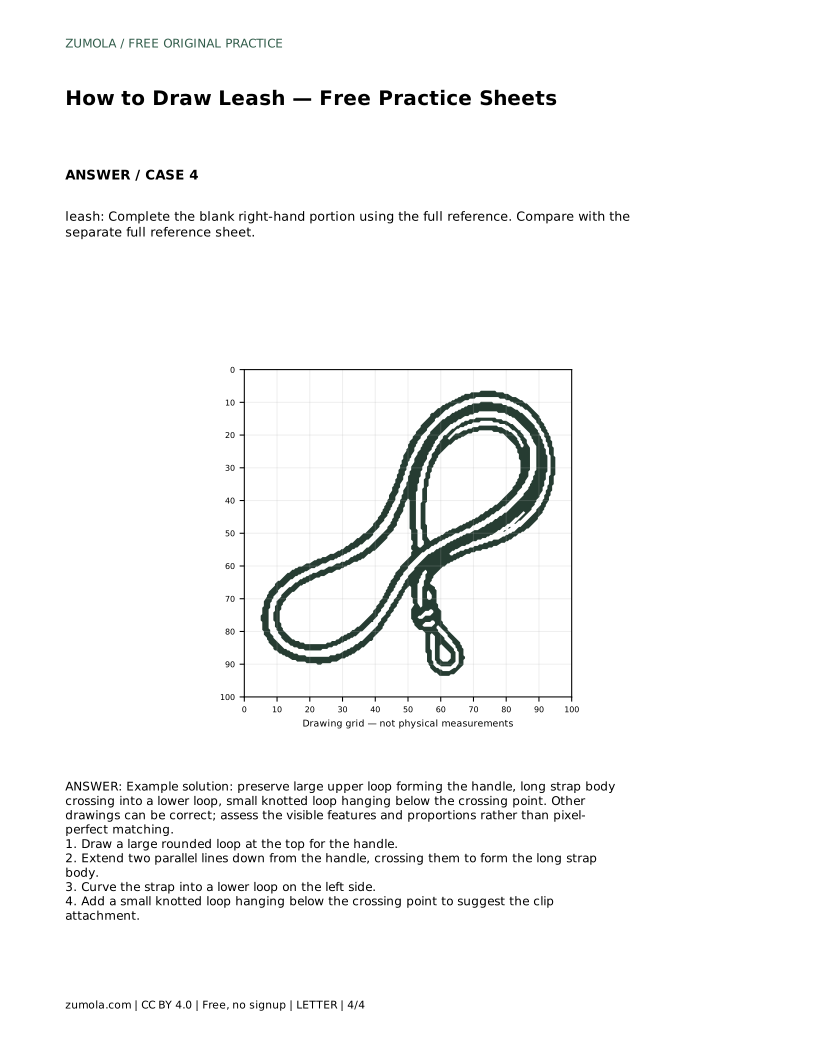
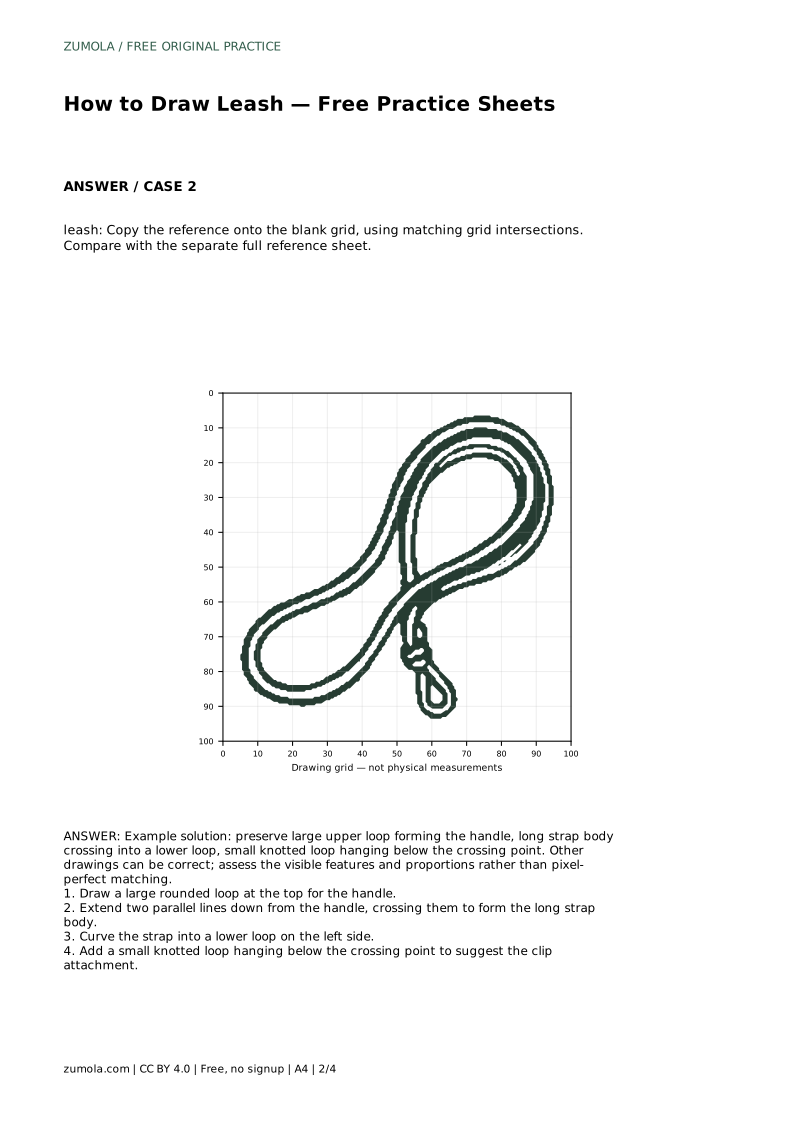
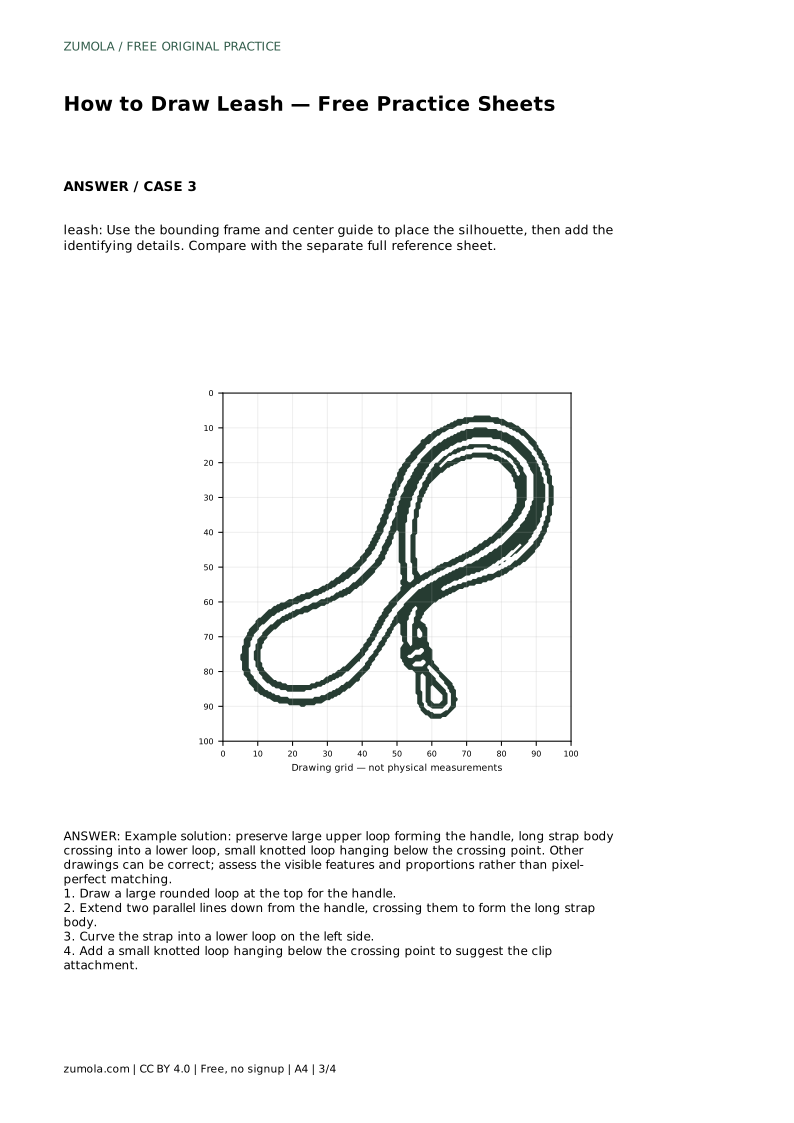
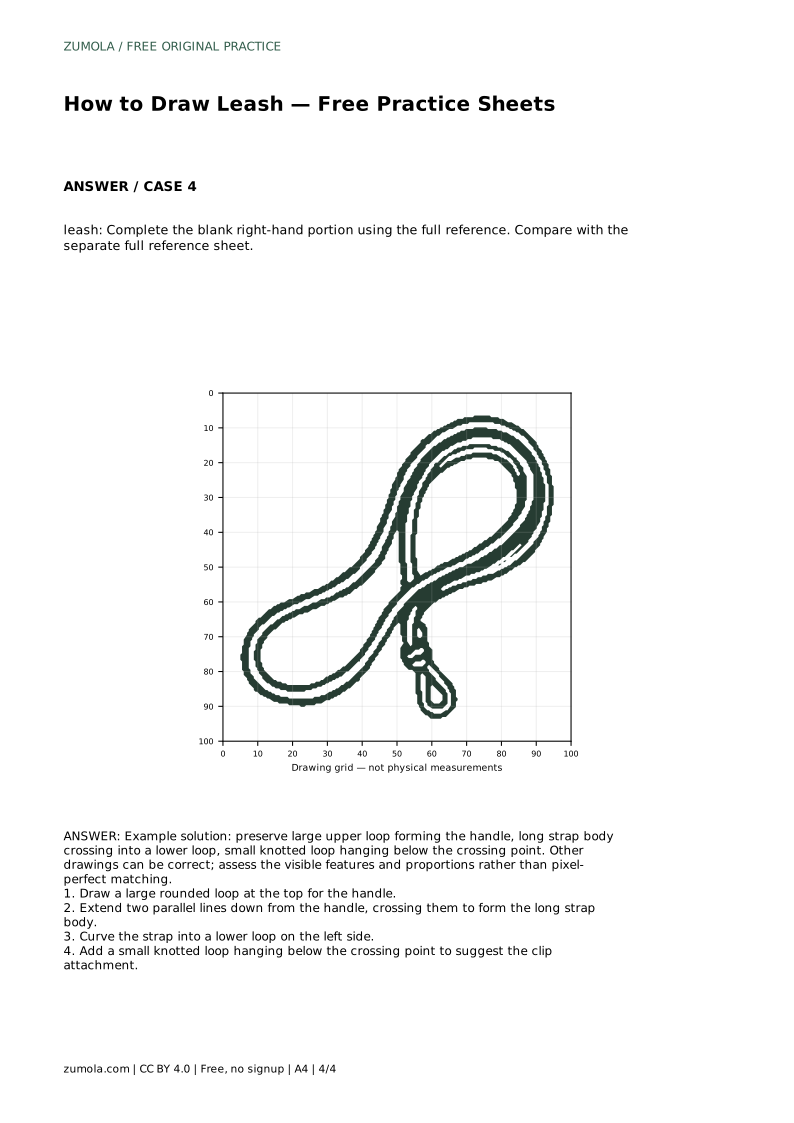
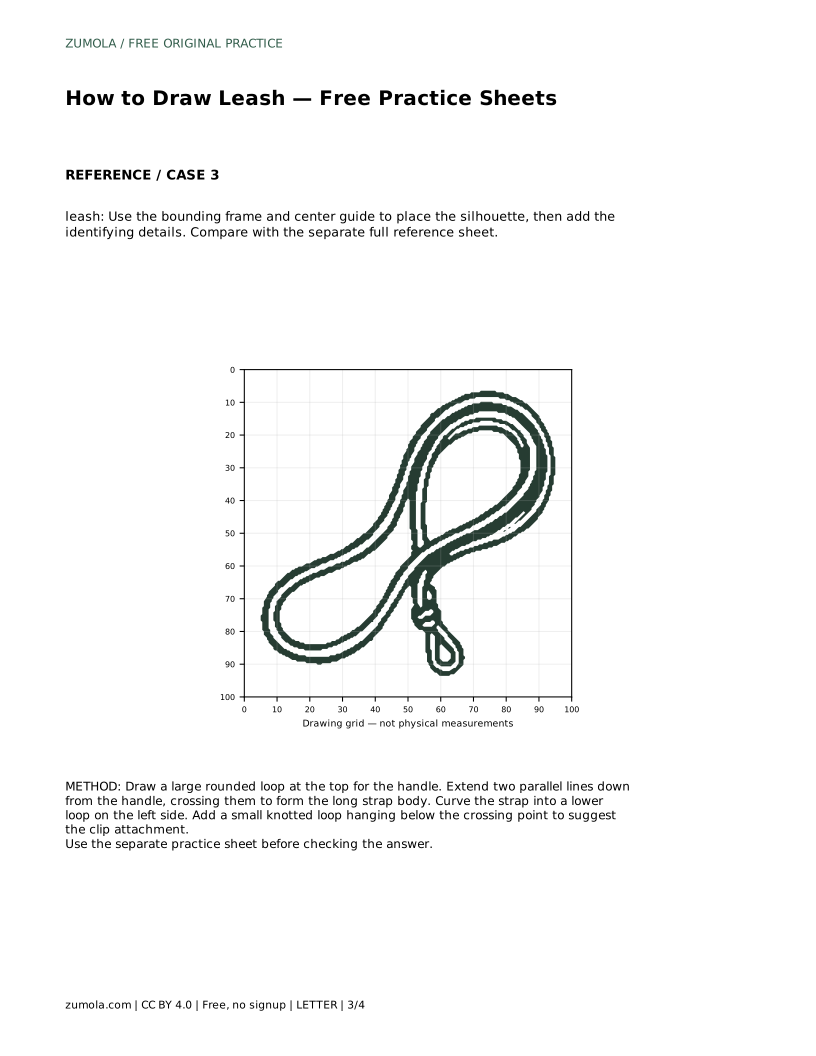
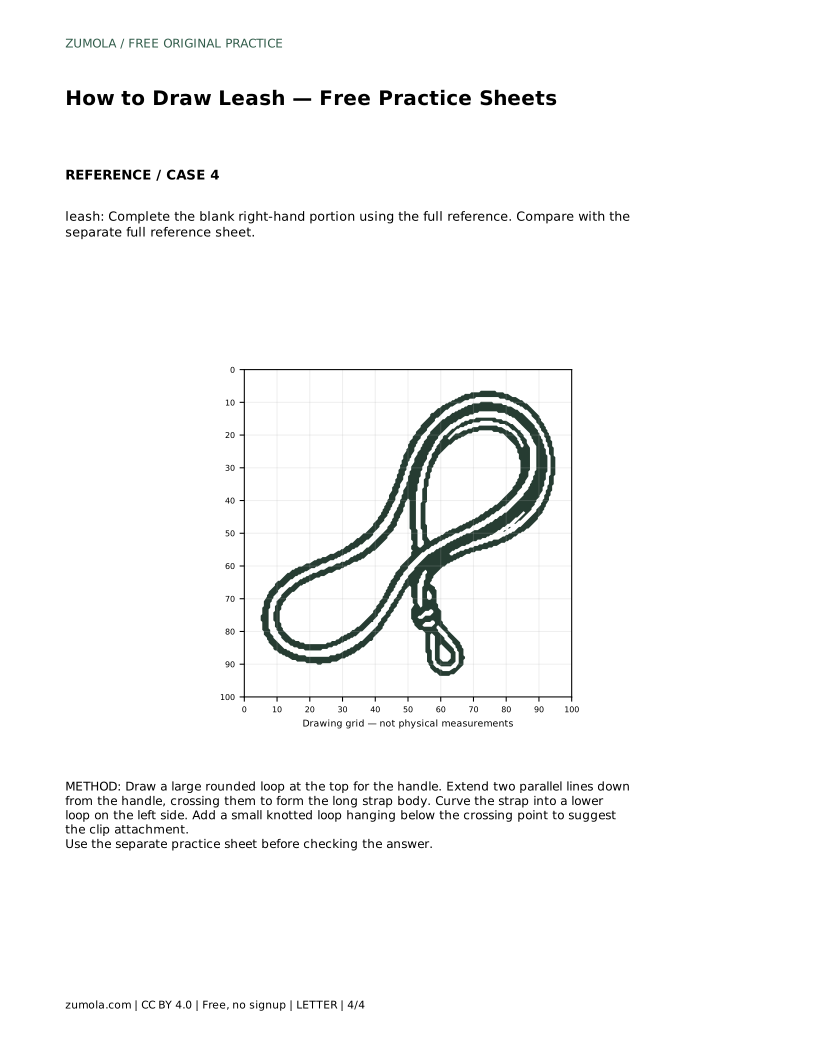
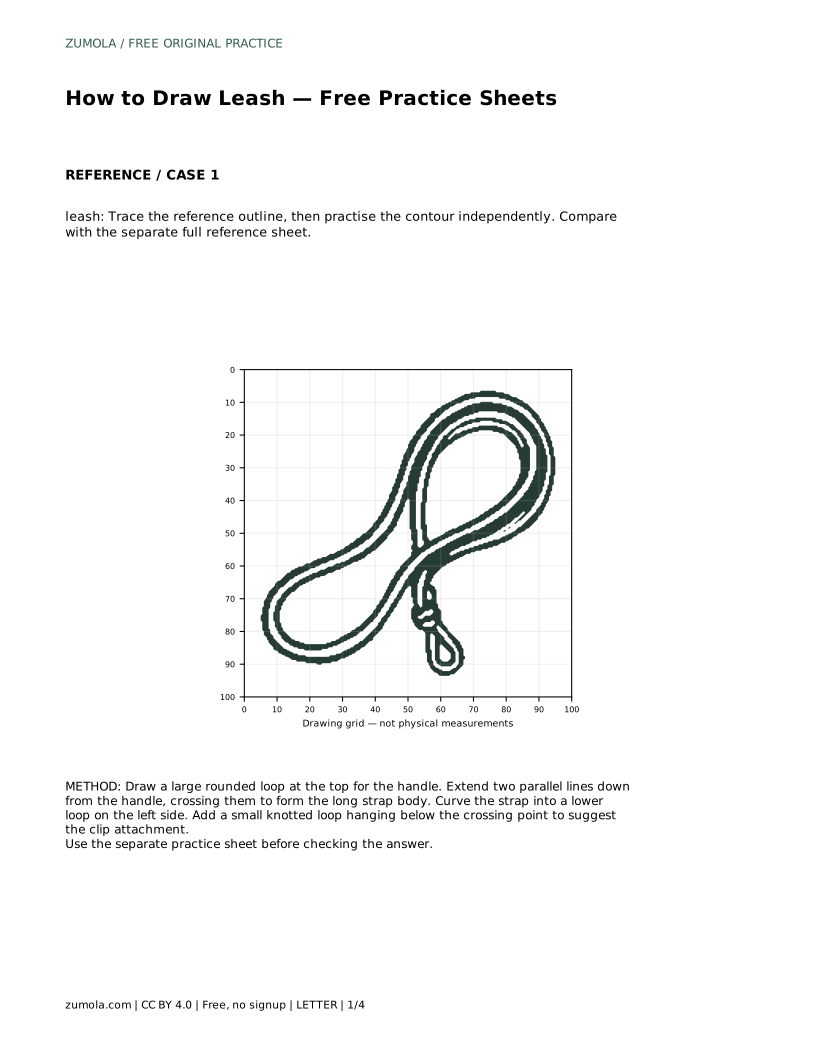
On the grid sheet, copy the reference onto the blank grid by matching grid intersections. Use the grid to compare where the handle begins, where the strap body crosses, and how far the lower loop extends. On the frame sheet, use the bounding frame and center guide to place the silhouette before adding identifying details. On the partial-reference sheet, complete the blank right-hand portion using the full reference, paying attention to how the strap continues across the missing area.
A leash drawing can be correct in more than one way. Curves may be tighter or looser, and the lower loop may sit slightly higher or lower, provided the main features remain recognizable. Compare your drawing with the separate full reference sheet and ask whether the large upper loop, long strap body, lower loop and small hanging knot are all present and clearly related.
Use proportions as a guide rather than a rule. The handle should be large enough to read as a loop, the strap body should be the longest element, and the hanging knot should be visibly smaller than the other loops. If one part dominates, adjust its size before adding more detail.
Most leash drawings fail at the crossings or at the parallel edges. Slow down at those points and redraw the line rather than thickening it. Keep your pencil light until the overall shape is settled, then darken the final contour.
leash: Trace the reference outline, then practise the contour independently. Compare with the separate full reference sheet.
Example solution: preserve large upper loop forming the handle, long strap body crossing into a lower loop, small knotted loop hanging below the crossing point. Other drawings can be correct; assess the visible features and proportions rather than pixel-perfect matching. Draw a large rounded loop at the top for the handle. Extend two parallel lines down from the handle, crossing them to form the long strap body. Curve the strap into a lower loop on the left side. Add a small knotted loop hanging below the crossing point to suggest the clip attachment.
No. Preserve the large upper loop, long strap body, lower loop and small hanging knot, then assess the visible features and proportions rather than pixel-perfect matching.
Draw the large rounded handle loop first, then extend the two strap edges downward before adding the lower loop and hanging knot.
Look for the four main features in order: handle loop, strap body, lower loop and small hanging knot. If one is missing or unclear, adjust that part before adding detail.
All drawing practice · Free coordinate paper
Original resources · CC BY 4.0 · Free for personal and classroom use with attribution.