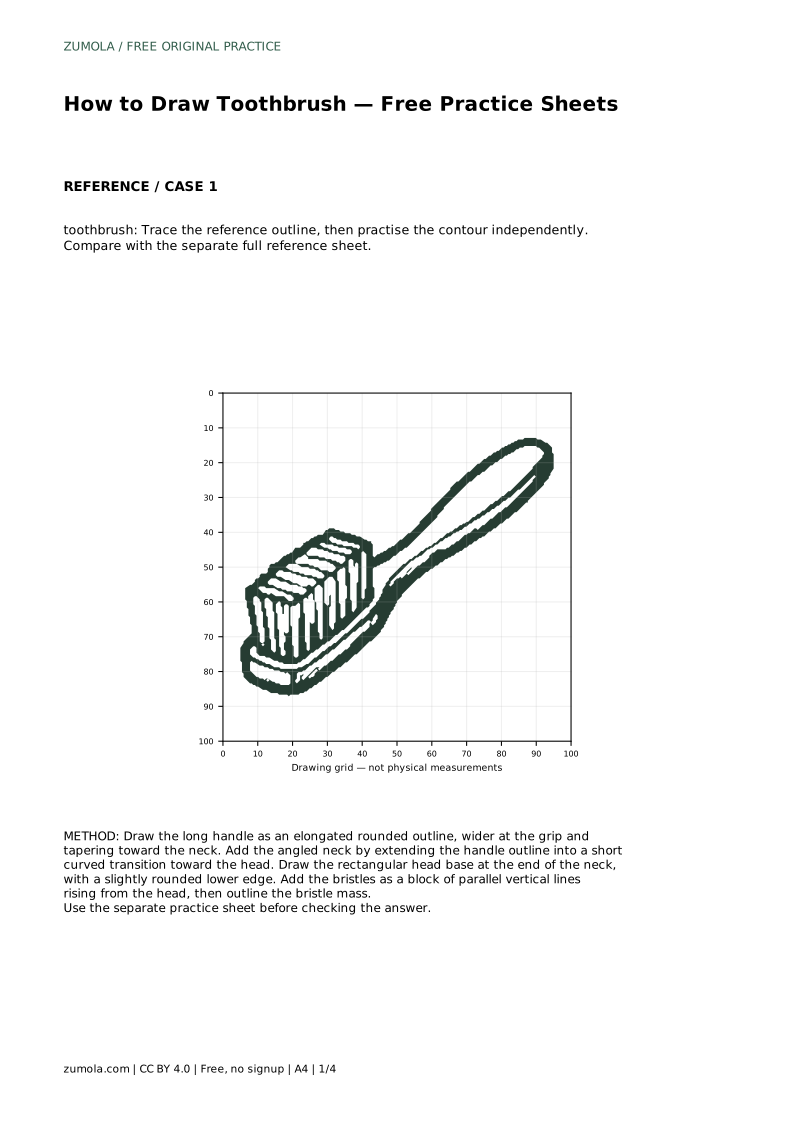
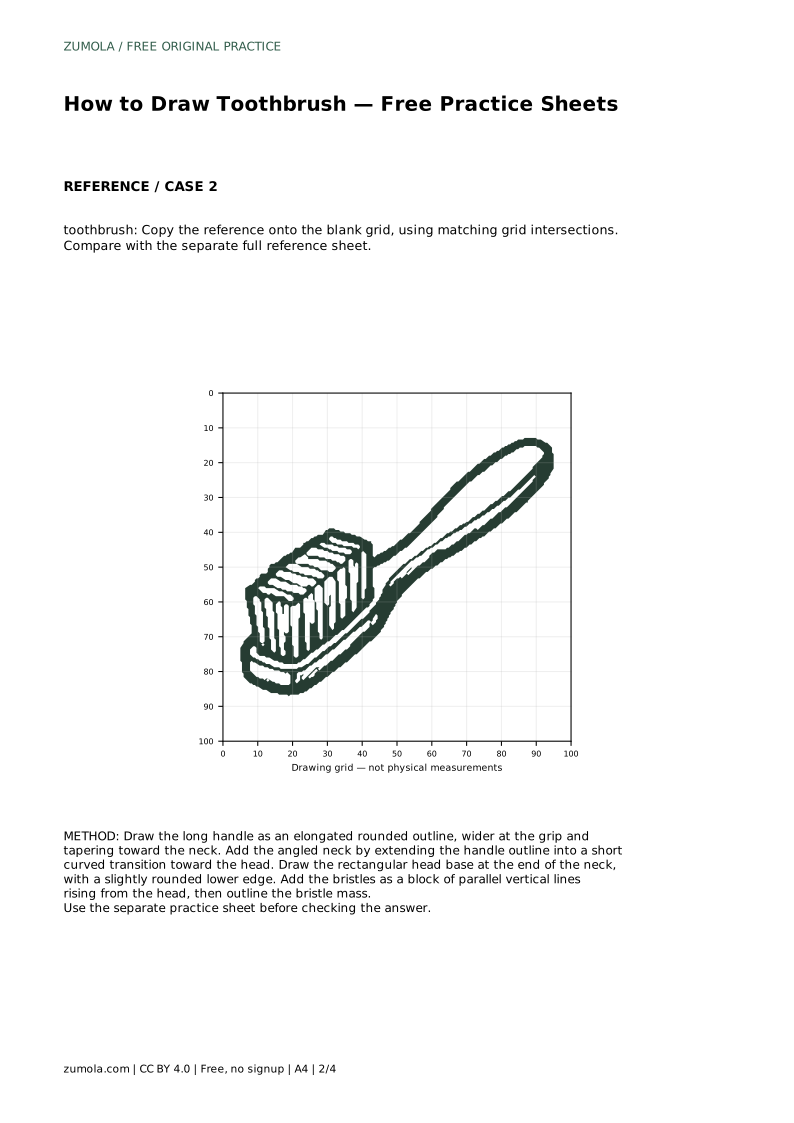
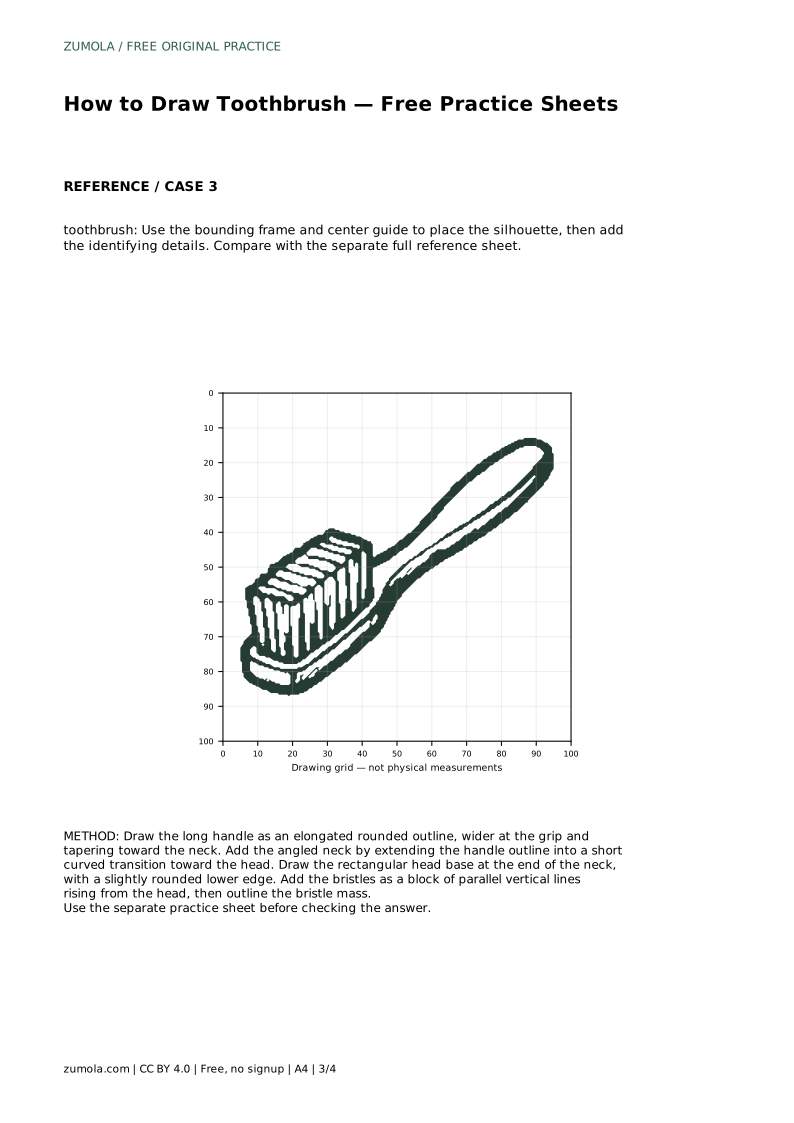
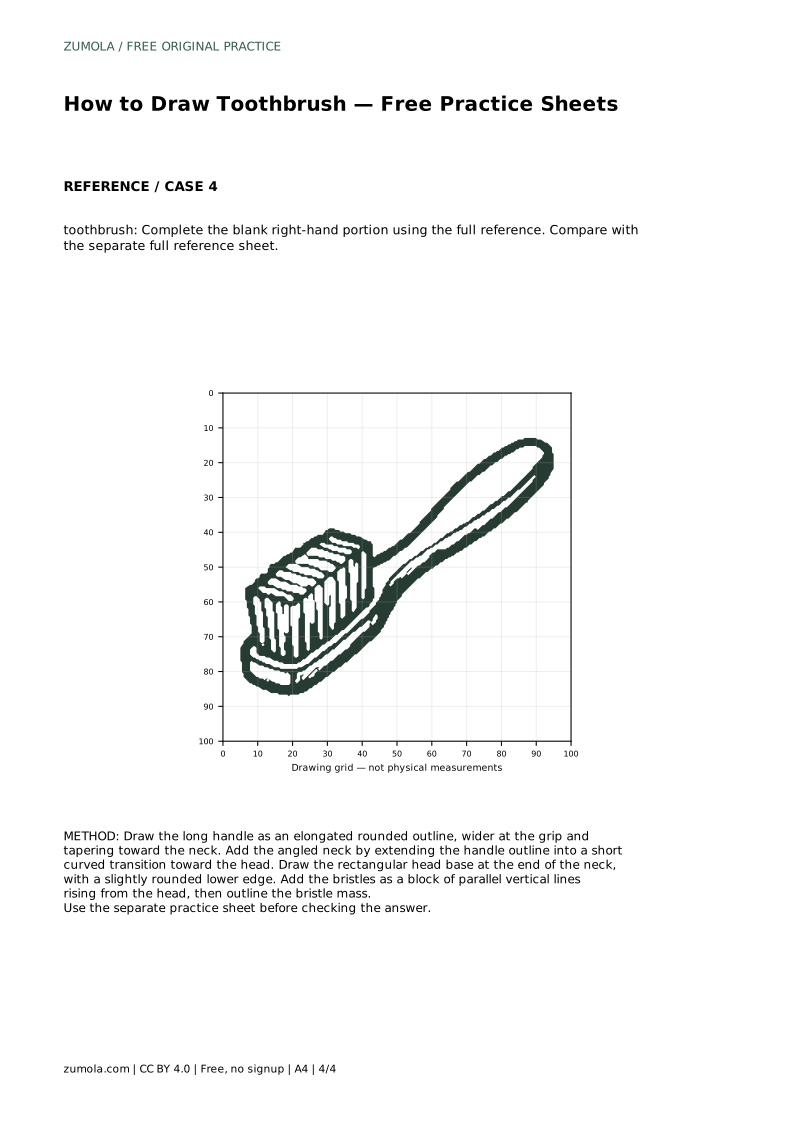
Reference diagrams
LETTER · Download PDF
A4 · Download PDF
Free original resources
Learn to draw a toothbrush by building the tapered handle, angled neck, rectangular head, and parallel bristles. Includes a worked example and rubric.
Four original cases, with reference diagrams, practice sheets and worked answers. Everything is free; no signup required.
LETTER · Download PDF
A4 · Download PDF
LETTER · Download PDF
A4 · Download PDF
LETTER · Download PDF
A4 · Download PDF
Use A4 or US Letter to match your printer. Use the stated values and conditions to solve each exercise; diagrams are not physical measuring rulers.
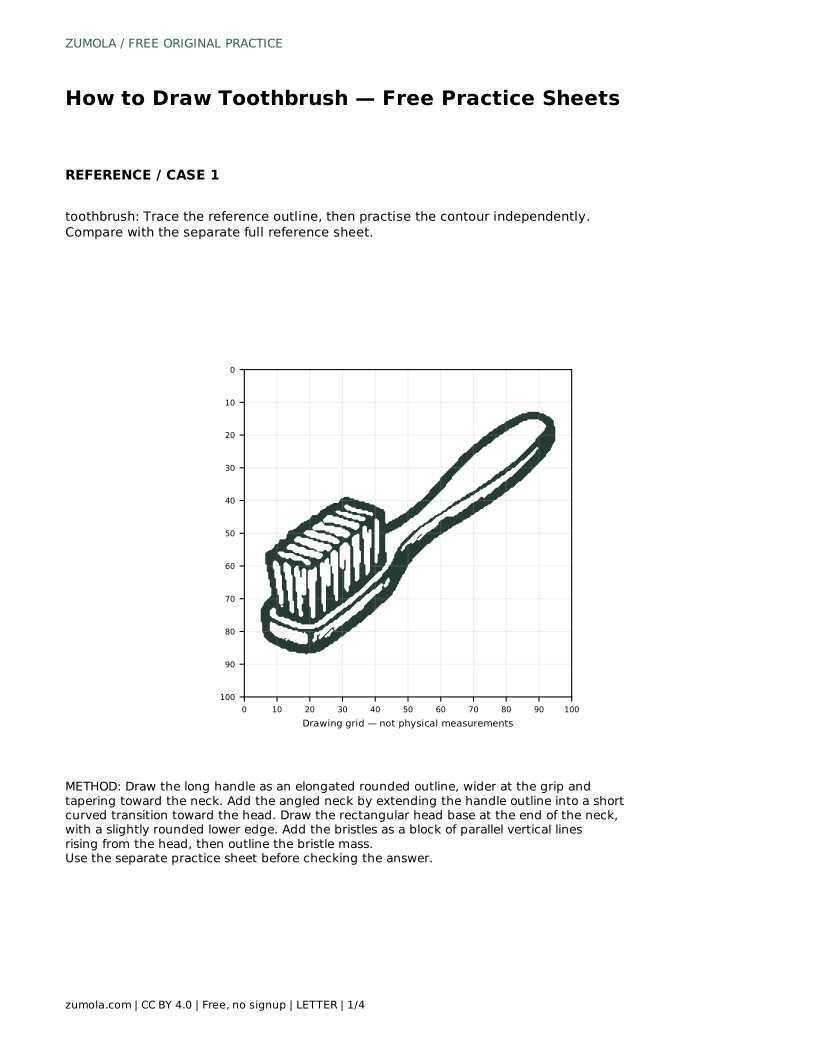
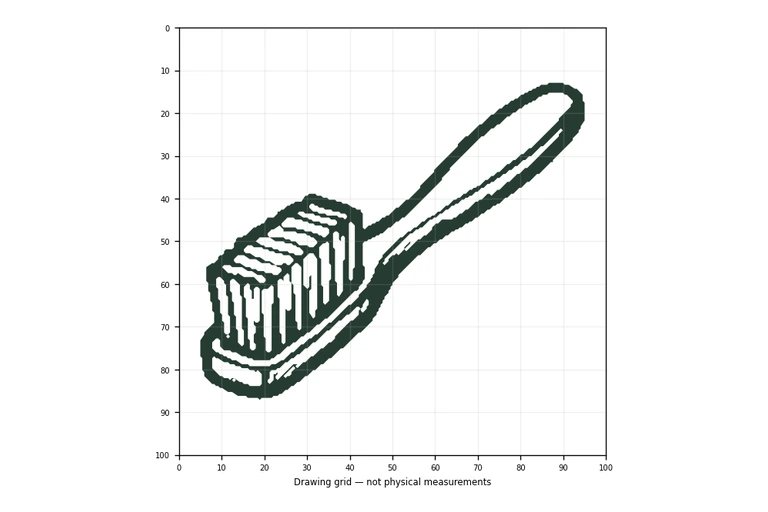
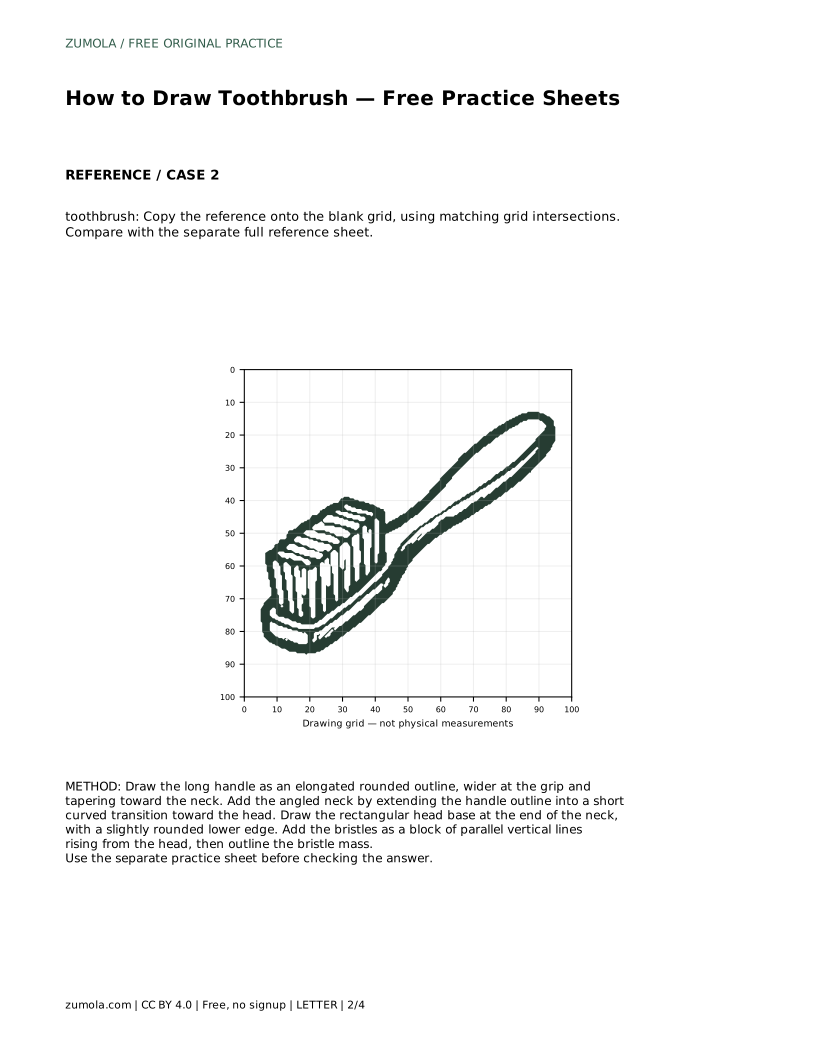
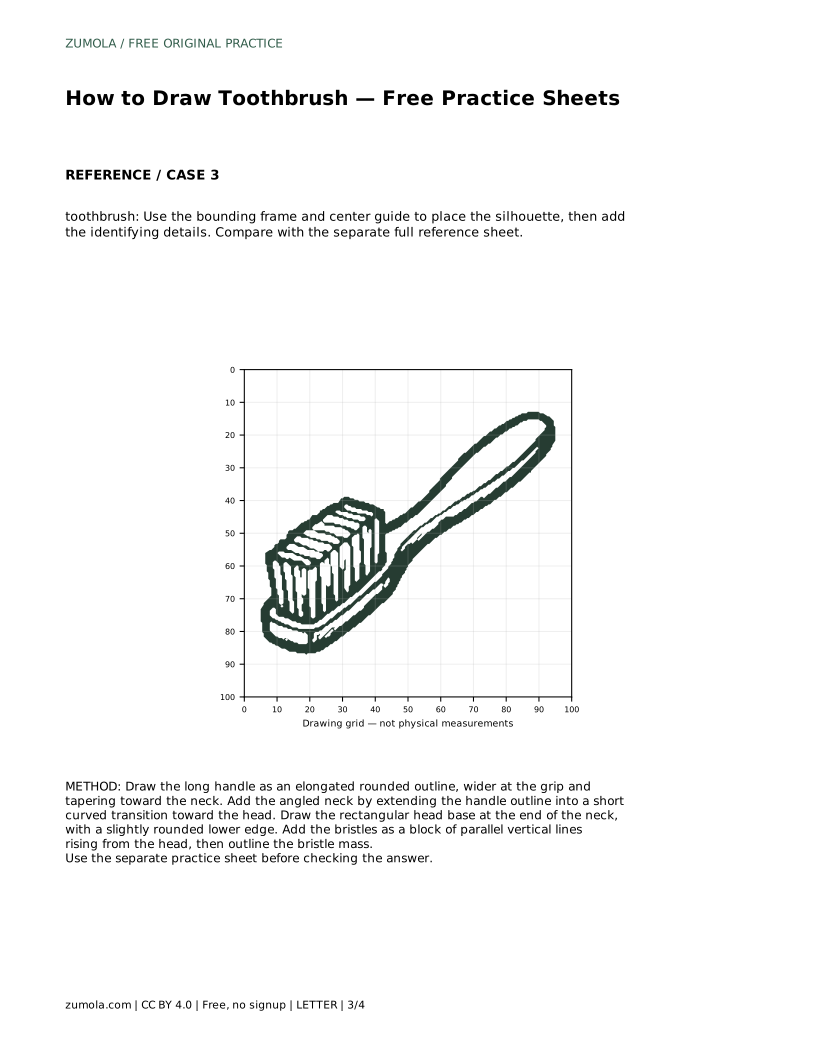
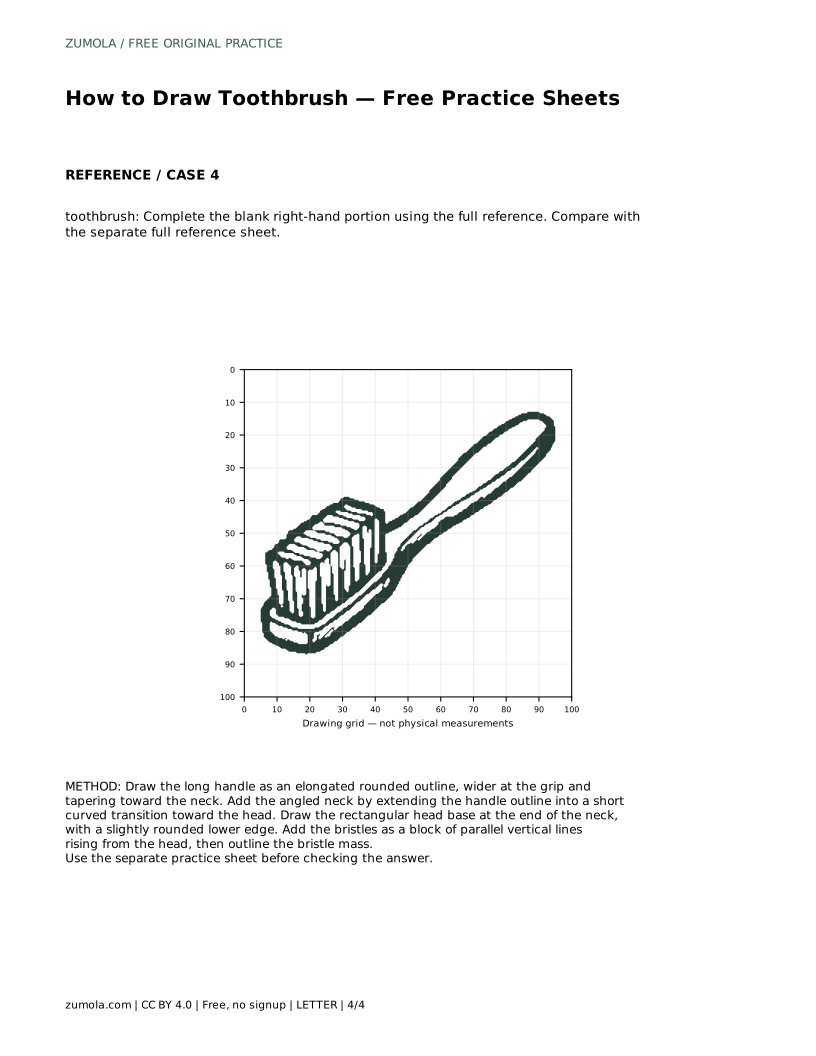
Drawing a toothbrush is a good exercise in combining a long tapered shape with a small, detailed head. The key is to build the object in order: handle first, then the angled neck, then the rectangular head, and finally the bristles. This page explains that sequence clearly and gives you a way to judge your own drawing by visible features and proportions rather than exact matching.
Start with the largest and simplest part: the handle. Draw it as an elongated rounded outline that is wider at the grip and tapers toward the neck. Keep the end rounded rather than pointed, and check that the taper is gradual so the handle still looks comfortable to hold.
Next, extend the handle outline into a short curved transition toward the head. This angled neck is what makes a toothbrush recognizable; without it, the object can look like a plain stick. Then draw the rectangular head base at the end of the neck, with a slightly rounded lower edge. Finally, add the bristles as a block of parallel vertical lines rising from the head, and outline the bristle mass so it reads as one shape.
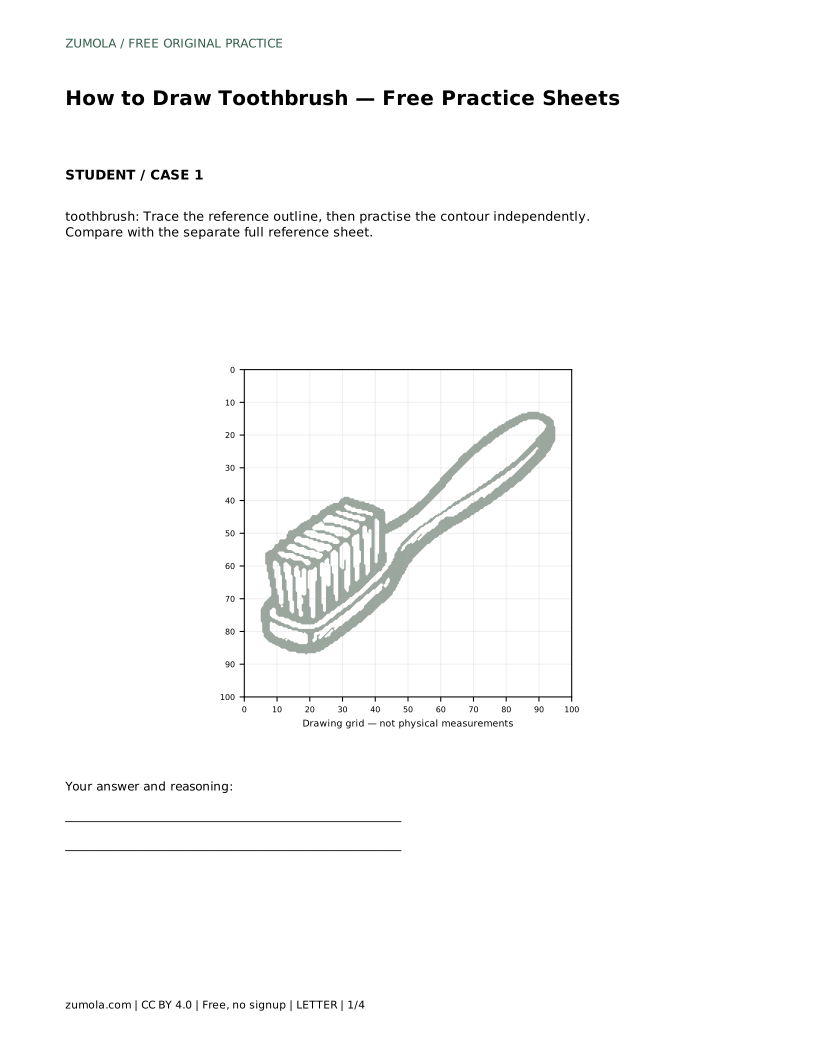
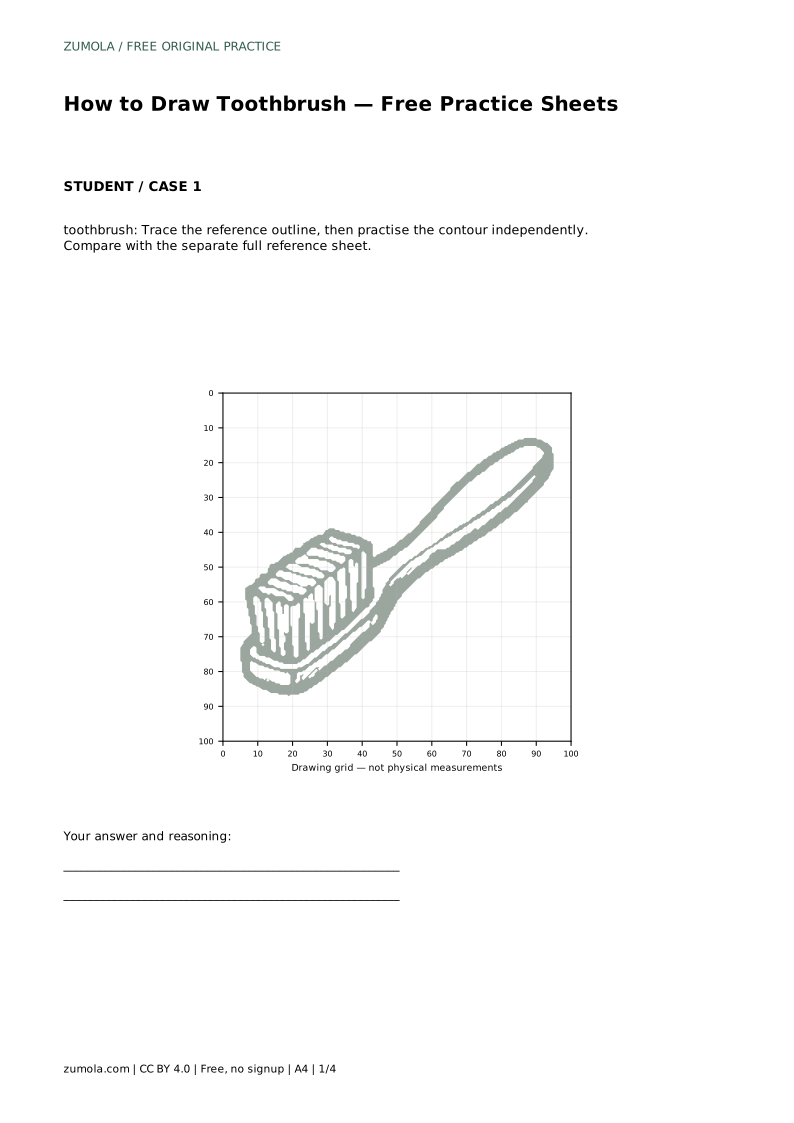
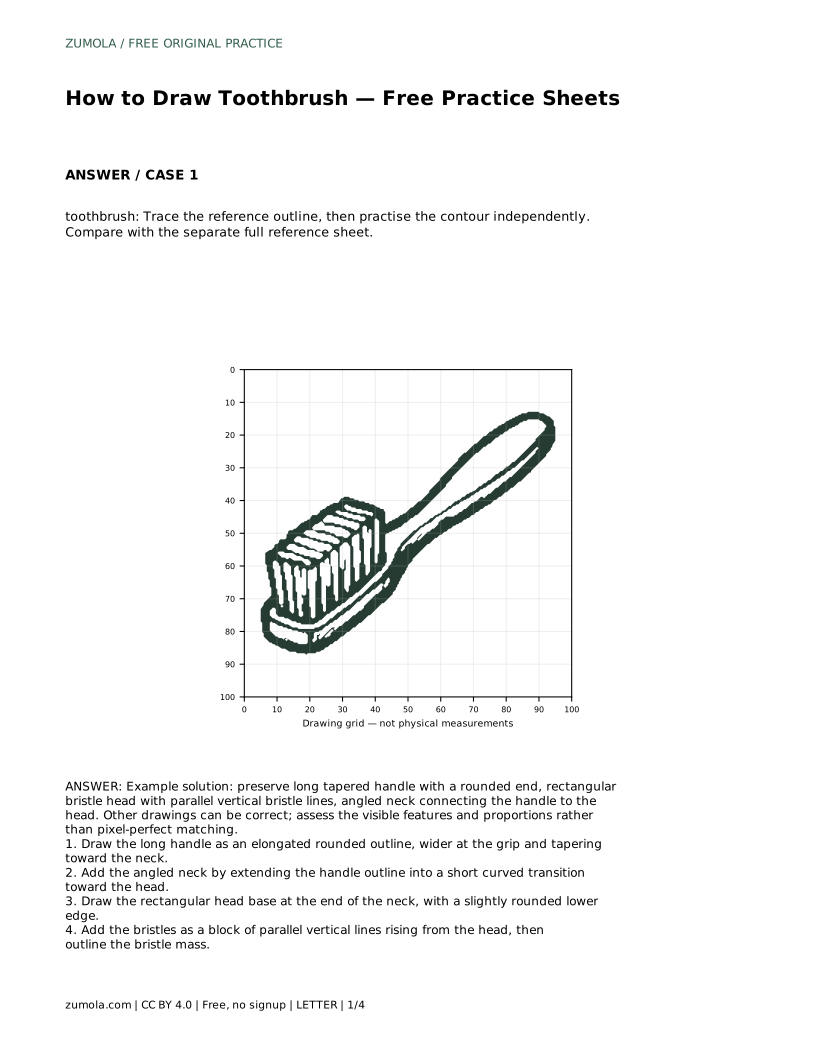
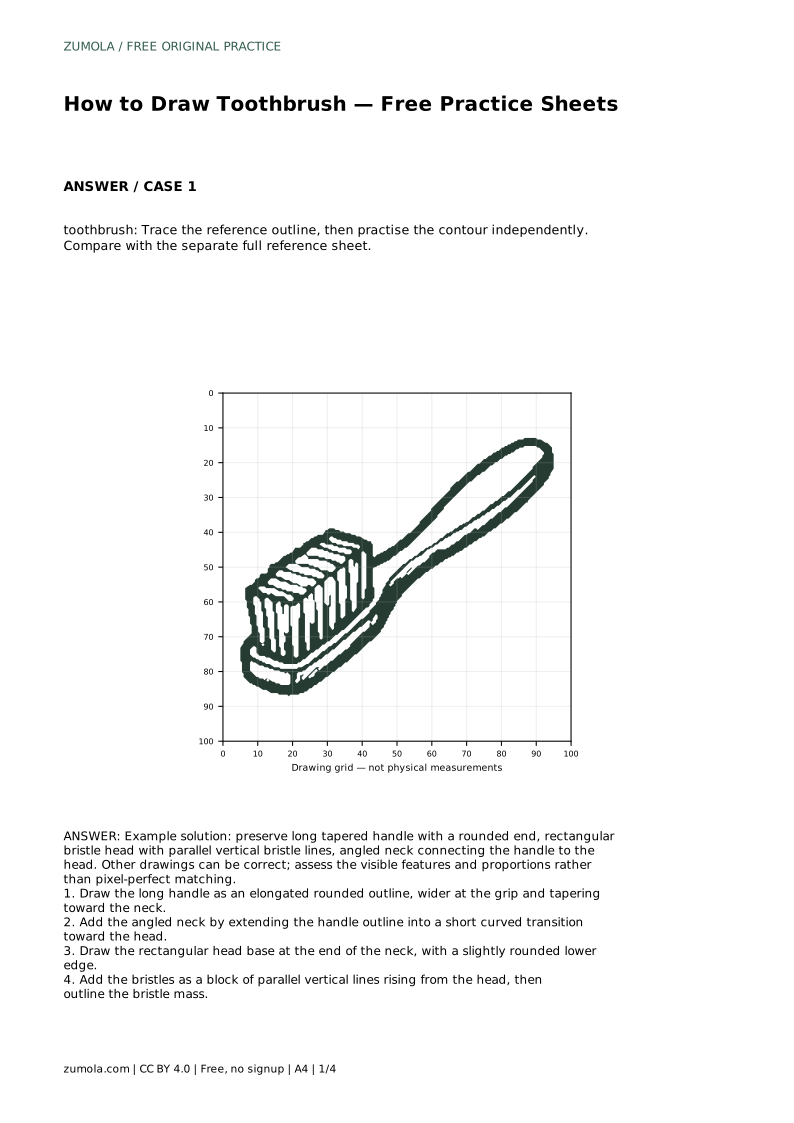
The trace-the-outline sheet asks you to follow the reference contour first, then practise the same contour independently. Compare your result with the separate full reference sheet, which shows the complete drawing without tracing lines.
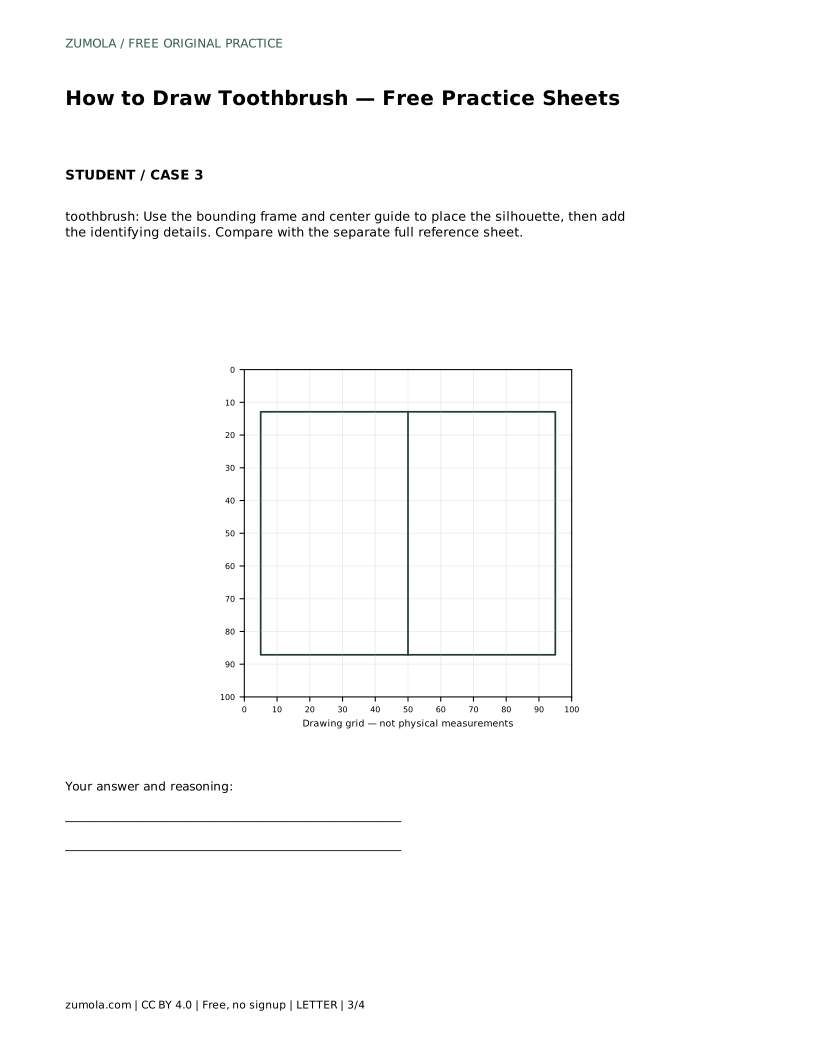
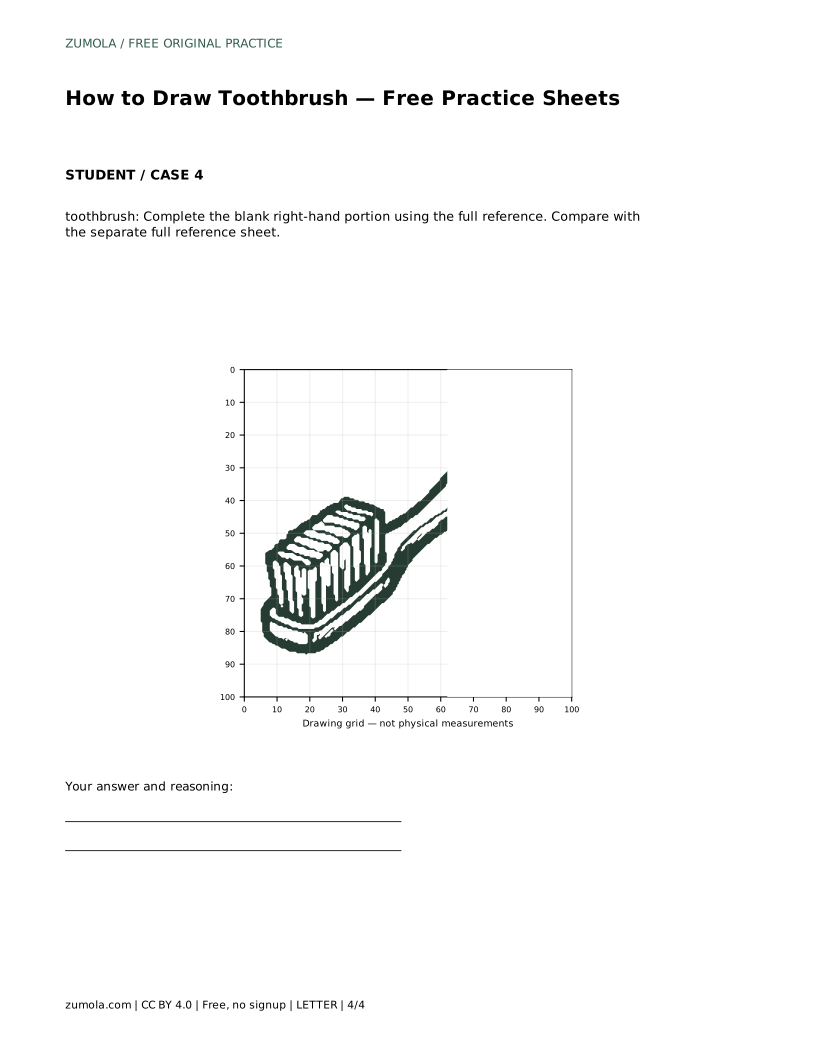
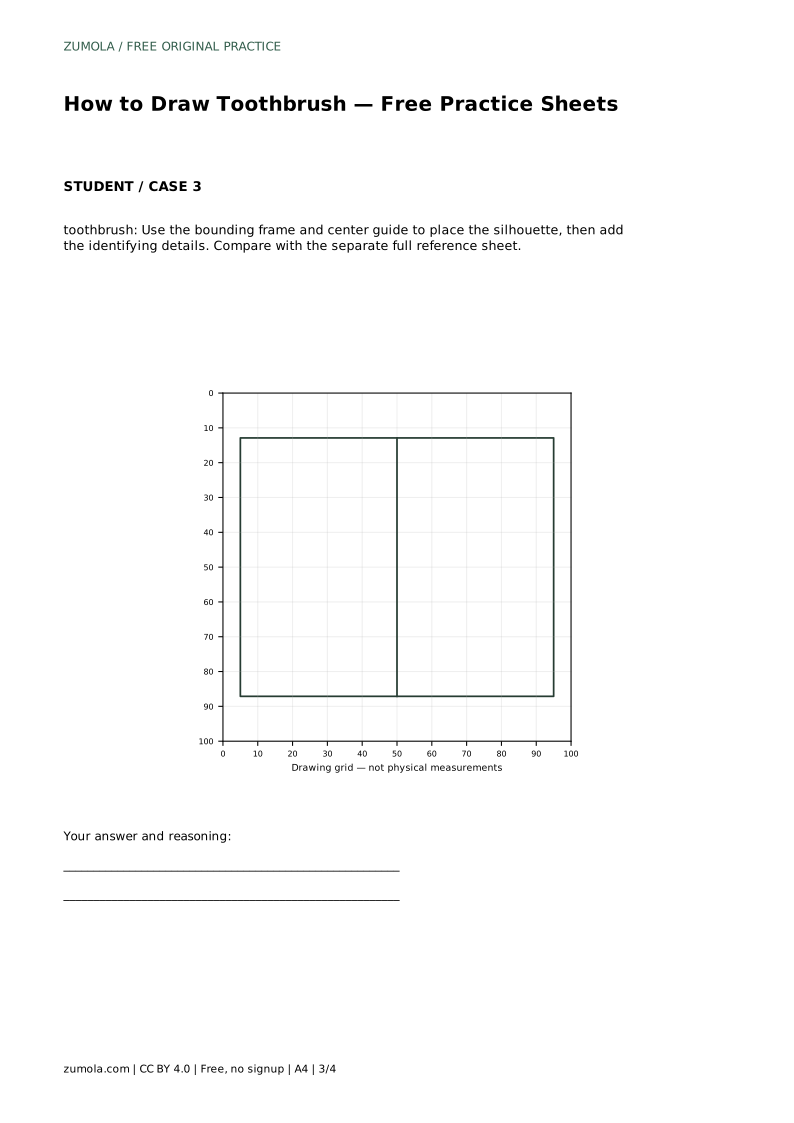
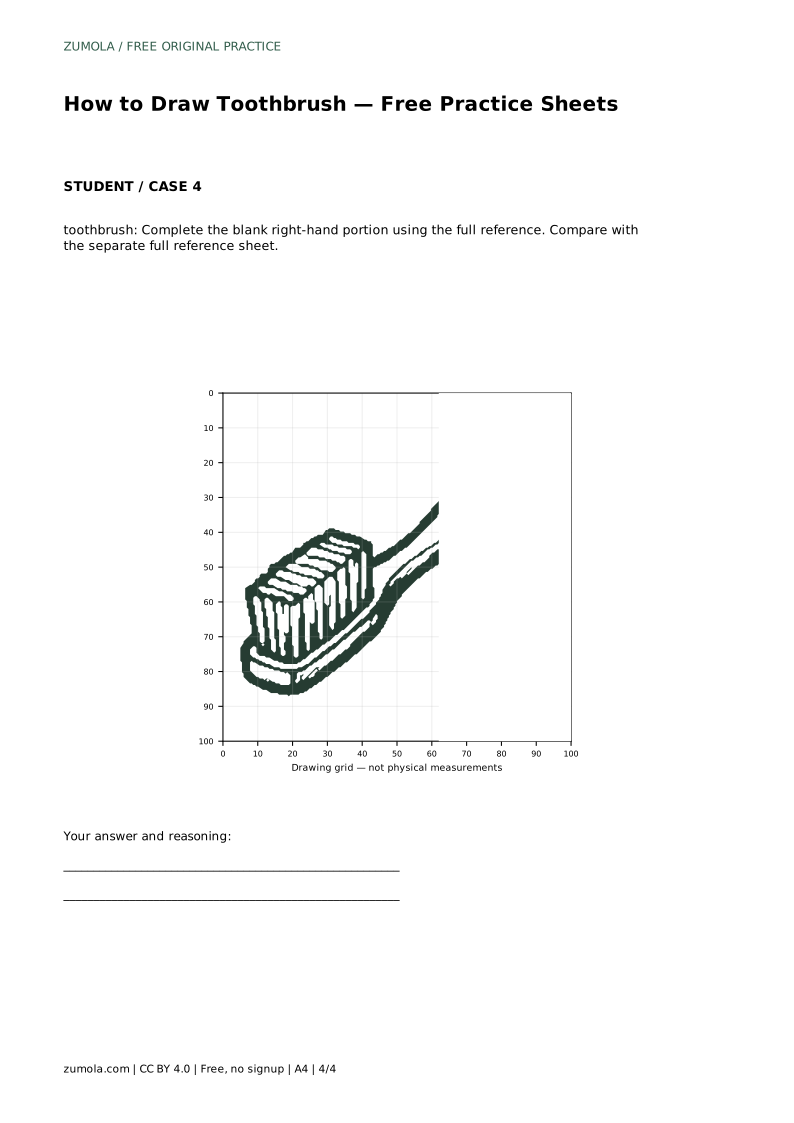
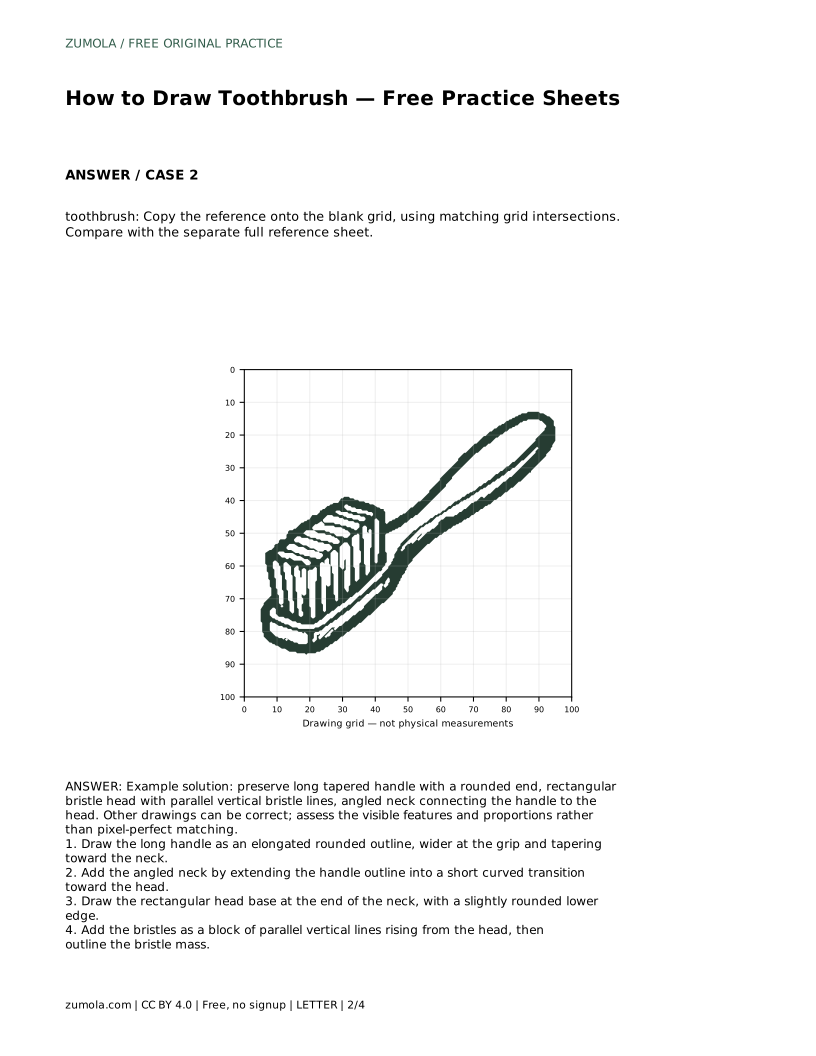
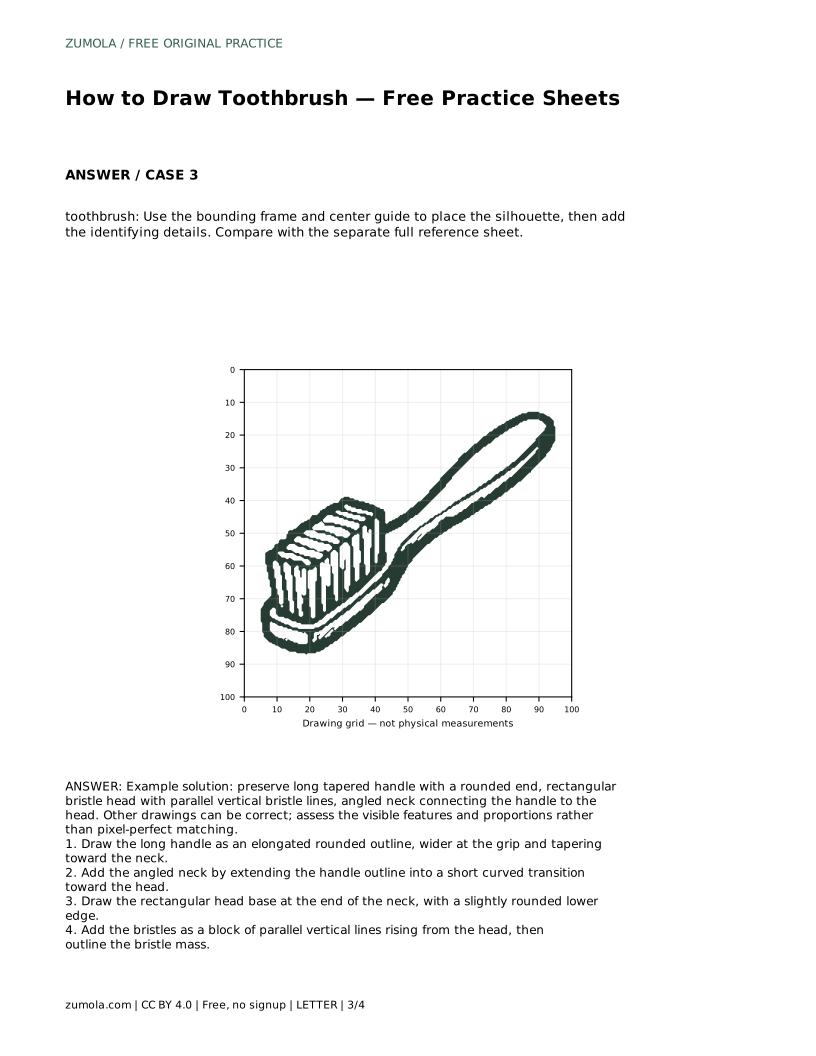
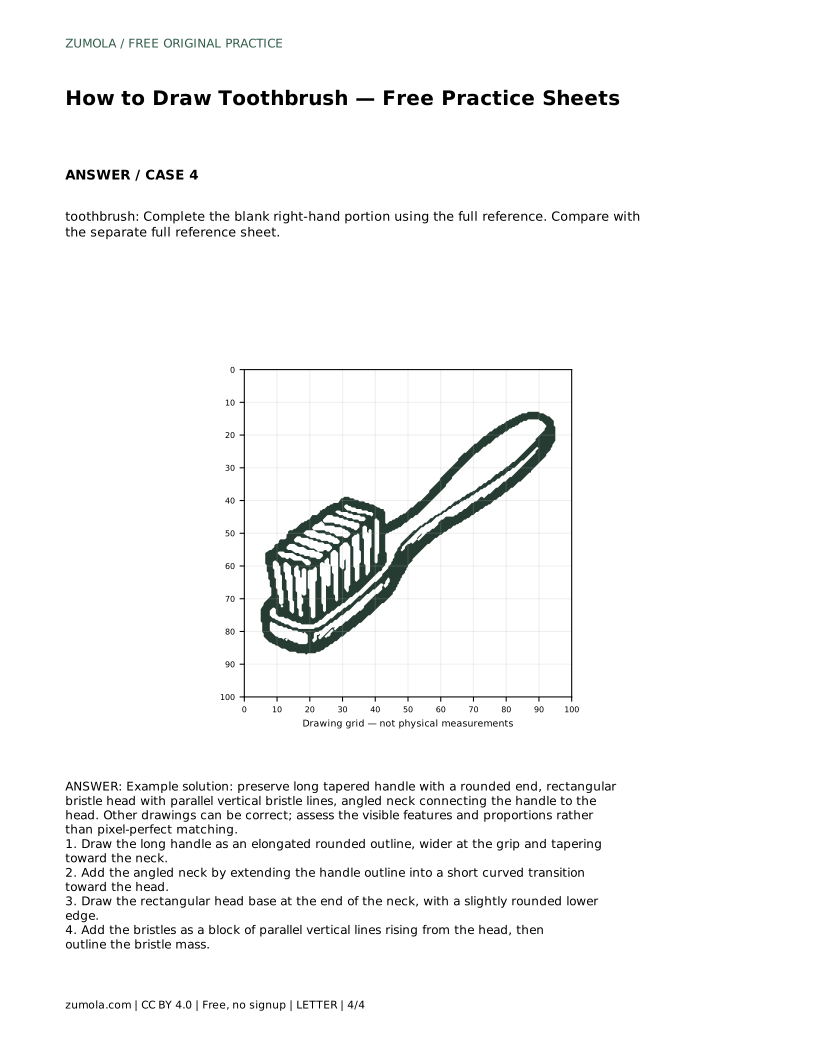
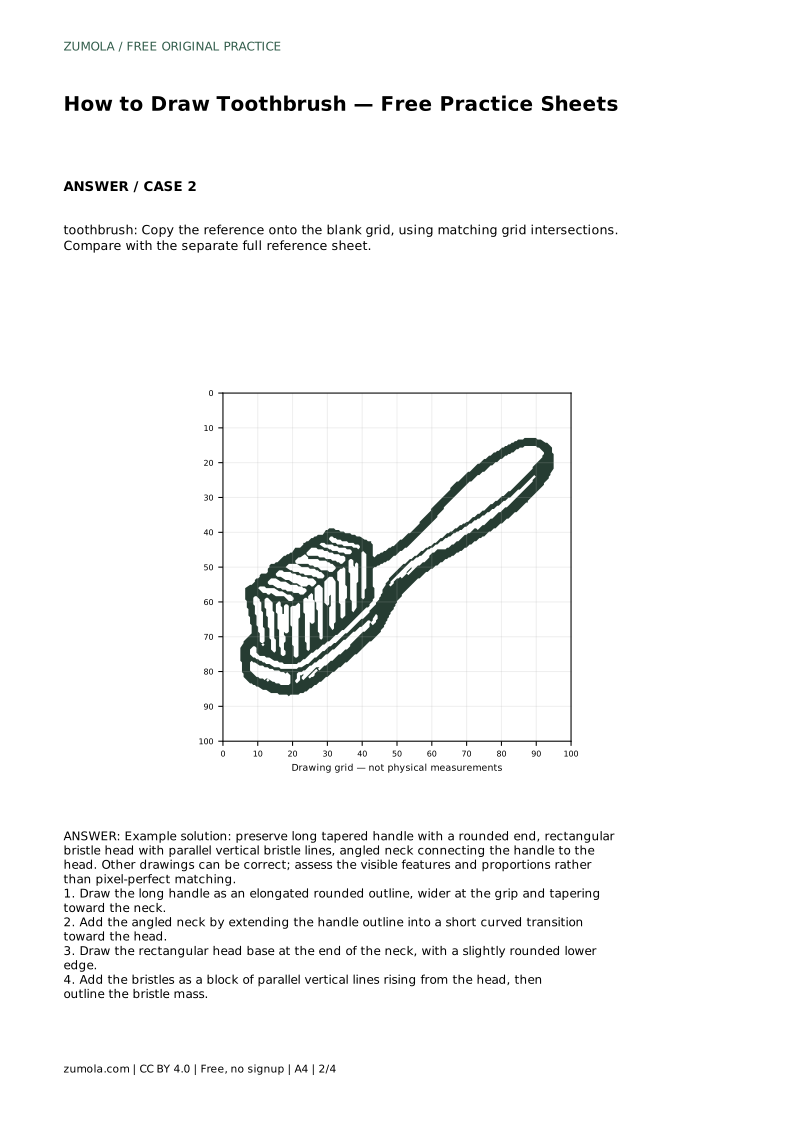
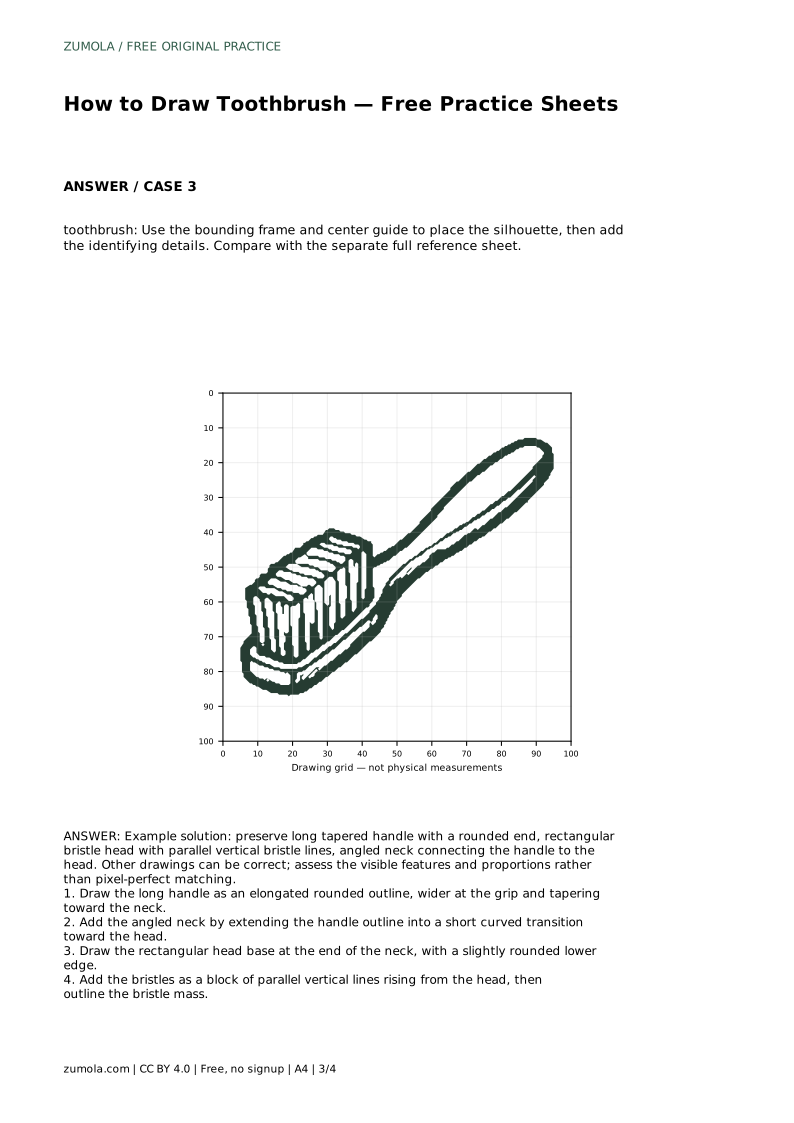
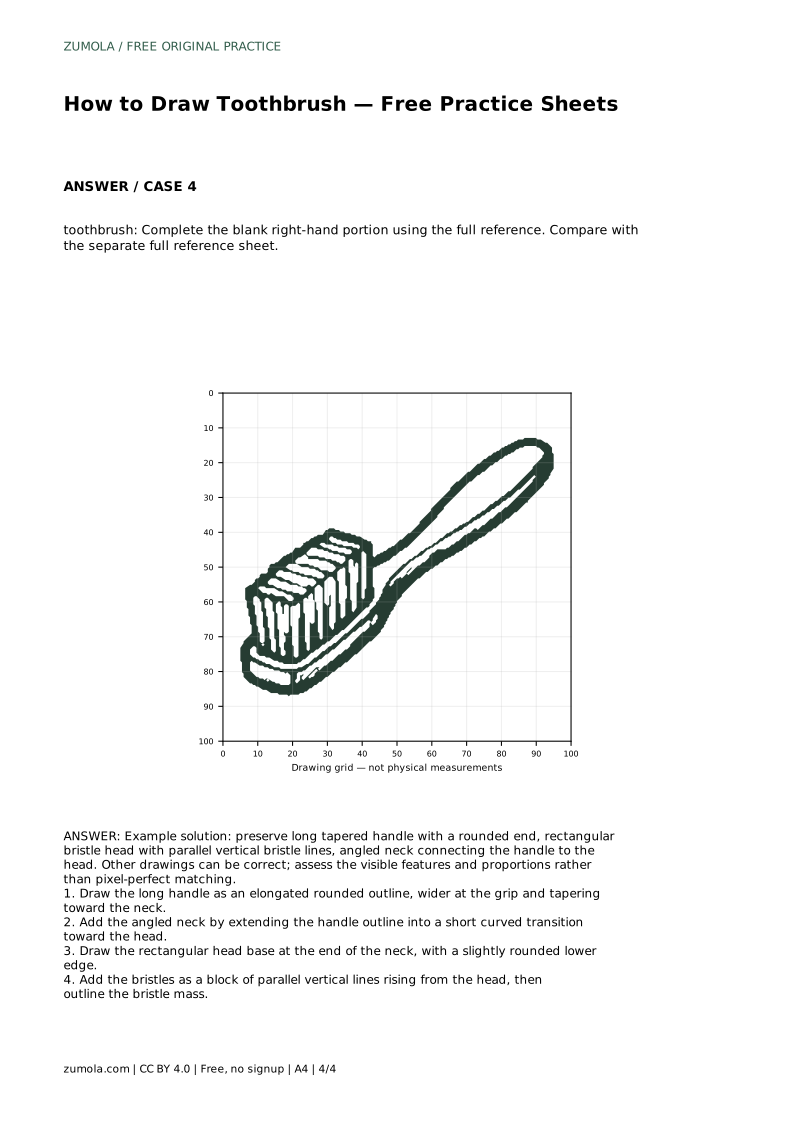
The blank-grid sheet asks you to copy the reference onto the grid using matching grid intersections. Place the handle, neck, head, and bristle block at the same relative positions rather than counting squares loosely. The bounding-frame sheet gives you a center guide to place the silhouette before adding identifying details. The partial sheet gives you the left portion and asks you to complete the blank right-hand portion using the full reference. In every format, the goal is the same set of visible features, not a pixel-perfect copy.
A useful check is the relationship between the handle length and the head width. The handle should be clearly longer than the head, and the bristle block should sit above the head rather than spilling past its sides. The neck should be short and angled, not a long straight extension.
Because drawings can vary, judge your work by whether the features are present and in sensible proportion. A slightly different handle curve or bristle count can still be correct.
toothbrush: Trace the reference outline, then practise the contour independently. Compare with the separate full reference sheet.
Example solution: preserve long tapered handle with a rounded end, rectangular bristle head with parallel vertical bristle lines, angled neck connecting the handle to the head. Other drawings can be correct; assess the visible features and proportions rather than pixel-perfect matching. Draw the long handle as an elongated rounded outline, wider at the grip and tapering toward the neck. Add the angled neck by extending the handle outline into a short curved transition toward the head. Draw the rectangular head base at the end of the neck, with a slightly rounded lower edge. Add the bristles as a block of parallel vertical lines rising from the head, then outline the bristle mass.
No. The bristles should read as a block of parallel vertical lines. A different count can still be correct if the block fits the head width.
Start with the trace-the-outline sheet to learn the contour, then move to the grid or bounding-frame sheet to practise placement independently.
Check that the tapered handle, angled neck, rectangular head, and parallel bristle block are all visible and in sensible proportion.
All drawing practice · Free coordinate paper
Original resources · CC BY 4.0 · Free for personal and classroom use with attribution.