Reference diagrams
LETTER · Download PDF
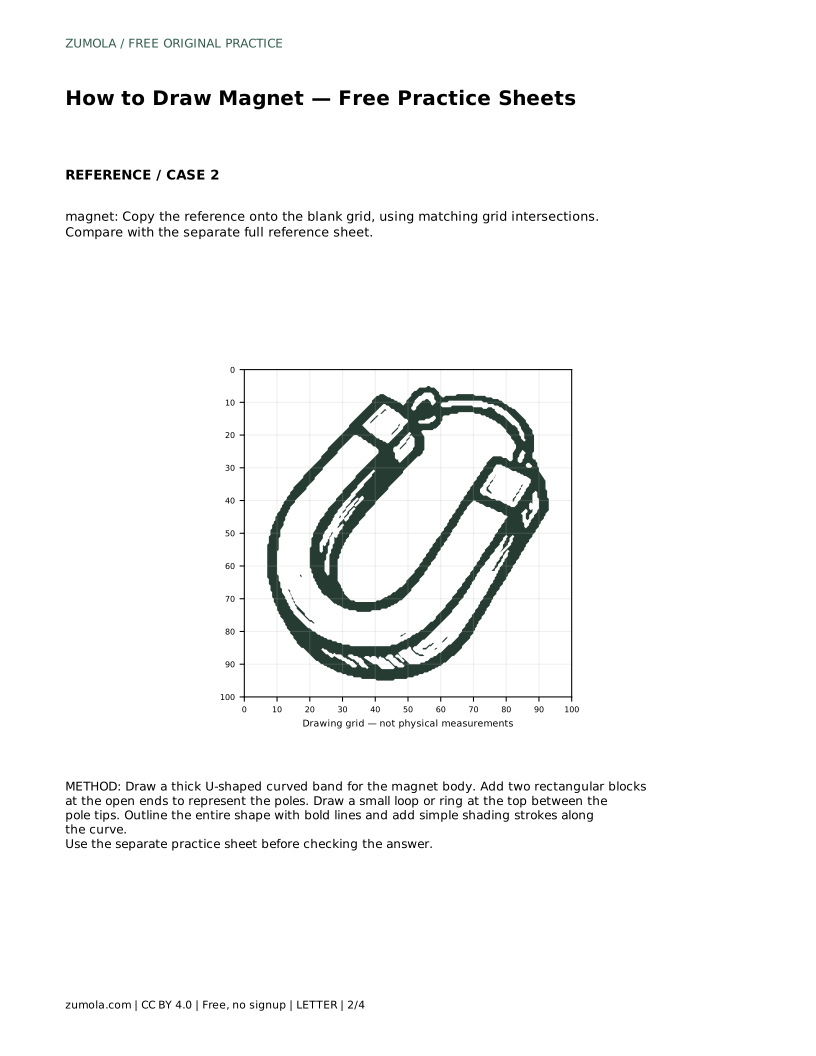
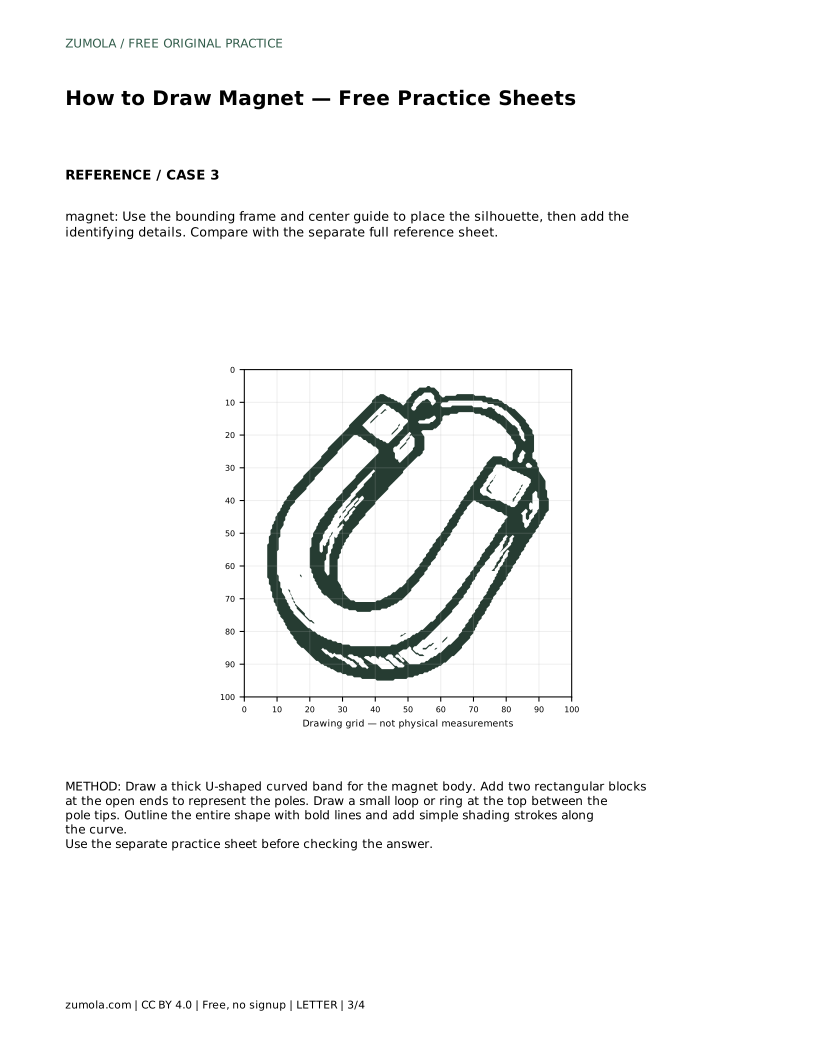
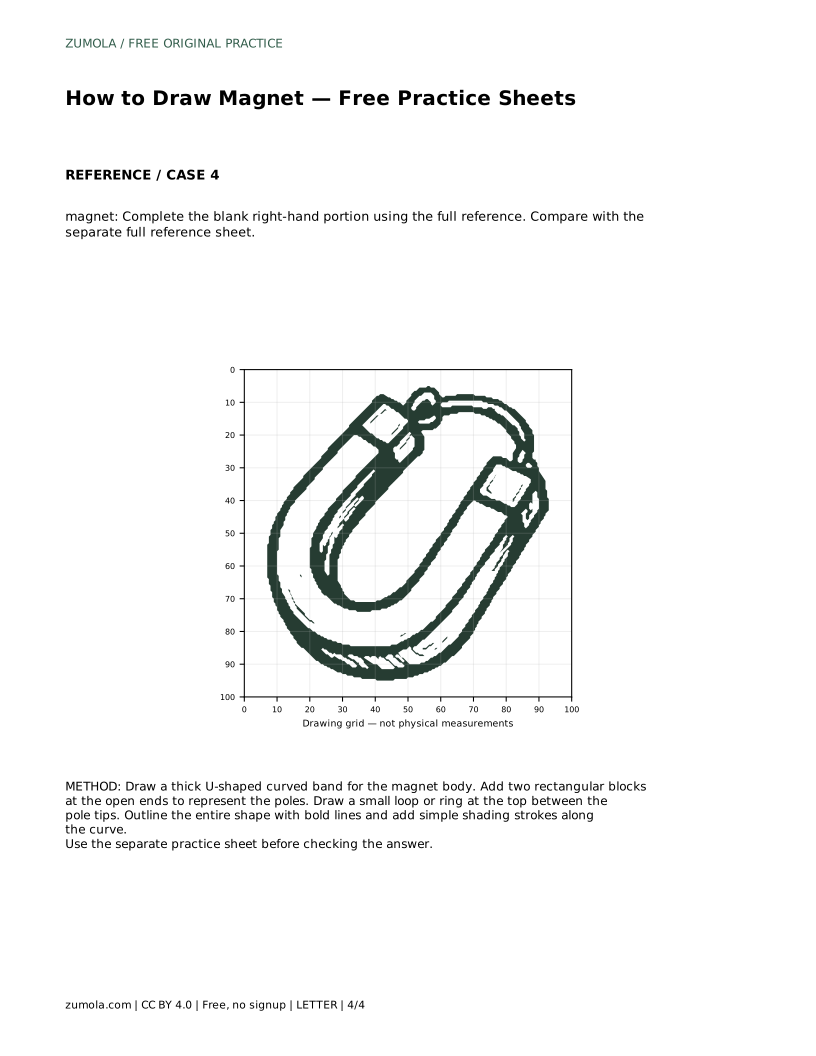
A4 · Download PDF
Free original resources
Learn to draw a horseshoe magnet by tracing its outline, then working independently. Practice sheets build contour, proportion, and detail skills.
Four original cases, with reference diagrams, practice sheets and worked answers. Everything is free; no signup required.
LETTER · Download PDF
A4 · Download PDF
LETTER · Download PDF
A4 · Download PDF
LETTER · Download PDF
A4 · Download PDF
Use A4 or US Letter to match your printer. Use the stated values and conditions to solve each exercise; diagrams are not physical measuring rulers.
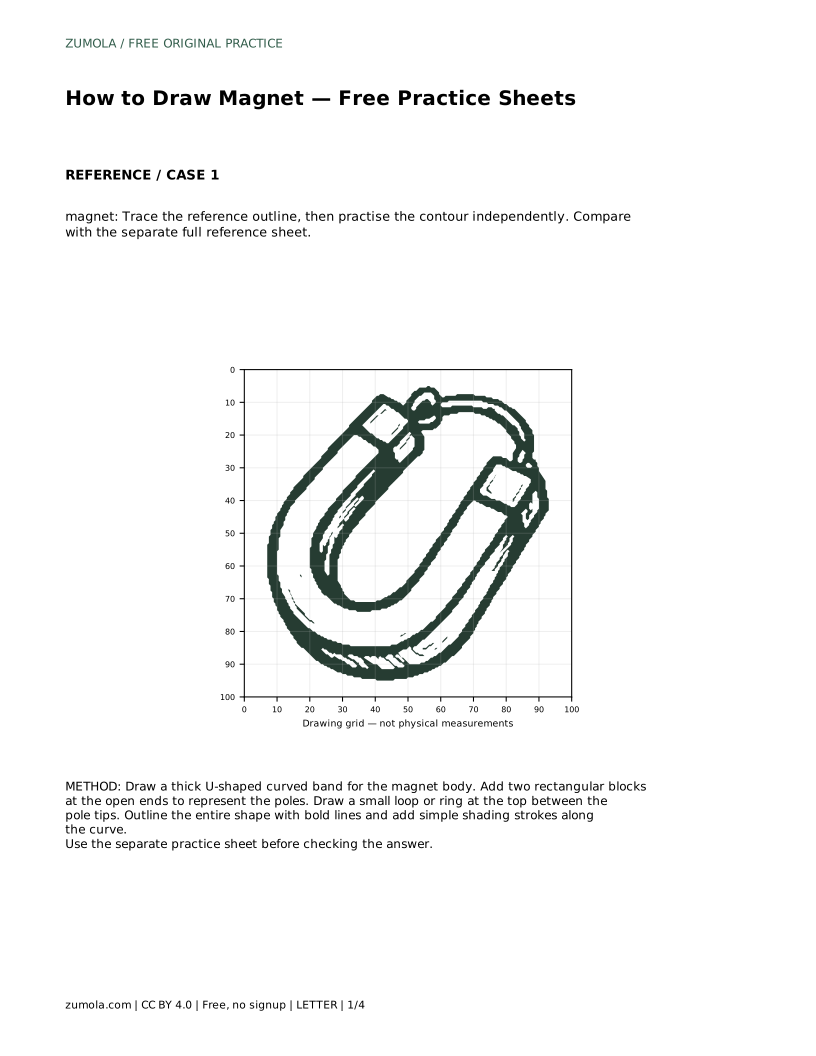
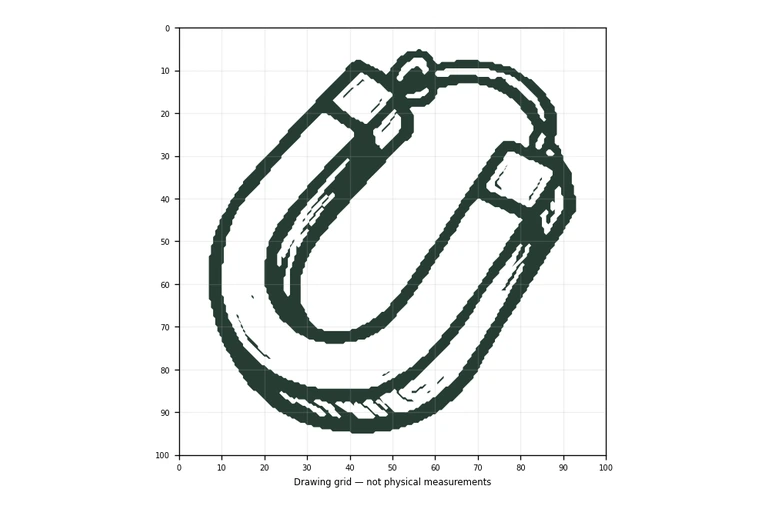
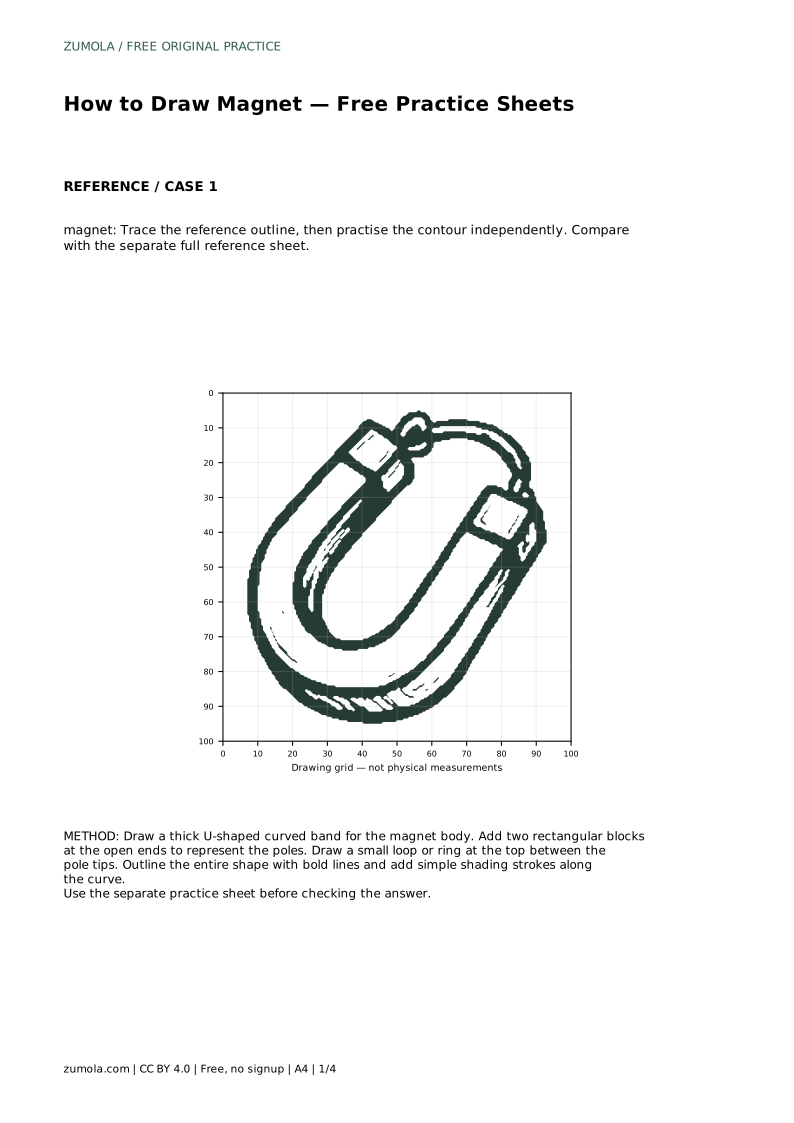
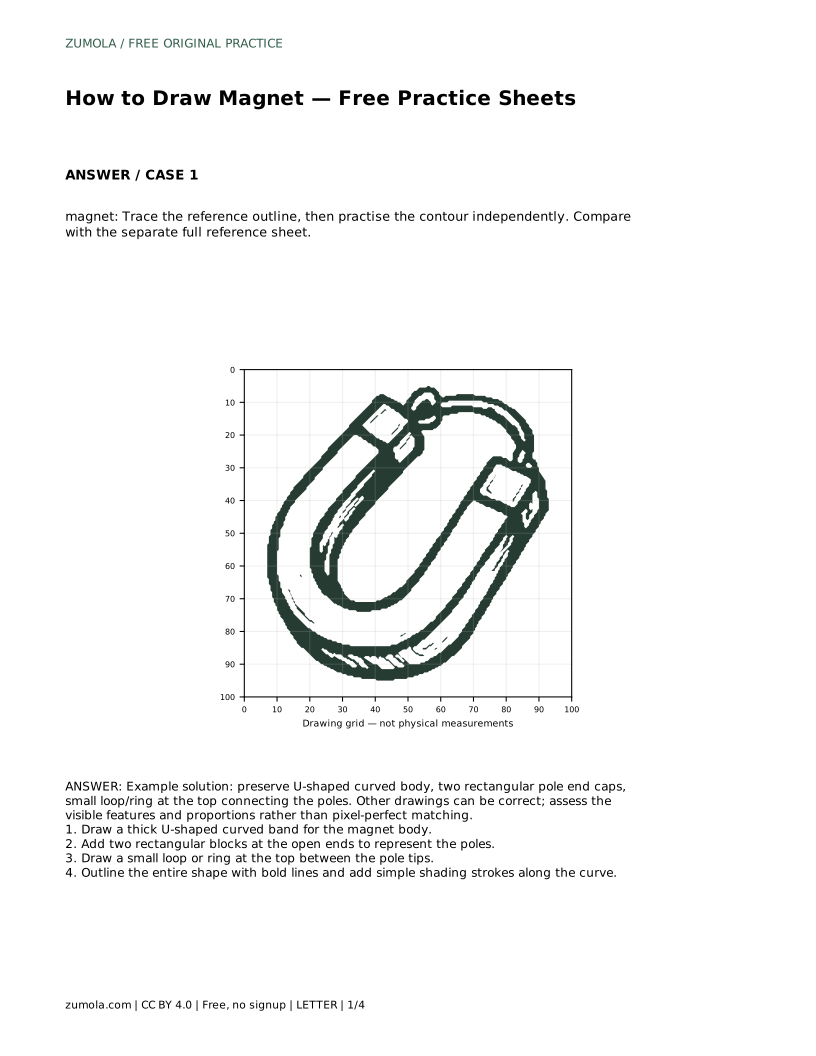
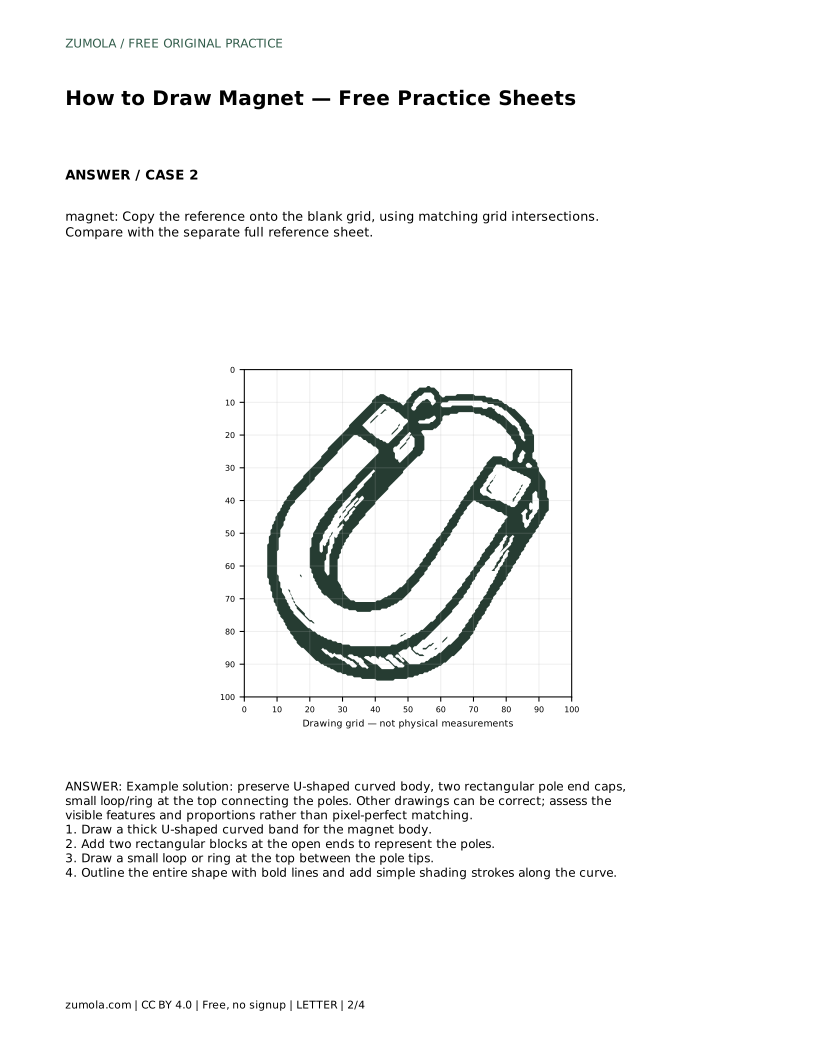
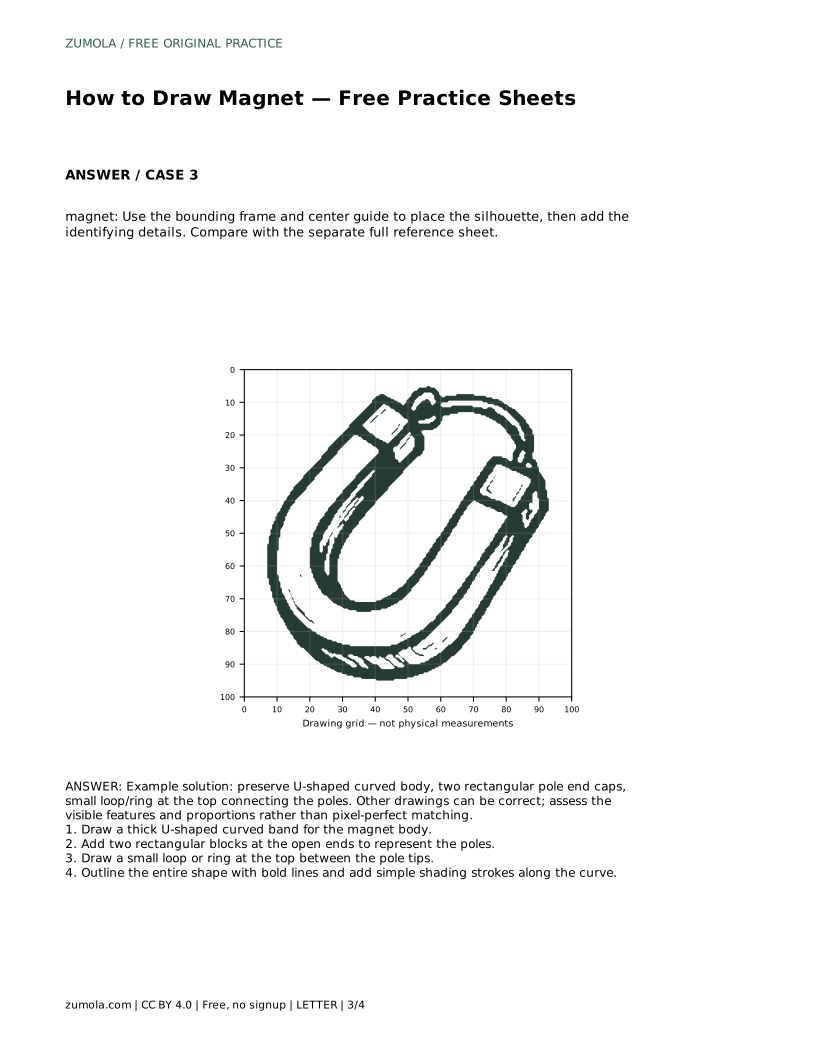
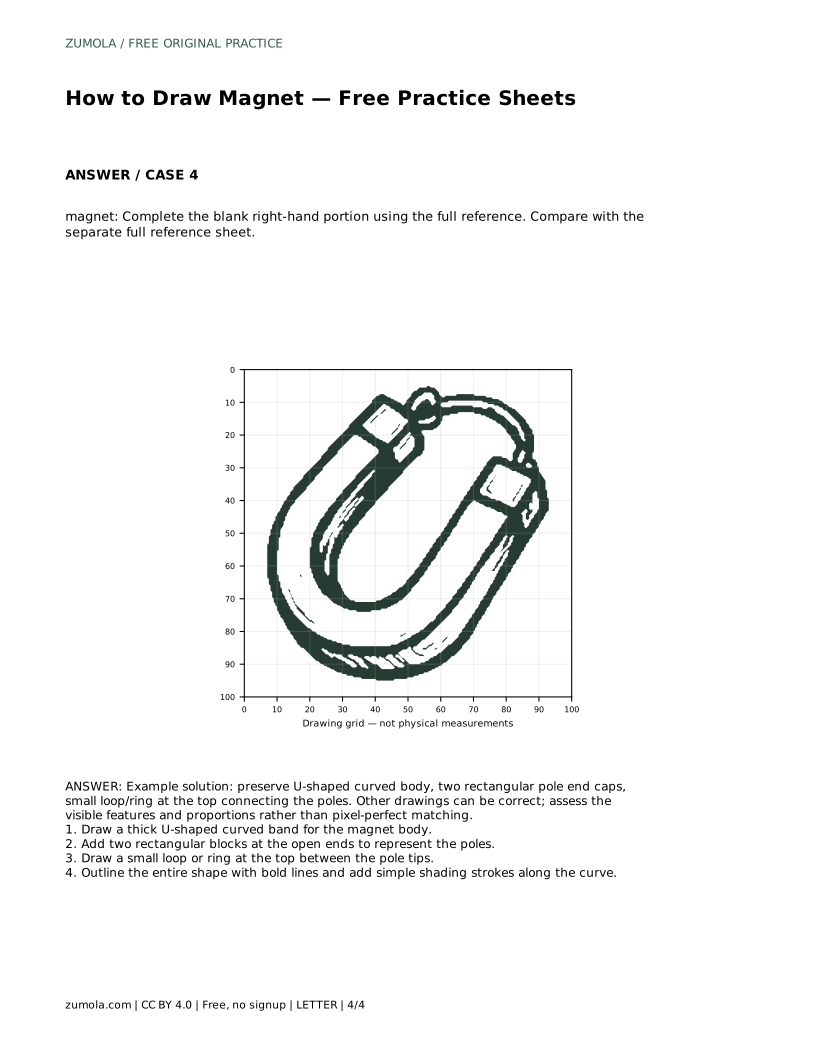
Drawing a magnet is a good exercise in combining a curved body with straight-edged details. The goal is not a pixel-perfect copy but a recognizable shape with the right proportions. This guide walks you through tracing a reference outline, then drawing the magnet on your own. You will focus on the thick U-shaped band, the rectangular pole ends, and the small ring at the top. Use the practice sheets to compare your work with a full reference and check which features are clear.
Begin by drawing a thick, curved band shaped like a horseshoe or a wide U. The curve should be smooth and even, with the two arms roughly parallel. Keep the band width consistent from one end to the other. This band is the main body of the magnet, so its proportions set the stage for everything else.
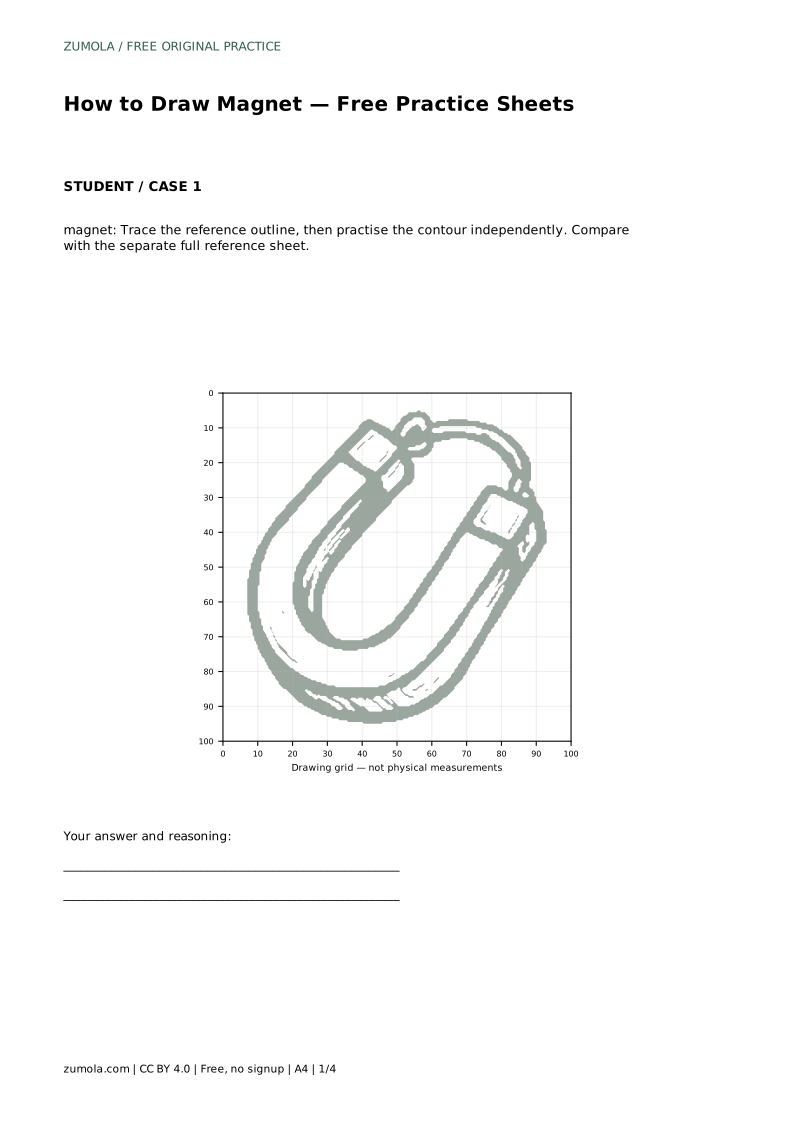
If you are tracing, follow the reference outline slowly, keeping your pencil on the line. If you are drawing independently, sketch lightly first, then adjust the curve until both arms look balanced. A common mistake is making one arm longer or thicker than the other; check by comparing the distance from the top curve to each pole end.
At the open ends of the U, draw two rectangular blocks. These represent the poles. Each block should sit squarely at the end of its arm, with straight edges and right angles. The blocks are usually a little wider than the band, giving the magnet a distinct silhouette.
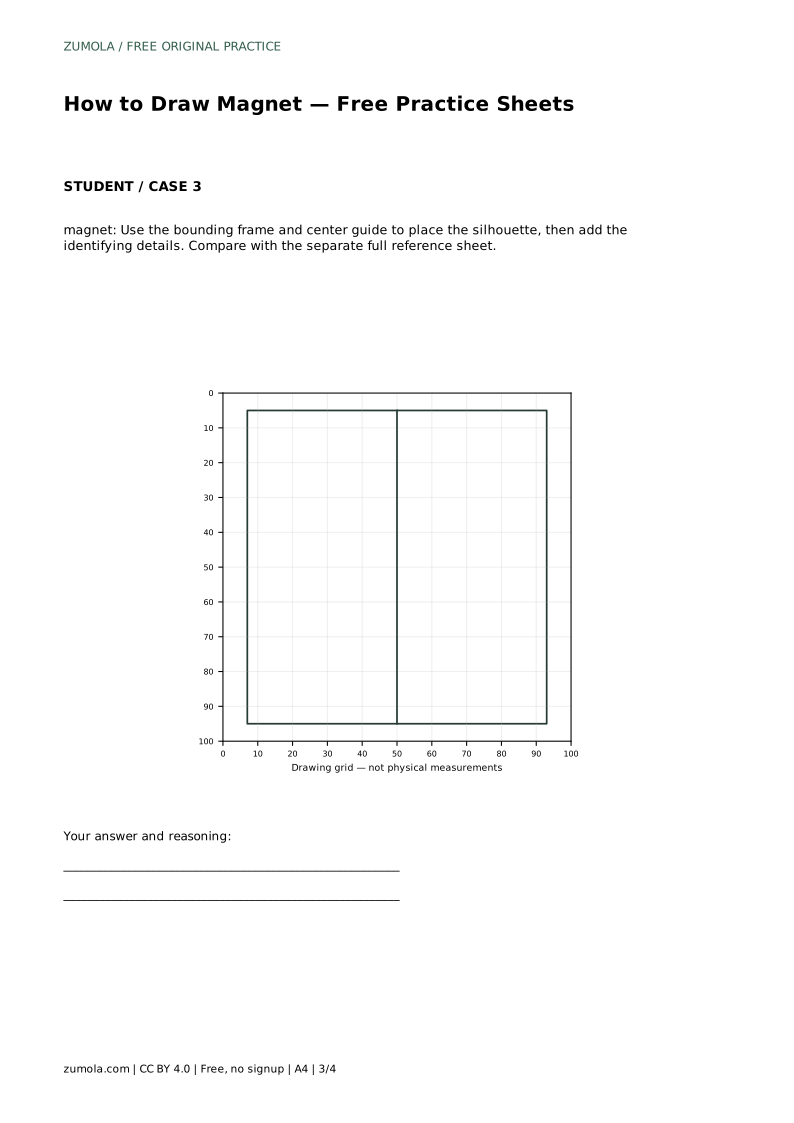
Make sure the two rectangles are similar in size and aligned with each other. If one block is much larger, the magnet will look unbalanced. Use the grid or center guide on your practice sheet to help place them evenly. The pole ends are a key identifying feature, so keep their edges crisp.
Between the pole tips, near the top of the curve, draw a small loop or ring. This detail connects the poles visually and is part of the classic magnet shape. The ring should be centered and proportional to the rest of the drawing—not too large or too small.
Once the ring is in place, outline the entire shape with bold lines. Go over the U-shaped band, the rectangular poles, and the ring. Then add simple shading strokes along the curve to suggest thickness. Shading can be light parallel lines that follow the curve of the band. Avoid overcomplicating the shading; a few strokes are enough to give the magnet a solid look.
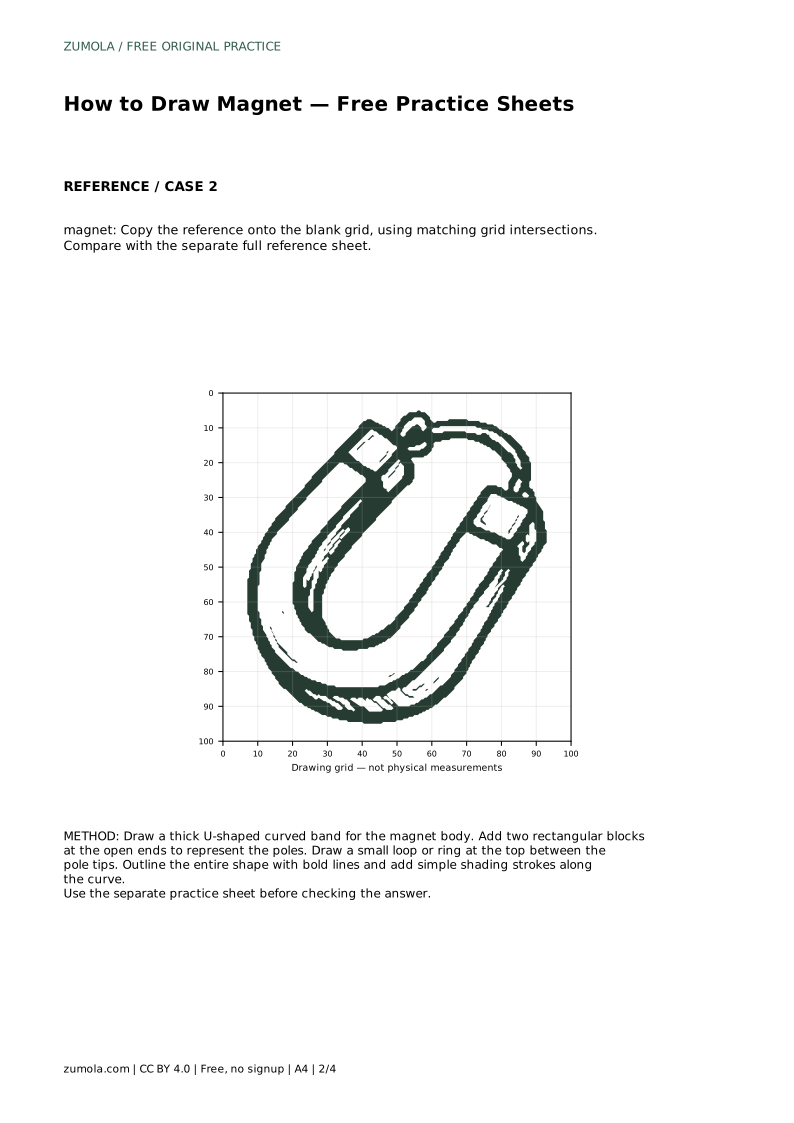
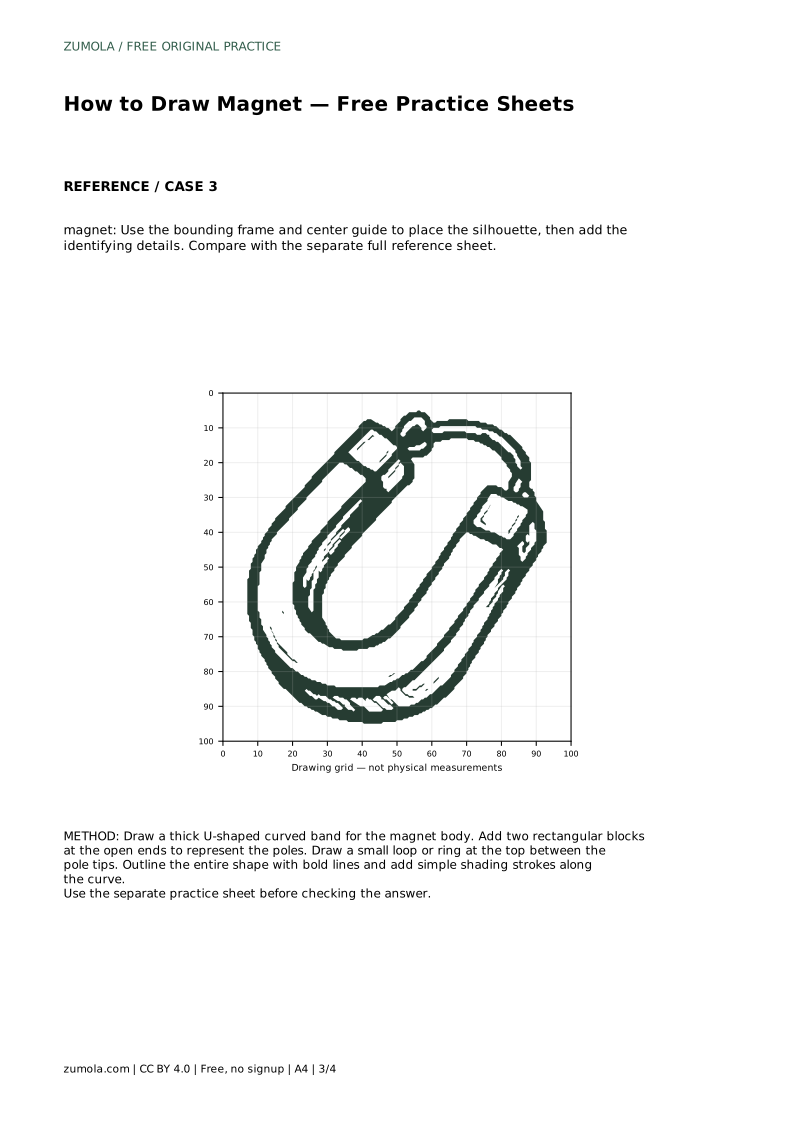
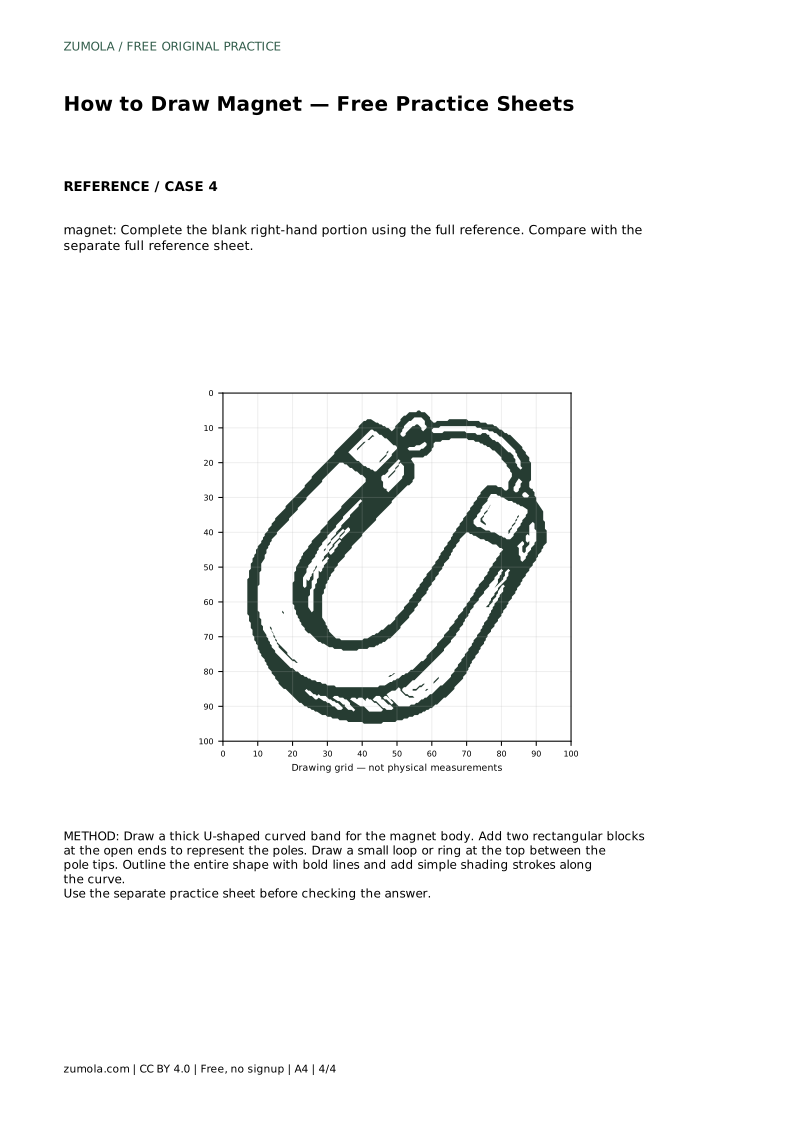
After drawing, compare your magnet with the separate full reference sheet. Check the four key features: the U-shaped curved body, the two rectangular pole end caps, the small ring at the top, and the overall proportions. Your drawing does not need to match every pixel. Instead, ask whether someone could recognize it as a magnet without explanation.
If a feature is unclear, adjust it. For example, if the ring is too small to notice, enlarge it slightly. If the pole ends look like circles instead of rectangles, straighten their edges. Use the practice sheets to try different methods: tracing, copying onto a grid, using a bounding frame, or completing a partial drawing. Each method trains a different skill, but all lead to the same goal: a clear, well-proportioned magnet.
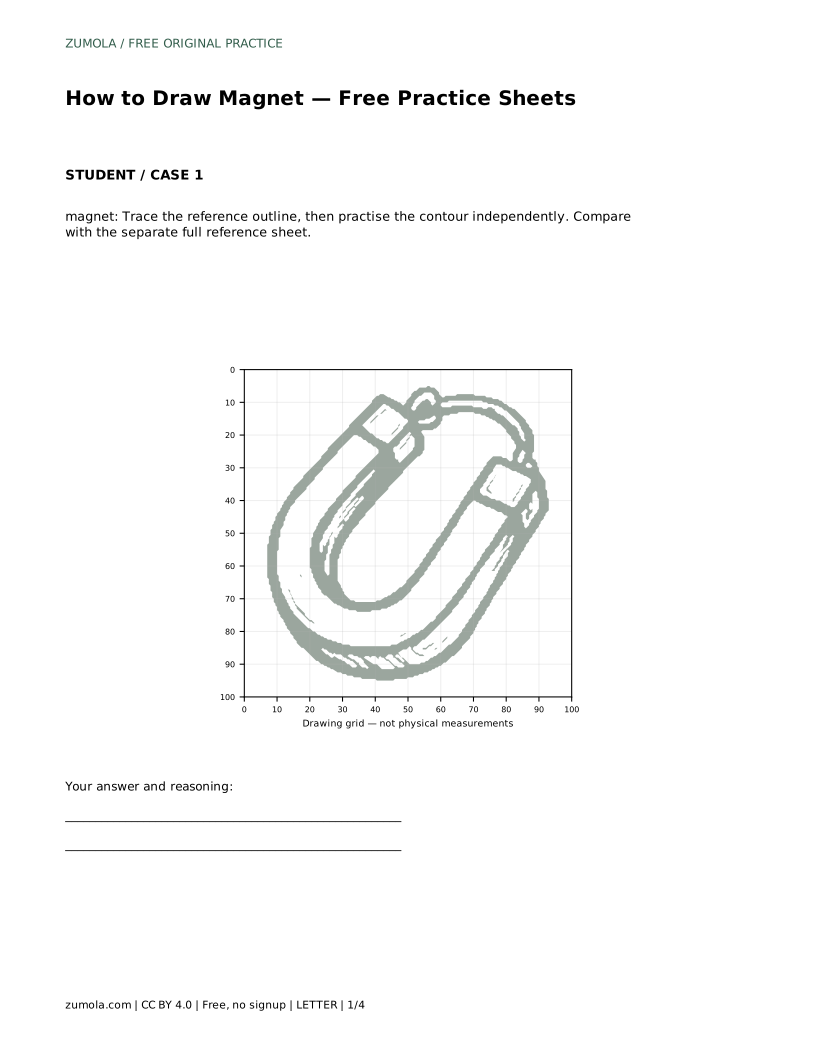
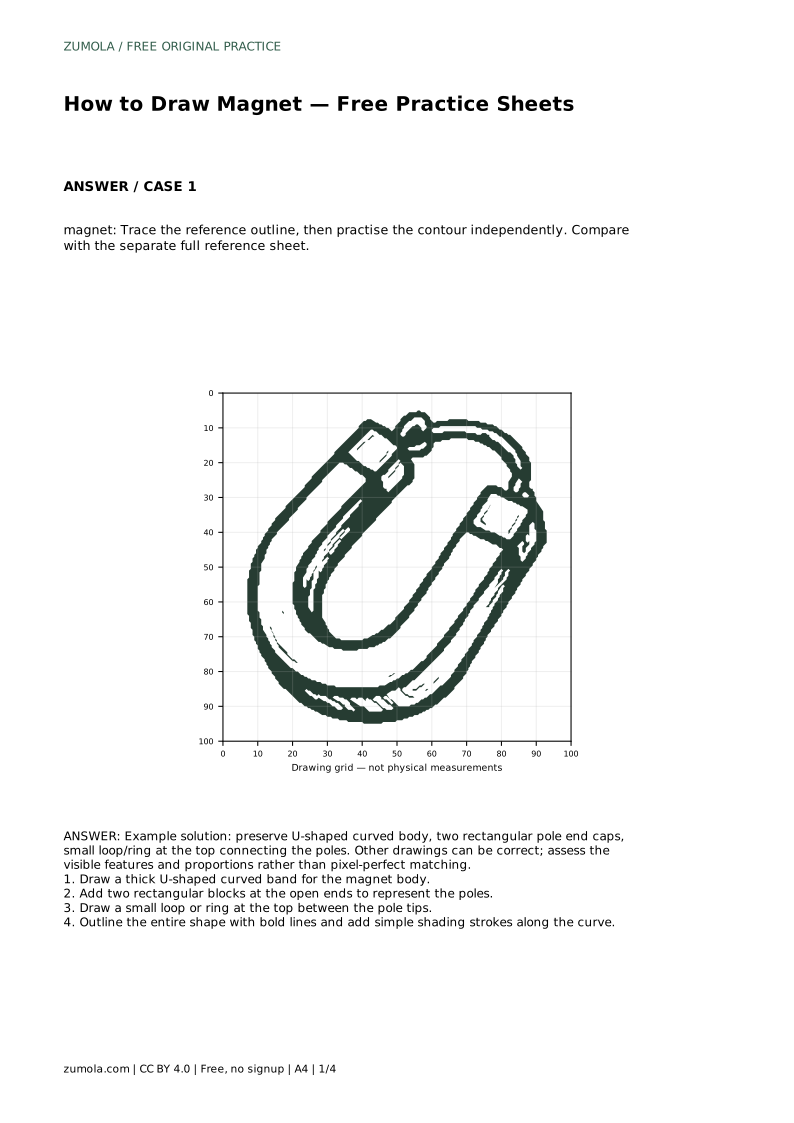
magnet: Trace the reference outline, then practise the contour independently. Compare with the separate full reference sheet.
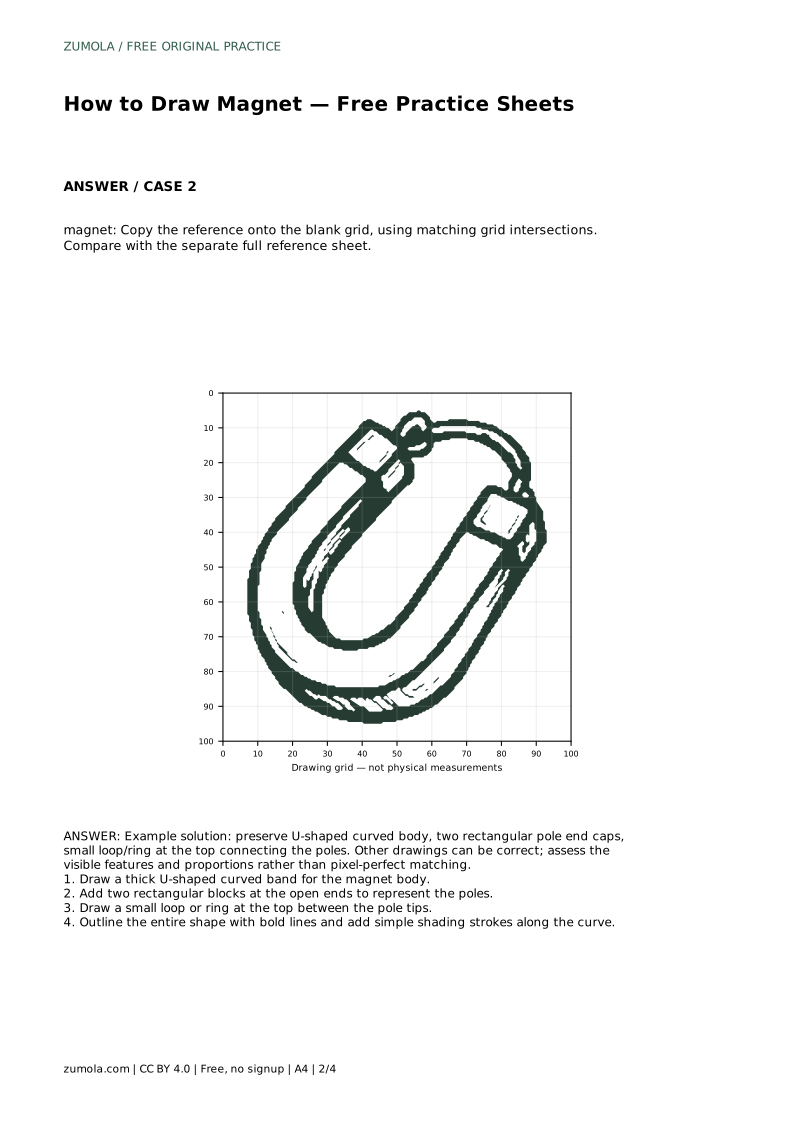
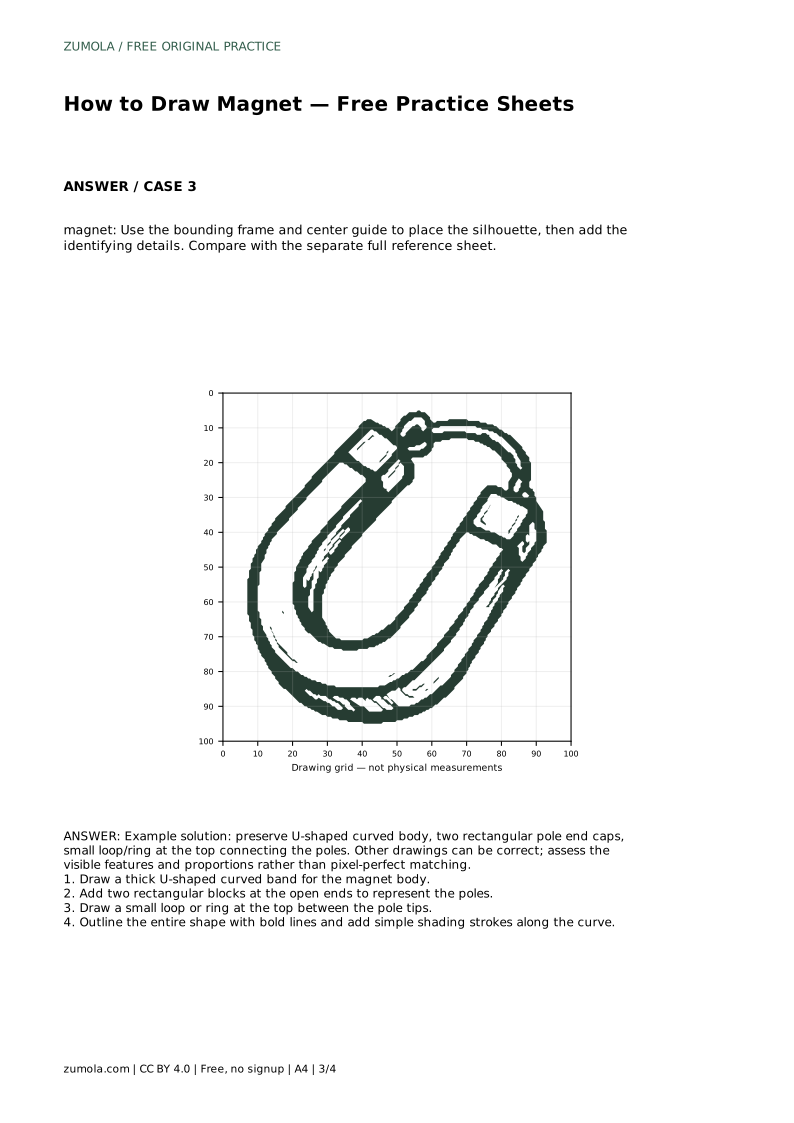
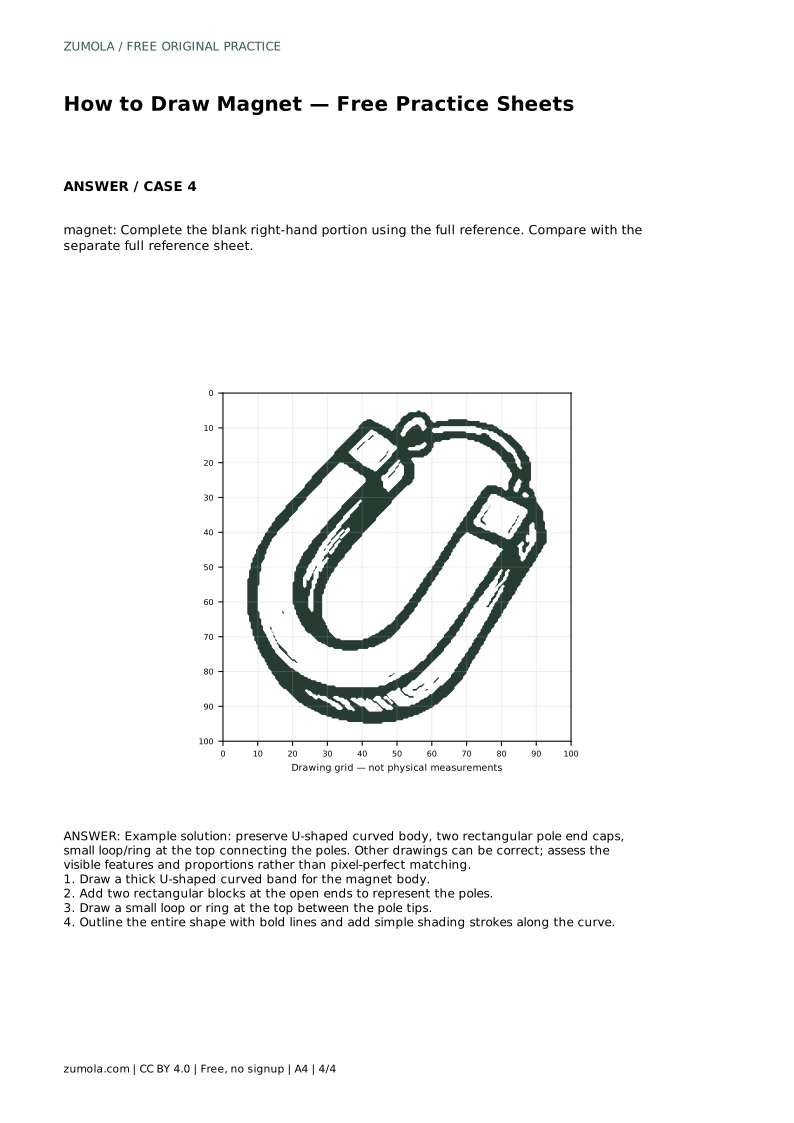
Example solution: preserve U-shaped curved body, two rectangular pole end caps, small loop/ring at the top connecting the poles. Other drawings can be correct; assess the visible features and proportions rather than pixel-perfect matching. Draw a thick U-shaped curved band for the magnet body. Add two rectangular blocks at the open ends to represent the poles. Draw a small loop or ring at the top between the pole tips. Outline the entire shape with bold lines and add simple shading strokes along the curve.
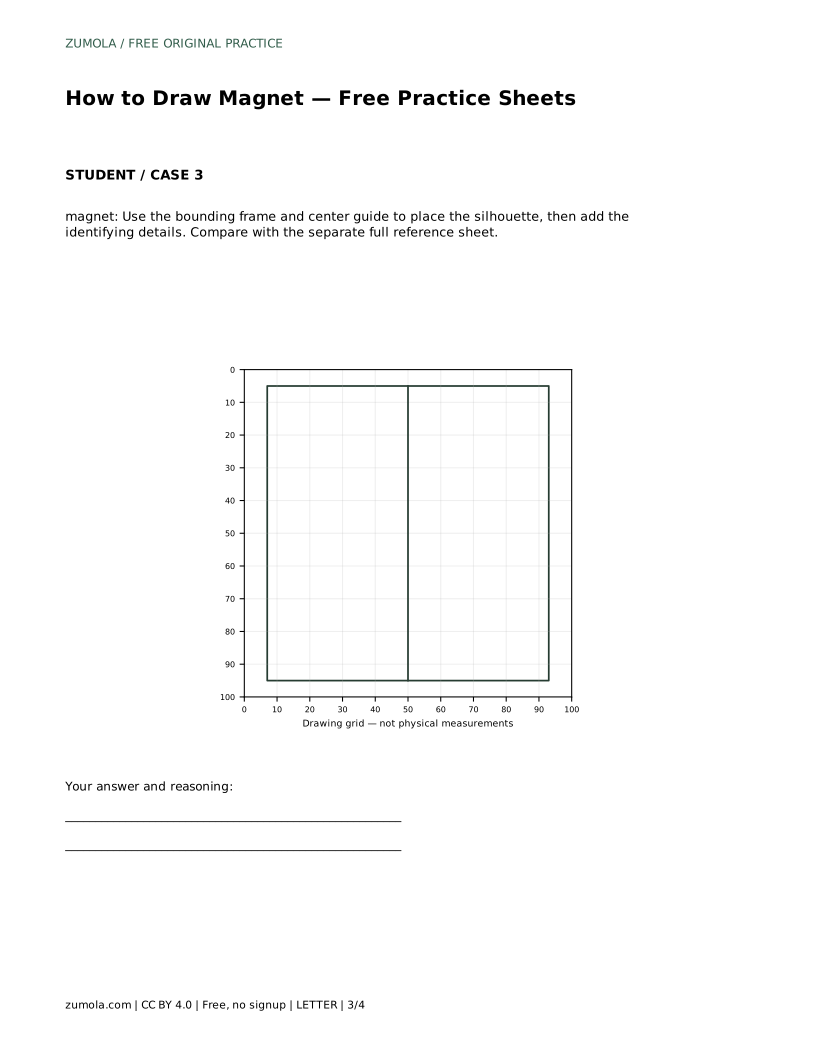
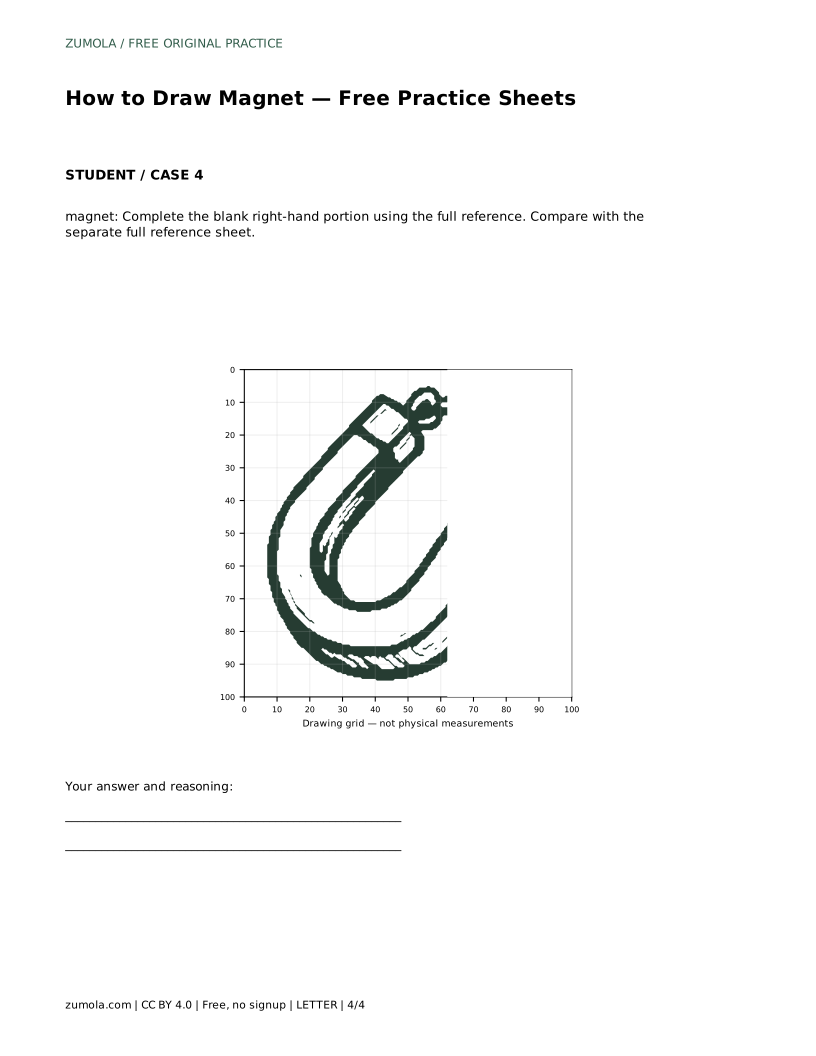
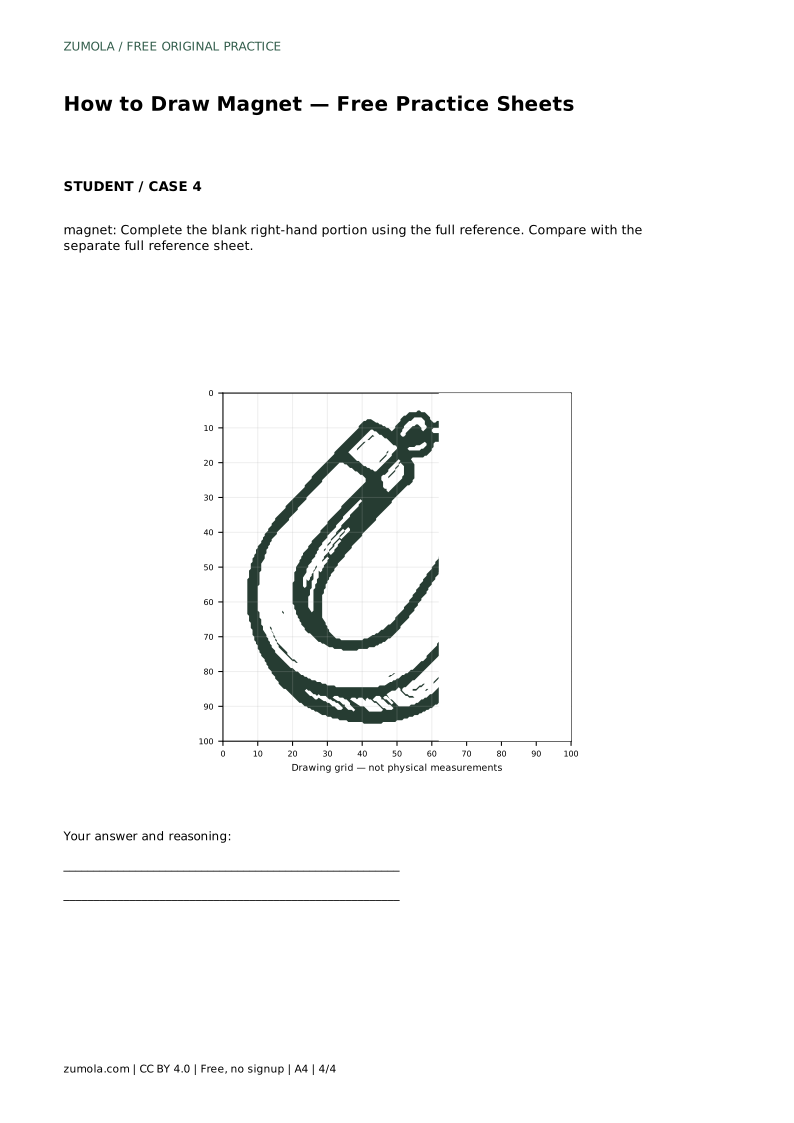
Tracing is one option. The practice sheets also include copying onto a grid, using a bounding frame, and completing a partial drawing. Choose the method that matches your practice sheet.
There is no single correct answer. Check that the U-shaped body, two rectangular pole ends, and small top ring are visible and proportioned similarly to the reference. Other variations can still be correct.
Keep shading simple: use a few light strokes that follow the curve of the band. Avoid heavy scribbling, and erase any strokes that go outside the outline.
All drawing practice · Free coordinate paper
Original resources · CC BY 4.0 · Free for personal and classroom use with attribution.