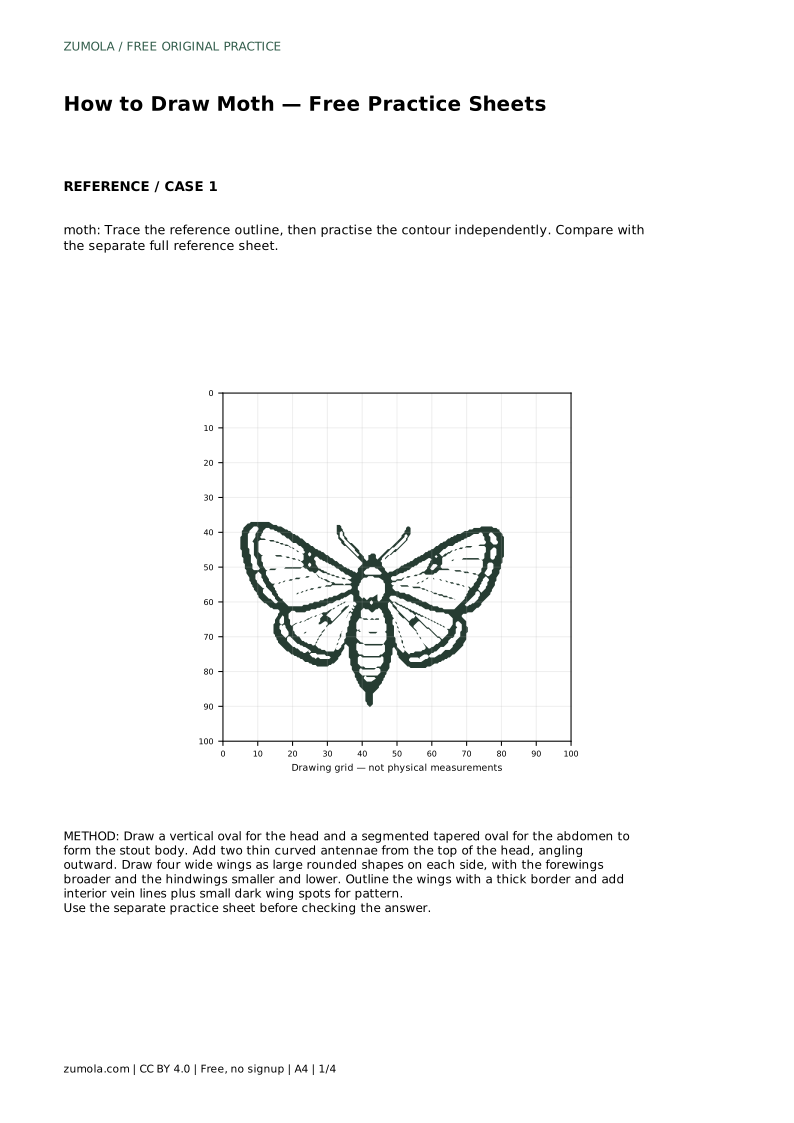
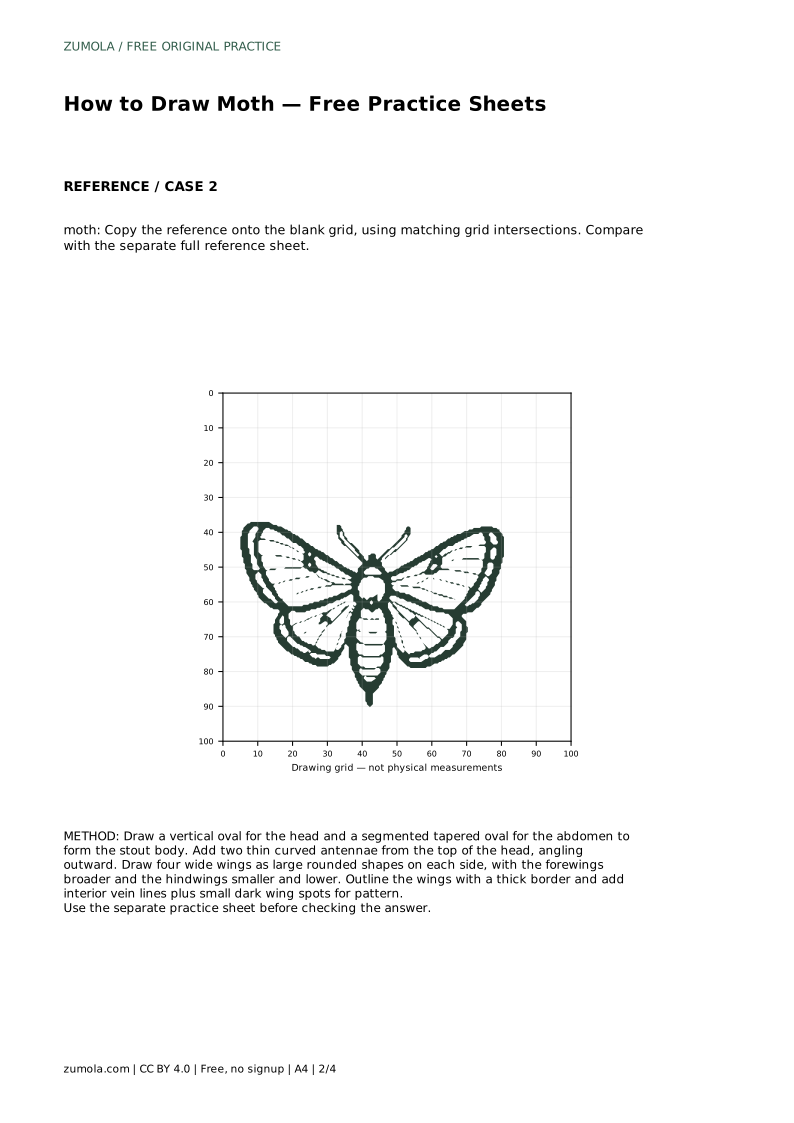
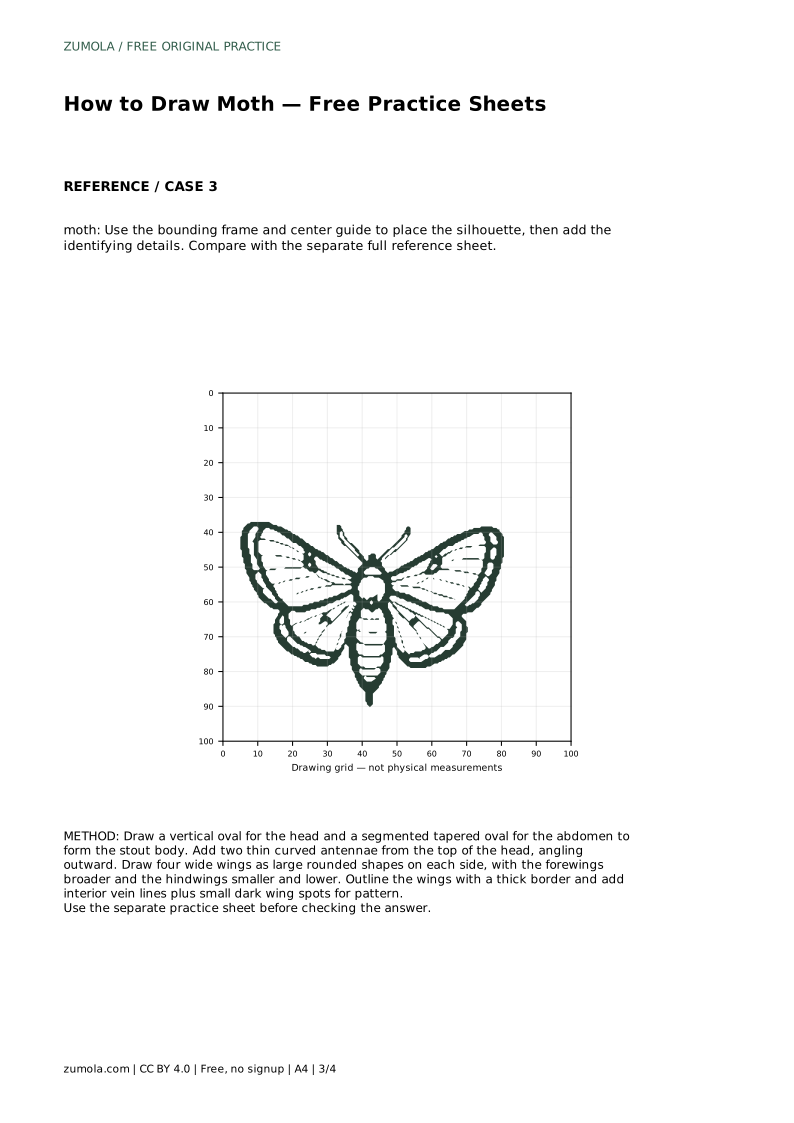
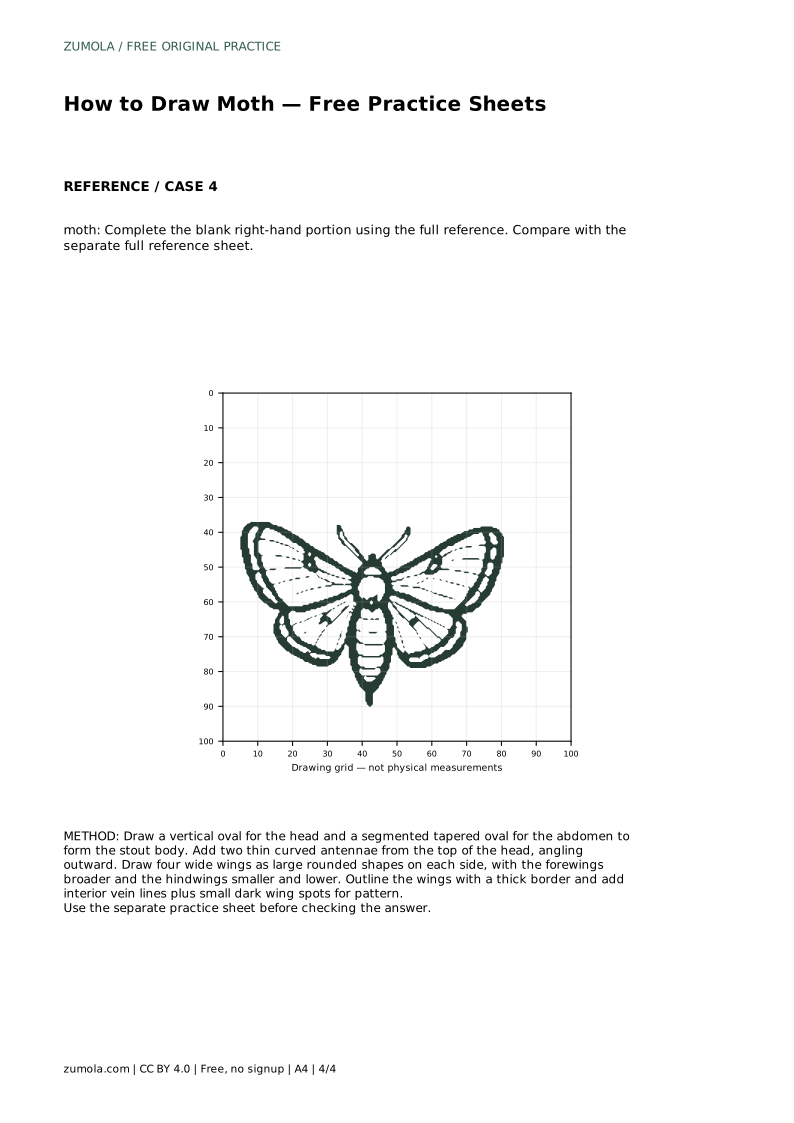
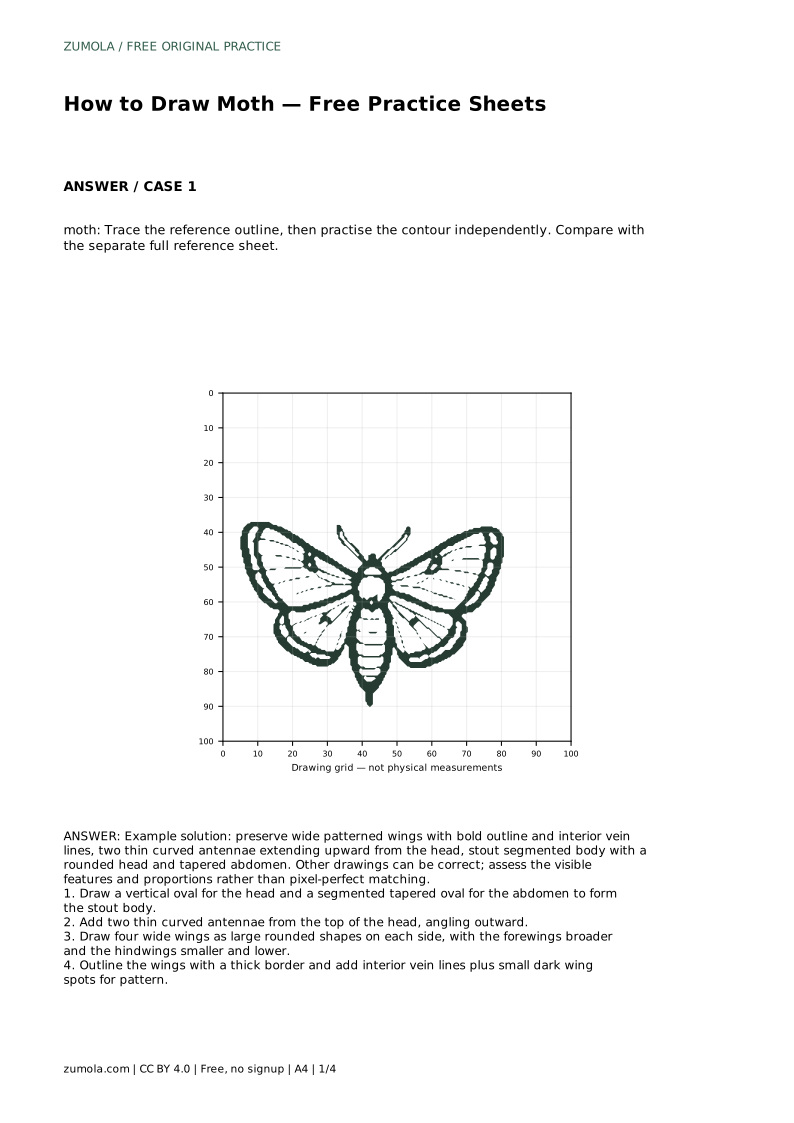
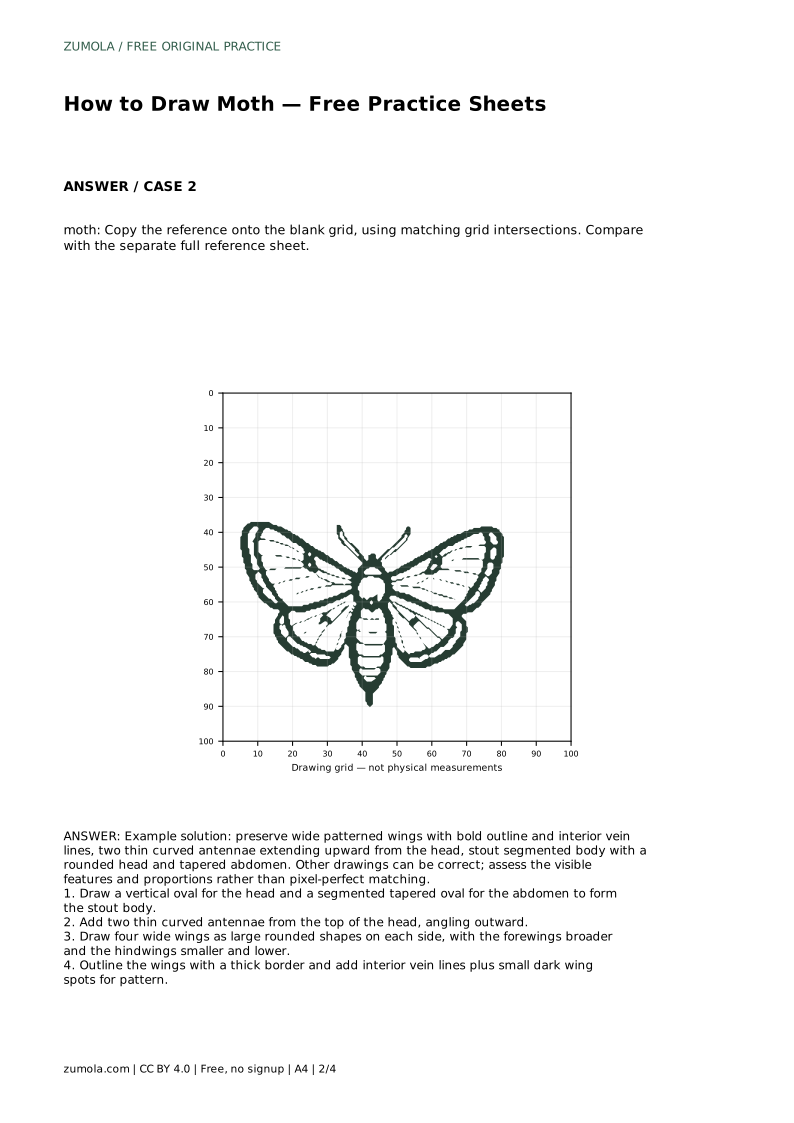
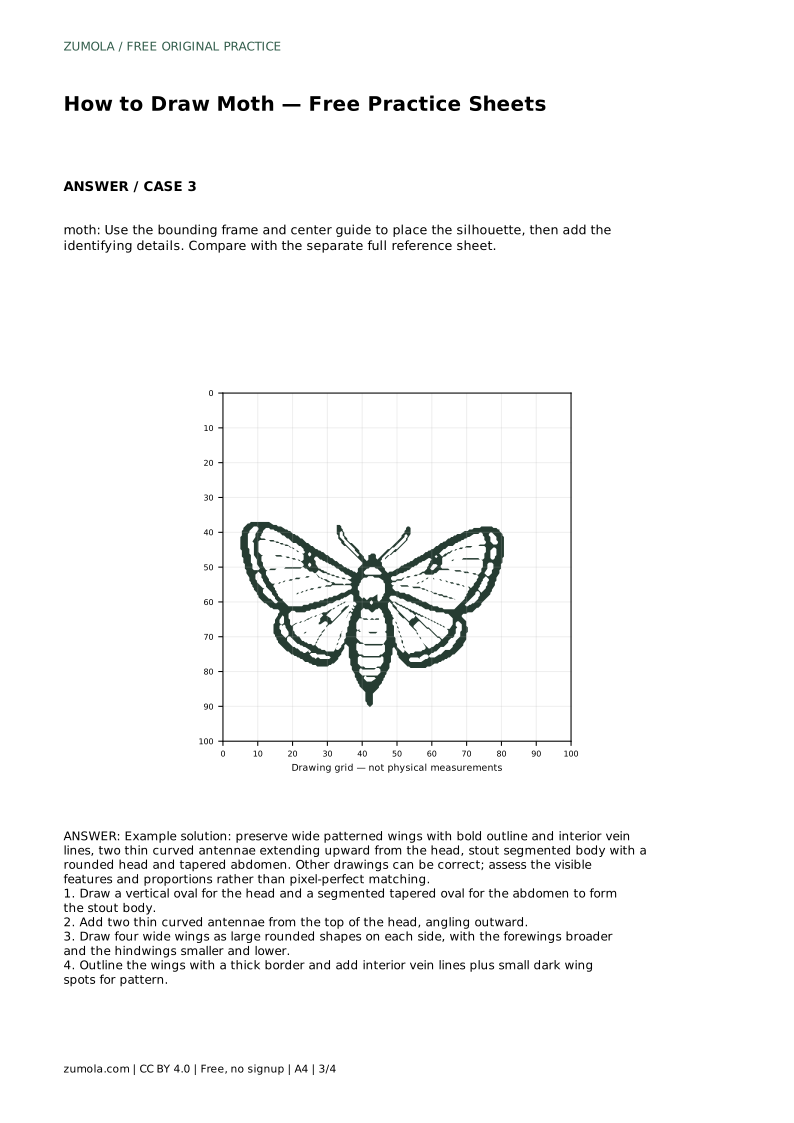
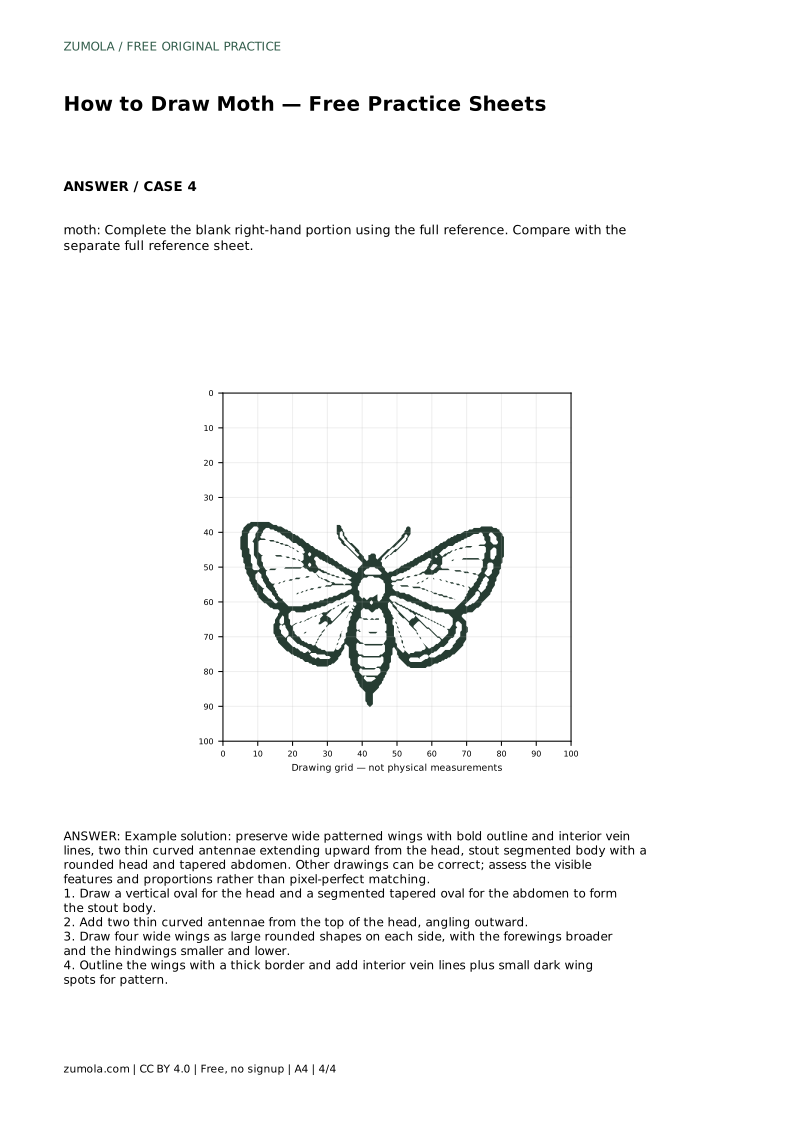
Reference diagrams
LETTER · Download PDF
A4 · Download PDF
Free original resources
Learn to draw a moth with a stout segmented body, curved antennae, and four wide patterned wings. Trace, grid, and complete-the-drawing practice included.
Four original cases, with reference diagrams, practice sheets and worked answers. Everything is free; no signup required.
LETTER · Download PDF
A4 · Download PDF
LETTER · Download PDF
A4 · Download PDF
LETTER · Download PDF
A4 · Download PDF
Use A4 or US Letter to match your printer. Use the stated values and conditions to solve each exercise; diagrams are not physical measuring rulers.
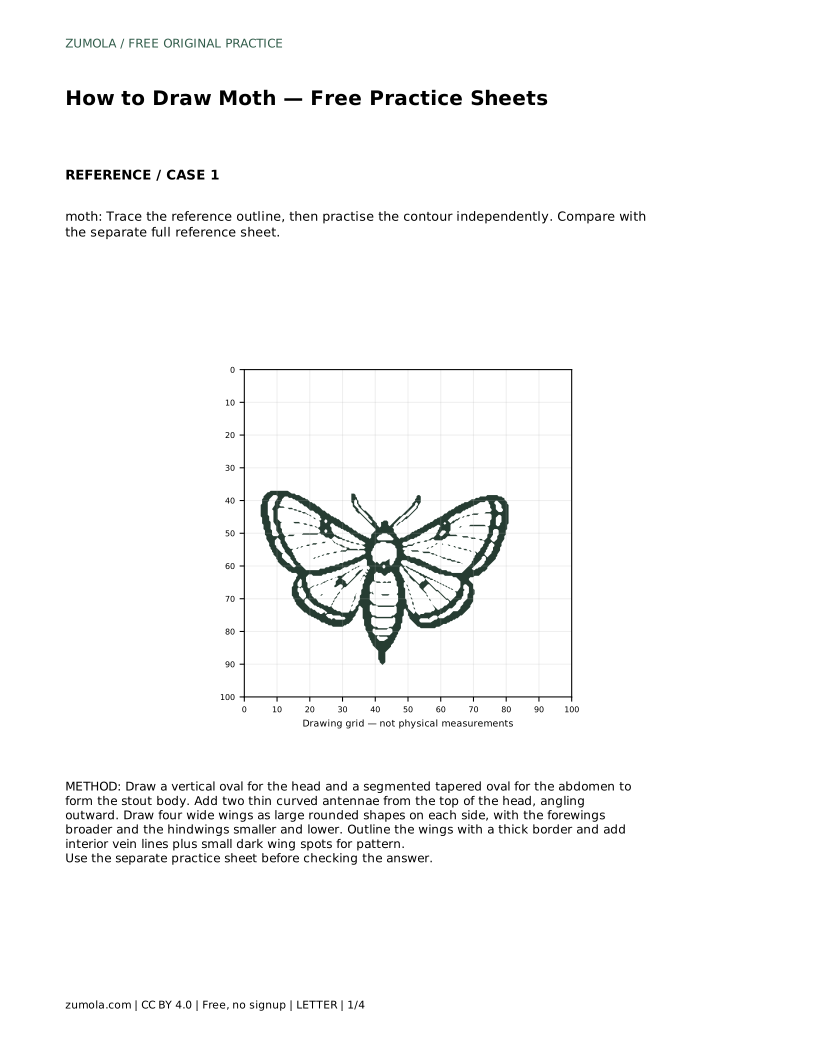
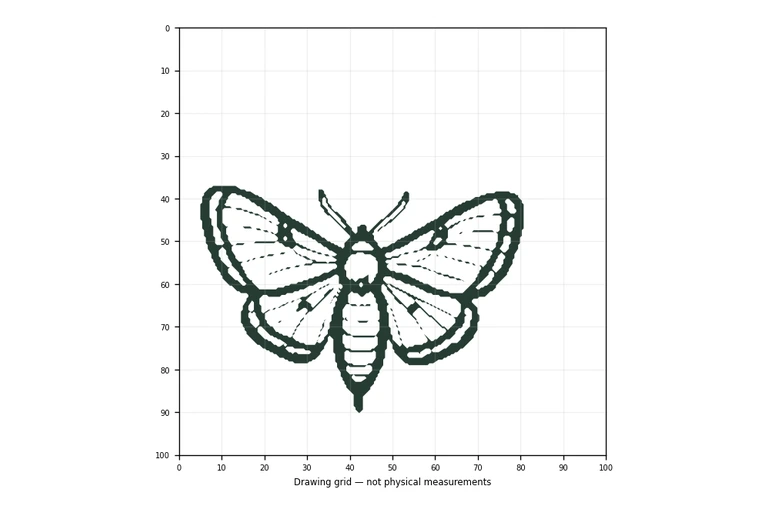
Moths are rewarding drawing subjects because their structure is clear: a compact body, two thin antennae, and four broad wings that carry most of the pattern. This page walks you through building a simple moth from basic shapes, then refining the outline, veins, and wing spots. The practice sheets let you trace a reference outline first, then try the contour independently, so you can compare your drawing with the full reference and see which features to adjust.
Begin with the moth's central axis. Draw a small vertical oval for the head, then a longer tapered oval beneath it for the abdomen. Keep the abdomen slightly narrower at the bottom so it reads as tapered rather than a plain capsule. If you want the segmented look, add two or three light horizontal divisions across the abdomen; these are surface marks, not separate body parts.
From the top of the head, add two thin antennae. Curve them gently upward and let them angle outward, one to each side. Keep them narrow and even in thickness. Antennae are a key identifying feature, so place them before the wings; once the wings are large, it is easy to lose the head area.
A moth has four wings: two forewings above and two hindwings below. Draw the forewings first as large rounded shapes on each side of the body, broader than the hindwings. Then add the hindwings lower and slightly smaller, tucked behind or beneath the forewings. Symmetry helps the drawing read clearly, but small differences between left and right are normal and acceptable.
Give the wings a bold outer border. A thicker outline separates the wing shape from the body and makes the silhouette easier to read at a glance. Leave the body outline thinner so the wings remain the visual focus.
Interior vein lines give the wings structure. Draw a few lines that fan outward from the wing base toward the outer edge, following the wing's curve rather than running straight across it. Keep the number modest; a few clear veins read better than many crowded ones.
Small dark spots add pattern without requiring detailed shading. Place them symmetrically or in a simple repeated arrangement on both forewings. Spots can sit between veins or near the wing edges. Because moth patterns vary widely, there is no single correct arrangement; aim for balance and clarity.
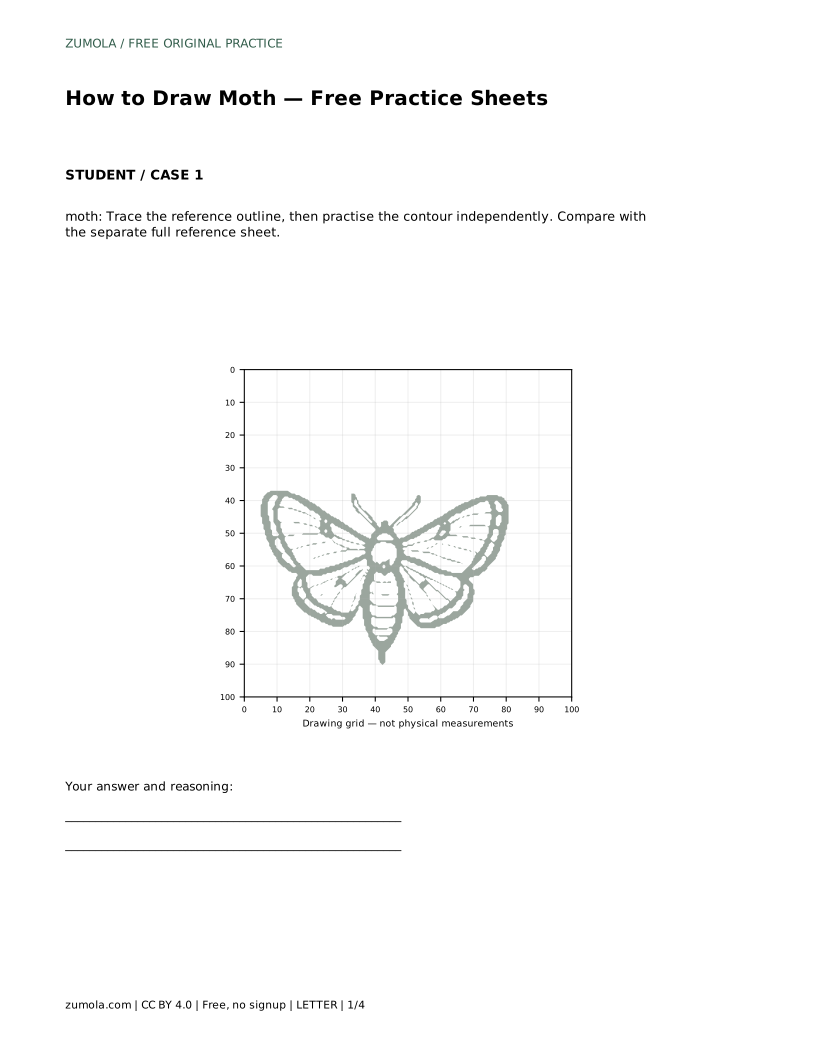
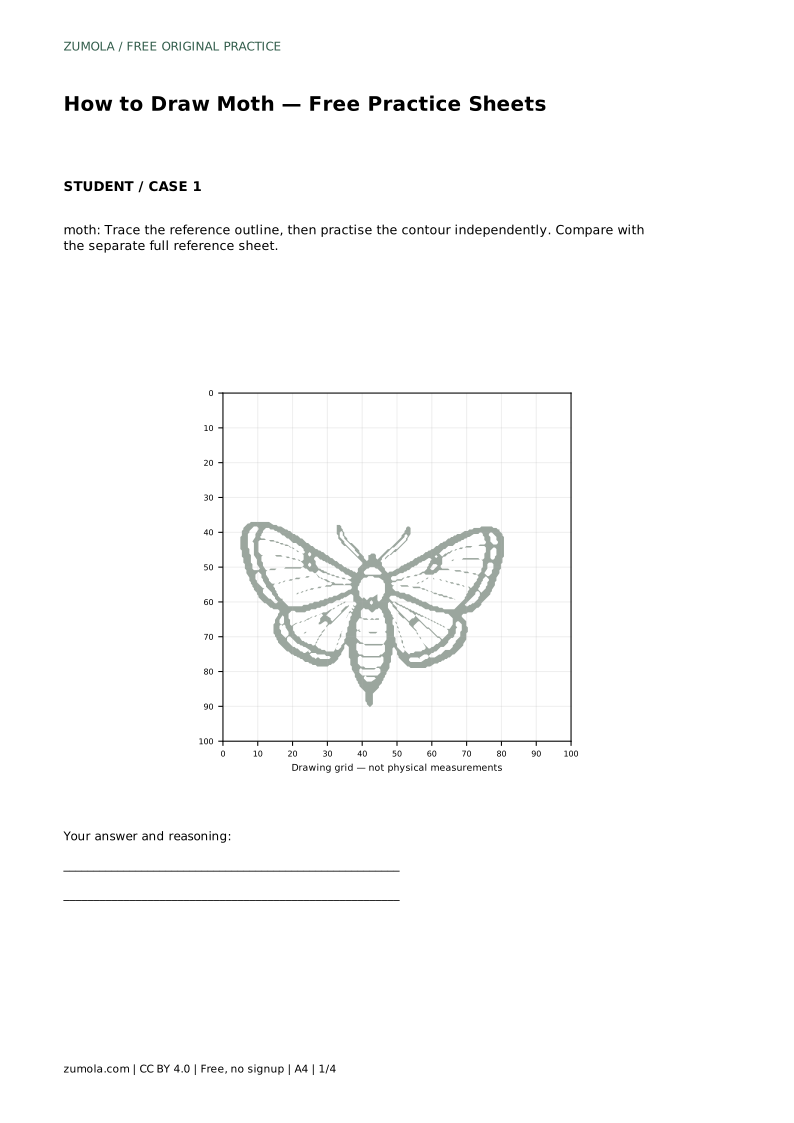
The trace sheet asks you to follow the reference outline, then practise the contour independently. Compare your freehand attempt with the separate full reference sheet rather than with your traced copy, so you are checking against the original.
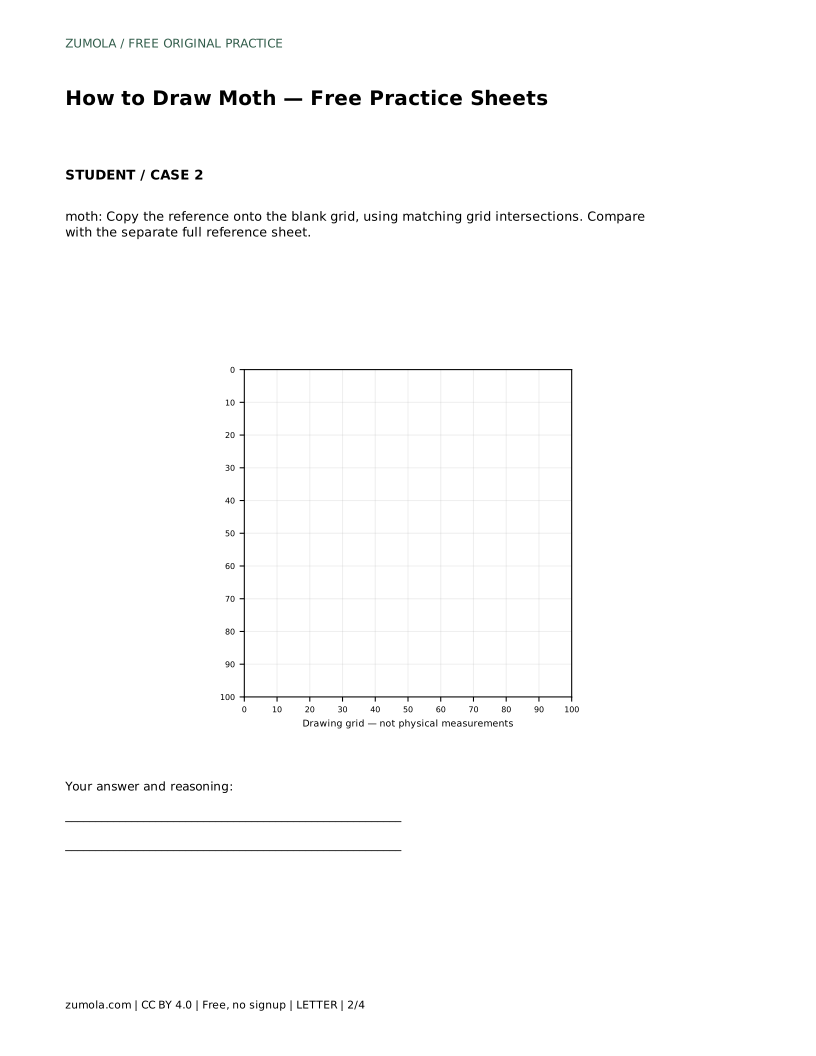
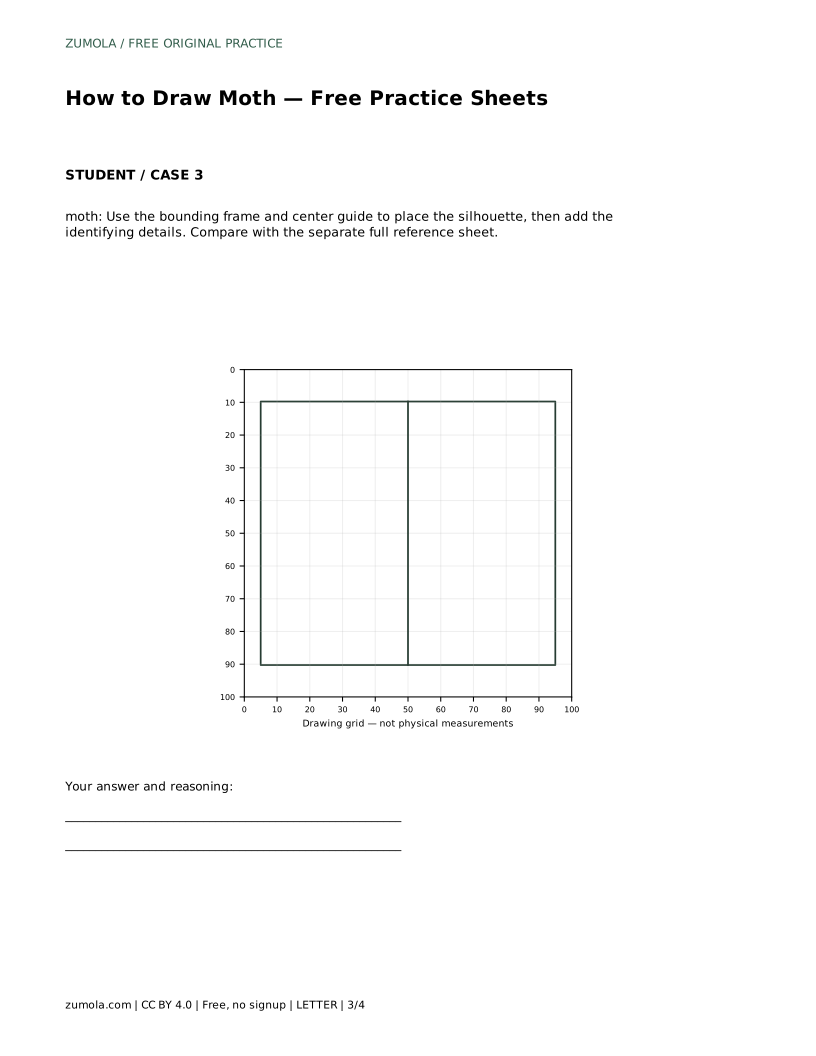
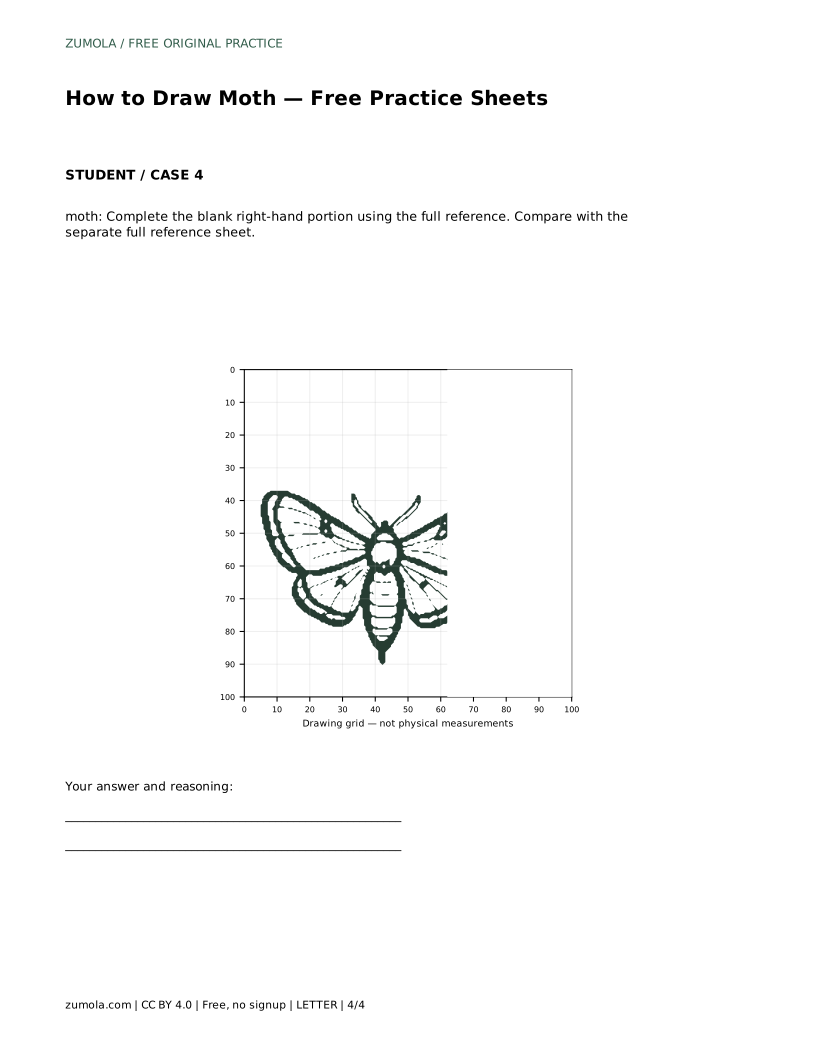
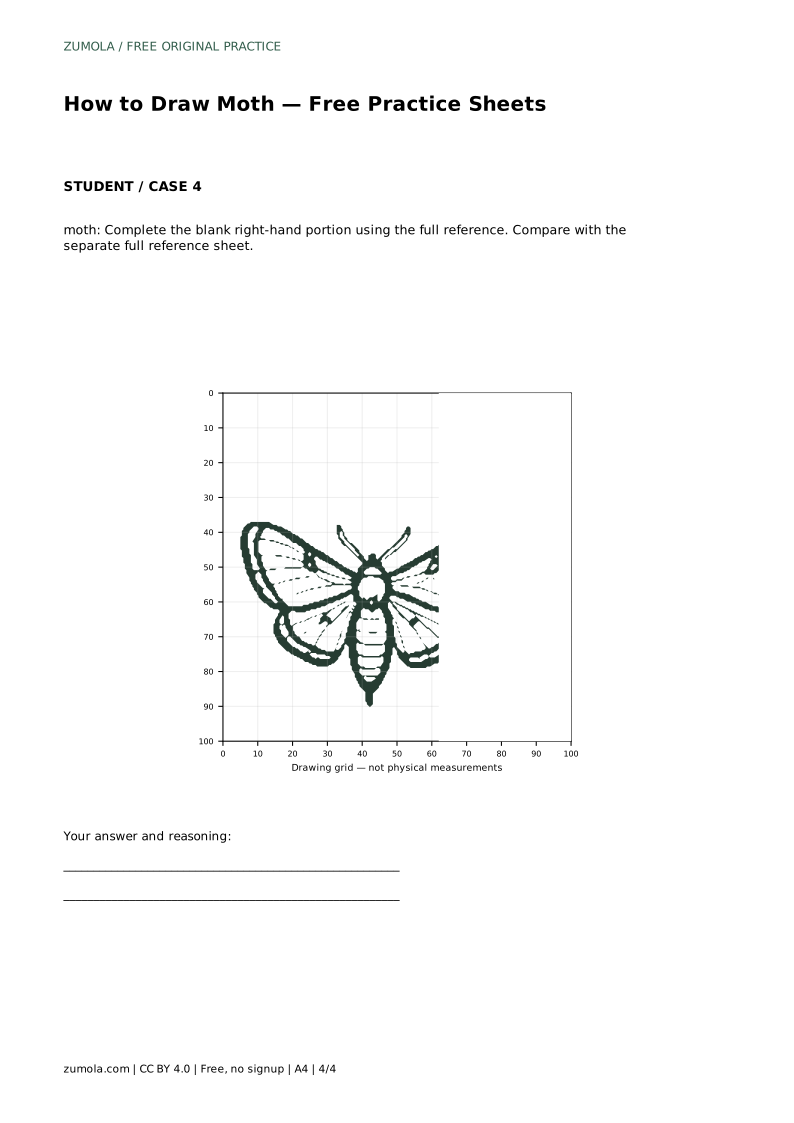
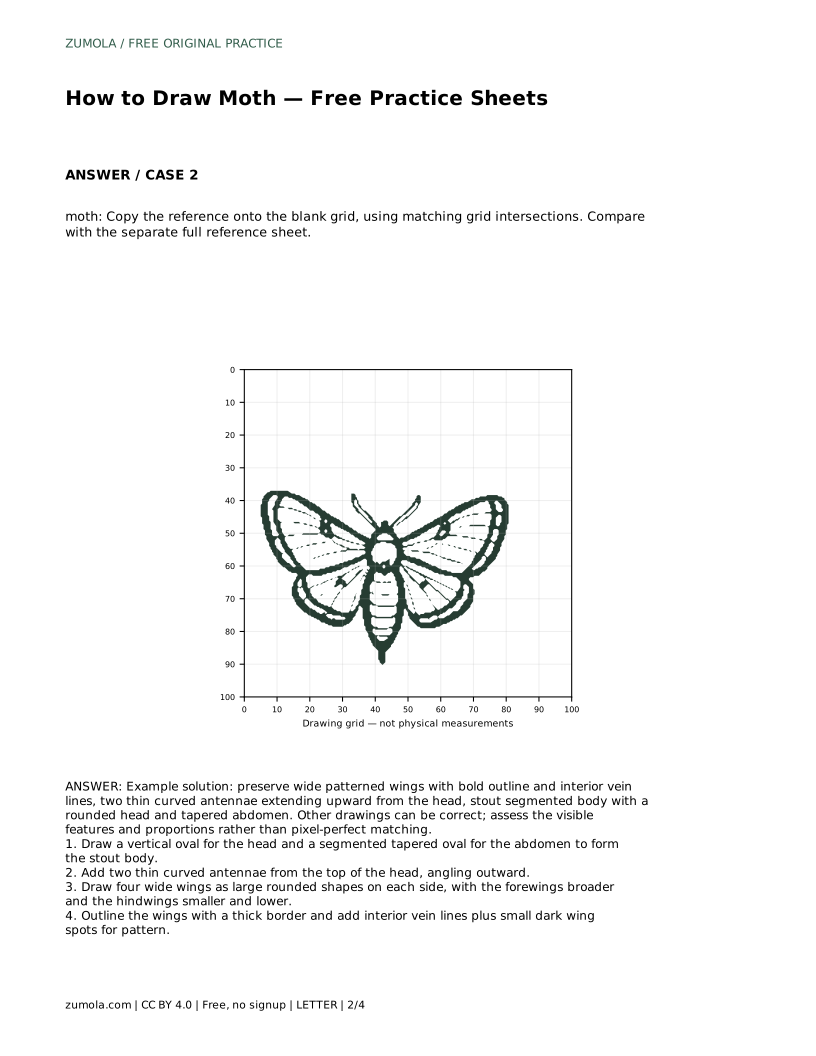
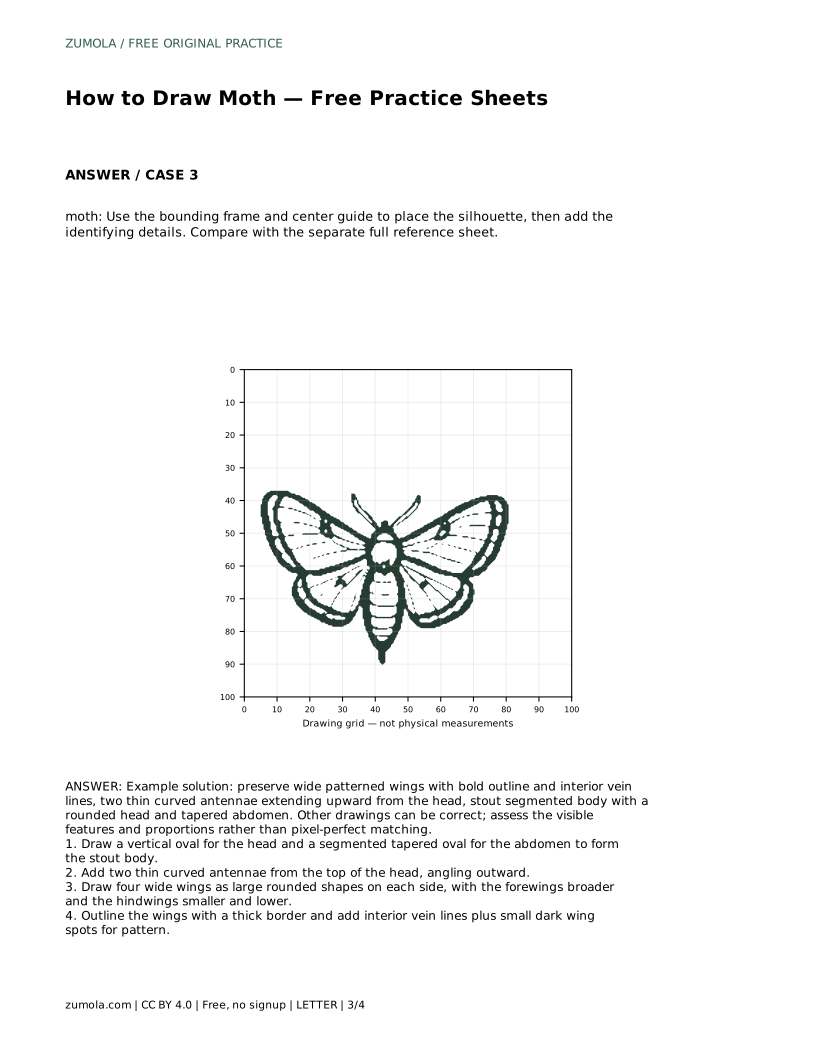
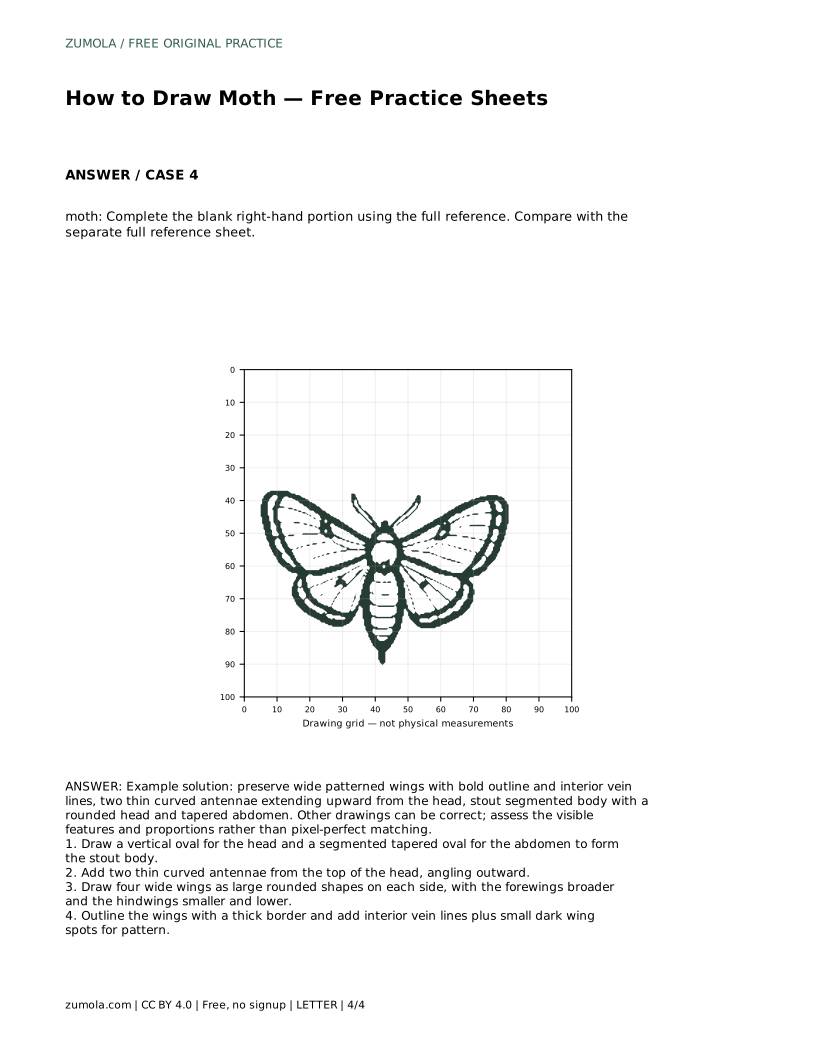
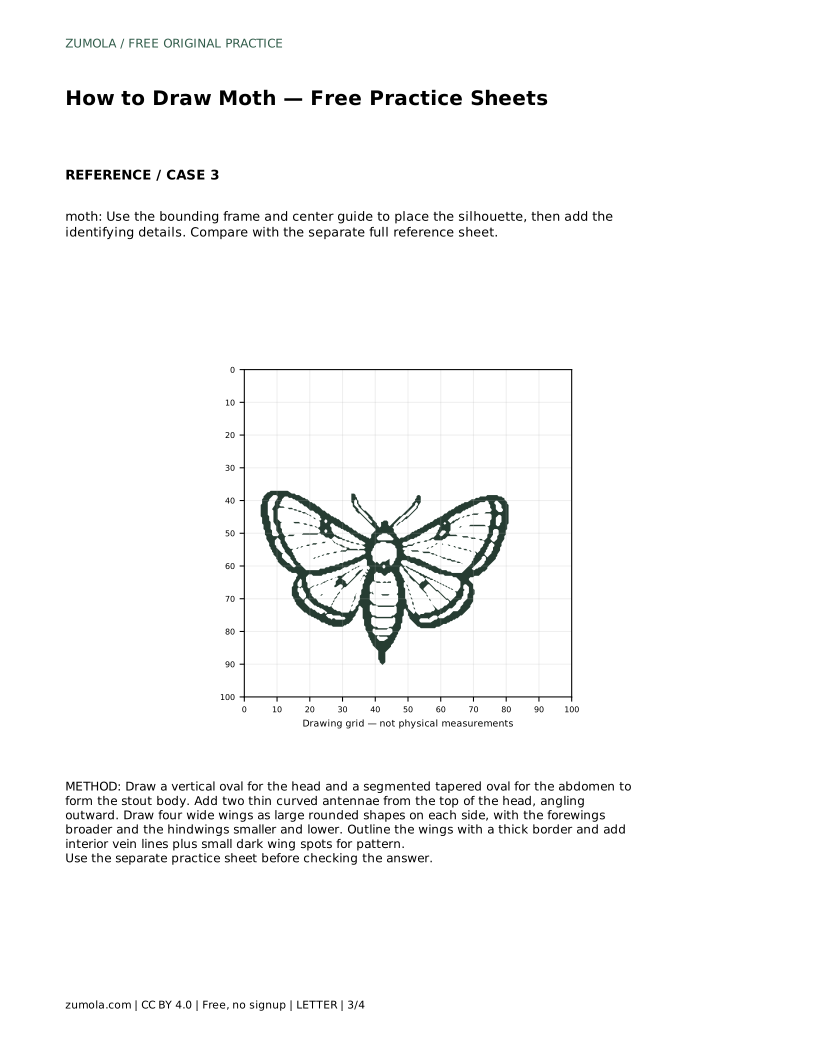
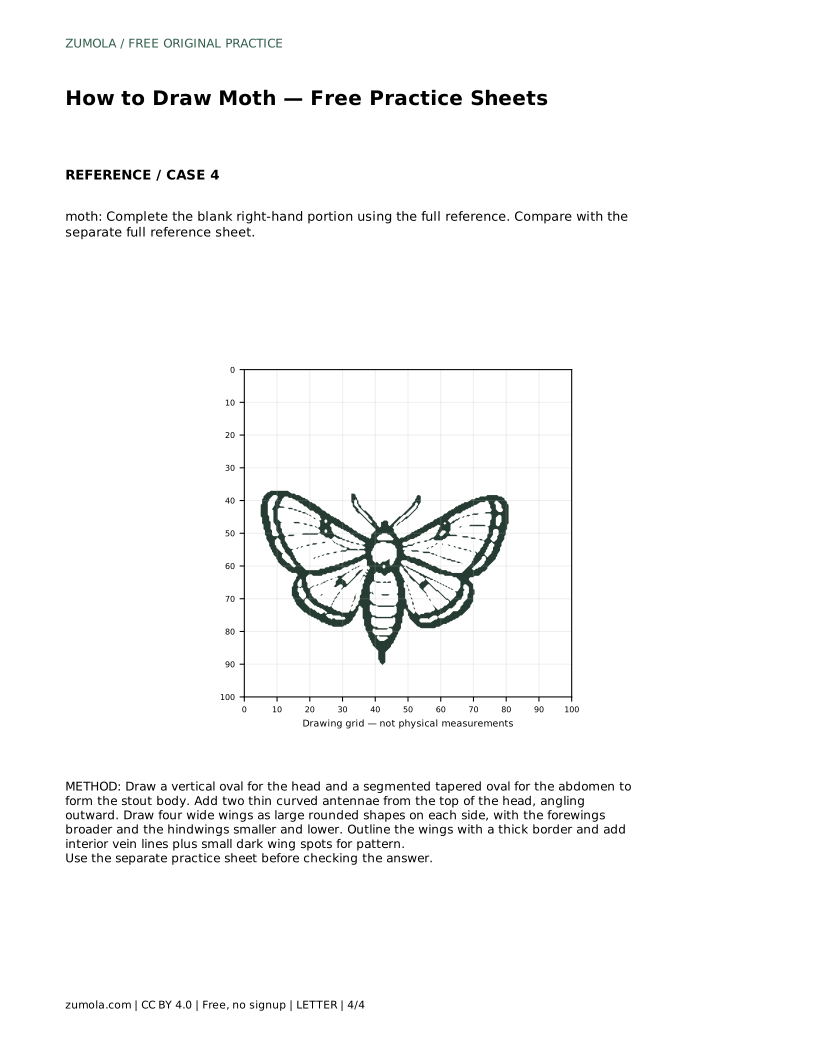
The grid sheet asks you to copy the reference onto a blank grid using matching intersections. The bounding-frame sheet gives you a frame and center guide to place the silhouette before adding details. The complete-the-drawing sheet provides the left portion and asks you to finish the right side from the full reference. Each sheet targets a different skill, so treat them as separate exercises rather than repeats.
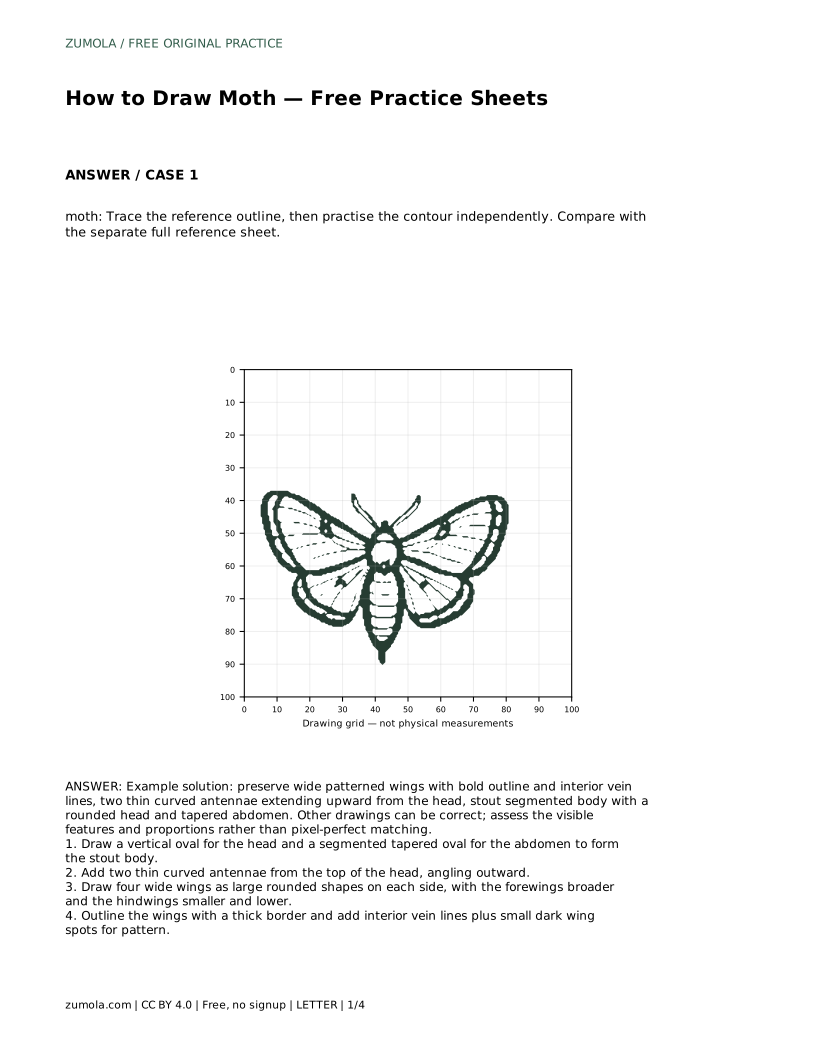
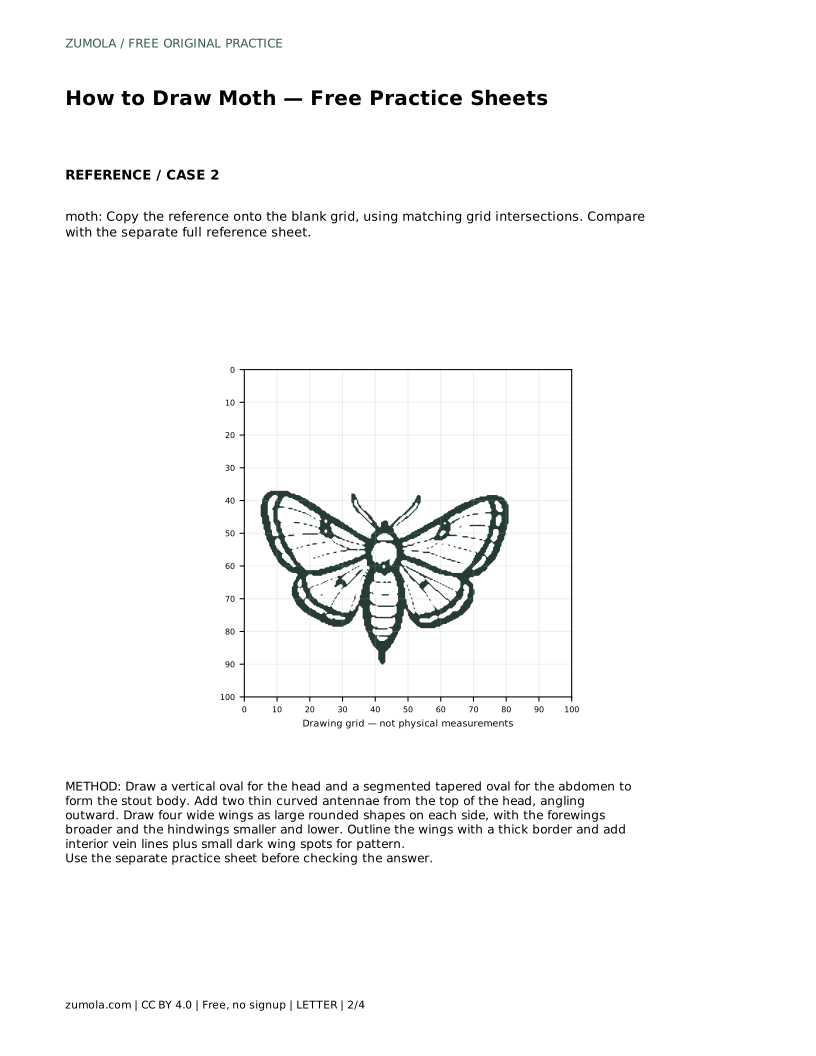
moth: Trace the reference outline, then practise the contour independently. Compare with the separate full reference sheet.
Example solution: preserve wide patterned wings with bold outline and interior vein lines, two thin curved antennae extending upward from the head, stout segmented body with a rounded head and tapered abdomen. Other drawings can be correct; assess the visible features and proportions rather than pixel-perfect matching. Draw a vertical oval for the head and a segmented tapered oval for the abdomen to form the stout body. Add two thin curved antennae from the top of the head, angling outward. Draw four wide wings as large rounded shapes on each side, with the forewings broader and the hindwings smaller and lower. Outline the wings with a thick border and add interior vein lines plus small dark wing spots for pattern.
Four: two broader forewings above and two smaller hindwings below, one pair on each side of the body.
No. Check that the body, antennae, four wings, bold wing border, veins, and spots are present and reasonably proportioned.
Body and antennae first, then the four wings, then the bold wing outline, and finally veins and spots.
All drawing practice · Free coordinate paper
Original resources · CC BY 4.0 · Free for personal and classroom use with attribution.