Reference diagrams
LETTER · Download PDF
A4 · Download PDF
Free original resources
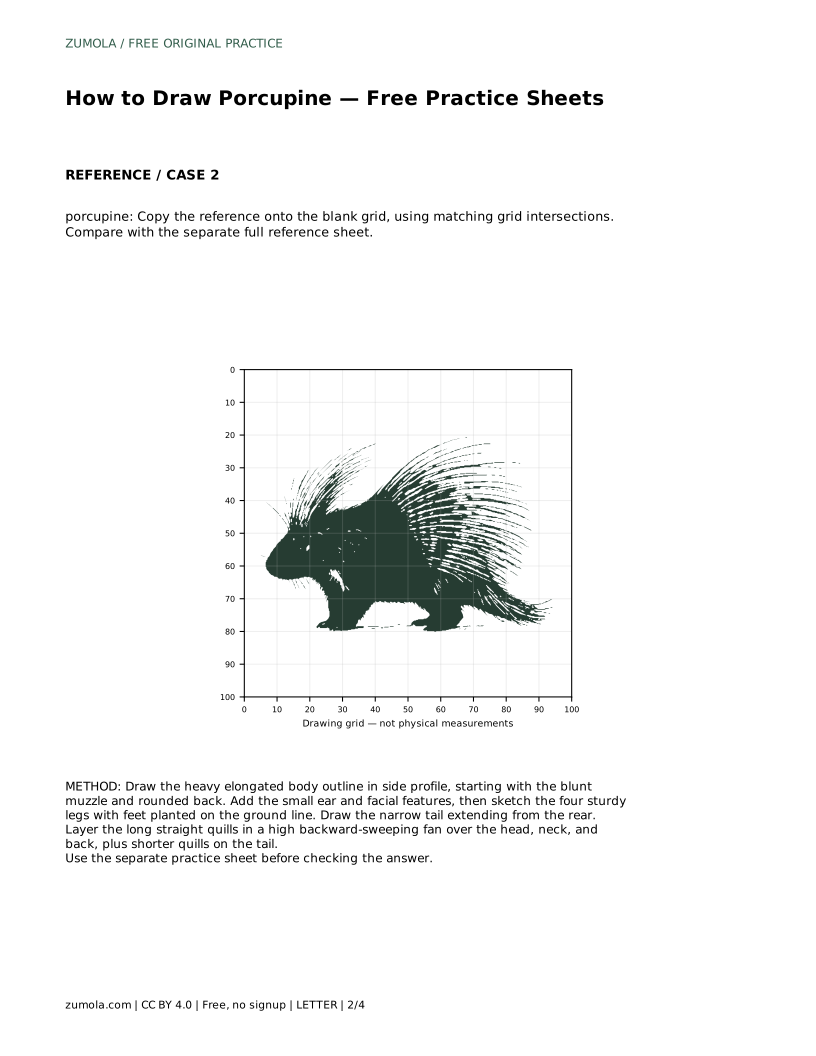
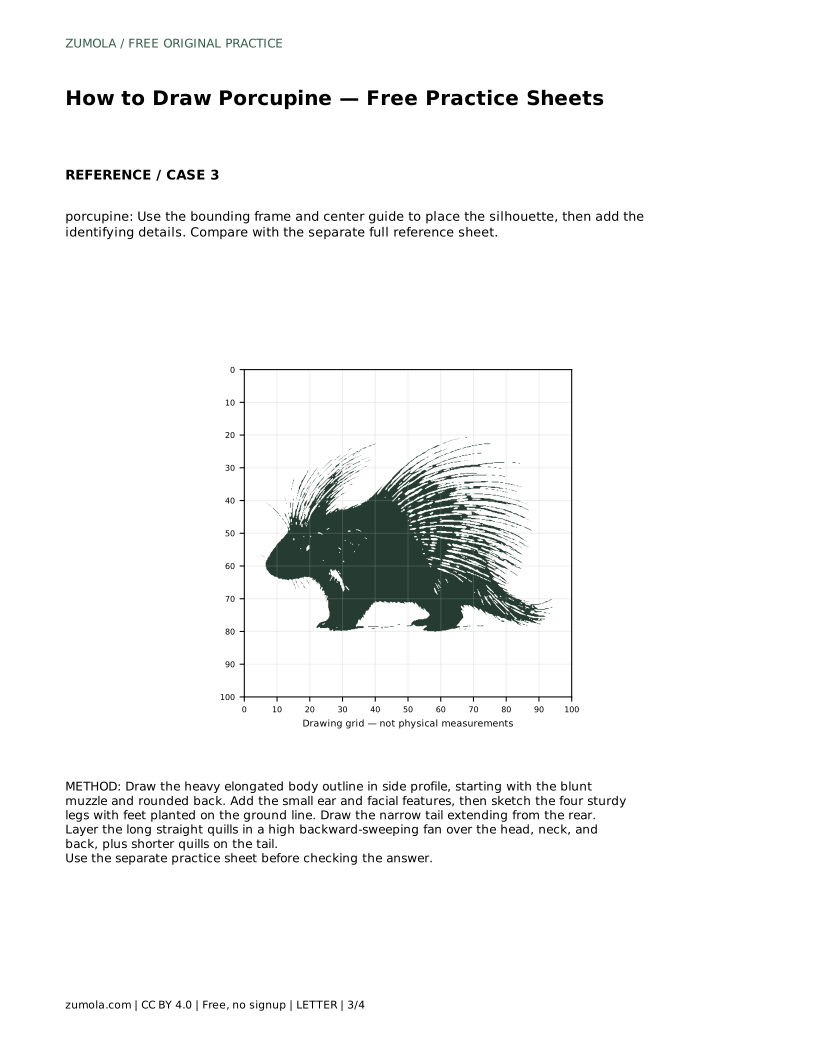
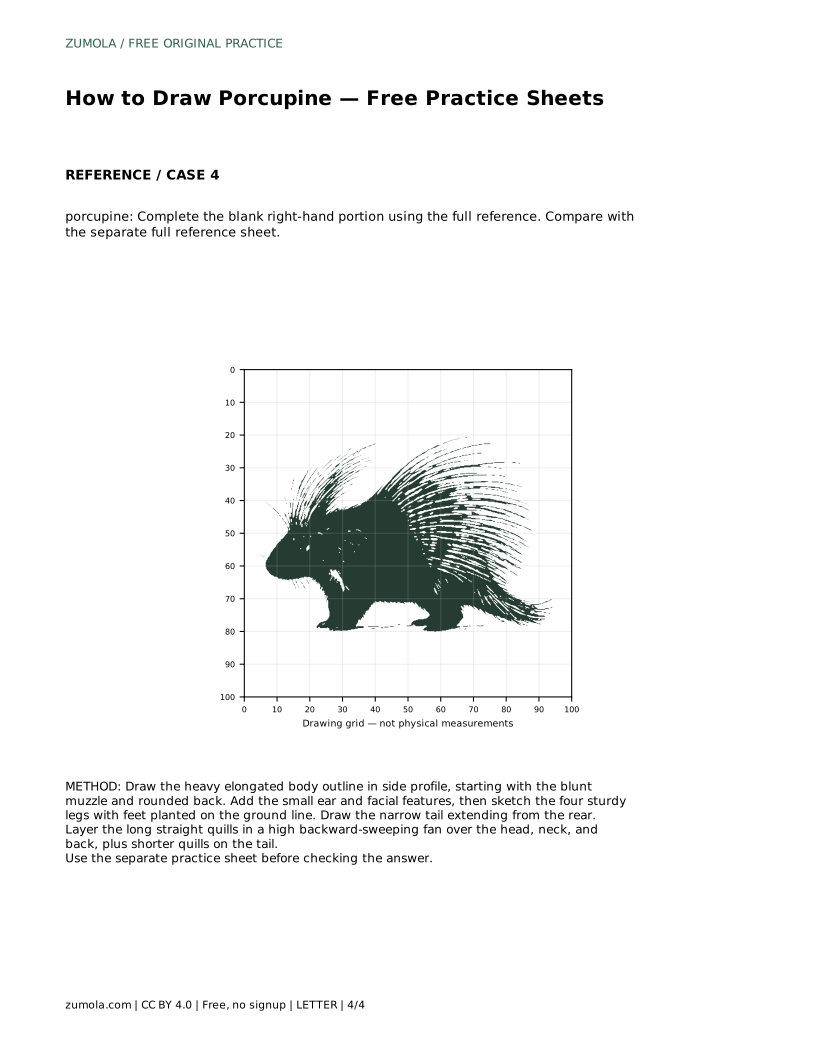
Learn to draw a porcupine by building the heavy rodent body, blunt muzzle, sturdy legs and narrow tail, then layering a high backward-sweeping fan of long straight quills.
Four original cases, with reference diagrams, practice sheets and worked answers. Everything is free; no signup required.
LETTER · Download PDF
A4 · Download PDF
LETTER · Download PDF
A4 · Download PDF
LETTER · Download PDF
A4 · Download PDF
Use A4 or US Letter to match your printer. Use the stated values and conditions to solve each exercise; diagrams are not physical measuring rulers.
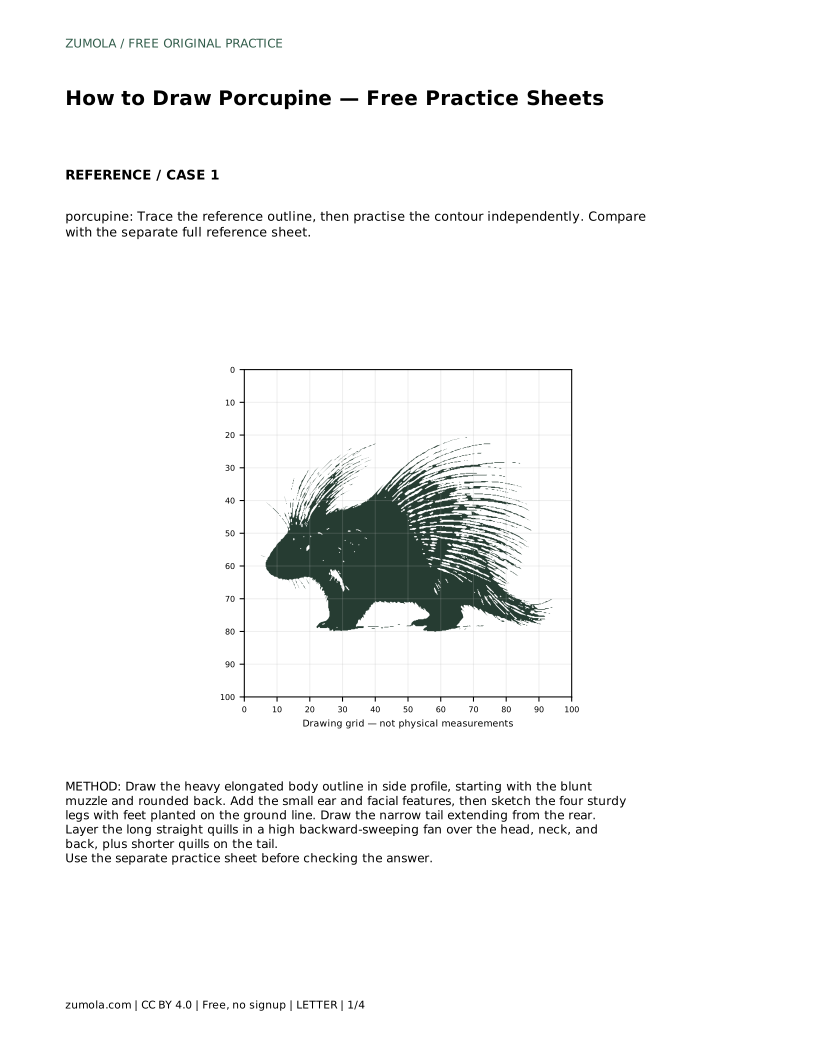
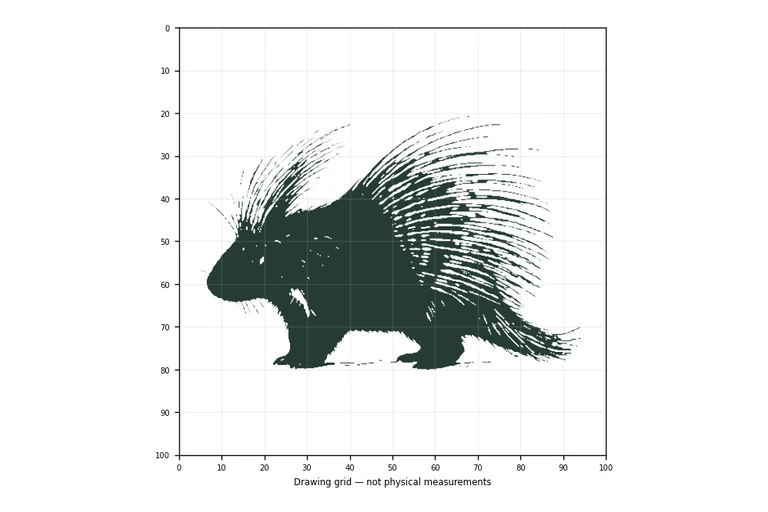
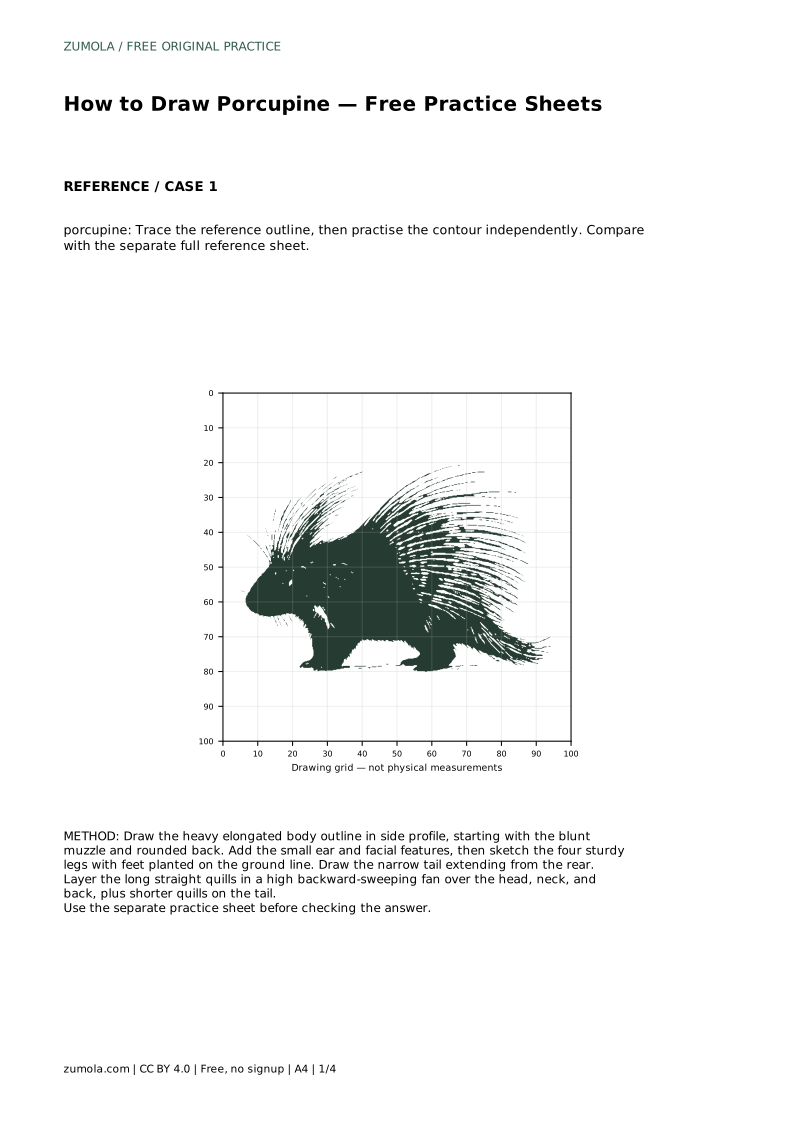
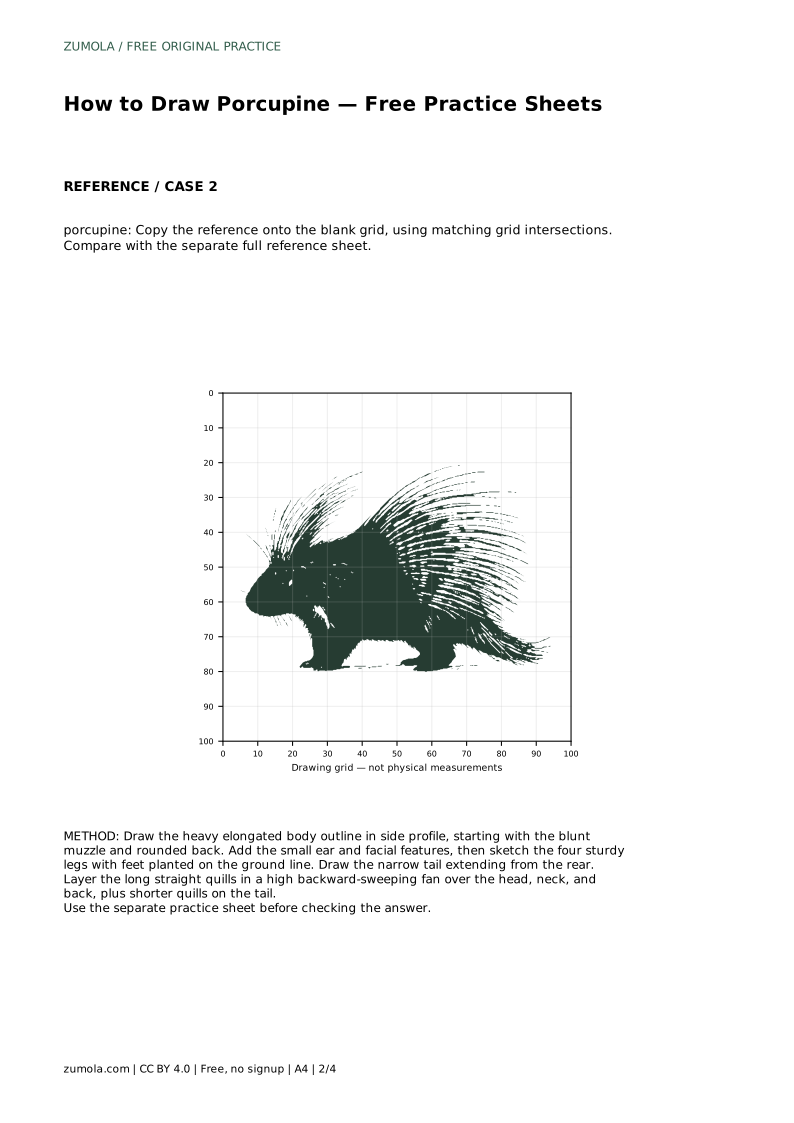
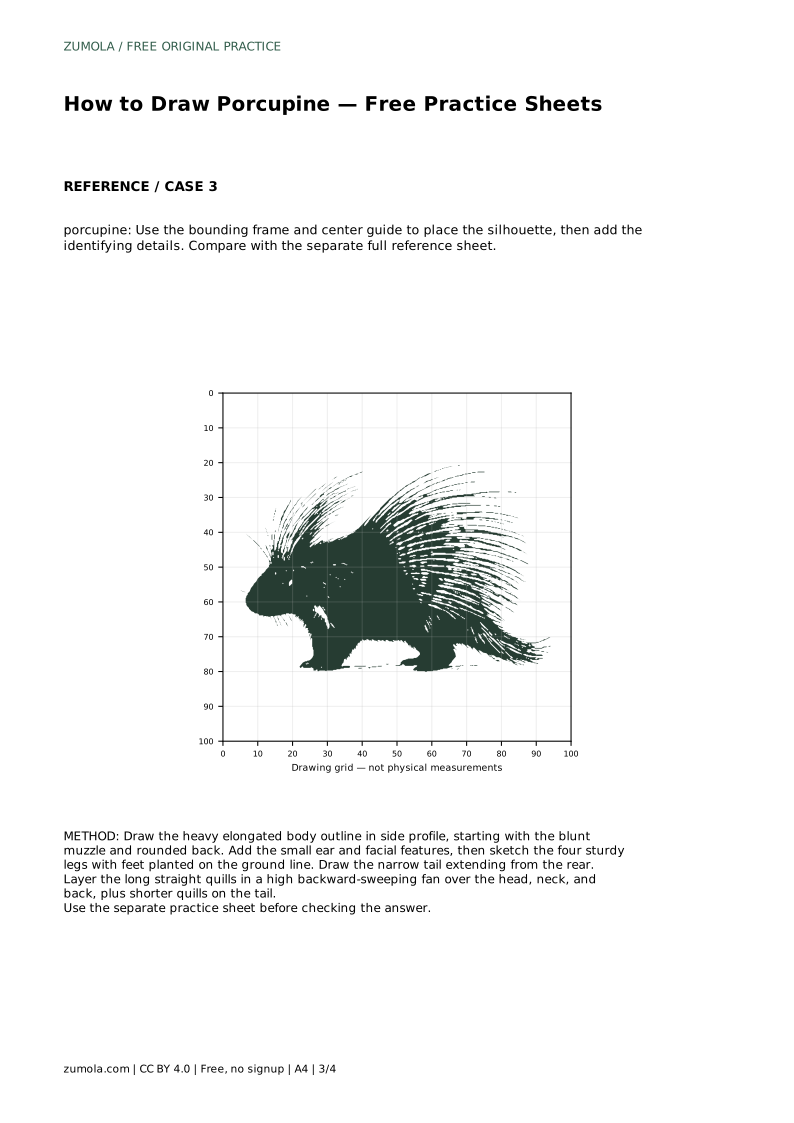
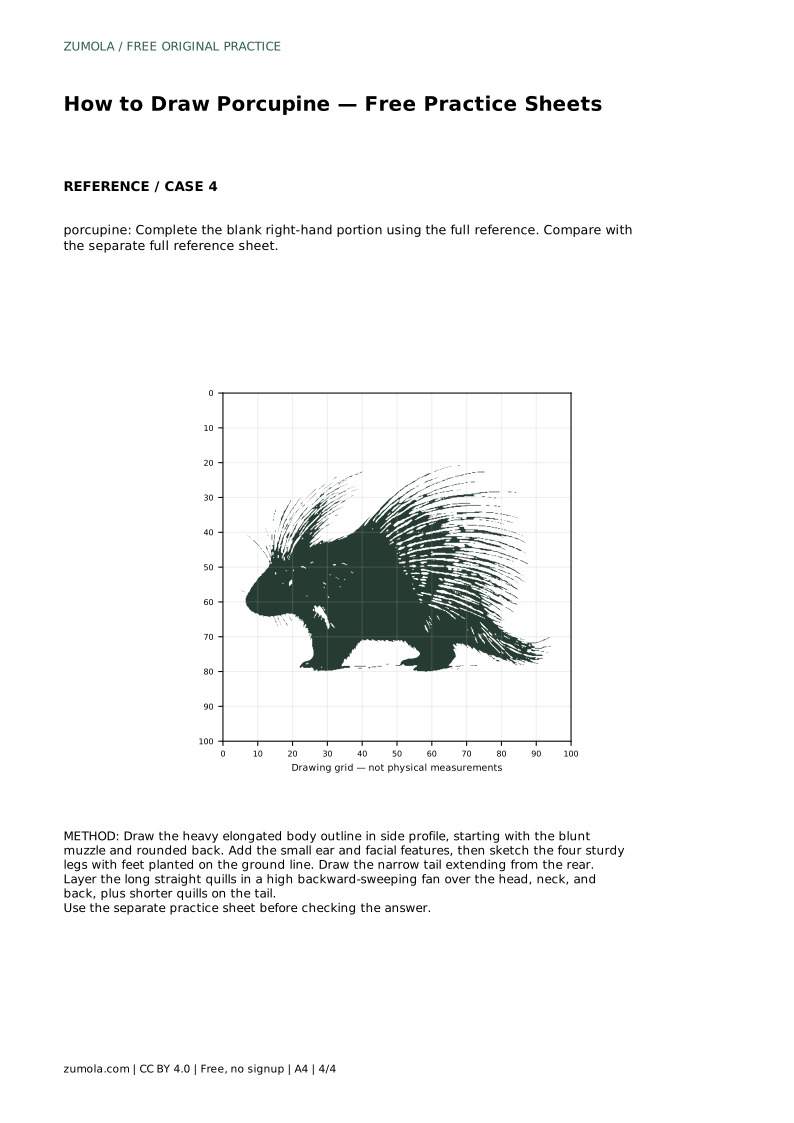
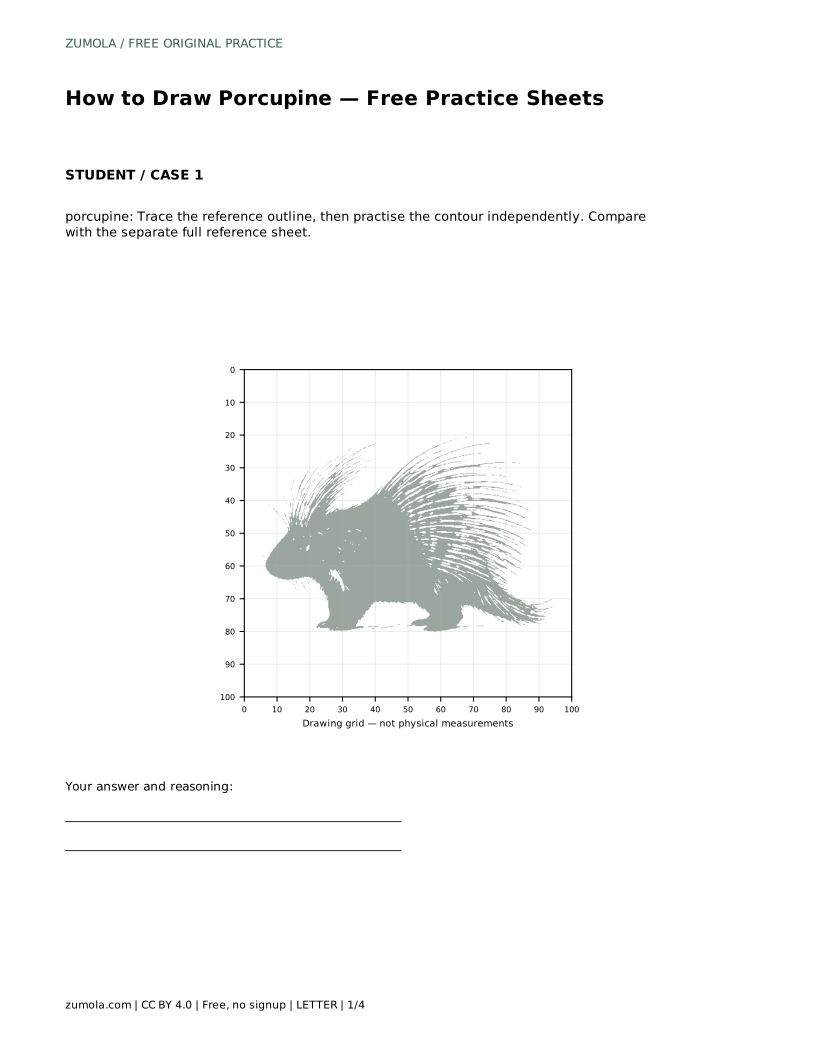
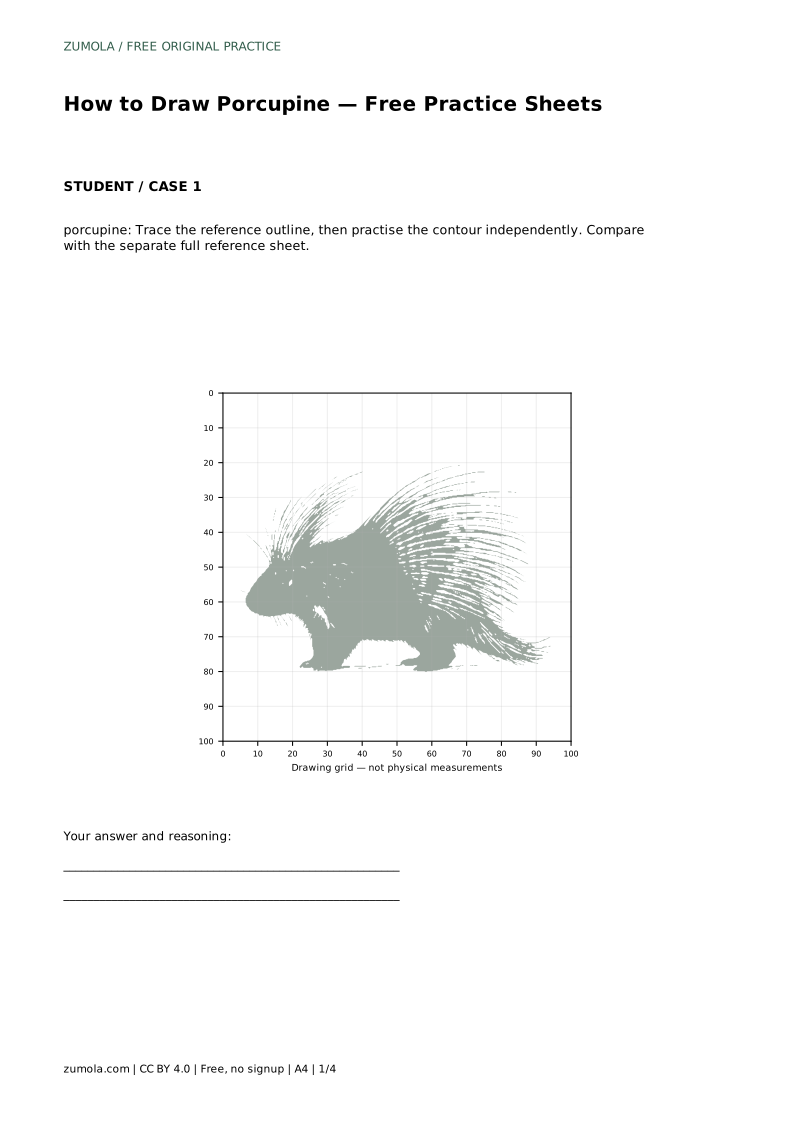
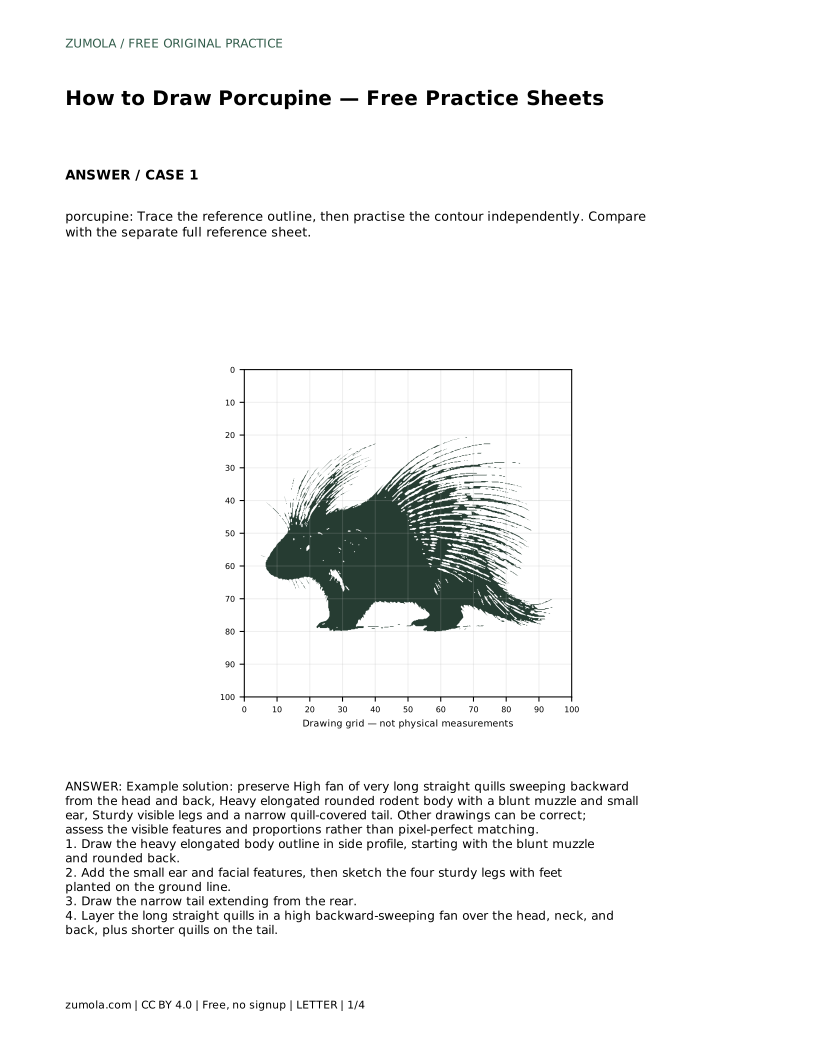
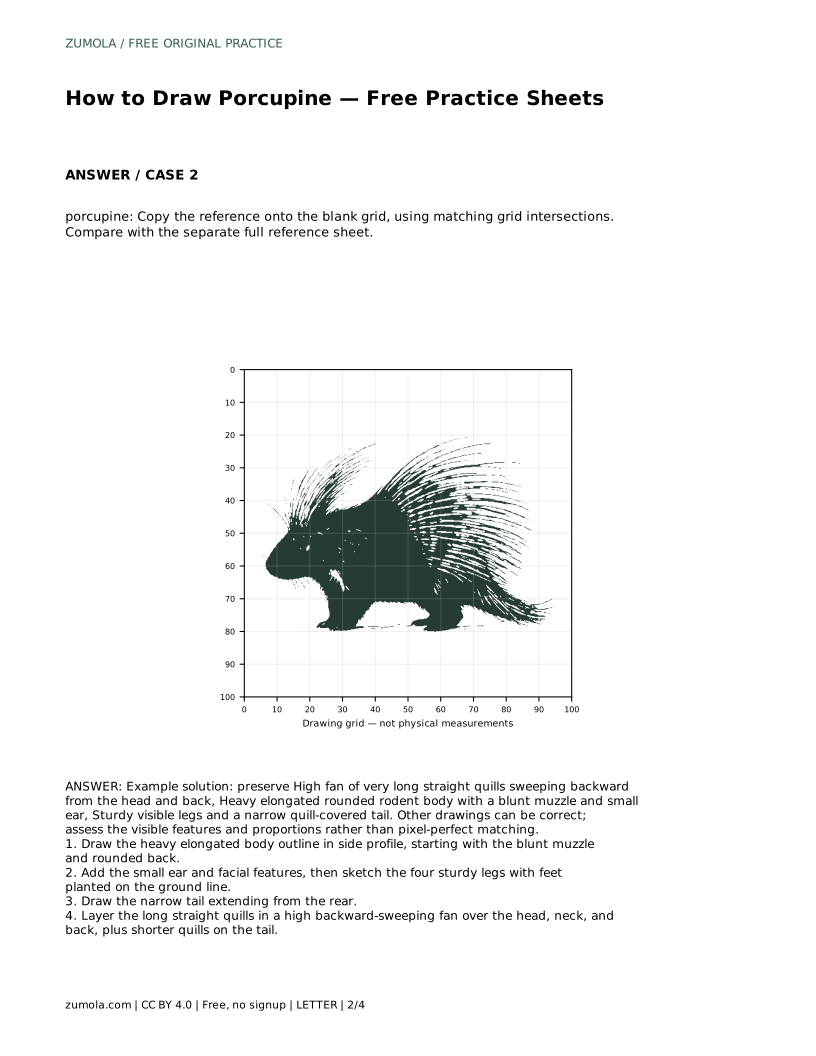
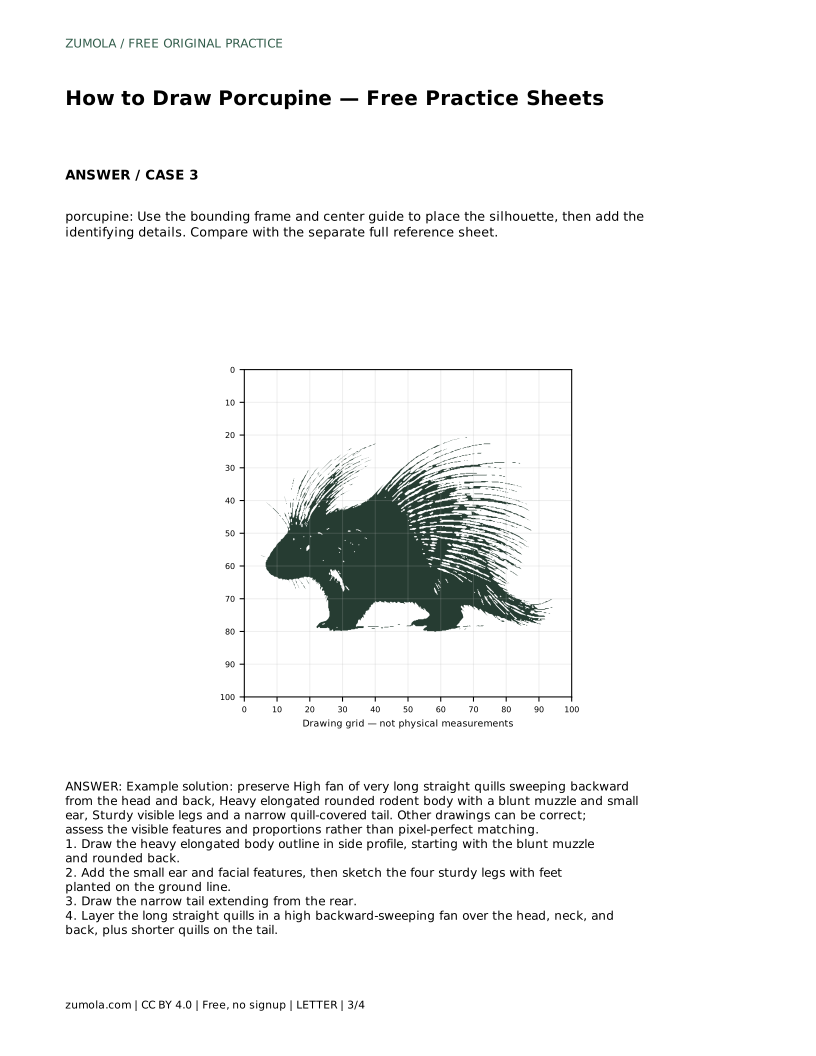
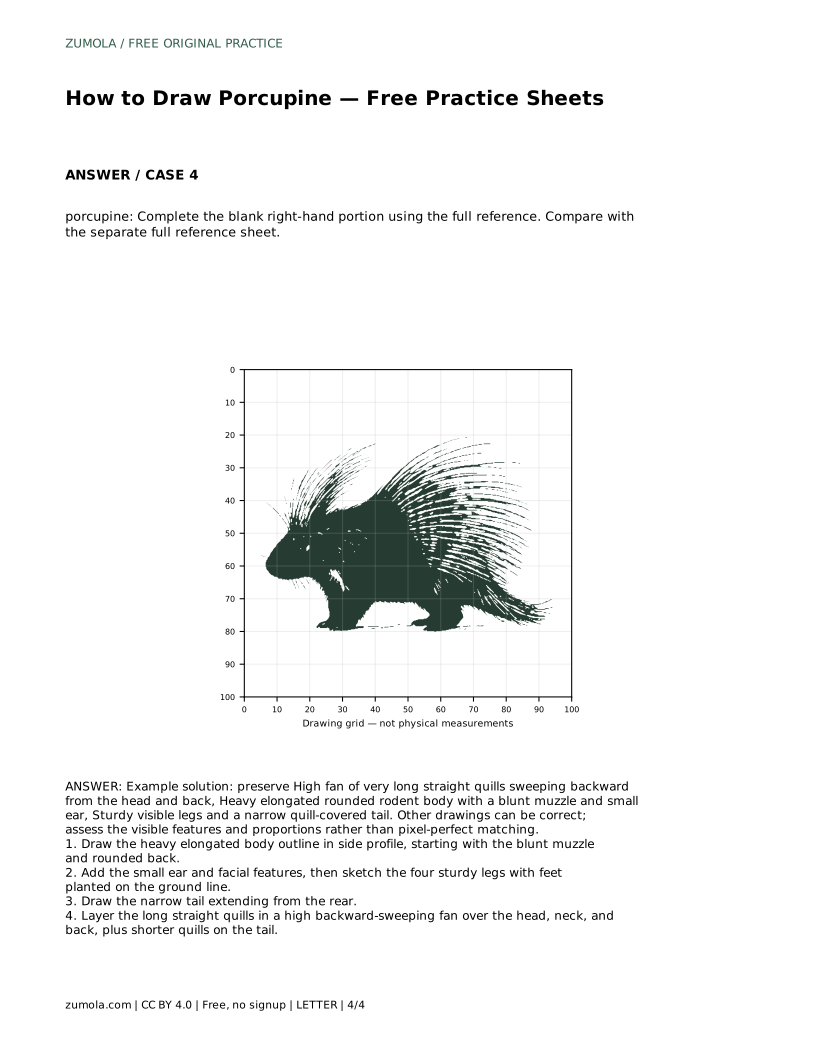
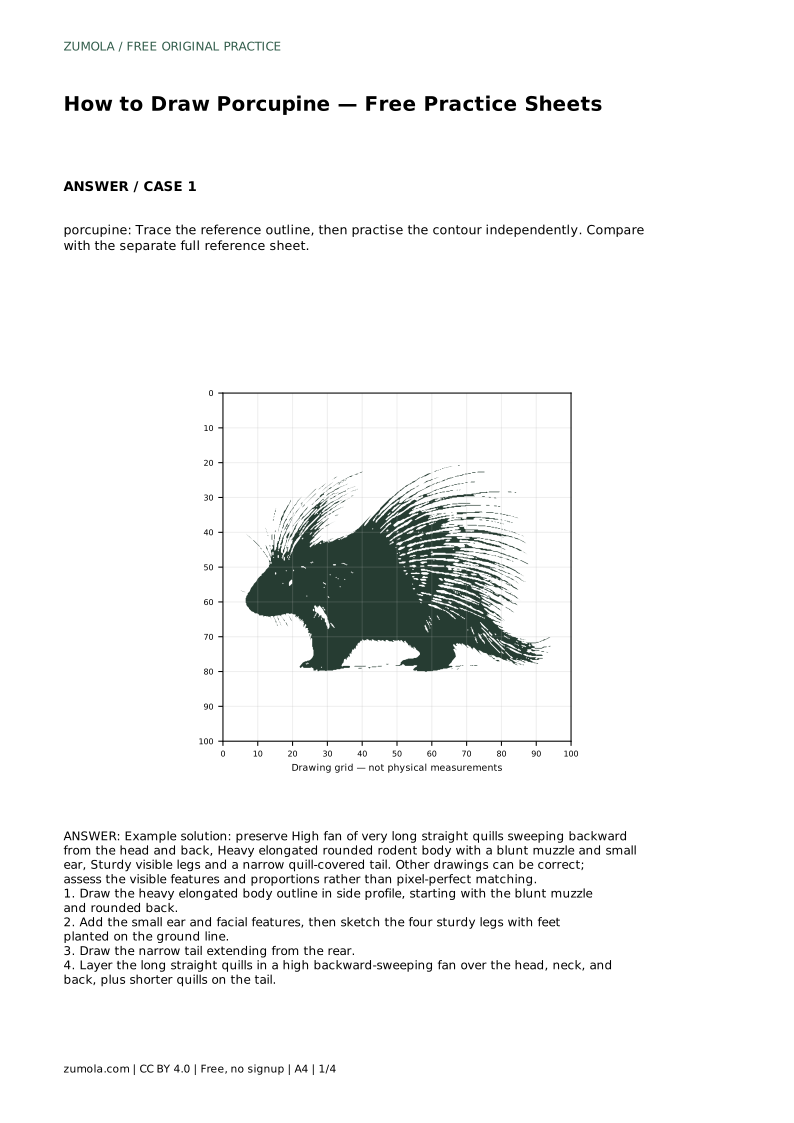
A porcupine drawing reads clearly when the body shape and the quill fan work together. The animal is a heavy, elongated rodent in side profile, with a blunt muzzle, a small ear, four sturdy legs and a narrow quill-covered tail. Over the head, neck and back sits a high fan of very long straight quills sweeping backward. This guide breaks that construction into ordered steps you can practise on tracing, grid, frame and partial-reference sheets.
Many beginners begin with the spines and end up with a shape that has no weight underneath. Draw the body first. In side profile, the porcupine is a heavy elongated rounded form. Place the blunt muzzle at the front, let the back rise in a gentle rounded curve, and keep the underside low and close to the ground. Add one small ear near the top of the head. The legs are sturdy and visible, with feet planted on a single ground line so the animal looks supported rather than floating. Finish the base shape with a narrow tail extending from the rear. Only when this silhouette is settled should you add the quills.
The quills are the porcupine's identifying feature, so their direction matters. They form a high fan of very long straight lines that sweep backward from the head and back. Keep individual quills straight rather than curly, and let them angle consistently toward the rear. Start with a few long guide lines to set the fan's height and spread, then fill in between them at varied lengths. Shorter quills belong on the narrow tail. Avoid drawing quills as a solid block; leaving small gaps between lines keeps the fan readable and shows that each quill is separate.
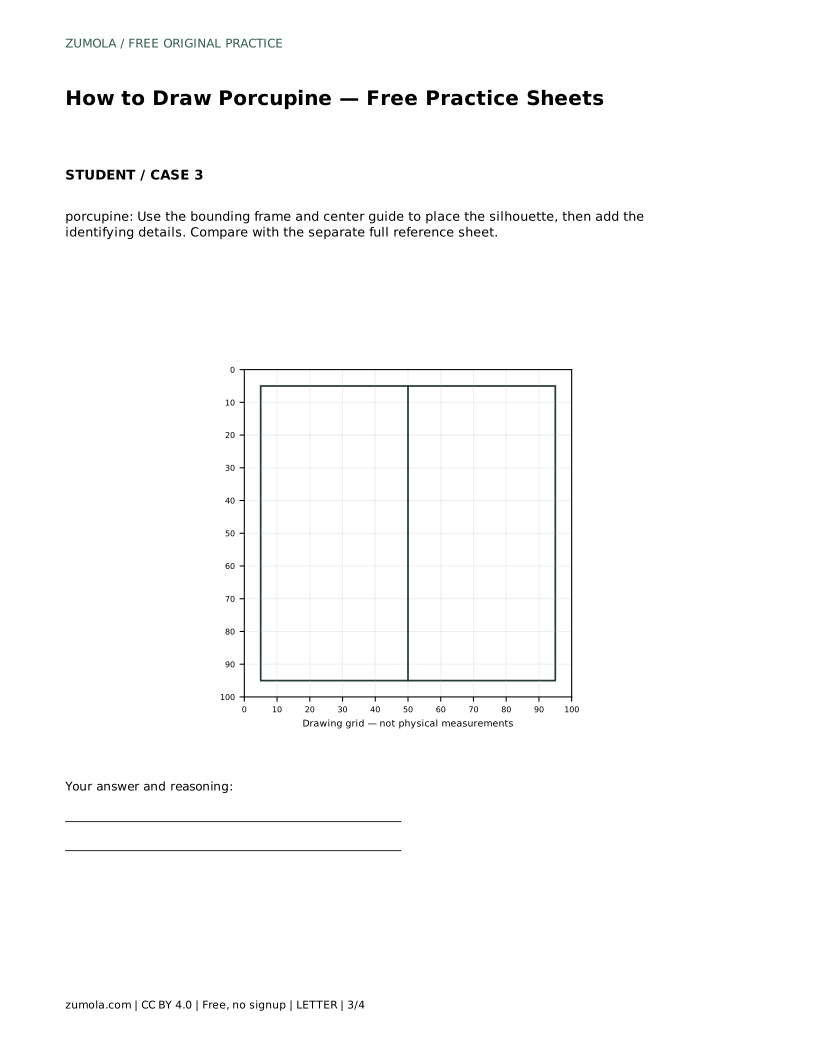
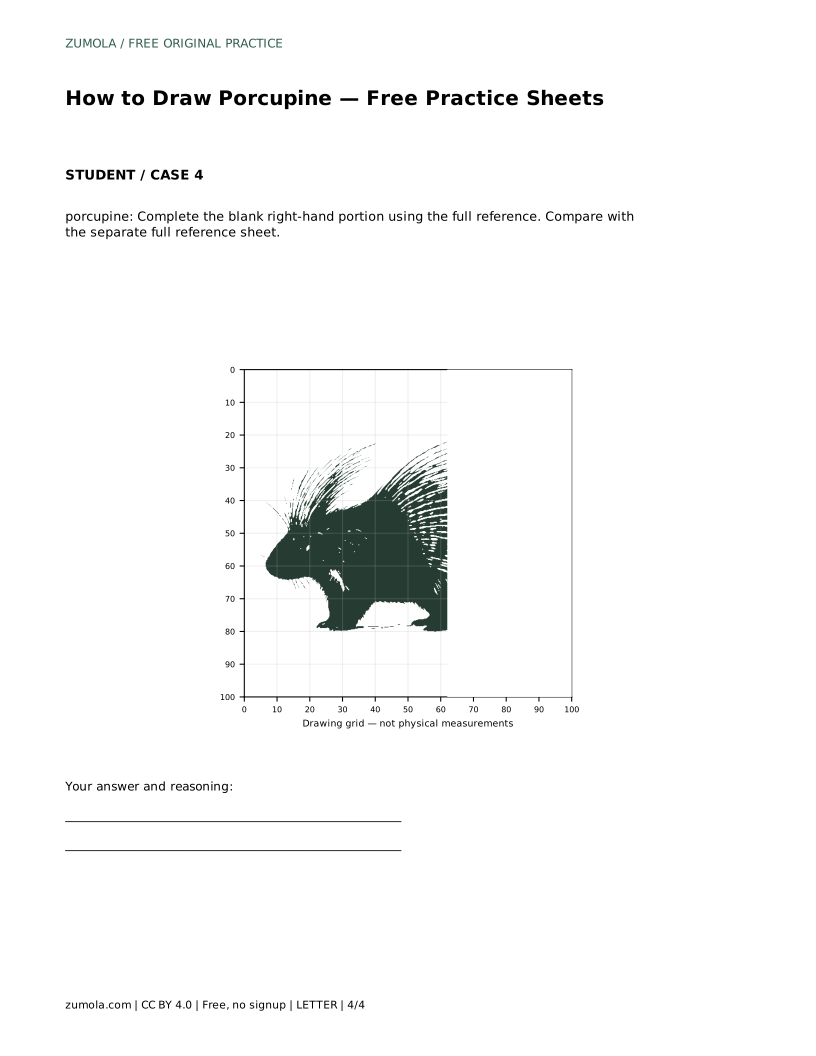
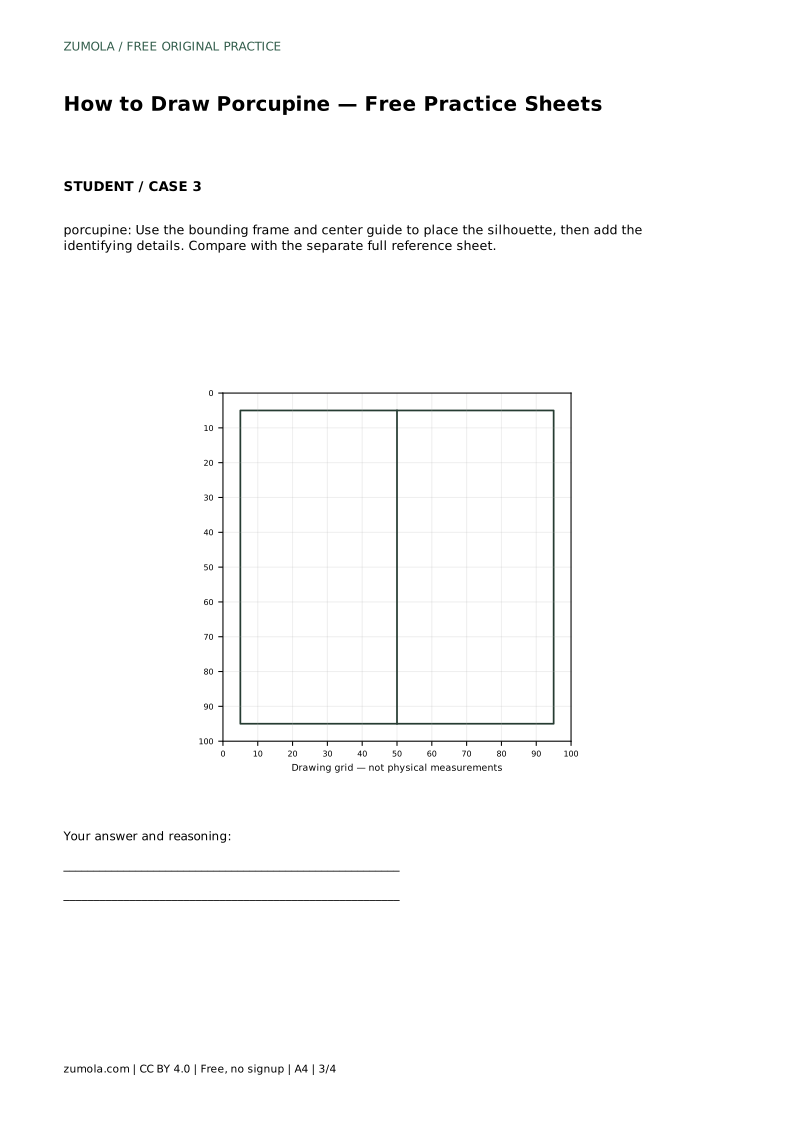
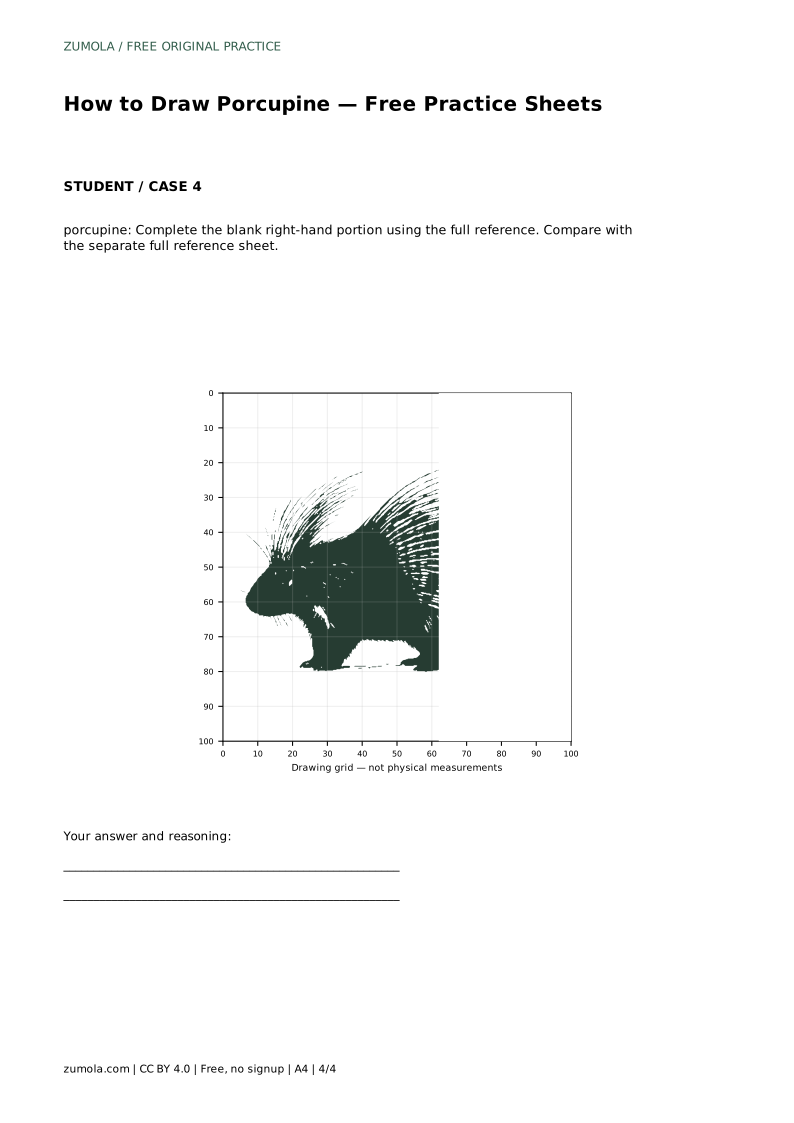
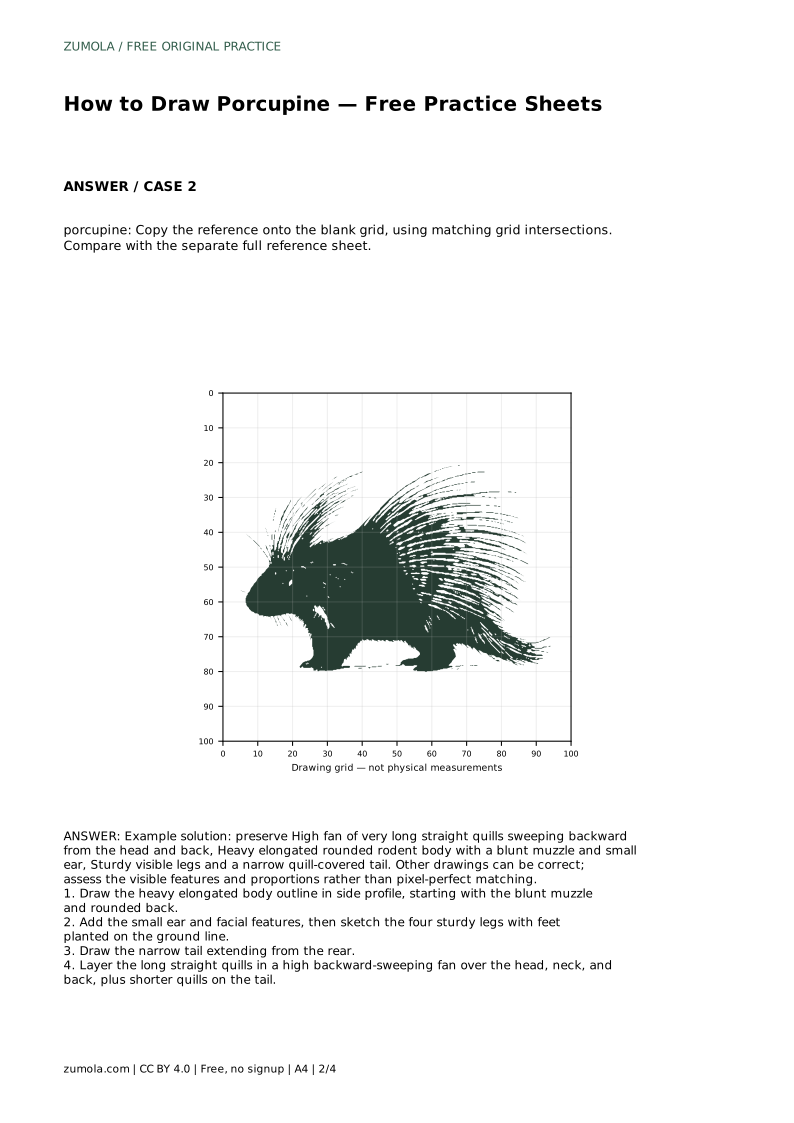
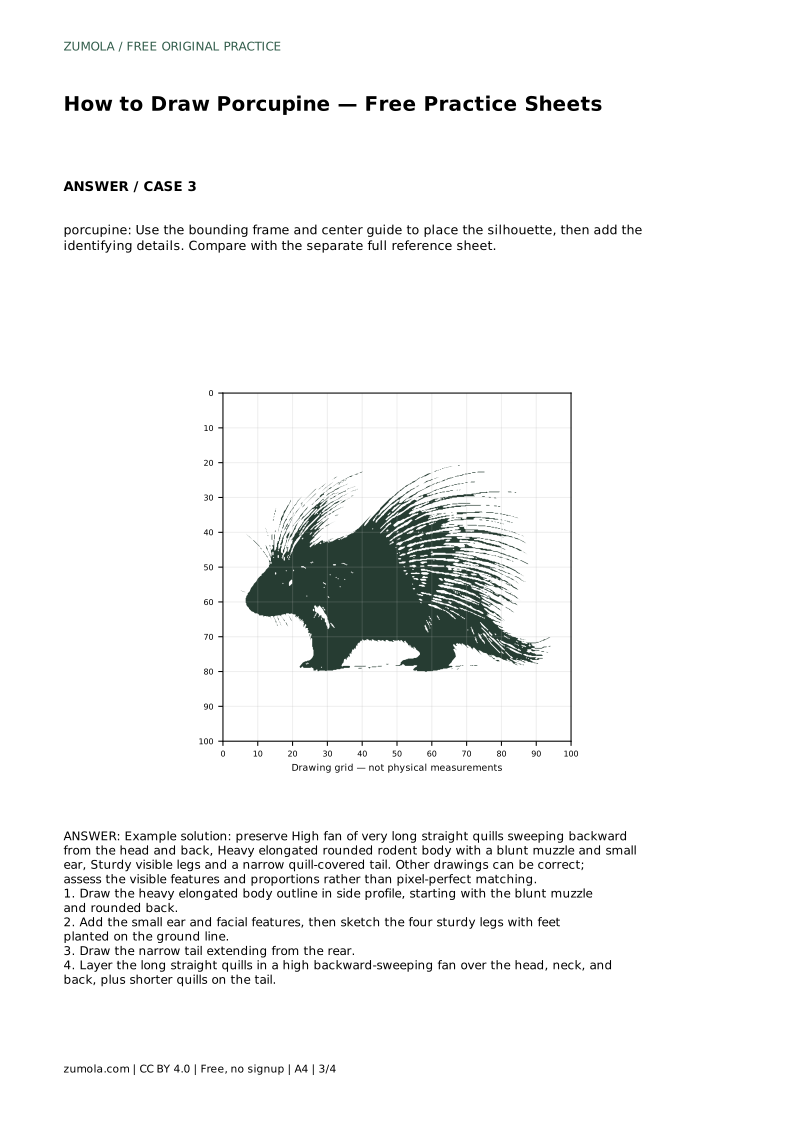
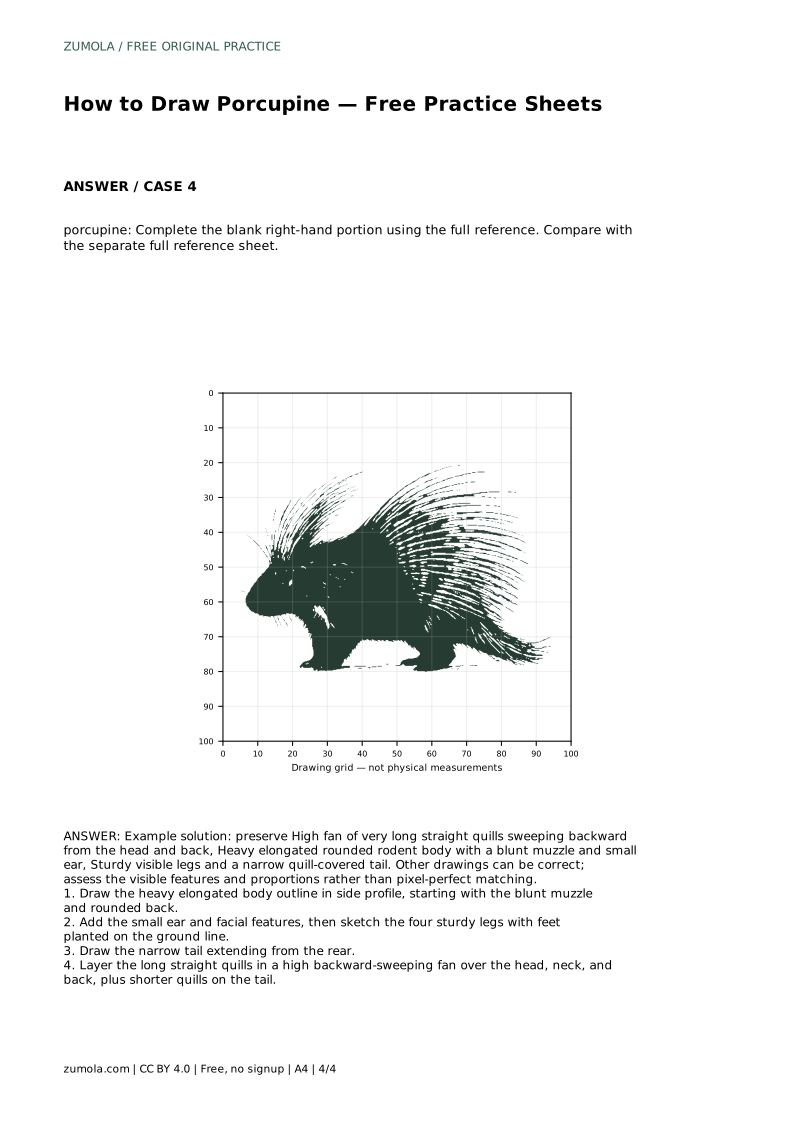
Each sheet type trains a different skill. Tracing the reference outline builds familiarity with the proportions before you draw the contour independently. Copying onto a blank grid trains you to judge position using matching grid intersections. The bounding frame and center guide help you place the silhouette before adding identifying details. The partial sheet asks you to complete the blank right-hand portion from the full reference. In every case, compare your finished drawing with the separate full reference sheet and assess the visible features and proportions rather than expecting a pixel-perfect match.
A correct porcupine drawing preserves the heavy elongated body, blunt muzzle, small ear, sturdy visible legs, narrow quill-covered tail and the high backward-sweeping quill fan. Different drawings can still be correct, so judge the presence and balance of these features rather than exact line placement. If the body looks light or the quills point in mixed directions, revise those parts before adding detail.
porcupine: Trace the reference outline, then practise the contour independently. Compare with the separate full reference sheet.
Example solution: preserve High fan of very long straight quills sweeping backward from the head and back, Heavy elongated rounded rodent body with a blunt muzzle and small ear, Sturdy visible legs and a narrow quill-covered tail. Other drawings can be correct; assess the visible features and proportions rather than pixel-perfect matching. Draw the heavy elongated body outline in side profile, starting with the blunt muzzle and rounded back. Add the small ear and facial features, then sketch the four sturdy legs with feet planted on the ground line. Draw the narrow tail extending from the rear. Layer the long straight quills in a high backward-sweeping fan over the head, neck, and back, plus shorter quills on the tail.
Draw the body first. The heavy elongated body, blunt muzzle, small ear, sturdy legs and narrow tail give the quills something to sit on.
The main quills over the head, neck and back are very long and form a high fan. Tail quills are shorter. Vary lengths slightly within the fan while keeping every quill straight.
No. Other drawings can be correct. Assess whether the visible features and proportions are present and balanced rather than matching every line.
All drawing practice · Free coordinate paper
Original resources · CC BY 4.0 · Free for personal and classroom use with attribution.