Free printable resources · Original practice
How to draw to scale.
Convert first. Draw second.
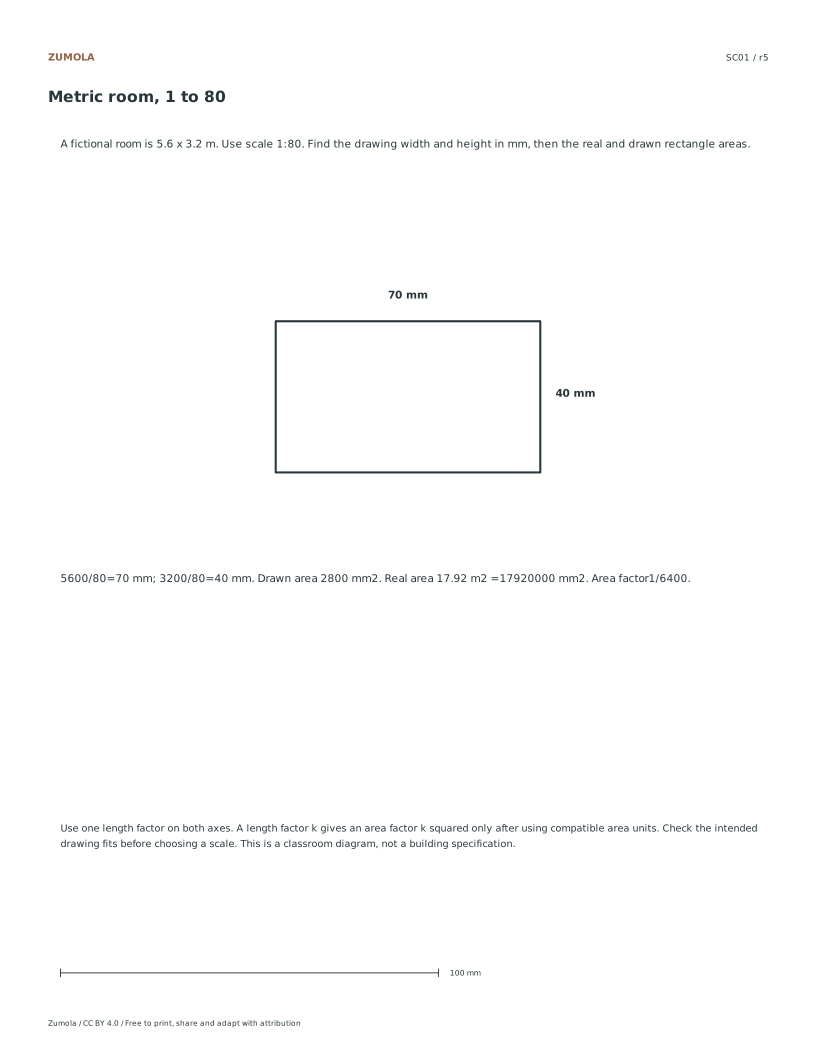
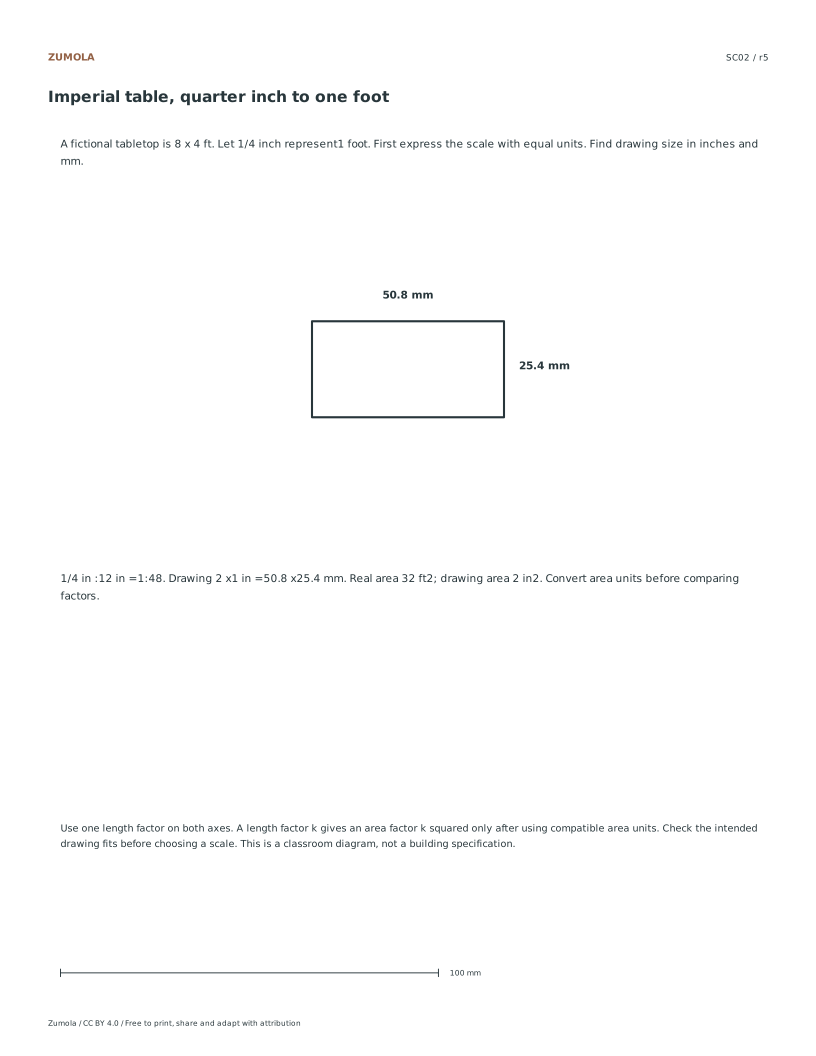
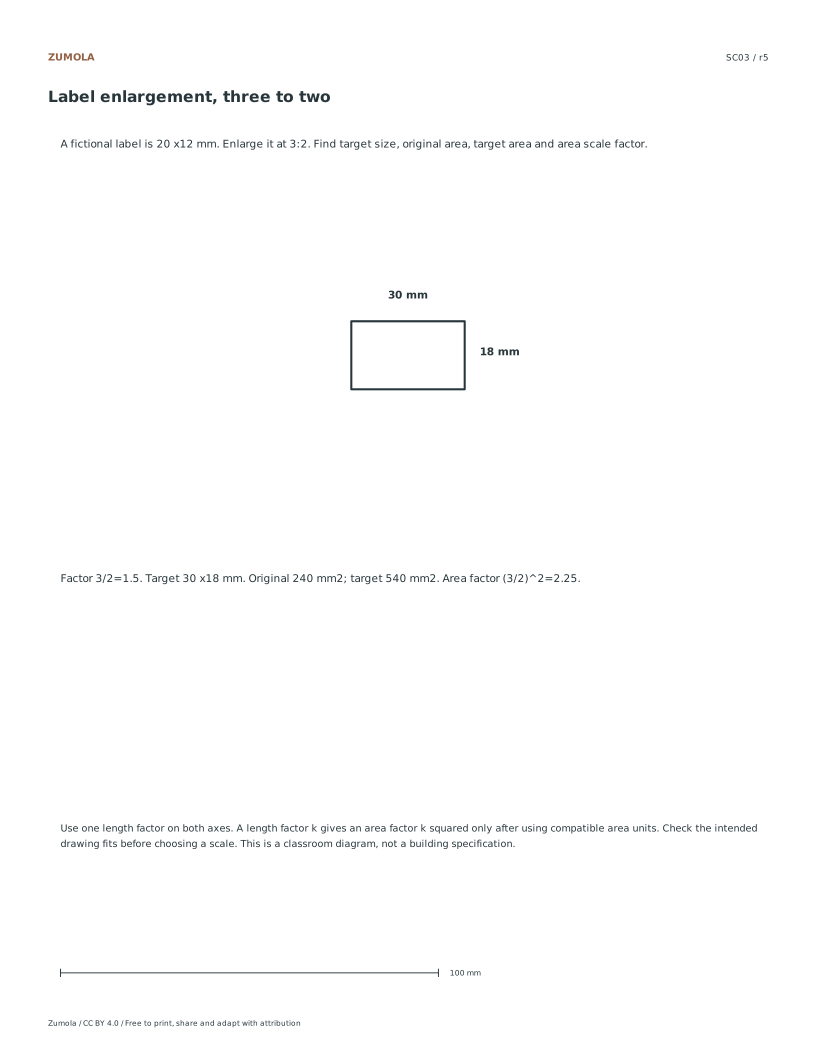
Choose a scale that fits, convert lengths to common units and keep area factors separate. Work through three fictional rectangles before using the practice sheets.
3 complete examples.
Units, length + area.
More ways to practice
Direction first, then units, then multiplication
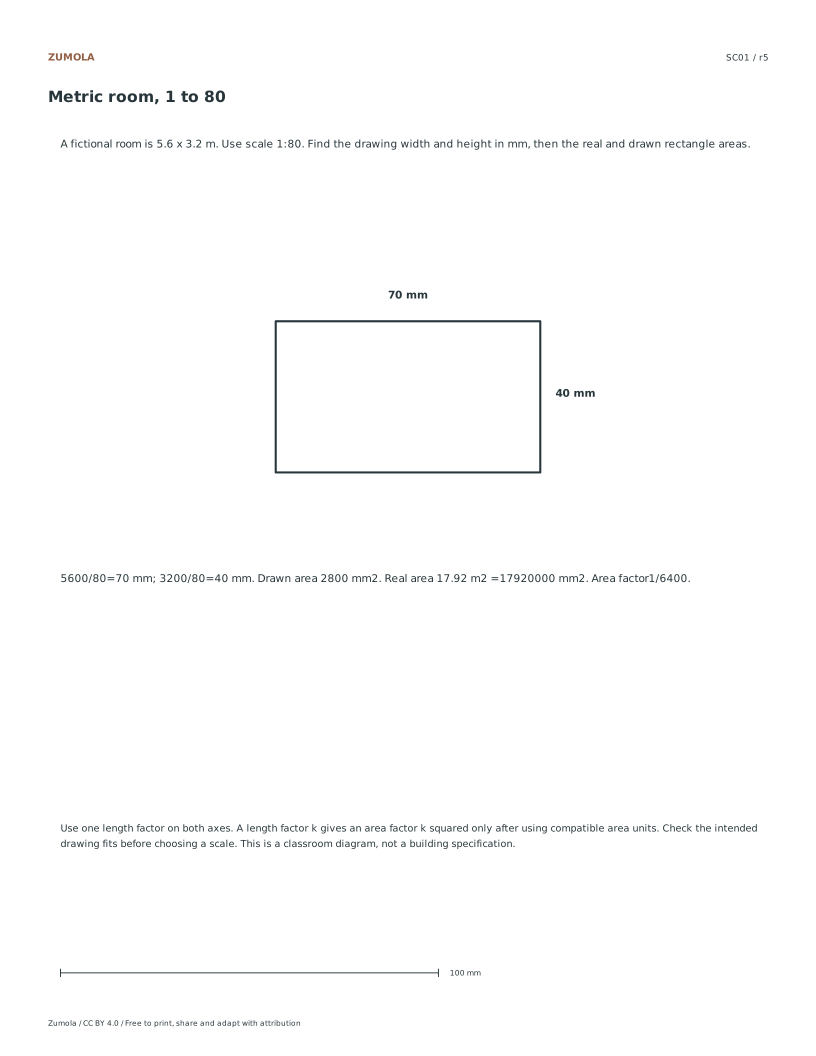
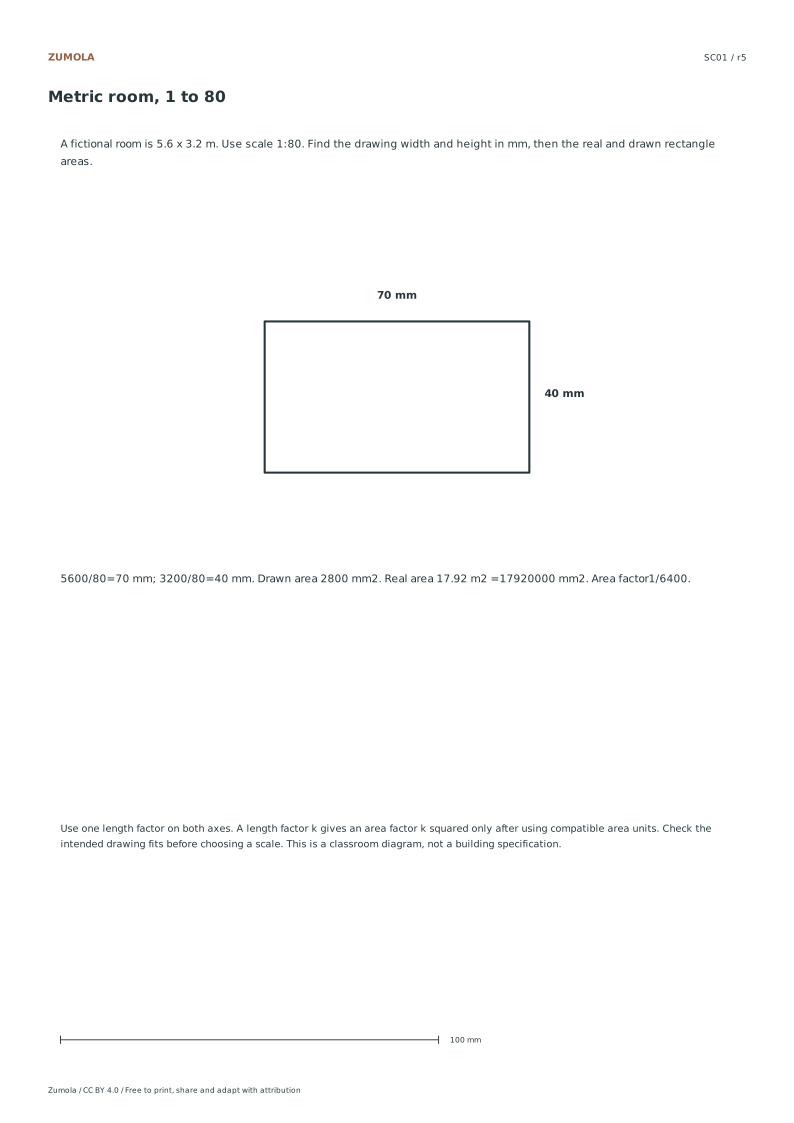
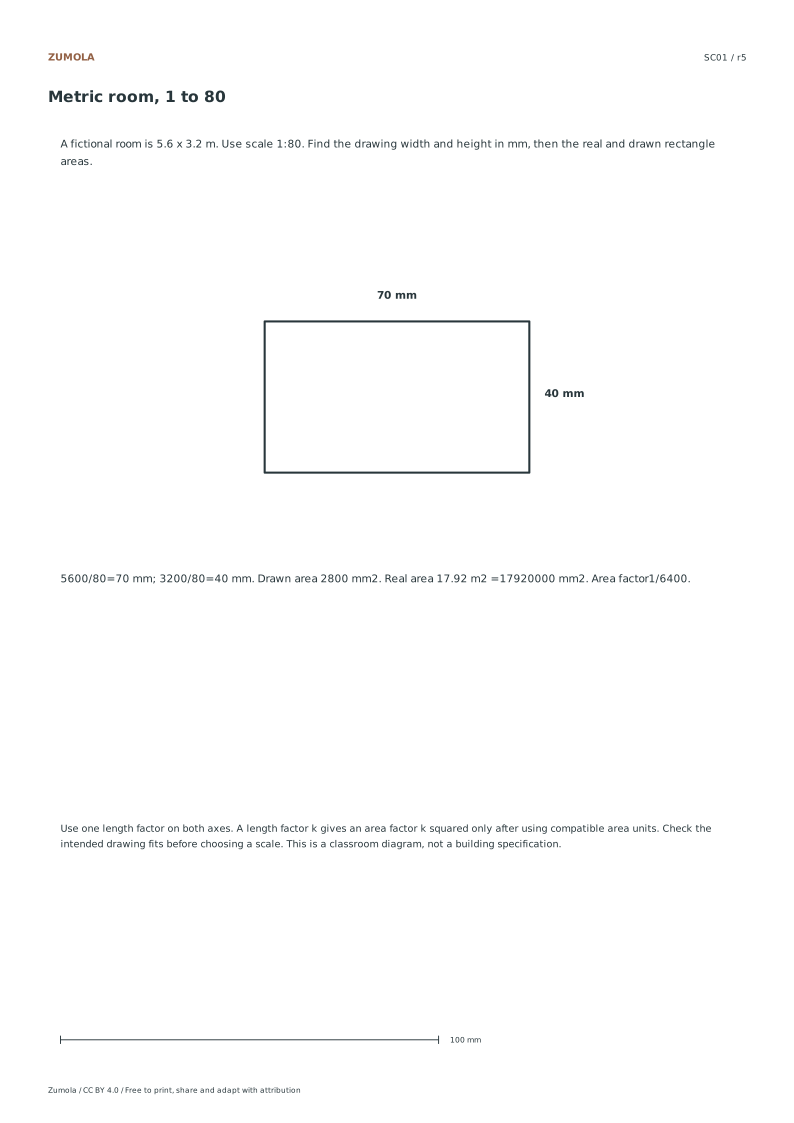
A scale such as 1 to 80 or 1:80 means one unit on the drawing represents 80 of the same unit in reality. The colon reads drawing to reality, so the drawing number is always the smaller one for a reduction. Before multiplying, write the direction as a sentence: one centimetre on paper equals eighty centimetres in the room. If you cannot say that sentence aloud, the scale is not yet understood.
Units must match before the factor is applied. A scale of 1 to 80 with centimetres on paper gives centimetres in reality; convert to metres only after multiplying. Mixing a paper measurement in centimetres with a real measurement in metres and then applying the factor produces answers that are wrong by a factor of 100. Write the unit beside every number in your working, not only in the final answer.
Area and volume need their own factors. If lengths are multiplied by 80, areas are multiplied by 80 squared, which is 6400, and volumes by 80 cubed, which is 512000. These are separate numbers, not variations of the length factor. Keep a small note on the page listing the three factors so you do not reach for the length factor when a question asks about floor area.
- Write the scale as a sentence naming both directions and both units.
- Convert every measurement to one unit before applying the factor.
- Multiply lengths by the factor, areas by the factor squared, volumes by the factor cubed.
- Check the answer is plausible: a room should not be 0.4 metres or 400 metres wide.
A diagnostic check you can run on any answer
Reverse the calculation as a check. If a drawing length of 3 centimetres at 1 to 80 gives 240 centimetres, divide 240 by 80 and confirm you return to 3. This catches inverted factors immediately, because dividing by the wrong direction rarely returns the starting number.
Compare two related quantities for consistency. A rectangle 4 centimetres by 6 centimetres on paper at 1 to 50 becomes 200 centimetres by 300 centimetres in reality, so its real area is 60000 square centimetres, or 6 square metres. The paper area is 24 square centimetres, and 24 multiplied by 2500, the square of 50, gives 60000. If your area check does not agree with your length check, one of them used the wrong factor.
Finally, test the endpoint conditions. A scale drawing of a whole object must include its full extent, so the longest real dimension divided by the factor must fit inside the paper with margins. If it does not fit, the scale is unsuitable for that paper size, and the correct response is to choose a different scale rather than to crop the object.
- Divide the real answer by the factor and confirm you recover the drawing measurement.
- Compute area both from real dimensions and from paper area times the squared factor.
- Check the longest real dimension divided by the factor against the usable paper width.
Where artistic scale differs from measured scale
Scale in observational drawing is about relative proportion, not a stated ratio. When you draw a still life, you compare the height of one object to another and keep that relationship consistent across the page. There is no single correct drawing, so judge the result with a rubric: consistent proportions, correct relative placement, and no unexplained distortion.
Measured scale drawing, by contrast, has a stated ratio and verifiable answers. Keep the two activities separate in your practice. A proportion exercise trains the eye; a scale exercise trains unit discipline and factor selection. Mixing them leads to marking a freehand sketch as if it had an exact answer, which is neither fair nor useful.
Neither activity is a lesson in clinical anatomy. Drawing a figure or a hand at a chosen scale does not establish anatomical accuracy, and a scale factor says nothing about biological structure. Treat figure drawing as construction and proportion practice, and leave anatomical claims to sources that teach anatomy directly.
- For proportion practice, compare two lengths on the page and record the ratio.
- For scale practice, state the ratio, the units and the direction before drawing.
- Mark proportion work with a rubric and scale work against the stated factor.
Try this example
A rectangular terrace measures 6 metres by 4 metres in reality. Draw it at 1 to 50 on paper measured in centimetres, and state its area on paper and in reality.
Show the worked explanation
Convert to centimetres first: 6 metres is 600 centimetres and 4 metres is 400 centimetres. At 1 to 50, divide each real length by 50: 600 divided by 50 is 12 centimetres, and 400 divided by 50 is 8 centimetres. The paper rectangle is 12 centimetres by 8 centimetres, with a paper area of 96 square centimetres. The real area is 6 metres times 4 metres, which is 24 square metres. Check with the area factor: 50 squared is 2500, and 96 square centimetres times 2500 is 240000 square centimetres, which is 24 square metres. Both routes agree, and the 12 centimetre side fits within a typical sheet width with margins.
Common mistakes
- Applying the scale factor in the wrong direction, so a 1 to 80 drawing is multiplied by 80 when converting from reality to paper. Write the direction as a sentence first, then divide when going from reality to paper and multiply when going from paper to reality.
- Multiplying a paper measurement in centimetres by a factor and labelling the result in metres without converting. Keep one unit throughout the multiplication, then convert the final length and show the conversion step.
- Using the length factor to scale an area, for example multiplying a floor area by 80 instead of 6400. Note the length, area and volume factors together on the page and select the one matching the quantity asked for.
Check your work
- The scale direction is stated as a sentence naming drawing and reality.
- All measurements are converted to one unit before the factor is applied.
- Length, area and volume factors are listed separately and the correct one is used.
- The reverse calculation recovers the original drawing measurement.
- The scaled drawing fits the usable paper area with margins.
- Proportion-only sketches are assessed by rubric rather than a single correct answer.
Questions before you start
Does 1 to 80 mean the drawing is 80 times larger or smaller?
Smaller. One unit on the drawing represents 80 of the same unit in reality, so the drawing is a reduction. The drawing number is the smaller side of the ratio.
Why is the area factor different from the length factor?
Area depends on two lengths, so both are scaled. At 1 to 80 each length is multiplied by 80, and the area is multiplied by 80 times 80, which is 6400.
Can a freehand proportion drawing be marked as right or wrong?
Not as a single correct answer. Use a rubric covering consistent proportions, relative placement and unexplained distortion, and reserve exact marking for stated scale tasks.