Free original resources
Scale Drawing Calculator: Convert Real and Drawing Lengths
Convert between real and drawing lengths using a scale ratio. See unit conversion steps, avoid direction errors, and handle area and volume factors correctly.
Free resources
Letter & A4
PDF & SVG
Letter & A4
PDF & SVG
Make it yours.
Free · no signup · calculated in your browser
Your free printable kit.
Original reference, student practice and separate worked answers. No account or payment.
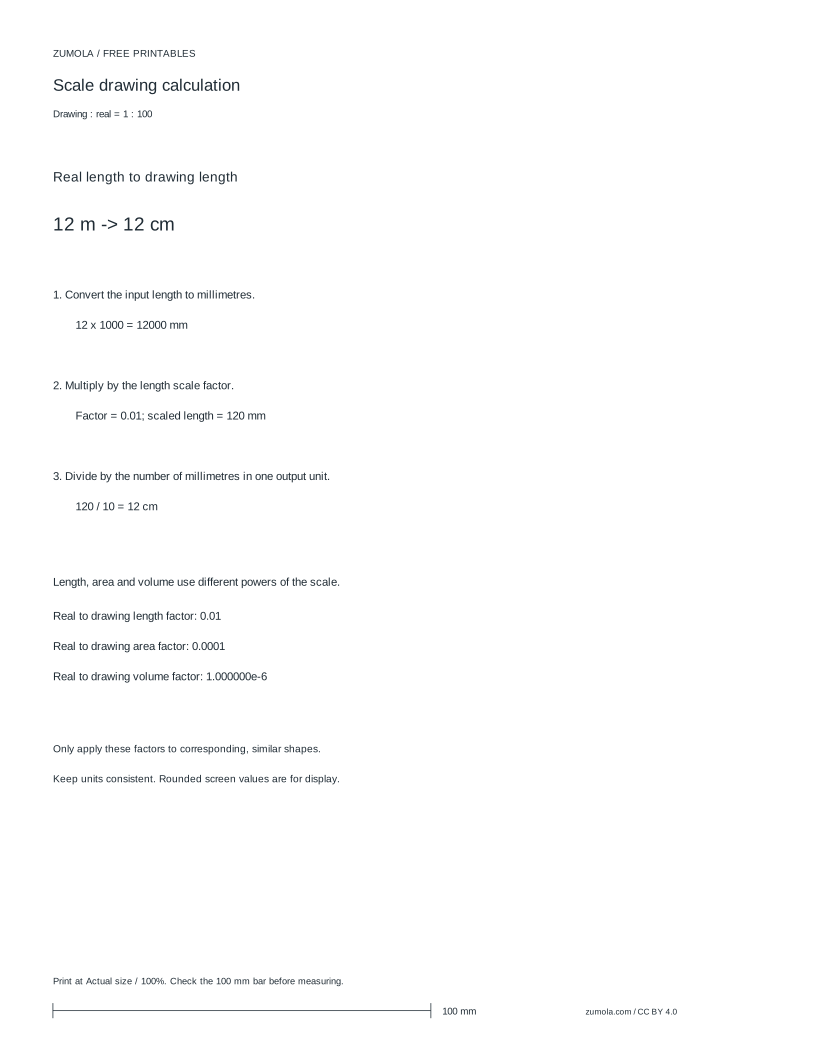
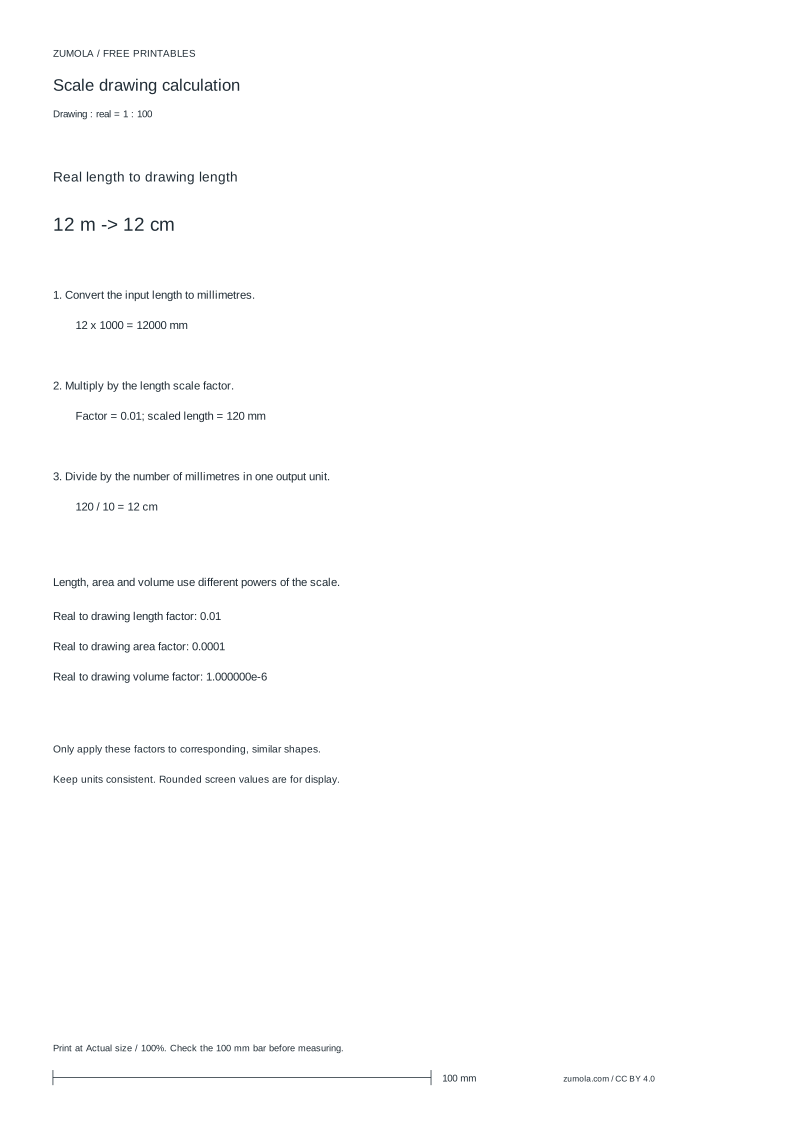
Practice worksheet
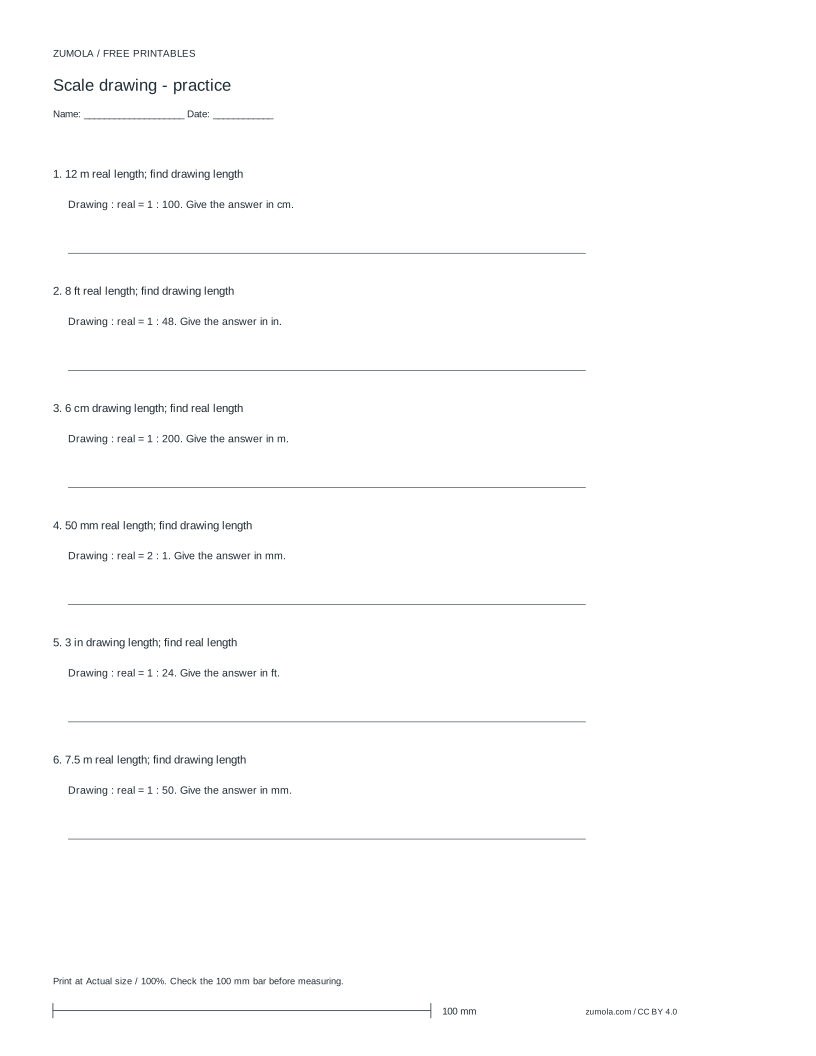
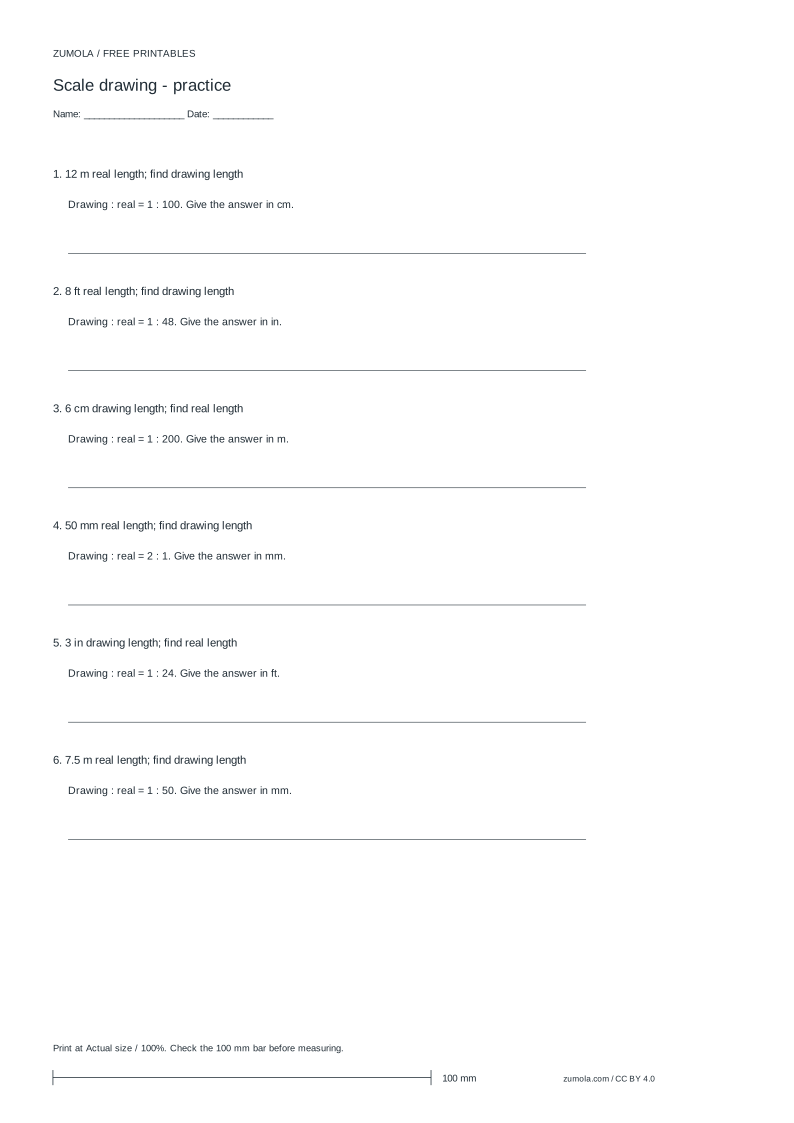
Worked answers / rubric
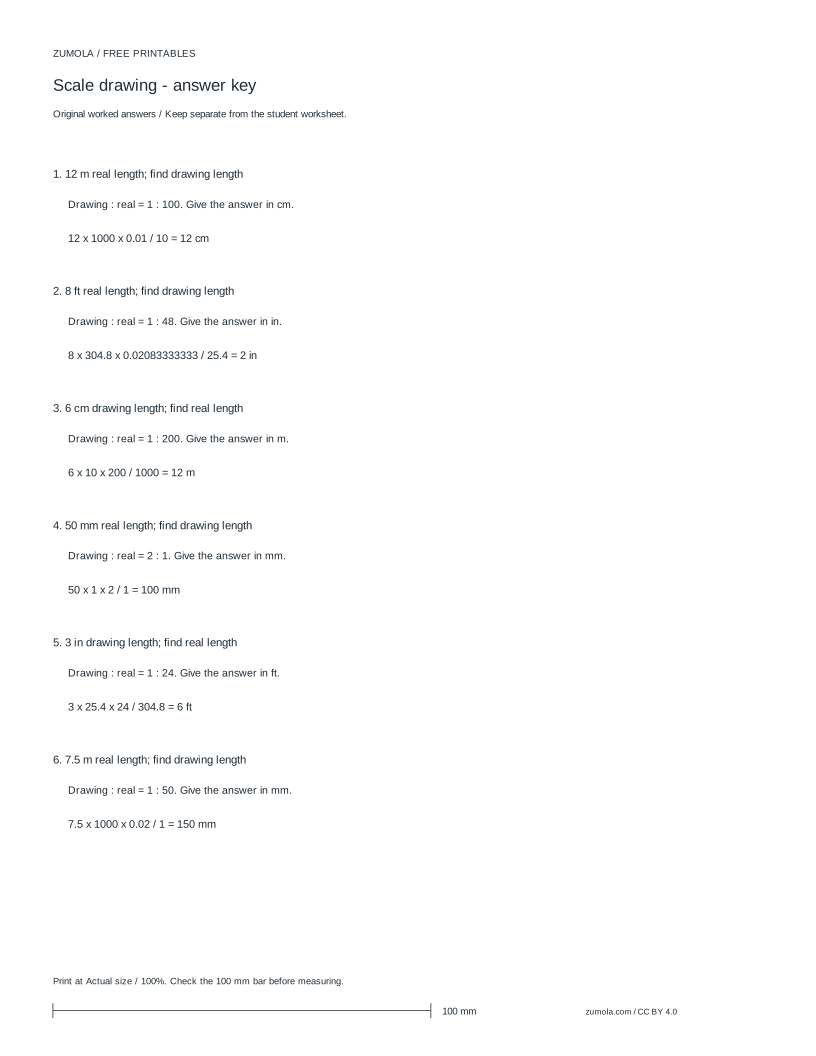
Print at Actual size / 100%. Check the calibration bar before using physical dimensions.
A scale drawing calculator converts a length on paper to the real length it represents, or the reverse, using a ratio such as 1:100. The key is to keep the ratio direction clear and to convert units before or after applying the scale factor. This page explains the method step by step, shows a worked example, and highlights common mistakes with area and volume. It does not describe specific buttons or downloads; those appear in separate verified components.
How the scale ratio works
A drawing scale is written as a ratio, for example 1:100. This means 1 unit on the drawing represents 100 of the same unit in real life. The ratio is unitless until you attach units. If the drawing length is in centimetres and the real length is in metres, you must convert one to the other before applying the ratio, or apply the ratio first and then convert.
The scale factor is the number you multiply by. For real-to-drawing, divide by the scale denominator: drawing length = real length ÷ 100. For drawing-to-real, multiply by the denominator: real length = drawing length × 100. Always state which direction you are converting. Mixing directions is the most common source of errors.
- Identify the scale ratio, e.g. 1:100.
- Decide the direction: real to drawing, or drawing to real.
- Convert both lengths to the same unit before calculating, or convert after, but keep track.
- Apply the factor: divide by the denominator for real-to-drawing; multiply for drawing-to-real.
- Check that the result is plausible: a drawing should be smaller than the real object for a reducing scale.
Unit conversion and direction
Units must be consistent. If the real length is 12 metres and the scale is 1:100, converting 12 m to centimetres gives 1200 cm. Then real-to-drawing: 1200 cm ÷ 100 = 12 cm on the drawing. Alternatively, apply the ratio first: 12 m ÷ 100 = 0.12 m, then convert 0.12 m to 12 cm. Both give the same result because the ratio is unitless.
Be explicit about the unit of the result. A common mistake is to treat the drawing length as if it were in the same unit as the real length without converting. For example, 12 m at 1:100 is not 0.12 cm; it is 12 cm. Writing the unit at each step prevents this.
- Write the given length with its unit.
- Choose a common unit for the calculation, such as centimetres.
- Convert the given length to that unit.
- Apply the scale factor.
- Convert the result to the desired unit and label it clearly.
Area and volume are not linear
The scale ratio applies to lengths. For area, the factor is the square of the length factor. At 1:100, a real-to-drawing area factor is (1/100)² = 1/10,000. For volume, the factor is the cube: (1/100)³ = 1/1,000,000. Do not use the linear factor for area or volume.
For example, a real floor of 12 m by 10 m has area 120 m². On a 1:100 drawing, the lengths become 12 cm and 10 cm, so the drawing area is 120 cm². The ratio of areas is 120 cm² to 120 m², which is 1:10,000 after converting units. This confirms the squared factor.
- Convert all lengths to the same unit.
- Apply the linear scale factor to each length.
- For area, square the linear factor; for volume, cube it.
- Convert the result to the desired unit, remembering that area units are squared and volume units are cubed.
Try this example
A real wall is 12 metres long. Using a scale of 1:100, what is its length on the drawing in centimetres?
Show the worked explanation
Convert 12 m to centimetres: 12 × 100 = 1200 cm. Real-to-drawing means divide by 100: 1200 ÷ 100 = 12 cm. The drawing length is 12 cm. Check: 12 cm × 100 = 1200 cm = 12 m, which matches the real length.
Common mistakes
- Applying the scale factor in the wrong direction, e.g. multiplying when converting real to drawing. Write the direction explicitly: real-to-drawing divides by the denominator; drawing-to-real multiplies by it. Check with a simple number: at 1:100, 1 m real becomes 1 cm on paper, so the drawing is smaller.
- Using the linear scale factor for area or volume. Square the linear factor for area and cube it for volume. At 1:100, area factor is 1/10,000 and volume factor is 1/1,000,000.
- Mixing units without converting, such as treating metres and centimetres as interchangeable. Convert all lengths to one unit before applying the ratio, or convert immediately after, and label every result with its unit.
Check your work
- States the scale ratio and the direction of conversion clearly.
- Converts all lengths to a consistent unit before or after applying the factor, with units shown at each step.
- Applies division for real-to-drawing and multiplication for drawing-to-real.
- Uses squared factor for area and cubed factor for volume, not the linear factor.
- Checks the result for plausibility, such as a smaller drawing for a reducing scale.
Questions before you start
What does a scale of 1:100 mean?
It means 1 unit on the drawing represents 100 of the same unit in real life. For example, 1 cm on the drawing represents 100 cm, or 1 m, in reality.
How do I convert a real length to a drawing length?
Divide the real length by the scale denominator after converting to a consistent unit. For 12 m at 1:100, convert to 1200 cm, then divide by 100 to get 12 cm.
Why is the area factor different from the length factor?
Area is two-dimensional, so both dimensions are scaled. The area factor is the square of the length factor. At 1:100, the area factor is 1/10,000.