Free original resources
Printing and Measuring Tools: A Task-Based Guide to Printable Measuring Resources
Choose the right printable measuring tool for your task, learn how 100% scale printing and calibration bars work, and avoid common measuring mistakes.
Letter & A4
PDF & SVG
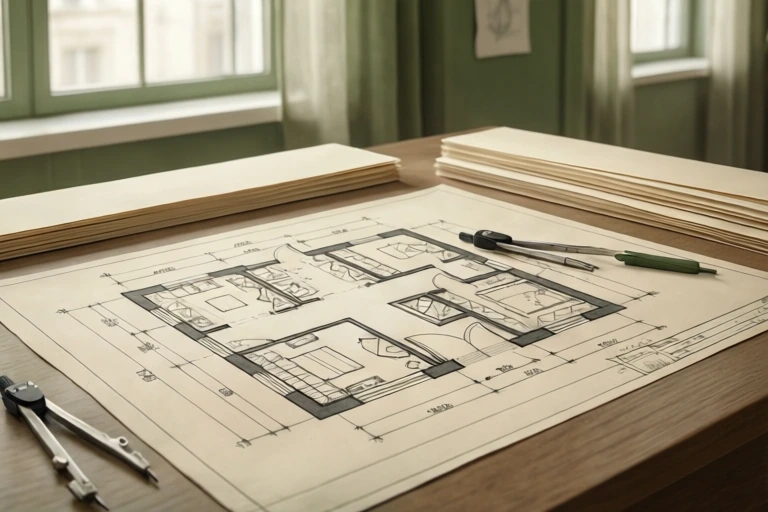
Printable measuring tools only work when the printed sheet matches real-world size. This hub helps you pick the right resource for a specific task, from blank rulers and protractors to grid paper and drawing guides. It explains the method behind scale printing, how a 100 mm calibration bar and zero mark confirm alignment, and where to look for fault-finding help if a print comes out wrong. Each linked topic handles one concrete job rather than repeating general advice.
Match the tool to the measuring task
Start by naming what you need to measure or draw. A straight length needs a ruler with a clear zero mark; an angle needs a protractor with a marked centre; repeated spacing or area work needs grid paper; freehand construction needs drawing guides. Blank measuring tools are for practice and layout, while fault-finding guidance covers prints that are stretched, cropped or misaligned. Keeping these two purposes separate stops you from blaming a tool for a printer problem.
Use this hub as a filter. Read the task description on each linked topic and choose the one that matches your job. If you need to check whether a sheet printed at true size, go to the calibration guidance rather than a practice page. If you need to practise reading a scale, choose the blank tool page. The hub does not replace those pages; it points you to the correct one.
- Write down the measurement or drawing task in one sentence.
- Decide whether you need a blank tool, grid paper, a drawing guide or print troubleshooting.
- Open the topic that matches that task and read its stated assumptions.
- Print at 100% scale and check the calibration bar before measuring anything.
Why 100% scale and a calibration bar matter
A printable ruler is only accurate if one printed unit equals one real unit. Most print dialogs offer a fit-to-page or scale option; those change the size of the sheet content and therefore change every measurement on it. Choose 100% or actual size, and switch off any automatic scaling. Paper size must also match the sheet design, because a design made for one paper size will be cropped or resized on another.
A 100 mm calibration bar is a printed line labelled as 100 mm long. After printing, measure it with a reliable physical ruler. If it reads 100 mm, the scale is correct. If it reads more or less, the print was scaled and should not be used for measurement. The zero mark matters too: on a ruler, the first marked line is the starting point, and measuring from the paper edge instead introduces error. Check both the bar and the zero position before trusting any reading.
- Set the print scale to 100% or actual size.
- Confirm the selected paper size matches the sheet design.
- Print one copy and measure the 100 mm calibration bar with a physical ruler.
- Locate the zero mark and measure a known object to confirm alignment.
- Reprint only after the bar and zero mark check out.
Separating blank tools from print troubleshooting
Blank measuring tools are practice and layout aids: they have scales, angle marks or grids but no pre-filled answers. Their purpose is to let you read, mark and check measurements yourself. Print troubleshooting is a different job: it deals with stretched output, missing edges, faint lines or a calibration bar that does not measure correctly. Mixing the two leads to wasted effort, such as redrawing a scale when the real problem is a scaling setting.
When a print looks wrong, diagnose in order: scale setting, paper size, then calibration bar. Only after those checks should you consider the tool itself. A sheet that passes the calibration bar but still seems off may have a design assumption you missed, such as a zero mark placed inside the margin. Read the topic's stated assumptions before concluding the tool is faulty.
- If measurements seem wrong, first recheck the print scale setting.
- Then confirm paper size and orientation.
- Measure the calibration bar and the zero mark.
- If both pass, reread the tool's stated assumptions before changing anything.
Using this hub without overclaiming
No printable sheet has been physically tested here, so treat every scale as a claim to verify with your own calibration bar. Printer behaviour varies with model, driver and paper, and a sheet that prints correctly on one setup may not on another. The hub therefore describes the method, not a guarantee. Art and drawing outcomes also vary: two correct constructions can look different, so judge drawing work with a rubric rather than a single expected picture.
Keep units explicit. State whether a scale is in millimetres or centimetres, and note any geometric assumption such as a flat sheet, a right-angle corner or a centred protractor origin. When a task involves the body, remember that a drawing guide is a construction aid, not a clinical anatomy reference. Use the linked topics for the specific exercise and return here only to choose the next task.
- Verify every printed scale with a physical ruler before use.
- Record the units and any geometric assumptions on your working copy.
- For drawing tasks, score against a rubric instead of comparing to one picture.
- Return to the hub to select the next task rather than reusing a mismatched tool.
Try this example
You print a ruler sheet at 100% on the correct paper size. The 100 mm calibration bar measures 96 mm with a physical ruler. What should you do before measuring a 50 mm line?
Show the worked explanation
Do not use the sheet for measurement yet. A 96 mm reading on a 100 mm bar means the print is about 4% short, so a nominal 50 mm line would print near 48 mm. Recheck that the scale is set to 100% and that the paper size matches the design, then reprint and measure the bar again. Only proceed once the bar reads 100 mm and the zero mark is confirmed.
Common mistakes
- Printing with fit-to-page or automatic scaling enabled. Set the scale to 100% or actual size, then measure the 100 mm calibration bar to confirm.
- Measuring from the paper edge instead of the printed zero mark. Locate the zero mark first and start every measurement from that line.
- Treating a stretched or cropped print as a faulty measuring tool. Check scale setting and paper size before judging the tool; reprint only after the calibration bar passes.
Check your work
- The chosen tool matches the stated task: blank tool, grid, drawing guide or troubleshooting.
- Print scale is set to 100% and the paper size matches the sheet design.
- The 100 mm calibration bar is measured with a physical ruler before use.
- The zero mark is identified and used as the measurement start point.
- Units and geometric assumptions are stated explicitly on the working copy.
- Drawing outcomes are judged with a rubric rather than a single expected picture.
Questions before you start
How do I know a printable ruler is the right size?
Print at 100% scale, then measure the 100 mm calibration bar with a physical ruler. If it reads 100 mm and the zero mark is clear, the scale is correct for that print.
Should I use a blank measuring tool or a practice worksheet?
Use a blank tool when you need to read, mark or check measurements yourself. Use a practice page when you need guided exercises with a defined task.
What if my print passes the calibration bar but measurements still look wrong?
Reread the tool's stated assumptions, such as where the zero mark sits or which paper size the design expects. A passing bar confirms scale, not every design detail.