Free original resources
Printable Ruler Generator: Dual-Unit Rulers at True Length
Make a printable ruler at a real physical length with millimetre and inch scales, a clear zero mark, and a 100 mm calibration bar to check before printing.
Free resources
Letter & A4
PDF & SVG
Letter & A4
PDF & SVG
Make it yours.
Free · no signup · calculated in your browser
Your free printable kit.
Original reference, student practice and separate worked answers. No account or payment.
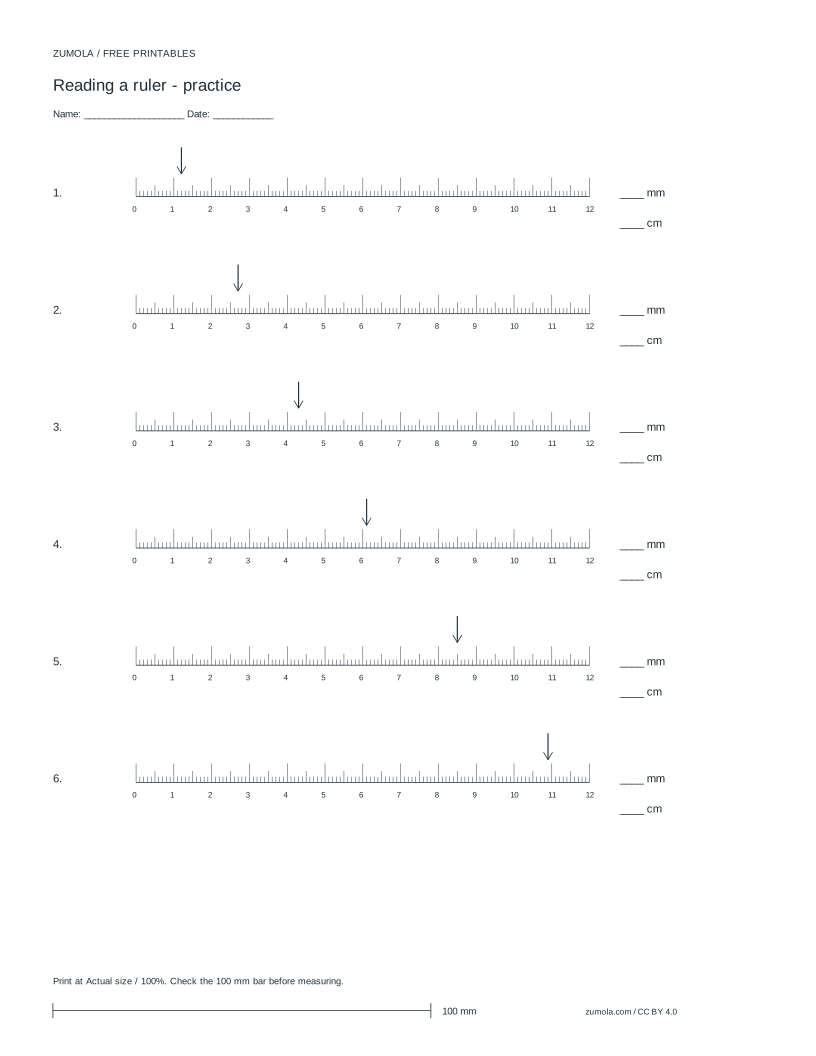
Practice worksheet
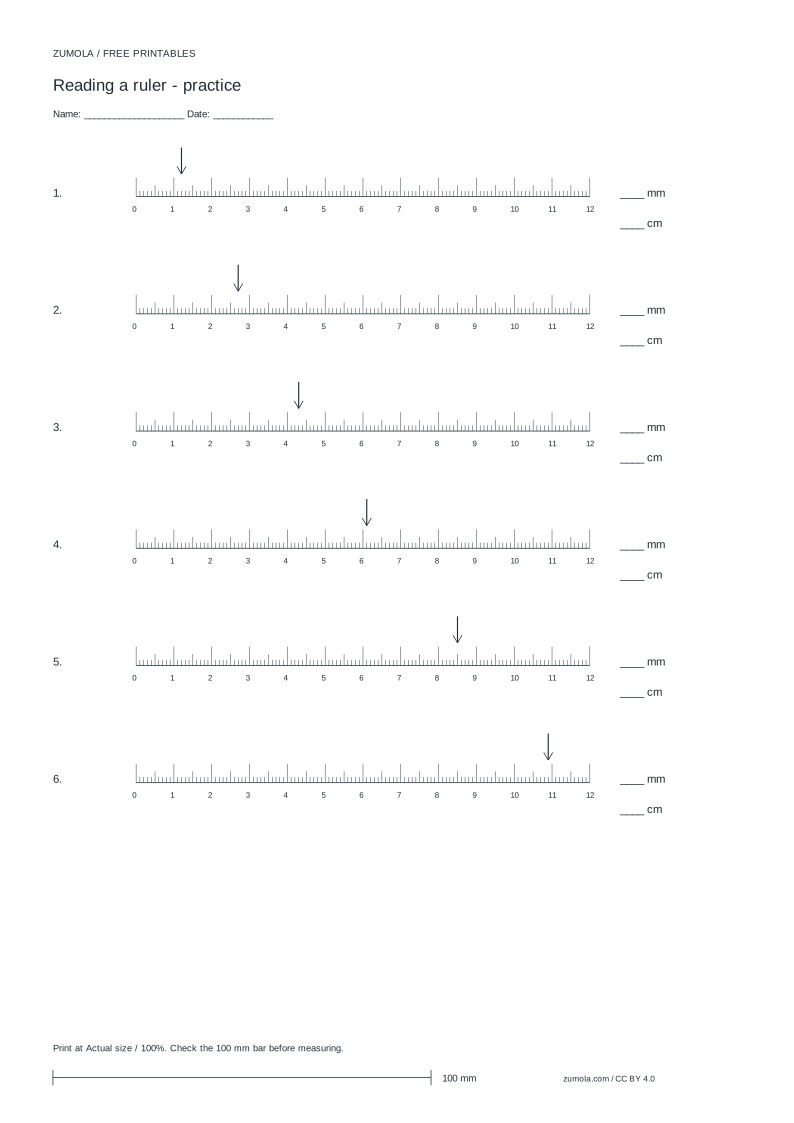
Worked answers / rubric
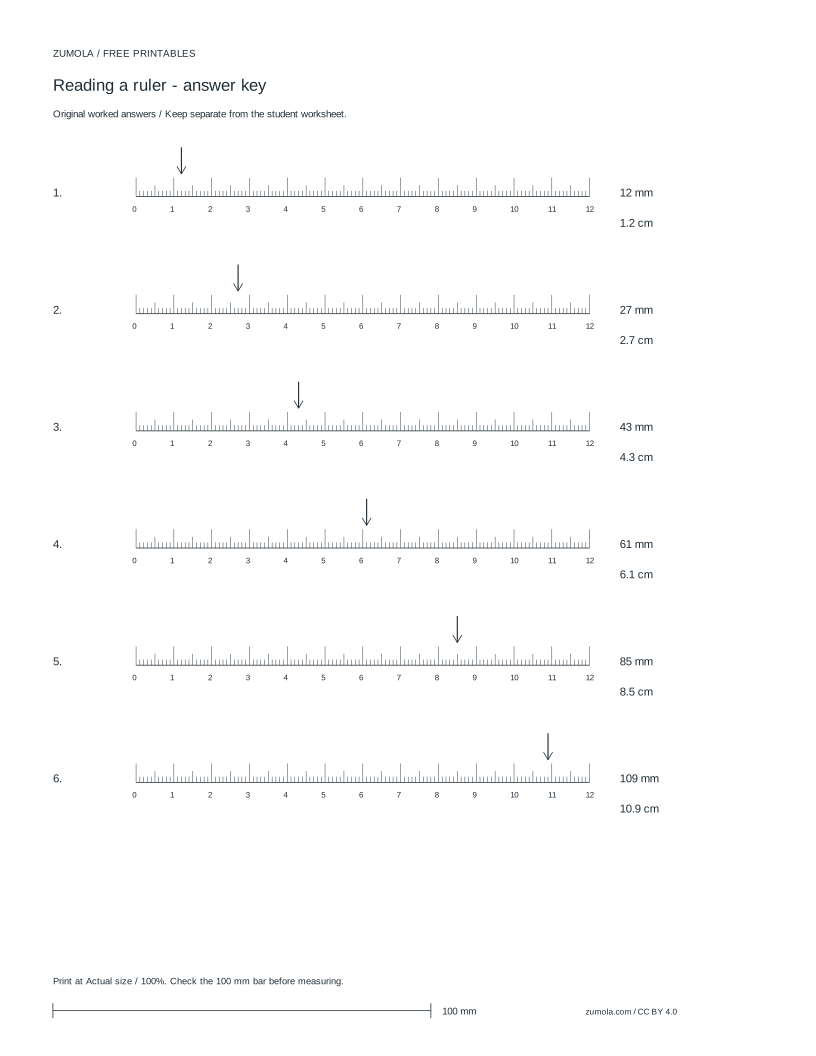
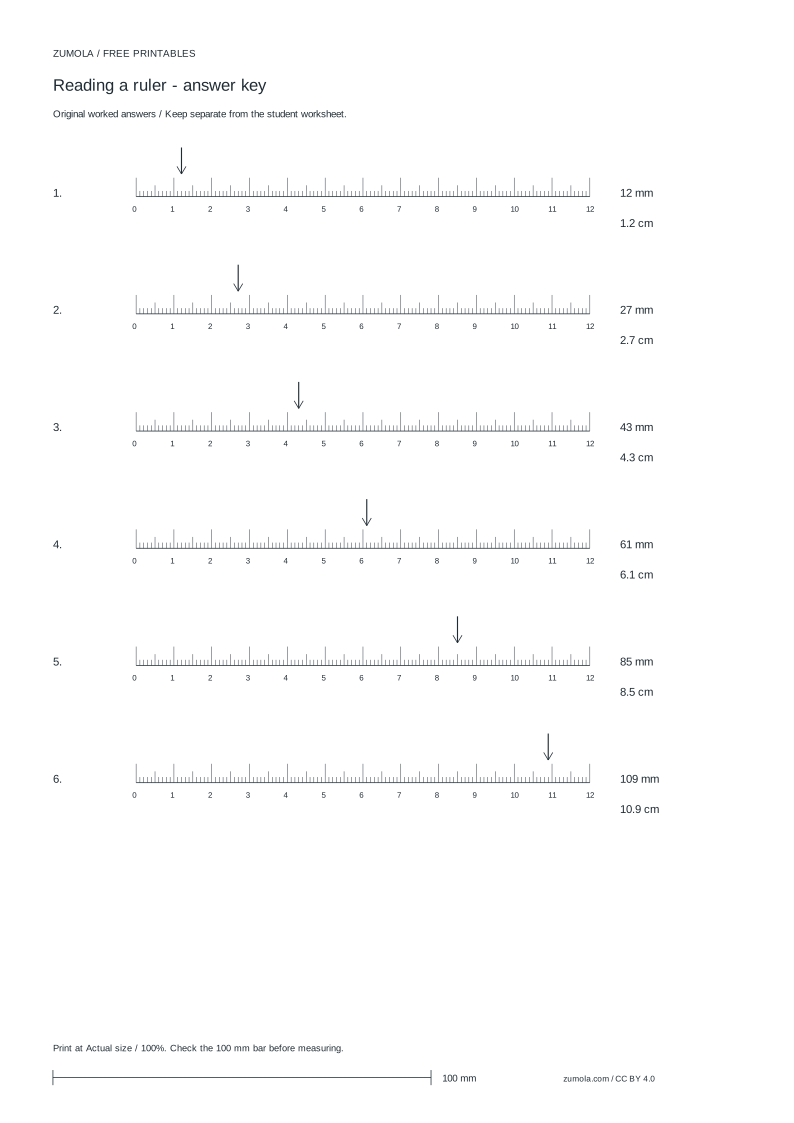
Print at Actual size / 100%. Check the calibration bar before using physical dimensions.
A printable ruler is only useful if its marks land at the right physical distance on paper. This page explains how a dual-unit ruler is laid out from a chosen real length, why the zero mark matters, and how to confirm scale with a 100 mm calibration bar before trusting any measurement. The method is described conceptually; the actual controls and output are handled by separate verified components.
How a dual-unit ruler is laid out
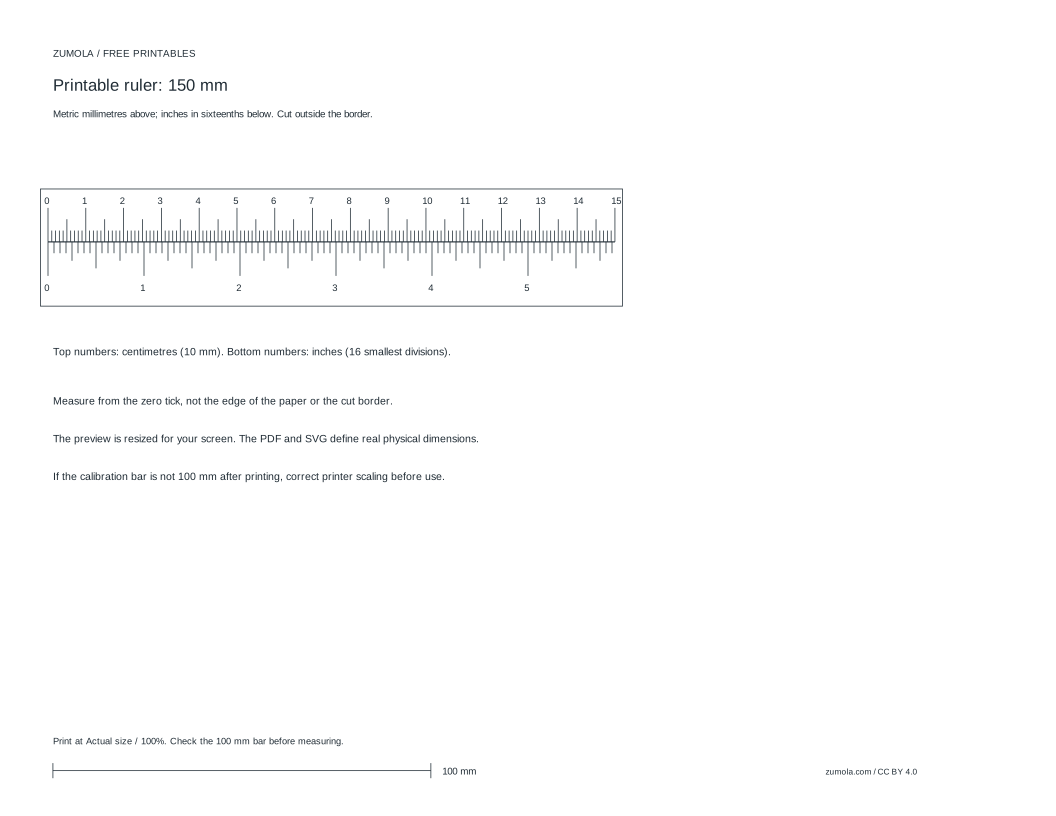
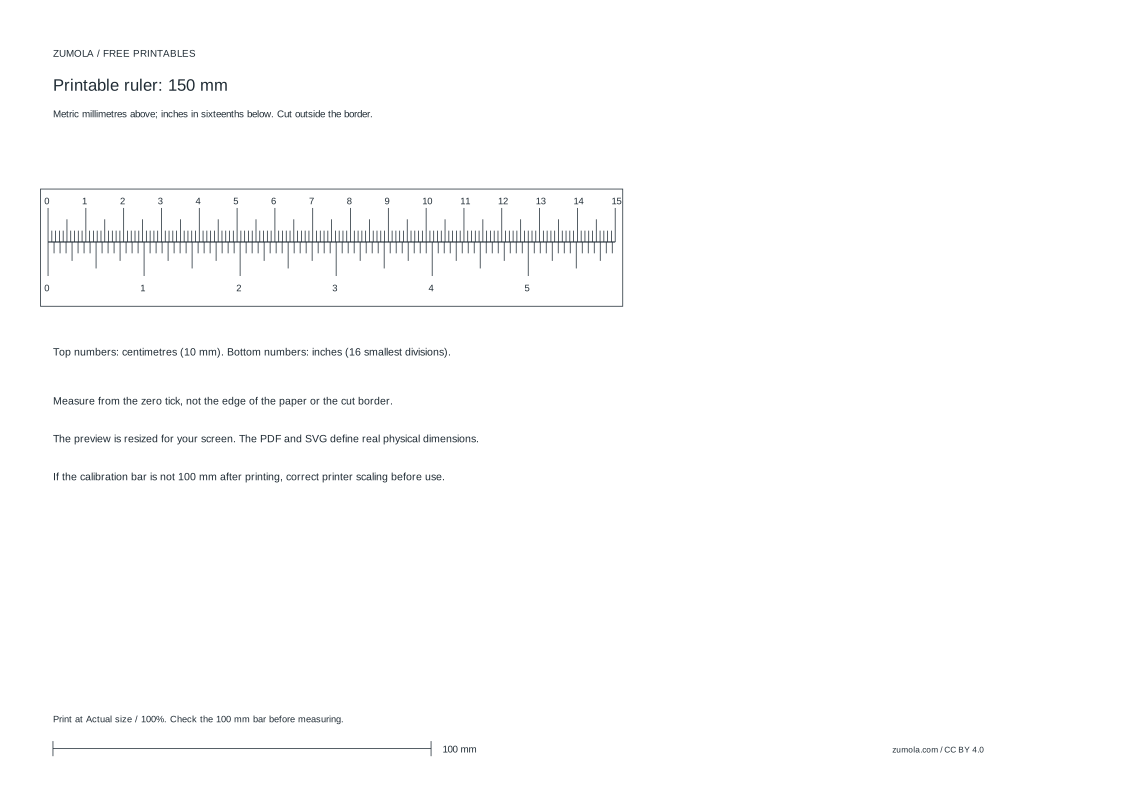
A ruler is a line segment of a fixed real length, divided into equal intervals. For a 150 mm ruler, the millimetre scale places a small tick every 1 mm, a medium tick every 5 mm, and a numbered long tick every 10 mm. The centimetre labels therefore read 0, 1, 2 and so on up to 15, because 150 mm equals 15 cm.
The inch scale is independent. One inch equals 25.4 mm exactly, so inch ticks do not align neatly with millimetre ticks. On a 150 mm ruler the inch marks fall at 0, 25.4, 50.8, 76.2, 101.6 and 127.0 mm, with the final inch mark short of the 150 mm end. Subdivisions such as eighths or sixteenths of an inch are placed by dividing 25.4 mm, not by rounding to whole millimetres.
The zero mark is the reference point for every reading. If the zero tick sits inset from the paper edge, measurements must start at that tick, not at the cut edge. Keeping both scales anchored to the same zero keeps conversions consistent.
- Choose the real length in millimetres and convert it to centimetres by dividing by 10.
- Place the zero tick at the chosen start position and mark the full-length end point.
- Divide the length into 1 mm intervals for the metric scale, grouping ticks at 5 mm and 10 mm.
- Divide each 25.4 mm inch interval into the chosen subdivisions for the imperial scale.
- Label the numbered ticks on both scales and keep the zero shared.
Printing at true size and checking calibration
A ruler file must be printed at 100% actual size, with any fit-to-page or scaling option turned off. Scaling changes every interval proportionally, so a ruler printed at 95% will read short by 5% across its whole length.
Before measuring anything, print and check a 100 mm calibration bar. Measure the bar with a known-accurate ruler or caliper. If the bar measures 100 mm, the scale is correct. If it measures more or less, adjust the printer settings and reprint rather than compensating by eye.
Paper handling also matters. Some printers stretch slightly along one axis, and duplex or borderless modes can shift content. Print a single calibration sheet first, confirm the bar, then print the ruler. Do not claim a ruler is accurate until a physical print has actually been checked.
- Set the print dialog to 100% or actual size and disable fit-to-page.
- Print one sheet containing the 100 mm calibration bar.
- Measure the bar with a trusted instrument and compare it to 100 mm.
- Reprint with corrected settings if the bar is off, then print the ruler.
- Confirm the zero tick position before taking any reading.
Reading and converting between the scales
Read the metric scale first when precision matters, since millimetre ticks are finer than typical inch subdivisions. To convert a metric reading to inches, divide the millimetre value by 25.4. For example, 50 mm divided by 25.4 gives about 1.97 inches, which sits just short of the 2 inch mark at 50.8 mm.
To convert inches to millimetres, multiply by 25.4. A reading of 3 inches is 76.2 mm. Because the two scales are anchored at the same zero, a point on the ruler has one physical position and two labels; the labels should agree after conversion.
When a measurement falls between ticks, state the resolution you are using. A ruler marked in 1 mm intervals supports readings to the nearest millimetre, and estimating finer than that introduces uncertainty rather than precision.
- Align the zero tick with one end of the object being measured.
- Read the nearest tick on the metric scale and note the resolution.
- Convert to inches by dividing millimetres by 25.4 if needed.
- Cross-check the converted value against the inch scale position.
Try this example
A 150 mm dual-unit ruler is printed and the calibration bar measures exactly 100 mm. An object's end aligns with the 60 mm tick. What is the reading in centimetres and inches, and where does it fall relative to the inch marks?
Show the worked explanation
60 mm equals 6.0 cm. Dividing 60 by 25.4 gives about 2.36 inches. The inch marks near this point are at 50.8 mm (2 inches) and 76.2 mm (3 inches), so the reading sits between them, closer to the 2 inch mark. Because the calibration bar measured 100 mm, the printed scale is consistent with real length.
Common mistakes
- Printing with fit-to-page enabled, which shrinks the ruler. Select 100% actual size, print the 100 mm calibration bar, and measure it before printing the ruler.
- Measuring from the paper edge instead of the zero tick. Start every reading at the printed zero mark, which may be inset from the edge.
- Assuming inch ticks align with whole millimetres. Place inch marks at exact multiples of 25.4 mm and convert readings by dividing or multiplying by 25.4.
Check your work
- Zero tick is clearly marked and shared by both scales.
- Millimetre ticks are spaced at 1 mm with grouped 5 mm and 10 mm marks.
- Inch ticks are placed at exact multiples of 25.4 mm, not rounded to whole millimetres.
- A 100 mm calibration bar is included and its purpose is explained.
- Instructions state that printing must be at 100% actual size.
- Conversions between millimetres and inches use the factor 25.4 correctly.
Questions before you start
Why does the ruler need a calibration bar?
Printing can scale or stretch the output. A 100 mm bar lets you confirm the printed scale matches real length before you rely on any measurement.
Where should measurements start on the ruler?
At the zero tick, not the paper edge. The zero mark is the shared reference for both the millimetre and inch scales.
How do I convert a millimetre reading to inches?
Divide the millimetre value by 25.4. For example, 76.2 mm equals 3 inches, and 50 mm is about 1.97 inches.