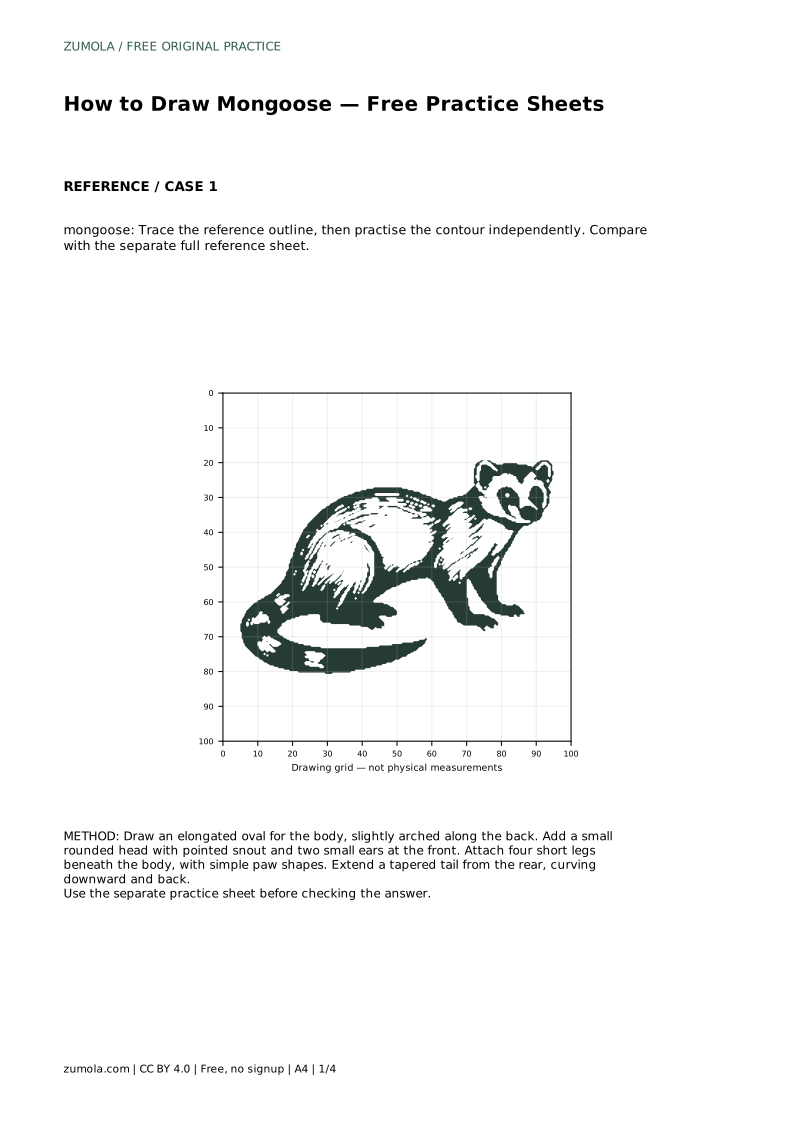
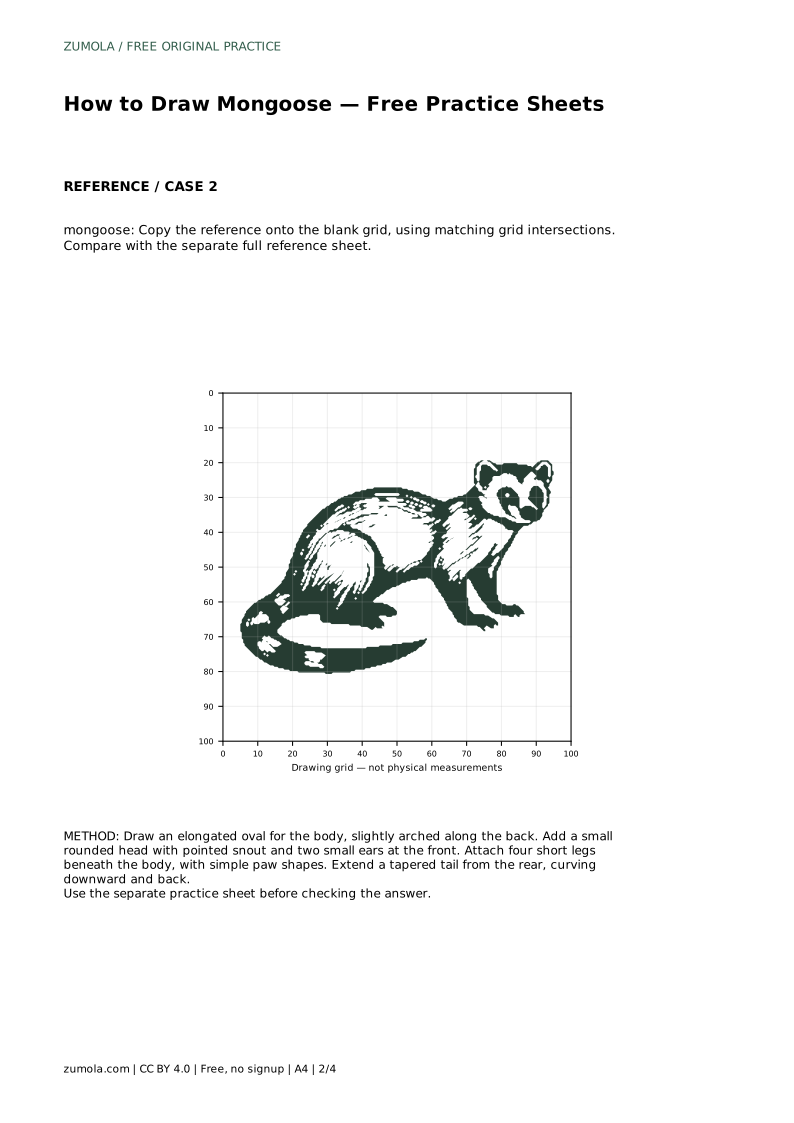
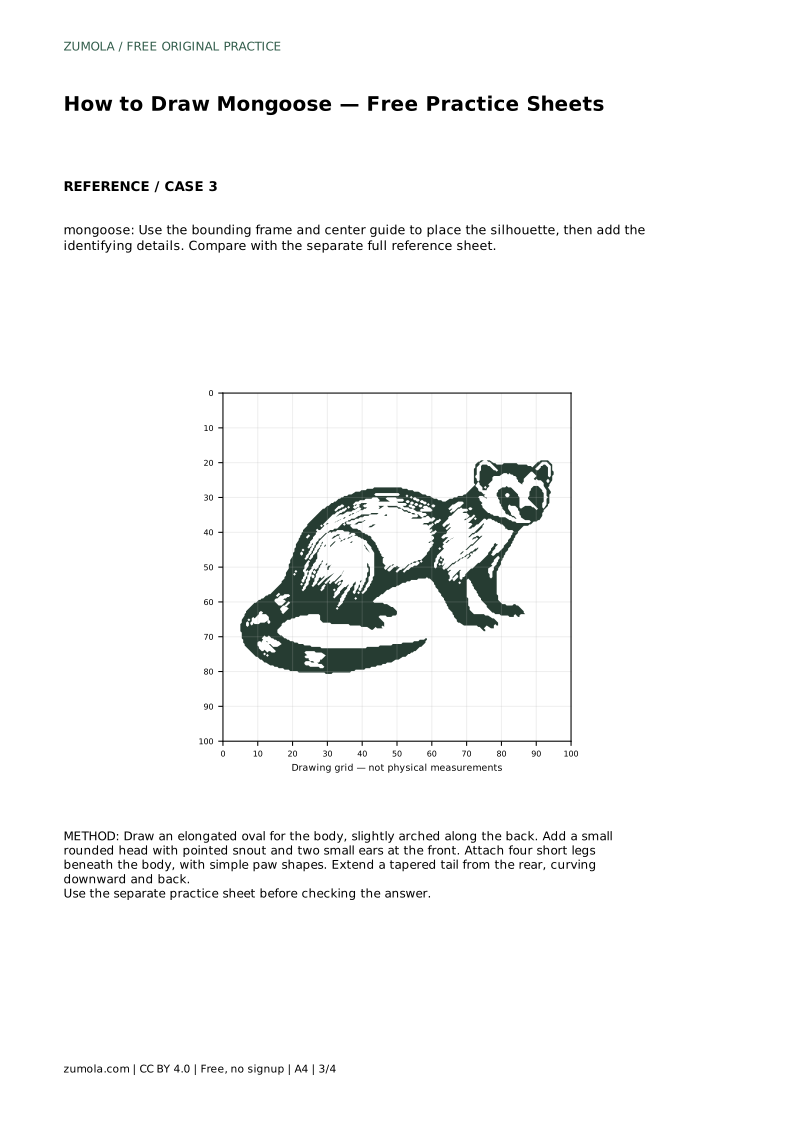
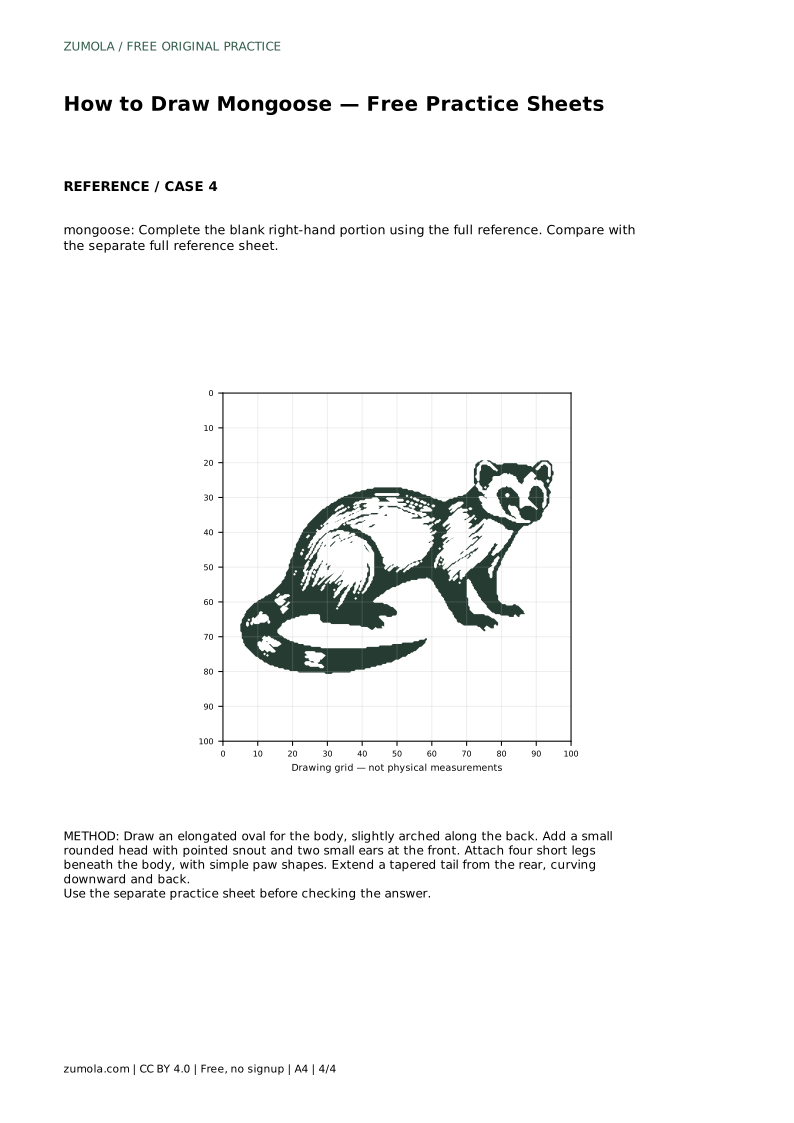
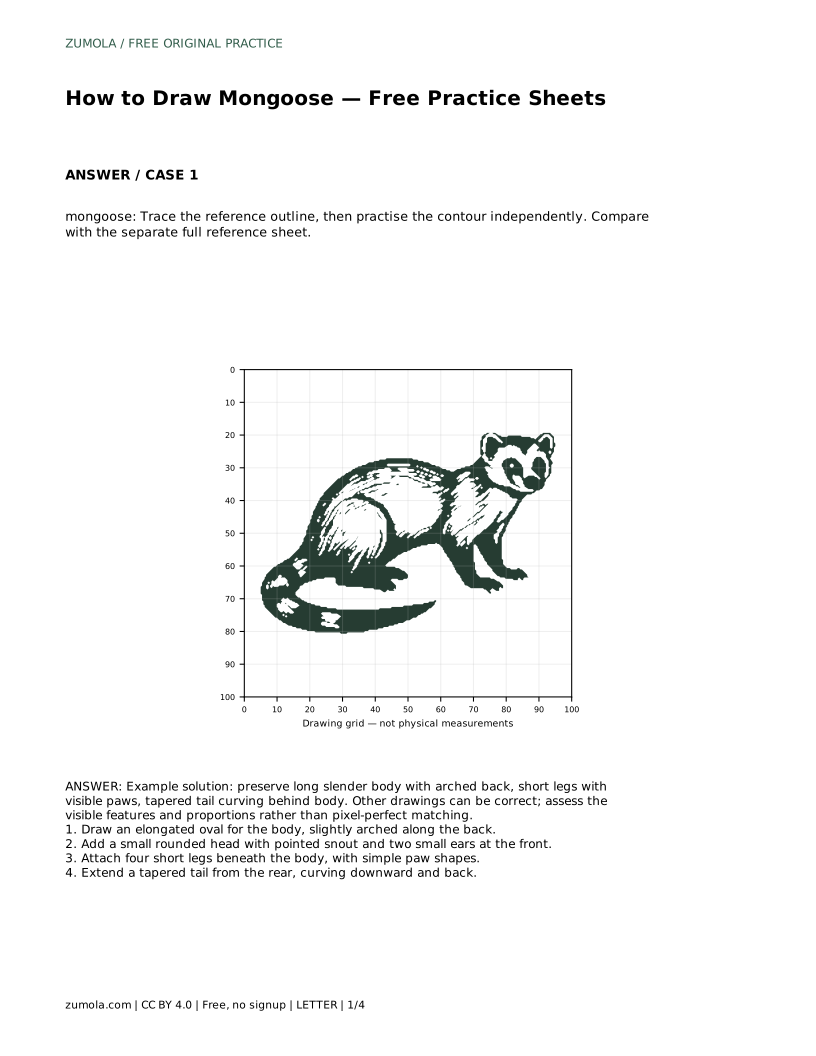
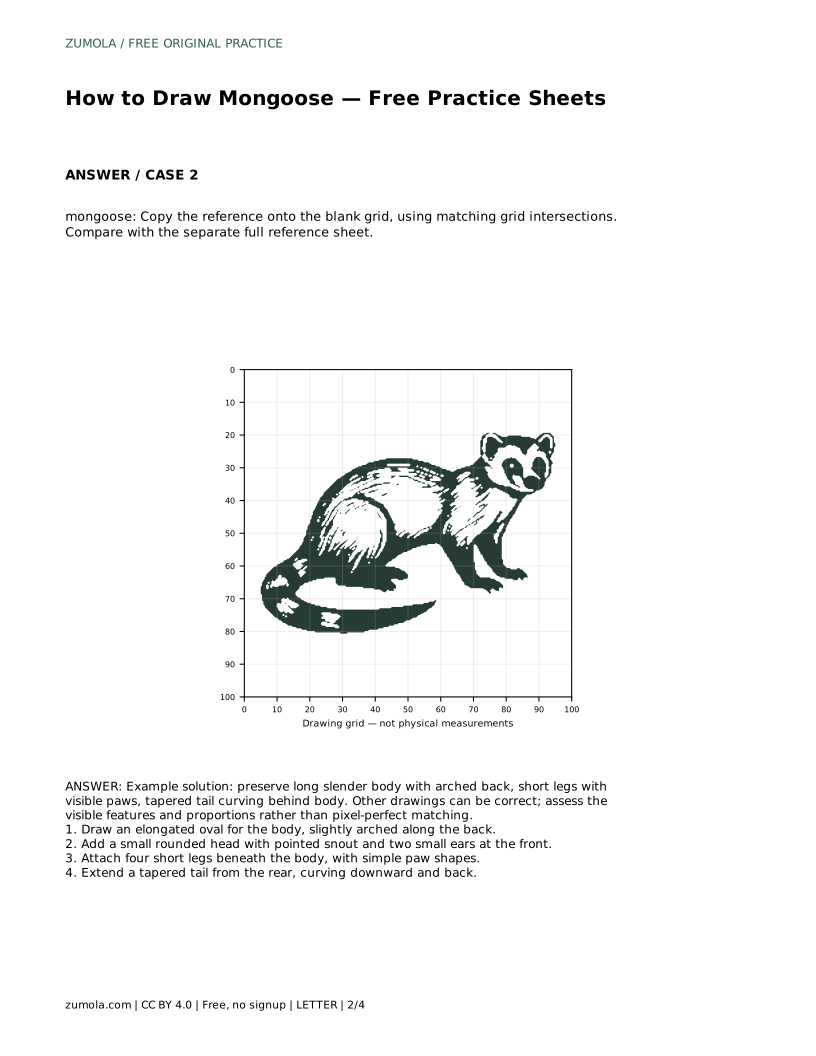
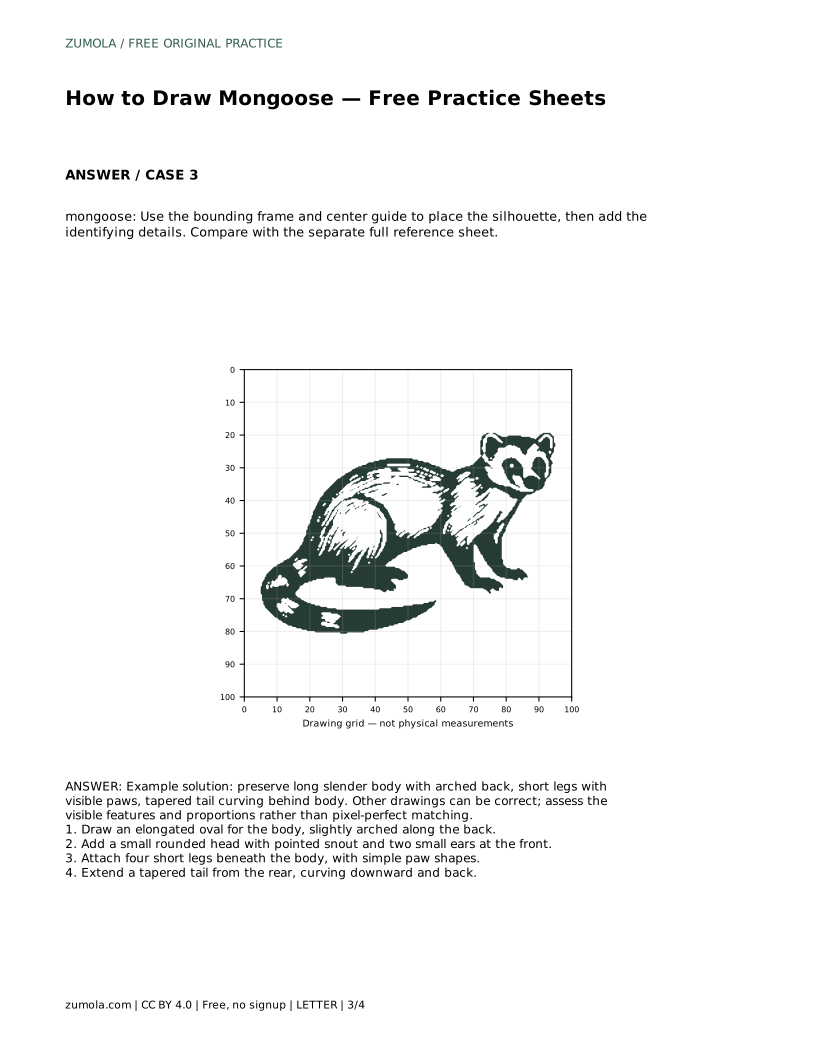
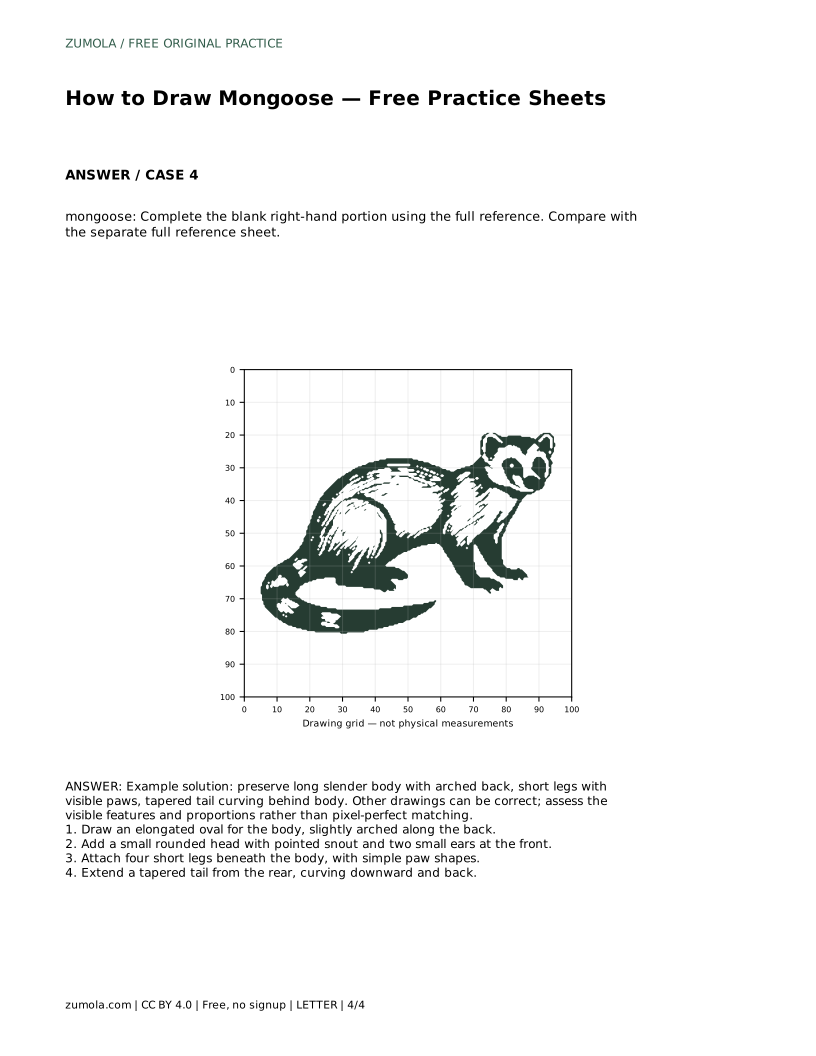
Reference diagrams
LETTER · Download PDF
A4 · Download PDF
Free original resources
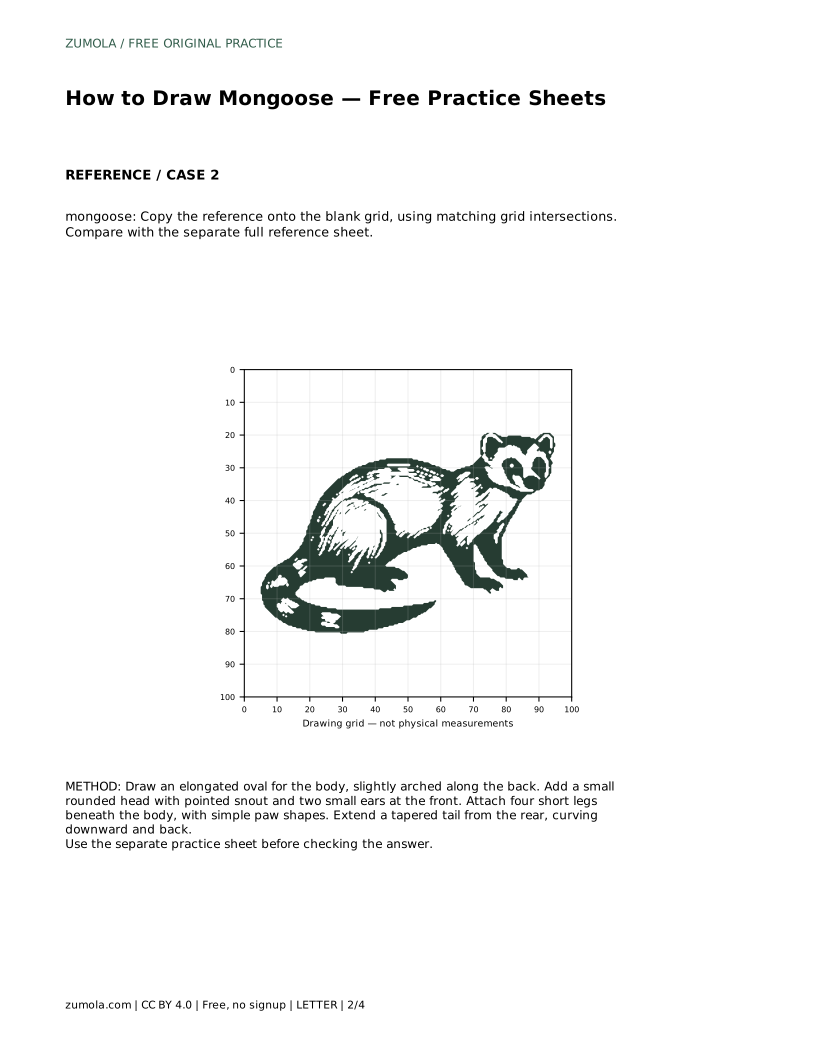
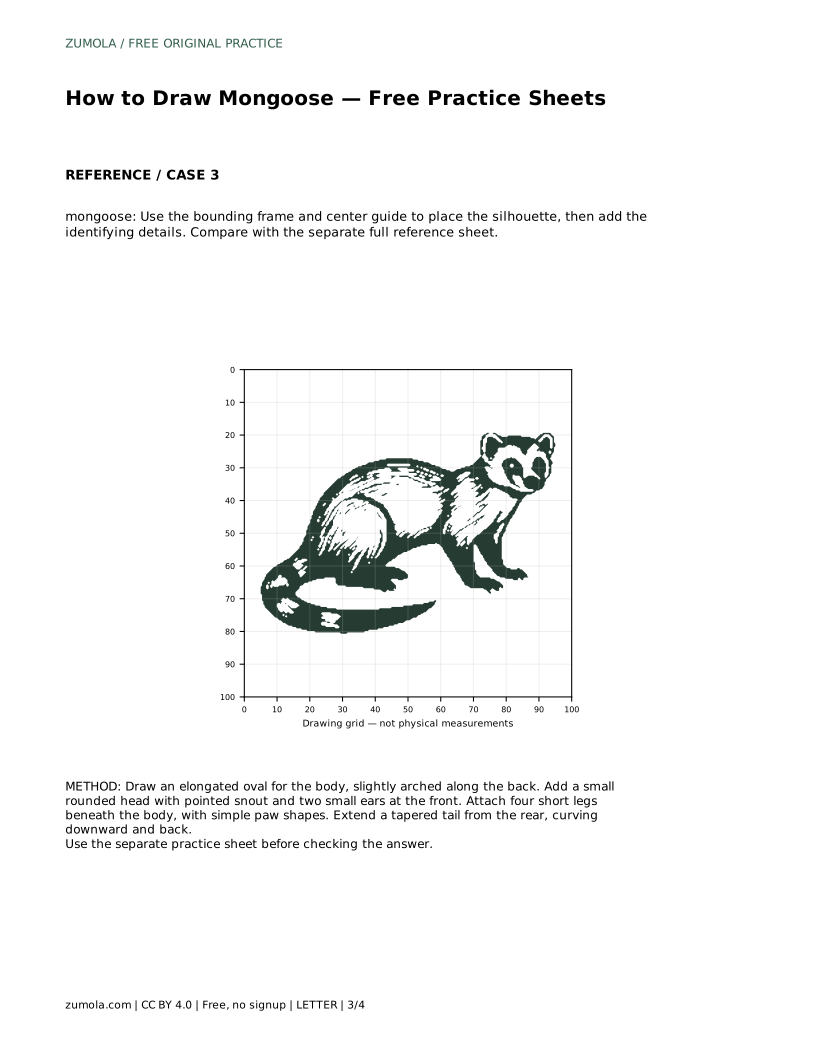
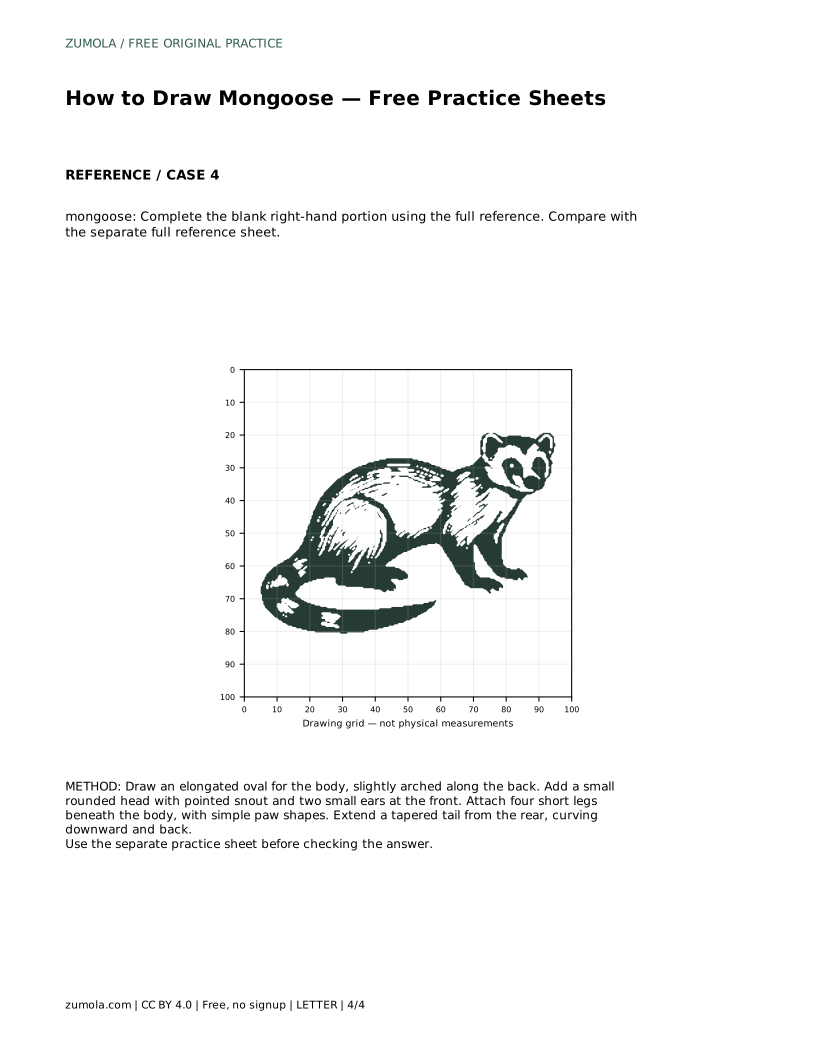
Learn to draw a mongoose with an arched back, short legs, paws, and a tapered tail. Trace the outline, then practise the contour independently.
Four original cases, with reference diagrams, practice sheets and worked answers. Everything is free; no signup required.
LETTER · Download PDF
A4 · Download PDF
LETTER · Download PDF
A4 · Download PDF
LETTER · Download PDF
A4 · Download PDF
Use A4 or US Letter to match your printer. Use the stated values and conditions to solve each exercise; diagrams are not physical measuring rulers.
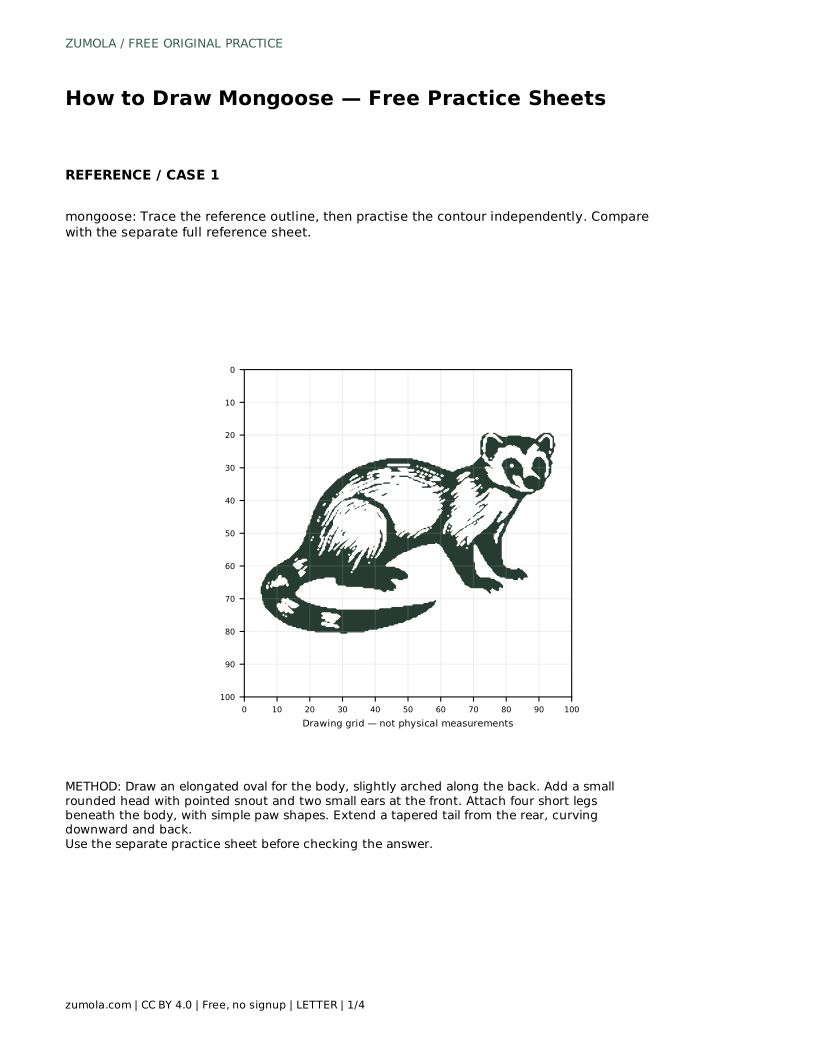
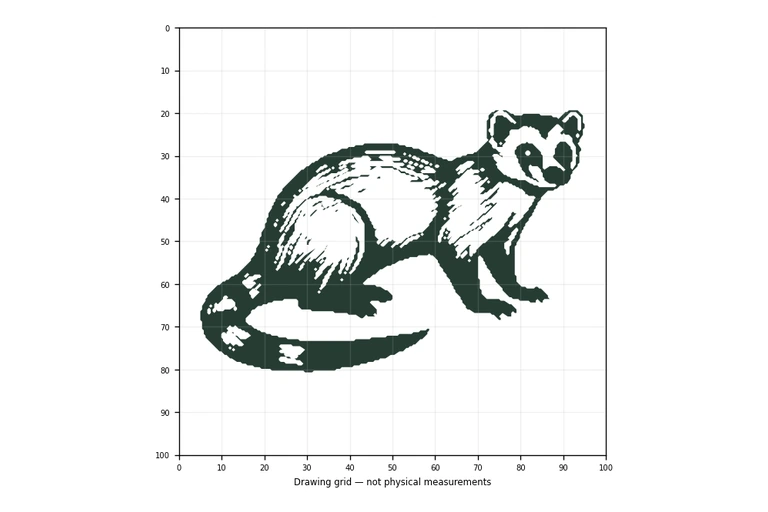
A mongoose is easy to recognise once you notice its long, slender body, gently arched back, short legs, and tapered tail. This page shows how to build those features in order, then use the practice sheets to trace the outline and draw the contour independently. The goal is not a pixel-perfect copy. Different drawings can be correct when the visible features and proportions hold together.
Begin with an elongated oval for the body. Keep it longer than it is tall, because a mongoose reads as slender rather than bulky. Slightly arch the top edge along the back; that gentle curve is one of the clearest identifying shapes. Leave room at the front for the head and at the rear for the tail.
Place the oval so the body sits roughly level, with the arch rising a little toward the middle. Avoid making the oval round or egg-shaped, which would suggest a different animal. A long, low body gives you a stable base for the legs and head.
At the front of the body, add a small rounded head. Extend a pointed snout forward from the head; the snout should taper rather than end in a blunt circle. Place two small ears on top of the head, spaced apart and kept modest in size.
Keep the head small relative to the long body. A large head will make the drawing look heavier and less mongoose-like. The pointed snout and small ears together do most of the work in making the head readable.
Attach four short legs beneath the body. Each leg should be brief and fairly straight, with a simple paw shape at the bottom. Space the front pair and the back pair so the animal looks balanced rather than crowded.
Visible paws matter: a small rounded or slightly spread shape at the end of each leg makes the feet read as feet. Keep the legs short; long legs would change the silhouette and weaken the resemblance.
Extend a tapered tail from the rear of the body. Let it curve downward and back, narrowing as it goes. The tail should look continuous with the body rather than stuck on as a separate shape.
A tapered tail completes the silhouette. Check that it narrows toward the tip and that its curve does not cross the legs awkwardly. Once the tail is in place, compare your drawing with the reference sheet and adjust the proportions where needed.
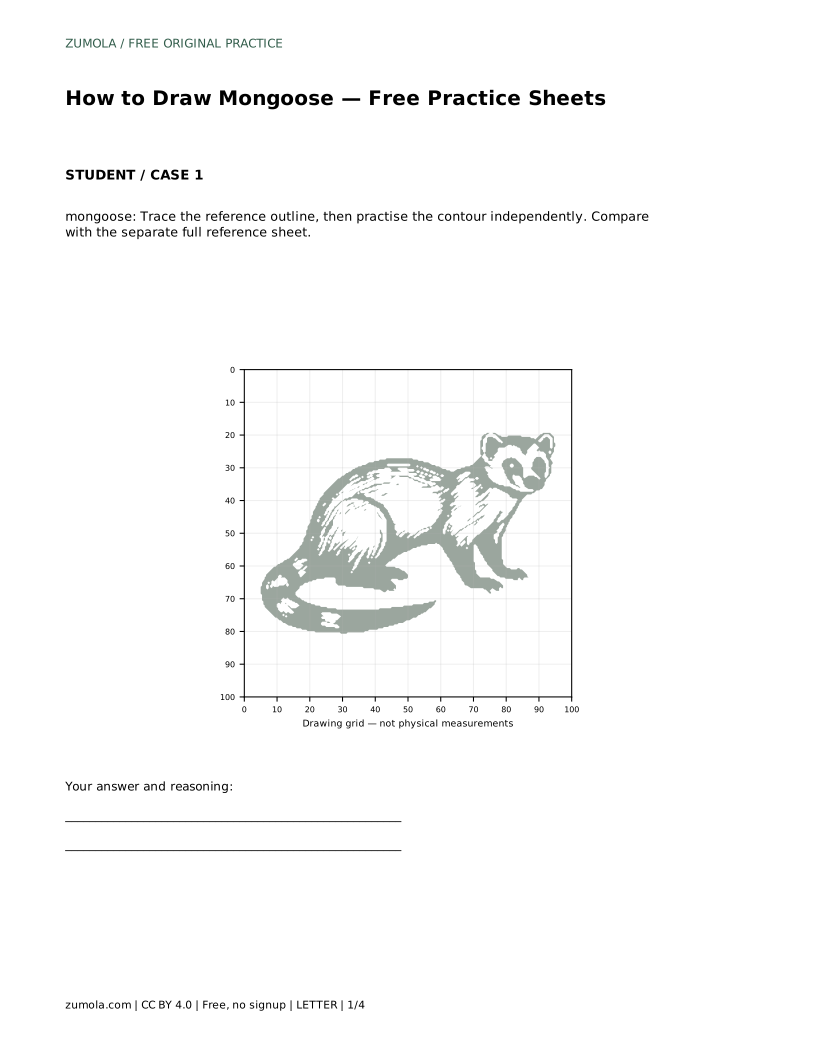
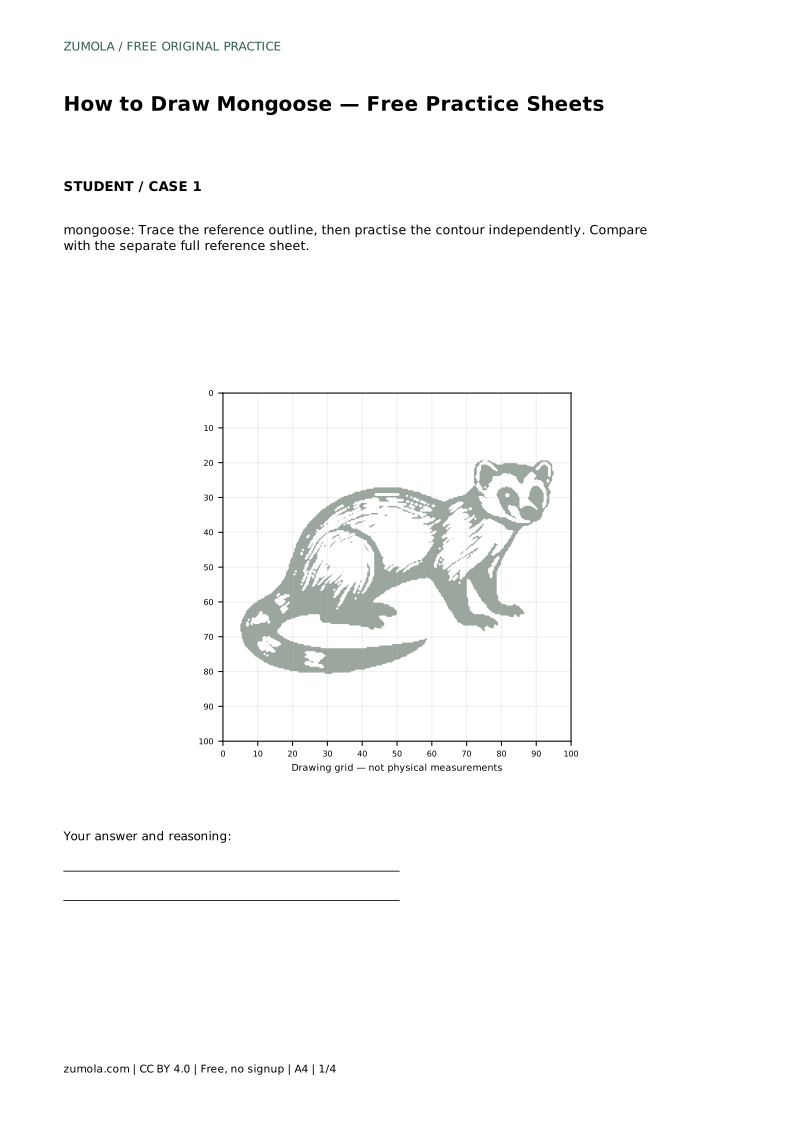
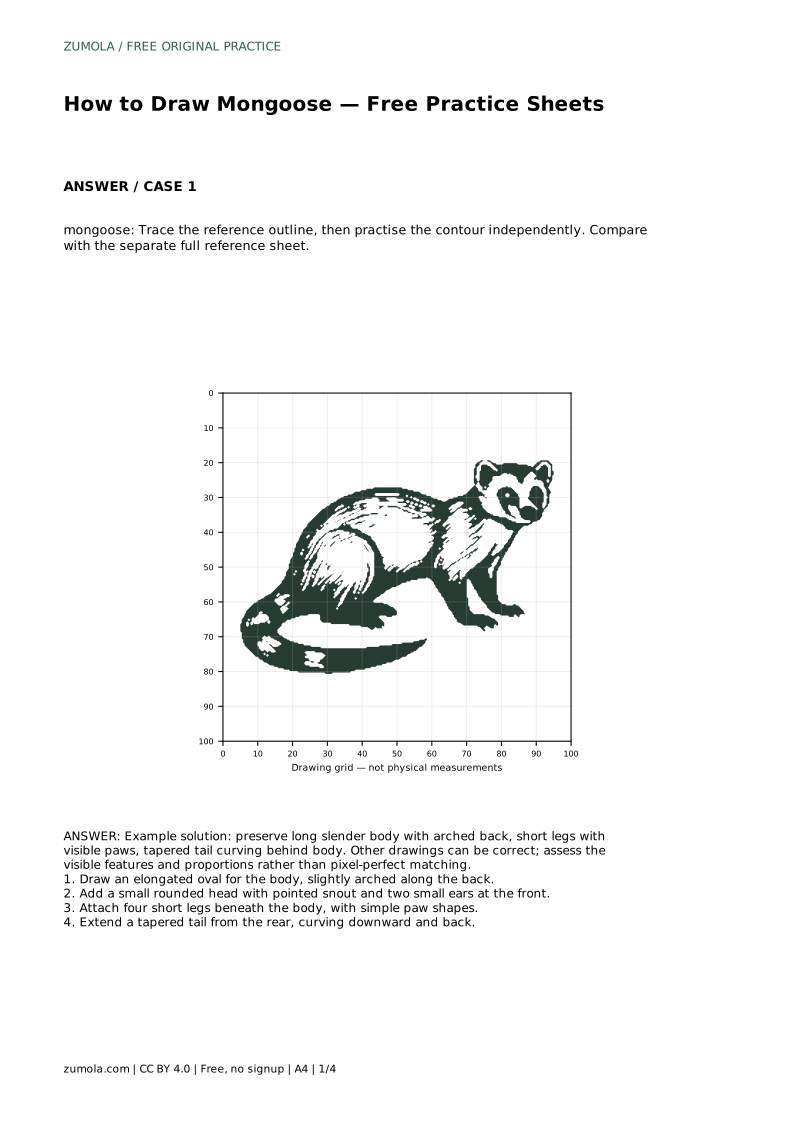
mongoose: Trace the reference outline, then practise the contour independently. Compare with the separate full reference sheet.
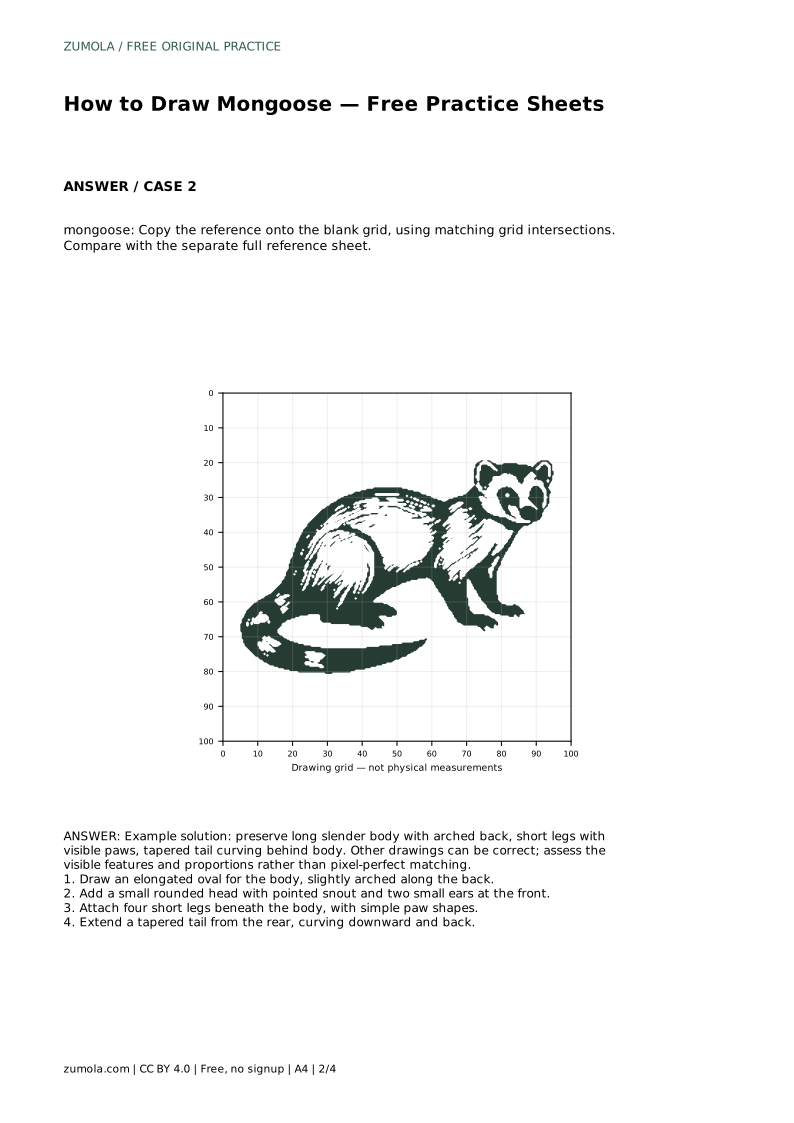
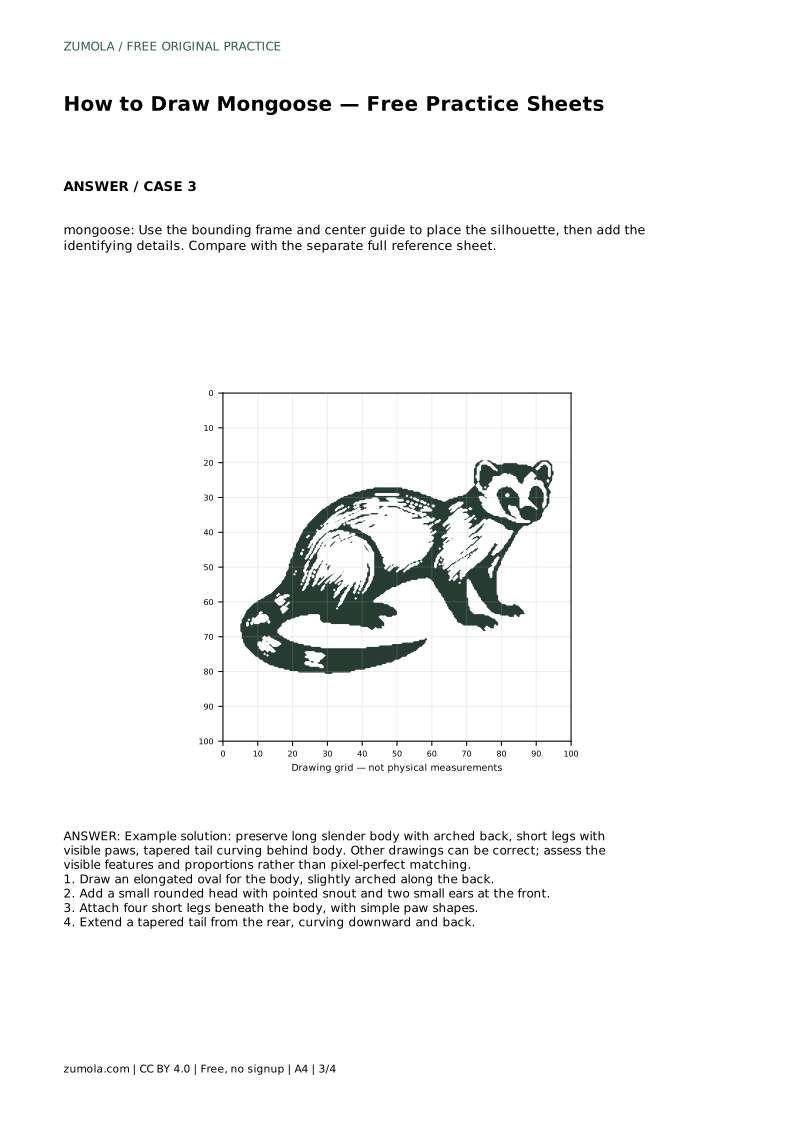
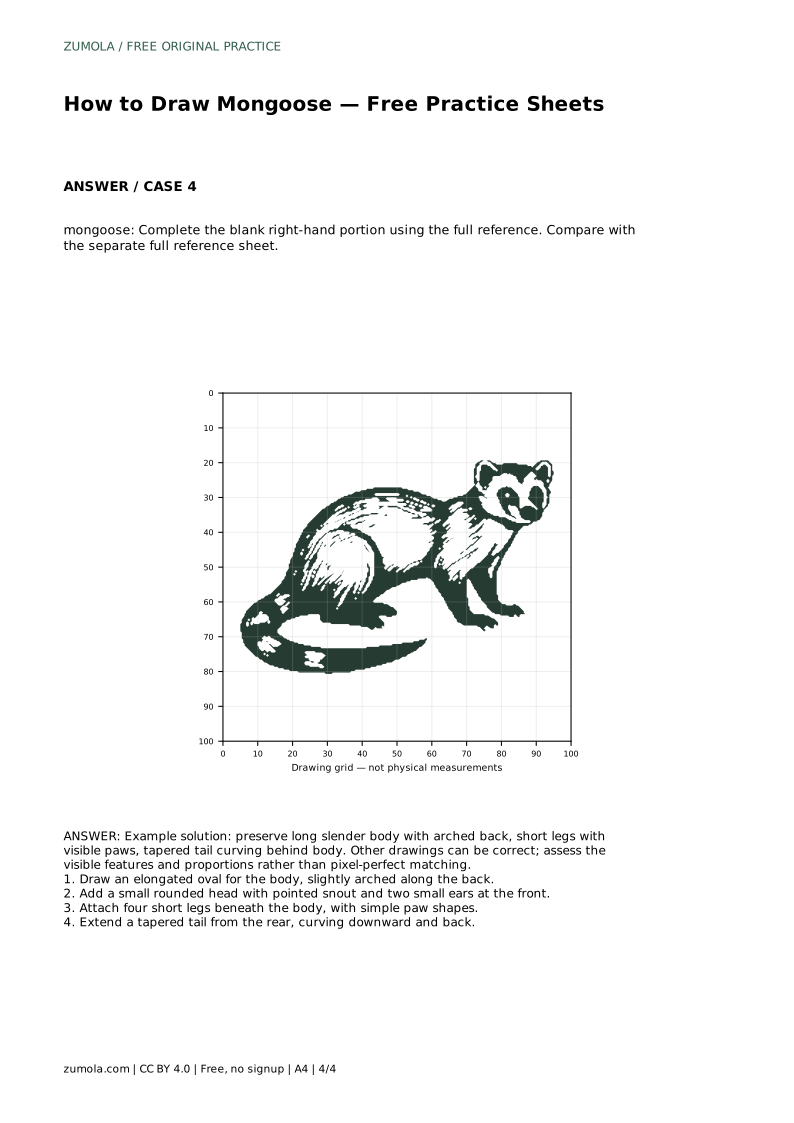
Example solution: preserve long slender body with arched back, short legs with visible paws, tapered tail curving behind body. Other drawings can be correct; assess the visible features and proportions rather than pixel-perfect matching. Draw an elongated oval for the body, slightly arched along the back. Add a small rounded head with pointed snout and two small ears at the front. Attach four short legs beneath the body, with simple paw shapes. Extend a tapered tail from the rear, curving downward and back.
No. Other drawings can be correct. Assess the visible features and proportions, such as the long slender body, arched back, short legs with paws, and tapered tail, rather than pixel-perfect matching.
Check the body first. If the elongated oval and arched back are right, the head, legs, and tail have a sensible base to attach to.
Trace the reference outline first, then practise the contour independently. Compare your independent drawing with the separate full reference sheet and adjust the proportions.
All drawing practice · Free coordinate paper
Original resources · CC BY 4.0 · Free for personal and classroom use with attribution.